
15 White Christmas Tree Ideas in Blush Pink and Gold
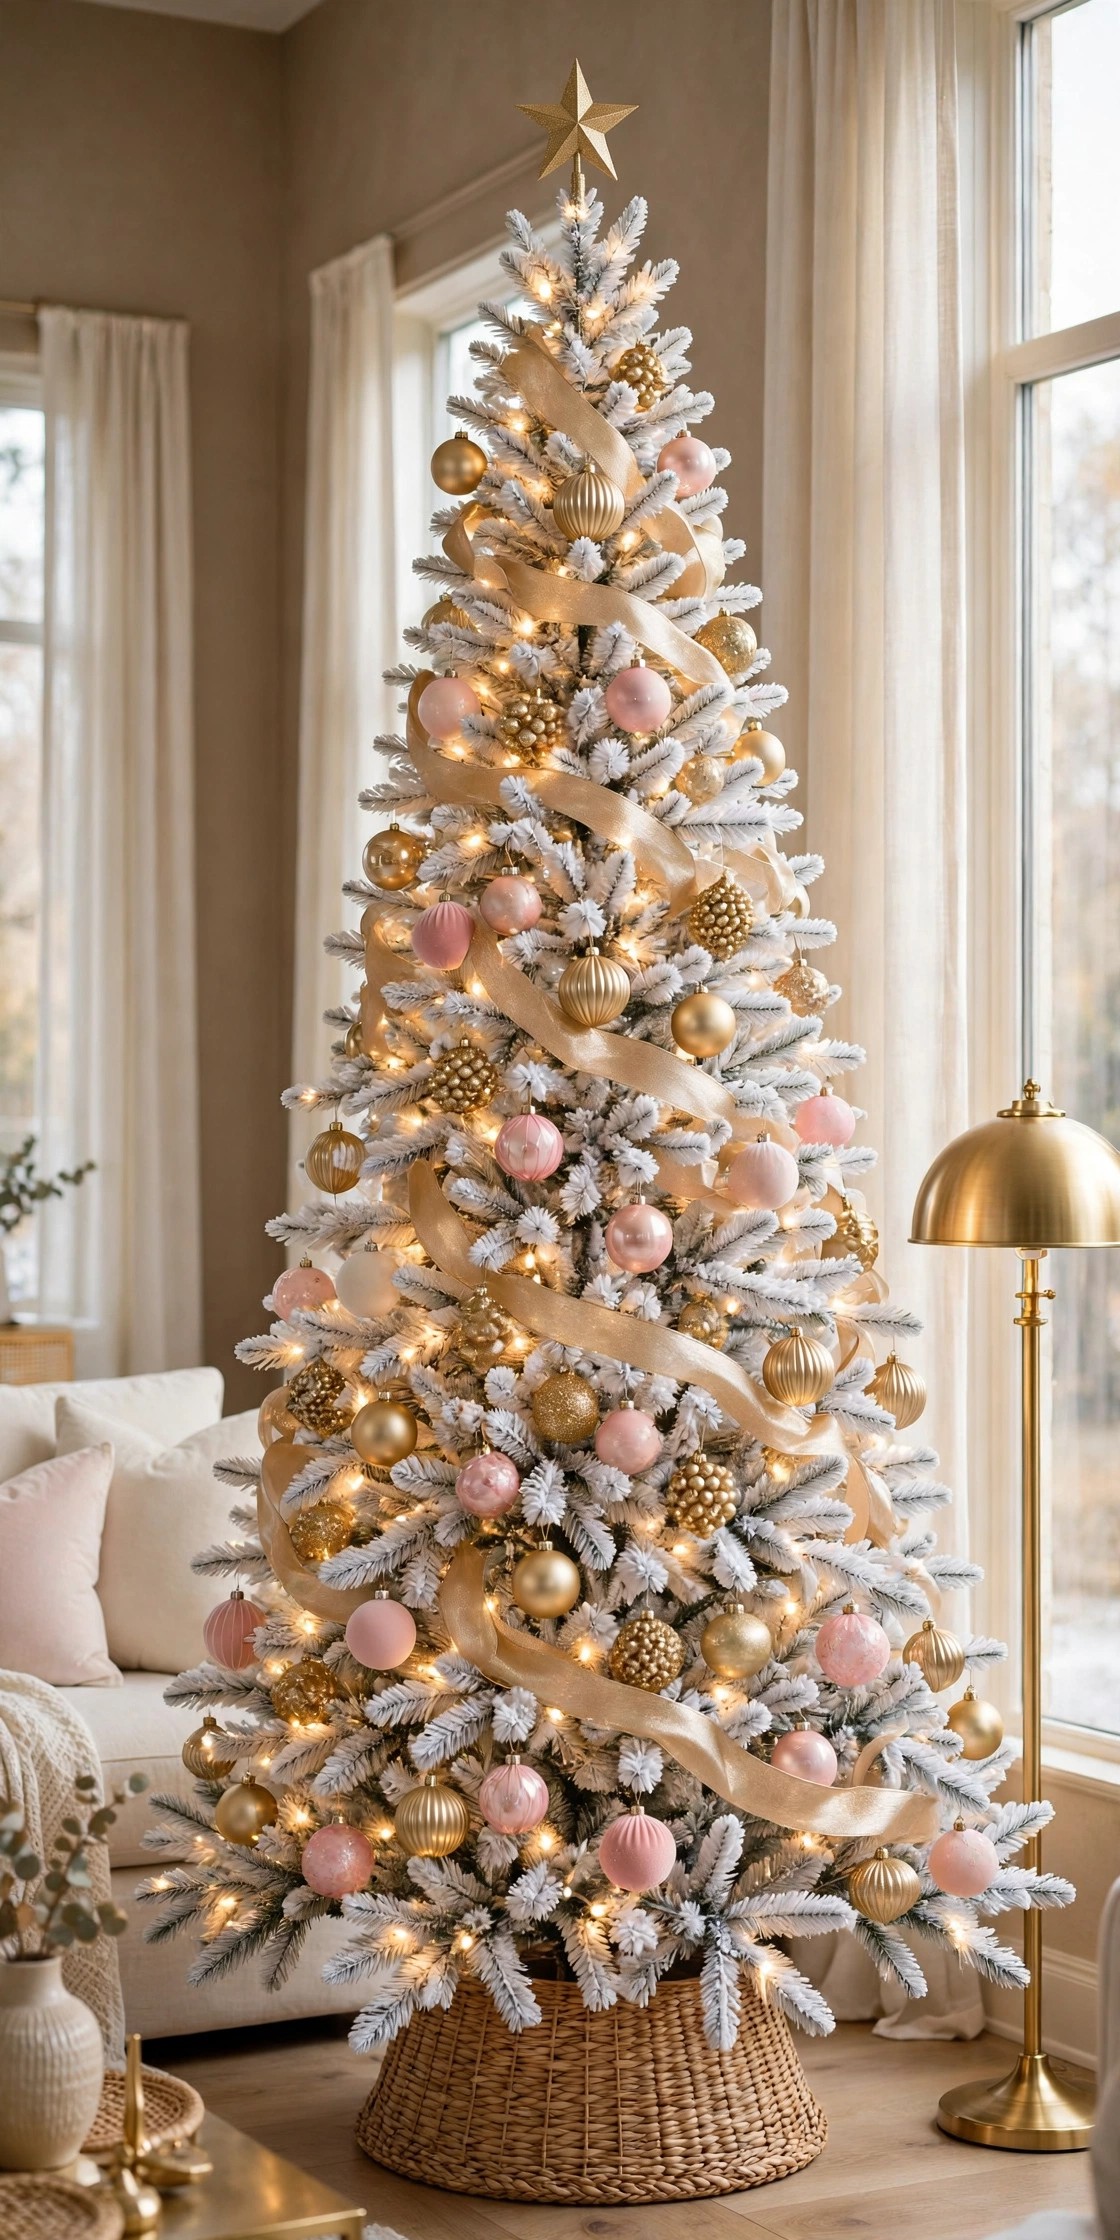
A white Christmas tree should look like fresh snow and candlelight. Too often it looks like neither. In daylight it can read flat and a little bit plastic, and the moment you switch the lights on at night, the whole tree glows icy blue, like a shop window in January. If that is the tree standing in your living room right now, please do not give up on it. A white tree is not a bad tree. It is an unfinished one, and almost every problem it has comes down to three things: no texture, the wrong light colour, and decorations that sit on the surface instead of living inside the branches.
These 15 white christmas tree ideas fix those three problems in the order I work on my own tree: base first, lights second, then gold, blush pink and ribbon layered in slowly. Every idea starts with the problem you are probably staring at, then the one product that solves it. Nothing here needs a big budget or a second tree. By the last idea your white tree will look soft, warm and properly glam, and you will know how to store it so it is still white next year. If you are planning the whole room around the tree, start with the room itself.
1. Start With a Flocked White Tree, Not a Flat One
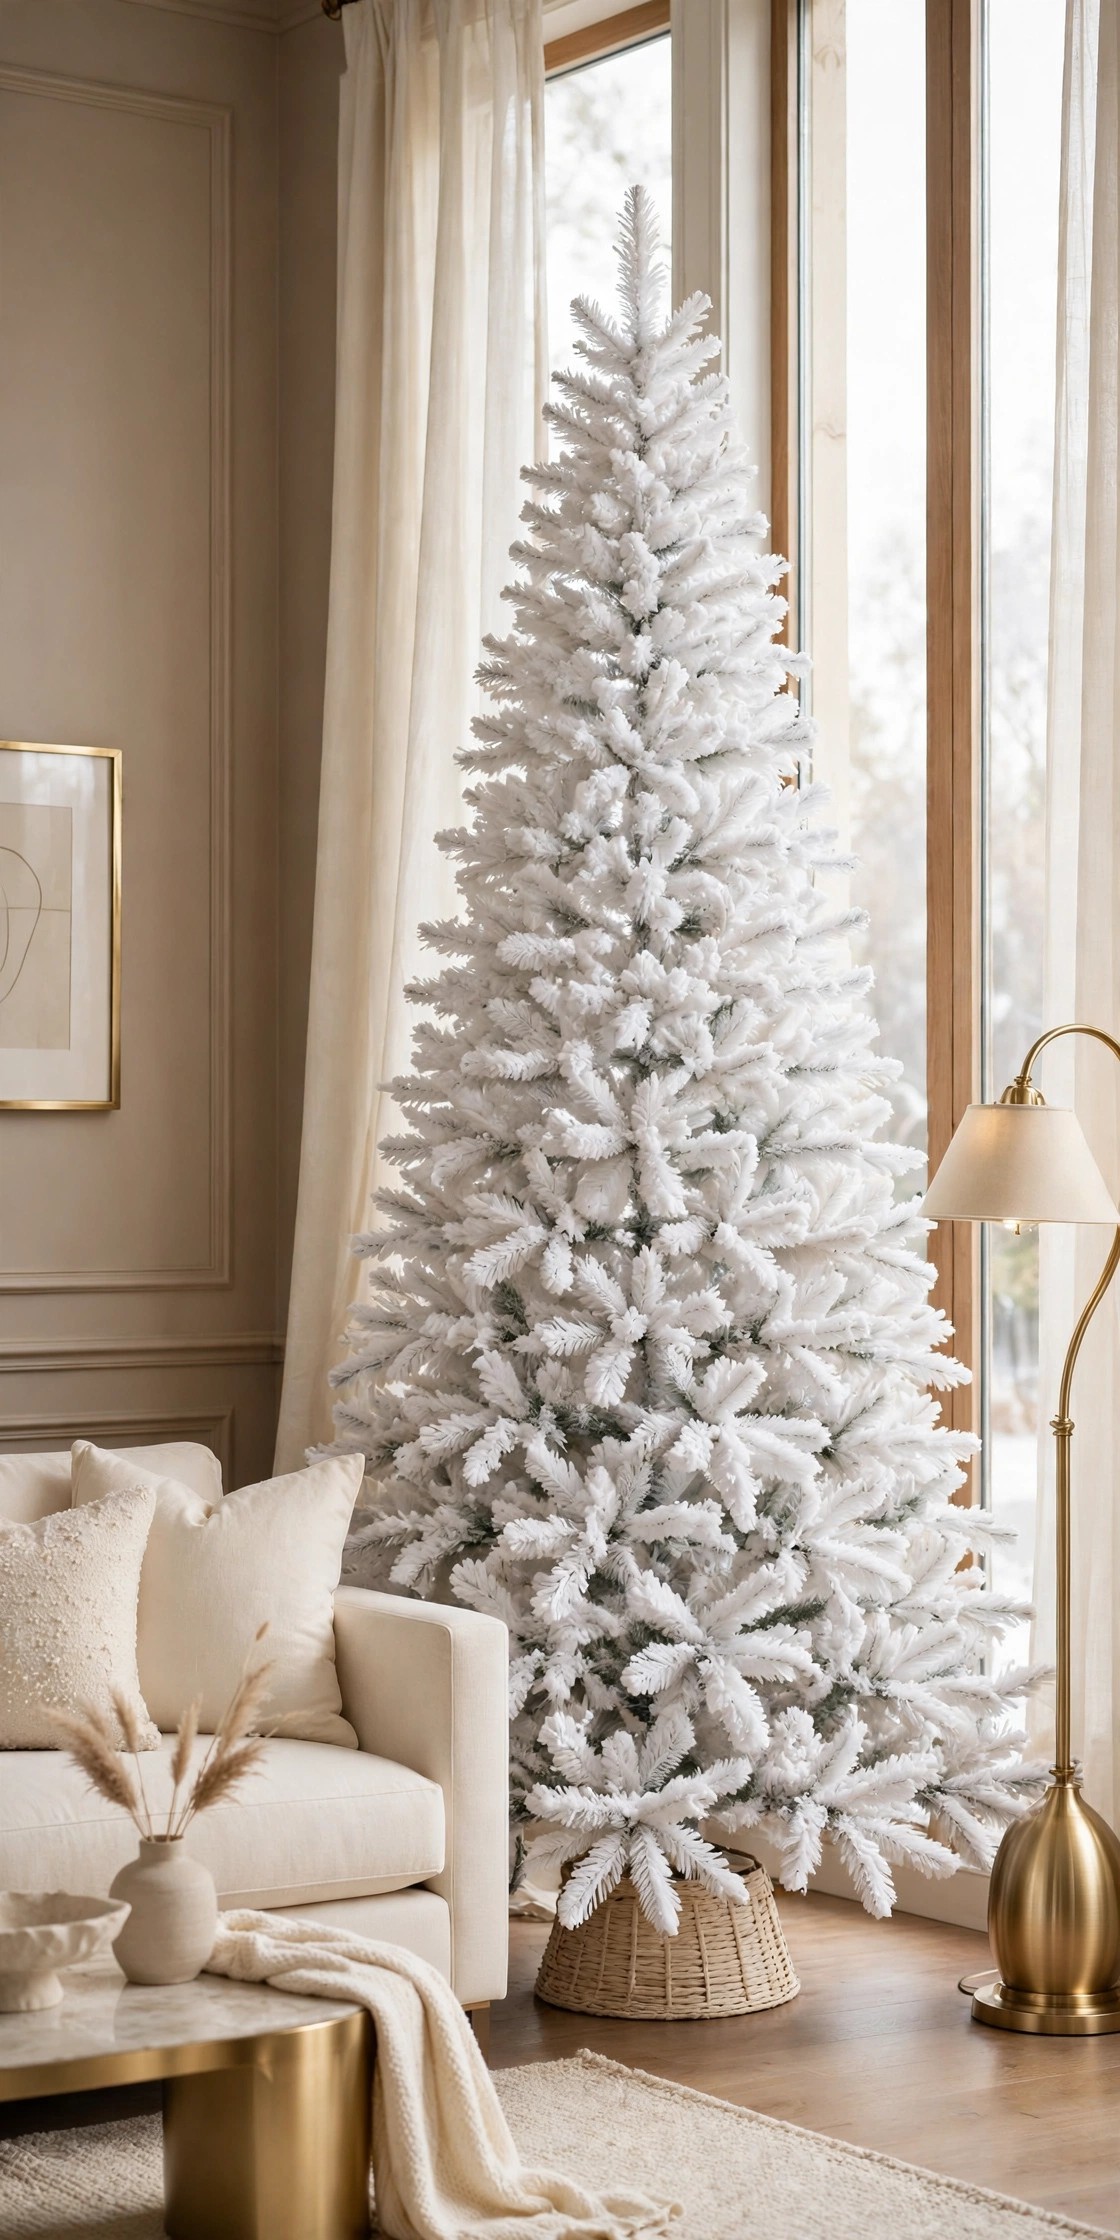
Here is the problem nobody warns you about. A plain white artificial tree is one flat colour from top to bottom, with no shadow and no depth, so in real room light it can look like moulded plastic no matter how much you spend on ornaments. You end up decorating harder and harder to hide the tree itself, and that is backwards. The tree should be doing half the work before a single bauble goes on.
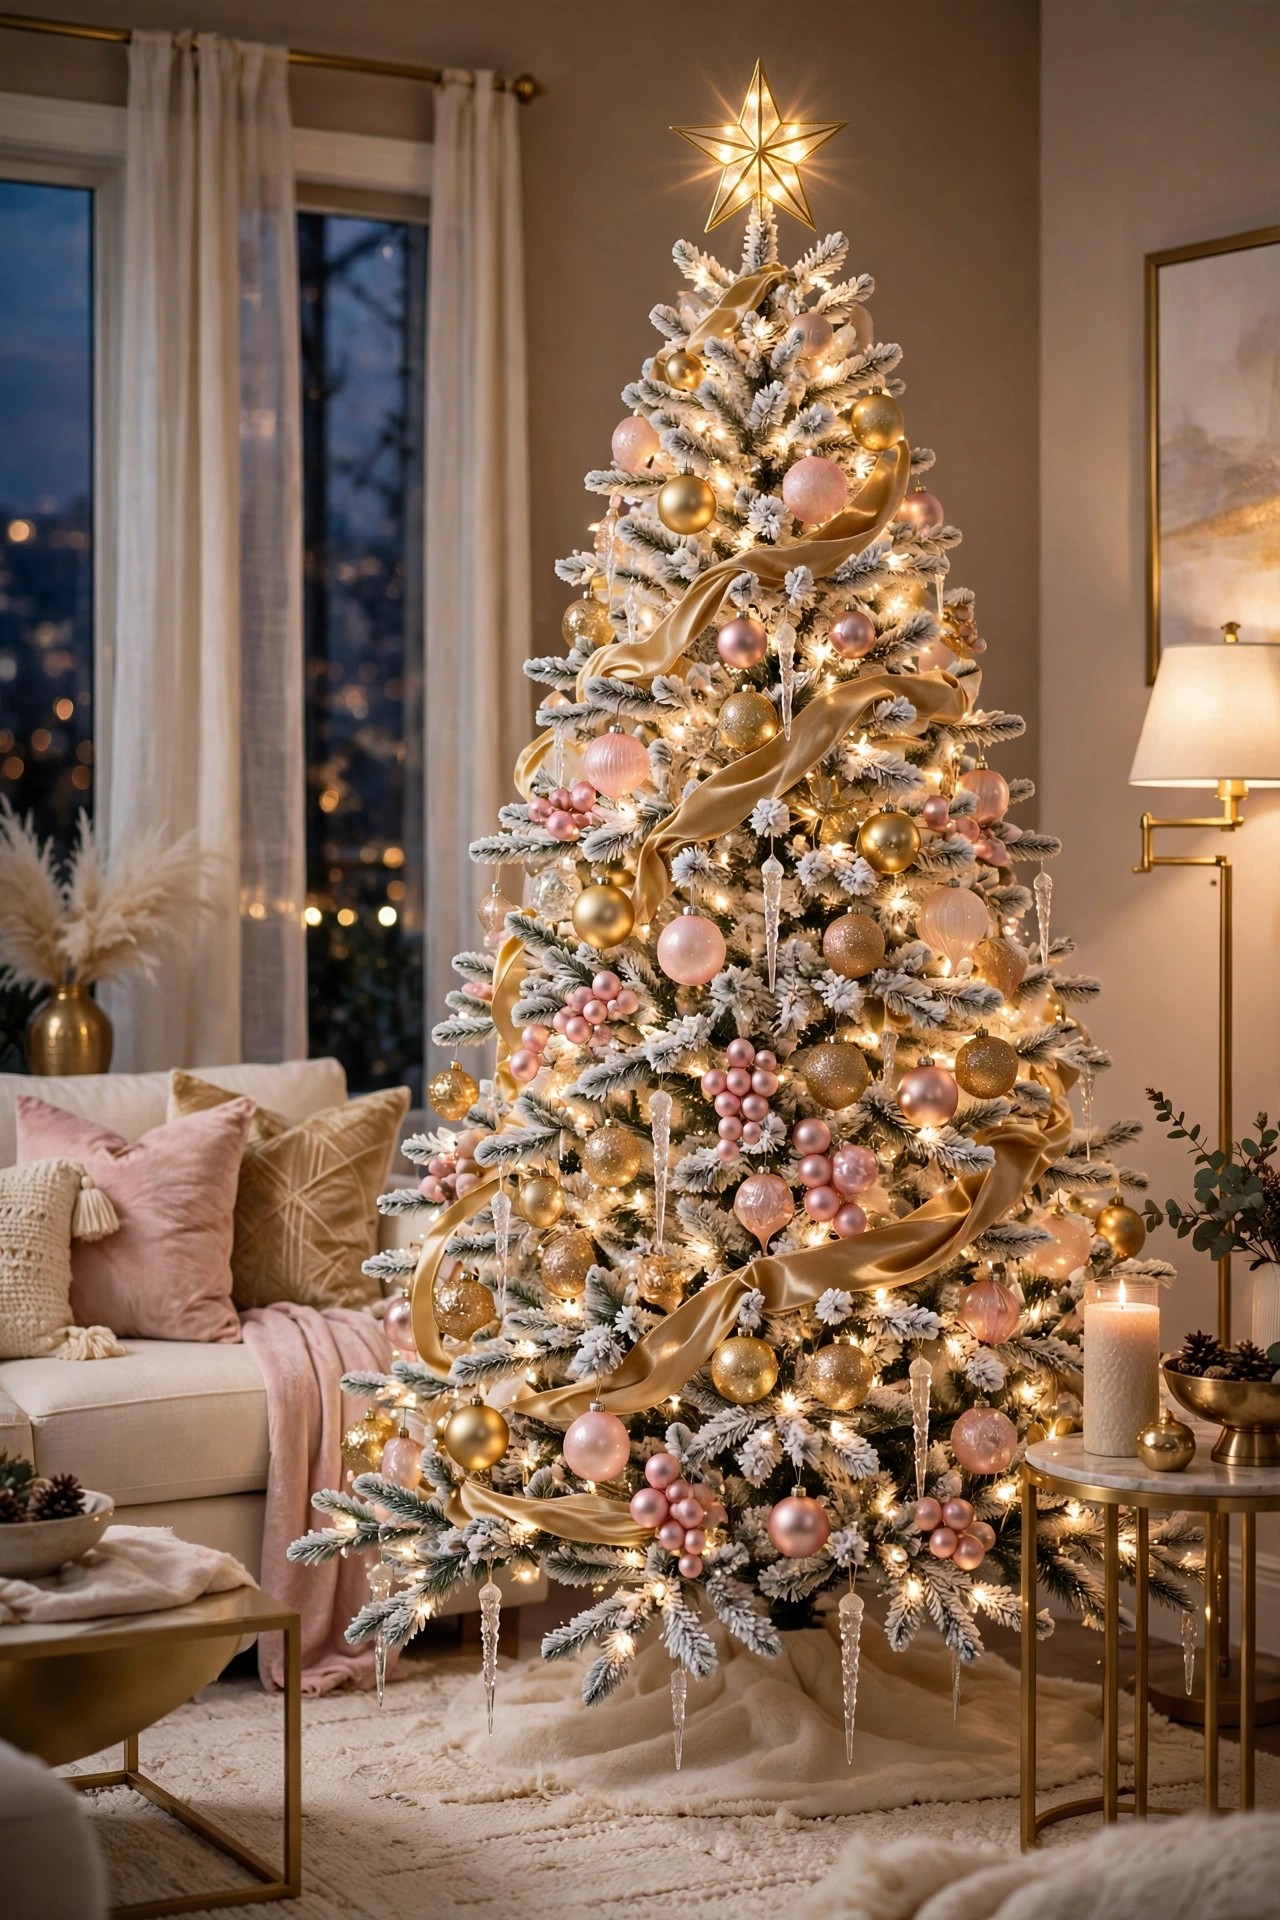
The fix is flocking. A snow flocked white artificial tree has a soft, powdery coating worked into the branches, heavier on some tips and lighter on others, and that uneven snowy texture is exactly what catches light and creates gentle shadow. The tree reads as snow-dusted and full instead of flat and shiny. Look for a high branch tip count for the height, because more tips means fewer gaps to hide later. An unlit flocked tree gives you full control over light colour in the next idea, which matters more than most people realise.
How to do it: Stand the tree up, connect the sections, then fluff before anything else goes on. Work from the bottom up and from the inside out, pulling each branch tip up and out at a slight angle, and keep turning the tree so you fluff every side, not just the front you can see. Give the flocking a gentle shake outdoors or over a sheet first, because loose flock sheds a little on day one. Pro Tip: Photograph the bare fluffed tree with your phone. The camera shows gaps and flat patches your eyes forgive, and it takes two minutes to fix them now instead of after the ornaments are on. Common mistake: Skipping the fluffing because the tree “looks fine” straight out of the box. Boxed branches are pressed flat, and no ornament can hide a tree that was never opened up.
2. Warm It Up With Warm White Lights
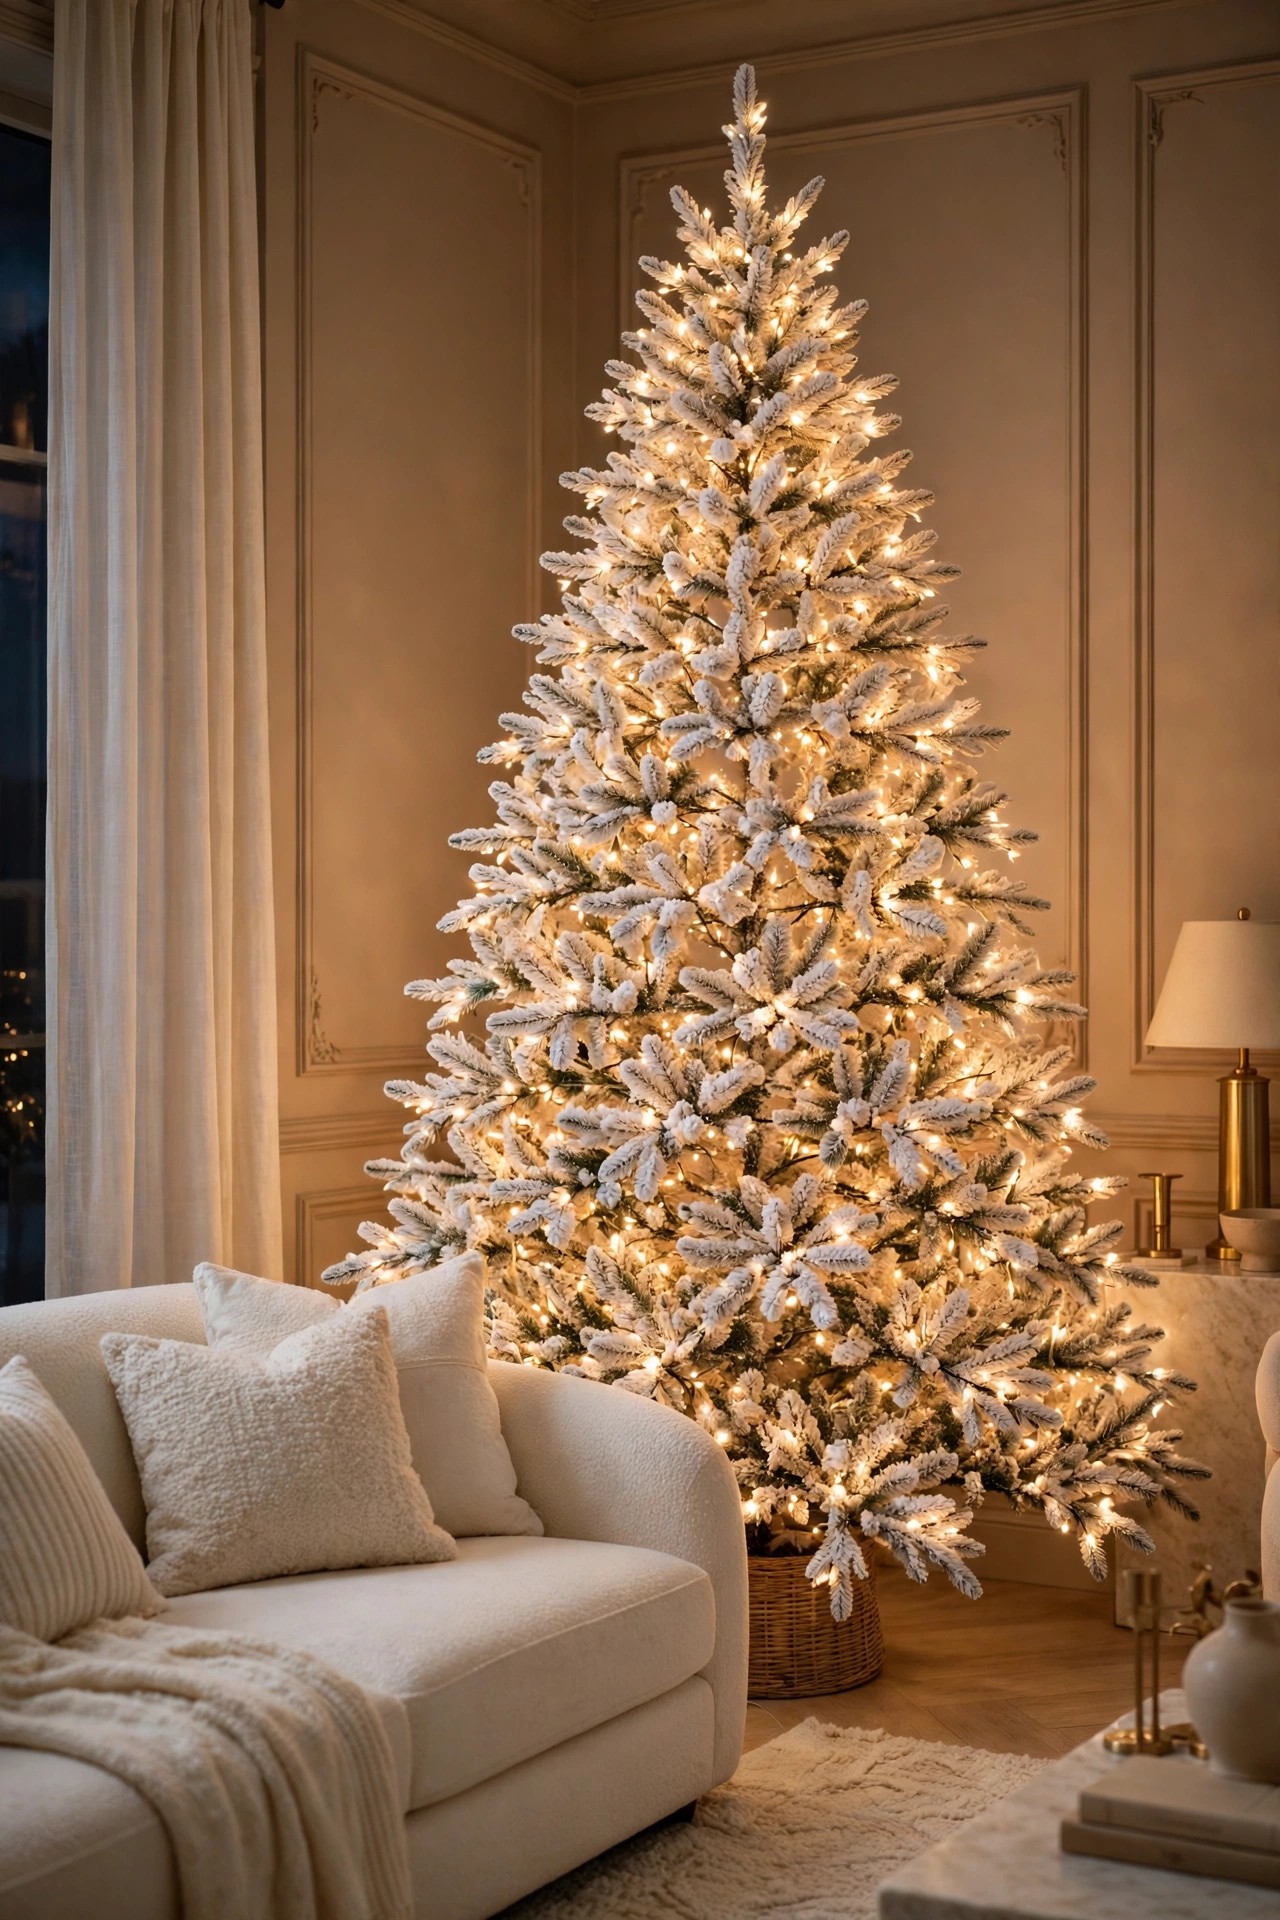
In the shop, under bright white ceiling lights, your tree looked perfect. At home, in the evening, it glows blue. That cold, icy glow is the single biggest reason white trees disappoint people, and it is almost never the tree’s fault. It is the lights. Many string lights sold as “white” are actually a cool daylight white, and against white branches that cool tone doubles down until the tree looks frozen instead of cosy.
Warm white LED string lights fix it in one step. Look for lights described honestly as warm white, around 2700 Kelvin if the listing gives a number, because that soft golden tone is what makes white branches look creamy and candlelit instead of blue. Wrap the lights deep into the tree, close to the trunk, and then bring a second pass further out along the branches, so the glow comes from inside the tree as well as from the surface. Buy every strand you need in the same purchase, from the same listing, so the colour matches all the way up.
How to do it: Plug the lights in before you start and leave them on while you work, so you can see the glow even out as you go. Start at the bottom, wind the strand in towards the trunk and back out along each large branch, then move up a layer. Step back every few layers and squint; dark patches mean a section needs the strand pulled deeper, not more lights added on top. Pro Tip: If your tree is pre-lit with cool white lights, you do not need a new tree. Weave one warm white strand through the middle of the tree and the mixed glow warms up noticeably. Common mistake: Mixing one warm strand with one cool strand from an old box. Side by side the mismatch is obvious, and the tree ends up half gold and half blue.
3. Fill the Gaps With a Gold Beaded Garland
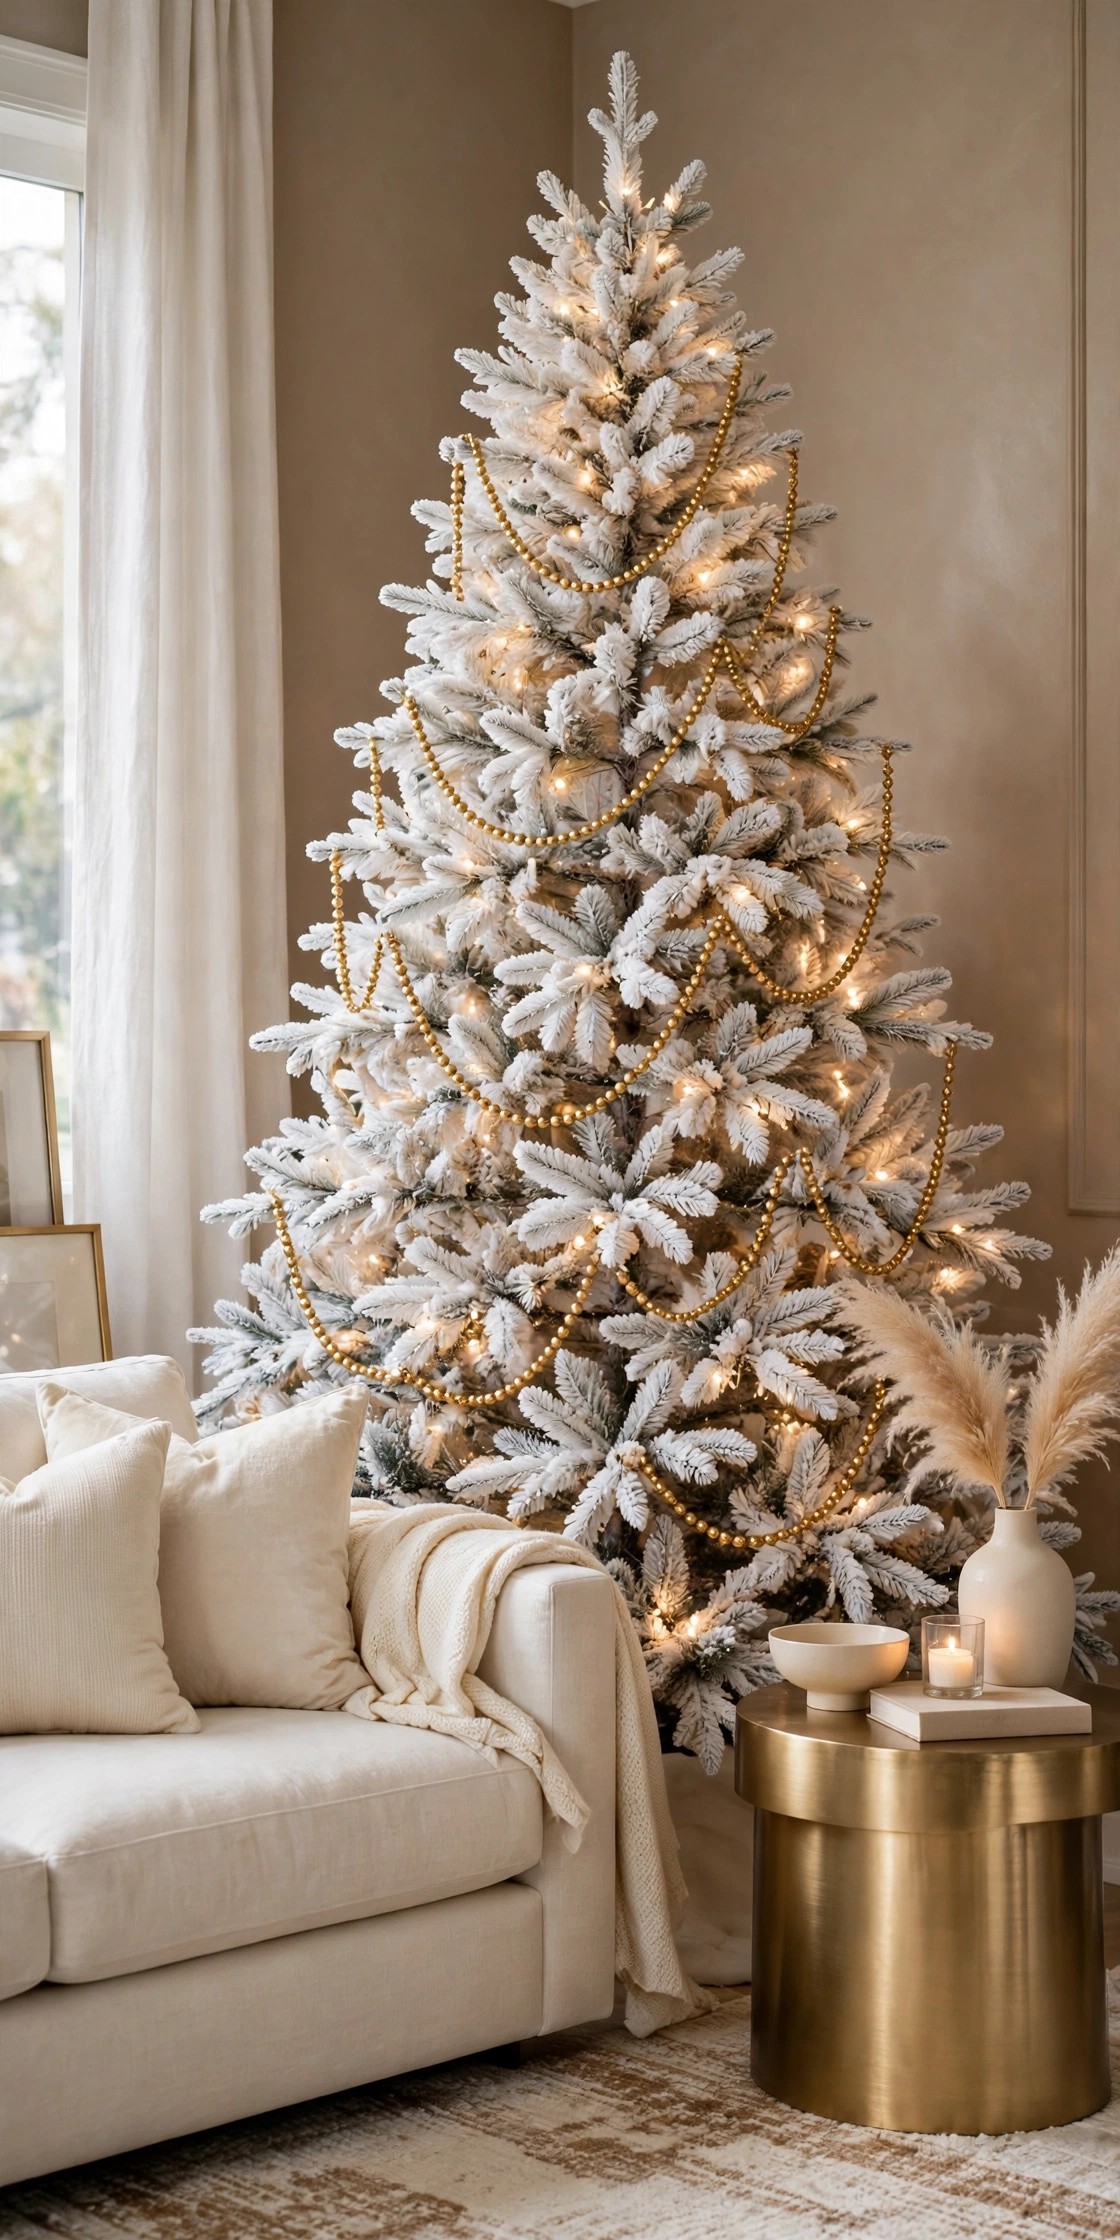
Even a well-fluffed tree has gaps. You step back, the lights come on, and suddenly you can see straight through the branches to the centre pole and the wall behind it. Most people answer this by hanging more and bigger ornaments near the front, which just makes the front heavier and the gaps more obvious. What the tree actually needs is something fine and continuous that moves through the whole tree and catches the light inside those gaps.
A gold beaded garland does that job quietly. The small beads on a long strand read as a line of tiny golden lights running through the branches, and because the strand is thin and flexible, it drapes into the exact places ornaments cannot reach. Drape it in soft swags, working down the tree, and let each swag dip a little deeper than feels natural, so the beads sit inside the branches rather than skating across the tips. Gold is the right colour here because it warms the white and links up with every gold piece that comes later in this list.
How to do it: Start at the top, anchor the end of the strand on a back branch, then walk the garland around the tree in loose downward spirals, tucking it in and out of the branches as you go. Keep the dips even, about a hand’s depth apart as you circle down, and check from across the room after every two or three circles. Pro Tip: Cut a long roll into two shorter strands instead of fighting one very long one. Shorter lengths are easier to drape evenly and far less likely to tangle in storage. Common mistake: Pulling the garland tight like a rope. Tight garland makes straight lines across a round tree and exposes the gaps it was meant to hide.
4. Pick One Gold Ornament Set in Mixed Finishes

A white tree shows everything, including a muddled ornament collection. A red bauble from one set, a silver one from another, three novelty pieces from a gift shop: on a green tree they disappear into the branches, but on white they argue with each other in full view. This is why collected-over-years ornaments so often look messy on a white tree even when every single piece is pretty on its own.
One gold shatterproof ornament set, bought as a single set, gives you instant order. The set that works hardest on a white tree mixes finishes in the same gold: some matte, some shiny, some glitter, so the tree gets sparkle and calm in the same colour. A set with two or three sizes is even better, because size is how you build depth. Hang the largest ornaments deep inside the tree and low down, medium ones through the middle, and the smallest near the outer tips and the top, and the tree will look fuller at every distance.
How to do it: Open the whole set before you hang anything and sort it into three piles by size. Hang all the large ones first, deep and low, then the mediums, then step back and fill the leftover spaces with the small ones where the tree still looks thin. Keep the finishes mixed as you go; never hang all the glitter ones in one patch. Pro Tip: Count roughly as you hang, and keep the same number of gold ornaments in each third of the tree. Your eye reads that even balance as “expensive” without knowing why. Common mistake: Hanging everything at the same depth on the branch tips. A tree decorated only on its surface always looks like a shop display, never like a home.
5. Soften the Gold With Blush Pink Ornaments
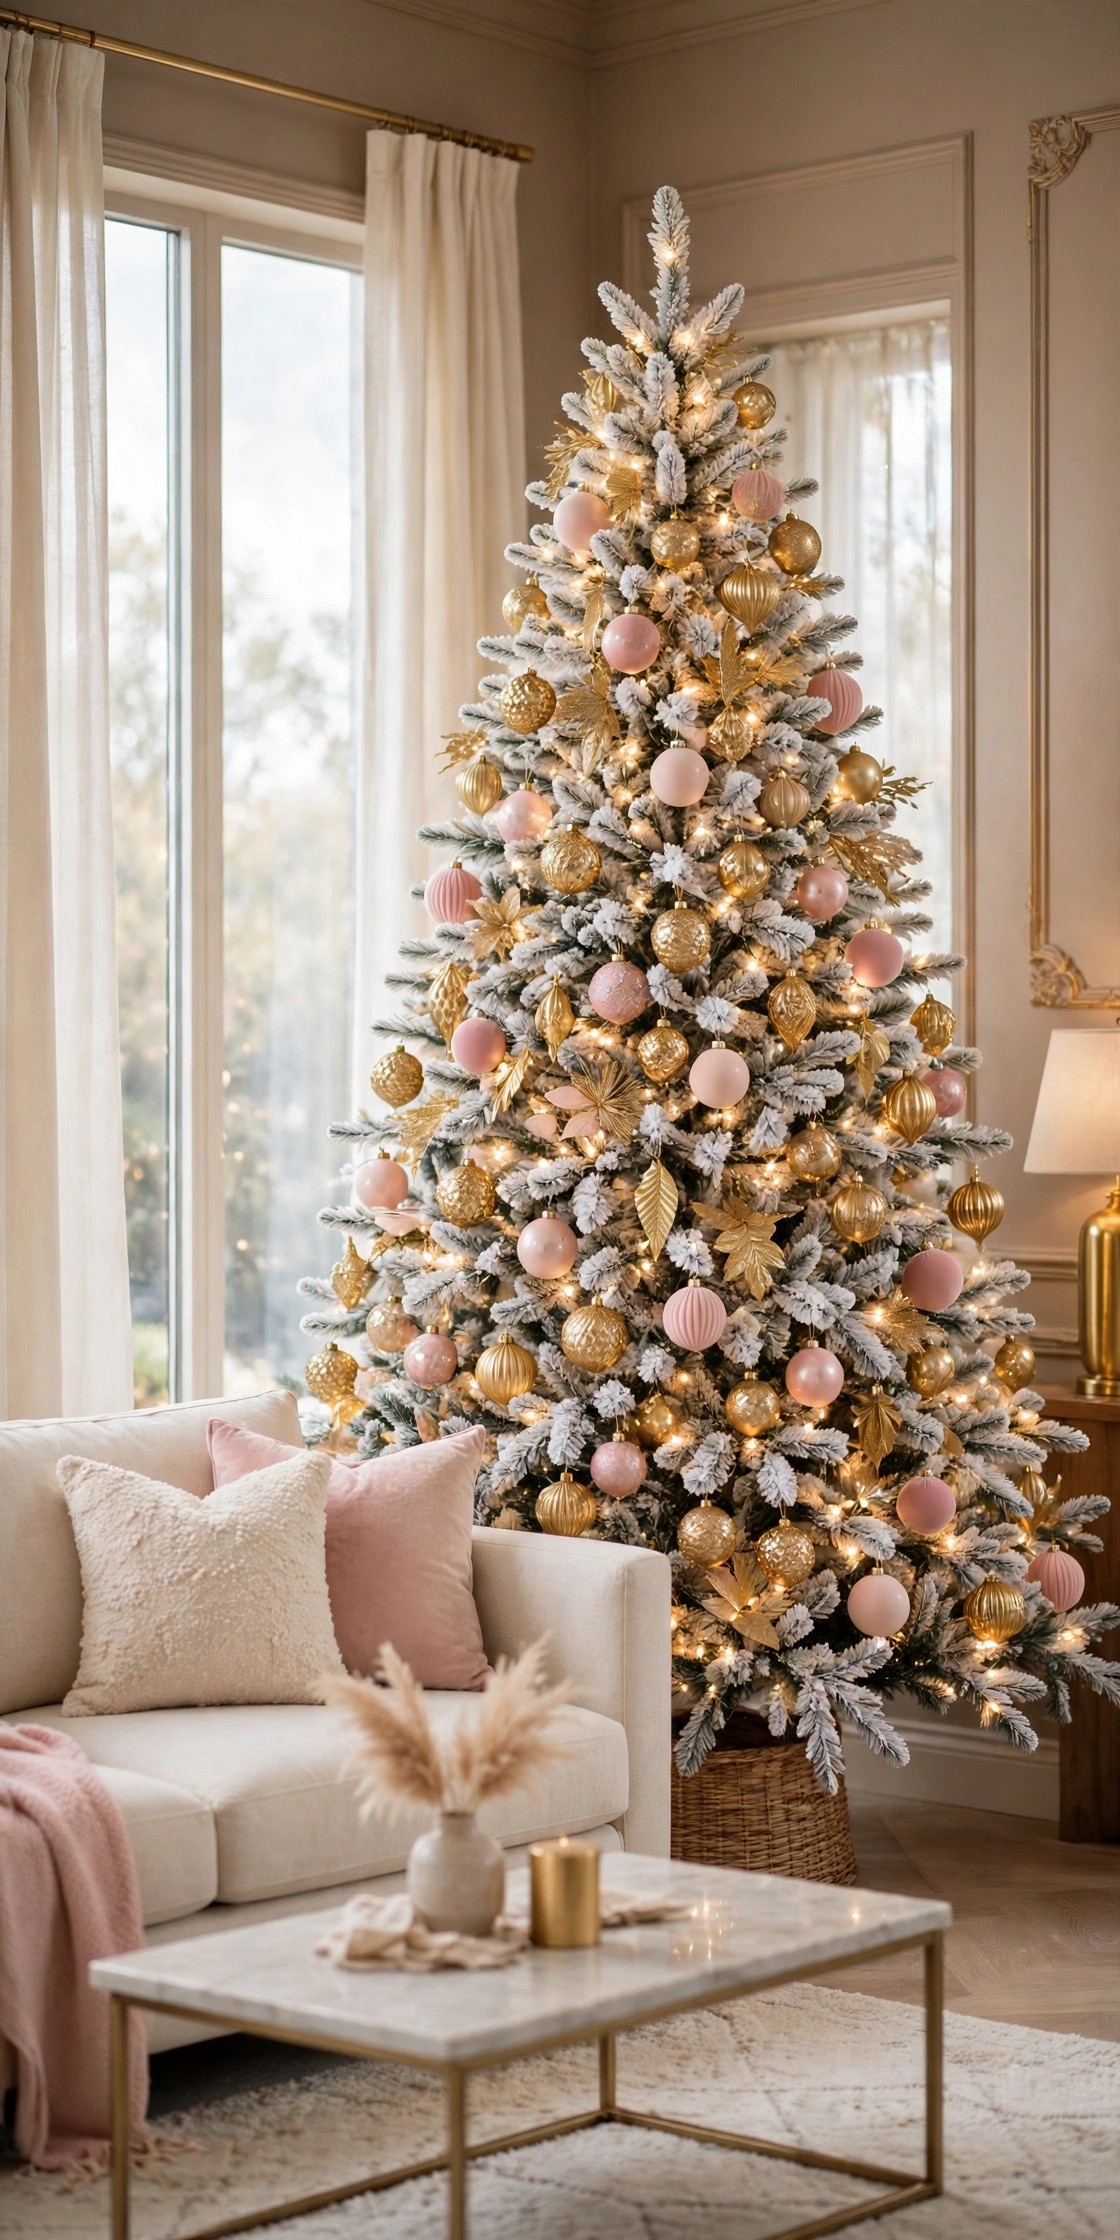
All gold, all the time, can tip a white tree from glam into harsh. Gold is a strong, warm metal, and with white branches and warm lights it sometimes reads a little brassy, especially in daylight. The tree looks dressed, but not soft, and soft is what makes people want to sit down next to it with a hot drink.
Blush pink ornaments are the softener. Blush sits right between the warmth of the gold and the coolness of the white, and it calms both down. You do not need many: blush works as an accent colour, roughly one blush ornament for every three or four gold ones, spread evenly through the tree rather than gathered in one section. Choose shatterproof blush balls in a mix of matte and shiny finishes if you can, so they echo the gold set instead of starting a second argument. This is the colour that turns the palette into the white, cream, blush and gold look this whole article is built on.
How to do it: Hang the blush ornaments after the gold, using them like punctuation. Place one anywhere your eye lands on a hard, shiny patch of gold, and keep them slightly deeper in the branches than the gold so the pink glows through instead of sitting on top. Pro Tip: Hold a blush ornament against your sofa or curtains before you commit to a full set. Blush shades vary a lot, and the right one should look like a softer version of something already in your room. Common mistake: Using bright bubblegum pink instead of blush. On a white tree, strong pink shouts; blush whispers, and whispering is the whole point.
6. Weave Wide Ribbon Deep Into the Branches
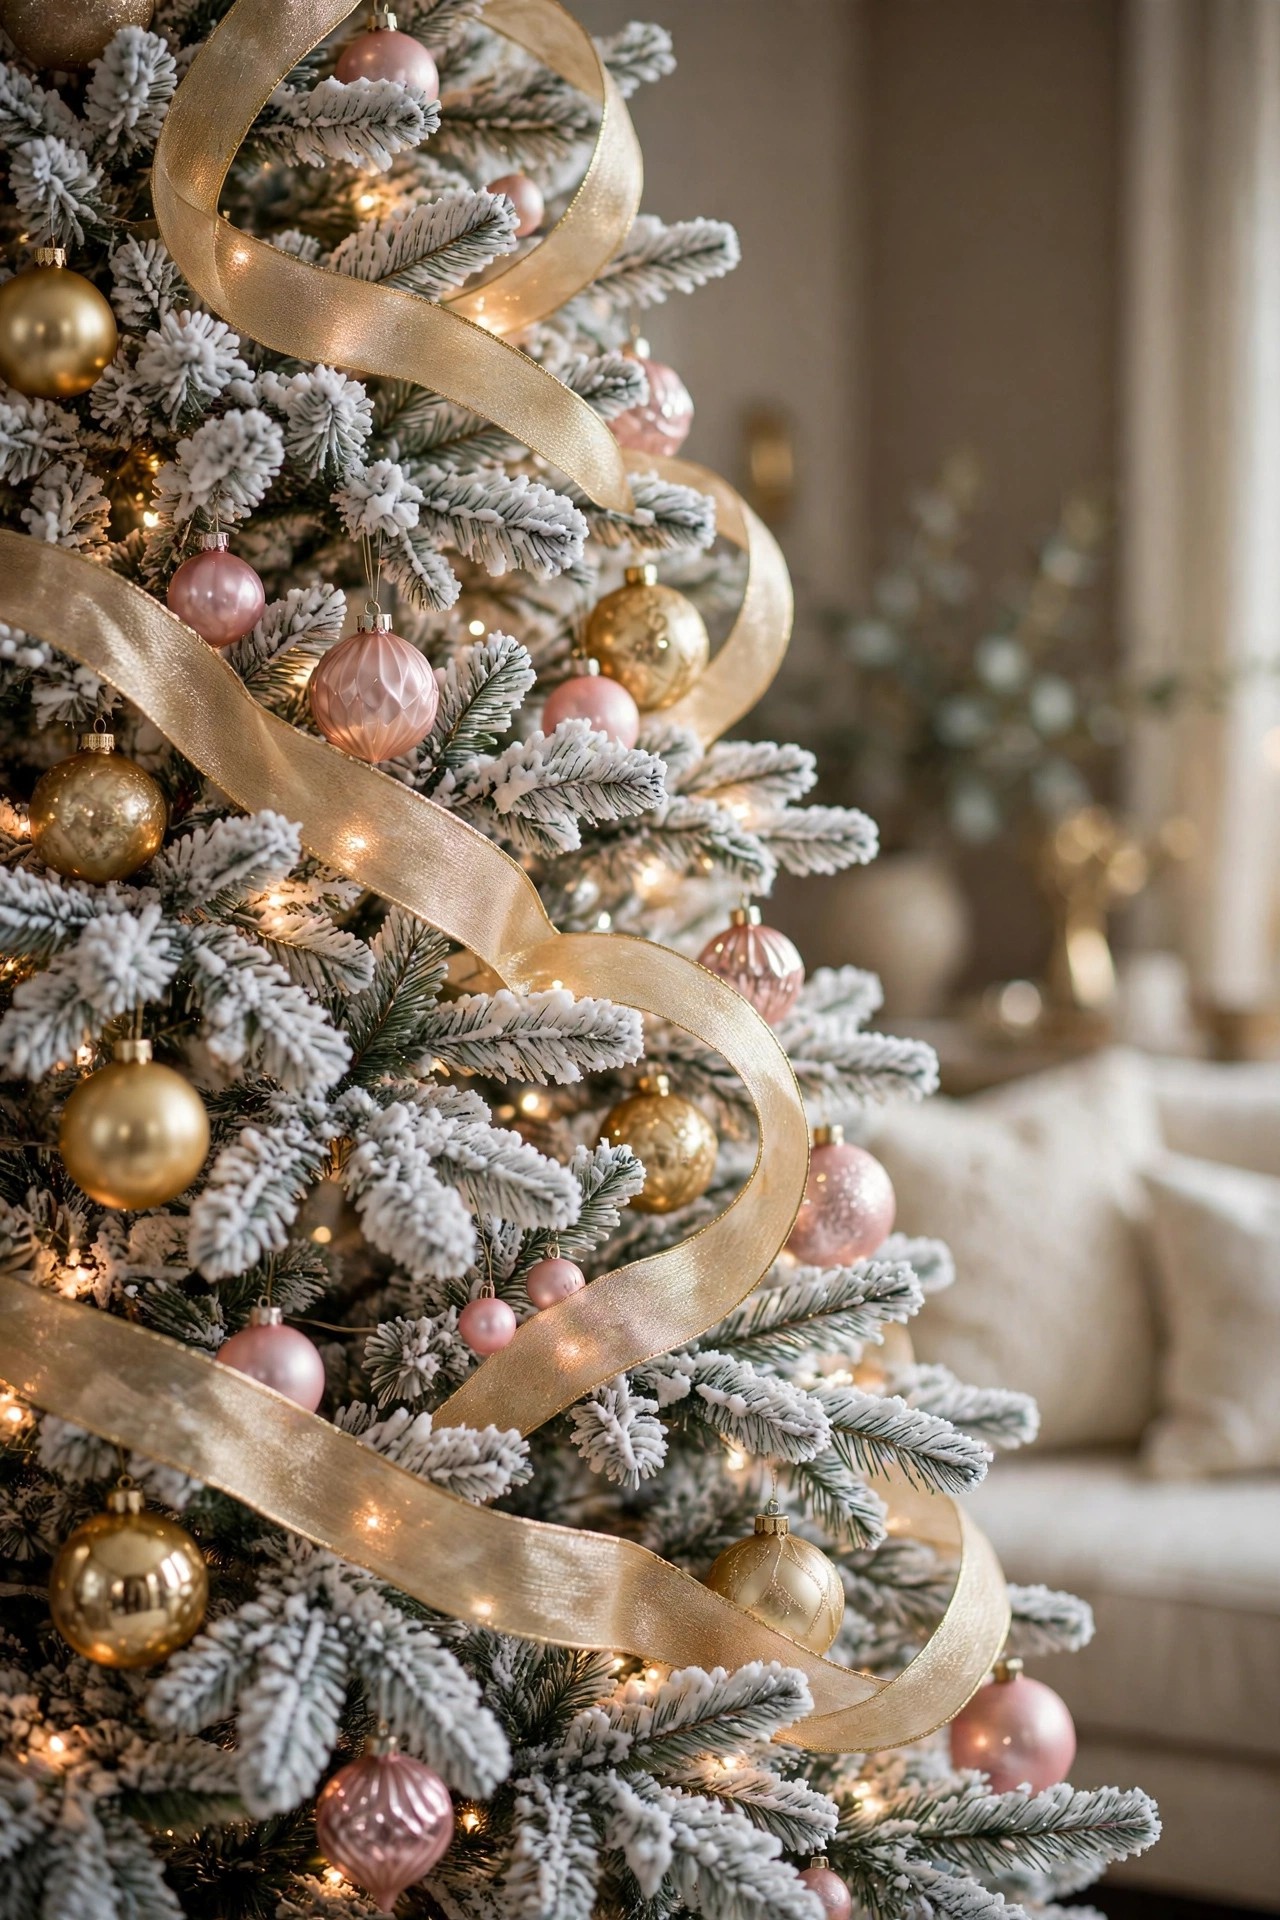
Here is a quiet frustration with tree decorating: you can own beautiful ornaments and still end up with a tree that looks decorated only on the outside, like everything was balanced on the surface in the last five minutes. Designers’ trees never look like that, and the difference is usually ribbon. Ribbon travels through the tree, not just on it, and it ties the top of the tree to the bottom in one flowing line.
Wide wired ribbon, around four inches wide in champagne gold or a soft cream with a gold edge, is the product that does this. The wired edges are the whole secret: you can bend the ribbon into soft loops and waves and it holds the shape inside the branches instead of sliding off. Push loops of ribbon deep into the tree between ornament clusters, letting each loop catch the warm light, or run it in a loose cascade from the top down. Velvet or softly glittered finishes suit this palette best, because they give texture without glare.
How to do it: Cut the ribbon into lengths of about a metre rather than working from the whole roll. Tuck one end deep into the branches, form a soft loop that poufs out slightly, tuck again, and repeat down the tree, following the spaces between your ornament groups. Two or three of these ribbon runs, evenly spaced around the tree, are enough. Pro Tip: Shape each loop with your fingers after tucking, pulling the wired edges into a gentle wave. Flat ribbon looks like packaging; waved ribbon looks like fabric. Common mistake: Wrapping thin unwired ribbon around the outside like a barber pole. It flattens the tree’s shape and undoes all the depth you built with the ornaments.
7. Crown It With a Gold Star
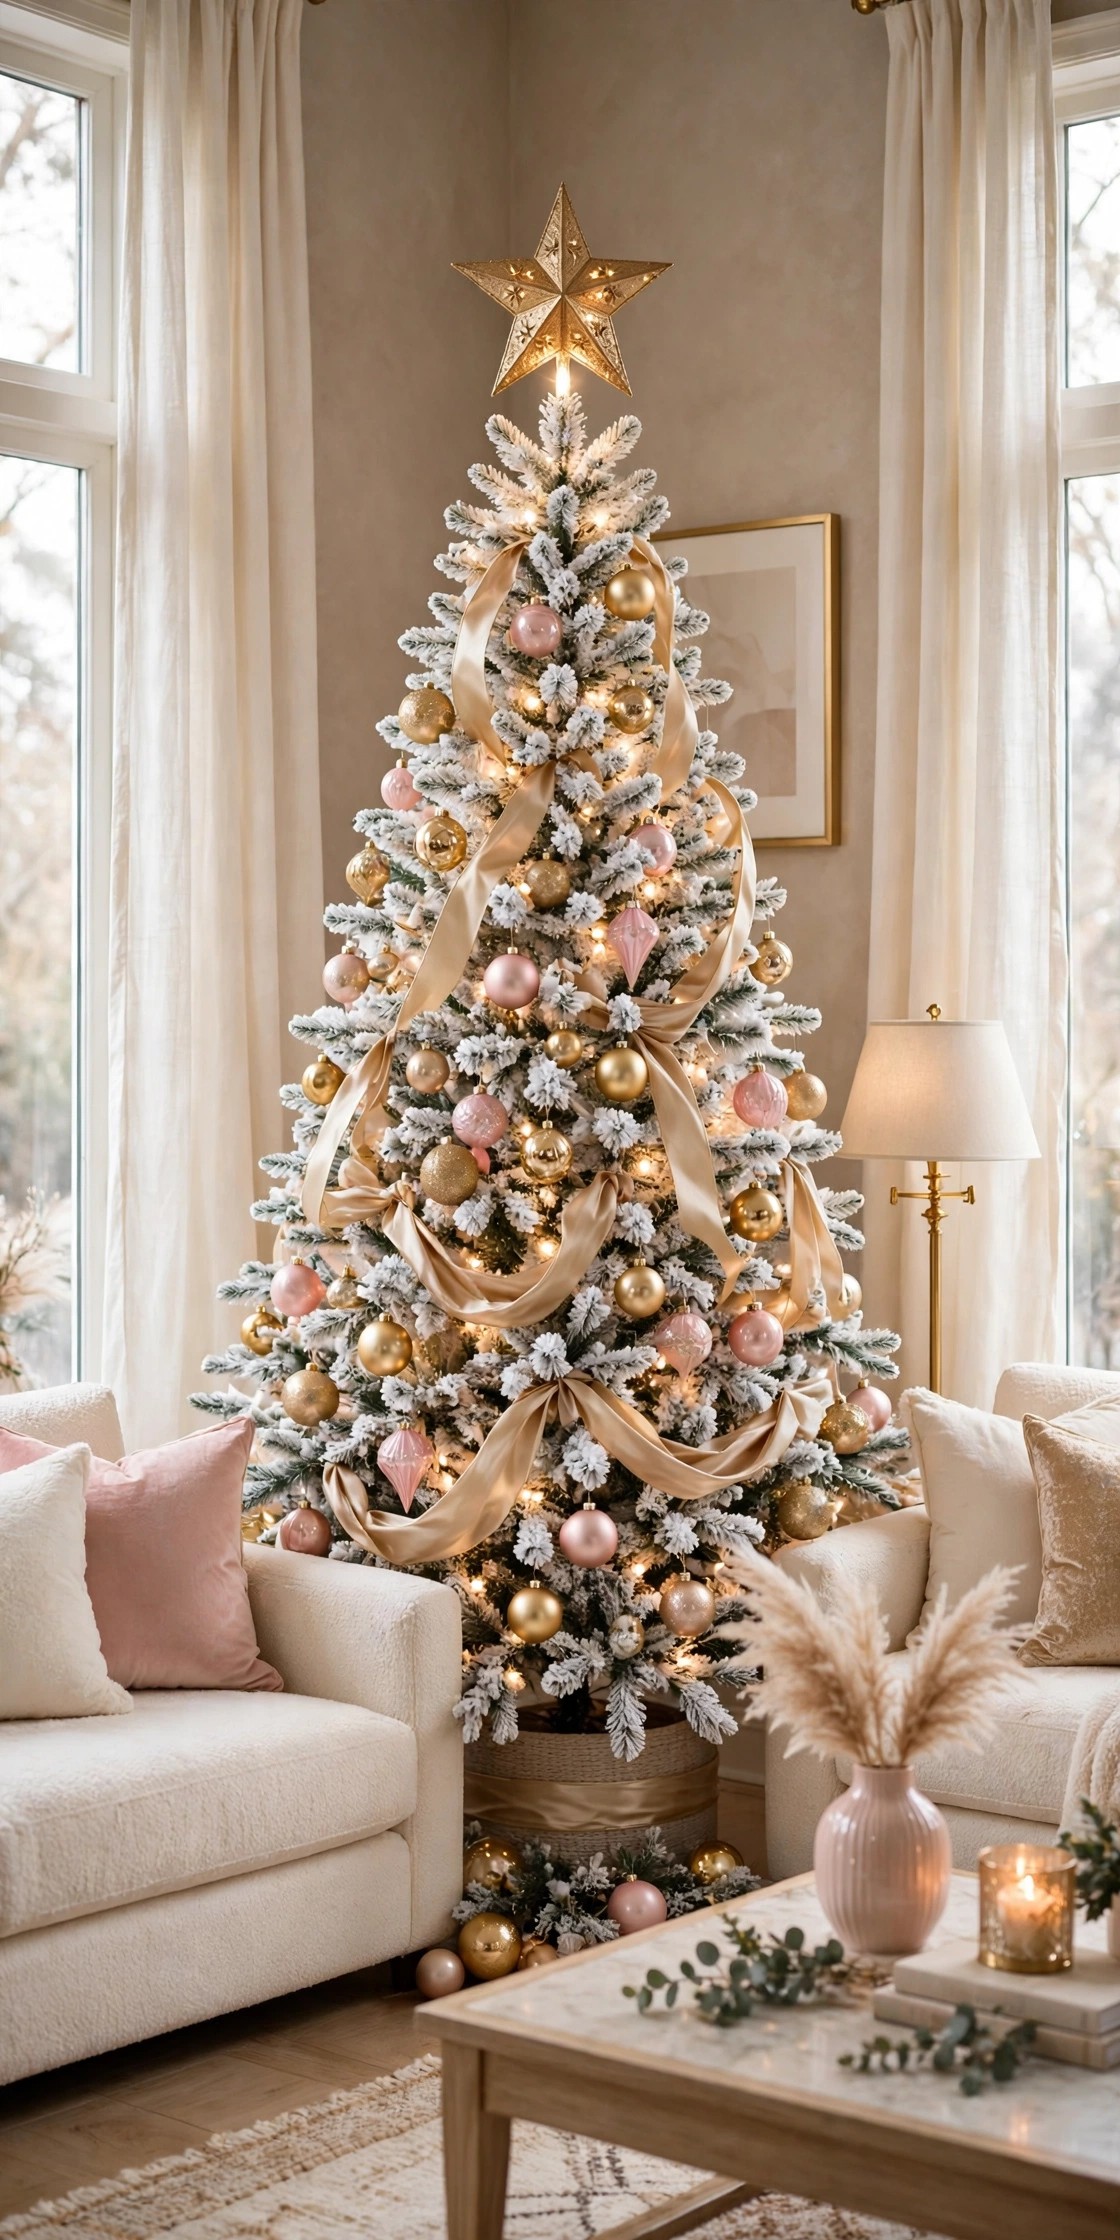
An undecorated tree top is more noticeable than people expect. The eye travels up the tree, following the lights and the ribbon, and then just stops, because there is nothing there to finish the story. A bare or slightly bent top branch makes the whole tree look like it is still being decorated, even when everything below it is perfect.
A gold star tree topper is the classic finish for this palette, and it earns its place. Choose one with a little texture, glittered or brushed rather than mirror-shiny, and if you like a gentle glow, a lighted star with a warm white light and a battery timer saves you hunting for a spare socket at the top of the tree. Size matters more than sparkle: the star should look in proportion, roughly the width of the top third of the tree across its points. If stars feel too traditional for you, one oversized blush pink bow made from the same wired ribbon as idea 6 is the softer alternative, and it ties the top of the tree to the ribbon running through it.
How to do it: Straighten the top branch first and, if it is flimsy, bind a pencil or a short stick along it with green or gold wire before the topper goes on, because a heavy star on a weak branch will lean by Christmas week. Push the topper’s cone or spiral base well down over the branch, then step back and check it from the doorway, not from under the tree. Pro Tip: Switch the topper’s timer on at the same hour you set your other timers, so the star lights up with the tree every evening without anyone remembering it. Common mistake: Buying the biggest star in the shop. An oversized topper makes a narrow tree look top-heavy and can pull the whole top section sideways.
8. Hide the Stand With a Woven Tree Collar
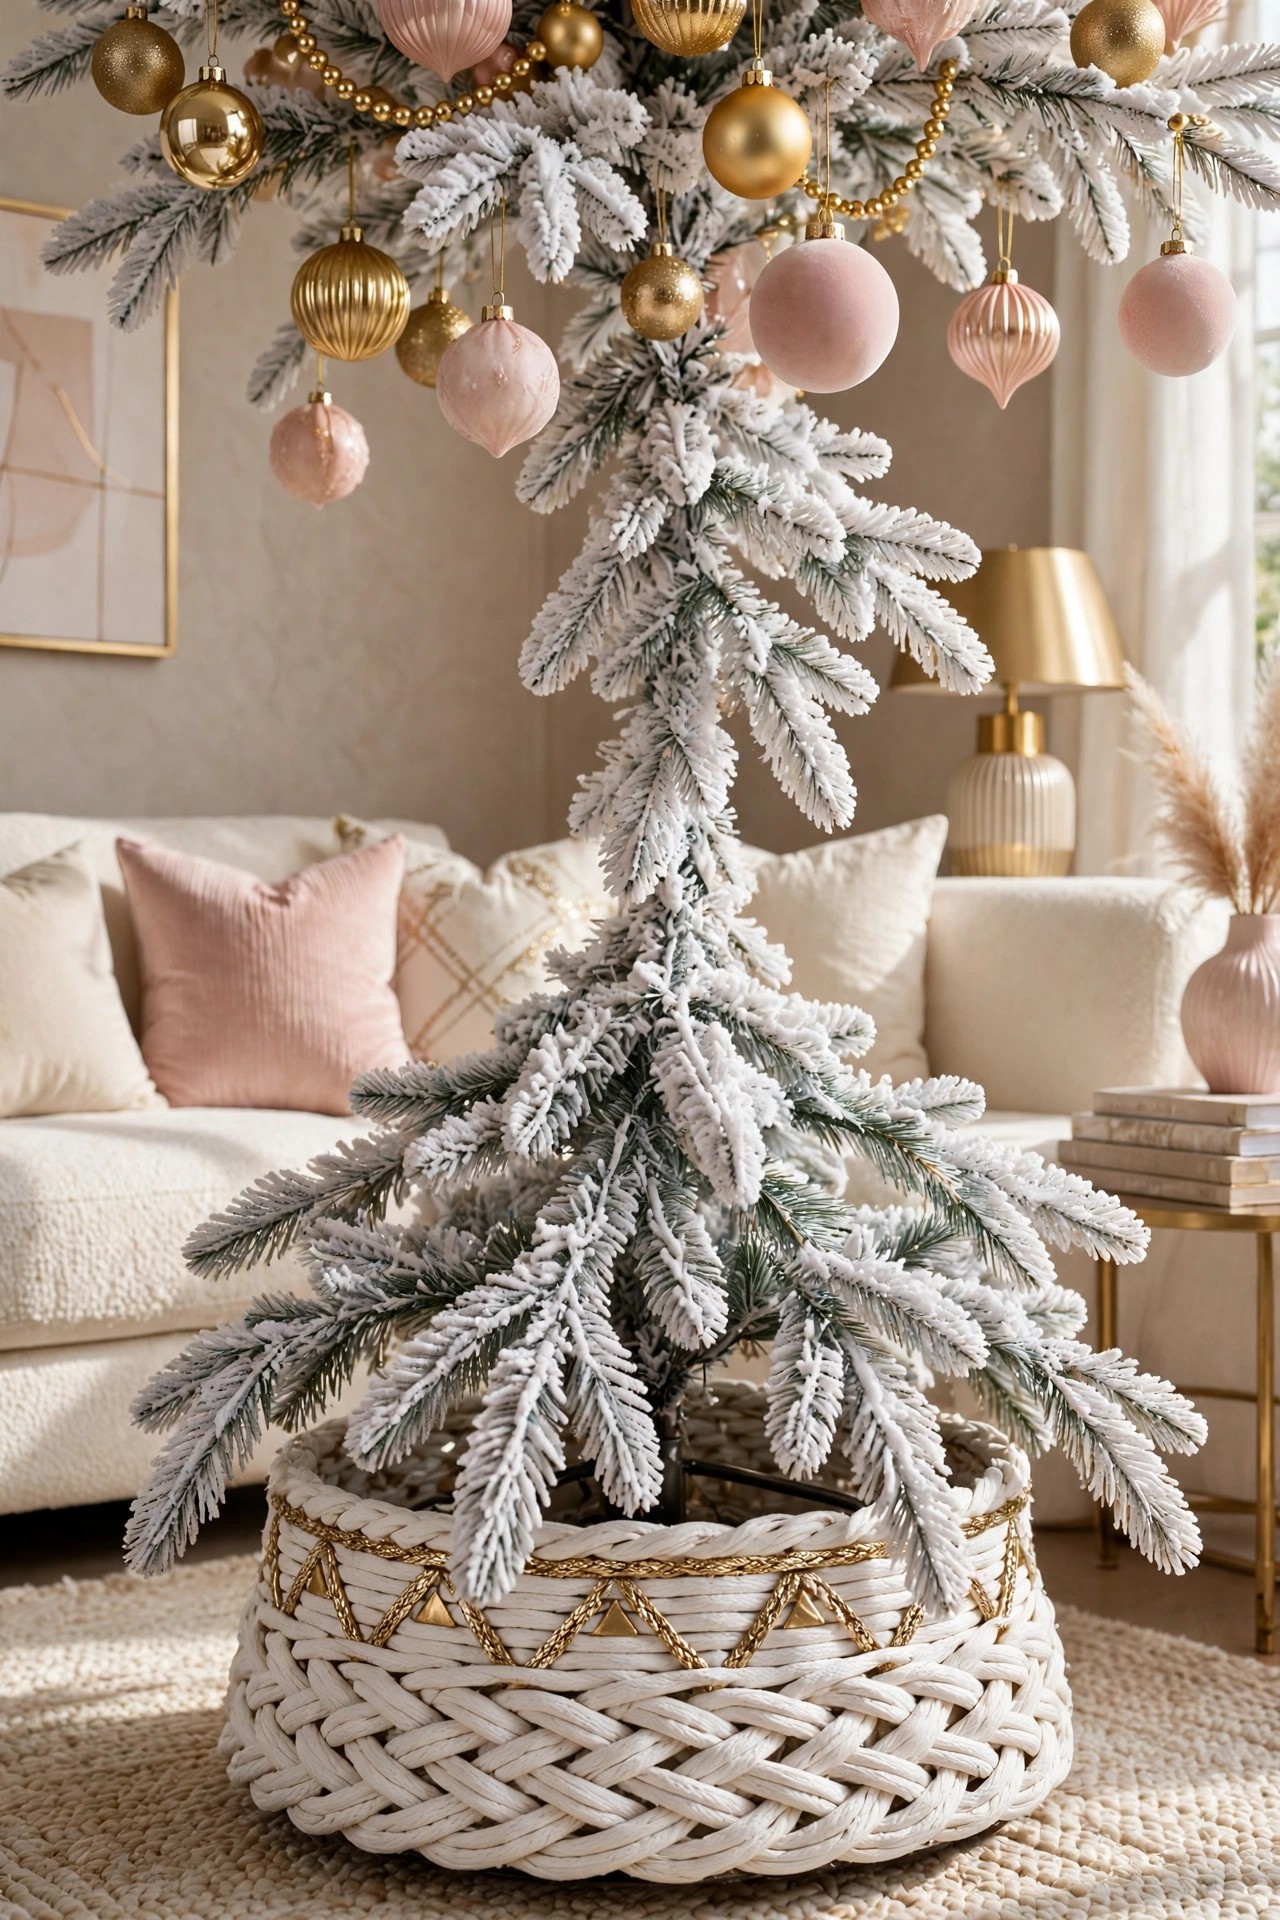
You can perfect everything from the topper to the lowest ornament and still lose the whole look at the floor. A green or black metal stand, a tangle of cords and the plastic base were never designed to be seen, yet on a white tree they are the darkest thing in the picture, so they are exactly where the eye goes first. It is the decorating equivalent of wearing a ballgown with trainers.
A tree collar hides all of it in one rigid ring. For this palette, a woven collar in white or natural cord with metallic gold running through the weave is the one: it reads soft and textured like the flocking, the gold thread picks up the ornaments, and the clean round shape suits a glam room far better than fabric bunched around the base. Measure before you buy. The collar must be wider than your stand at its widest point and tall enough to cover the stand’s legs, and the tree’s lowest branches should rest just over its top edge.
How to do it: Build the stand and tree first, decorate fully, and put the collar on last, opening it at the back seam and closing it around the trunk, or sliding the two halves together from either side. Decorating first matters, because you will want to kneel and reach under the low branches. Pro Tip: Run the light cords out through the back opening of the collar and along the skirting board to the socket, so no cable crosses the front of the tree at all. Common mistake: Guessing the size from the tree’s height. Collars are sold by diameter, and a collar that fits a slim stand may not close around a wide one, so measure the stand itself.
9. Choose a Faux Fur Skirt When a Collar Won’t Fit
Collars are not right for every tree. A very wide stand will not fit inside one, a real tree in a water stand cannot wear one at all, and some rooms simply look better with something soft at the base than with a hard ring. If you force a collar onto the wrong setup, it sits crooked all season and annoys you every time you walk past.
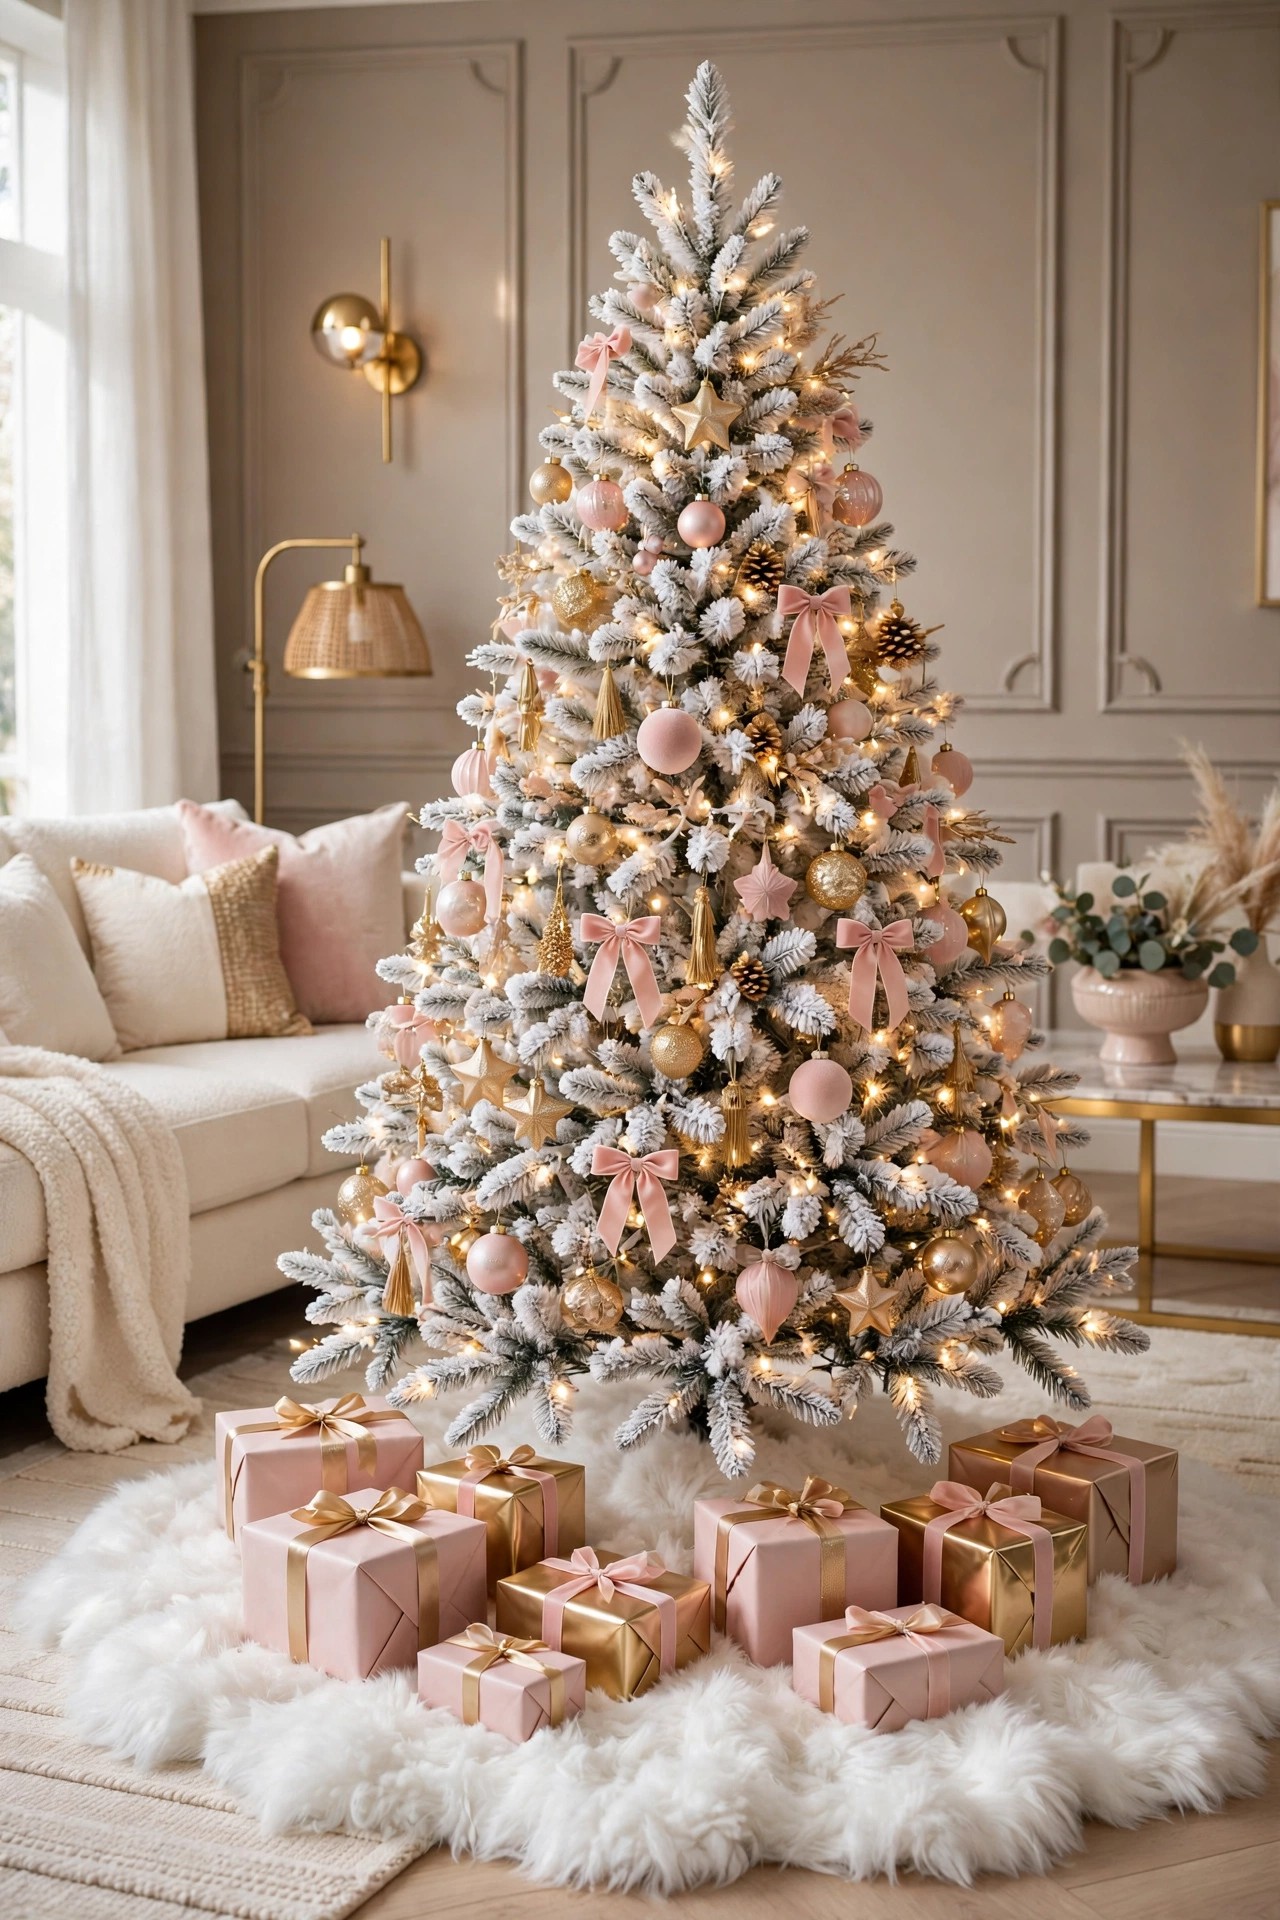
A cream or white faux fur tree skirt is the soft answer, and on a white tree it is honestly the prettier one in a cosy room. The long plush pile looks like snow drifted around the trunk, it hides stand, cords and water bowl completely, and it gives you a finished surface for stacking wrapped gifts. Choose a skirt wide enough to reach at least to the drip line of the lowest branches, with a simple tie or hook-and-loop closure at the back so you can get it on and off a decorated tree without dragging it over the ornaments.
How to do it: Put the skirt down before the tree is fully decorated if you can, or open the closure fully and slide it around the trunk afterwards, keeping the opening at the back. Fluff the pile with your fingers once it is in place and shake it out outdoors first, as new faux fur sheds loose fibres. Arrange gifts on it in odd-numbered groups, leaving some fur visible so it does not disappear under paper. Pro Tip: A white skirt under a white flocked tree needs one contrast to stop it melting into the tree, and a few gifts wrapped in blush and gold give it exactly that. Common mistake: Buying a skirt that is too small. A small skirt looks like a doily under a big tree and leaves the stand legs peeking out at the edges.
10. Bulk Out Thin Tips With Berry and Flower Picks
Fluffing fixes a lot, but some white trees, especially slimmer or older ones, still have thin places where the branch tips look sparse and the ornaments seem to float with nothing behind them. Hanging more baubles there makes it worse, because now there is a cluster of balls hanging on almost no branch. The tree does not need more ornaments. It needs more branch, or something that pretends to be branch.
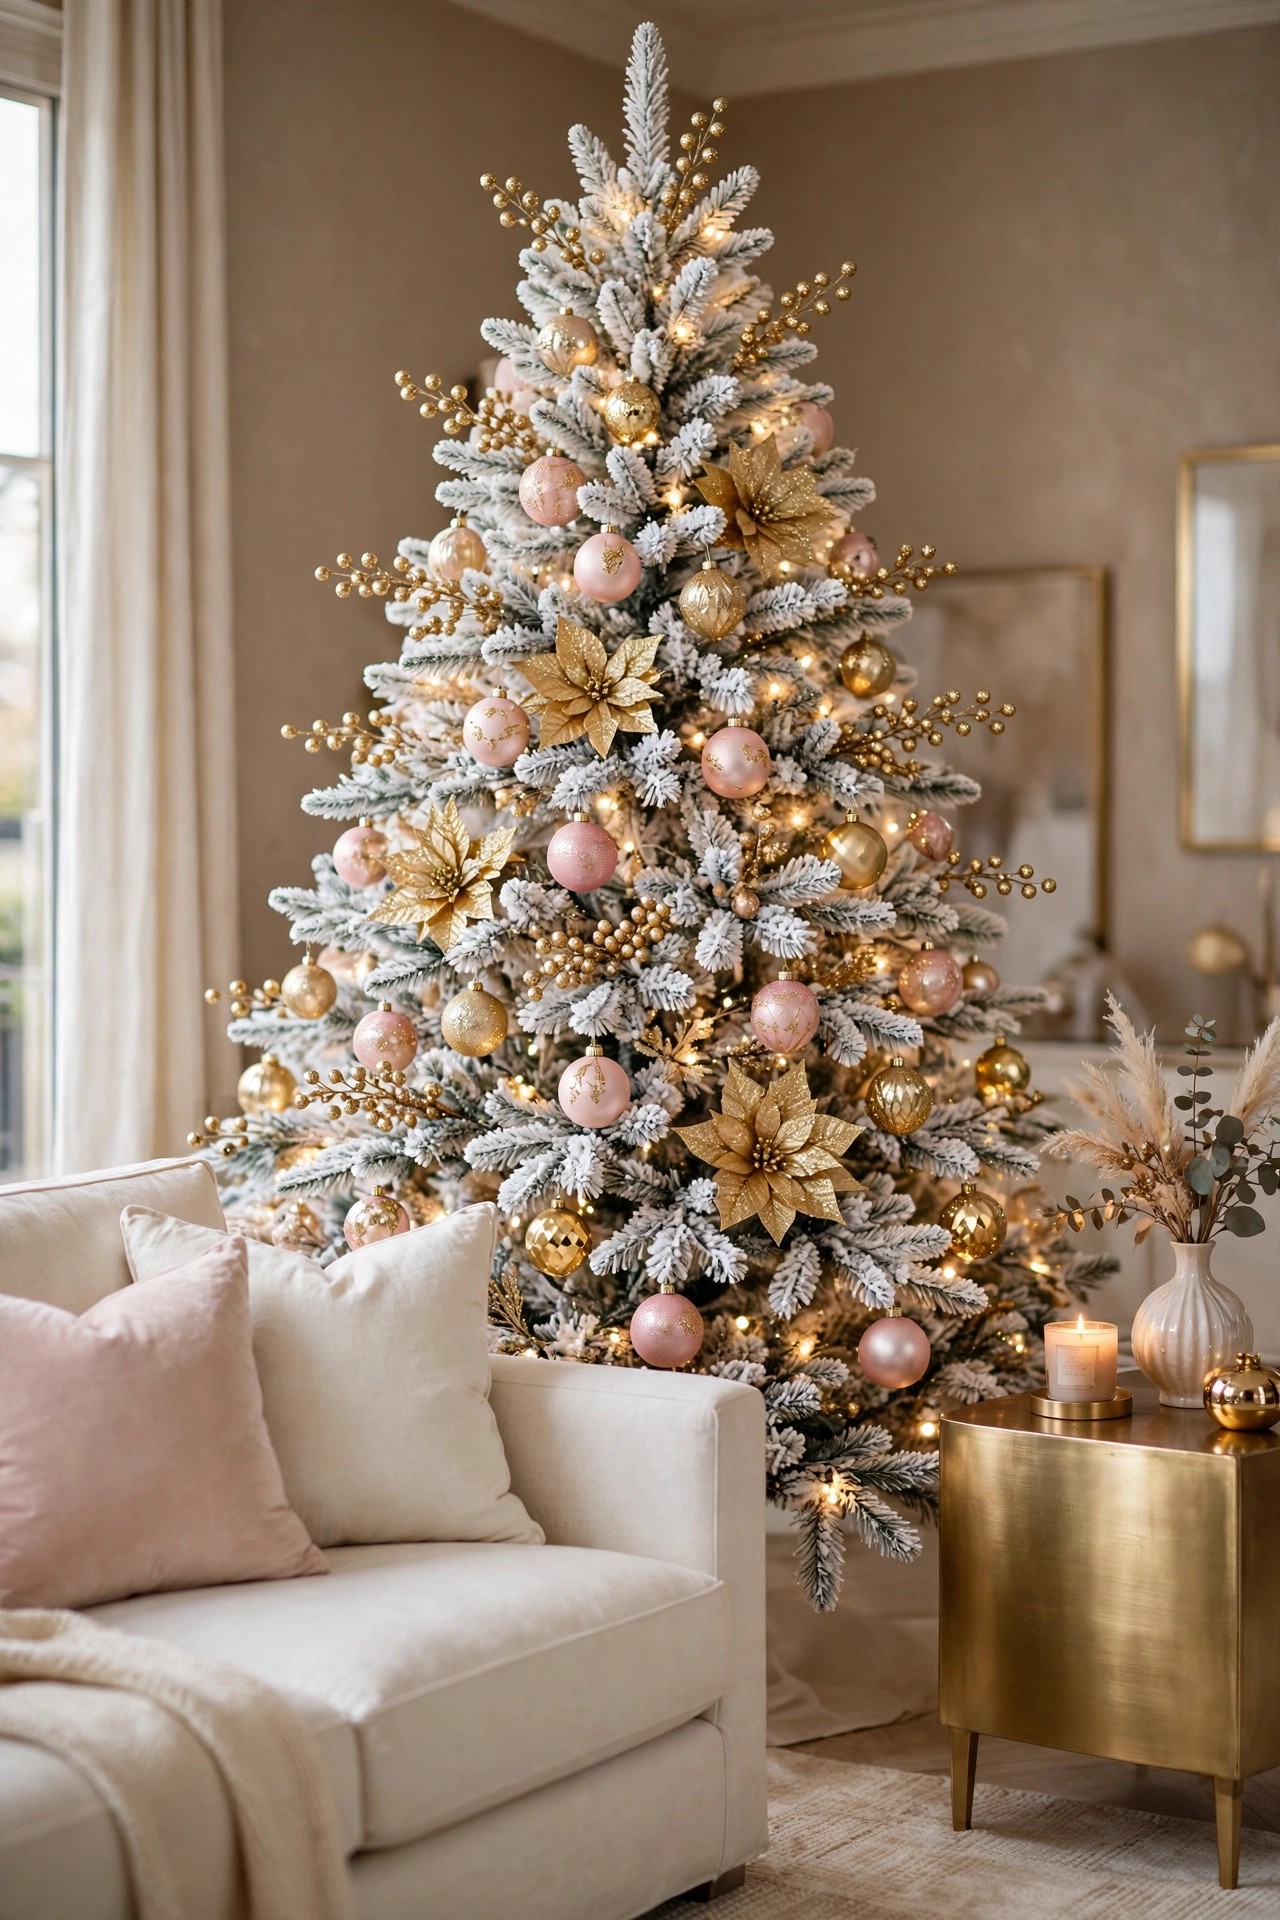
Picks are that something. A pick is a short wired stem of berries, leaves or a flower that you push straight into the tree wherever it looks thin, and a set that mixes gold glitter berry stems with gold poinsettia flowers gives you two textures in one purchase. The berries add fine sparkle that fills small gaps, and the flowers give a bigger soft shape that sits behind ornaments and makes them look nested instead of floating. Because picks are wired, you can bend the stem once it is in, so the berries nod out of the tree at a natural angle.
How to do it: Decorate the tree fully first, then stand back and mark the thin places honestly. Push berry picks in at a slight upward angle, two or three to a gap, and place a flower pick wherever an ornament group looks exposed. Keep the picks spread through the whole tree, including the sides, not just the front you photograph. Pro Tip: Picks are also the fastest January fix for a tree that has settled and sagged a little by Christmas week; five minutes with a few berry stems makes it look freshly done. Common mistake: Sticking every pick in pointing straight out like candles. Picks should follow the angle of the real branches, or the eye spots them instantly.
11. Hang Icicles Where They Catch the Light
A decorated white tree can still look a little static, all round shapes at the same depth: round baubles, round loops of ribbon, round swags of garland. Nothing hangs. Nothing moves the eye downward or catches the light at a different angle, so the tree reads as a decorated cone instead of something snowy and real. Real winter trees drip. That vertical line is what your tree is missing.
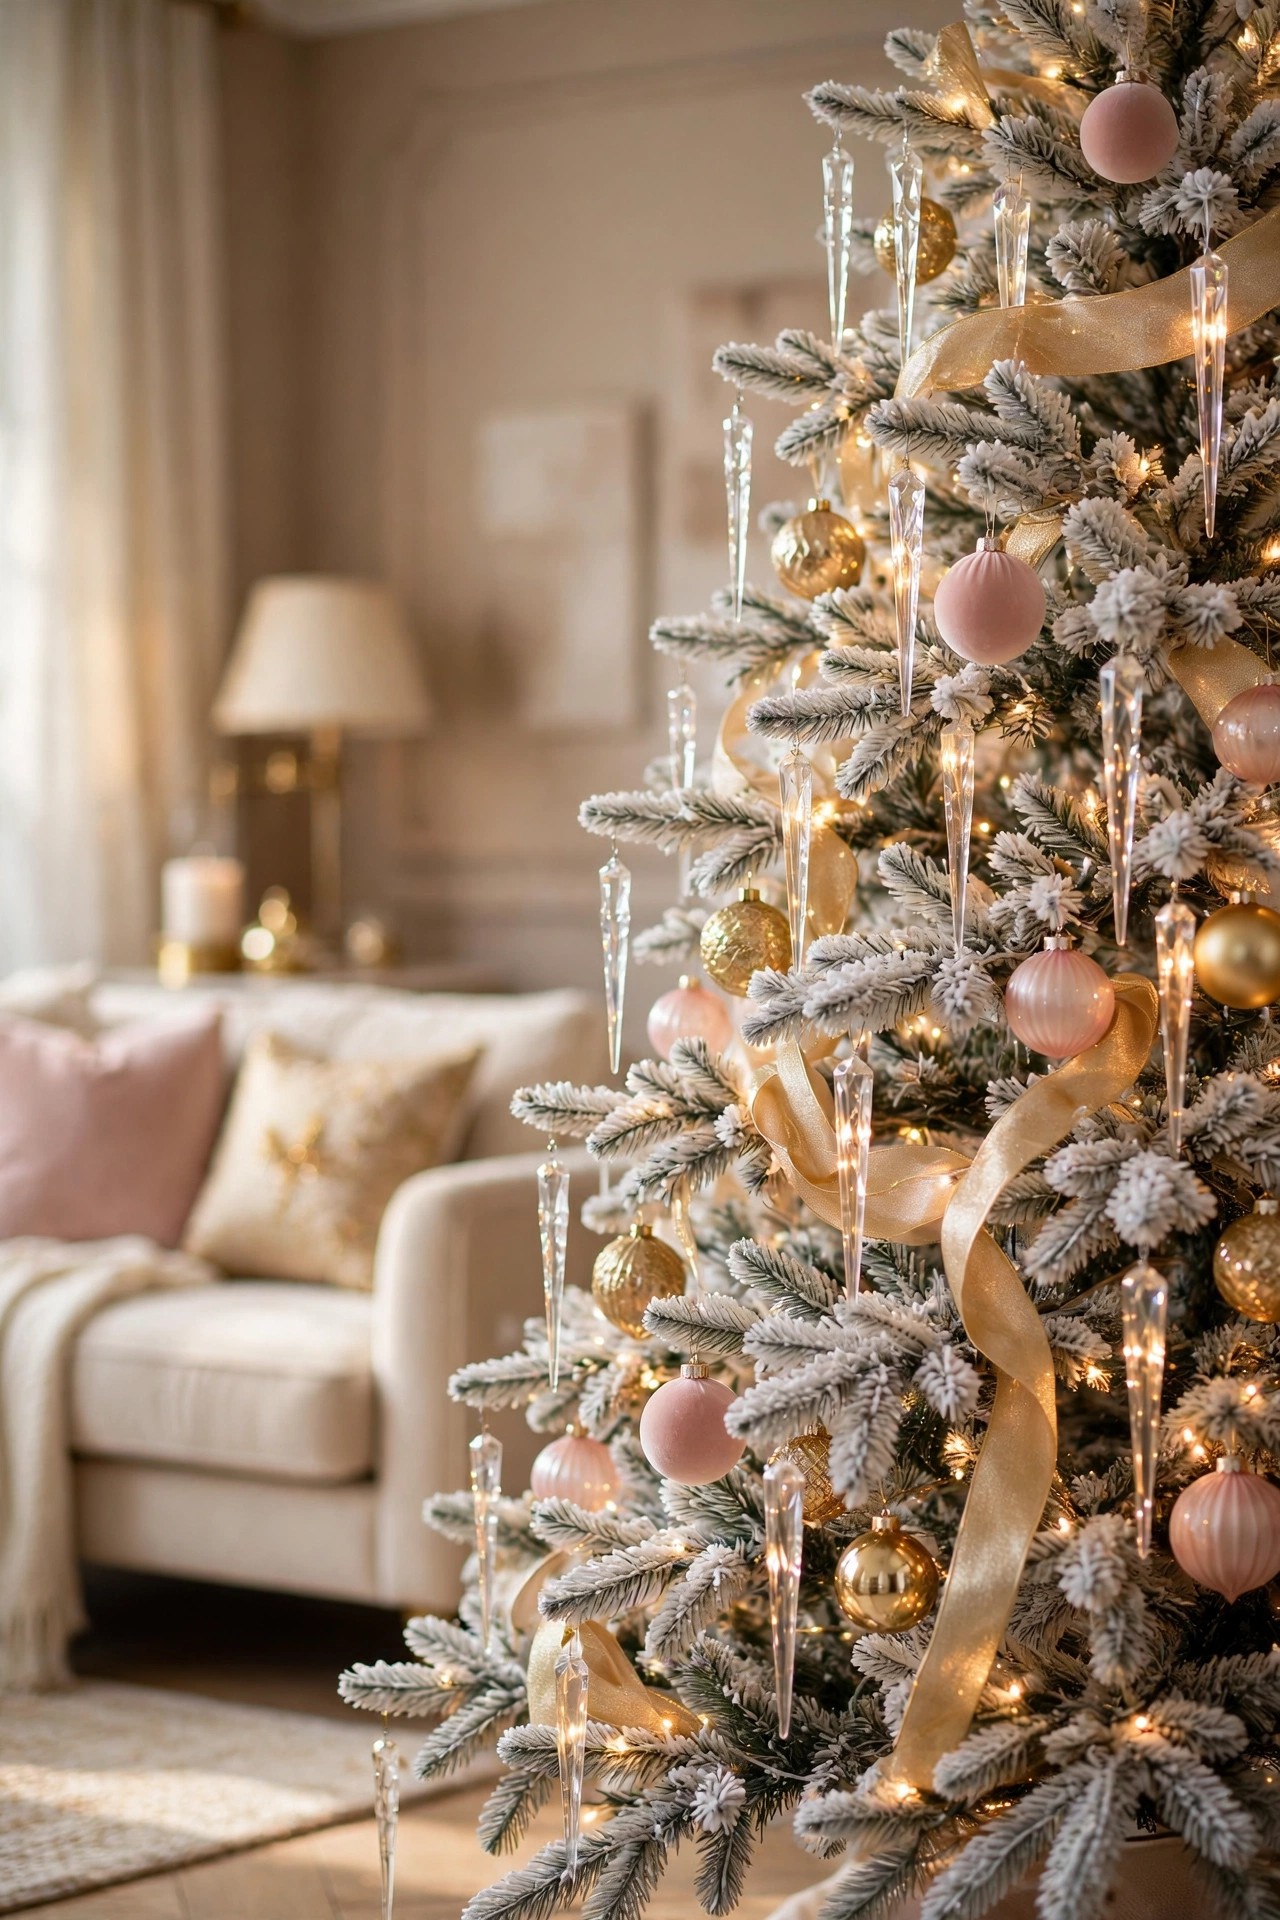
Clear icicle ornaments give you the drip without the melt. The long faceted shapes hang from the branch tips and throw the warm light around in tiny flashes every time someone walks past, and on white branches they simply read as ice, the most natural decoration a white tree can wear. An acrylic set has a practical advantage here: it gives the same crystal look as glass, weighs almost nothing on the branch tips, and will not shatter if it drops on a hard floor. Mix two lengths if the set offers them, longer icicles on the outer tips and shorter ones a little deeper in.
How to do it: Hang icicles last, after every ornament is placed. Work around the tree putting one icicle on roughly every third or fourth outer branch tip, keeping them away from the ribbon loops so the shapes do not tangle visually. Lengths should vary naturally rather than forming a neat row. Pro Tip: Icicles do their best work at the height of your room’s main light source, where they catch both the tree lights and the room light, so be generous in the middle third of the tree. Common mistake: Hanging icicles deep inside the tree where nothing can see them. An icicle only sparkles when light reaches it, and buried icicles are just hidden money.
12. Keep the Bottom Half Shatterproof
Now the practical problem, and in many homes the urgent one. The bottom half of the tree is exactly where small hands grab, where the dog’s tail swipes and where the cat has already decided a bauble looks like prey. Glass ornaments hung at that height are not a decoration plan, they are a countdown. One broken ball on a hard floor and the room is closed to bare feet until someone has swept twice.
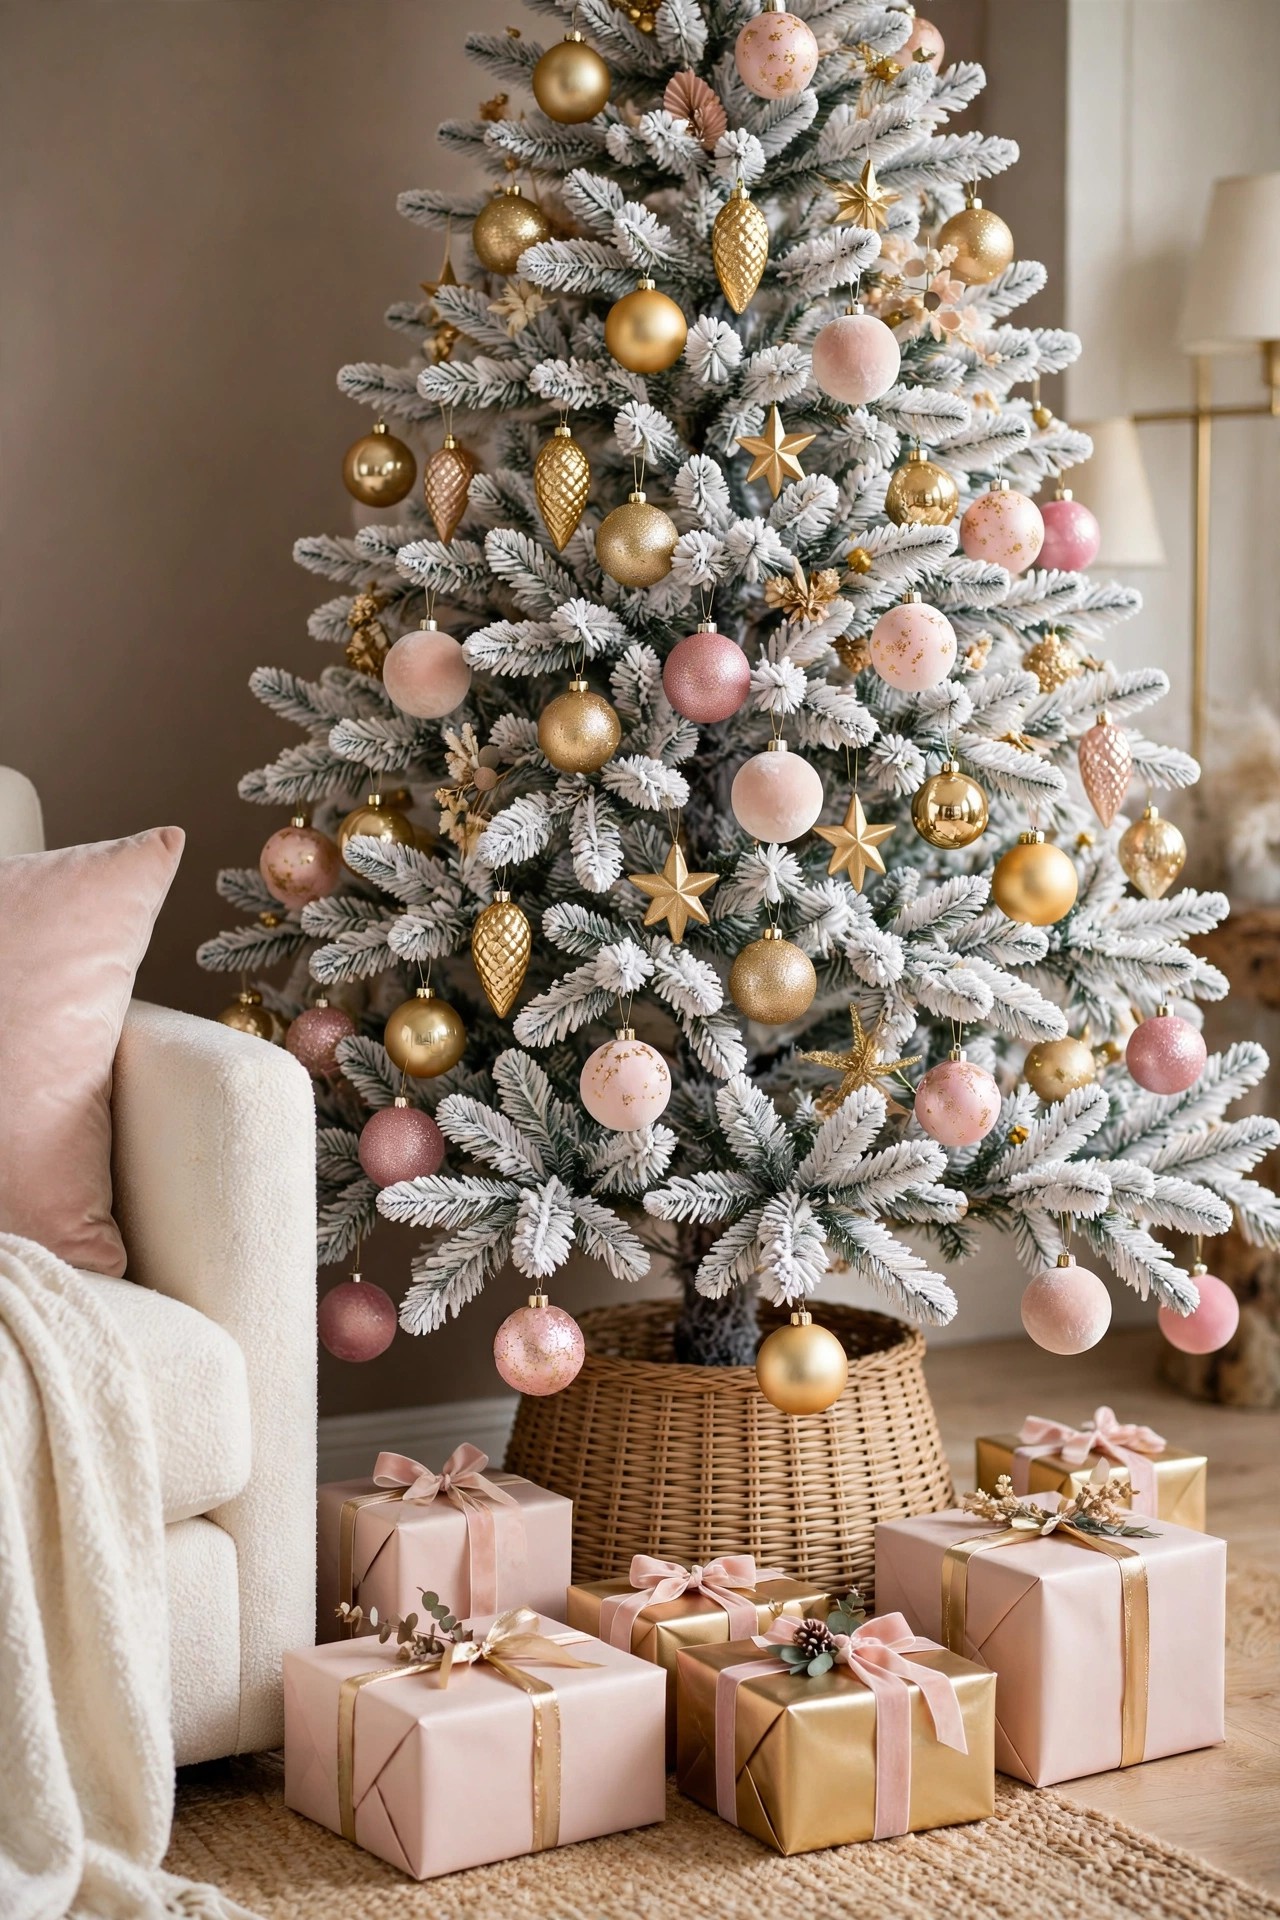
The answer costs nothing extra if you planned ahead: the gold ornament set in idea 4 is shatterproof, so make sure every ornament in the bottom half of the tree comes from that set and from the shatterproof blush set in idea 5. Plastic-based shatterproof ornaments bounce instead of breaking, and the good ones are moulded and finished well enough that nobody can tell them apart from glass at arm’s length. Save any delicate, vintage or glass pieces you own for the top third of the tree, well above grabbing height, where they are also seen best against the topper.
How to do it: Decorate in zones. Hang the bottom half first using only shatterproof pieces, then move up, and only bring the delicate ornaments out of their box once you are working above shoulder height. Replace thin wire hooks on low ornaments with short loops of ribbon, which are harder for a cat to bat off and leave nothing sharp if they do come down. Pro Tip: Leave the lowest branches themselves a little emptier in a house with a determined toddler. Picks and ribbon can fill that zone beautifully, and there is nothing there to pull. Common mistake: Thinking shatterproof means cheap-looking, and refusing it on a glam tree. Finish for finish, matte and glitter shatterproof balls photograph exactly like glass.
13. Go Slim and Pencil-Shaped in a Small Room

Small rooms get told to skip the big tree, and the standard advice is a sad little tabletop thing that nobody photographs. Meanwhile a full-width tree in a small living room genuinely does swallow it: branches over the sofa arm, ornaments brushing people as they pass, and half the floor gone for six weeks. The problem is width, not height. Your ceiling can take a tall tree. Your floor plan cannot take a wide one.
A slim pencil-shaped white tree is the honest solution. A pencil tree around six feet tall can be little more than two feet wide at the base, which means it slides into a corner, beside a fireplace or at the end of a sofa and still gives you the full vertical moment, topper and all. A pre-lit white pencil tree saves the most work in the smallest space, because there are no separate light strands to store or untangle in a home that probably has little storage either. Decorate it with exactly the same recipe as the big tree, just scaled: fewer ornaments, same order, same palette.
How to do it: Measure the corner before you order, height and floor width both, and leave a hand’s width between the tree and the wall so the back branches are not crushed flat. Fluff a pencil tree with extra care, because on a slim tree every flattened section shows. Use the smaller sizes from your ornament set and keep the ribbon loops tighter and smaller than on a full tree. Pro Tip: A slim tree beside a mirror or a window doubles itself for free. The reflection gives you the full look at half the footprint. Common mistake: Decorating a pencil tree with full-size ornaments. Oversized baubles on a narrow tree look like fruit on a stick; scale down and it looks designed.
14. Fake the Fresh Pine Smell
An artificial tree wins on looks, cost and mess, and loses on exactly one thing: smell. A real tree fills the house with that sharp green pine scent within an hour of coming through the door, and an artificial one smells of nothing at all, or faintly of the box it lives in for eleven months. Guests may not say it, but the room feels slightly less like Christmas for it, because scent is the layer of decorating nobody sees and everybody notices.
Scented ornament sticks close that gap. They are slim fragrance sticks on small hooks that hang hidden inside the branches, releasing a fresh-cut fir scent for weeks, and because they tuck deep into the tree near the trunk, nobody sees them and no spray ever touches your ornaments or flocking. A fir or spruce scent is the right choice for a white tree, since it matches what the tree is pretending to be. Hang them after decorating, spread through the middle of the tree where the warm lights will gently warm them and carry the scent into the room.
How to do it: Use the number of sticks the packet suggests for your tree height, hang them on inner branches at different heights rather than clustered together, and keep them out of the very front of the tree where they might be spotted. If the scent fades before the season ends, a fresh set hung in mid-December carries you to New Year. Pro Tip: Hang the sticks the day before guests come, not the day the tree goes up. The first days are the strongest, and you want that welcome-at-the-door moment at full power. Common mistake: Adding scented candles, sprays and sticks all at once in competing scents. Pick one pine note for the tree area and let it be the only voice singing.
15. Store It Upright So It Stays White
The last problem arrives in January. A white tree shows every bit of dust and yellowing that a green tree hides, and stuffing it back into a torn cardboard box in a hot attic is how white trees turn cream, then grey, then sad. I have seen beautiful white trees come out of storage looking tired before their second Christmas, and it is almost never the tree’s fault. It is the storage.
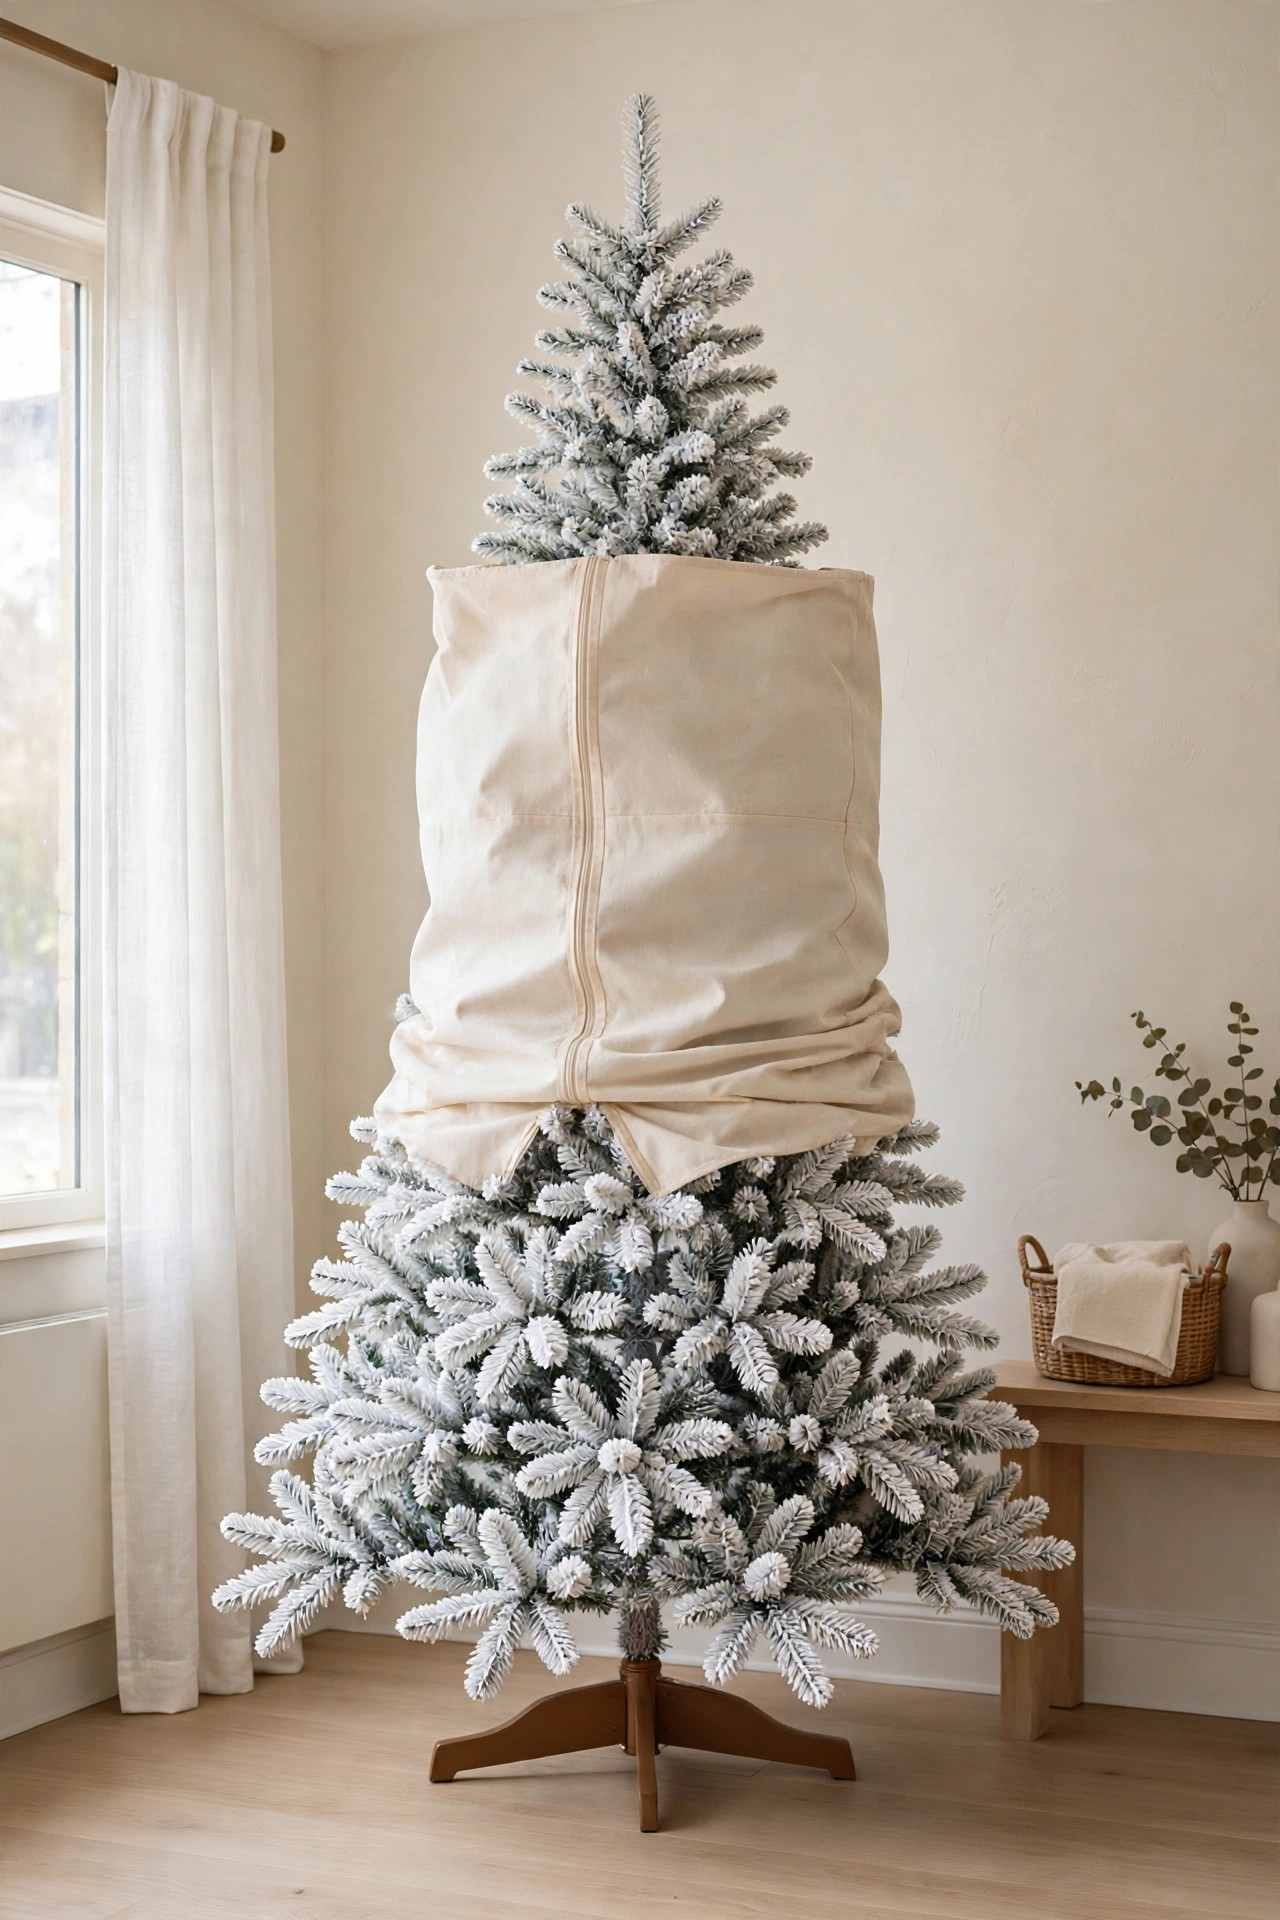
An upright tree storage bag is the product that protects the whole investment in this article. The bag slips over the assembled tree from the top, zips closed and cinches at the base, so the tree keeps its shape, the flocking is not crushed by box flaps, and dust cannot settle into the branches. Stored upright in a cool spot away from direct sun and heat, a white tree comes out next December looking like the tree you packed away. Decorations still come off first, of course, into their own boxes, but the tree itself never has to be pulled apart and rebuilt from flat sections again.
How to do it: Take all ornaments, picks and the topper off, let the lights stay only if your bag and tree allow it, then draw the bag down over the tree slowly so branches fold up naturally rather than snapping. Zip, cinch, and carry it by the handles to its storage spot. Label the bag with the tree’s height and year so future you knows what is inside without opening it. Pro Tip: Before the bag goes on, give the tree ten minutes with a cool hairdryer on its lowest setting from a distance, or a soft brush, to lift off the season’s dust. Storing a clean tree is the difference between white and almost-white. Common mistake: Storing a white tree in a sunny garage or hot attic. Heat and light are what yellow white PVC and dull flocking, even inside a bag.
Quick Reference Table
| Idea | What It Adds | Key Rule |
|---|---|---|
| Flocked white tree | Texture and depth | Fluff fully before decorating |
| Warm white lights | Cosy golden glow | One tone, bought in one purchase |
| Gold beaded garland | Fills gaps and hides the pole | Drape loose, deep swags |
| Gold ornament set | One calm colour story | Large deep and low, small at the tips |
| Blush pink ornaments | Softness against the gold | One blush to every three or four gold |
| Wide wired ribbon | Depth through the tree | Loops tucked deep, never wrapped flat |
| Gold star topper | A finished top | Proportion first, sparkle second |
| Tree collar | Hides stand and cords | Measure the stand, fit it last |
| Faux fur skirt | Soft snowy base | Reach the drip line of the branches |
| Berry and flower picks | Fake extra branch | Follow the angle of real branches |
| Icicle ornaments | Vertical drip and sparkle | Hang last, on outer tips |
| Shatterproof bottom half | Safety where hands reach | Delicate pieces live in the top third |
| Slim pencil tree | Full height, tiny footprint | Scale the ornaments down too |
| Scented sticks | Fresh pine smell | Hidden deep, one scent only |
| Upright storage bag | A white tree next year too | Clean it before you cover it |
The White Christmas Tree Checklist
[] Tree fluffed fully, photographed bare to check for gaps
[] All light strands the same warm white tone
[] Lights wrapped deep to the trunk, not just on the surface
[] Gold beaded garland draped in loose, deep swags
[] Gold ornaments sorted by size before hanging
[] Large ornaments deep and low, small ones at the tips
[] Blush ornaments spread evenly, about one in four
[] Ribbon cut in lengths and woven deep in soft loops
[] Topper checked for lean from the doorway
[] Stand and cords fully hidden by collar or skirt
[] Picks filling thin spots at natural branch angles
[] Icicles hung last on outer tips
[] Bottom half shatterproof only, delicate pieces up high
[] Scent sticks hidden inside the branches
[] Tree cleaned, then bagged upright away from sun and heat
Frequently Asked Questions
Why does my white Christmas tree look blue at night?
Because of the lights, not the tree. Many string lights sold as white are a cool daylight white, and against white branches that cool tone looks blue. Swap to warm white lights, around 2700 Kelvin where a number is given, and the same tree will glow creamy gold instead. If your tree is pre-lit with cool lights, weaving one warm white strand through the middle warms the whole effect.
Is a flocked tree better than a plain white tree?
For looks, yes, in most rooms. Flocking gives the branches a soft, uneven snowy texture that catches light and creates shadow, so the tree has depth before you decorate it. A plain white tree is one flat colour and can look plasticky in daylight. Flocking does shed a little when the tree is new, so give it a shake outdoors or over a sheet on the first day.
How many ornaments do I need for a white tree?
A useful starting point for a full 7 to 7.5 foot tree is around 80 to 100 ornaments in total across your gold and blush sets, mixing three sizes. Slim and pencil trees need far fewer, roughly 30 to 40 smaller pieces. Depth matters more than count: a tree with fewer ornaments hung at three depths looks fuller than a tree crowded with ornaments all hung on the tips.
Can I use a white tree in a small room?
Yes, if you choose width carefully. A slim pencil-shaped white tree gives you full height and the full decorated look in as little as two feet of floor width. Keep the same decorating order as a big tree, use the smaller ornaments from your sets, and place the tree beside a mirror or window if you can, so the reflection doubles the effect.
How do I stop a white tree going yellow in storage?
Store it clean, covered and away from heat and sunlight. Dust left on the branches all year dulls the white, and heat plus light are what yellow white branches and fade flocking. An upright storage bag keeps dust off and protects the shape, and a cool, dark storage spot does the rest.
Conclusion
A white Christmas tree is never the problem. Flat texture, cool lights and surface-only decorating are the problems, and every one of them has a simple fix. Start with flocking for depth, warm the lights until the tree glows gold instead of blue, then build slowly: garland through the gaps, one gold set at three depths, blush to soften, ribbon woven deep, and a star to finish the climb. Hide the stand, keep the bottom half shatterproof, and store the tree like you want it back. Do it in that order and your white tree stops looking like a shop display and starts looking like the softest, warmest corner of your home. I would love to see how yours turns out this year.





3 Comments
Comments are closed.