
15 Hobby Room Design Ideas for a Bright Glam Studio
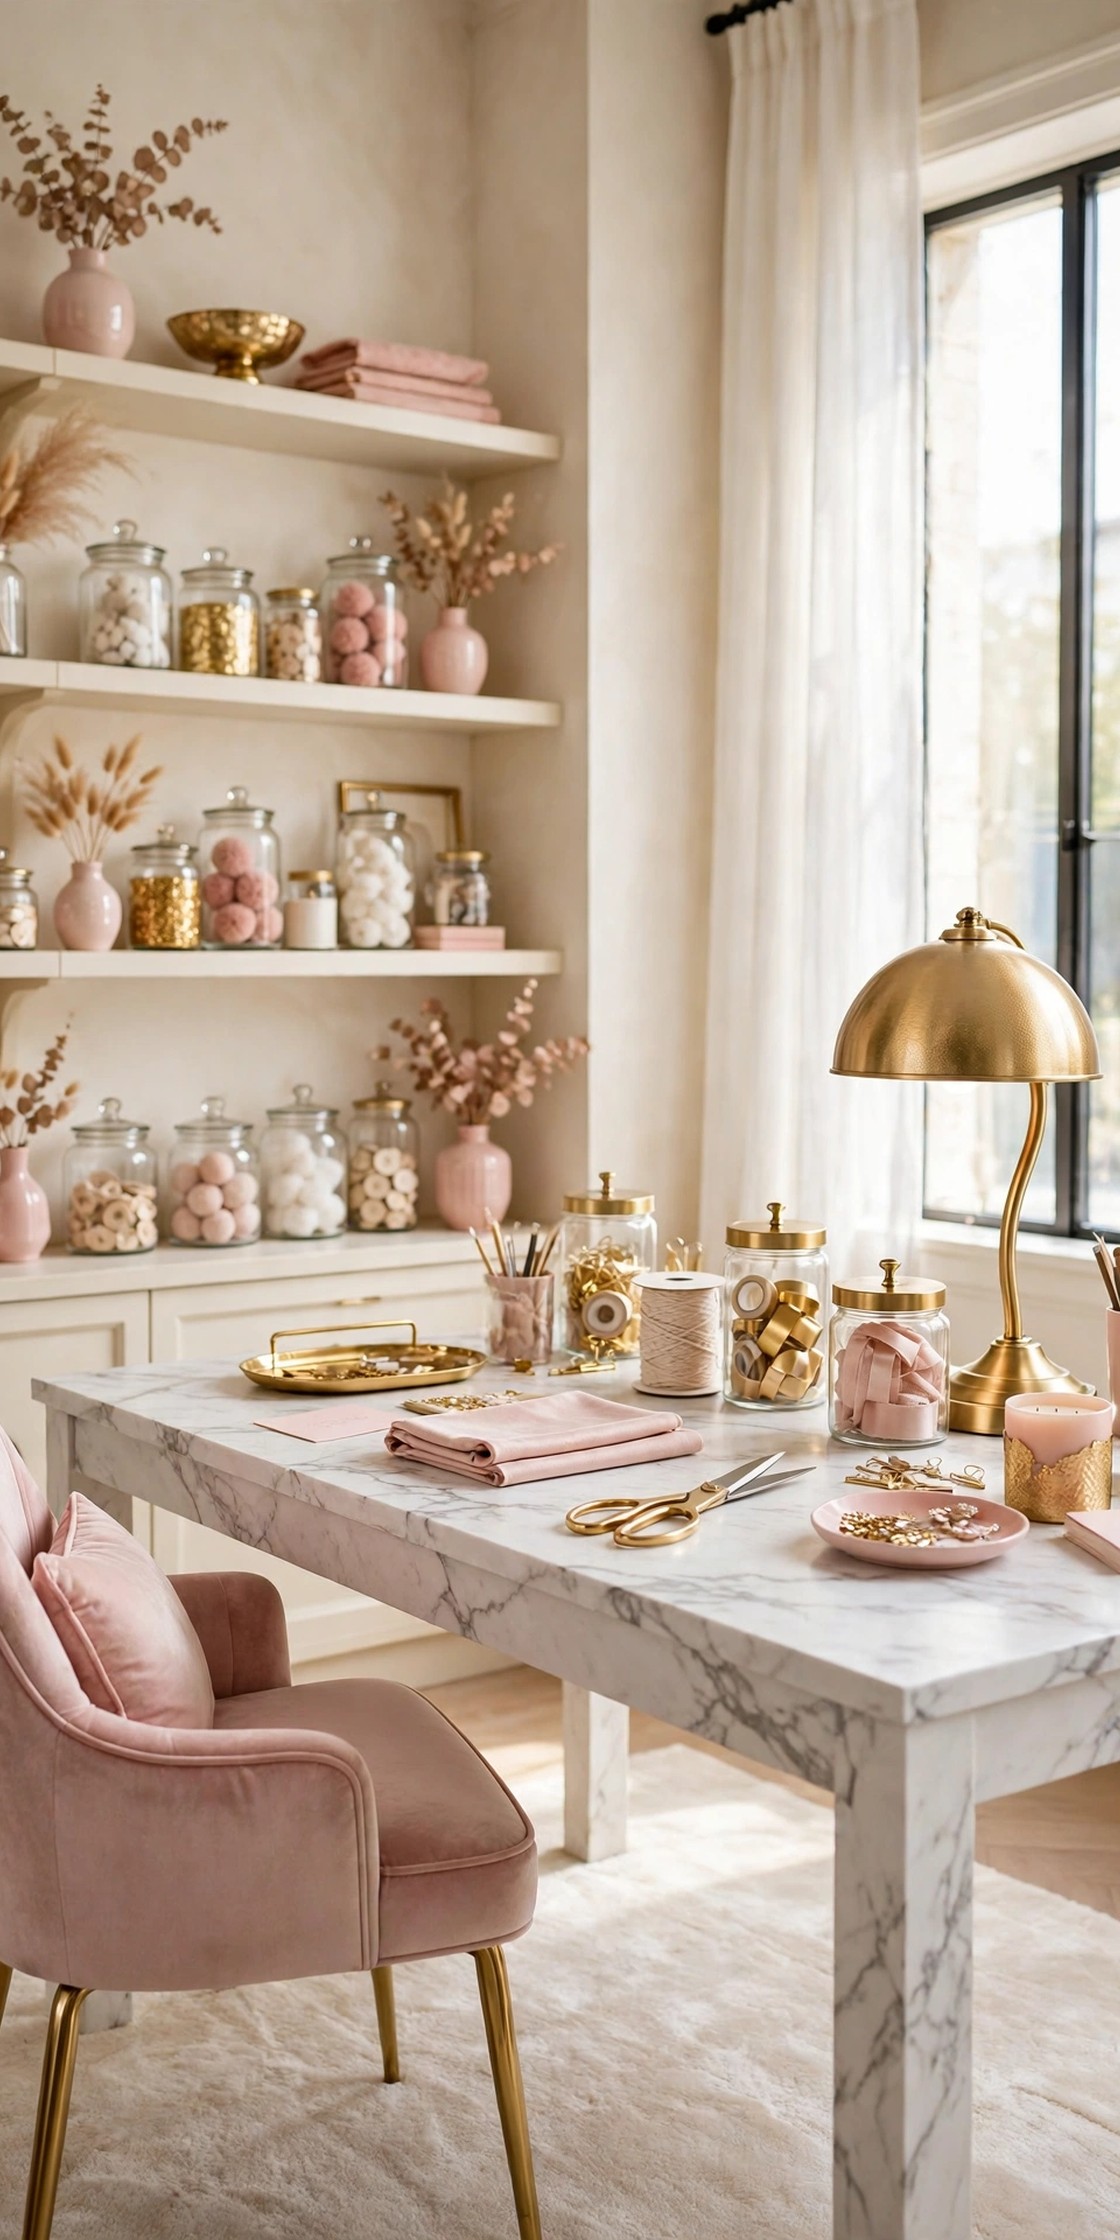
A hobby room design has two jobs that pull against each other: it has to work hard as a studio, with storage, light and room to spread out, and it has to feel good to be in, because a room that looks like a warehouse kills the mood to make anything. These hobby room design ideas solve both jobs in the bright glam style GlamNStyle is known for: warm cream walls, a large white craft table, open shelving with glass jars, a blush sewing corner and brushed gold light. Work through the list in order, because the early ideas set the base, the table and the storage, and the later ones split the room into corners for each hobby and add the soft layers that make a craft room feel like the best room in the house. If you are still settling the colors for the room, our guide to living room color combinations shows the cream, blush and gold palette at work in a full room first
Disclosure: This article may contain affiliate links. If you buy through a link on this page, GlamNStyle may earn a small commission at no extra cost to you. Product links in this article are plain links; each one is checked on the retailer’s own page before it is added.
1. Start with a Warm Cream and Gold Base
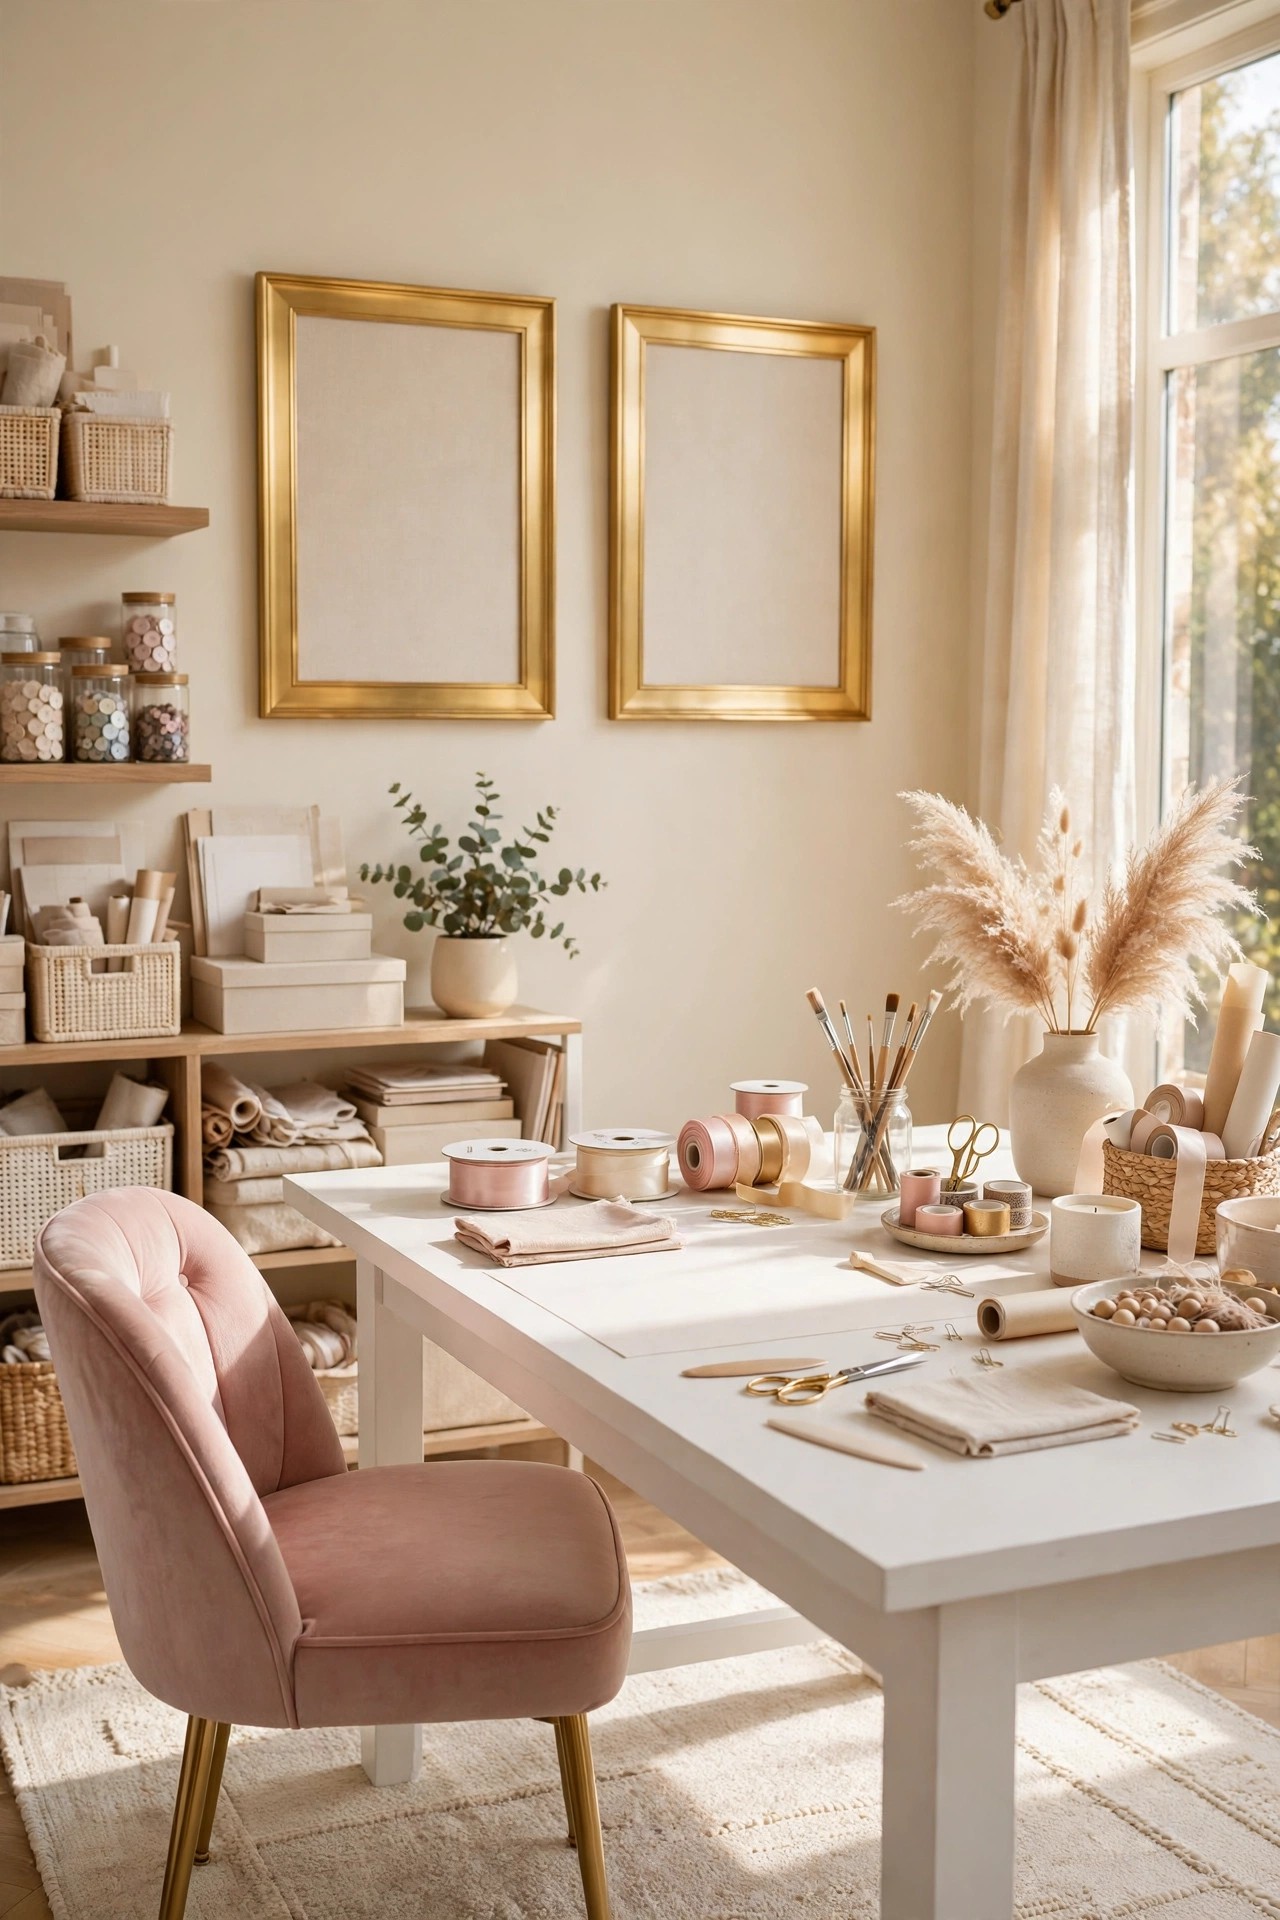
Every hobby room collects color on its own: fabric, yarn, paper, paint and ribbon all arrive in their own shades, and the room underneath them needs to stay quiet. Warm cream walls, a cream rug and white or warm wood furniture keep the base calm, while brushed gold in the frames, the lamp and the handles gives the room its glam note without adding more color. Keep blush as the one soft accent, in the chair and one or two cushions, and let the supplies themselves bring the rest of the color in and out as projects change. Test the wall color in a large patch beside the window, because a craft room is judged at the desk in daylight, and a cream that reads yellow at noon will make every fabric color beside it look wrong.
Best For: Hobby rooms that feel cluttered before anything is stored, and anyone starting a craft room from an empty spare room.
Not Ideal For: Rooms that are only storage with no work table; idea 13 does that job better.
Estimated Cost: $120-$350 (estimate) for paint, two gold frames and small gold accents for one room.
Budget Note: The paint is the spend; the gold note can start with one lamp and one frame and grow later.
Renter Friendly: No
Renter Note: Paint is a landlord decision; renters can build the same base with a cream rug, cream curtains and white furniture covers instead.
What You Need
Low-sheen paint in warm cream, a large test sample of the color, two brushed gold frames, cream rug, gold-accent lamp or handles to repeat the metal.
Product type to look for: A washable low-sheen wall paint sampled beside the window, because craft colors have to read true in the light you work in.
How To Do It
- Test the warm cream in a large patch beside the window and check it at midday with fabric and paper samples against it.
- Paint the walls in two coats and let them dry fully before any furniture comes back in.
- Set the cream rug and the white furniture first, then add the gold frames and lamp.
- Add blush only in the chair and one cushion, and check the room from the doorway before adding anything else.
Pro Tip
Keep every storage piece in the same cream family as the walls. Supplies bring enough color on their own, and matching storage is what makes a full craft room read calm instead of busy.
2. Choose One Large Craft Table as the Centre
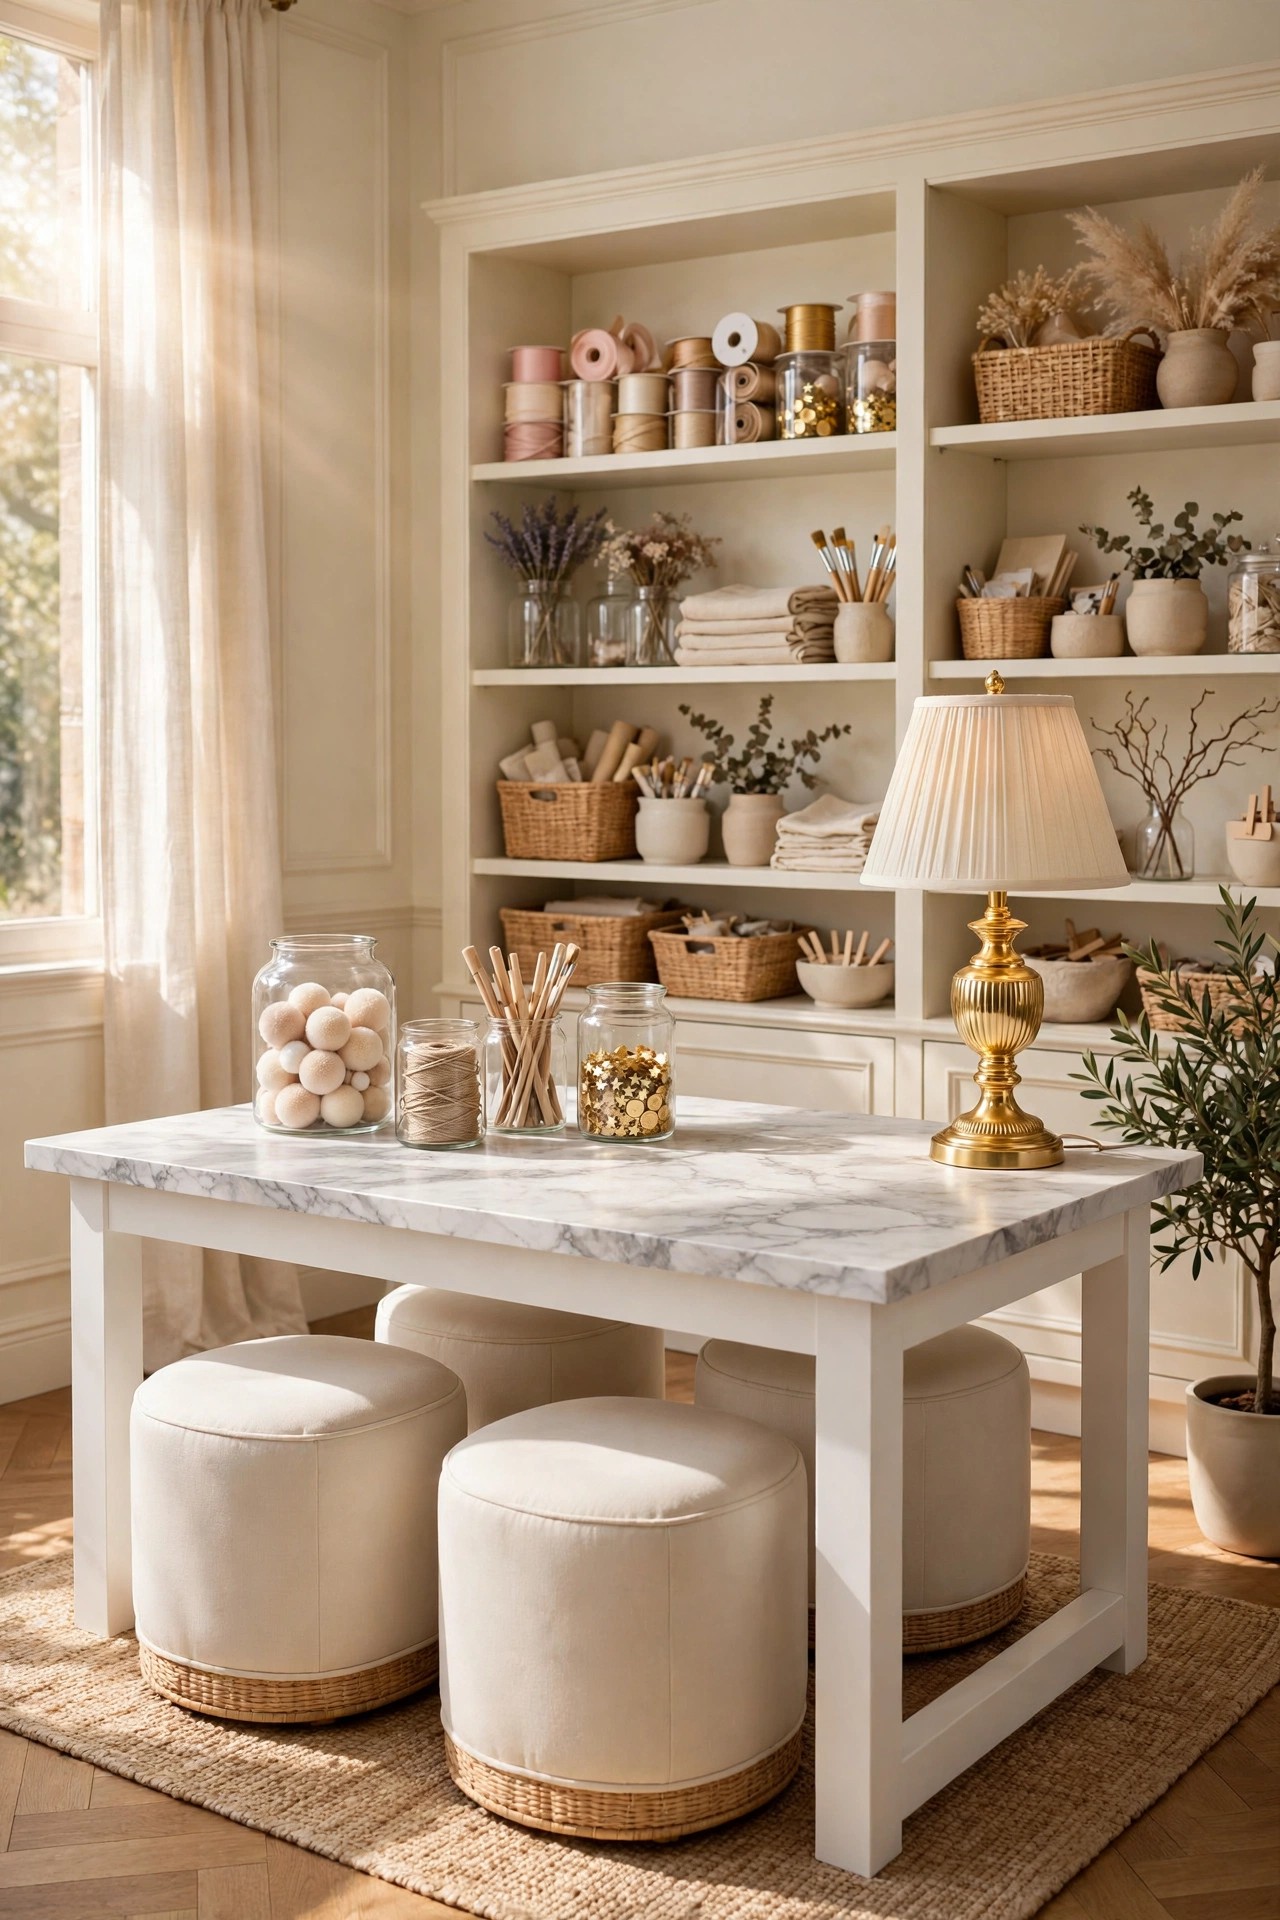
One large table is the heart of a hobby room design, because almost every craft, sewing, wrapping, painting on paper, scrapbooking and model work, needs a flat surface big enough to spread a project out and walk around it. Choose a table at least 120cm long with a smooth, pale top: white or marble-look surfaces show true colors, wipe clean after glue and paint, and keep the room bright. A kitchen island or a sturdy dining table does this job well and often costs less than a specialist craft table. Leave clear floor on at least three sides so fabric can hang over one edge and a chair or stool fits on two, and keep the surface empty at the end of each session, because a table that is always covered becomes storage, not a workspace.
Best For: Anyone whose projects spread across a dining table today, and rooms shared by two or three different hobbies.
Not Ideal For: Very small box rooms where a large table leaves no floor to stand; a wall-mounted folding table is the safer version there.
Estimated Cost: $250-$700 (estimate) for a large white craft table or a kitchen island of the same size.
Budget Note: The table is the spend; stools can be simple cream ones and upgraded later.
Renter Friendly: Yes
Renter Note: A freestanding table needs no fixings at all; choose one that fits through the door in pieces if the room is upstairs.
What You Need
Large craft table or kitchen island with a smooth pale top at least 120cm long, two cream stools or a chair, a washable table mat for glue and paint work.
Product type to look for: A table with a sealed, wipe-clean top and no raised lip at the edge, so fabric and paper slide off cleanly.
How To Do It
- Measure the room and the door, then choose the largest table that still leaves clear floor on three sides.
- Place the table so its long side faces the window light, not with the light behind the seat.
- Add the table mat in the main work position and the stools tucked under.
- Set one tray on the table for the current project only, and clear everything else at the end of the first session.
Pro Tip
Keep the table empty overnight as a house rule. A clear pale table in the morning is what makes a hobby room feel like a studio instead of a storage room with a chair.
3. Line One Wall with Open Cream Shelving
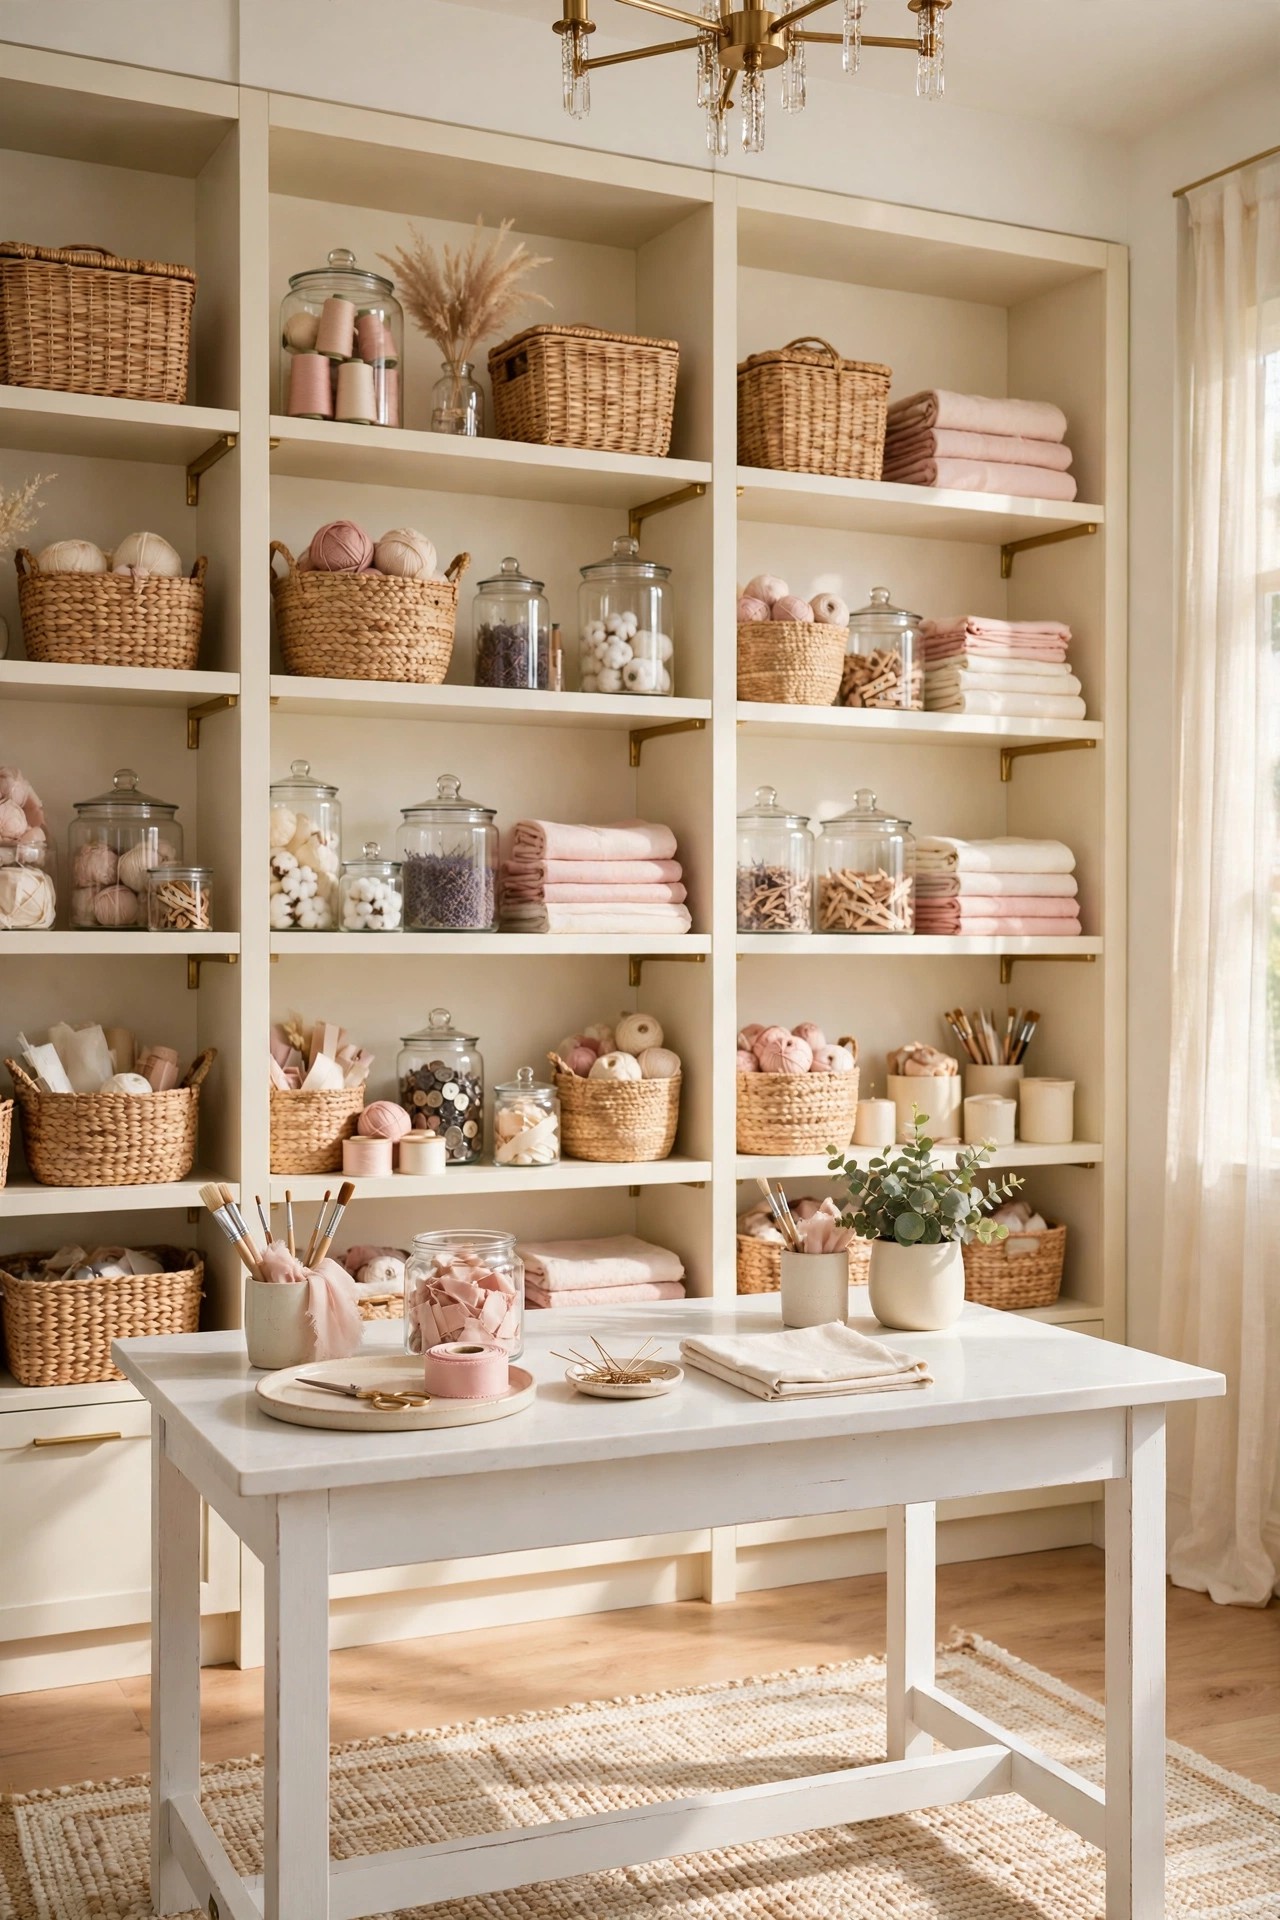
Open shelving is what makes a hobby room fast to work in, because every supply is visible and reachable without opening doors or moving boxes. Line the longest wall with cream or warm white shelves from worktop height to near the ceiling, keep the everyday supplies at hand height, and put the rarely used boxes on the top shelf. Cream shelves against cream walls give the full, styled look of the glam craft rooms on Pinterest while staying calm, because the shelf itself adds no new color. Mix what sits on them in a steady pattern, jars, baskets, folded fabric, a small plant, so the wall reads designed rather than stored. Check the wall fixings before loading the shelves, because full jars and fabric stacks are heavier than they look.
Best For: Crafters with many small supplies, and anyone who forgets what is inside closed boxes.
Not Ideal For: Very dusty rooms or homes with curious toddlers at grabbing height; the tall cabinet in idea 13 is the safer main storage there.
Estimated Cost: $150-$450 (estimate) for cream shelving boards, brackets and fixings for one wall.
Budget Note: The boards are the spend; brackets rated for the load matter more than decorative ones.
Renter Friendly: No
Renter Note: Shelves need wall fixings, so this is an owner decision; renters can use a tall freestanding cream bookcase against the wall instead, fixed to nothing.
What You Need
Cream shelving boards, wall brackets rated for the load, wall plugs matched to the wall type, level, woven baskets in cream for the shelves.
Product type to look for: Shelves at least 25cm deep, because most craft boxes and fabric bolts need that depth to sit without overhanging.
How To Do It
- Plan the shelf runs on paper first: daily supplies at hand height, seasonal boxes at the top.
- Fit the lowest shelf first, level it, then work upward with even spacing.
- Load the heaviest jars and boxes on the lowest shelves and check the brackets again after a day.
- Style in a pattern as you load: jars, basket, fabric stack, small plant, so the wall reads calm.
Pro Tip
Leave one shelf half empty on purpose. A hobby room grows with every project, and one breathing shelf is what stops the wall tipping from styled into stuffed.
4. Store Supplies in Glass Jars and Cream Bins
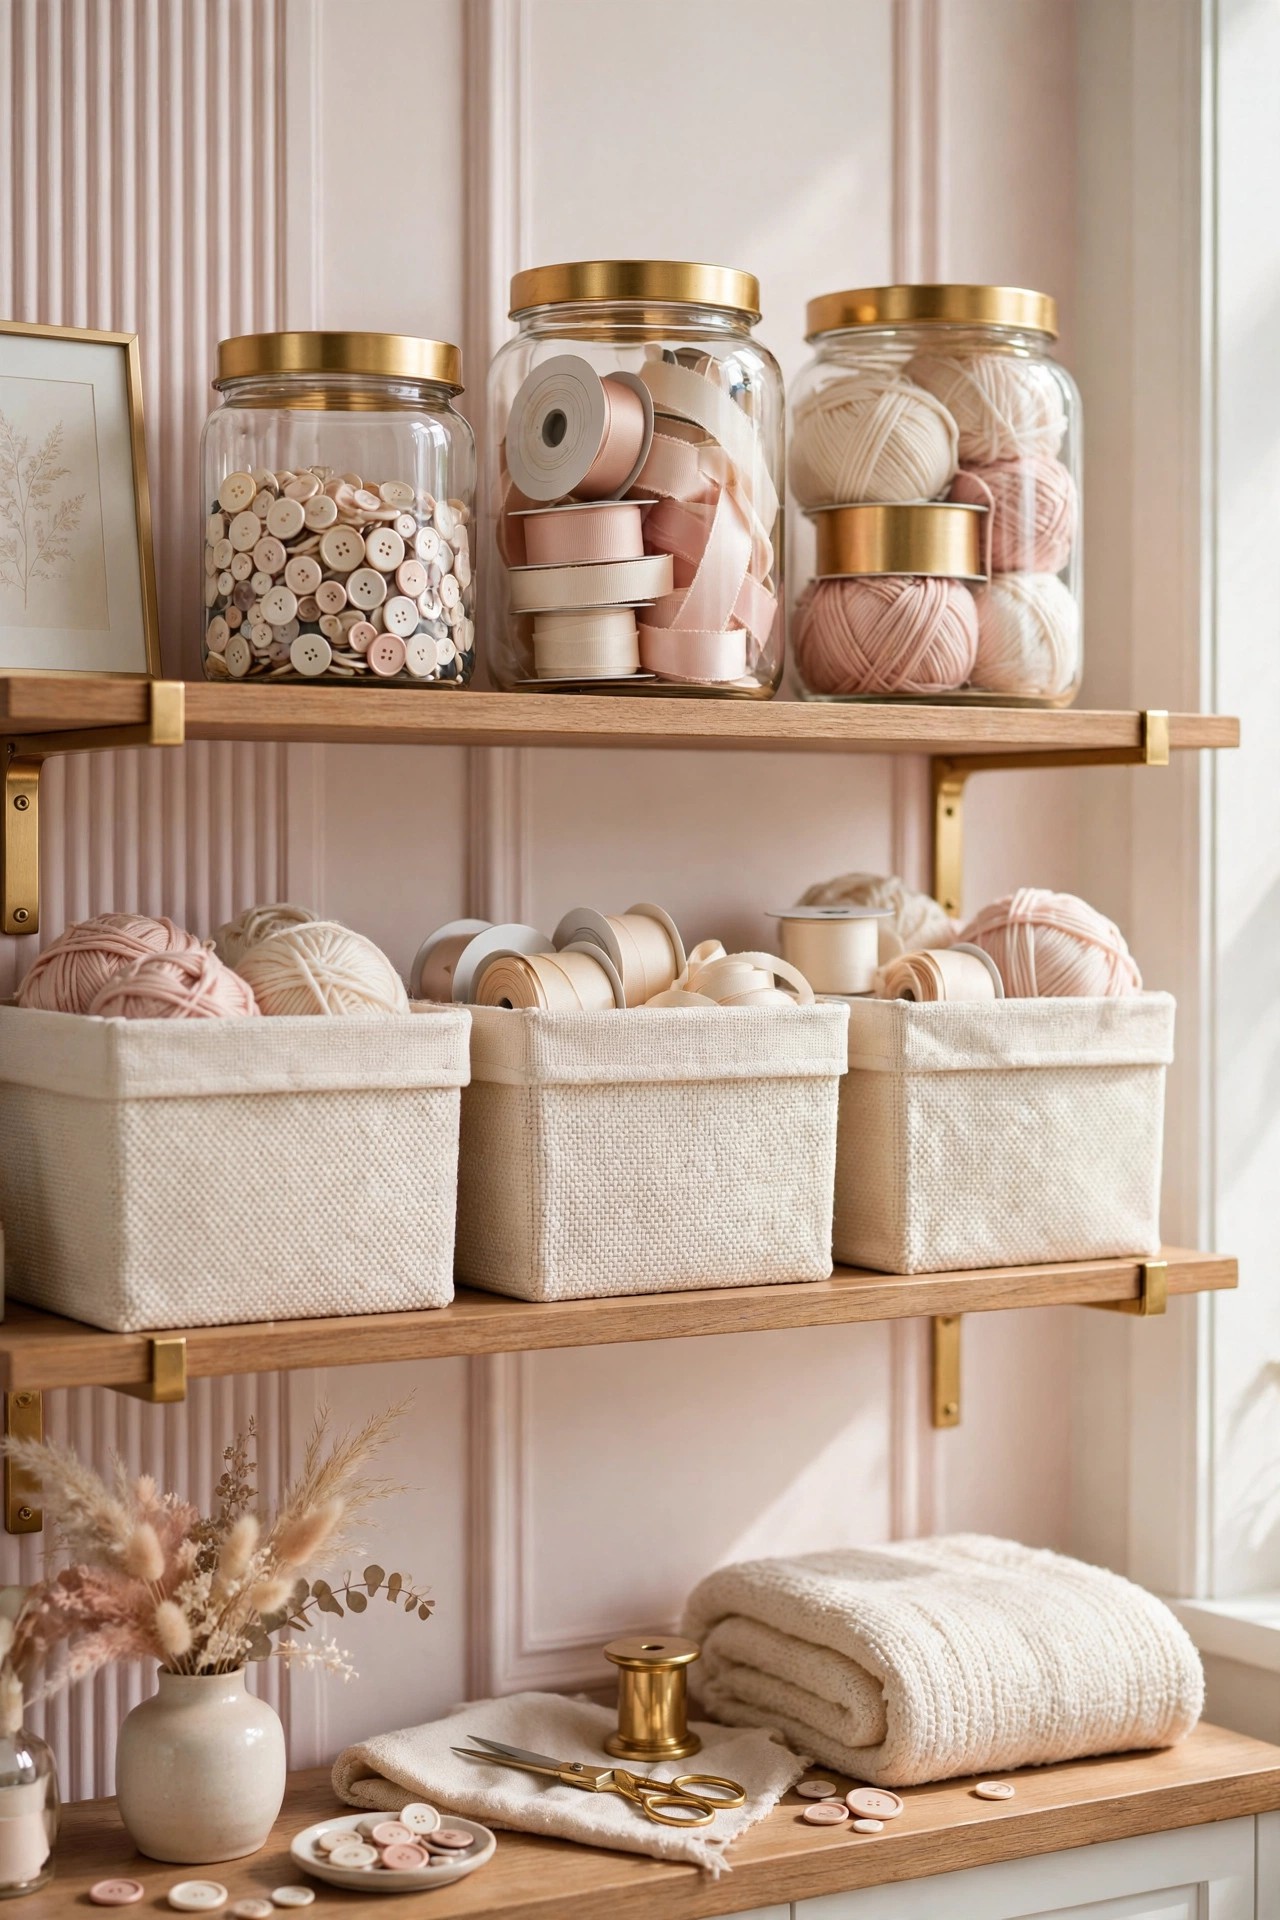
The storage containers decide whether open shelving looks glam or looks like a shop stockroom. Glass jars with gold or pale wood lids turn buttons, beads, ribbon and yarn into part of the decor, because the colors inside become the display. Cream bins with simple labels hold the ugly but useful things, glue bottles, spare parts, cables, out of sight on the same shelves. Keep to two container families only, clear glass and cream, and repeat them on every shelf, because five kinds of box on one wall is what makes a craft room look messy even when it is tidy. Sort by hobby, not by size: one jar group for sewing, one for paper, one for paint, so a project can be gathered in one trip to the shelf.
Best For: Anyone with open shelving from idea 3, and crafters whose supplies live in mixed plastic boxes today.
Not Ideal For: Heavy bulk storage like fabric bolts by the metre; those belong on the shelves themselves or in the tall cabinet in idea 13.
Estimated Cost: $40-$120 (estimate) for a set of glass jars with lids and cream storage bins.
Budget Note: Containers are a small spend with a large effect; buy one family at a time so the shelves match.
Renter Friendly: Yes
Renter Note: Nothing here needs fixing; jars and bins move with you.
What You Need
Clear glass jars with gold or pale wood lids in two or three sizes, cream storage bins with lids, simple labels, a label pen or printed labels.
Product type to look for: Jars with wide mouths you can reach into with one hand, and bins that stack without sliding.
How To Do It
- Empty one shelf at a time and sort its contents by hobby into piles.
- Fill the glass jars with the small, pretty supplies and the cream bins with the rest.
- Label every bin on the front face, at the same height, so the shelf reads as one line.
- Put each hobby group back together on the shelves, jars in front, bins behind or below.
Pro Tip
Photograph each shelf when it is finished. The photo is the tidiest the room will ever be, and it is the fastest guide for putting a big project away later.
5. Add a Sewing Corner with a Blush Velvet Chair
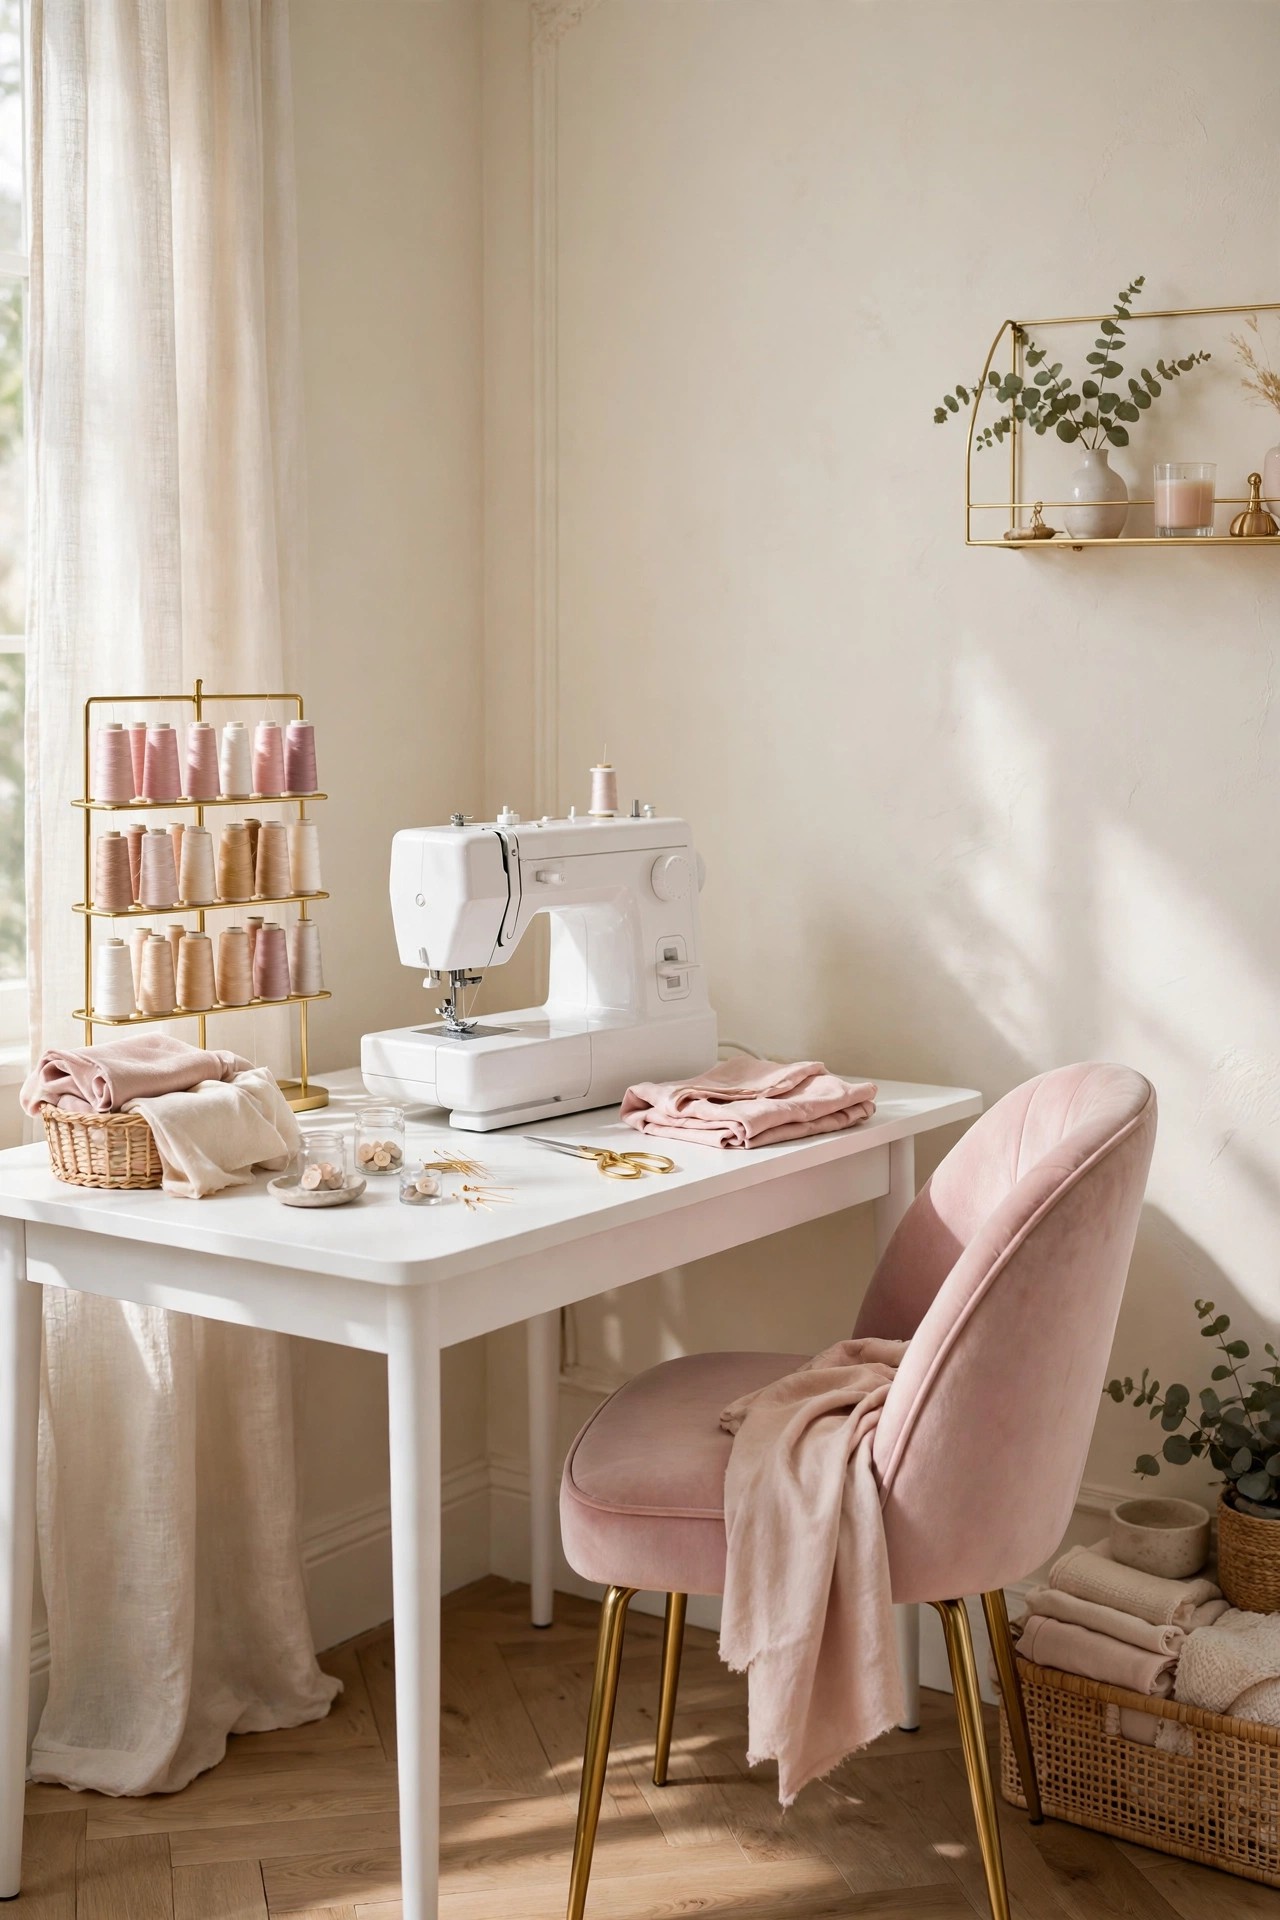
A sewing machine that lives in a cupboard rarely gets used, so give sewing its own small corner in the hobby room design, where the machine stays out and threaded. A slim white table against the wall, the machine on top, thread and scissors in reach, and a blush velvet chair that makes the corner the prettiest seat in the room. The chair matters more than it sounds: sewing is sitting work, and a chair with a back at the right height keeps long seams comfortable. Keep a small bin under the table for fabric scraps and a cushion on the chair in the room’s blush note, and this corner also works for hand stitching, embroidery and mending. Plug the machine into a socket with its own switch so it can be fully off when children visit.
Best For: Sewers and quilters who set up and pack away for every project today.
Not Ideal For: Rooms where the machine is used once a year; the corner earns its floor space only when sewing is a regular hobby.
Estimated Cost: $200-$650 (estimate) for a slim white sewing table and a blush velvet chair.
Budget Note: The chair is the spend; a basic slim table is enough because the machine is the tool.
Renter Friendly: Yes
Renter Note: The whole corner is freestanding; use a plug-in lamp rather than any wired fitting for extra light.
What You Need
Slim white sewing table, sewing machine, blush velvet chair with back support, thread stand or wall spool rack, small scrap bin.
Product type to look for: A chair with a firm seat at table height, because a soft low chair makes machine sewing ache within the hour.
How To Do It
- Choose the wall nearest a socket, and set the table with its short side to the wall if floor space is tight.
- Place the machine, then arrange thread, scissors and pins within arm’s reach of the seat.
- Set the chair and check the working height: forearms level with the machine bed.
- Add the scrap bin under the table and a cushion, then thread the machine so the corner is ready to use.
Pro Tip
Keep one project only on the sewing table. A corner that holds three half-finished projects stops being a sewing corner and becomes another shelf.
6. Build a Wrapping and Ribbon Station
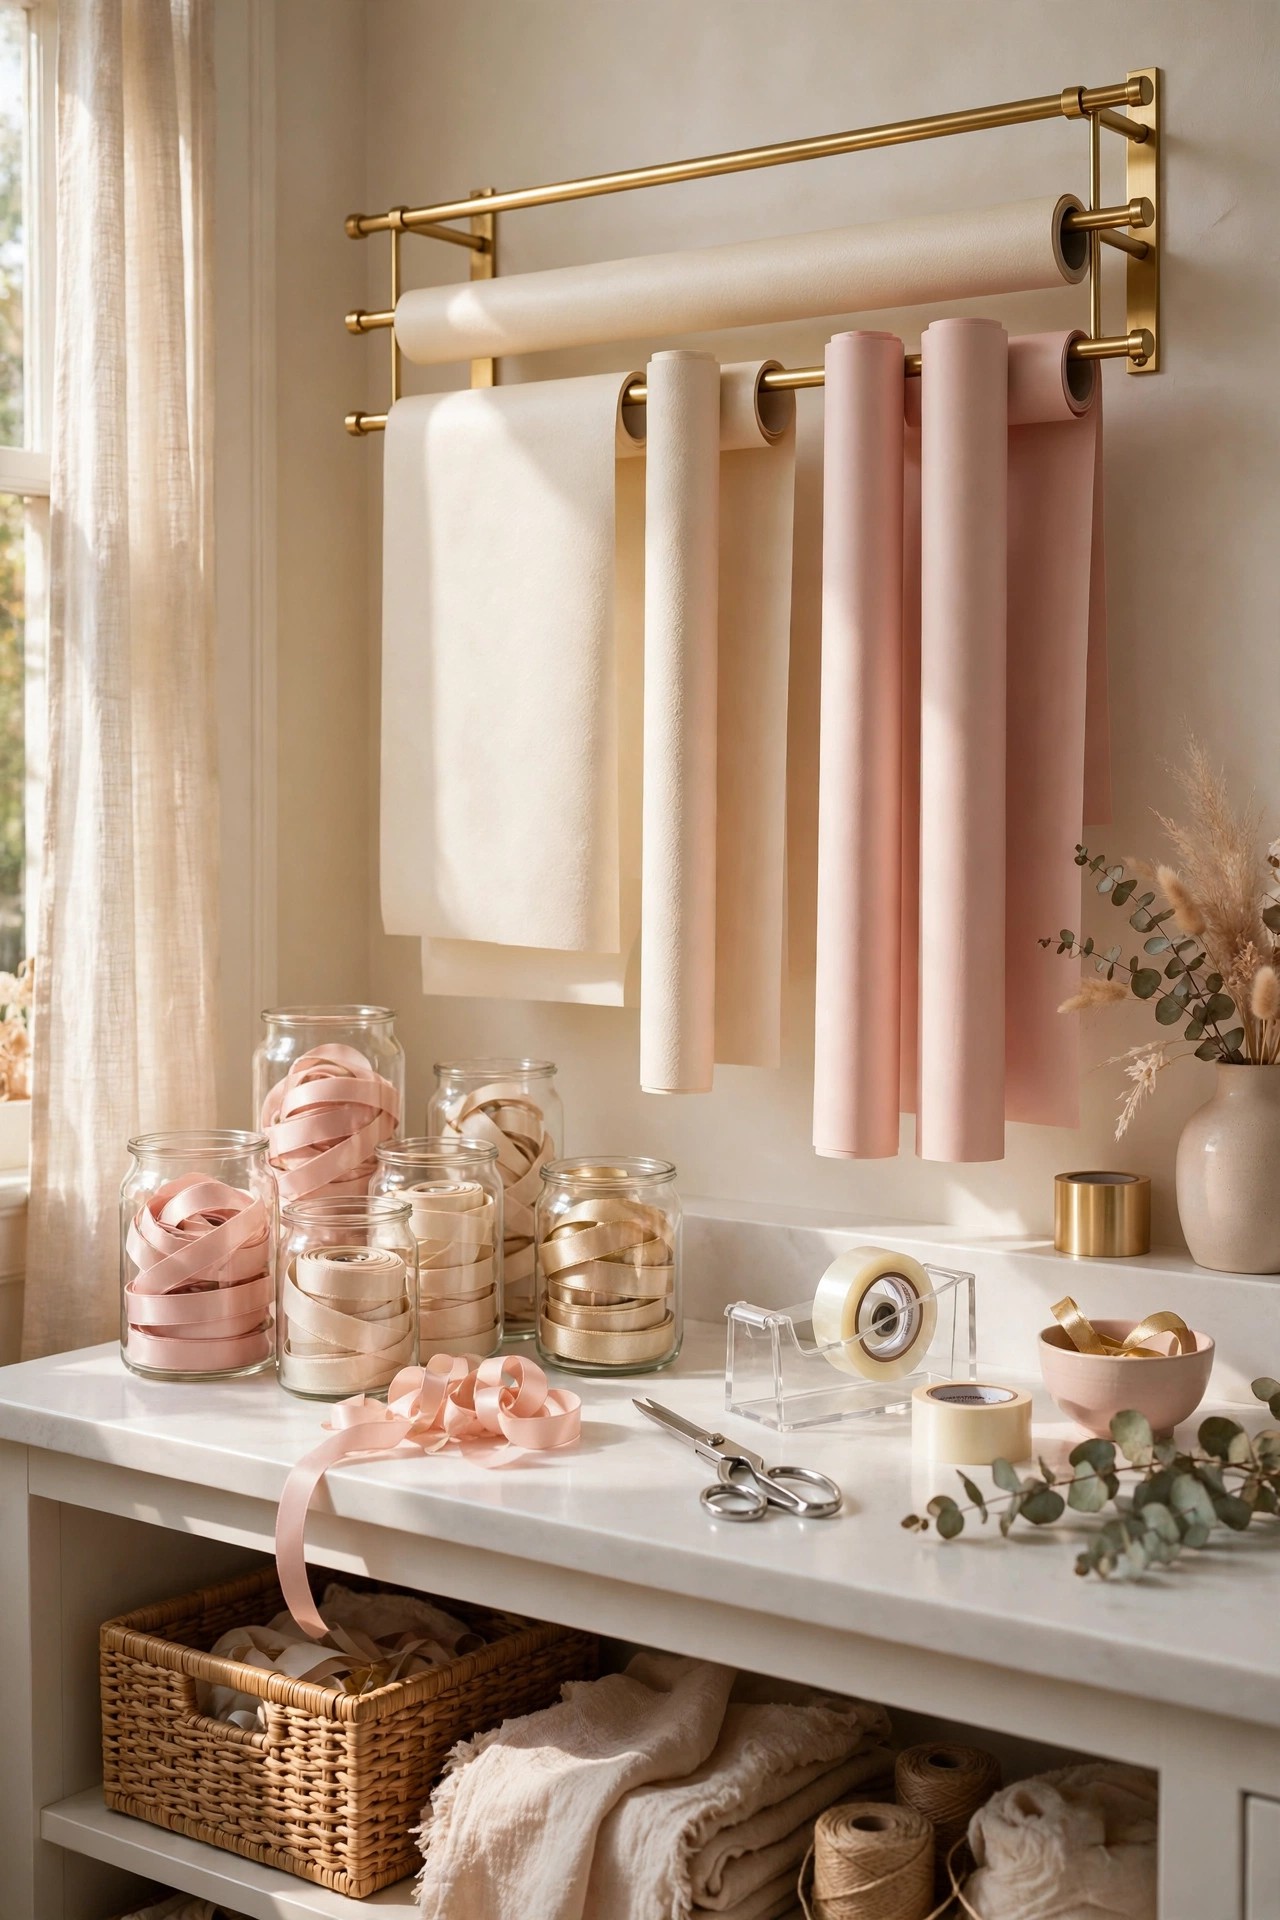
A wrapping station is the corner of a hobby room that every household uses, not just crafters, because birthdays and holidays arrive all year. Mount two or three gold rods on the wall or inside a tall cupboard door and thread the paper rolls onto them, keep ribbons in glass jars or on a smaller rod below, and set a clear worktop under them for the wrapping itself. Cream, blush and gold papers match the room’s palette and suit almost every occasion, so a small stock looks styled rather than random. Add scissors, tape and flat gift bags in one drawer or bin, and the station is complete. If wall space is tight, the same rods fit on the back of the tall cabinet doors in idea 13.
Best For: Anyone who wraps gifts on the floor today, and paper crafters who use the same papers and ribbons.
Not Ideal For: Homes where gifts are rare and wrapping is a once-a-year job; a single drawer version is enough there.
Estimated Cost: $80-$250 (estimate) for gold rods, jars, paper rolls and ribbons to stock the station.
Budget Note: The rods are a small spend; papers and ribbons build up a few rolls at a time.
Renter Friendly: No
Renter Note: Wall rods need fixings; renters can hang the same rods inside a freestanding wardrobe or on the back of a door with over-door hooks rated for the weight.
What You Need
Two or three gold curtain or dowel rods with wall brackets, wrapping paper rolls in cream, blush and gold, glass jars for ribbon, scissors, tape and flat gift bags in one bin.
Product type to look for: Rods long enough for standard paper rolls, with brackets that let a roll lift off without tools.
How To Do It
- Choose the wall or door and measure the longest paper roll before placing the brackets.
- Fit the top rod first, then the others below with enough gap for a hand to lift a roll off.
- Thread the papers on, set ribbons in jars on the worktop, and put scissors, tape and bags in one bin.
- Wrap one test gift to check the worktop height and the reach to every rod.
Pro Tip
Keep one roll of plain cream paper always in stock. It wraps any occasion with a change of ribbon, and it keeps the rod wall looking calm between holidays.
7. Hang a Warm White Pegboard with Gold Hooks
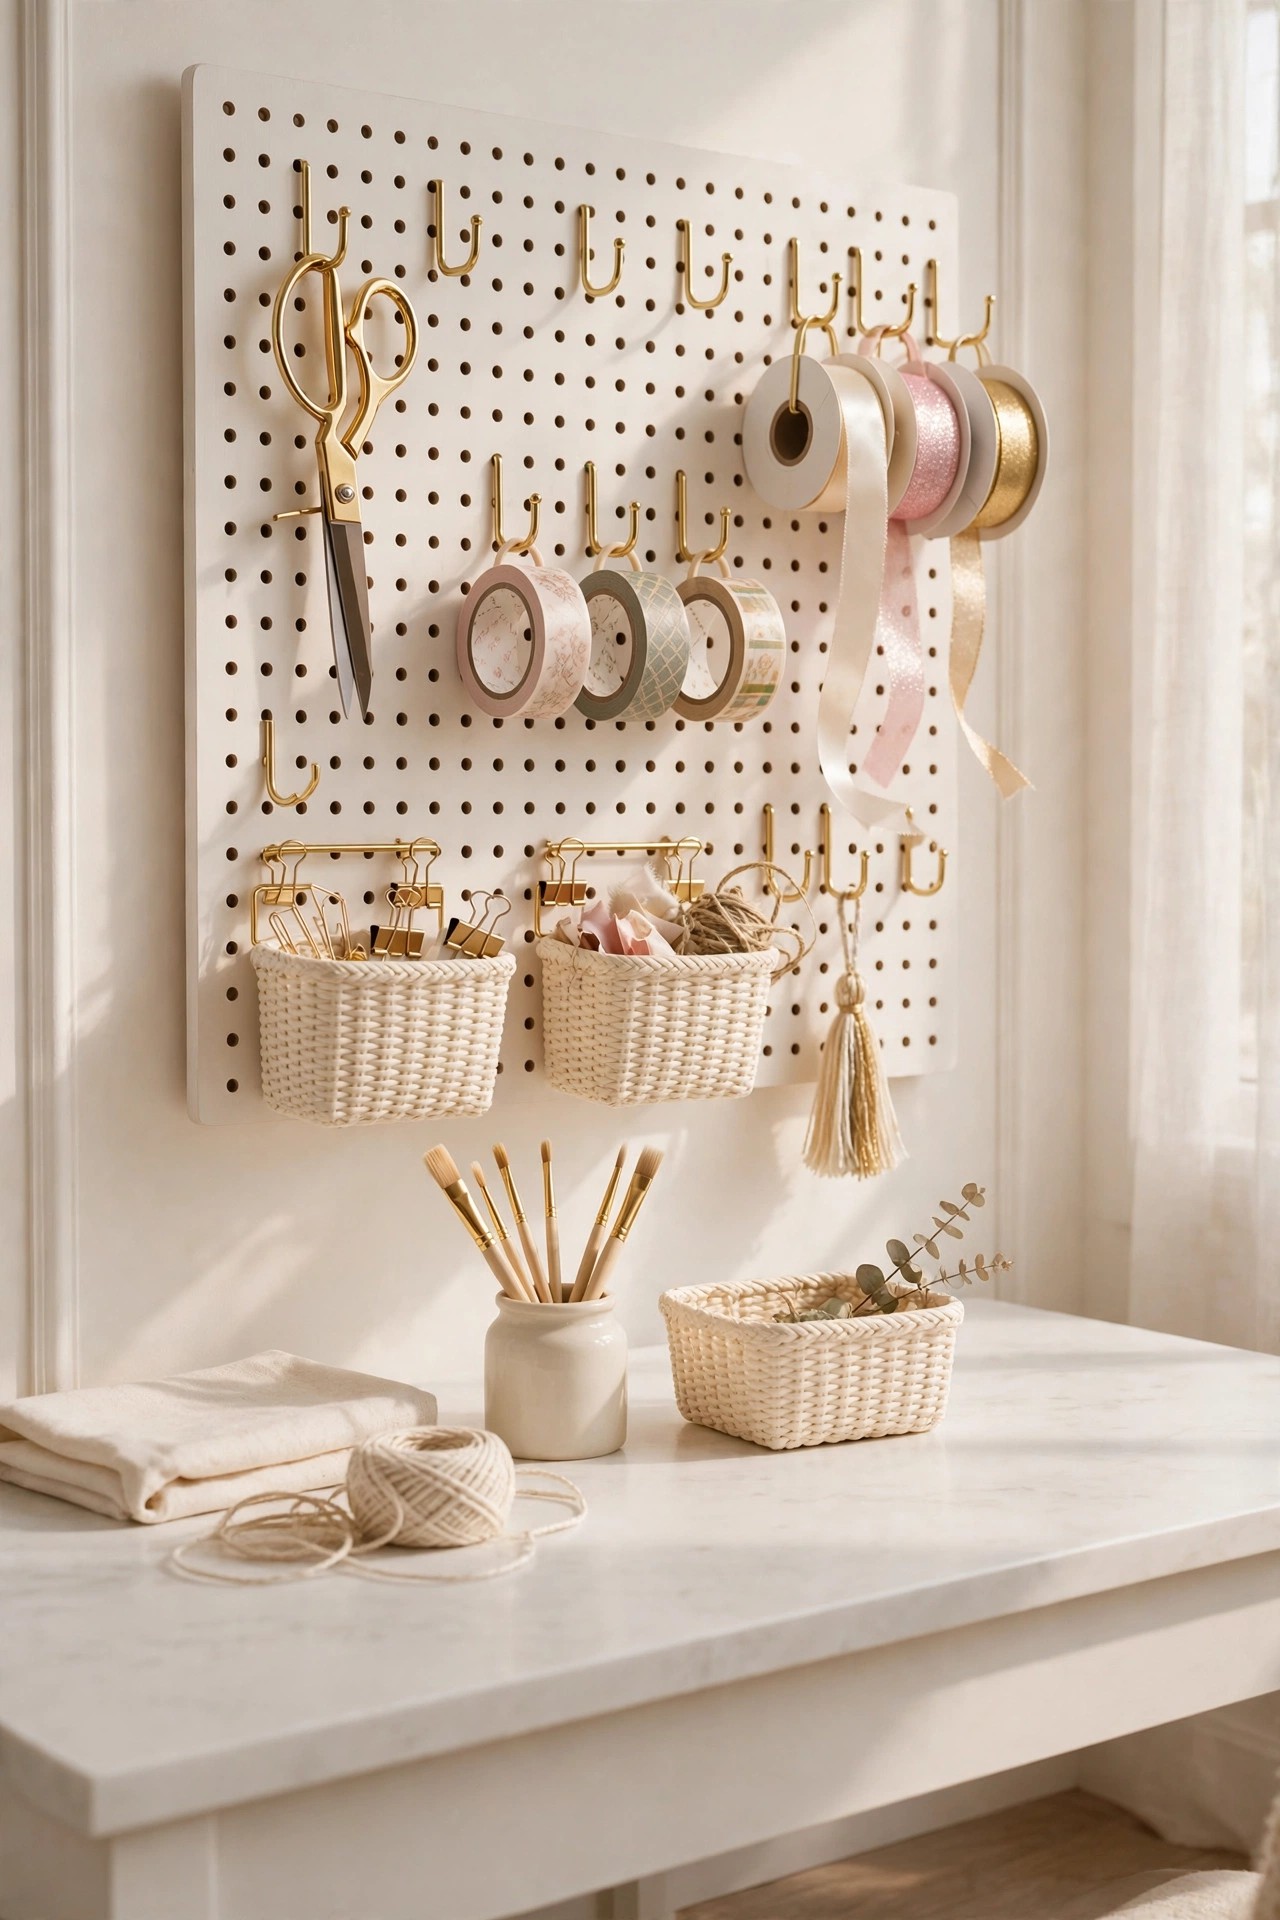
A pegboard over the craft table is the fastest storage in the room: scissors, tape, rulers, ribbon and the tools of the current project all hang in sight and go back in one movement. Choose a warm white or cream board so it sits inside the palette, and gold hooks and small cream baskets to hold it together as a designed piece rather than a workshop wall. Hang only what the hands reach for every session, because a pegboard stuffed with everything becomes a wall of noise, and keep the board over the table, not over a walkway, so tools stay where the work is. Fix the board into the wall studs or with plugs rated for the load, and test it with a pull before the good tools go up.
Best For: Paper crafters, jewellers and model makers with many small hand tools, and anyone who loses scissors in drawers.
Not Ideal For: Rooms where wall drilling is not allowed and no door or cabinet can hold the board; a tabletop tool caddy is the smaller version.
Estimated Cost: $60-$180 (estimate) for a pegboard panel, gold hooks and small baskets.
Budget Note: The board is cheap; spend on hooks that fit the board’s hole spacing exactly, so nothing rattles or falls.
Renter Friendly: No
Renter Note: A pegboard needs solid wall fixings; renters can lean a smaller board on the table against the wall only if it cannot slide, or use the inside of a cabinet door with adhesive hooks rated for the weight.
What You Need
Warm white pegboard panel, gold pegboard hooks matched to the board’s hole spacing, small cream hanging baskets, wall fixings rated for the load.
Product type to look for: A board and hooks from the same system, because pegboard hole spacing varies between brands and loose hooks fall out in use.
How To Do It
- Hold the board over the table and mark its position at reaching height from the chair.
- Fix the board into studs or rated plugs, and pull-test it before hanging anything.
- Hang the everyday tools first, in the order the hands use them, scissors and tape at the centre.
- Add baskets at the bottom row for tapes and small parts, and leave the top row for the current project only.
Pro Tip
Trace each tool’s outline on the board in pencil when you first hang it. The outlines make putting things back automatic, and an empty outline shows at a glance what is missing.
8. Give Painting Its Own Easel Corner by the Window
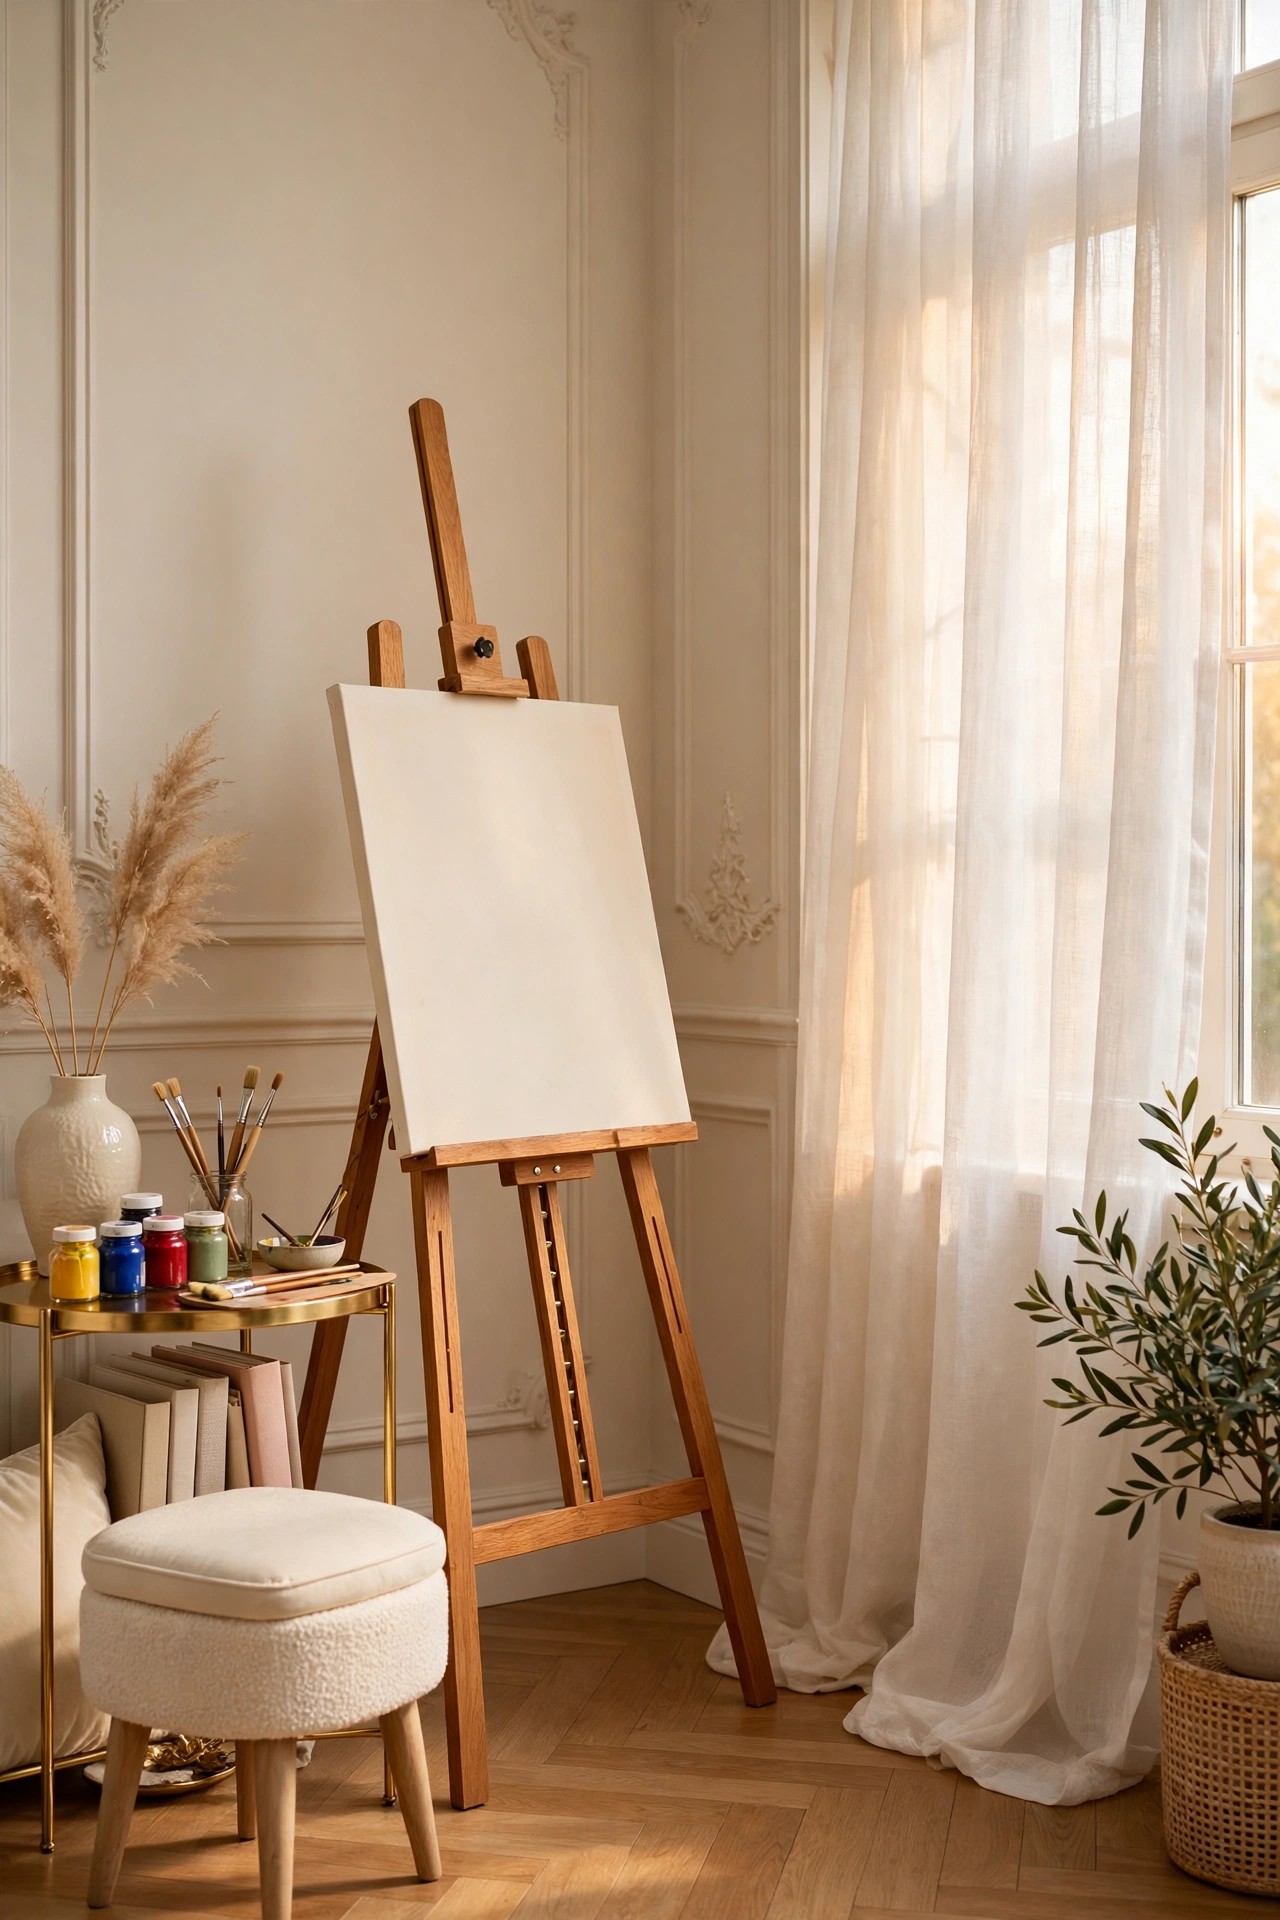
Painting needs the best light in the room, so the easel corner belongs beside the window, where colors read true and a canvas can dry without being moved. A warm wood easel suits the palette better than a metal studio one, and a small gold side table holds the palette, jars and brushes within reach of the stool. Keep this corner on the hard floor or on a washable mat, not on the cream rug from idea 9, because paint finds the floor whatever you plan. A finished canvas leaning on the wall beside the easel makes the corner look like a small gallery, and a blank one on the easel keeps the invitation to start again. If the window light is very strong at midday, a sheer curtain softens it without darkening the corner.
Best For: Painters and sketchers who work at a table today and fight the light, and art students who need a standing position.
Not Ideal For: Rooms with no window wall free; a table easel on the craft table is the smaller version there, lit by the lamp in idea 10.
Estimated Cost: $90-$300 (estimate) for a warm wood easel, a small side table and a washable floor mat.
Budget Note: The easel is the spend; a beech easel costs far less than an oak one and reads the same warm tone in the room.
Renter Friendly: Yes
Renter Note: Everything stands on the floor; protect it with the washable mat and keep paint water away from skirting boards.
What You Need
Warm wood easel, small gold or warm wood side table, cream stool, washable floor mat, jars for brushes and water.
Product type to look for: An easel with a ledge that holds both canvas and a small board, so sketching and painting share one corner.
How To Do It
- Place the mat on the floor beside the window, with the light falling from the side of your painting hand.
- Set the easel on the mat and adjust its ledge to a comfortable standing or sitting height.
- Put the side table on the non-painting side, with palette, jars and brushes in reach.
- Lean one finished piece on the wall beside the easel and hang a sheer curtain if the midday light glares.
Pro Tip
Leave a primed blank canvas on the easel at all times. An empty easel looks like storage, and a ready canvas is the difference between painting this week and meaning to.
9. Lay a Soft Cream Rug Under the Work Zone
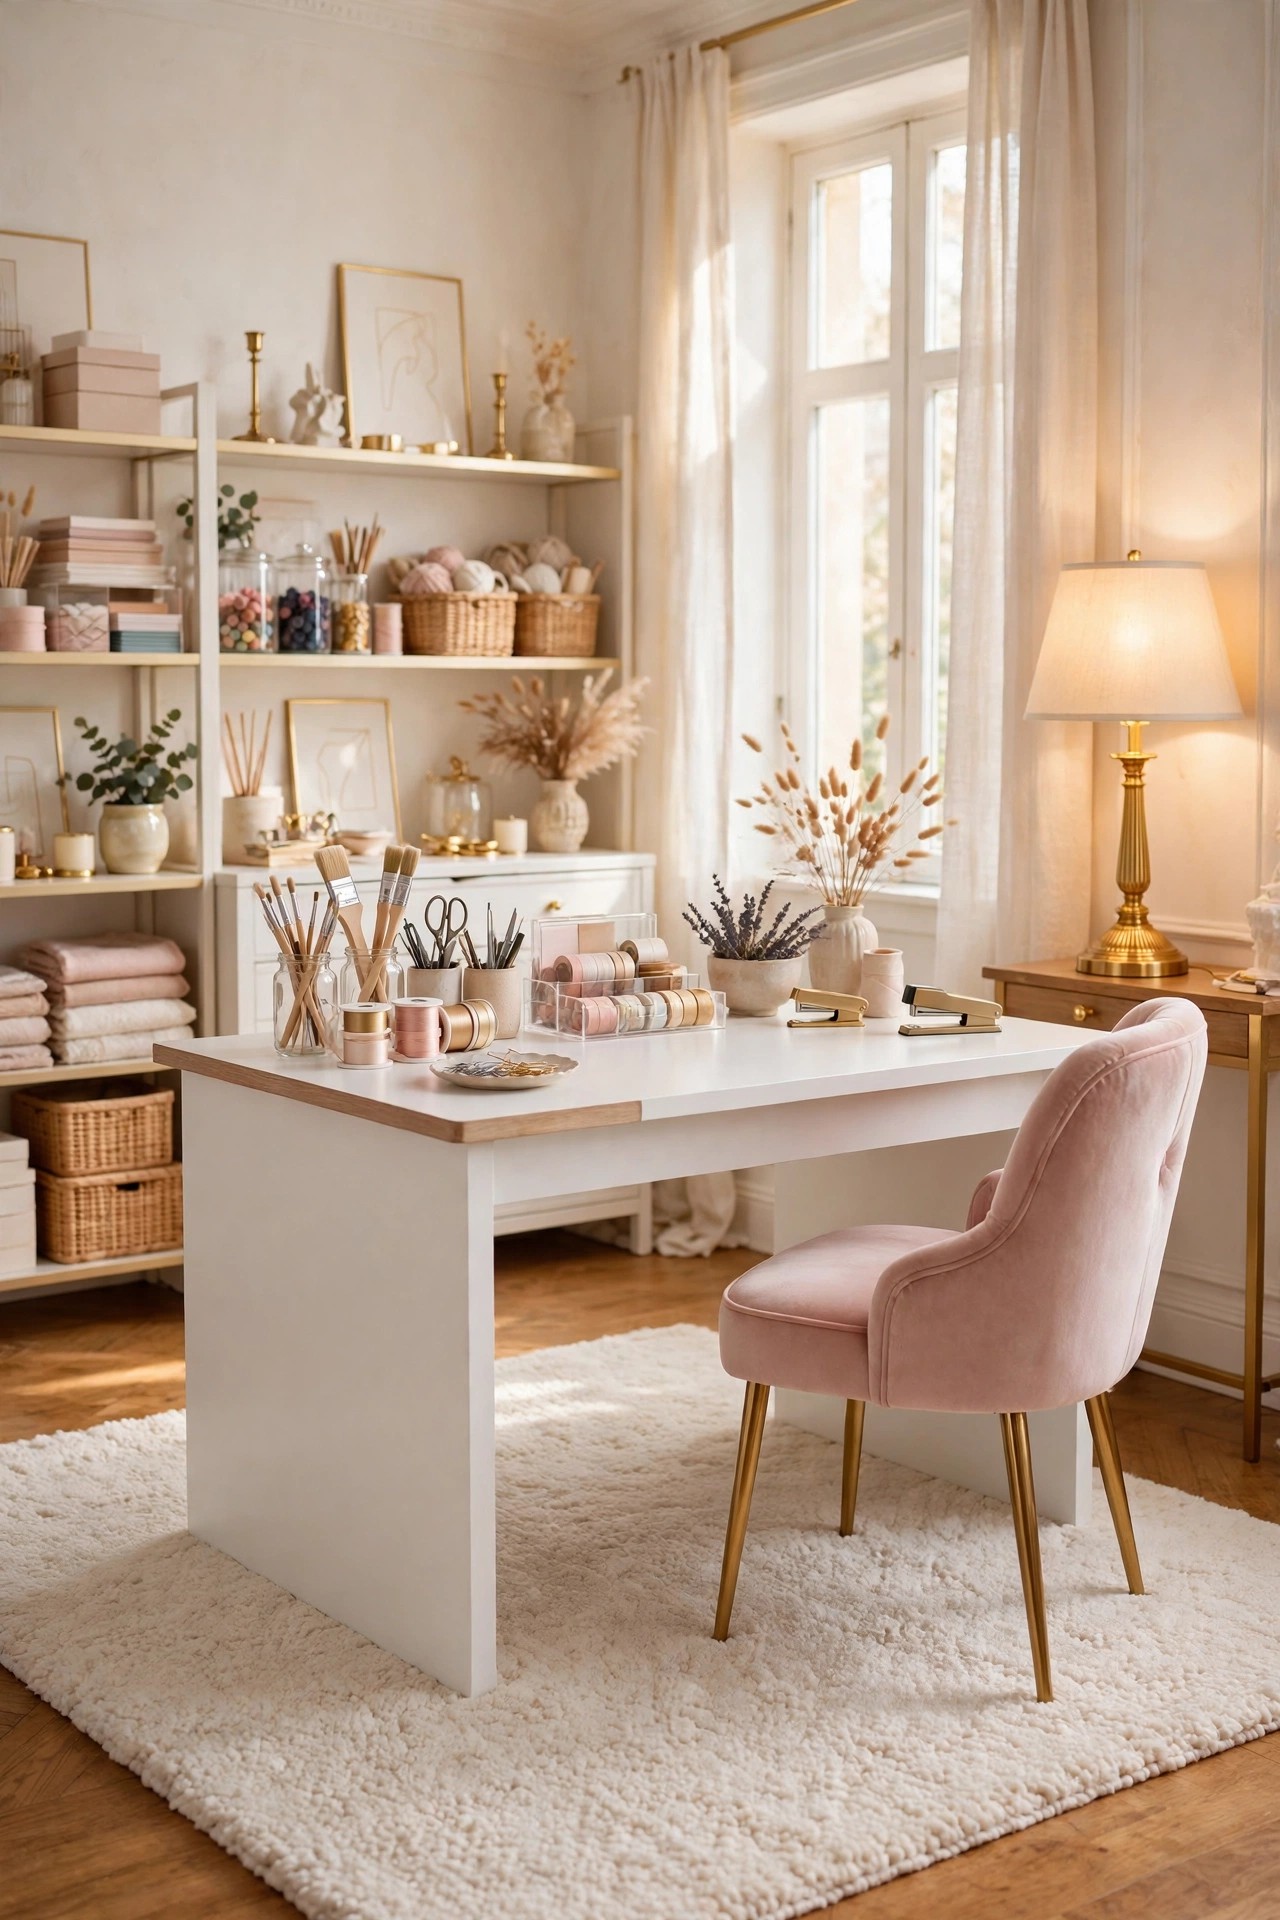
A rug under the work zone does three quiet jobs in a hobby room design: it marks the studio area inside a spare room, it softens the sound of stools and carts, and it makes the floor comfortable for the standing work at the table and the easel. Choose a low pile rug in cream or warm ivory, big enough for the table and the chair to sit on together, because a chair half on and half off a rug edge rocks and catches all day. Low pile matters here: chair wheels and stool legs move on it, pins and beads can be found on it, and it vacuums clean after fabric and paper work. Keep the rug out of the painting corner, where the washable mat from idea 8 does the floor job better.
Best For: Hobby rooms on hard floors, and spare rooms that need to feel like a studio rather than a borrowed bedroom.
Not Ideal For: Heavy paint or dye rooms as the main floor cover; keep the rug in the sewing and paper zone and mats in the wet zone.
Estimated Cost: $80-$300 (estimate) for a large low pile rug in cream.
Budget Note: Size is the spend; measure for the table and chair together rather than buying small and layering later.
Renter Friendly: Yes
Renter Note: A rug is the friendliest floor change there is; add a non-slip underlay so it cannot creep on hard floors.
What You Need
Low pile rug in cream or warm ivory, sized for the table and chair together, non-slip rug underlay.
Product type to look for: A flat, low pile weave with no fringe at the edges, because chair legs and cart wheels catch on fringe and deep pile.
How To Do It
- Measure the table and chair footprint together and choose the rug one size up.
- Lay the underlay first, then the rug, centred under the table.
- Set the table and chair fully on the rug and test the chair movement in every direction.
- Vacuum it after the first craft session to learn where scraps collect, and place the small bin on that side.
Pro Tip
Choose the rug in the same cream as the walls, not a pattern. The floor of a hobby room is a background for spilled color, and a plain pale rug is what keeps the room reading glam in photos.
10. Light the Desk with a Gold Task Lamp and Warm Bulbs
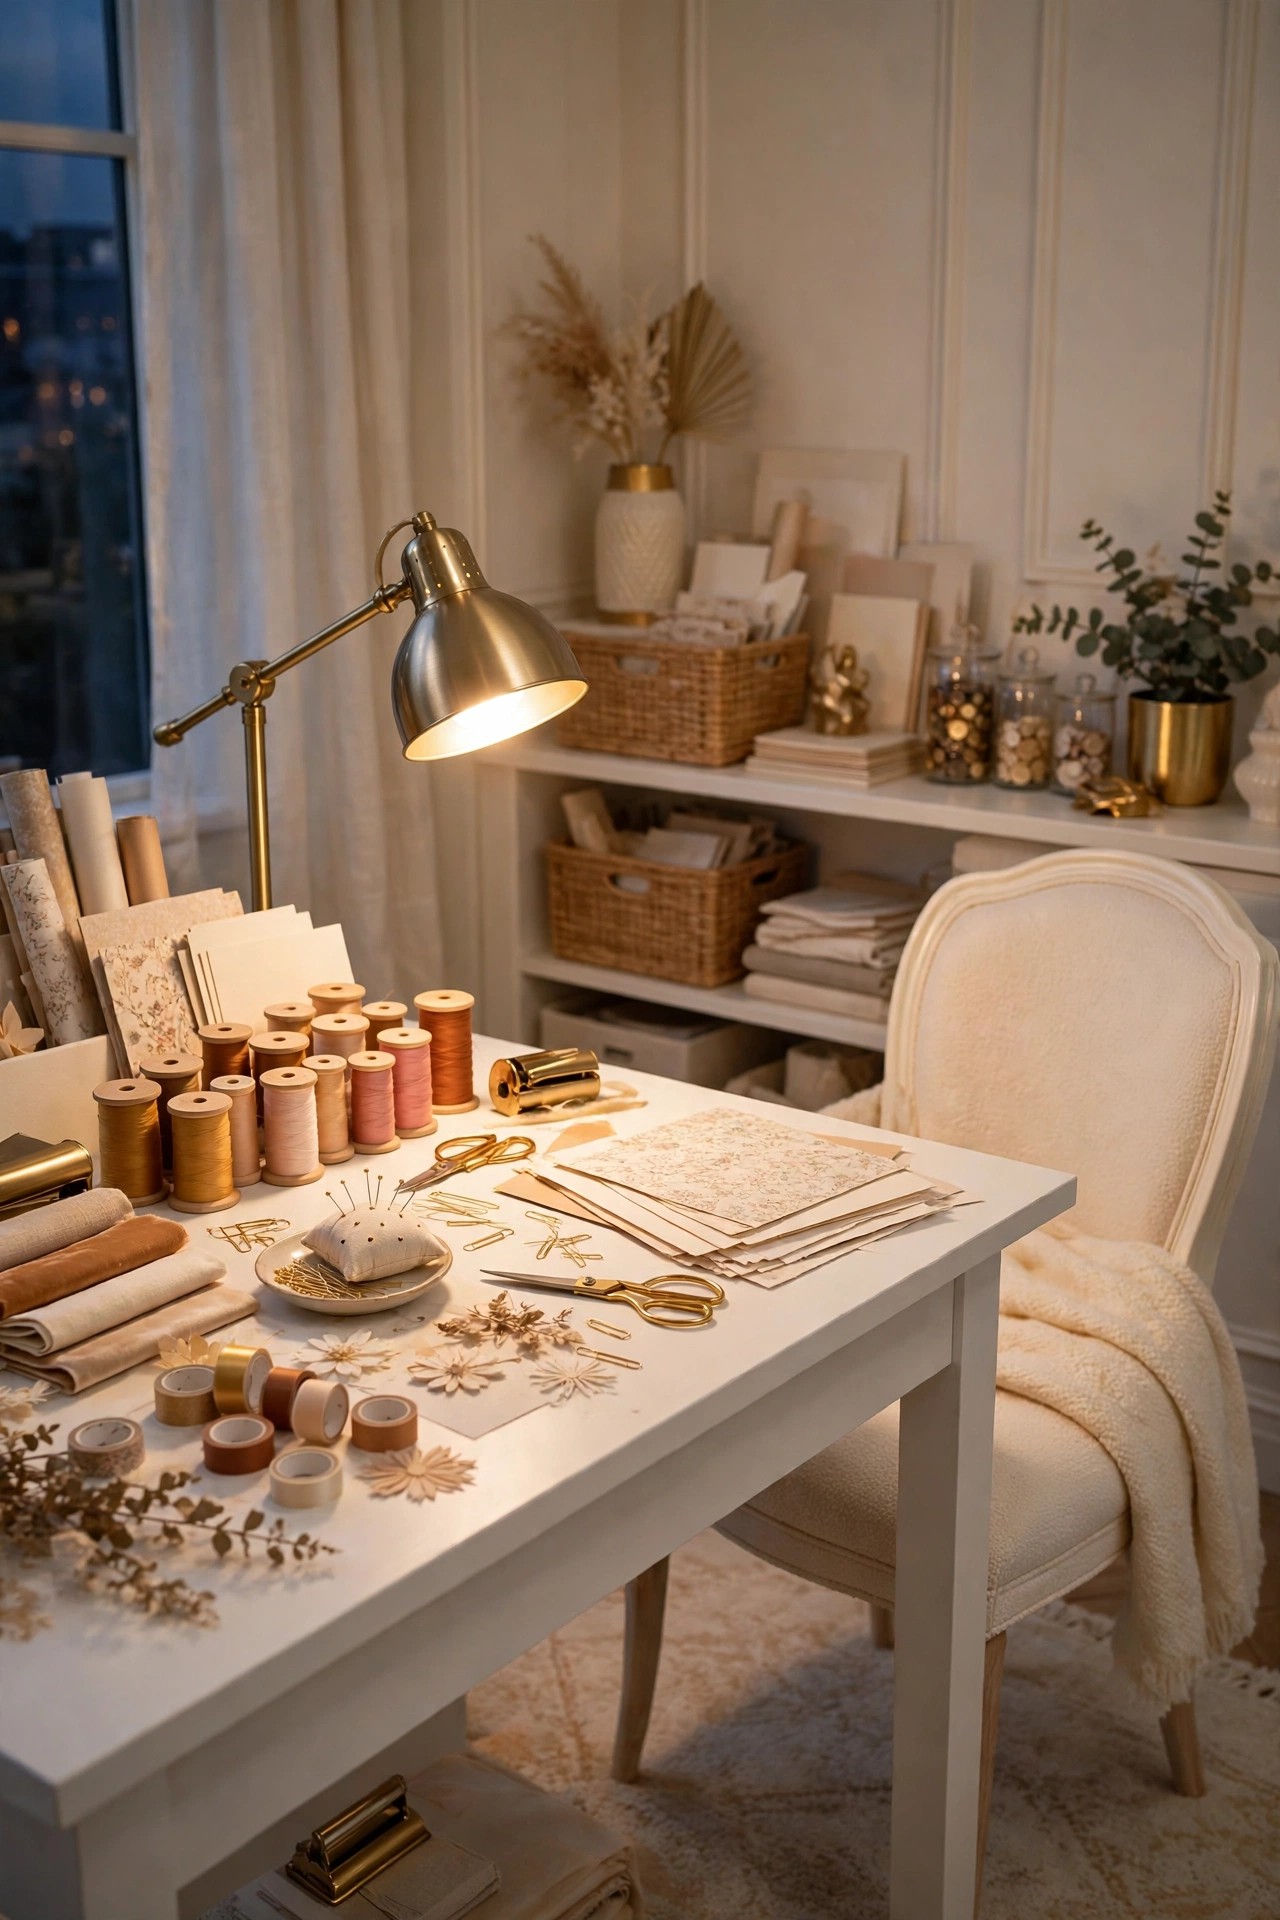
Craft work is eye work, and the ceiling light alone is not enough for threading needles, reading patterns or matching colors. One strong task light at the main table, a brushed gold lamp with an arm that moves, puts bright light exactly on the work, and warm white bulbs everywhere else keep the room calm around it. The rule that matters most is color: choose bulbs with a high color rating, because cheap bulbs shift reds and blues and a fabric matched at night can clash by morning. Add a second smaller lamp at the sewing corner if it sits away from the table, and keep every lamp’s cord out of the walkway between the table and the shelves. Our lighting guide for restful rooms explains bulb warmth in more depth
Best For: Anyone who crafts in the evening, and detailed work like embroidery, jewellery and model making.
Not Ideal For: Rooms used only in bright daylight hours; the window plan may be enough, with a small lamp for winter afternoons.
Estimated Cost: $60-$220 (estimate) for a brushed gold task lamp and warm high-color bulbs for the room.
Budget Note: The lamp arm is the spend; bulbs are cheap, so buy the high color rating ones for the work positions.
Renter Friendly: Yes
Renter Note: Plug-in lamps only, and run cords along the wall with clips rather than across the floor.
What You Need
Brushed gold task lamp with a moving arm, warm white bulbs with a high color rating for all lamps, a second small lamp for the sewing corner if needed, cord clips.
Product type to look for: A task lamp whose head turns and tilts without tools, because craft light needs re-aiming for every project size.
How To Do It
- Fit the high color rating bulbs in the task lamp and check a fabric match under it against the window light.
- Place the lamp on the opposite side of your working hand so the hand throws no shadow on the work.
- Add the second lamp at the sewing corner and set both cords along the wall with clips.
- Test the room at night: the table should be the brightest pool, the corners soft, and no bulb shining in the eyes from the chair.
Pro Tip
Keep one spare bulb of the exact same kind in a labelled jar on the shelf. Matching a dead craft bulb with a different warmth is how a room’s colors quietly go wrong.
11. Keep a Rolling Gold Cart for Daily Supplies
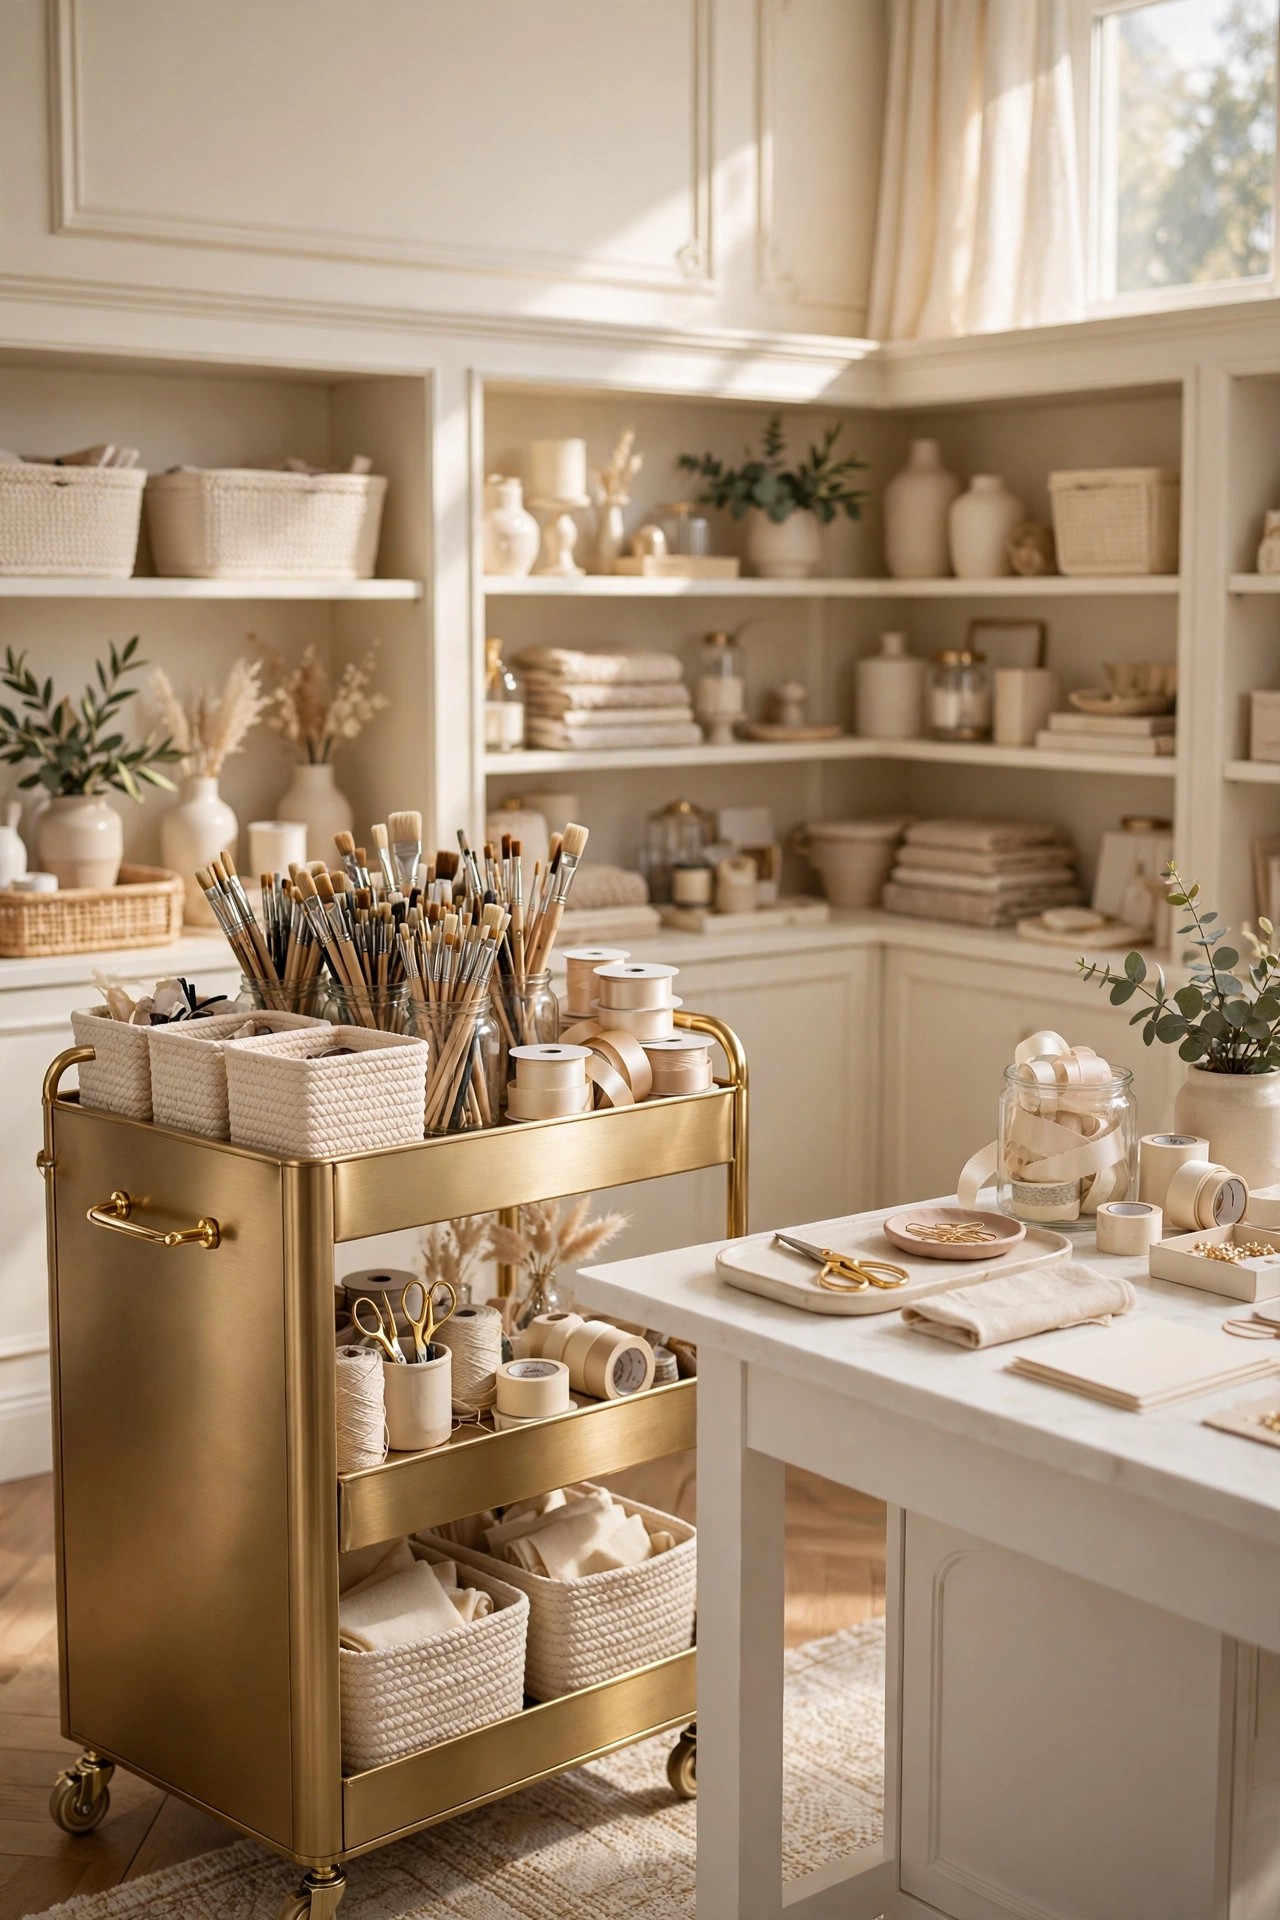
A rolling cart is the flexible storage that fixed shelves cannot be: it parks beside the table during a project, follows the work to the easel or the sewing corner, and rolls into a cupboard when guests use the room. Choose a brushed gold or warm cream metal cart with three tiers, load the top with the tools of the current project, the middle with its materials, and the bottom with the heavy things like paper stacks and paint. Cream bins and jars on the cart keep it inside the room’s storage families from idea 4, so it reads as part of the design rather than a trolley that wandered in. Lock or chock the wheels when it stands beside the table, because a cart that drifts mid-cut is a nuisance with scissors in hand.
Best For: Multi-hobby rooms where projects move between corners, and small rooms where one cart serves the whole space.
Not Ideal For: Rooms with thick carpet the small wheels cannot cross; a cart with large wheels, or fixed storage, suits those floors better.
Estimated Cost: $50-$150 (estimate) for a three-tier metal rolling cart in gold or cream.
Budget Note: Carts are a small spend; choose metal over plastic, because a loaded plastic cart flexes and sheds its shelves.
Renter Friendly: Yes
Renter Note: Nothing to fix at all; the cart is often the first piece in and the last piece out of a rented room.
What You Need
Three-tier rolling cart in brushed gold or cream metal, small cream bins and jars sized to the tiers, wheel chocks or locking wheels.
Product type to look for: A cart whose tier height fits your tallest bottles standing up, measured before ordering, because tier spacing varies a lot.
How To Do It
- Build the cart and test it loaded over the room’s actual floor, including the rug edge.
- Load the current project’s tools on top, its materials in the middle, heavy stock at the bottom.
- Park it on the non-dominant side of the table and chock the wheels.
- At the end of each project, empty the top tier completely so the next project starts with a clear cart.
Pro Tip
Give the cart a parking place, marked by nothing more than habit: beside the cabinet, wheels chocked. A cart that always sleeps in the same place never becomes the thing the room trips over.
12. Add a Curved Reading Chair for Sketching Breaks
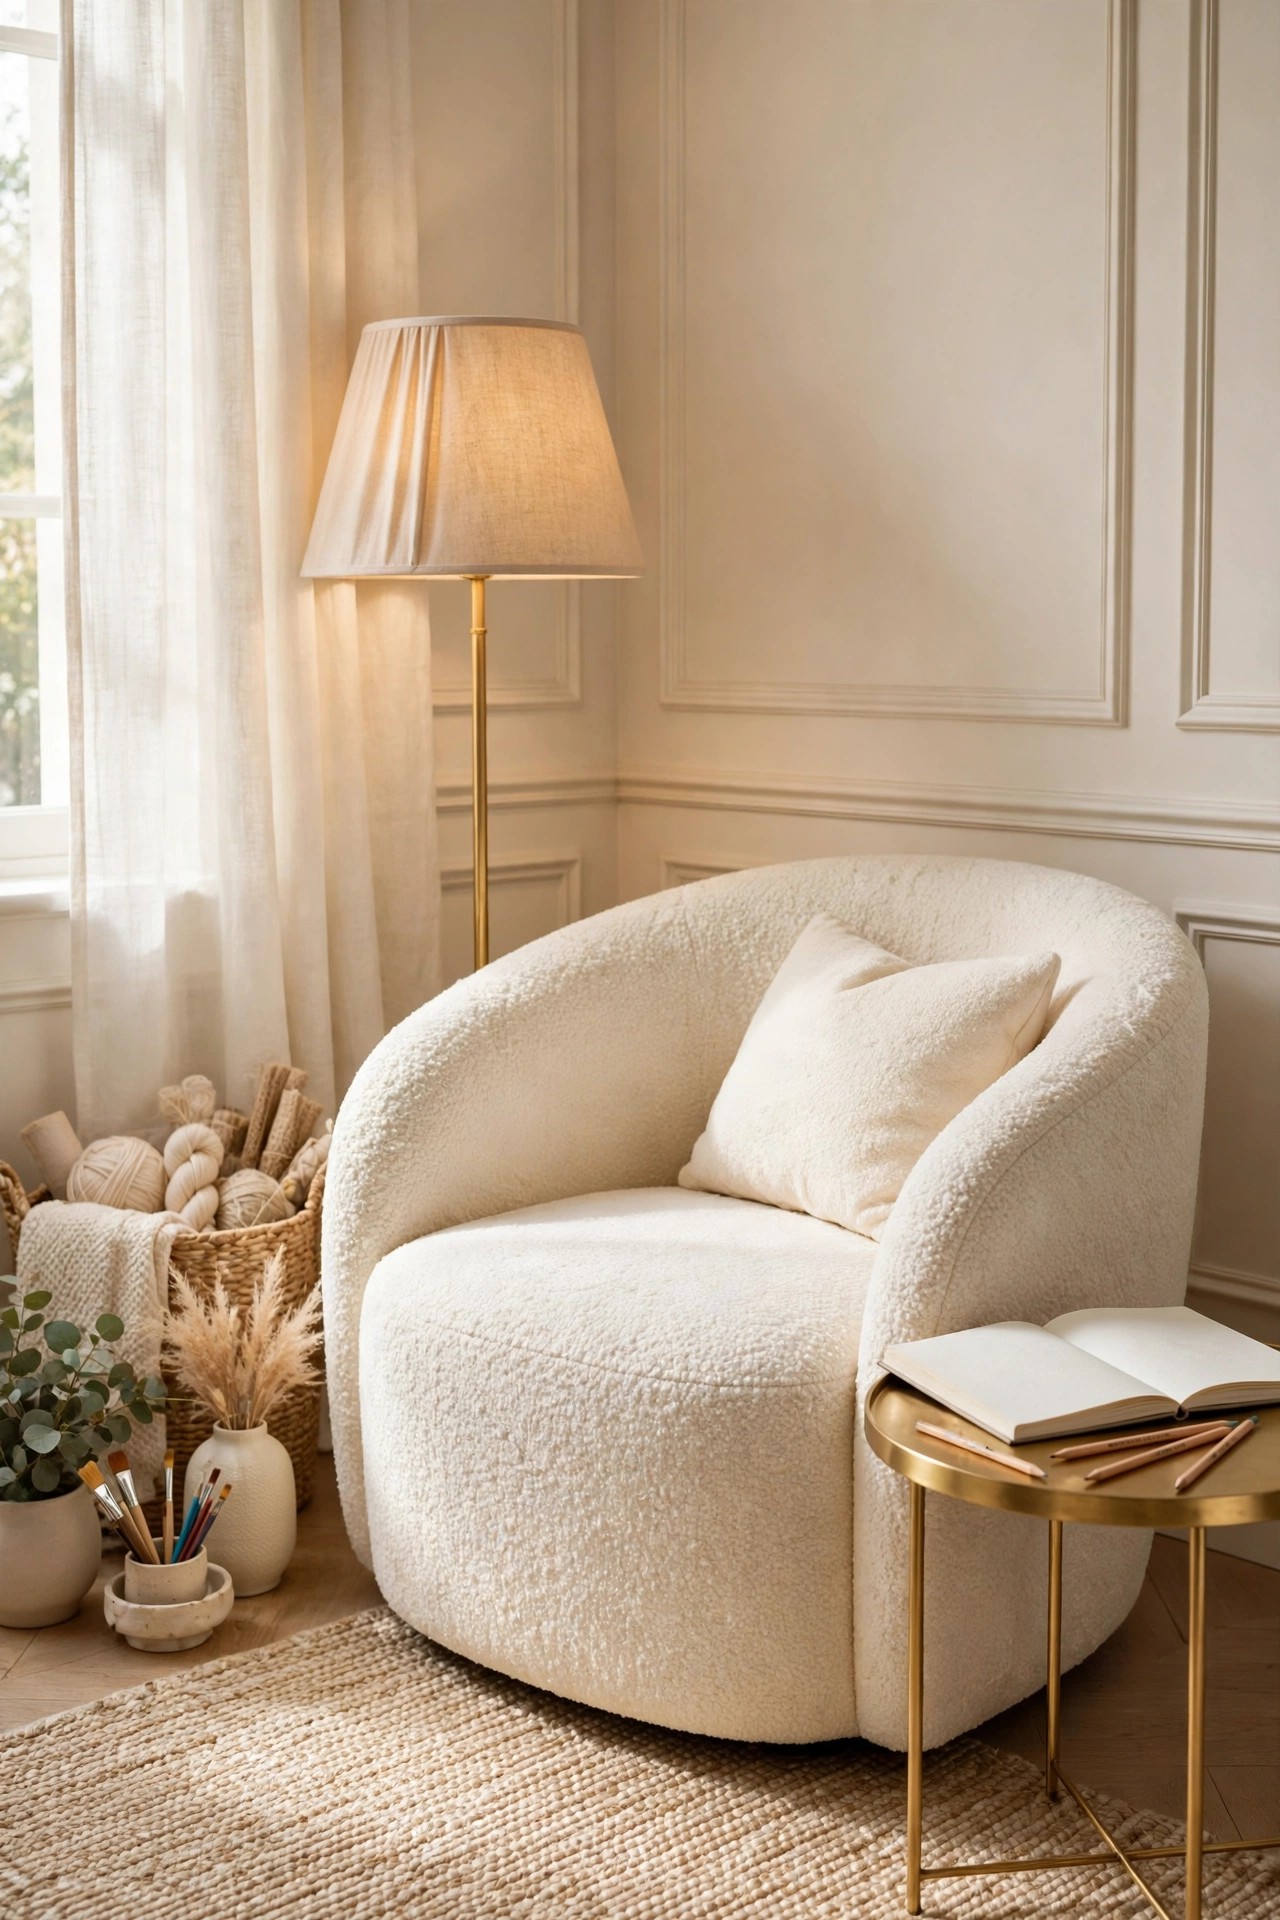
Not all hobby work happens at the table. Patterns get read, stitches get counted, sketches get planned and pieces get admired, and all of that goes better in a real chair than perched on a stool. A curved cream chair in the corner, with a small gold side table for the pattern book or sketchbook and a lamp of its own, gives the hobby room a second pace. It is also where hand work naturally lands: knitting, embroidery and crochet are chair crafts, and giving them a soft seat with good light stops them migrating to the sofa with their baskets of yarn. Keep a cream cushion and the current hand project in a basket beside the chair, and the corner is complete. The relaxed styling here follows the same soft-layer rules as our cozy living room ideas
Best For: Knitters, crocheters and embroiderers, and anyone whose hobby includes reading, planning and sketching.
Not Ideal For: Rooms where every corner is already a work zone; a better chair at the table is the smaller upgrade there.
Estimated Cost: $180-$500 (estimate) for a curved cream accent chair and a small gold side table.
Budget Note: The chair is the spend; comfort at an hour is the test, so sit in it before buying if you can.
Renter Friendly: Yes
Renter Note: Freestanding pieces only; a plug-in floor lamp keeps the corner free of any wiring work.
What You Need
Curved cream accent chair, small gold side table, floor or table lamp with a warm shade, cream cushion, basket for the current hand project.
Product type to look for: A chair with arms at a height that supports elbows for hand work, because knitting and embroidery are arm work as much as hand work.
How To Do It
- Choose the corner with the best natural light after the window corner, and angle the chair toward the room.
- Set the side table on the side of your working hand and the lamp behind the shoulder.
- Add the cushion and the project basket, and test an hour of hand work for comfort.
- Keep only the current hand project in the basket, so the corner stays a seat and not a shelf.
Pro Tip
Match the chair fabric to the sewing chair’s blush or the room’s cream, never a third color. Two soft seats in one shared note are what make the hobby room feel designed rather than gathered.
13. Hide the Clutter in a Tall Cream Cabinet
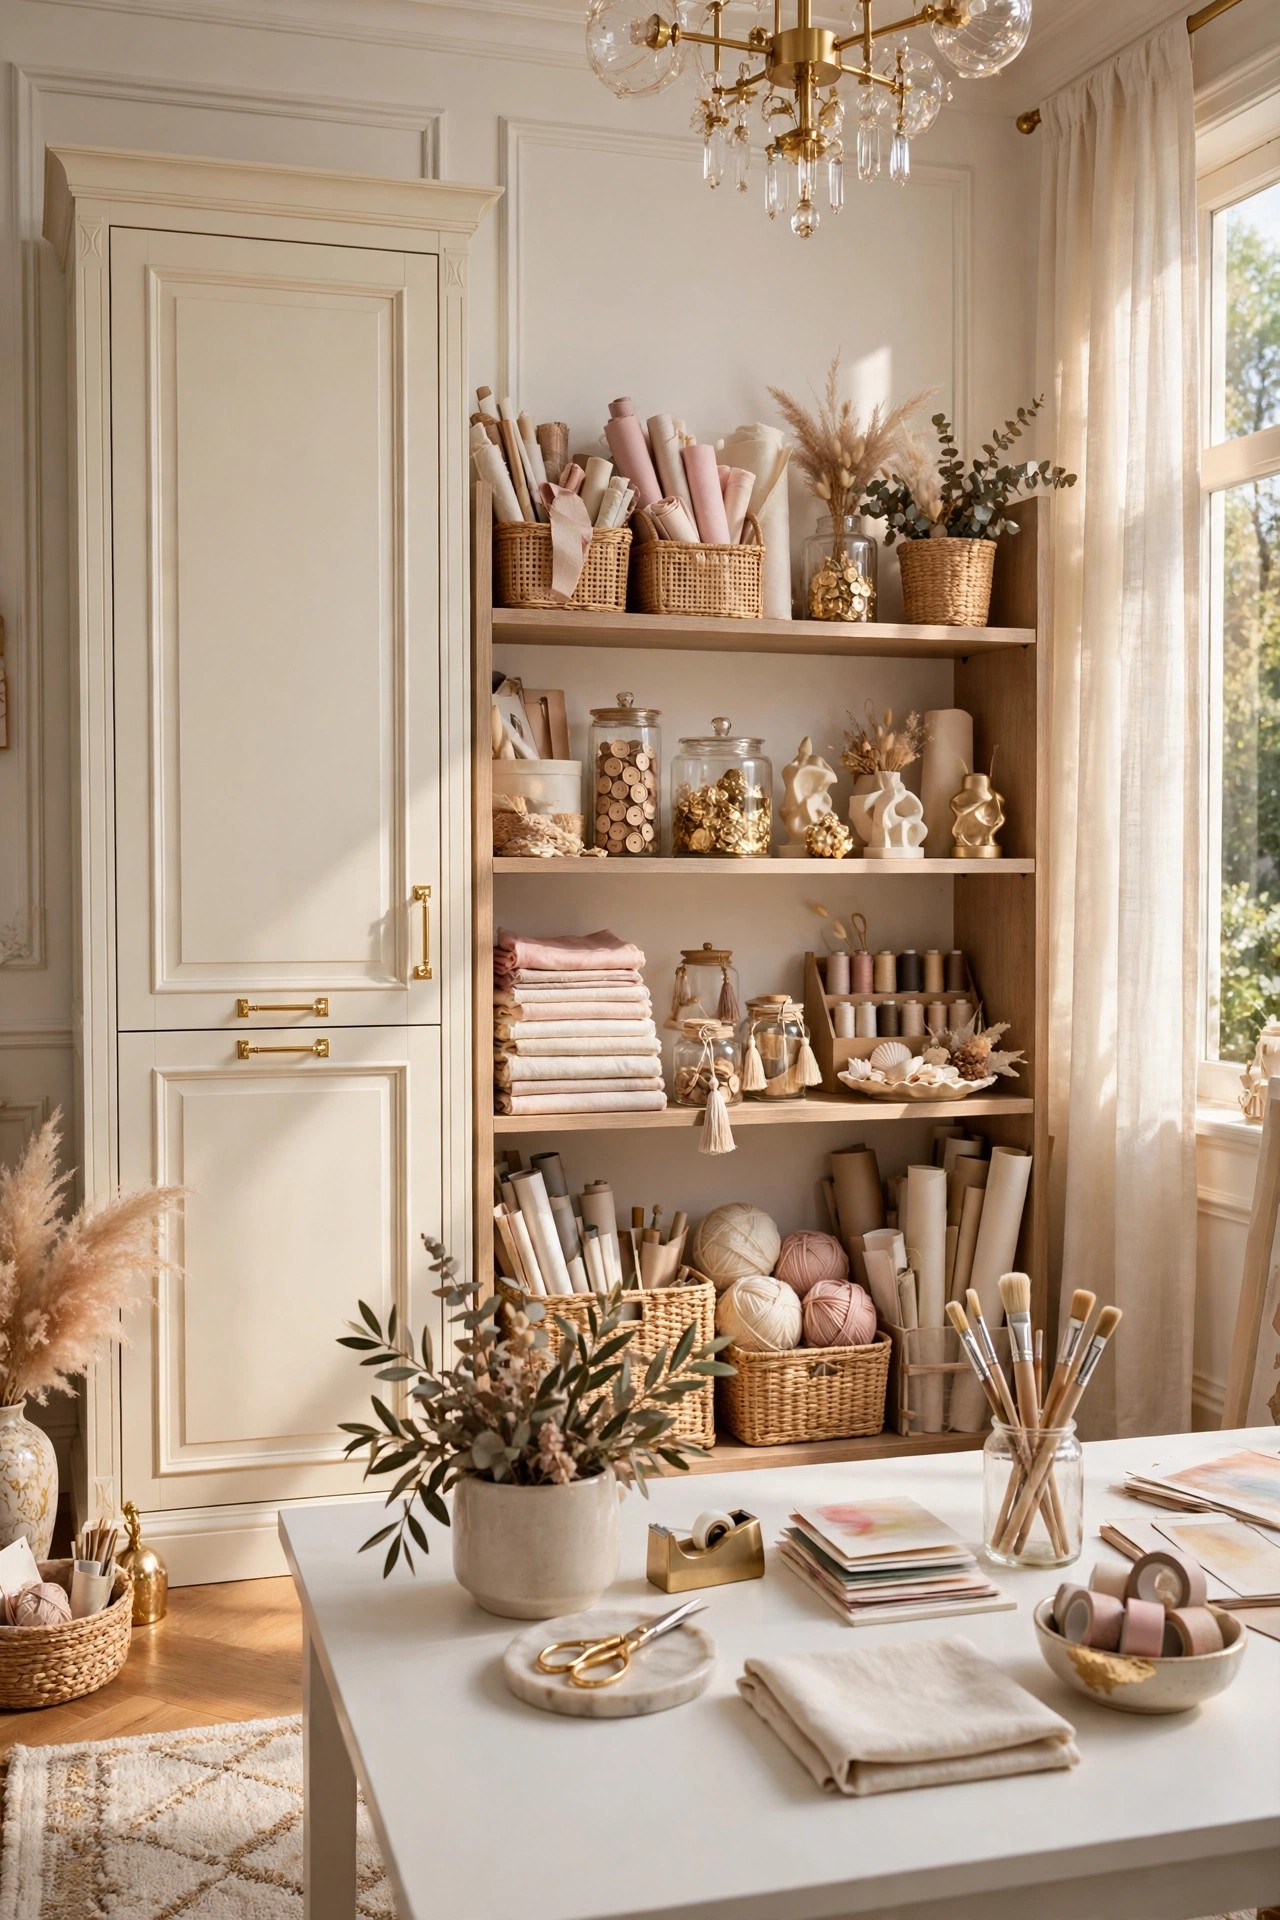
Every hobby room owns things that should not be on show: half-used paint tins, bulky tools, works in progress that look like mess until they are done. A tall cream cabinet with closed doors is where they live, and it is the piece that lets the open shelves in idea 3 stay styled. Choose a cabinet in the same cream as the shelving, with gold handles to repeat the metal, and shelves inside adjusted to your tallest boxes. Put works in progress on the middle shelves in their own trays, so a project can slide in mid-session and out again without being packed away. Fix the cabinet to the wall with its anti-tip strap, because a tall, loaded cabinet that a child climbs or a drawer overloads can tip, and that fixing is a safety step, not a decoration choice.
Best For: Rooms that must double as a guest room, and crafters whose supplies include bulky or untidy equipment.
Not Ideal For: Rooms where everything is small and pretty enough for open shelves; the cabinet floor space may serve better as a second work corner.
Estimated Cost: $300-$900 (estimate) for a tall cream cabinet with adjustable shelves.
Budget Note: The cabinet is a real spend; a flat-pack cream cabinet with upgraded gold handles gives the same look for far less than a bespoke one.
Renter Friendly: No
Renter Note: The anti-tip fixing needs one wall screw, which many landlords allow if asked; if not, choose a shorter, wider cabinet that cannot tip and load its weight low.
What You Need
Tall cream cabinet with adjustable shelves and gold handles, project trays, anti-tip wall strap and fixing, labels for the inside of the doors.
Product type to look for: A cabinet deep enough for your largest storage box, measured with the door closed, because door frames steal depth.
How To Do It
- Measure the largest boxes and works in progress, then set the inside shelves to those heights.
- Fit the anti-tip strap to the wall before loading anything.
- Load heavy and bulky items low, works in progress in trays at the middle, light extras at the top.
- Label the inside of each door with what sits behind it, so closed storage stays findable.
Pro Tip
Keep one whole shelf of the cabinet empty and call it the landing shelf. Every new hobby, gift project and seasonal craft lands there first, which is what stops new supplies spreading over the table.
14. Frame an Inspiration Board in Brushed Gold
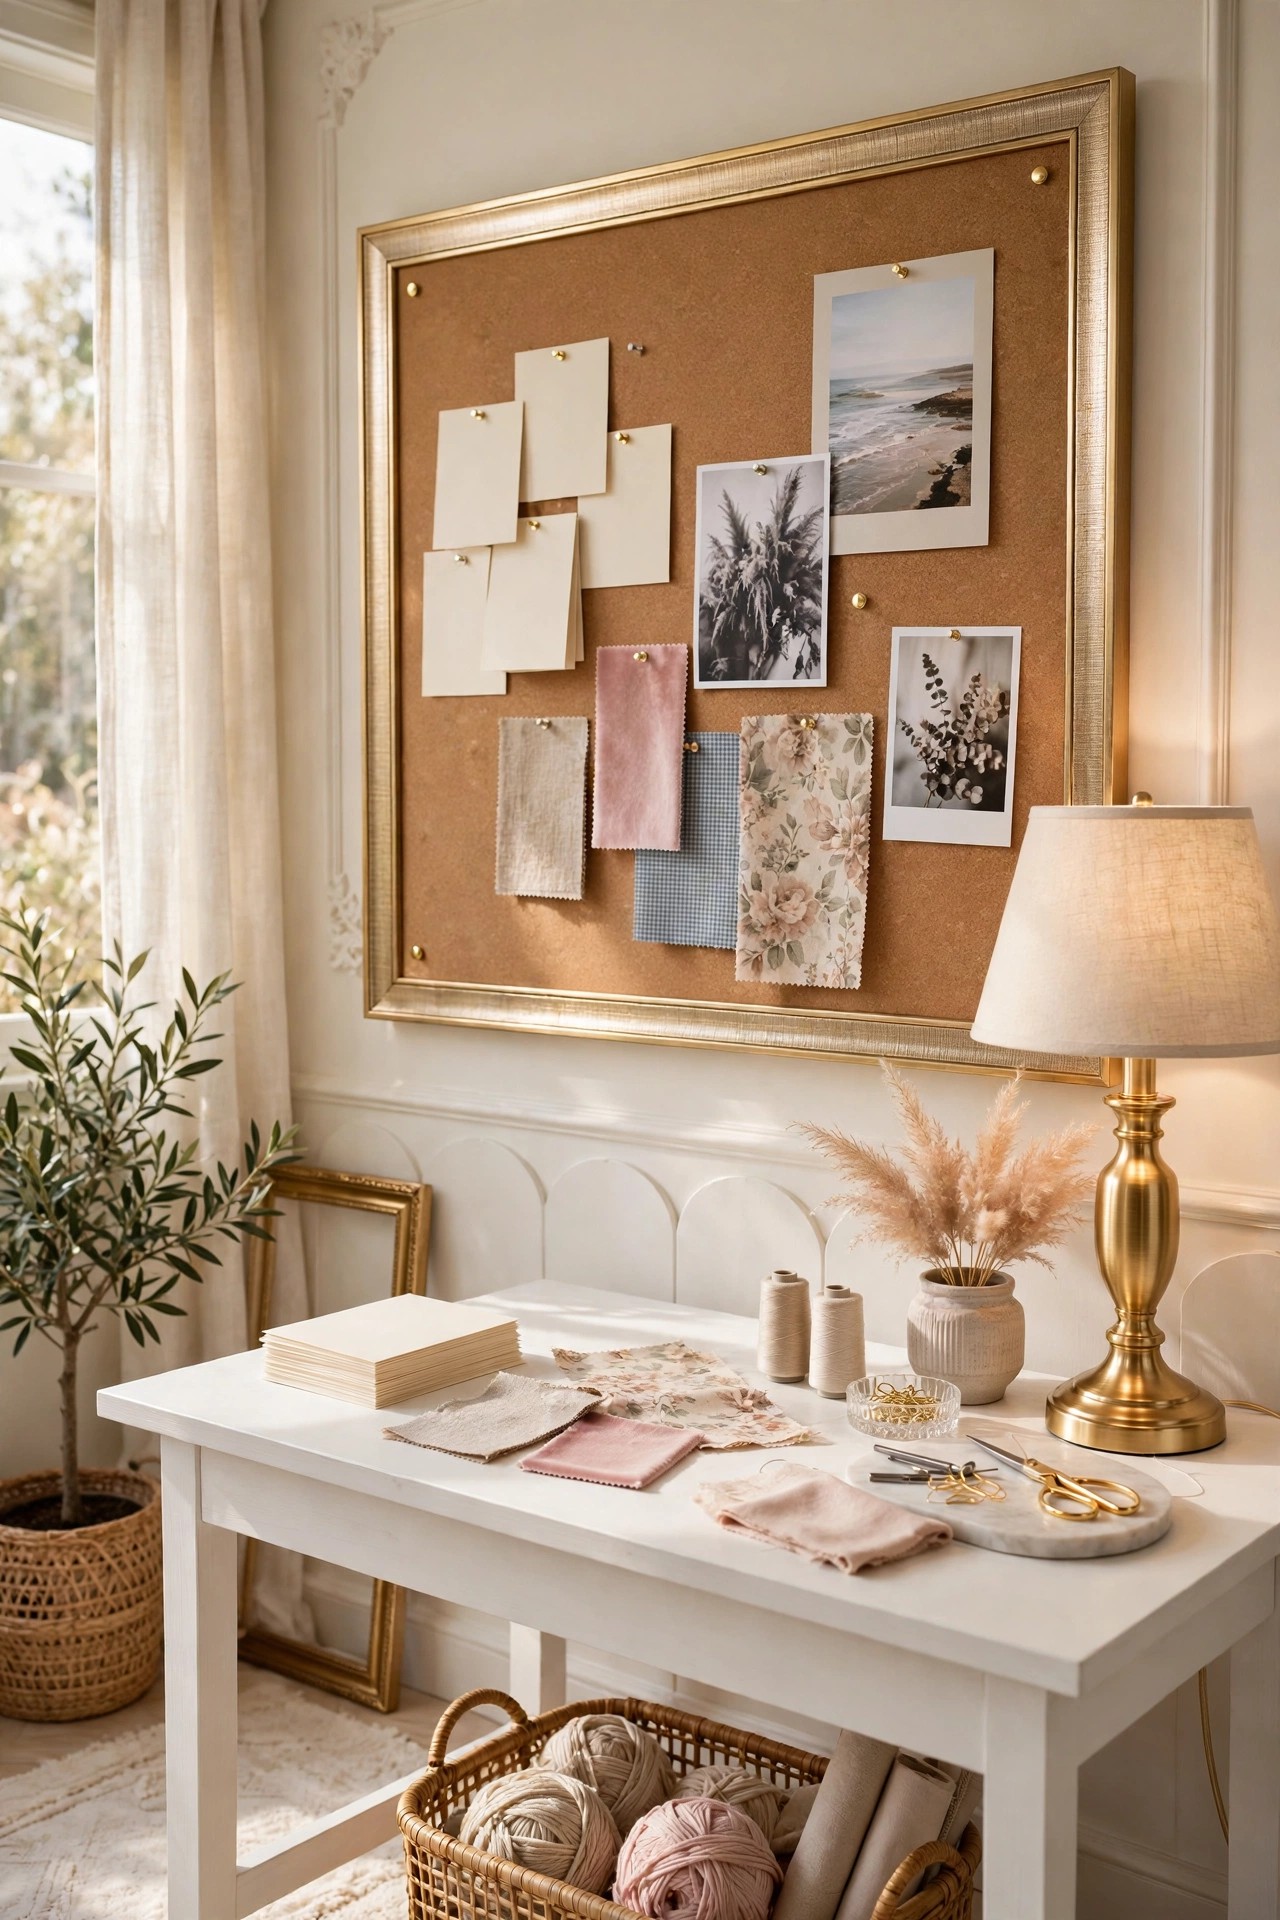
An inspiration board is where a hobby room keeps its future: fabric swatches, color cards, photos of finished pieces and the next three projects, all in view above the table. Framing a plain cork or linen board in brushed gold turns a noticeboard into the room’s picture, and the gold frame repeats the metal from the lamp, the handles and the rods so the board belongs to the room. Keep the board edited like the shelves: the current projects and the colors of the season only, on cream cards that sit inside the palette. Pins in gold or pearl heads look better than colored plastic ones and cost little more. When a project finishes, its card comes down the same day, which keeps the board a plan rather than an archive.
Best For: Visual planners, quilters and sewers working with fabric and color stories, and anyone who starts projects from photos.
Not Ideal For: Digital planners who keep everything in apps; a single framed print of a finished piece gives the same wall finish without the board.
Estimated Cost: $40-$130 (estimate) for a large cork or linen board, a gold frame and pins.
Budget Note: Framing a plain board costs far less than buying a finished designer board of the same size.
Renter Friendly: No
Renter Note: One picture hook carries a light board, and many leases allow picture hooks; renters can also lean a large board on the table against the wall if it cannot slide.
What You Need
Large cork or linen pin board, brushed gold frame or gold frame molding, gold or pearl-head pins, cream cards and swatches to start it.
Product type to look for: A board thick enough to take a pin without the point reaching the wall behind it.
How To Do It
- Measure the wall above the table and choose the largest board that leaves a hand’s width on each side.
- Fit the frame to the board, then hang it level at eye height from the chair.
- Start it with cream cards: the palette of the season and the next three projects, nothing more.
- Add swatches and photos as projects start, and clear each finished card the day the project ends.
Pro Tip
Photograph the board each season before you clear it. The photos become a color diary of your making year, and they are the fastest way to restart a palette you loved.
15. Finish with Soft Evening Layers
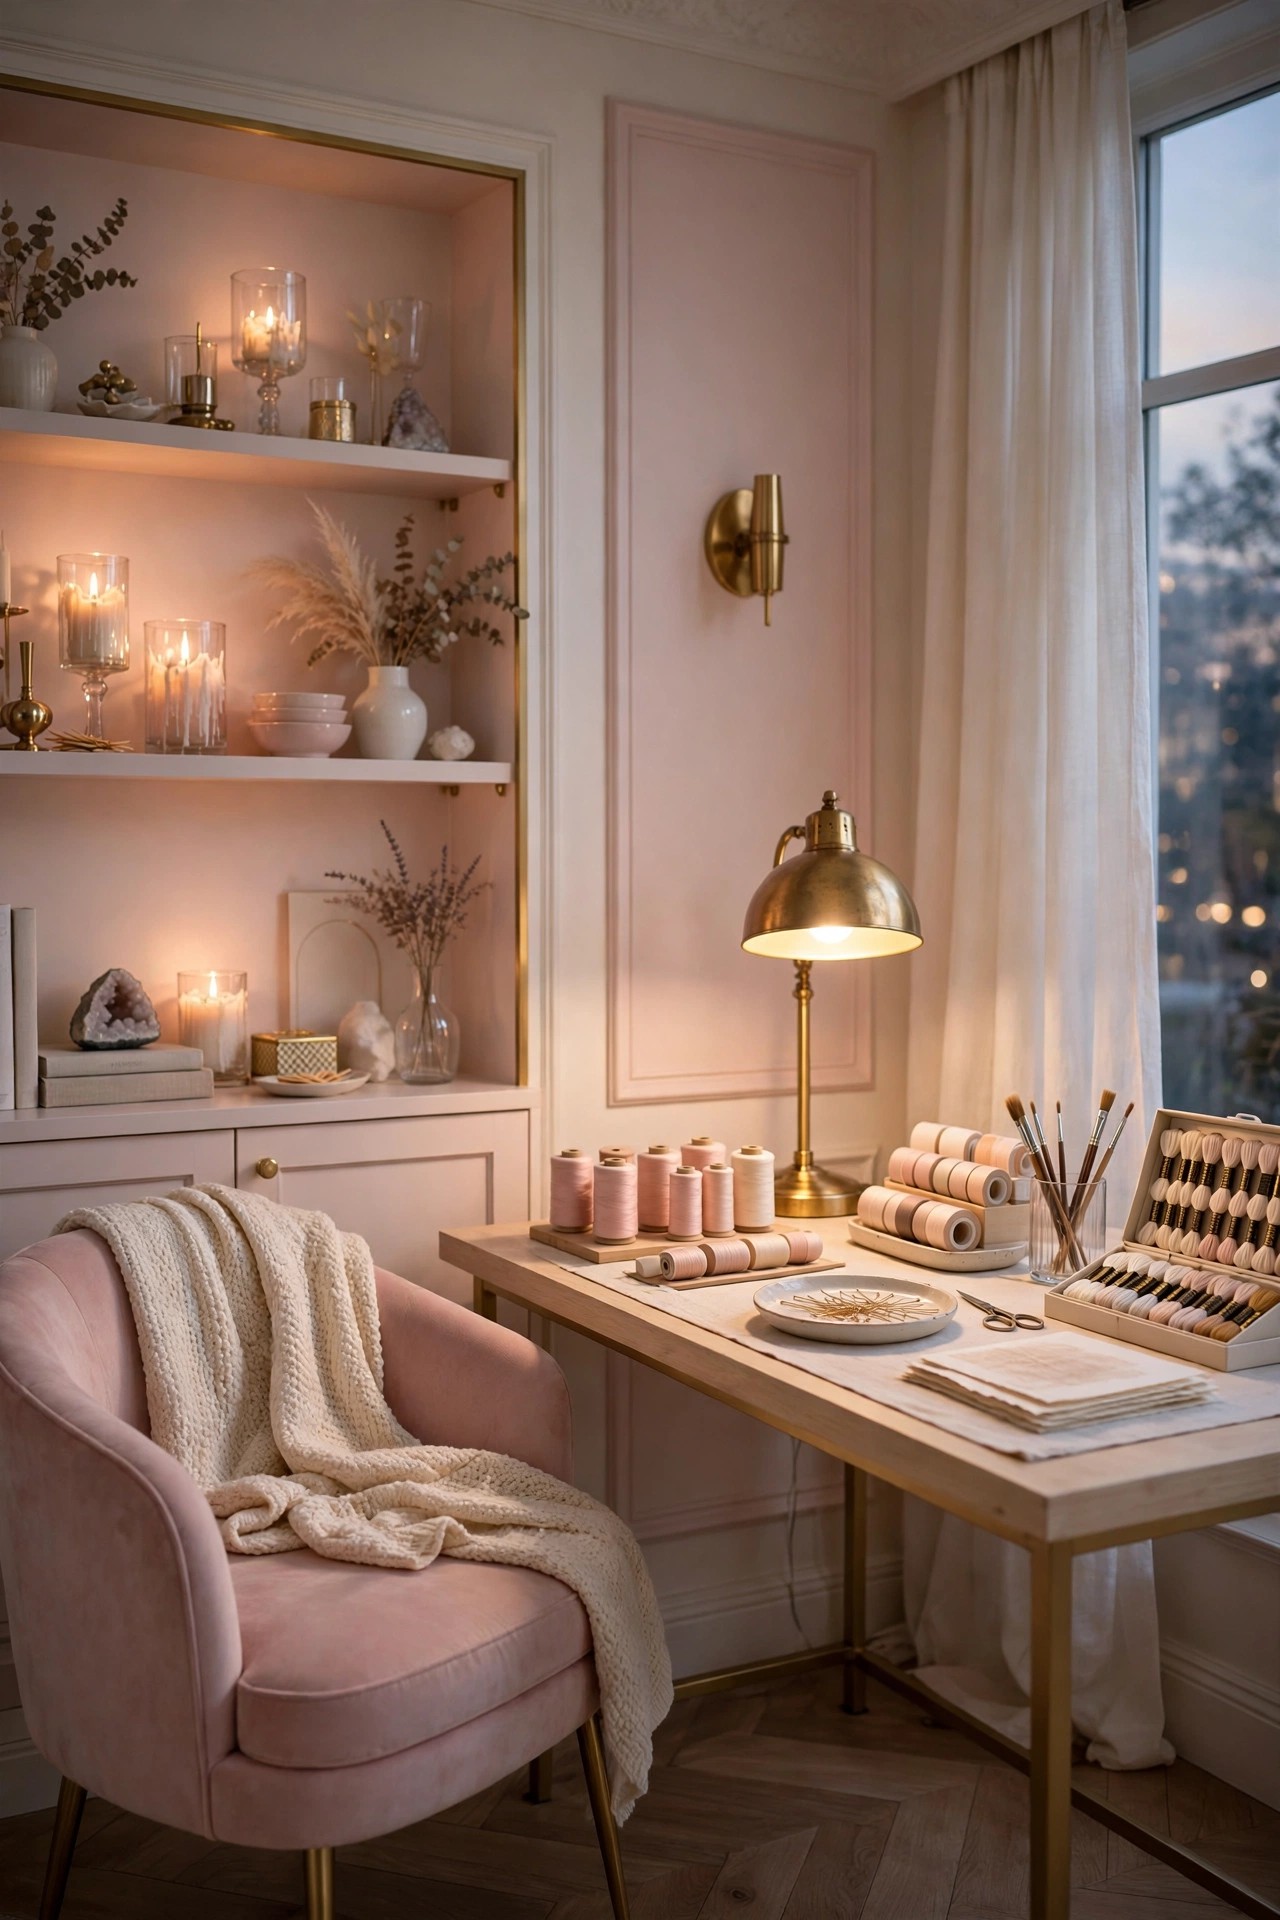
The last idea is what turns a workroom into the room you choose in the evening. A cream throw over the reading chair, one cushion in blush, a candle or a small lamp on the shelf, and the day’s tools put away so the table sits clear under its gold lamp: the hobby room at night should look like a calm studio in a magazine, not a workshop after hours. These layers cost little because most are already in the house, a throw and cushions moved in from the living room, but they change when the room gets used, because a beautiful room invites the evening hour of making that a bare one never does. Keep flames away from paper, fabric and ribbon, which a craft room is full of, and use a battery candle on the shelves if the room is left alone in the evening. The same layered finish, throw, cushion, warm lamp, clear surfaces, is what makes our modern luxury living room ideas feel expensive at night
Best For: Everyone, and especially rooms that look fine at noon and forgotten by evening.
Not Ideal For: No real exception, but keep every soft layer clear of the painting corner and its solvents.
Estimated Cost: $60-$200 (estimate) for a cream throw, a blush cushion and a small shelf lamp or candles.
Budget Note: Shop the house first; a throw and cushion moved from another room cost nothing and still finish the look.
Renter Friendly: Yes
Renter Note: Nothing here needs fixing; battery candles avoid any issue with lease rules about open flames.
What You Need
Cream throw, blush cushion, small lamp or candles for the shelf, a tray to gather the day’s tools at tidy-up.
Product type to look for: A throw in a washable knit, because craft rooms shed fibres, glitter and thread onto everything soft.
How To Do It
- Clear the table fully and put the day’s tools in their homes, using the tray for anything mid-project.
- Drape the throw over the reading chair and set the blush cushion on it.
- Light the shelf lamp or candle, keeping any flame far from paper, fabric and ribbon, or use a battery candle.
- Walk to the door and check the room as a guest sees it: calm table, warm light, soft chair, styled shelves.
Pro Tip
End every session with the same five-minute reset: table clear, cart parked, board updated, throw straight. The room you walk into tomorrow decides whether you make something tomorrow.
Practical Tips for Hobby Room Design
Hold the base calm and let the supplies be the color. The walls stay warm cream, the furniture stays white or cream, and blush and brushed gold do the decorating, so the room can hold fabric, yarn, paper and paint in every shade without ever looking chaotic. Repeat each storage family at least twice: glass jars appear on the shelves and on the cart, cream bins on the shelves and in the cabinet, gold in the lamp, the handles, the rods and the board frame, because one note used once looks accidental and twice it looks planned. Keep brushed gold as the only metal and match its tone across every piece, since mixed metals are what scatter the glam note in a small room. Work in zones and defend them: wet work at the easel on its mat, machine work in the sewing corner, hand work in the reading chair, and everything back in its zone at the end of the session. Finally, judge the room twice, once at midday for true color at the table and once at night for warmth, because a hobby room lives in both lights and a design that only works at noon will disappoint every evening you sit down to make something.
Frequently Asked Questions
What is the best layout for a hobby room?
One large table in the centre as the main workspace, open shelving on the longest wall, separate small corners for each hobby (sewing, painting, hand work), and one tall closed cabinet for bulky storage. The table faces the window light, the wet corner stays on hard floor or a mat, and a rolling cart moves supplies between the zones.
How do I design a hobby room in a small spare room?
Keep the same zones but shrink each one: a folding or slim table instead of an island, one wall of shelving, a cart that serves every corner, and the tall cabinet doing most of the storage. The cream and gold palette matters even more in a small room, because matching storage is what stops a small craft space looking cluttered.
What colors suit a hobby room?
Warm cream walls, white or cream furniture, blush as the single soft accent and brushed gold as the single metal. The quiet base keeps supply colors true, which matters for fabric and paint choices, and the blush and gold keep the room feeling glam rather than like a workshop.
How much does it cost to set up a hobby room?
A working glam hobby room can start with the table, shelving and jars for a few hundred dollars and grow corner by corner from there. The ideas in this list carry honest estimated cost ranges, from around $40 for storage jars to $300-$900 for a tall cabinet, so the room can be built in the order your budget allows.
Where should a sewing machine go in a hobby room?
In its own corner, out and threaded on a slim table, with thread and tools within arm’s reach of a supportive chair and a socket with its own switch. A machine that stays set up gets used; a machine that lives in a cupboard mostly does not.
Can a hobby room also be a guest room?
Yes, if the closed storage does its job. The tall cabinet hides works in progress and bulky supplies, the cart rolls into the cabinet or a cupboard, the craft table clears to serve as a desk or dressing table, and the reading chair and soft layers make the room read as a calm guest room between projects.
Conclusion
A hobby room design works when the studio half and the beautiful half are planned together: a warm cream and gold base keeps the room calm, one large table and a wall of open shelving make it fast to work in, glass jars and cream bins turn storage into part of the decor, and separate corners for sewing, wrapping, painting and hand work give every craft its own home. Start with the base and the table, add storage before the second corner, keep one metal and one soft accent through the whole room, and finish with the evening layers, and the spare room becomes the place where things get made, in a room that looks as good as the things made in it.