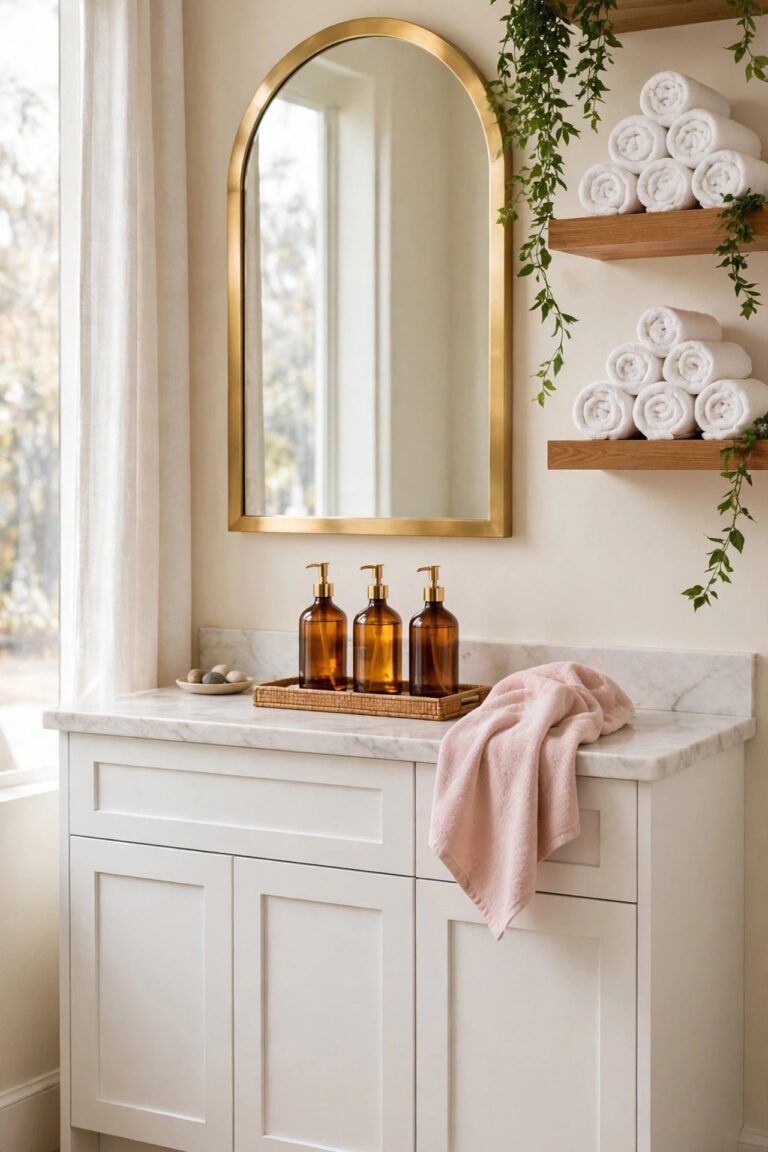
15 Black and White Bathroom Ideas That Feel Glam
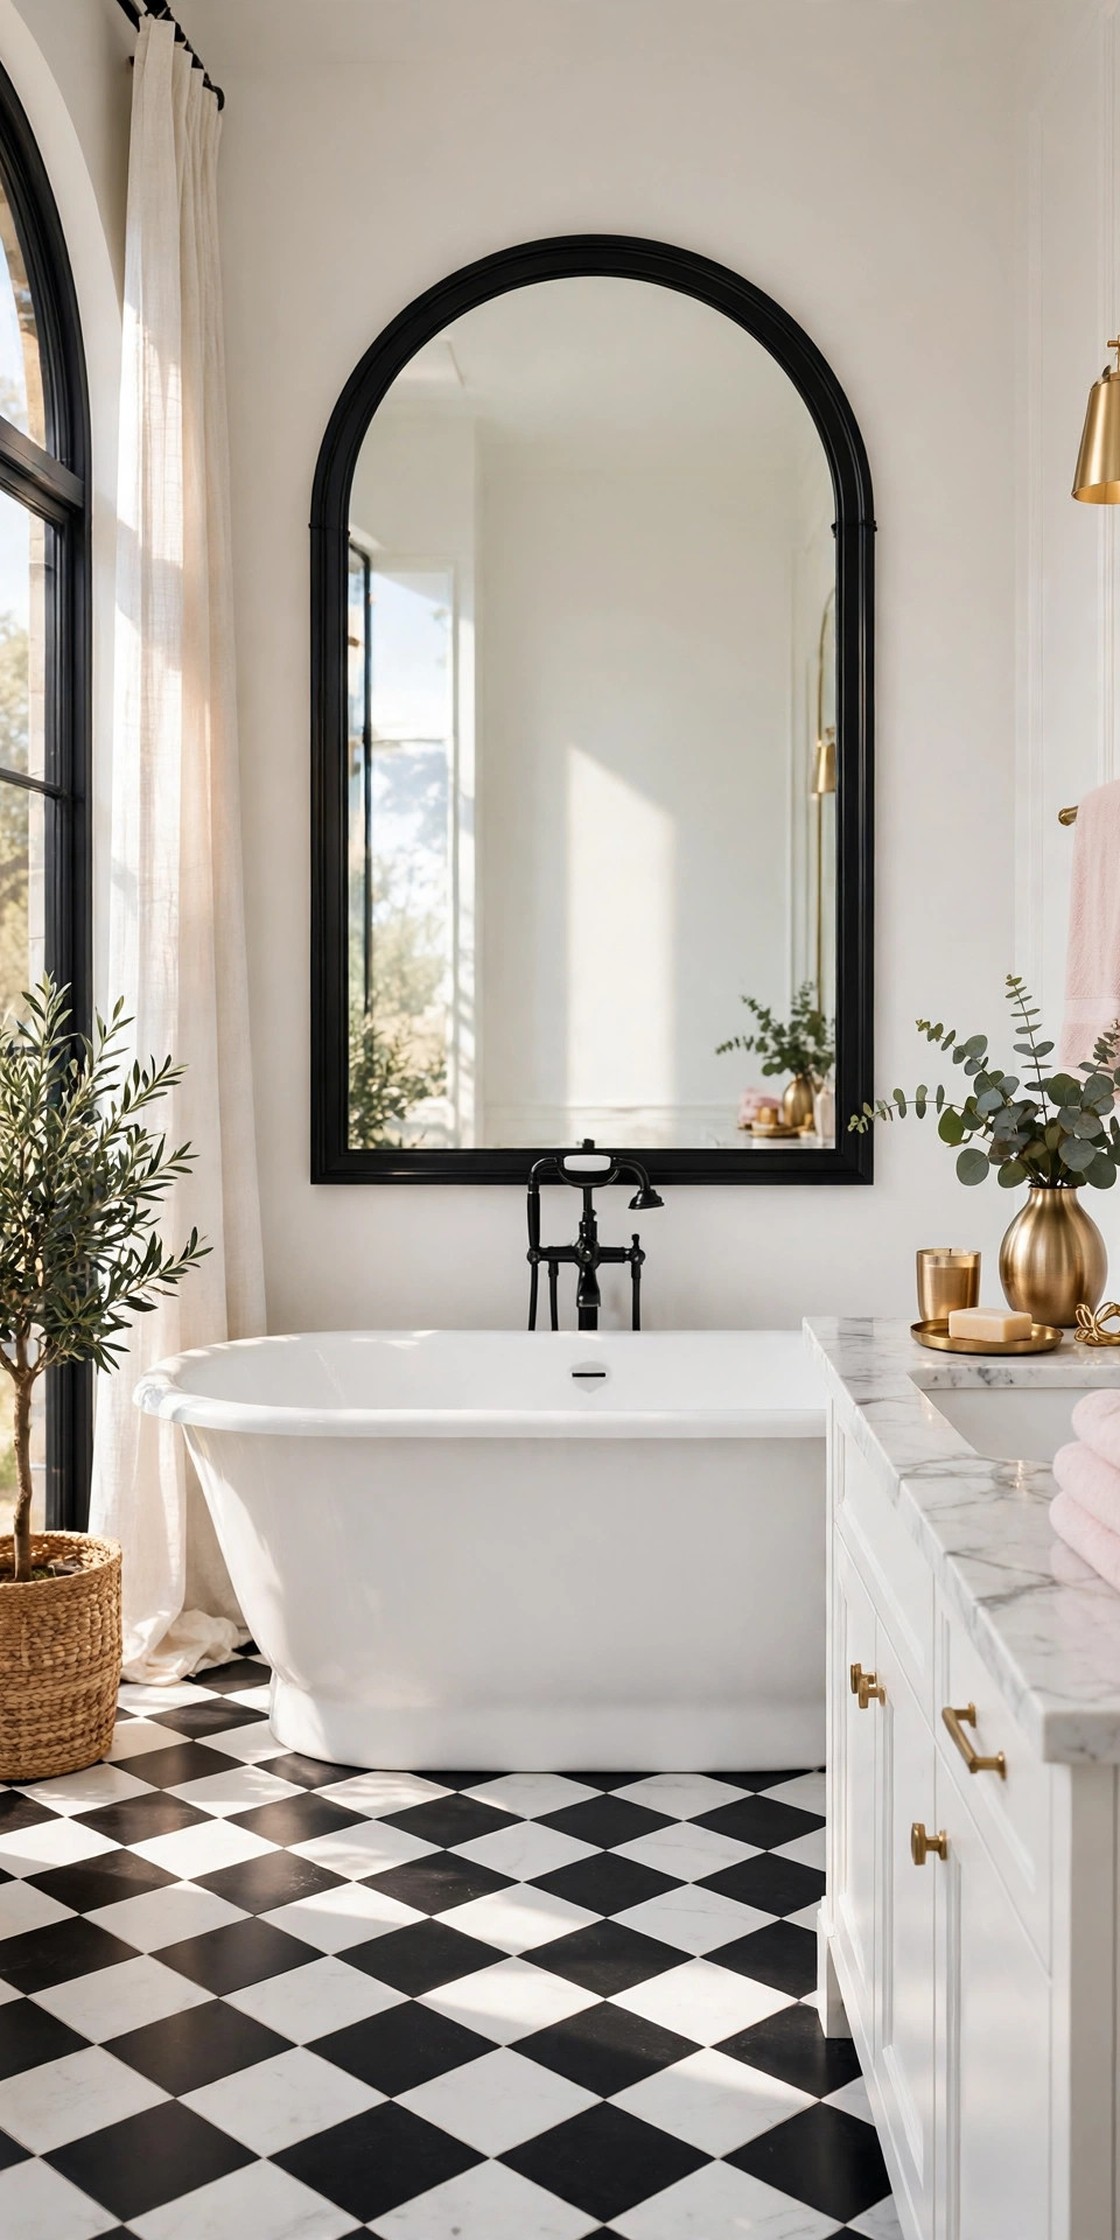
A black and white bathroom can look crisp and calm, or it can look cold and hard, and the difference is everything that softens the contrast. Black and white is the most classic bathroom pairing there is, and it suits a small bathroom as well as a large one, because the white keeps the room bright and the black gives it a clear shape. The trouble starts when every surface is either pure white or pure black, because then the room has no middle tone and feels more like a photograph than a place to get ready in the morning. These black and white bathroom ideas keep the classic contrast and build warmth around it: warm white walls, cream towels, blush accents, brushed gold and pale wood, all in the bright glam style GlamNStyle is known for. Work through the list in order, because the early ideas set the floor, the fixtures and the light, and the later ones add the soft layers that make a black and white bathroom feel inviting rather than severe. If you want a broader starting point first, our guide to bathroom decor is a useful companion read
Disclosure: This article may contain affiliate links. If you buy through a link on this page, GlamNStyle may earn a small commission at no extra cost to you. Product links in this article are plain links; each one is checked on the retailer’s own page before it is added.
1. Lay a Classic Black and White Checkerboard Floor
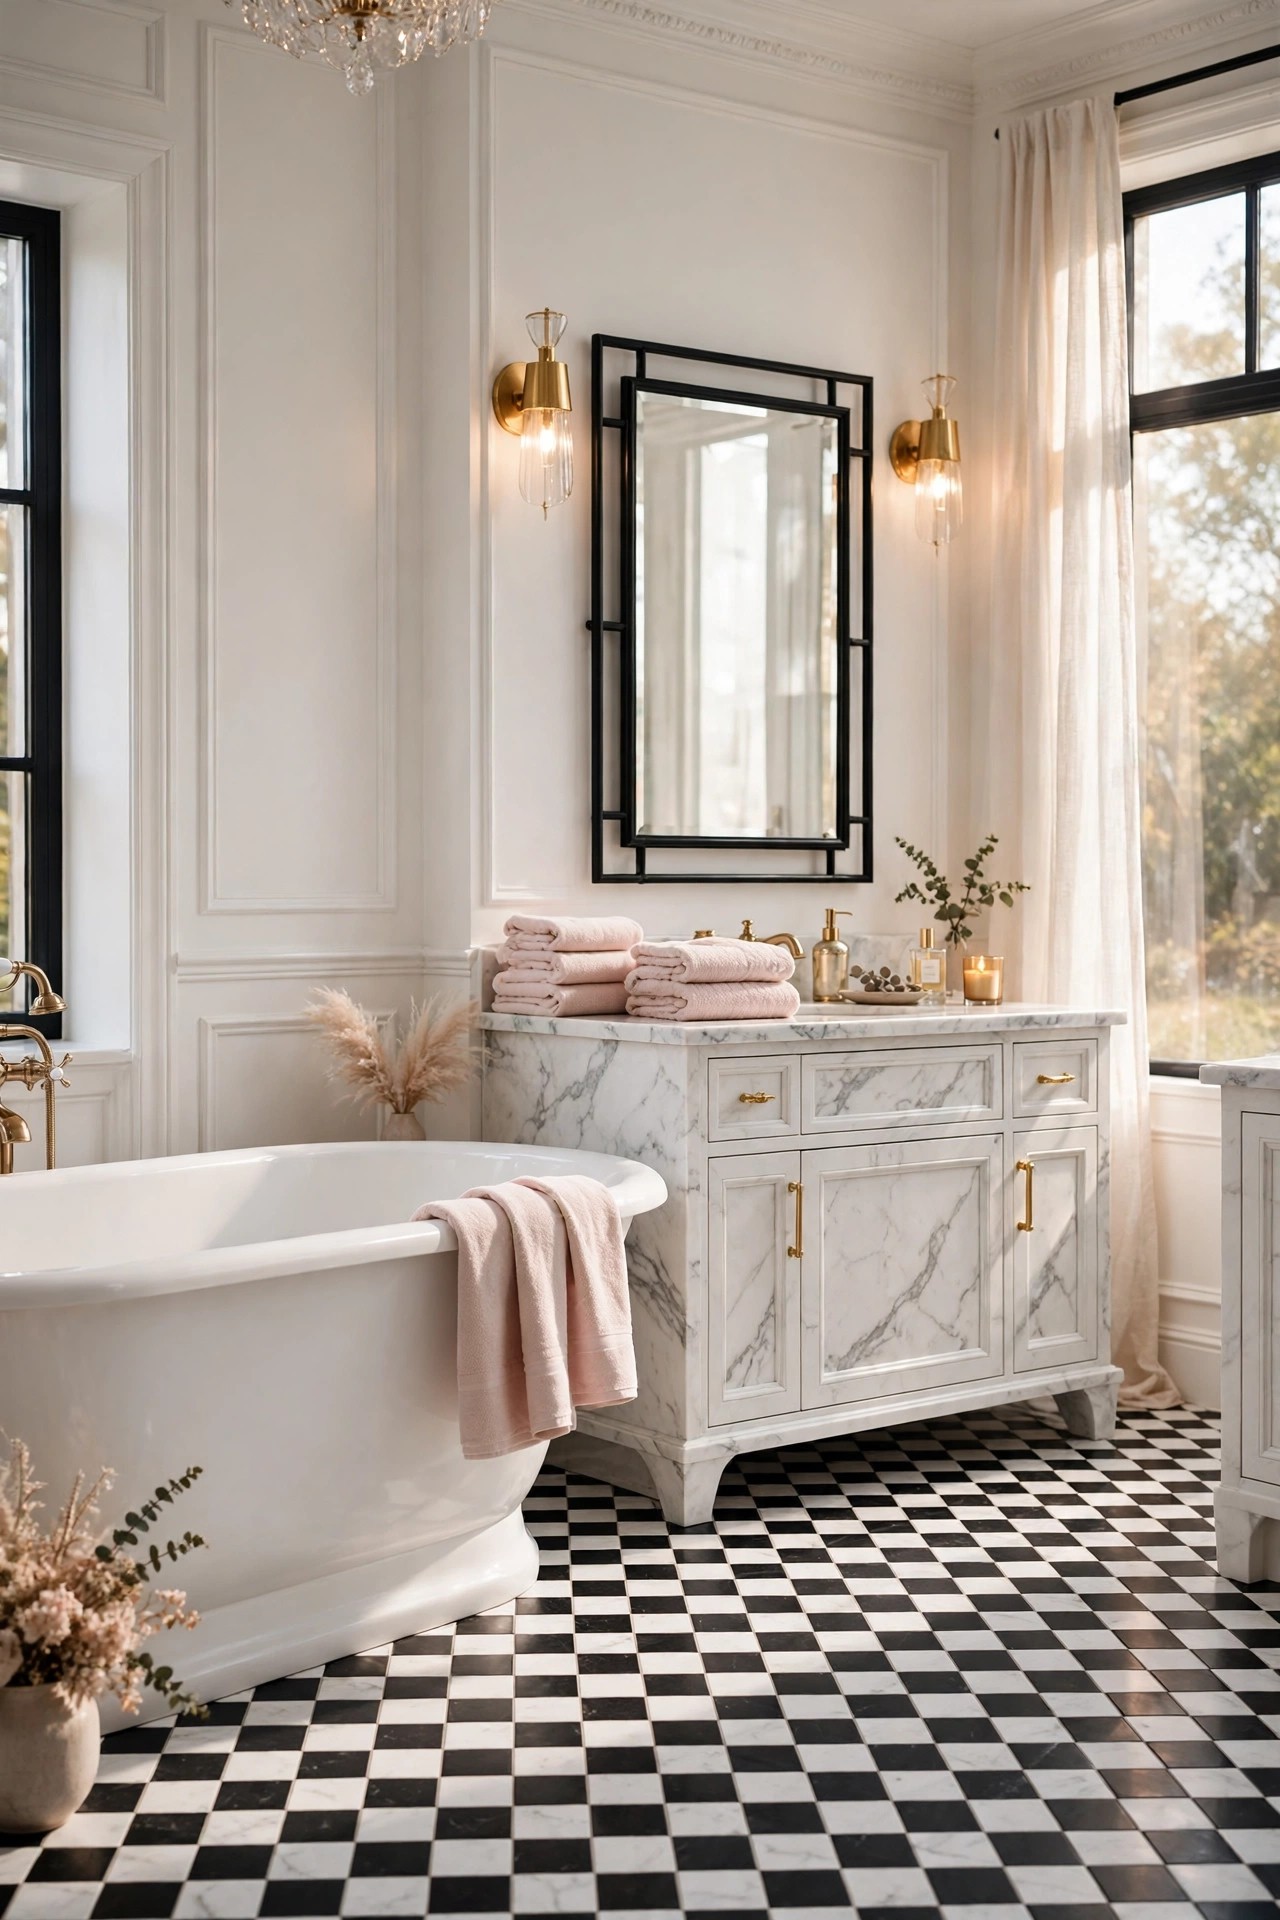
A checkerboard floor is the most honest starting point for a black and white bathroom, because it sets the whole contrast in one surface and lets everything else stay calm. Large black and white tiles in a straight checkerboard, with narrow grout lines in a warm grey, give the floor a clear pattern that reads as classic rather than busy, and the pattern also hides water spots and footprints better than a plain white floor. Keep the scale generous: tiles of about twelve inches suit most bathrooms, while very small tiles turn the floor into a visual buzz that fights the vanity and the mirror. Lay the pattern square to the door so the first view into the room feels orderly, and keep the walls, the tub and the vanity mostly plain so the floor can be the one strong pattern in the room.
Best For: Bathrooms of any size where the black and white theme needs one clear anchor, and anyone starting a full bathroom refresh.
Not Ideal For: Very small bathrooms where a strong floor pattern can feel busy; a larger tile with a softer black, like charcoal, calms the effect there.
Estimated Cost: $400-$1,200 (estimate) for tile and fitting for a standard bathroom floor, depending on tile choice and room size.
Budget Note: The tile is the spend; a plain ceramic checkerboard costs far less than natural stone and reads the same from standing height.
Renter Friendly: No
Renter Note: Tile is a landlord decision; renters can use a black and white patterned bath mat over the existing floor instead.
What You Need
Black and white floor tiles in one size, warm grey grout, tile adhesive and spacers, a non-slip bath mat in cream.
Product type to look for: Floor tiles with a non-slip finish rated for wet bathroom floors, in a size that suits the room without needing many small cuts at the edges.
How To Do It
- Measure the floor and dry lay the tiles from the doorway so the pattern starts square and centred.
- Fit the tiles with even spacers, keeping the black and white squares in straight rows.
- Grout in warm grey, wipe the tiles clean before the grout dries, and let the floor cure fully before use.
- Place a cream bath mat at the tub and the vanity so bare feet meet a soft surface first.
Pro Tip
Choose grout one shade warmer than white. Bright white grout yellows fastest in a bathroom, and warm grey keeps the checkerboard looking clean for longer.
2. Fit Matte Black Fixtures Against White Walls
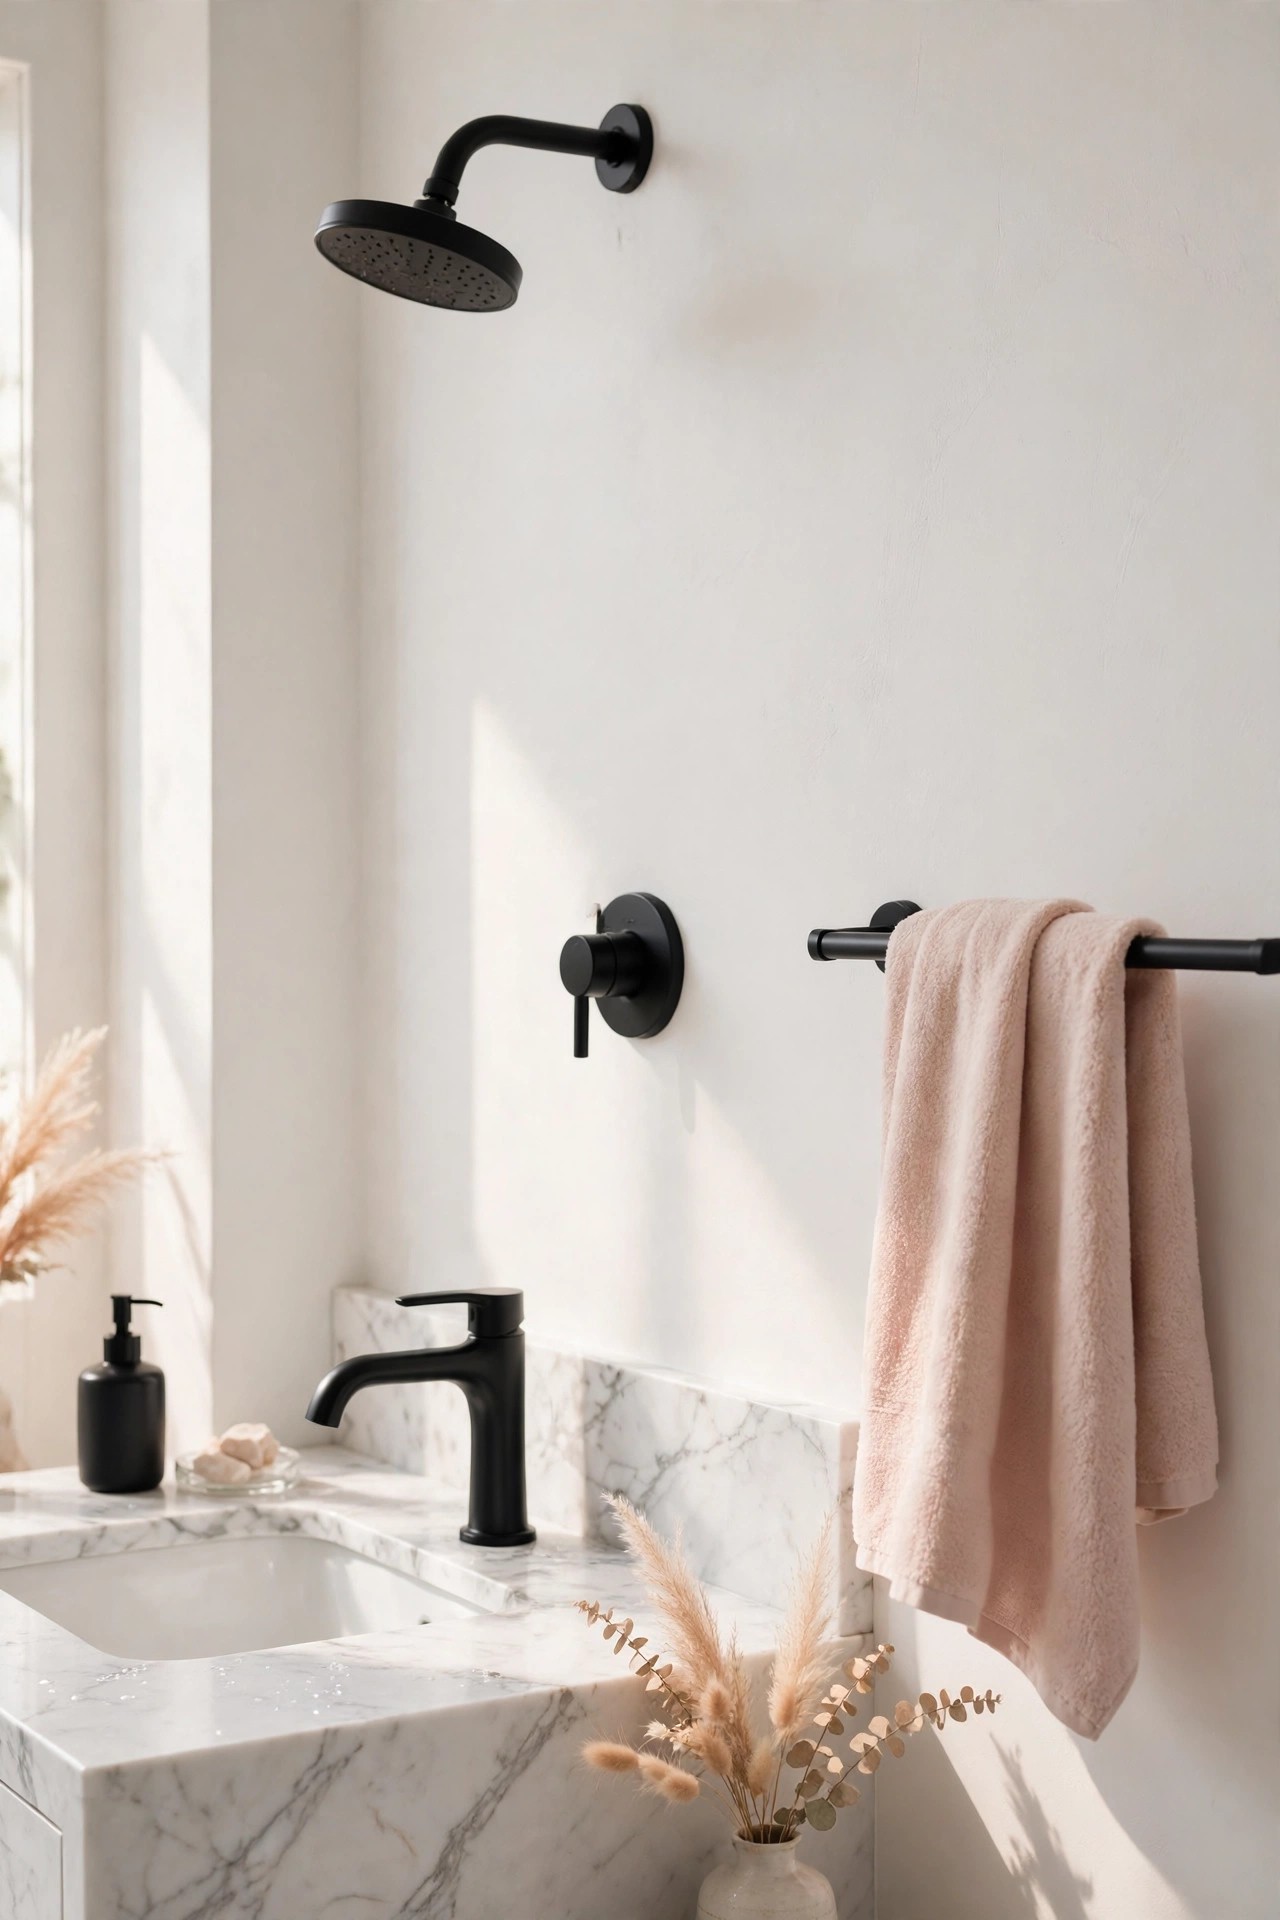
Matte black fixtures are the quickest way to make a white bathroom read as black and white, because they draw the black line exactly where the eye already looks. A matte black faucet at the vanity, a matching black shower set and black towel bars, all in the same flat black finish, give the room a clear black rhythm without any paint or tile work. The rule is one finish everywhere: mixing matte black with polished chrome splits the room into two metal stories, so change the small pieces too, including the drain cover and the toilet flush plate where the fitting allows it. Matte black also hides water spots better than chrome, which matters at a vanity used every morning, but it shows soap film, so a quick wipe after use keeps the finish looking new.
Best For: White bathrooms that need the black half of the theme without a remodel, and anyone replacing a worn faucet anyway.
Not Ideal For: Bathrooms with very hard water, where black fixtures show limescale quickly unless they are wiped dry after use.
Estimated Cost: $250-$700 (estimate) for a matte black faucet, shower set and towel bars in one finish.
Budget Note: The faucet and shower set are the spend; towel bars and small hardware can be simple matching pieces.
Renter Friendly: With Conditions
Renter Note: Fixture swaps need the landlord’s word and a plumber for the shower set; towel bars on removable mounts are the renter version.
What You Need
Matte black vanity faucet, matte black shower set, black towel bars and hooks, matching drain cover, soft cloth for wiping.
Product type to look for: Fixtures in one matte black finish from the same range, with ceramic disc valves that hold up to daily use.
How To Do It
- Choose one matte black finish and check the faucet, shower set and towel bars together in daylight.
- Fit the faucet first, then the shower set, keeping the handles at a height that suits the people who use the room.
- Swap the towel bars and hooks to the same black finish so no chrome piece is left behind.
- Wipe the fixtures dry after the first few uses and check for drips at every joint.
Pro Tip
Keep the black fixtures matte, not glossy. Gloss black shows every water mark, while matte black reads as a calm, soft line against white tile.
3. Frame the Shower in Black Glass
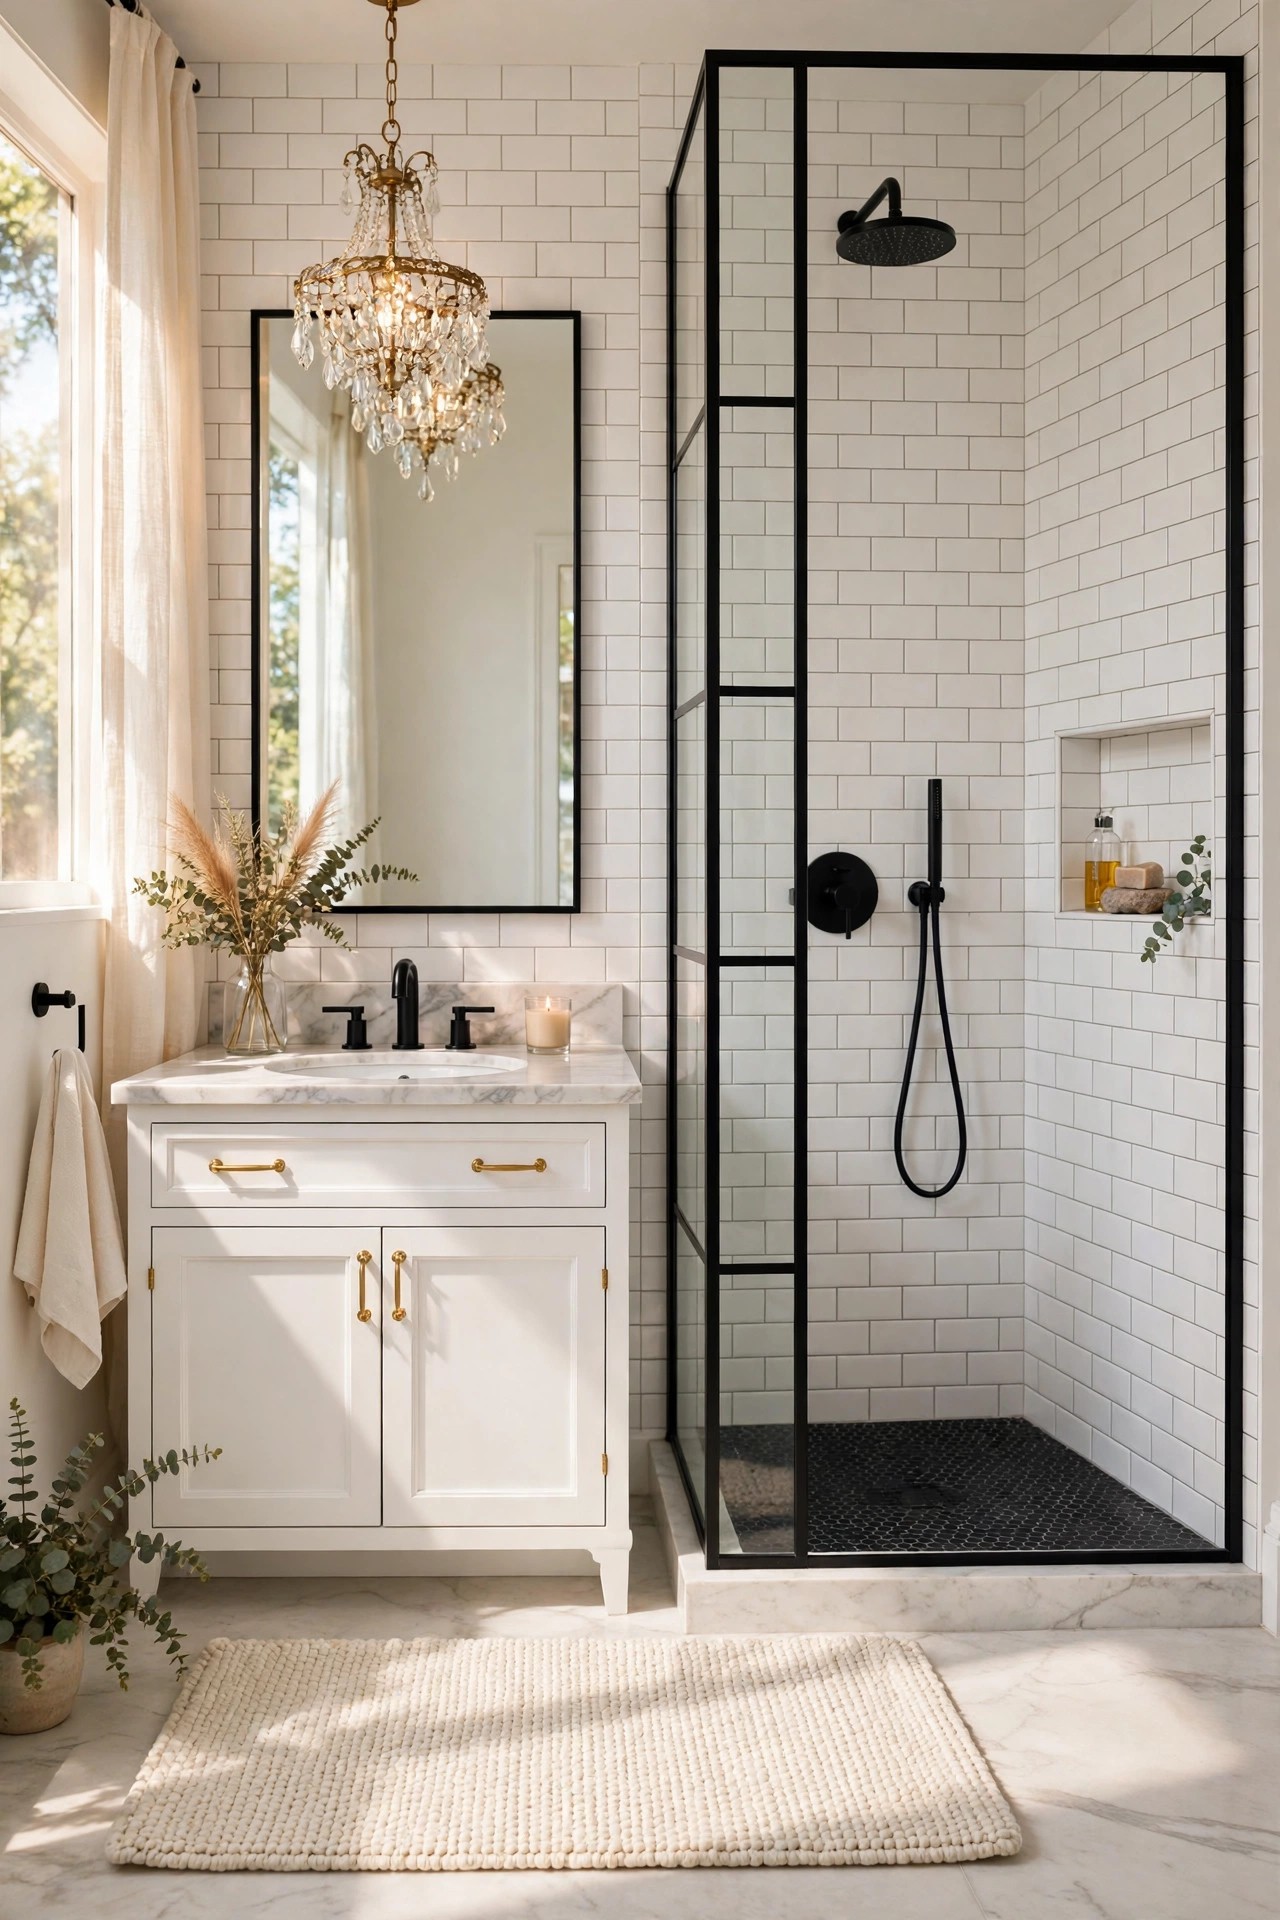
A black framed shower screen turns the shower into the room’s best feature instead of a wet corner hidden behind a curtain. Slim black metal framing around clear glass, with a black shower set inside, gives the bathing area a sharp outline that the white tiles sit inside, and the glass keeps the room feeling open because light passes straight through it. Keep the frame slim: thick black bars turn the screen into a cage, while a thin frame reads as a drawing around the shower. Inside, the same rule applies as in the rest of the room: white tiles, one black niche shelf, and a single cream or blush towel on the rail outside, so the shower stays calm and the black frame does the talking. A fixed glass panel with a small gap, rather than a full door, also suits a small bathroom, because there is no door swing to plan around.
Best For: Bathrooms with a shower over the tub or a walk-in shower, and anyone who wants the black and white theme to feel modern.
Not Ideal For: Bathrooms with very hard water, where glass needs a squeegee after every shower or the panels cloud quickly.
Estimated Cost: $600-$1,800 (estimate) for a black framed glass shower screen and fitting, depending on size and glass type.
Budget Note: The glass and frame are the spend; a fixed panel costs less than a hinged door in the same finish.
Renter Friendly: No
Renter Note: A shower screen is a fixed fitting; renters can use a black and white striped shower curtain for the same outline at a fraction of the cost.
What You Need
Black framed glass shower screen, black shower set, black niche shelf, squeegee, cream bath mat.
Product type to look for: Tempered safety glass in a slim black frame, measured to the actual shower opening rather than a standard size.
How To Do It
- Measure the shower opening at the top, middle and bottom, because bathroom walls are rarely square.
- Fit the black frame level and seal the edges, then hang the glass panel and check the gap at the floor.
- Fit the black shower set and the niche shelf inside, keeping bottles to one shelf only.
- Squeegee the glass after the first shower and check the seals for drips before the room is used daily.
Pro Tip
Keep the glass clear, not frosted. Frosted glass hides the white tiles and the black fixtures inside, which is the view that makes this idea work.
4. Choose White Marble With Bold Black Veining
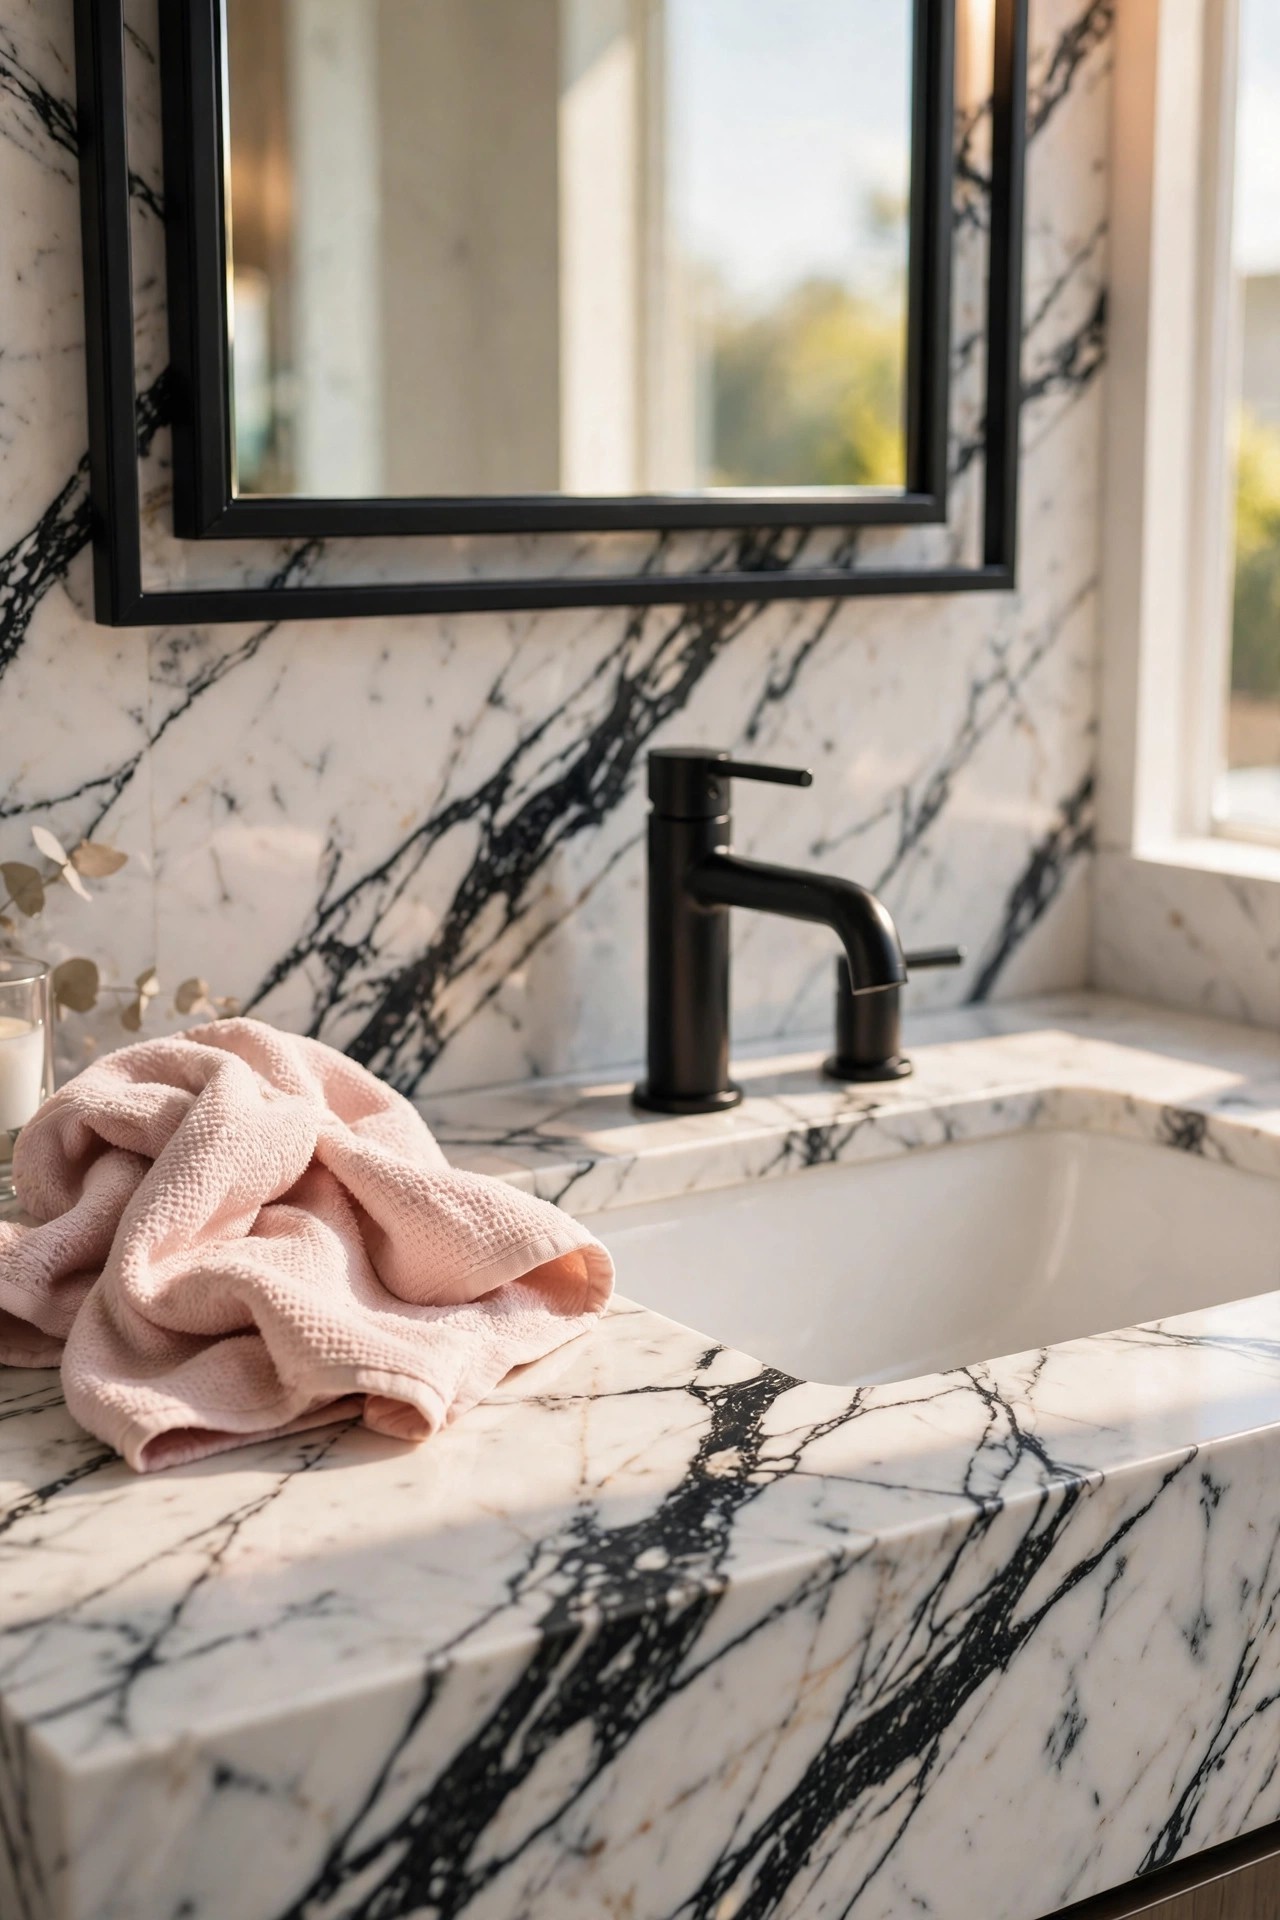
White marble with bold black veining carries the whole black and white idea in a single slab, which makes it the right choice for the vanity top. A white marble or marble-look top with strong dark veins, paired with a matte black faucet, gives the vanity a natural pattern that no tile can copy, and the veins pick up the black from the fixtures while the white keeps the surface bright. Keep the rest of the vanity calm: a plain white or pale wood cabinet below, one blush hand towel, and a small tray for the daily bottles, so the marble stays the feature. Real marble marks with cosmetics and toothpaste, so a sealed top or a good marble-look surface is the honest choice for a bathroom used every morning, and coasters or a small tray under bottles stop rings before they start.
Best For: Vanities that need a bright top with a strong black note, and anyone who wants natural pattern without patterned tile.
Not Ideal For: Family bathrooms where the vanity takes hard daily use; a sealed marble-look top handles stains better there.
Estimated Cost: $300-$900 (estimate) for a marble or marble-look vanity top, depending on size and stone.
Budget Note: A marble-look top costs far less than real stone and reads the same from across the room.
Renter Friendly: No
Renter Note: A vanity top is a fixed fitting; renters can use a marble-look tray and black accessories on the existing top instead.
What You Need
White marble or marble-look vanity top, matte black faucet, small tray, blush hand towel, stone sealer if using real marble.
Product type to look for: A top with strong, natural-looking black veins and a sealed or easy-clean surface, cut to the actual vanity width.
How To Do It
- Measure the vanity and choose a top with veining that runs across the front edge, where it is seen most.
- Fit the top level, seal the edges, and fit the matte black faucet to match the other fixtures.
- Seal real marble before first use and let it cure fully before water touches it.
- Style the top with the tray and towel only, leaving half the marble empty so the veining shows.
Pro Tip
Let one vein be the feature. A top with one bold vein across the front looks designed, while a top crowded with veins looks busy next to a checkerboard floor.
5. Paint the Vanity Black and Keep the Top White
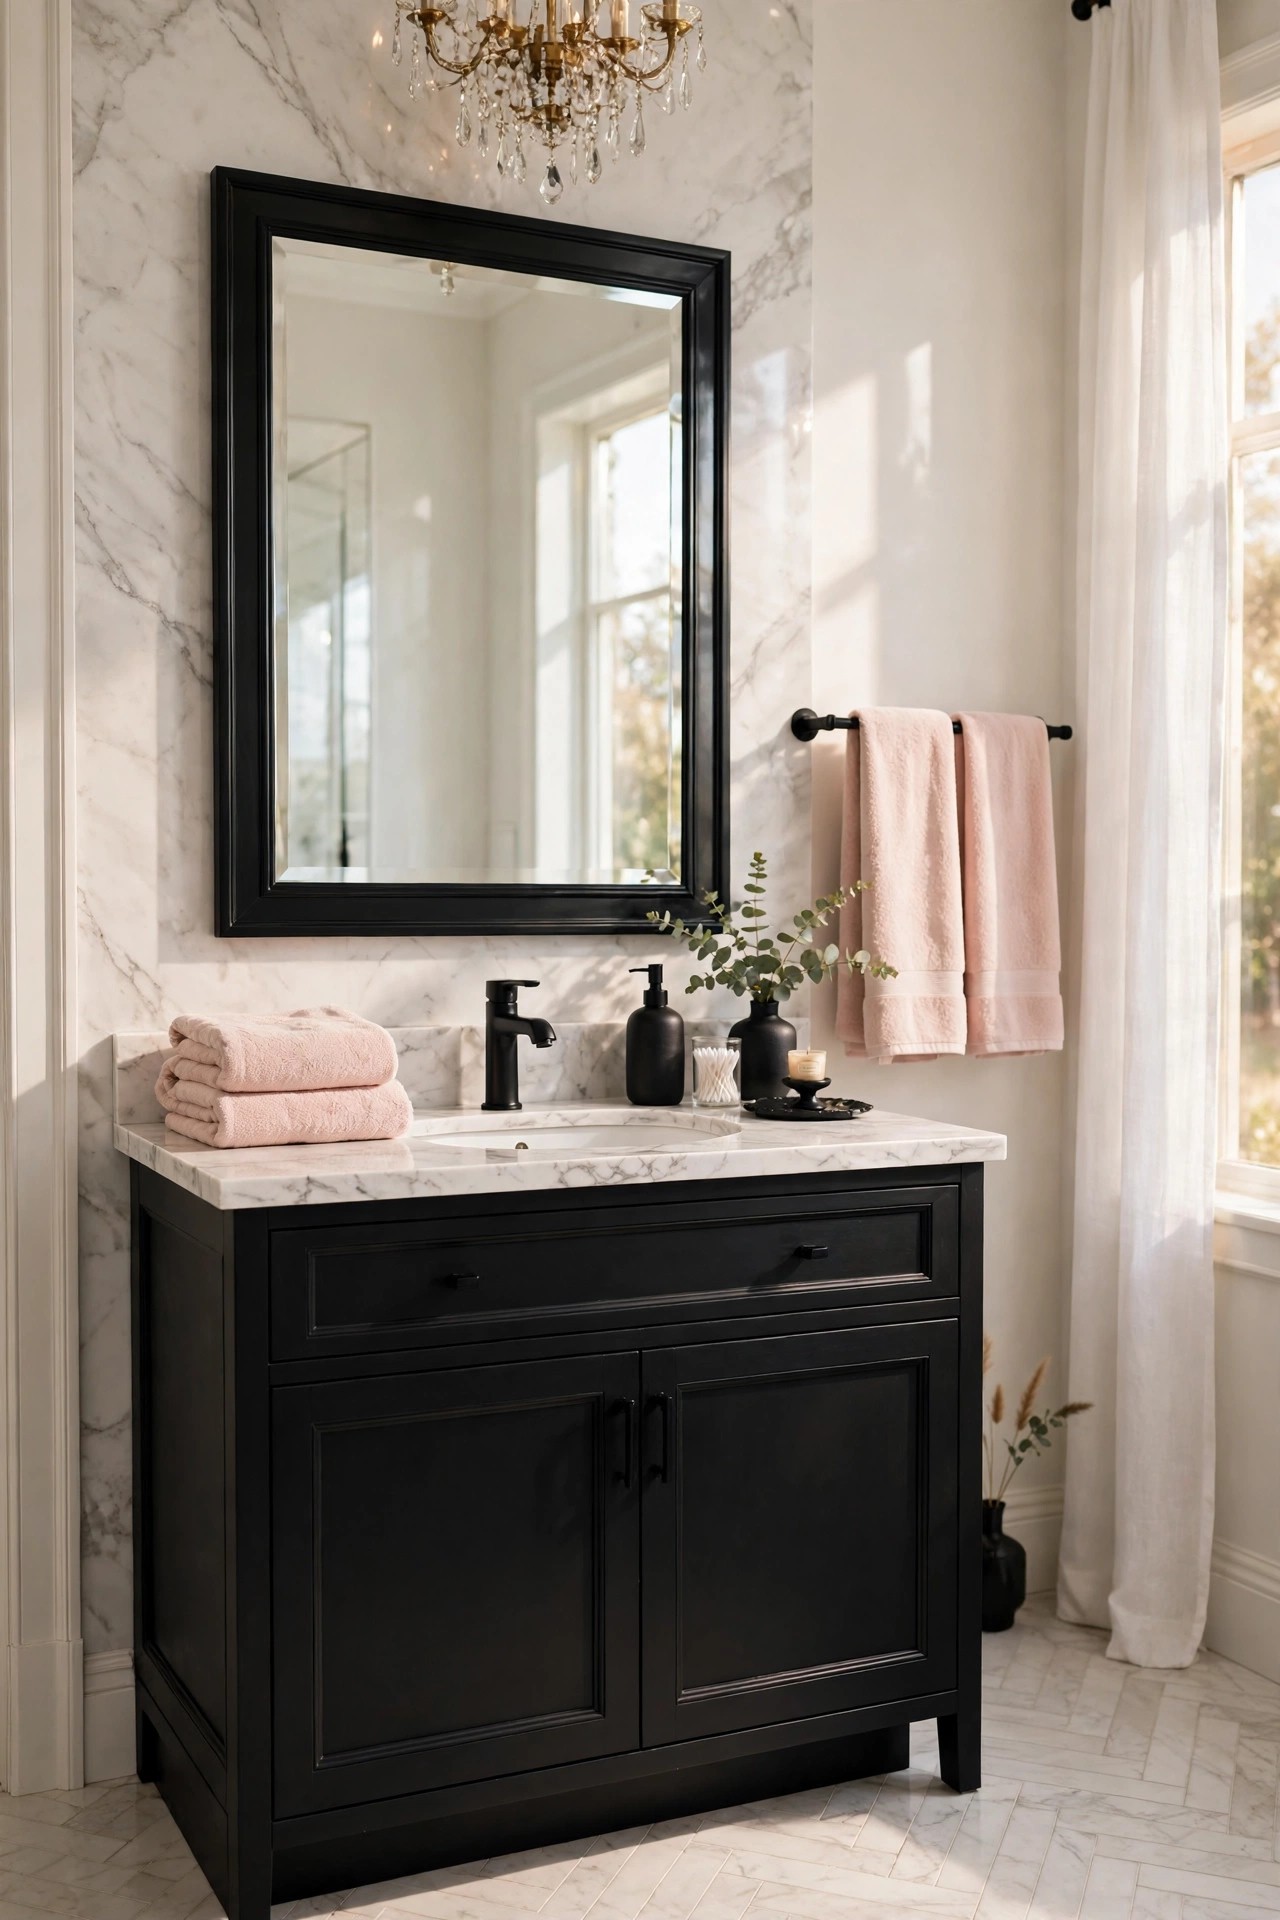
A black vanity with a white top is the simplest large black statement a bathroom can make, and it works because the black sits low, where it grounds the room, while the white top keeps the eye level bright. Paint or choose a vanity cabinet in a soft black, not a harsh jet black, with a white marble or marble-look top and a matte black faucet, and keep the handles in brushed gold or matte black so the metal story stays consistent. The cabinet should be the only large black furniture piece in the room; a second black cabinet or a black laundry basket beside it turns the room into a dark block. A black vanity also hides scuffs and water marks at floor level better than a white one, which matters in a bathroom used daily, but it shows dust on the top edge, so a quick wipe keeps it looking sharp.
Best For: Bathrooms where the vanity is the largest furniture piece, and anyone who wants one strong black note without tiling a wall.
Not Ideal For: Very small bathrooms where a black cabinet can feel heavy; a black vanity with open legs or a floating design feels lighter there.
Estimated Cost: $350-$1,100 (estimate) for a black vanity cabinet with a white top, depending on size and finish.
Budget Note: Painting an existing vanity in a durable cabinet paint costs far less than a new cabinet and gives the same look.
Renter Friendly: No
Renter Note: Painting a vanity needs the landlord’s word; renters can use black accessories and a black framed mirror instead.
What You Need
Black vanity cabinet or durable cabinet paint in soft black, white marble or marble-look top, matte black faucet, matching handles, felt pads.
Product type to look for: A cabinet paint or finish made for humid bathrooms, with handles in the same metal tone as the other fixtures.
How To Do It
- Choose a soft black and test it on the cabinet door in daylight before committing.
- Paint in thin coats with full drying time between them, or fit the new cabinet level and seal the top edge.
- Fit the white top and the matte black faucet, keeping the handles aligned and level.
- Style the top with one tray and one towel only, and check the cabinet doors open clear of the bath mat.
Pro Tip
Keep the black soft, not jet black. A soft black vanity sits inside the warm glam palette, while a harsh black cabinet fights the cream towels and gold accents.
6. Lay White Subway Tile With Black Grout
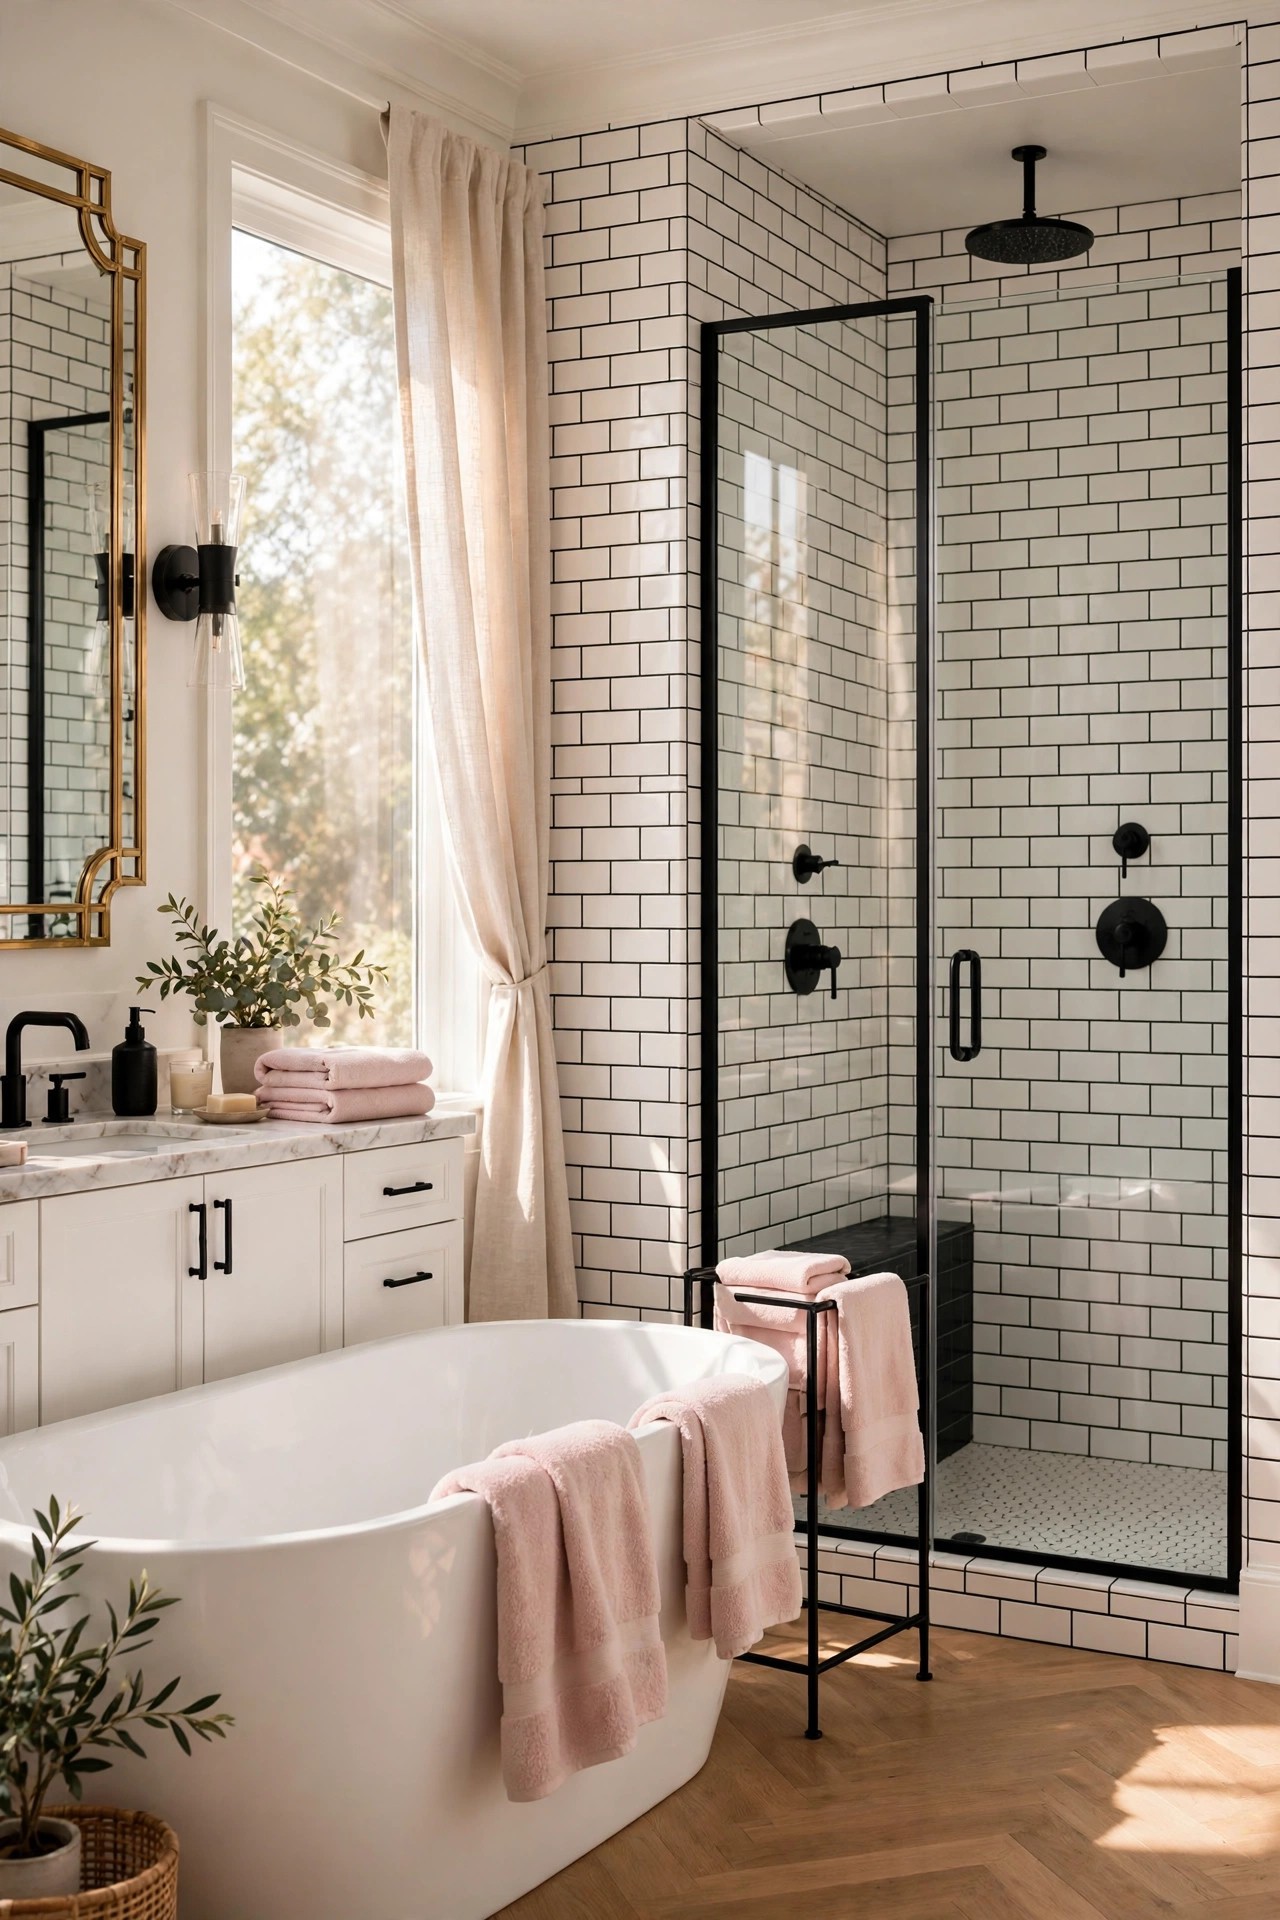
White subway tile with black grout is the detail that makes a black and white bathroom feel designed rather than decorated, because the grout draws the whole tile pattern in black. Lay classic white subway tiles in a brick pattern on the shower wall or behind the vanity, with narrow black grout lines, and keep the rest of the room plain so the grid is the one strong pattern at eye level. The contrast is bold, so limit it to one wall: a shower wall plus a vanity splashback in the same treatment is enough, and tiling every wall in black grout turns the room into a grid. Black grout also hides the staining that shows fastest on white grout in a wet room, which is a practical win, but it needs careful wiping while it is laid, because black grout on white tile shows every smear if it is left to dry.
Best For: Shower walls and vanity splashbacks where the tile pattern should be the feature, and anyone who likes a graphic look without patterned tile.
Not Ideal For: Bathrooms where the floor already carries a strong checkerboard pattern; two strong grids in one room compete, so choose one.
Estimated Cost: $200-$700 (estimate) for white subway tile and black grout for one wall, depending on wall size.
Budget Note: The tile is the spend; plain white subway tile is one of the cheapest wall tiles, and the black grout does the styling work.
Renter Friendly: No
Renter Note: Tile is a fixed change; renters can use black grout-look peel and stick tile on a splashback where the lease allows it.
What You Need
White subway tiles, black grout, tile adhesive and spacers, sealant for the grout, soft cloth.
Product type to look for: Glazed white subway tiles with a flat finish that wipes clean, and grout made for wet areas.
How To Do It
- Lay the tiles in a brick pattern on one wall only, starting from the centre line so the edges match.
- Keep the grout lines narrow and even, wiping the tile faces clean as you go.
- Seal the grout once it has cured, and let the wall dry fully before the shower is used.
- Check the wall in daylight and at lamp light; black grout reads stronger at night, so the lighting in idea 11 matters here.
Pro Tip
Use black grout on one wall only. One gridded wall is a feature, and two gridded walls turn the bathroom into a pattern that never rests.
7. Set a White Freestanding Tub on a Black Floor
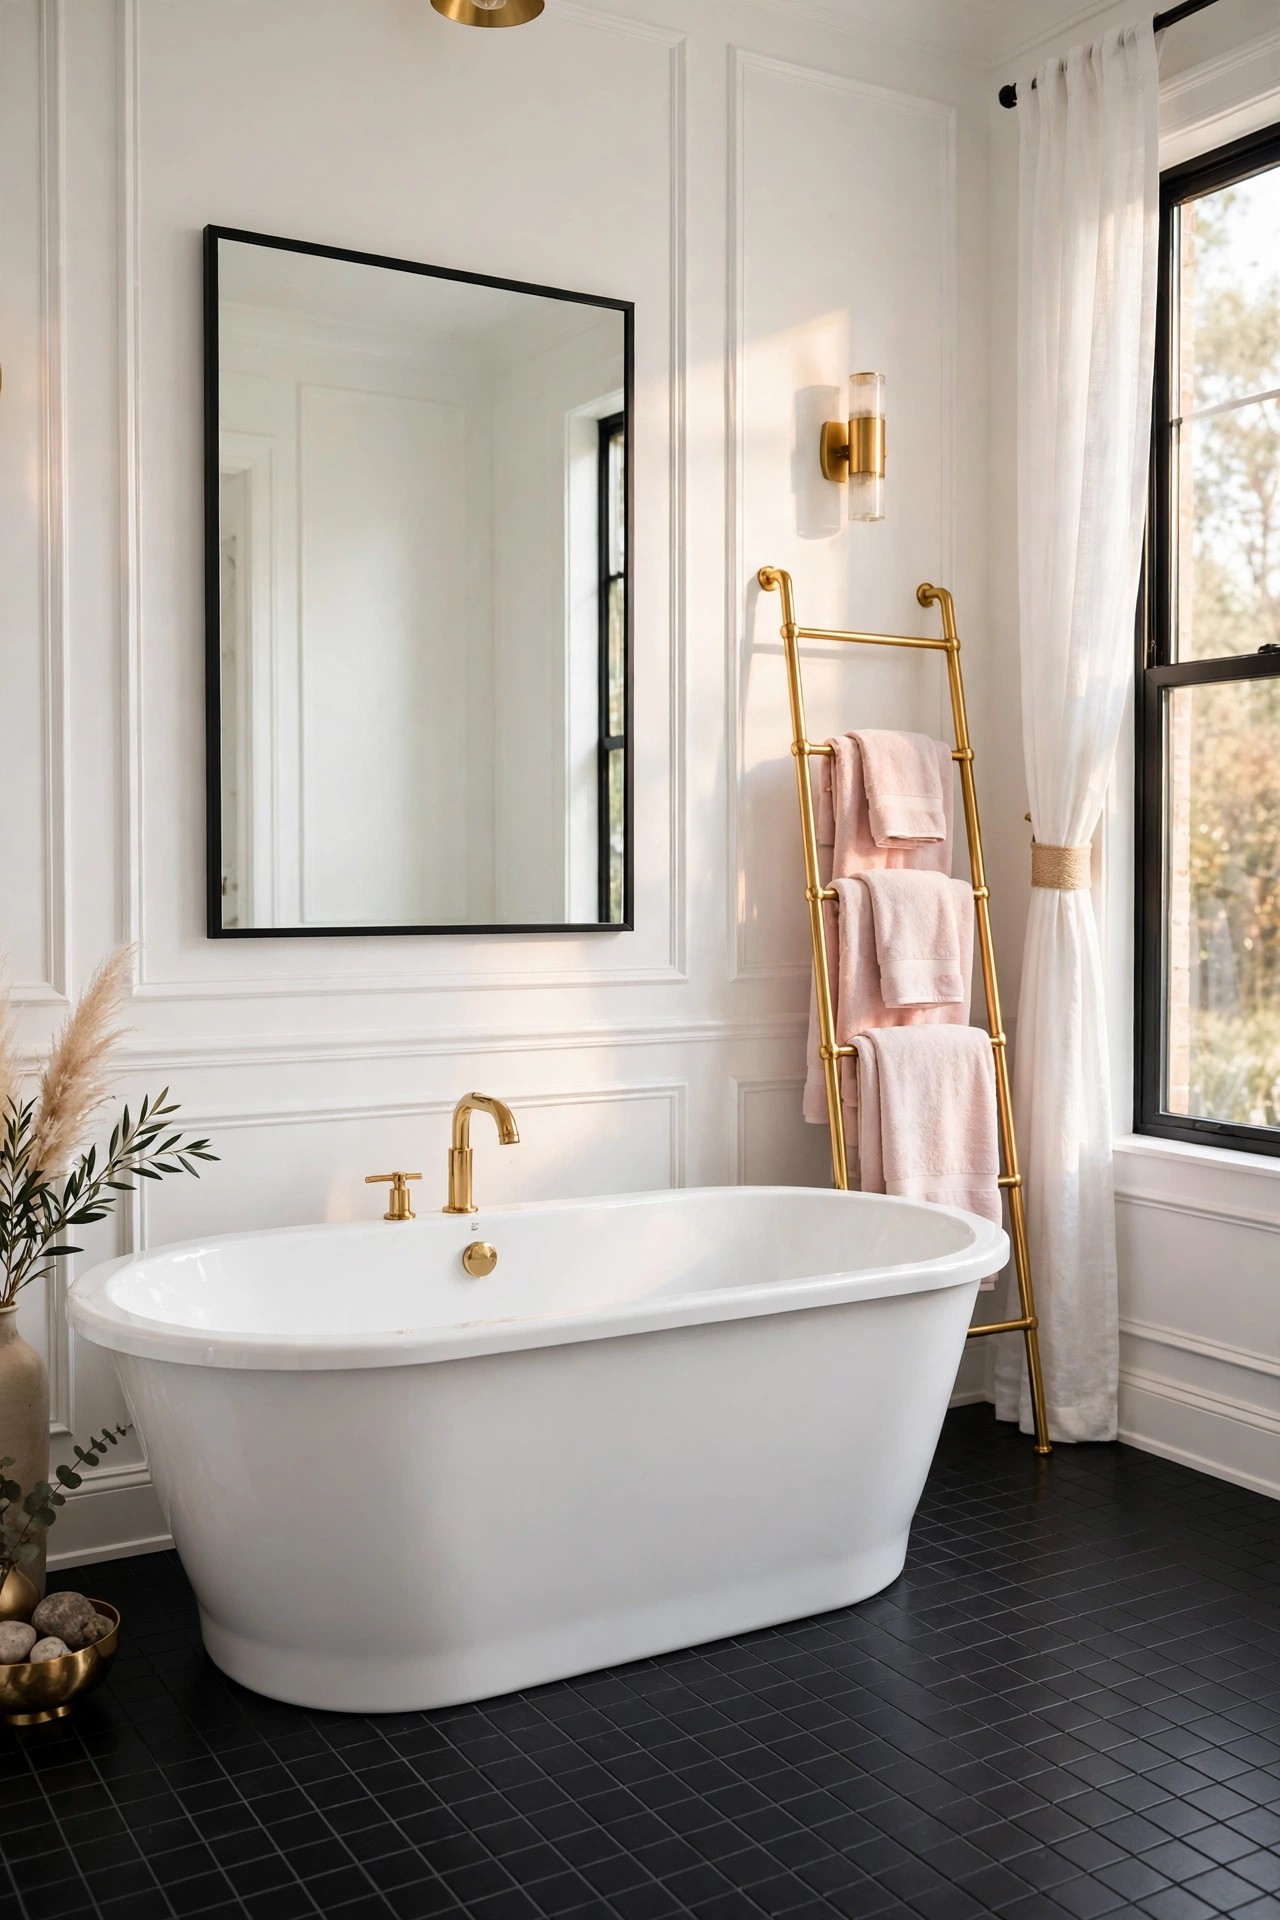
A white freestanding tub on a dark floor is the calmest luxury a black and white bathroom can offer, because the white tub becomes a sculpture against the black ground. Set an oval freestanding tub in the brightest part of the room, on black or charcoal floor tiles, with white walls and a black framed mirror nearby, and keep the floor around the tub clear so the shape reads from the doorway. The tub should be the only curved piece at floor level; a round bath mat in cream beside it softens the step out, and a small black stool or a gold towel ladder holds the towel within reach. Check the plumbing before falling in love with the position: a freestanding tub needs floor waste and water lines in the right place, and moving them is the expensive part of this idea. For a fuller take on the same calm, spa-like feeling in a softer palette, our guide to spa-like bathroom ideas on a budget shows the gentler version
Best For: Bathrooms with space for a freestanding tub and good natural light, and anyone who wants the bath to be the room’s centrepiece.
Not Ideal For: Small bathrooms where a freestanding tub leaves no clear walkway; a built-in tub with a black tiled surround is the honest version there.
Estimated Cost: $800-$2,500 (estimate) for a freestanding tub and fitting, excluding any plumbing moves.
Budget Note: The tub is the spend; moving the waste and water lines costs more than the tub itself, so keep the position close to the existing plumbing.
Renter Friendly: No
Renter Note: A freestanding tub is a fixed fitting; renters can style a built-in tub with black and white accessories instead.
What You Need
White freestanding oval bathtub, black or charcoal floor tiles, freestanding tub filler in matte black, cream round bath mat, gold towel ladder.
Product type to look for: A tub with a comfortable internal length for the tallest person who uses it, and a filler in the same matte black as the other fixtures.
How To Do It
- Check the existing waste and water positions before choosing the tub spot.
- Lay the black floor tiles first, keeping the area under the tub level and sealed.
- Fit the tub and the filler, checking the tub sits level and the filler reaches over the tub centre.
- Place the cream bath mat beside the tub and the towel ladder within easy reach of the bather.
Pro Tip
Keep the floor around the tub clear. A freestanding tub needs empty space to read as a sculpture, and clutter at its base makes it look like a fitted bath.
8. Hang a Black Framed Arched Mirror
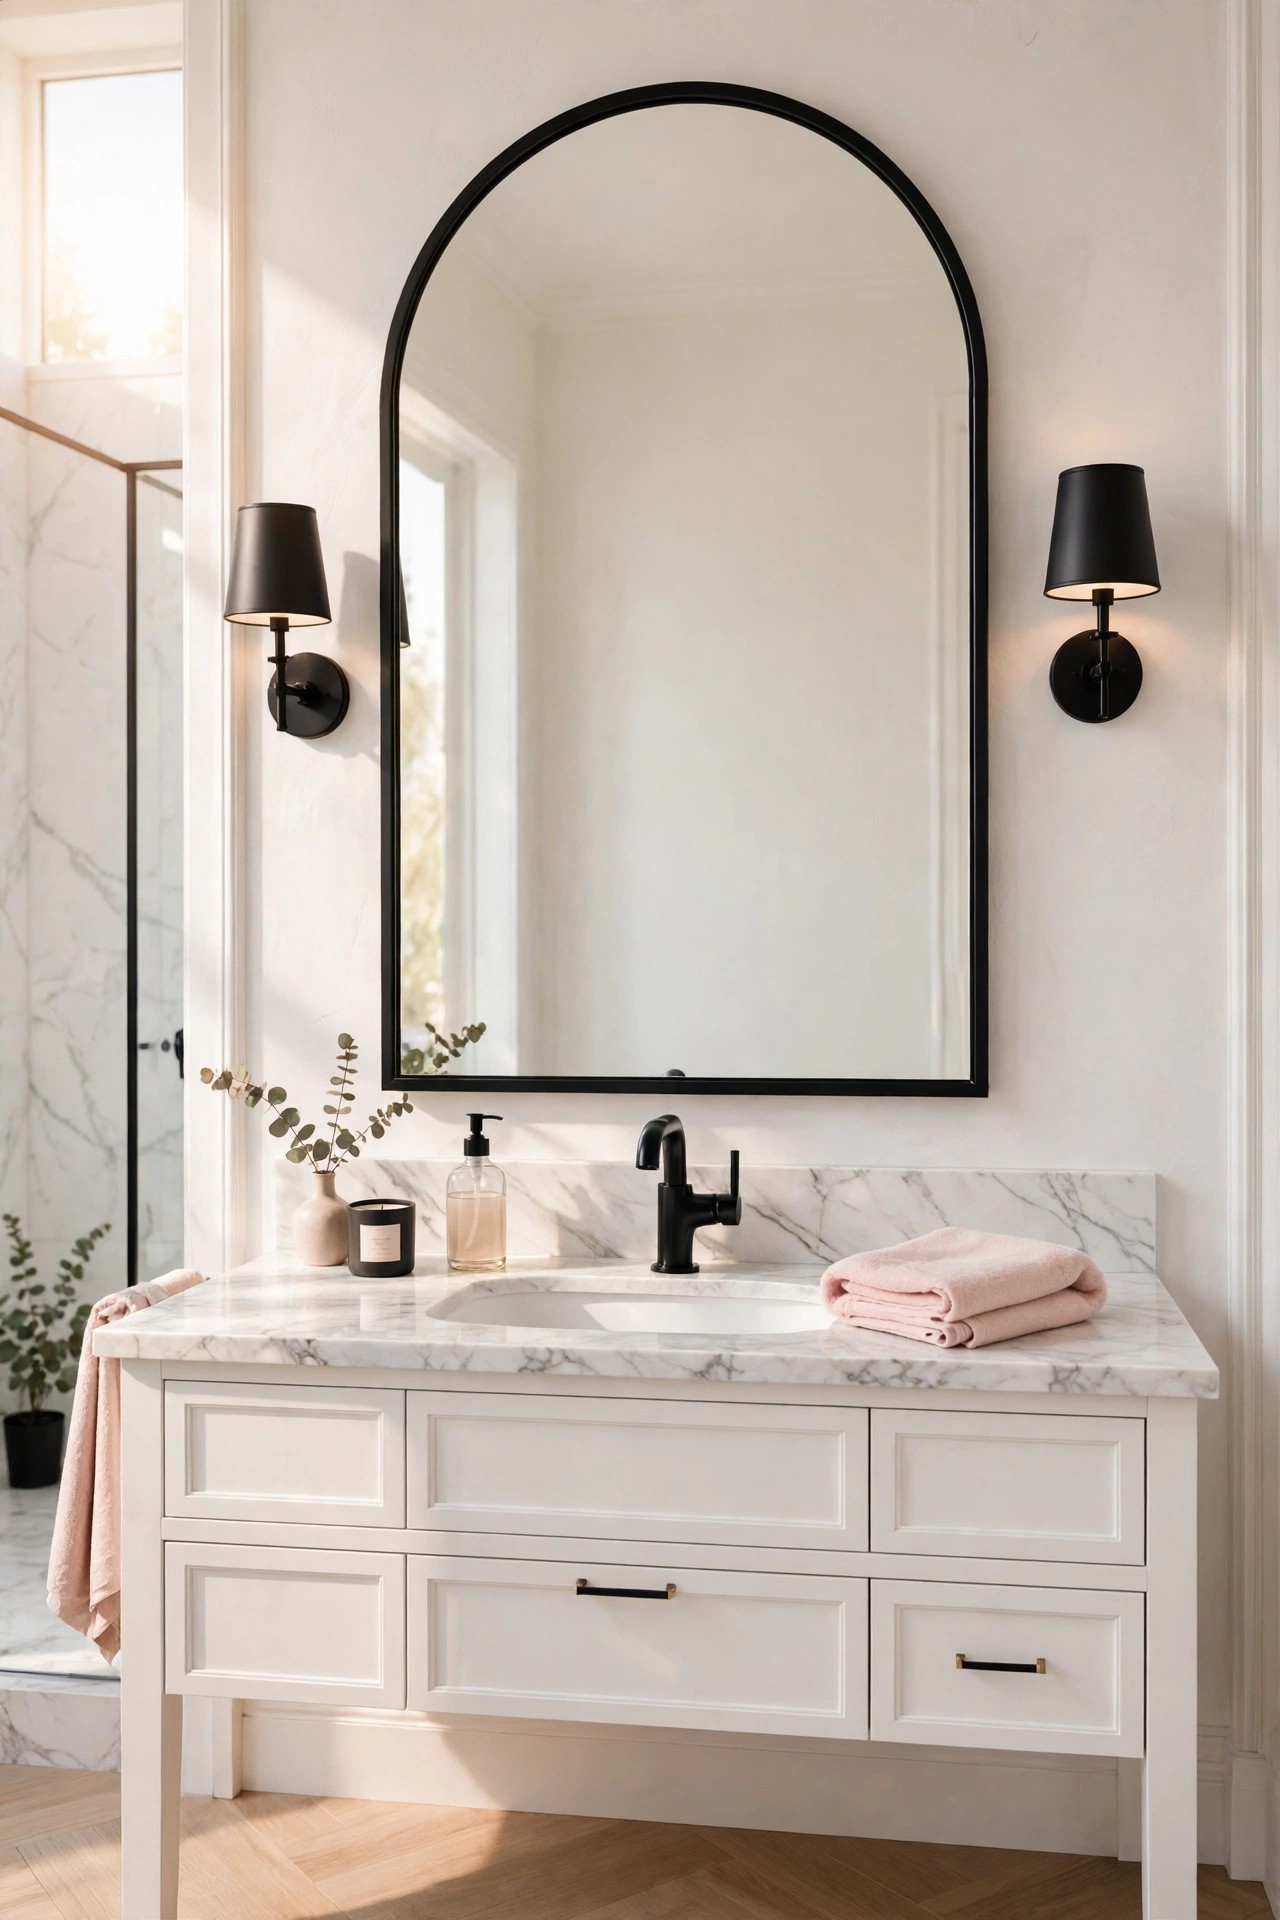
The wall above the vanity is where a black framed arched mirror does its best work. One large arched mirror in a slim black frame gives the vanity a soft top line that a rectangle never does, repeats the black from the fixtures and the vanity, and bounces daylight across the room, which matters in a bathroom where the window is often small. Keep the vanity styling simple underneath it, one blush hand towel and a small tray only, so the mirror reflection stays calm. Large mirrors are heavy, so the fixings must match the wall type and the mirror weight, and the mirror should reflect the brightest part of the room, the window or the white tiles, not the toilet or the doorway. A pair of small black sconces on either side, from idea 11, turns the mirror into a proper dressing area.
Best For: Vanities with one long plain wall above them, and bathrooms that need more reflected light.
Not Ideal For: Walls with a window directly opposite, where a mirror reflects glare and the street instead of the room.
Estimated Cost: $150-$450 (estimate) for a large arched mirror with a slim black frame.
Budget Note: The mirror is the spend; the vanity styling beneath it can stay simple and cheap.
Renter Friendly: With Conditions
Renter Note: Only hang a large mirror if the lease allows strong fixings rated for its weight; a leaning mirror on the vanity is the renter version.
What You Need
Large arched mirror with a slim black frame, fixings rated for the mirror weight and wall type, level and tape.
Product type to look for: A mirror with safety backing and a stated weight, and a frame in the same black tone as the faucet in idea 2.
How To Do It
- Tape the mirror outline above the vanity, centred on it, with its bottom edge clear of the faucet splash zone.
- Fix the mirror with rated fixings, check it with a level, and test it gently before styling below.
- Set the tray and towel so they sit low and the mirror reflection stays calm.
- Clean the mirror with a dry microfibre cloth so spray does not run behind the glass.
Pro Tip
Hang the mirror so its reflection shows the window, not the door. A mirror that faces the light doubles the brightest view in the room.
9. Add Black Wainscoting on the Lower Wall
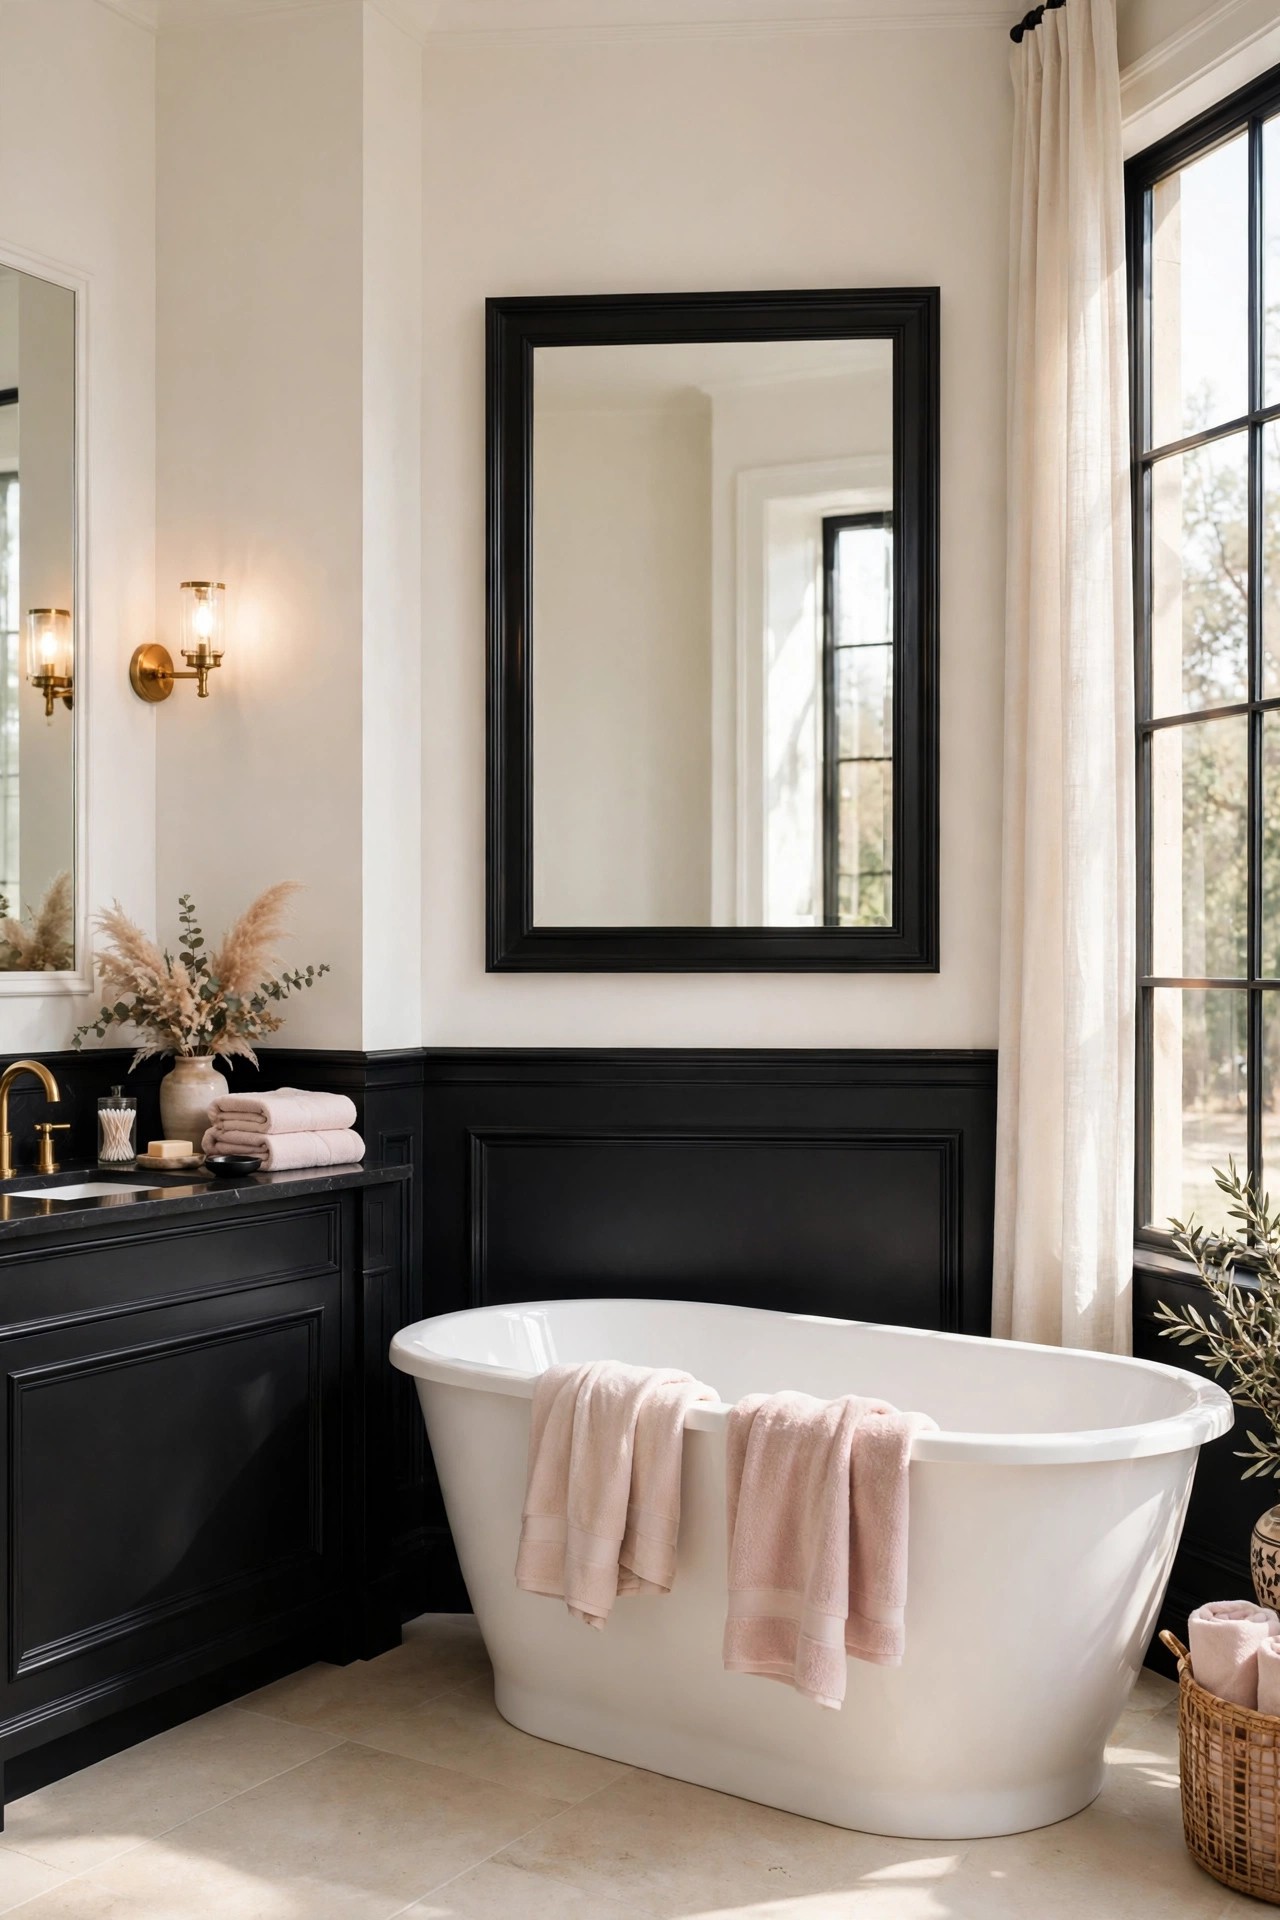
Black wainscoting is the architectural way to bring black into a bathroom without tiling or painting a whole wall. Painted panels or boards in a soft black on the lower third of the wall, with a warm white upper wall and a crisp white chair rail between them, give the room a tailored line that runs around the tub and the vanity. The black sits low, where it grounds the room and hides scuffs, while the white above keeps the eye level bright. Keep the finish in a washable paint made for humid rooms, because the lower wall takes the most splashes, and keep the panels simple, flat boards rather than ornate moulding, so the look stays modern glam rather than formal. This is also the idea that makes a plain white bathroom feel finished in a single weekend, because the upper wall, the mirror and the fixtures stay untouched.
Best For: Bathrooms with plain white walls that need structure, and anyone who wants a tailored look without a full remodel.
Not Ideal For: Bathrooms with very low ceilings, where a dark lower wall can make the room feel shorter; a narrower black band is the softer version there.
Estimated Cost: $150-$500 (estimate) for boards, paint and fitting for the lower wall.
Budget Note: The boards and paint are the spend; a weekend of fitting is the real cost, so measure carefully first.
Renter Friendly: No
Renter Note: Wainscoting is a fixed change; renters can use a black and white striped shower curtain and black accessories for the same low black line.
What You Need
Flat wainscoting boards, washable paint in soft black, warm white paint for the upper wall, chair rail trim, caulk and filler.
Product type to look for: A washable paint made for humid bathrooms, in a soft black that matches the vanity in idea 5.
How To Do It
- Measure the wall and mark the chair rail height, keeping it level around the whole room.
- Fit the boards below the line, fill the joints, and let the filler dry fully before painting.
- Paint the boards in two thin coats of soft black, then the upper wall in warm white.
- Fit the chair rail trim and check the line is level from the doorway before the room is used.
Pro Tip
Keep the black band at one third of the wall height, not half. A lower black band grounds the room, while a half black wall makes the ceiling feel lower.
10. Soften the Contrast With Blush Towels and Gold
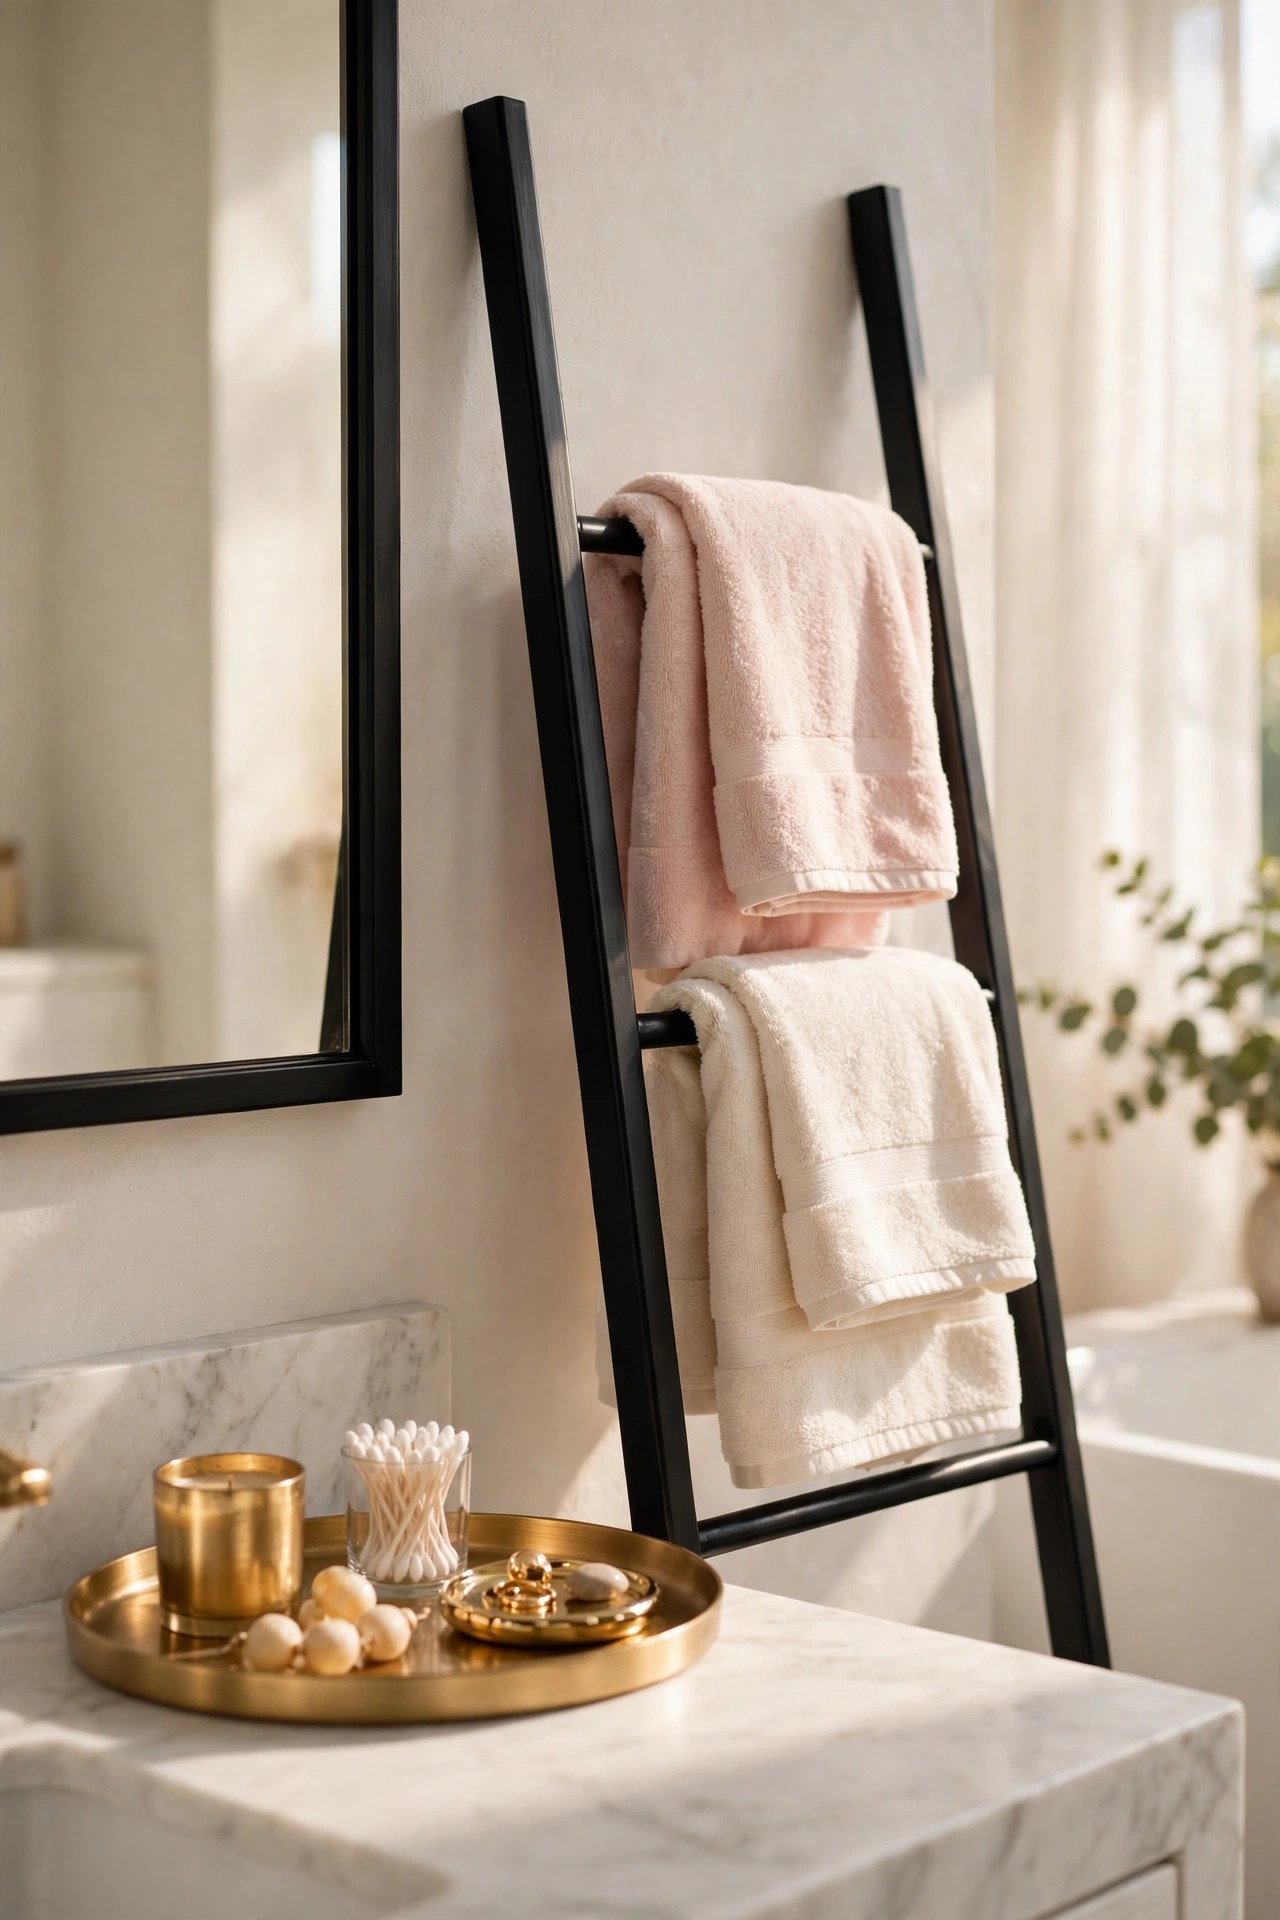
Blush towels and brushed gold are the soft notes that stop a black and white bathroom from feeling cold, and they are also the cheapest change in this list. Fold blush pink bath towels and cream hand towels on a black towel ladder or a black rail, with one brushed gold tray on the vanity and a small gold soap dish beside it, and the room gains a warm middle tone that sits between the black and the white. Keep the palette tight: blush, cream and one gold tone are enough, and a second bright colour in the mix is what turns a glam bathroom into a busy one. Towels that match in tone matter more than towels that match in brand, so hold them together in daylight before buying a full set, and choose a gold that is brushed or satin, not polished, because a mirror shine fights the soft glam palette.
Best For: Black and white bathrooms that look sharp but feel cold, and anyone who wants the biggest change for the smallest spend.
Not Ideal For: Bathrooms with very hard water, where blush towels show mineral marks fastest; cream towels hide them better there.
Estimated Cost: $60-$180 (estimate) for blush and cream towel sets, a black towel ladder and a gold tray.
Budget Note: The towels are the spend; the ladder and tray can be simple pieces that match the room metal.
Renter Friendly: Yes
Renter Note: Nothing fixed; towels, a ladder and a tray are all freestanding and fully removable.
What You Need
Blush bath towels and cream hand towels, black towel ladder or rail, brushed gold tray, small gold soap dish.
Product type to look for: Towels in a thick, soft cotton that holds its colour after washing, in blush and cream tones that match each other in daylight.
How To Do It
- Hold the blush and cream towels together in daylight and check the tones sit calmly beside the black fixtures.
- Fold the bath towels in thirds on the ladder and hang the hand towels on the rail beside the vanity.
- Set the gold tray on the vanity with the soap dish on it, leaving half the marble empty.
- Step back to the doorway and remove one towel if the ladder looks crowded; a neat row reads as styled.
Pro Tip
Keep one spare plain cream towel folded away. Swapping it in for the boldest blush towel calms the room instantly for guests.
11. Light the Mirror With Black Sconces
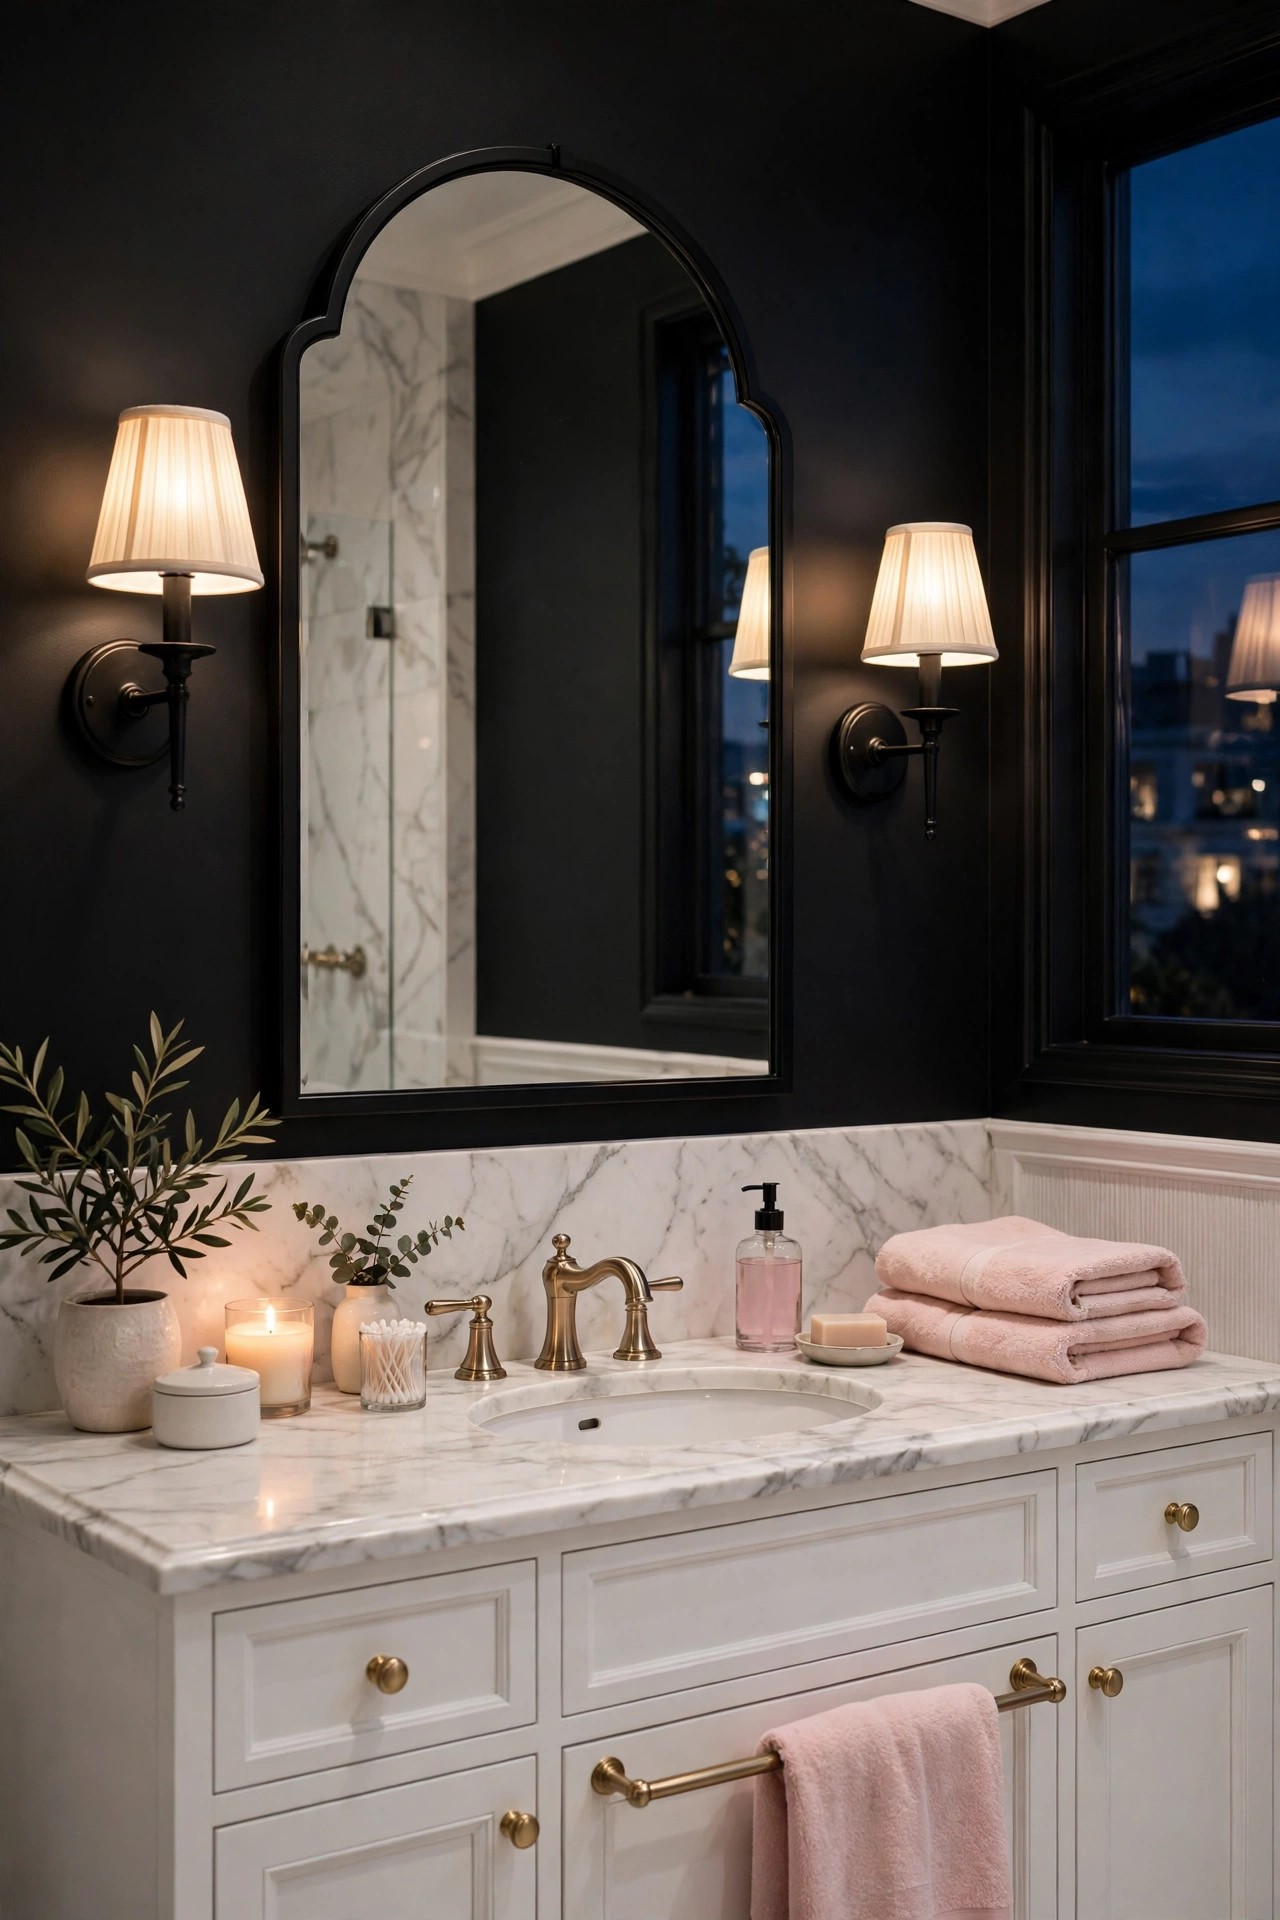
A black and white bathroom changes after dark: in daylight it is crisp, and in a single overhead light it turns flat and shadowed. Two matching black sconces with cream shades, one on each side of the arched mirror from idea 8, give the face light from both directions and let the black fixtures show their shape instead of their shadow. Match the shades and the bulb temperature across both sconces, because mixed shades make the white tiles look patchy at night. Choose a warm bulb temperature and a dimmer if the fitting allows it, because a black and white room under cold white light looks harsher than the same room under warm light. Keep the overhead light off in the evening and let the sconces carry the room; the gold tray in idea 10 catches the lamplight and does the sparkling the room needs. Sconces in a bathroom must be rated for the zone they sit in, so check the rating before buying.
Best For: Bathrooms where the mirror light comes from above only, and anyone who gets ready at the mirror in the evening.
Not Ideal For: Bathrooms with a very narrow vanity wall, where two sconces crowd the mirror; a single slim sconce above the mirror is the safer version there.
Estimated Cost: $120-$350 (estimate) for two matching black sconces with cream shades and warm bulbs.
Budget Note: The sconces are the spend; matching shades matter more than matching bases, so buy the shades as a pair.
Renter Friendly: No
Renter Note: Hardwired sconces need an electrician and the landlord’s word; renters can use plug-in picture lights above the mirror instead.
What You Need
Two matching black sconces with cream shades, warm bulbs matched across both, dimmer switch if the wiring allows.
Product type to look for: Sconces rated for bathroom use in their zone, with shades in the same warm cream and bulbs in one warm temperature.
How To Do It
- Measure the mirror width and place the sconces at face height on both sides, clear of the splash zone.
- Fit the sconces with an electrician, keeping the wiring clear of water and the shades level.
- Fit both bulbs in one warm temperature and test the light on the face at night.
- Switch off the overhead light and check the mirror from the doorway; the face should be lit evenly from both sides.
Pro Tip
Light the face from the sides, not from above. Side light shows the skin tone and the mirror frame evenly, while overhead light casts shadows under the eyes and the chin.
12. Style Black Hardware on White Doors and Drawers
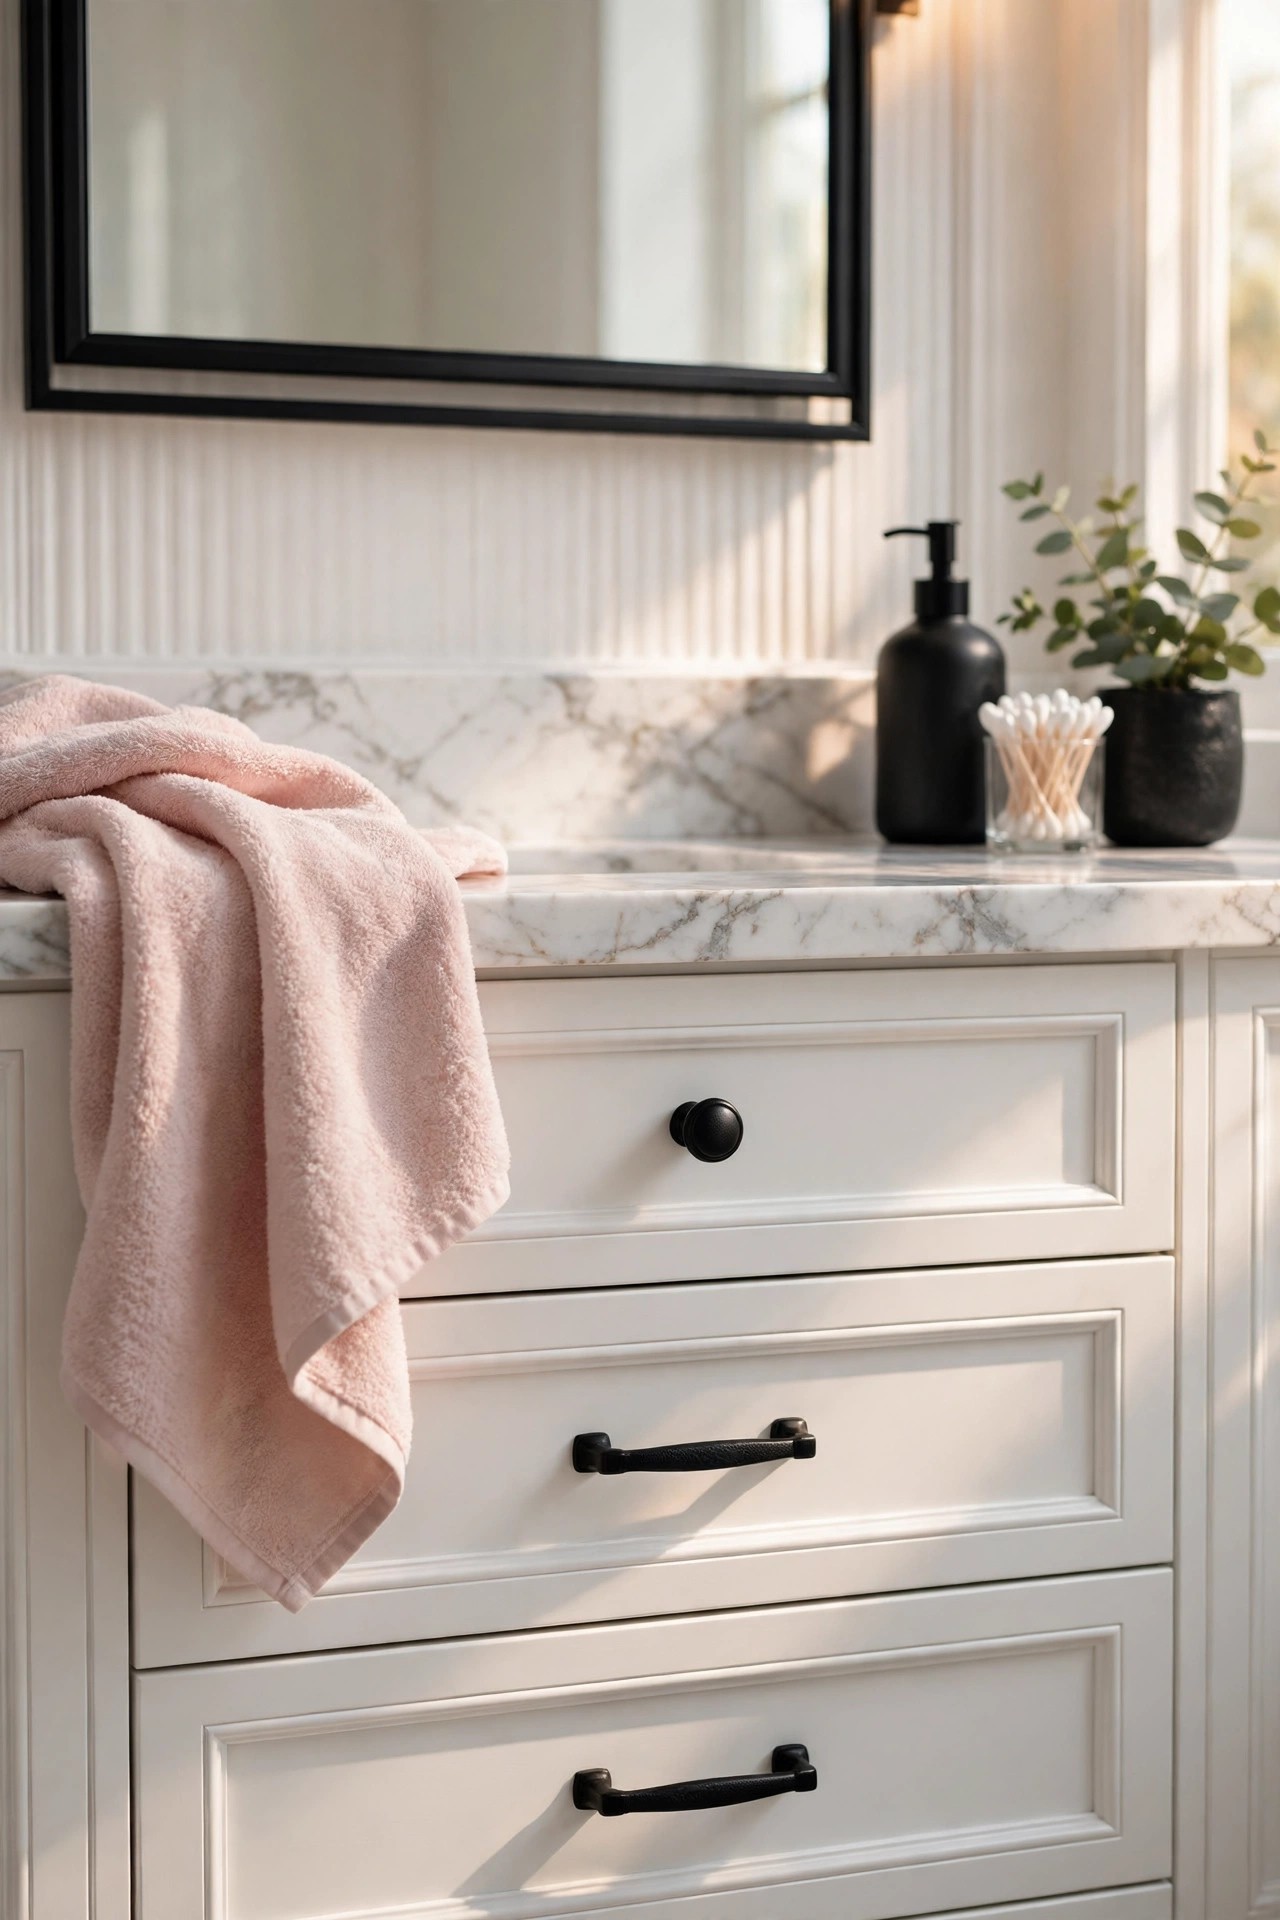
Black hardware is the small black note that ties a whole bathroom together, because it repeats the black from the fixtures on every door and drawer. Swap the vanity handles, the cabinet knobs and the toilet paper holder to matte black, all in the same finish as the faucet in idea 2, and the room gains a quiet black rhythm at hand height that the eye reads every time a drawer opens. The rule is one finish everywhere: a black handle beside a chrome knob splits the story, so change the small pieces too. Measure the existing screw spacing before buying, because handles come in fixed sizes and a new hole in a vanity door is hard to hide. Keep the shapes simple, slim bars or small round knobs, so the hardware stays a quiet line rather than a second statement.
Best For: White vanities and cabinets that need the black half of the theme at a small cost, and anyone who wants a weekend change.
Not Ideal For: Vanities with very thin drawer fronts, where long bar handles can look heavy; small round knobs are the calmer choice there.
Estimated Cost: $40-$150 (estimate) for matte black handles, knobs and a toilet paper holder.
Budget Note: The handles are the spend; a full set in one finish usually costs less than buying pieces one at a time.
Renter Friendly: With Conditions
Renter Note: Hardware swaps are usually reversible if the original pieces are kept, but check the lease first and keep every original screw.
What You Need
Matte black bar handles and knobs in the existing screw spacing, black toilet paper holder, screwdriver, small bag for the original hardware.
Product type to look for: Handles with the same screw spacing as the existing holes, in one matte black finish that matches the faucet.
How To Do It
- Measure the screw spacing on every drawer and door before buying anything.
- Remove one handle first and test the new one in the existing holes.
- Swap the rest, keeping the original handles and screws together in one labelled bag.
- Check every drawer opens and closes cleanly, and tighten the handles after a week of use.
Pro Tip
Match the hardware to the faucet, not to each other. One shared black finish is enough to tie the handles, the knobs and the faucet together.
13. Bring Greenery and Warm Wood Into the Room
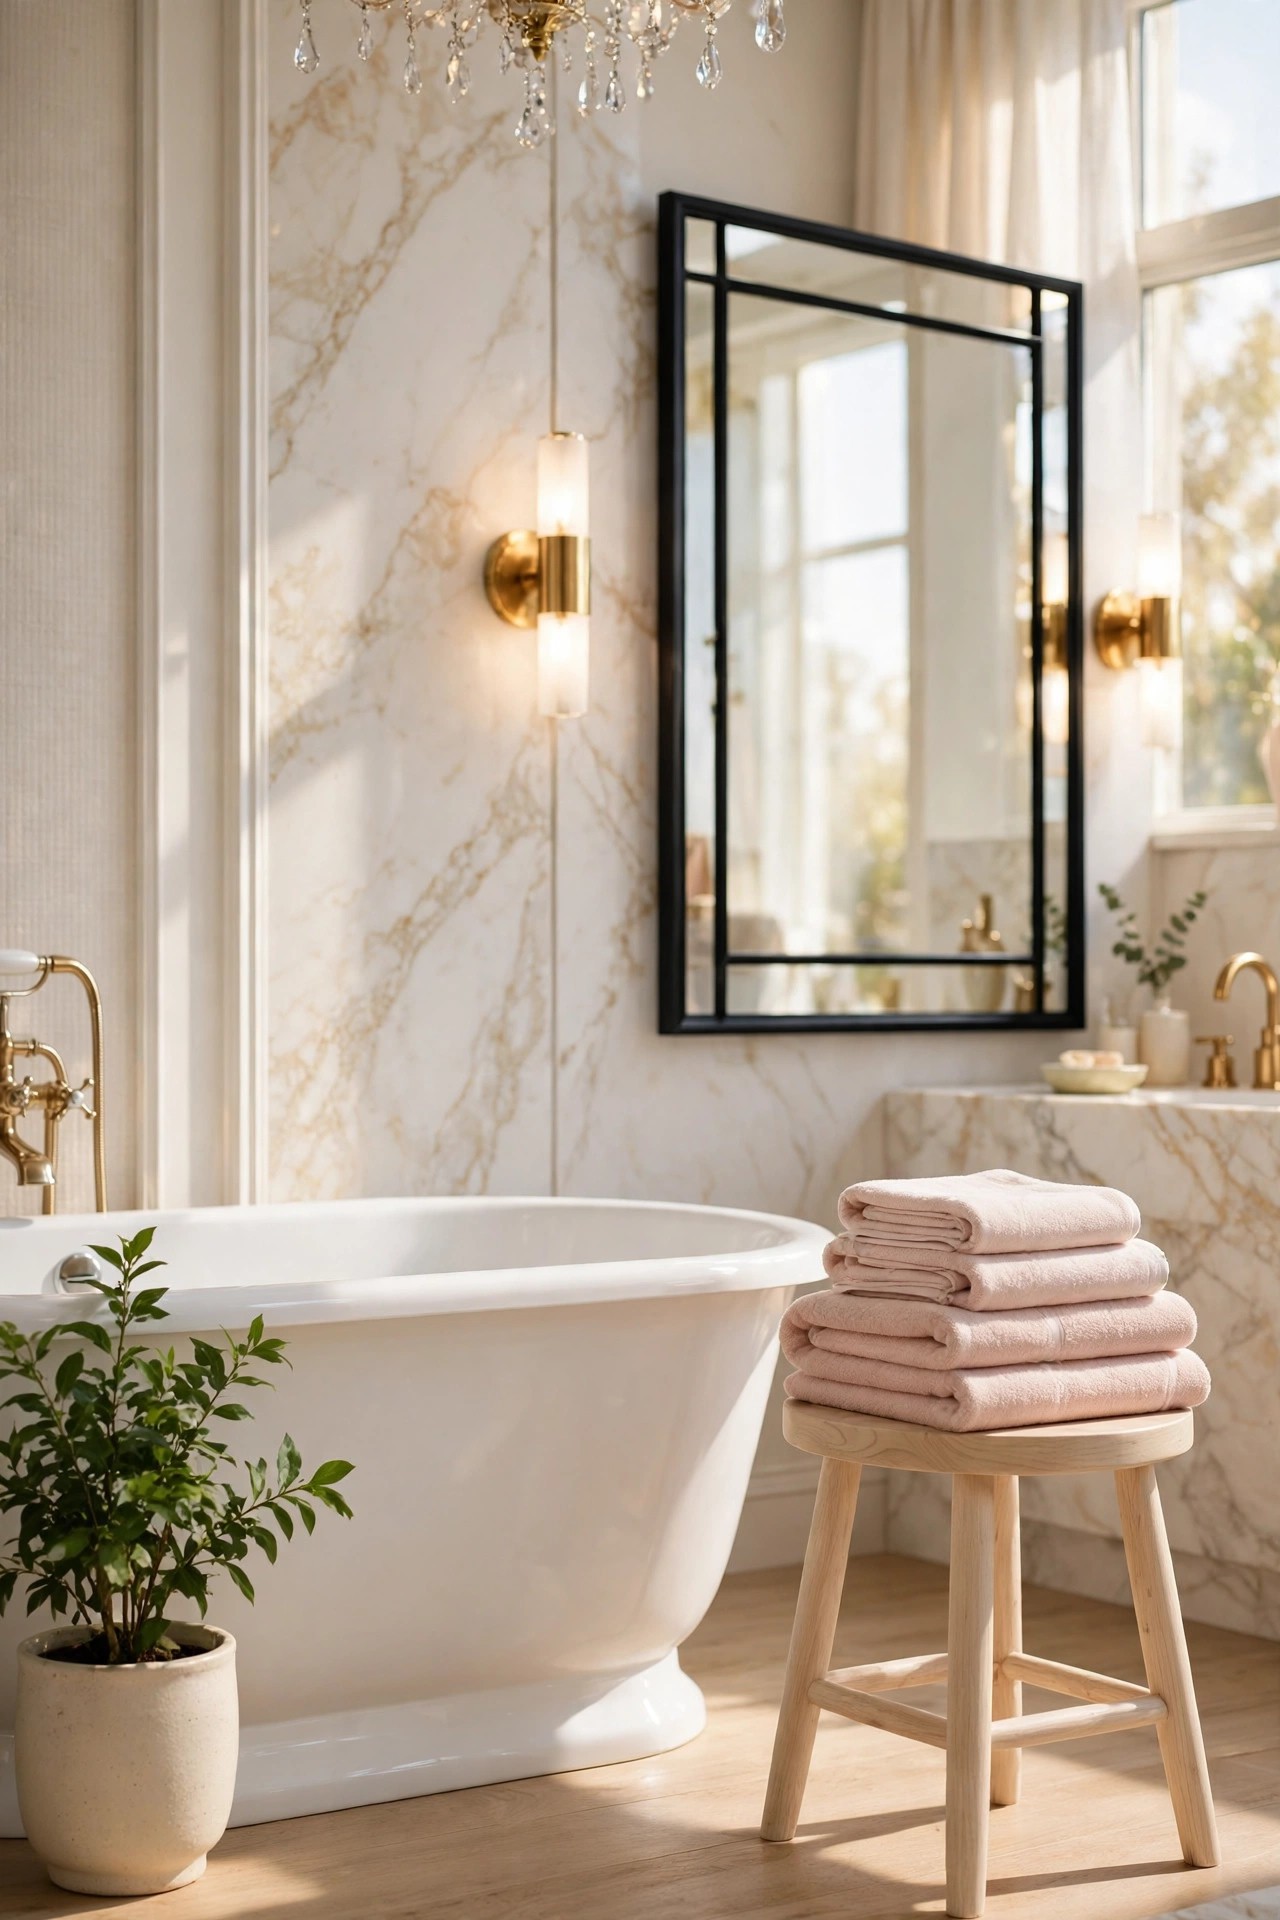
Green and pale wood are the two notes that stop a black and white bathroom from feeling like a graphic print. A small potted plant that loves humidity, a pothos or a fern in a cream ceramic pot, placed on a pale wood stool beside the tub or on the vanity, breaks the straight black and white lines with a living shape and adds the fresh note the room needs. One plant is enough; a row of small pots scatters the effect and adds watering work. Choose a plant that suits the actual light and humidity in the room, not the one in the picture, and check the pot has a saucer so watering never marks the marble or the floor. A pale wood stool also gives the bather a place for a book or a towel, and the warm wood tone sits between the black and the white as the room’s middle note.
Best For: Black and white bathrooms that feel stark or formal, and corners beside the tub that stay empty.
Not Ideal For: Bathrooms with no window, where even a low-light plant struggles; a good quality faux plant is the honest choice there.
Estimated Cost: $40-$150 (estimate) for a humidity loving potted plant in a cream pot and a pale wood stool.
Budget Note: The stool is the lasting spend; a healthy plant in a plain pot costs less than a large faux tree.
Renter Friendly: Yes
Renter Note: Freestanding; use a saucer under the pot to protect the marble, the floor and the stool.
What You Need
Humidity loving potted plant, cream ceramic pot with a saucer, pale wood stool, small watering can.
Product type to look for: A plant suited to humid, low light bathrooms, in a pot tall enough that the leaves clear the vanity edge.
How To Do It
- Check the light and humidity at the chosen spot through the day and choose a plant that suits it.
- Set the pot on its saucer on the stool beside the tub, clear of the splash zone.
- Water over the saucer, not over the marble, and rotate the pot weekly so the plant grows evenly.
- Prune any leaf that touches the tub or the mirror so leaves never mark the surface.
Pro Tip
Keep the pot cream, not patterned. A plain pot lets the green be the colour note, and a busy pot fights the checkerboard floor in idea 1.
14. Hang Black and White Framed Art
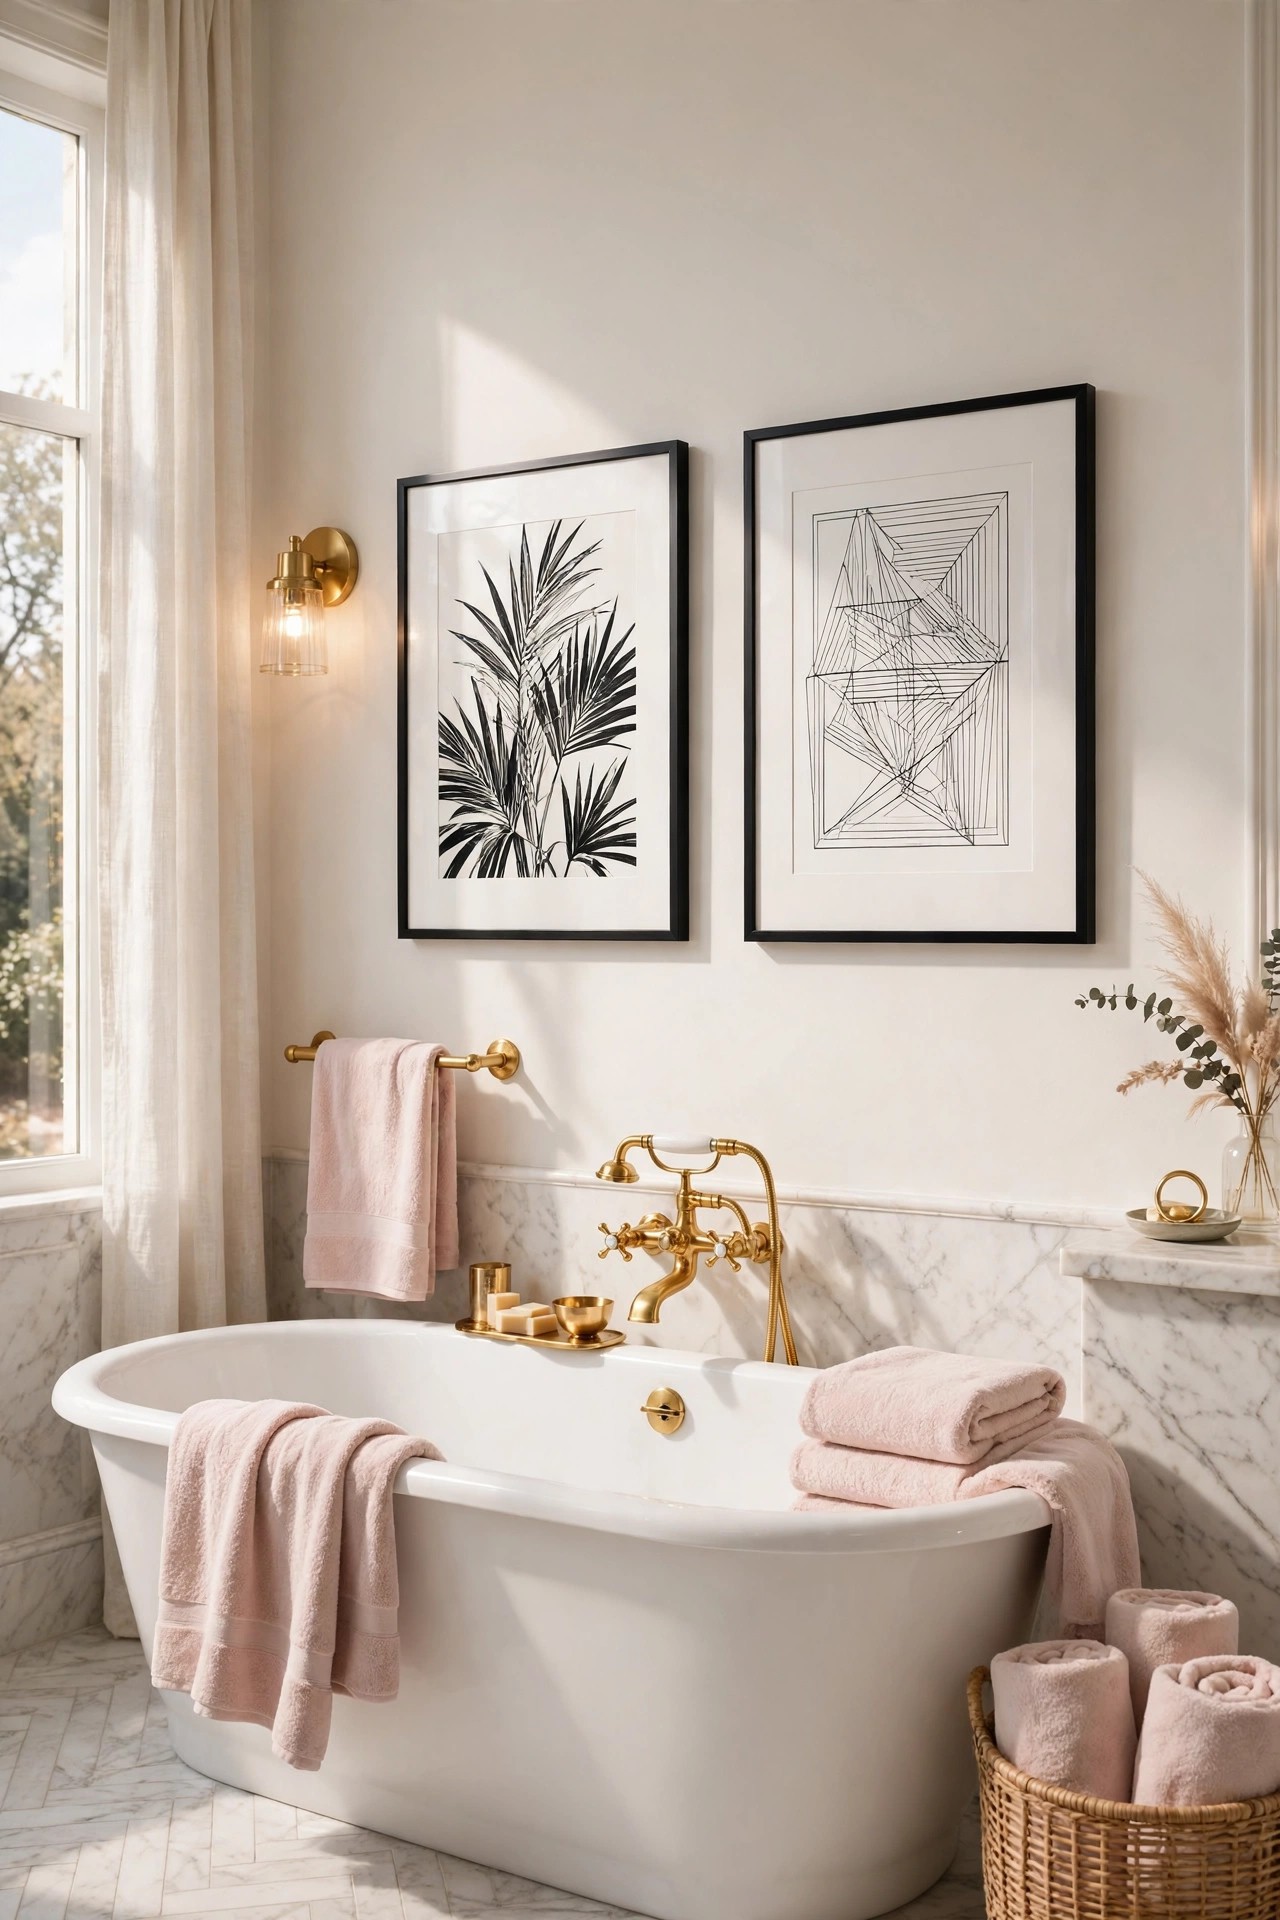
A black and white bathroom is the one room where black and white art belongs on the wall, because the prints repeat the room’s own palette instead of adding a new colour. Hang two framed prints in slim black frames on the wall beside the tub or above the toilet, one larger landscape or abstract and one smaller line drawing, both in black and white only, with no lettering. The frames should share the slim black finish of the mirror in idea 8, so the wall reads as one family. Keep the art away from direct splashes: above the toilet or on the wall opposite the shower is the safe spot, and glass fronts protect the prints from steam. Paper templates on the wall first save extra holes, and the group should sit at eye level from the tub, not high near the ceiling.
Best For: Bathrooms with one long empty wall, and anyone with art they already love.
Not Ideal For: Walls directly beside the shower, where steam reaches the frames daily; a single print on the opposite wall is calmer there.
Estimated Cost: $80-$300 (estimate) for two framed black and white prints in slim black frames.
Budget Note: The frames are the lasting spend; prints can change cheaply as taste changes.
Renter Friendly: With Conditions
Renter Note: Light frames can hang on removable strips; heavier frames need fixings the lease allows.
What You Need
Two framed black and white prints in slim black frames, paper templates, tape, level, picture hooks rated for each frame weight.
Product type to look for: Frames with real glass fronts that protect the prints from steam, and prints on thick paper that does not curl in a warm room.
How To Do It
- Lay the frames on the floor and arrange them until the larger piece leads and the smaller one balances beside it.
- Cut paper templates for each frame, tape them to the wall away from the shower, and live with the layout for a day.
- Hang the largest frame first at eye level from the tub, then the smaller one, checking the level each time.
- Step back to the doorway and remove one frame if the wall feels crowded; a calm pair reads as one piece.
Pro Tip
Keep the art black and white only. One colour print on a black and white wall becomes the loudest thing in the room, and the palette should stay in two colours plus blush.
15. Finish With a Spa Corner in Black and Cream
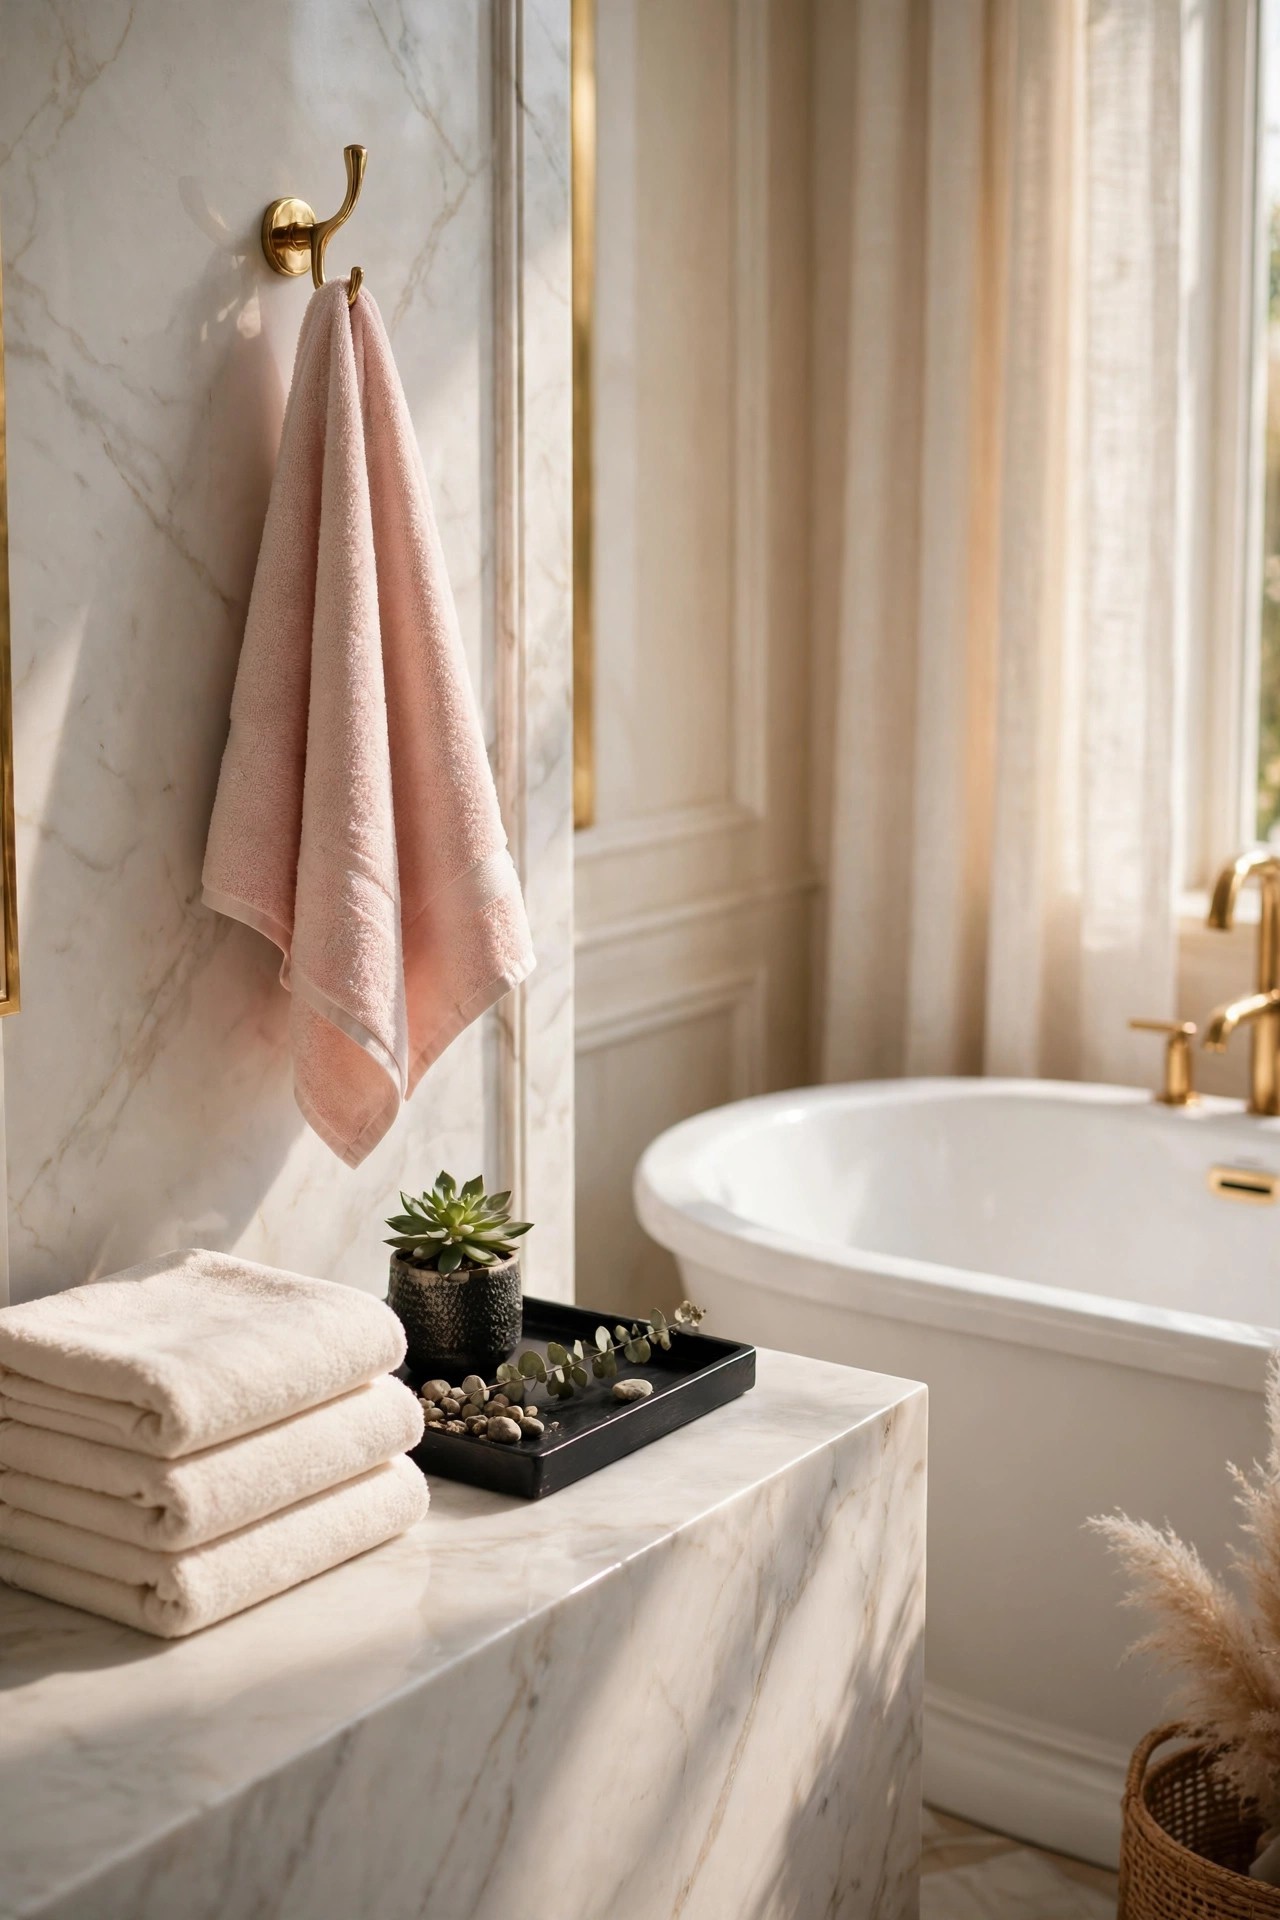
A spa corner is the quiet ending a black and white bathroom needs, because it turns the last empty surface into an invitation to slow down. Fold a stack of cream towels on a black tray on the vanity or a small stool, add a small green plant and one blush towel on a gold hook nearby, and keep the rest of the surface empty so the corner reads as calm rather than crowded. The rule is three things only: towels, one plant, one tray. A candle is a common spa addition, but an open flame in a bathroom with towels and steam needs care, so a flameless candle or no candle at all is the safer choice here. This corner also gives the room its final warm note: cream towels against black, green against white, and gold catching the light from the sconces in idea 11. For small rooms where a full spa corner will not fit, our guide to tiny bathroom ideas shows how the same calm works in a tighter space
Best For: Bathrooms with one clear vanity corner or stool top, and anyone who wants the room to feel like a spa without a remodel.
Not Ideal For: Bathrooms where every surface is already in daily use; a single folded towel stack on the vanity is the honest version there.
Estimated Cost: $50-$150 (estimate) for cream towels, a black tray, a small plant and a gold hook.
Budget Note: The tray is the spend; towels and a small plant can be simple pieces that match the room palette.
Renter Friendly: Yes
Renter Note: All freestanding pieces; a removable gold hook needs no fixings.
What You Need
Cream bath towels, black tray, small green plant in a cream pot, gold hook, flameless candle if wanted.
Product type to look for: A tray large enough to hold the folded towels without them hanging over the edge, in a finish that matches the other black pieces.
How To Do It
- Choose the clearest corner of the vanity or the stool top and keep it empty of daily bottles.
- Fold the cream towels in thirds and stack them neatly on the black tray.
- Set the small plant beside the tray and hang the blush towel on the gold hook within reach.
- Check the corner from the doorway: it should read as three calm objects, not a pile.
Pro Tip
Keep the spa corner to three objects. A fourth object, however pretty, turns a calm corner into a display shelf.
Practical Tips for Black and White Bathroom
Hold the base bright and let the black be the clear second note, never the equal half. The walls stay warm white, the floor and the fixtures carry the black, and blush, pale gold and warm wood do the softening, so the room can be edited in an afternoon when a note starts to feel heavy. Repeat each light note at least twice: cream appears in the towels, the bath mat and the lamp shades, gold in the tray, the hook and the stool, blush in the towels and the hand towel. One light note used once looks like an accident; twice or more it looks like a plan. Keep matte black as the only dark metal and match its tone across the faucet, the shower set, the mirror frame and the hardware, because mixed metals scatter the glam note. Finally, check the room at night as well as at midday: a black and white bathroom that looks crisp at noon can turn flat under one cold overhead bulb, and the sconces in idea 11 are what keep the evening version glam. Start the room in the order of this list, floor and fixtures first, and let the soft layers arrive slowly.
Frequently Asked Questions
What wall colour goes best with a black and white bathroom?
Warm white or soft cream, because it gives the black fixtures and the black floor a clean edge and bounces daylight back into the room. Cool stark white can make black fixtures look cold, and a dark wall behind a black vanity makes the whole room feel heavy. Test the warm white in a large patch beside the vanity before committing.
How do I keep a black and white bathroom from looking too cold?
Keep the white as the larger share and add warm middle tones: blush towels, cream bath mats, brushed gold accents and a pale wood stool. Check the room at night too, because warm sconce light from both sides of the mirror is what keeps the room from feeling cold after dark.
What floor works best in a black and white bathroom?
A classic black and white checkerboard floor in large tiles with warm grey grout, laid square to the door. It hides water spots better than a plain white floor, and the pattern sets the whole theme in one surface. A plain black floor with a white tub is the calmer alternative in a small bathroom.
Does a black and white bathroom work in a small bathroom?
Yes, if the white stays the larger share. A large light rug or a cream bath mat, warm white walls and a black framed mirror to double the light keep a small room open, and the black should sit in the fixtures, the mirror frame and the hardware rather than on a whole wall. Avoid a black floor and black grout in the same small room.
Is matte black hard to keep clean in a bathroom?
Matte black hides water spots better than chrome but shows soap film and limescale, so a quick wipe after use keeps the finish looking new. In hard water areas, wipe the fixtures dry after the shower and choose a sealed grout so the black grout lines stay even.
What colour towels go with a black and white bathroom?
Blush pink and cream are the softest choices, because they add a warm middle tone without adding a new strong colour. Keep the palette to blush, cream and one gold tone, and hold the towels together in daylight before buying a full set.
Conclusion
A black and white bathroom stays glam when the white does most of the work and the black gives it shape: a checkerboard floor and matte black fixtures set the contrast, white marble and a black vanity carry it at eye level, and blush towels, brushed gold and warm light keep the evening version inviting. Start with the floor and the fixtures, add one soft layer at a time, keep one metal and one shared colour on both sides of the mirror, and the classic pairing will feel calm and finished rather than cold.