
How to Make Your Bed Look Like a Luxury Hotel Bed

How to Make Your Bed Look Like a Luxury Hotel Bed
A luxury hotel bed is not built from one secret product. It is built from order: a soft top layer, sheets pulled drum tight, corners tucked into clean angles, a duvet with real loft, and pillows stacked in a set order. Nothing on a good hotel bed is random, and nothing is loose. That tight, smooth finish is why the bed looks inviting before anyone touches it.
This guide builds one bed in twelve steps, from a bare mattress to the final check, using the same order every time. The palette stays hotel simple: white and cream bedding, warm taupe around it, gold in the lamps and trim, and one blush touch in the throw, so the layers read as calm rather than busy.
1. Strip the Bed Back to a Bare Mattress
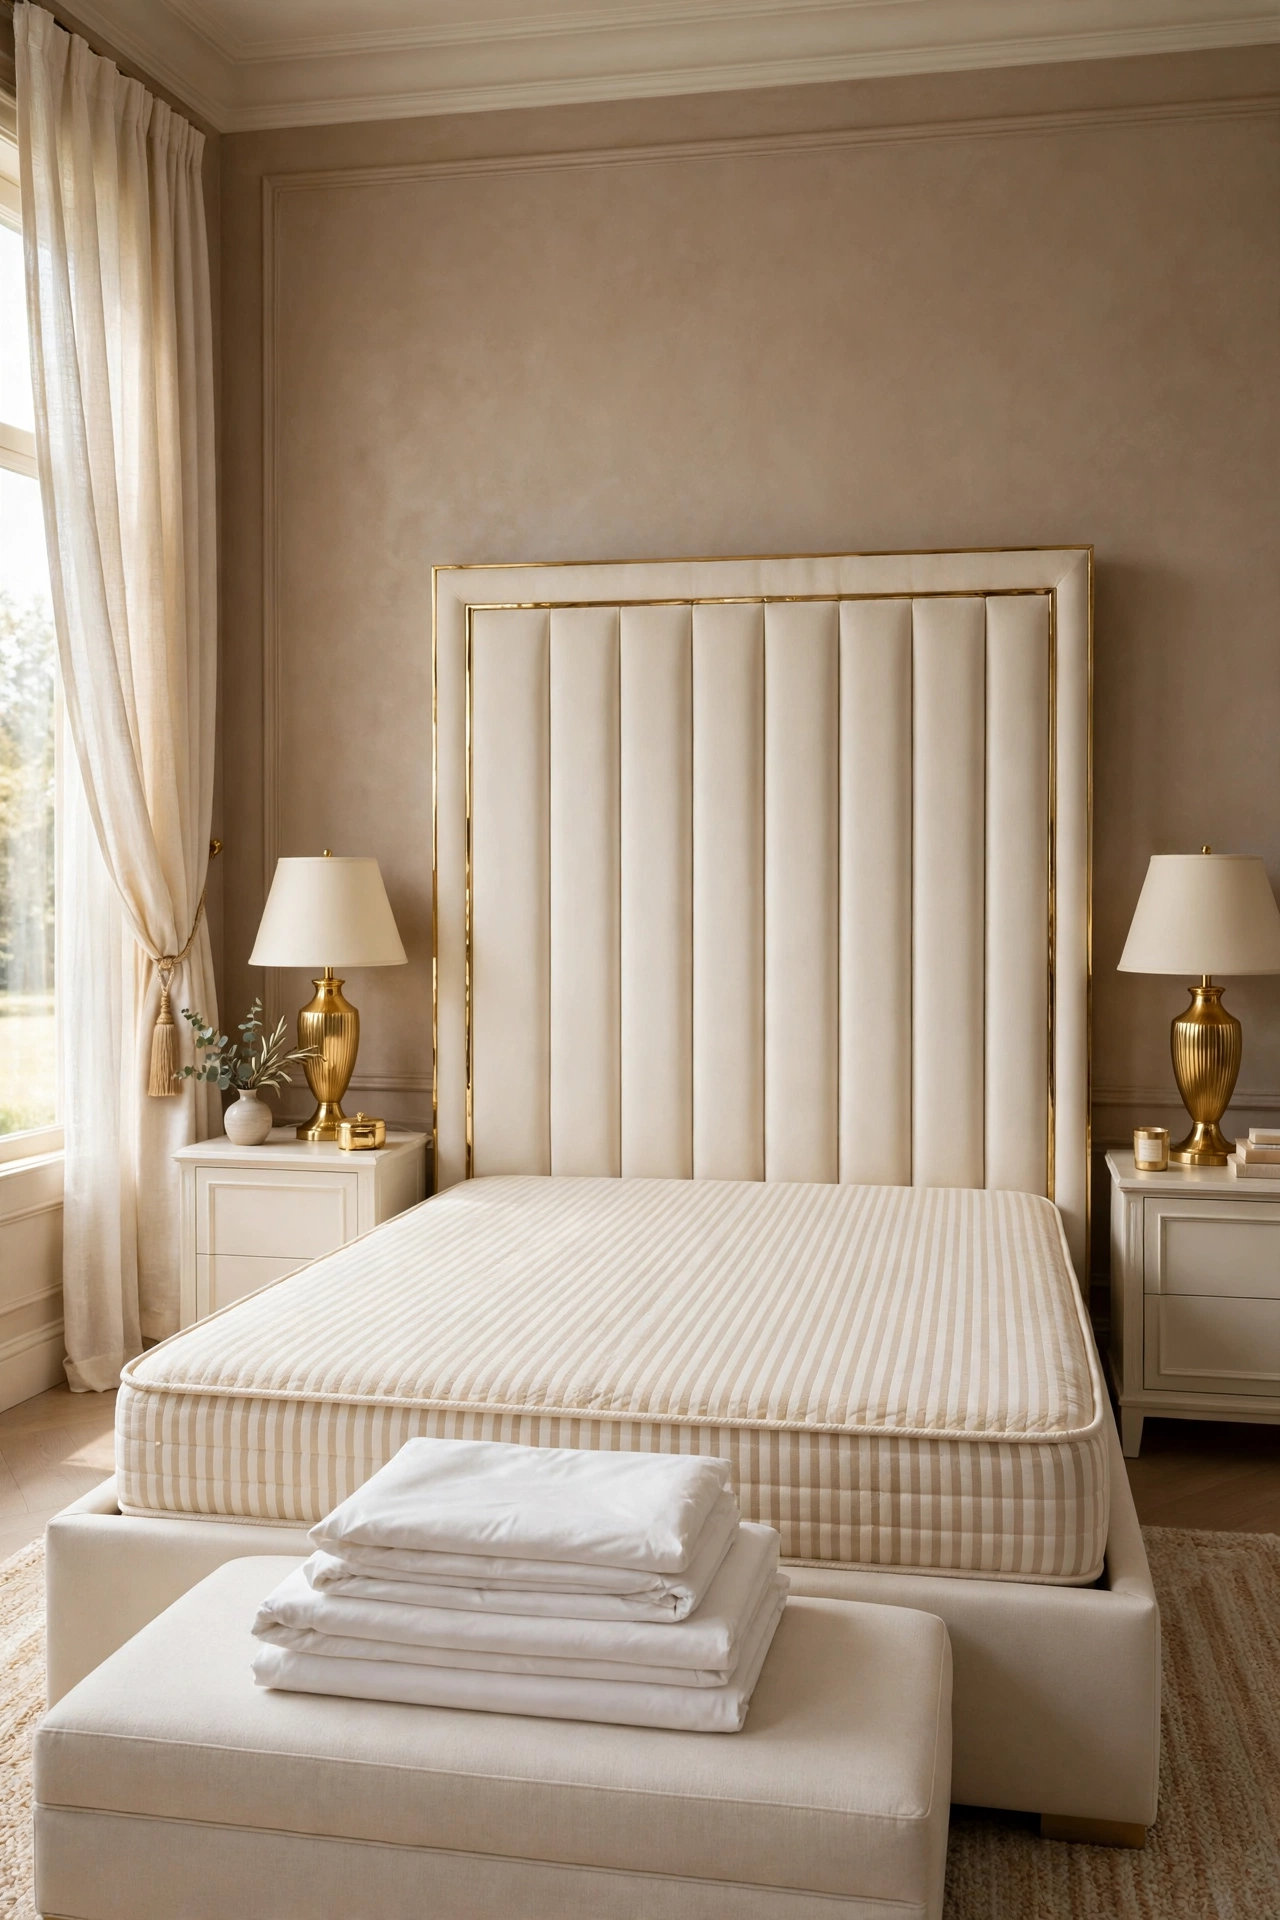
Every hotel bed starts from zero. Old sheets, a lumpy pad, and yesterday’s creases carry through every layer placed over them, so the reset matters as much as the making. Strip the bed fully: pillows off, duvet off, sheets off, topper off if it needs airing or replacing. Smooth the bare mattress with flat hands from the center outward and check its surface. Any ridge, dip, or bunched pad you can feel now will show through the finished bed later, only softer.
How to do it: Fold the removed bedding straight into the wash basket so the room stays clear while you work. Let the bare mattress air while the first load runs, even half an hour helps it feel fresh. Run a hand slowly over every corner and edge, and fix or remove anything that is not flat. Pro Tip: Photograph the bare bed from the foot. The photo shows whether the mattress sits centered on the base, and a bed that starts off center fights every straight line you try to make later. Common mistake: Making the bed over the old fitted sheet or a twisted pad because it looks clean enough. Every shortcut at this stage prints through to the top layer.
2. Add a Plush Mattress Topper
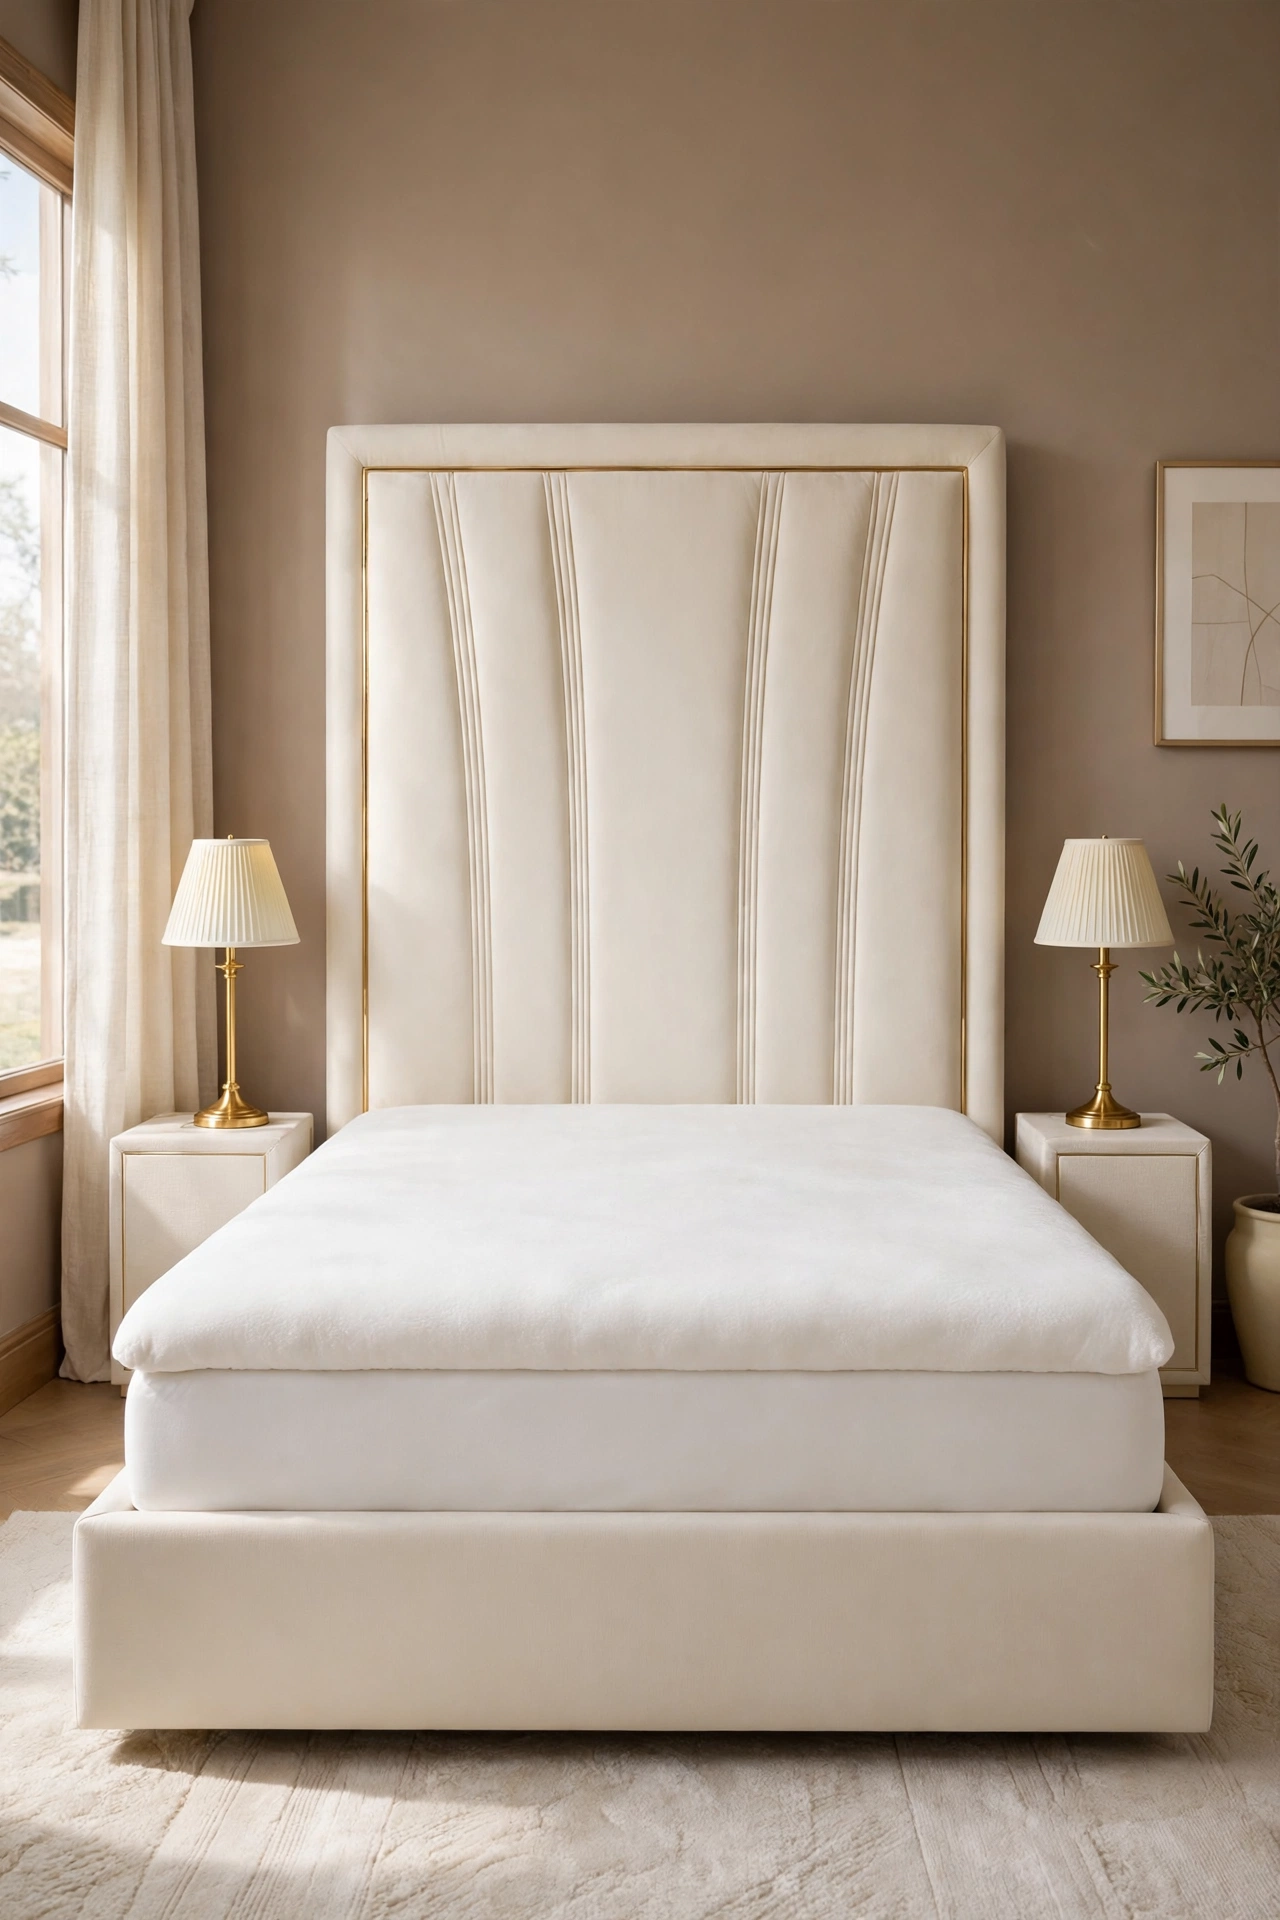
The soft top of a hotel bed comes from one added layer, not from the mattress alone. A plush topper, thick enough that your hand sinks in slightly, gives the bed its gentle crown and hides the firm, flat feel of a plain mattress. It also softens the look: sheets over a topper round at the edges instead of pulling into hard corners. If you use a thin washable protector, it can go over the topper to hold it in place and keep it clean, as long as it is smooth and does not rustle.
How to do it: Lay the topper on the mattress and line its corners up with the mattress corners exactly, then walk around the bed and check all four sides. The topper should end flush with the mattress edges, not hang over one side. Smooth it flat, and if it is new, let it rest and expand before the sheets go on. Pro Tip: Corner straps or a protector over the top are what stop a topper creeping toward the foot of the bed during the week, which is the hidden cause of most lumpy hotel bed attempts. Common mistake: A topper smaller than the mattress. The uncovered border leaves a ridge under the sheet that no amount of smoothing can hide.
3. Pull the Fitted Sheet Drum Tight
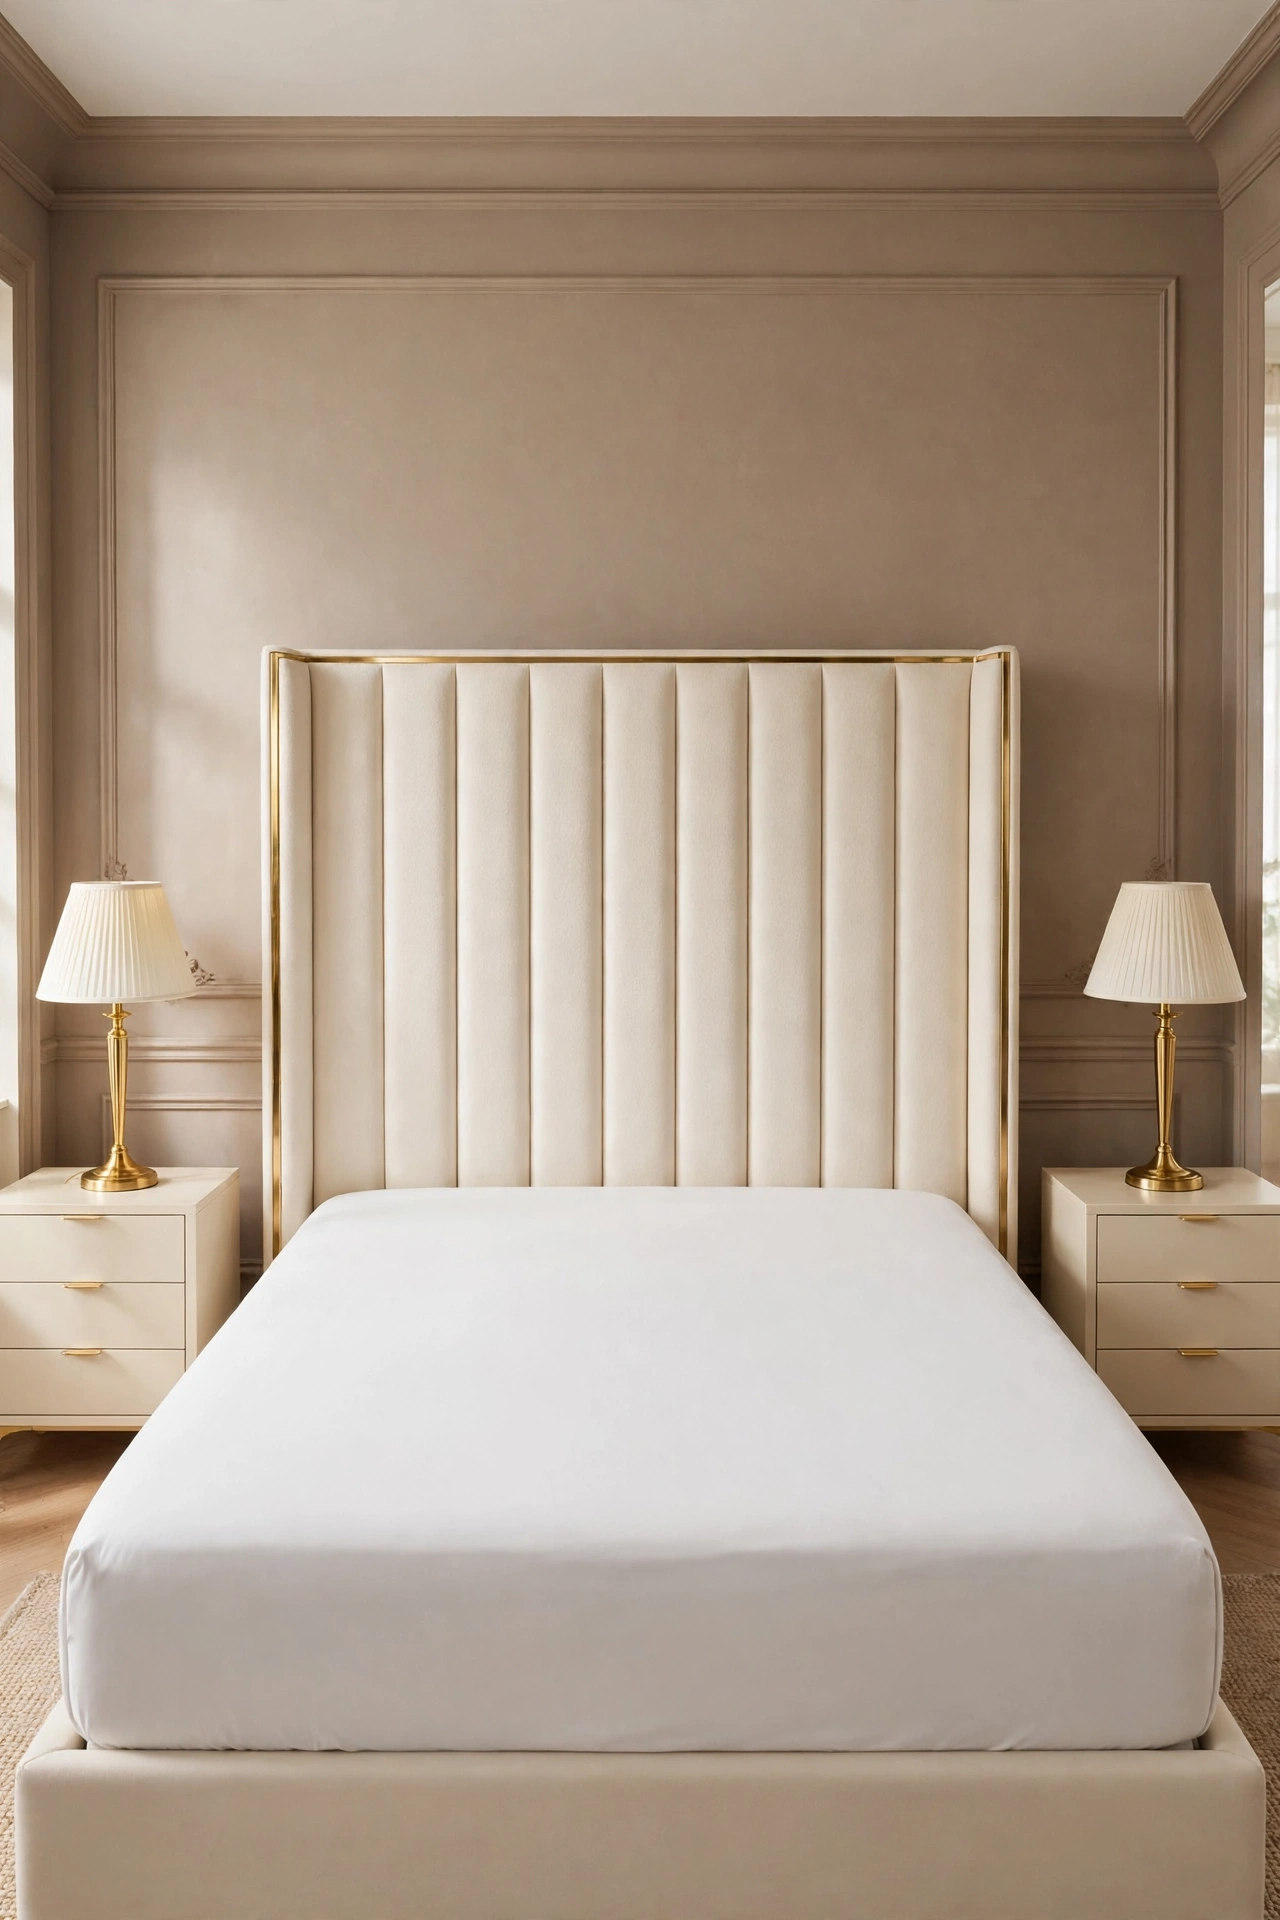
The fitted sheet is the foundation layer, and hotels keep it tight enough that it looks painted on. With a topper added, the sheet needs enough pocket depth to wrap the mattress and the topper together without pulling free at the corners. Work the corners in a diagonal order, first corner, then the corner opposite it, so the sheet settles evenly instead of gathering all its slack at the last corner. Finish by running both hands from the center line out to every edge, pushing the last ripples under the mattress.
How to do it: Fit the top left corner, then the bottom right, then the top right, then the bottom left. Tuck any extra fabric under the foot of the mattress. Press the surface flat with open palms and check it from the side: a tight sheet shows no diagonal wrinkle lines running from the corners. Pro Tip: If the corners keep popping free, the pocket is too shallow for the topper. A deeper pocket sheet fixes it at once, while fighting a shallow one undoes itself every night. Common mistake: Fitting the corners in a circle around the bed. All the loose fabric ends up trapped at the final corner, and it wrinkles for the life of the sheet.
4. Lay the Flat Sheet With Its Face Down
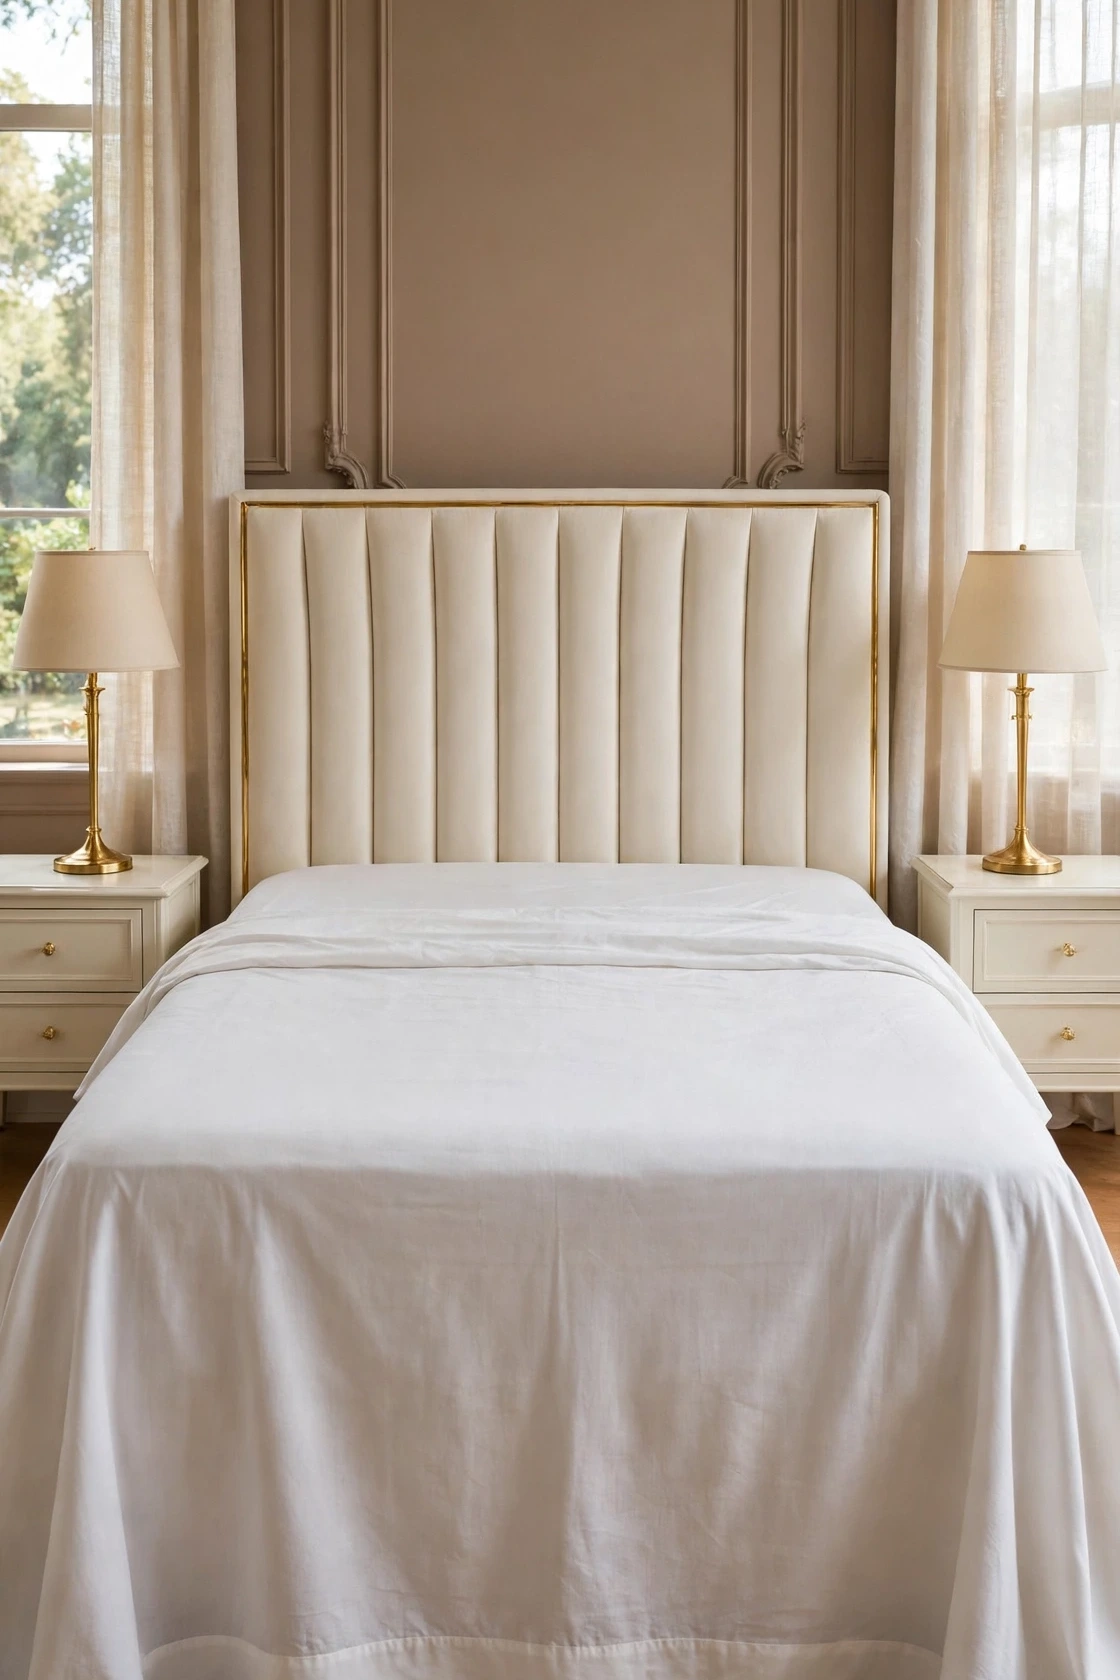
The flat sheet is the layer most home beds skip and most hotel beds rely on. Lay it with its finished face, the side with the wide hem and the smoother surface, facing down against the fitted sheet. That sounds wrong until the fold-down step, when the top of this sheet folds back over the duvet and the finished face is the one that shows. Center the sheet before anything is tucked: its top edge level with the top of the mattress, and the same amount of fabric hanging on both sides.
How to do it: Shake the sheet out over the bed, then stand at the foot and line up its center with the center of the bed by eye. Adjust the side overhangs until they match, then smooth the sheet flat from the center outward without tucking anything yet. Pro Tip: In an all white bed, the wide top hem of the flat sheet is your guide rail. If that hem runs level and straight, the fold-down band at the end will be straight too. Common mistake: Tucking the sheet in the moment it lands on the bed. Once it is tucked, the uneven overhang is locked in and one hospital corner will come up short.
5. Tuck Crisp Hospital Corners
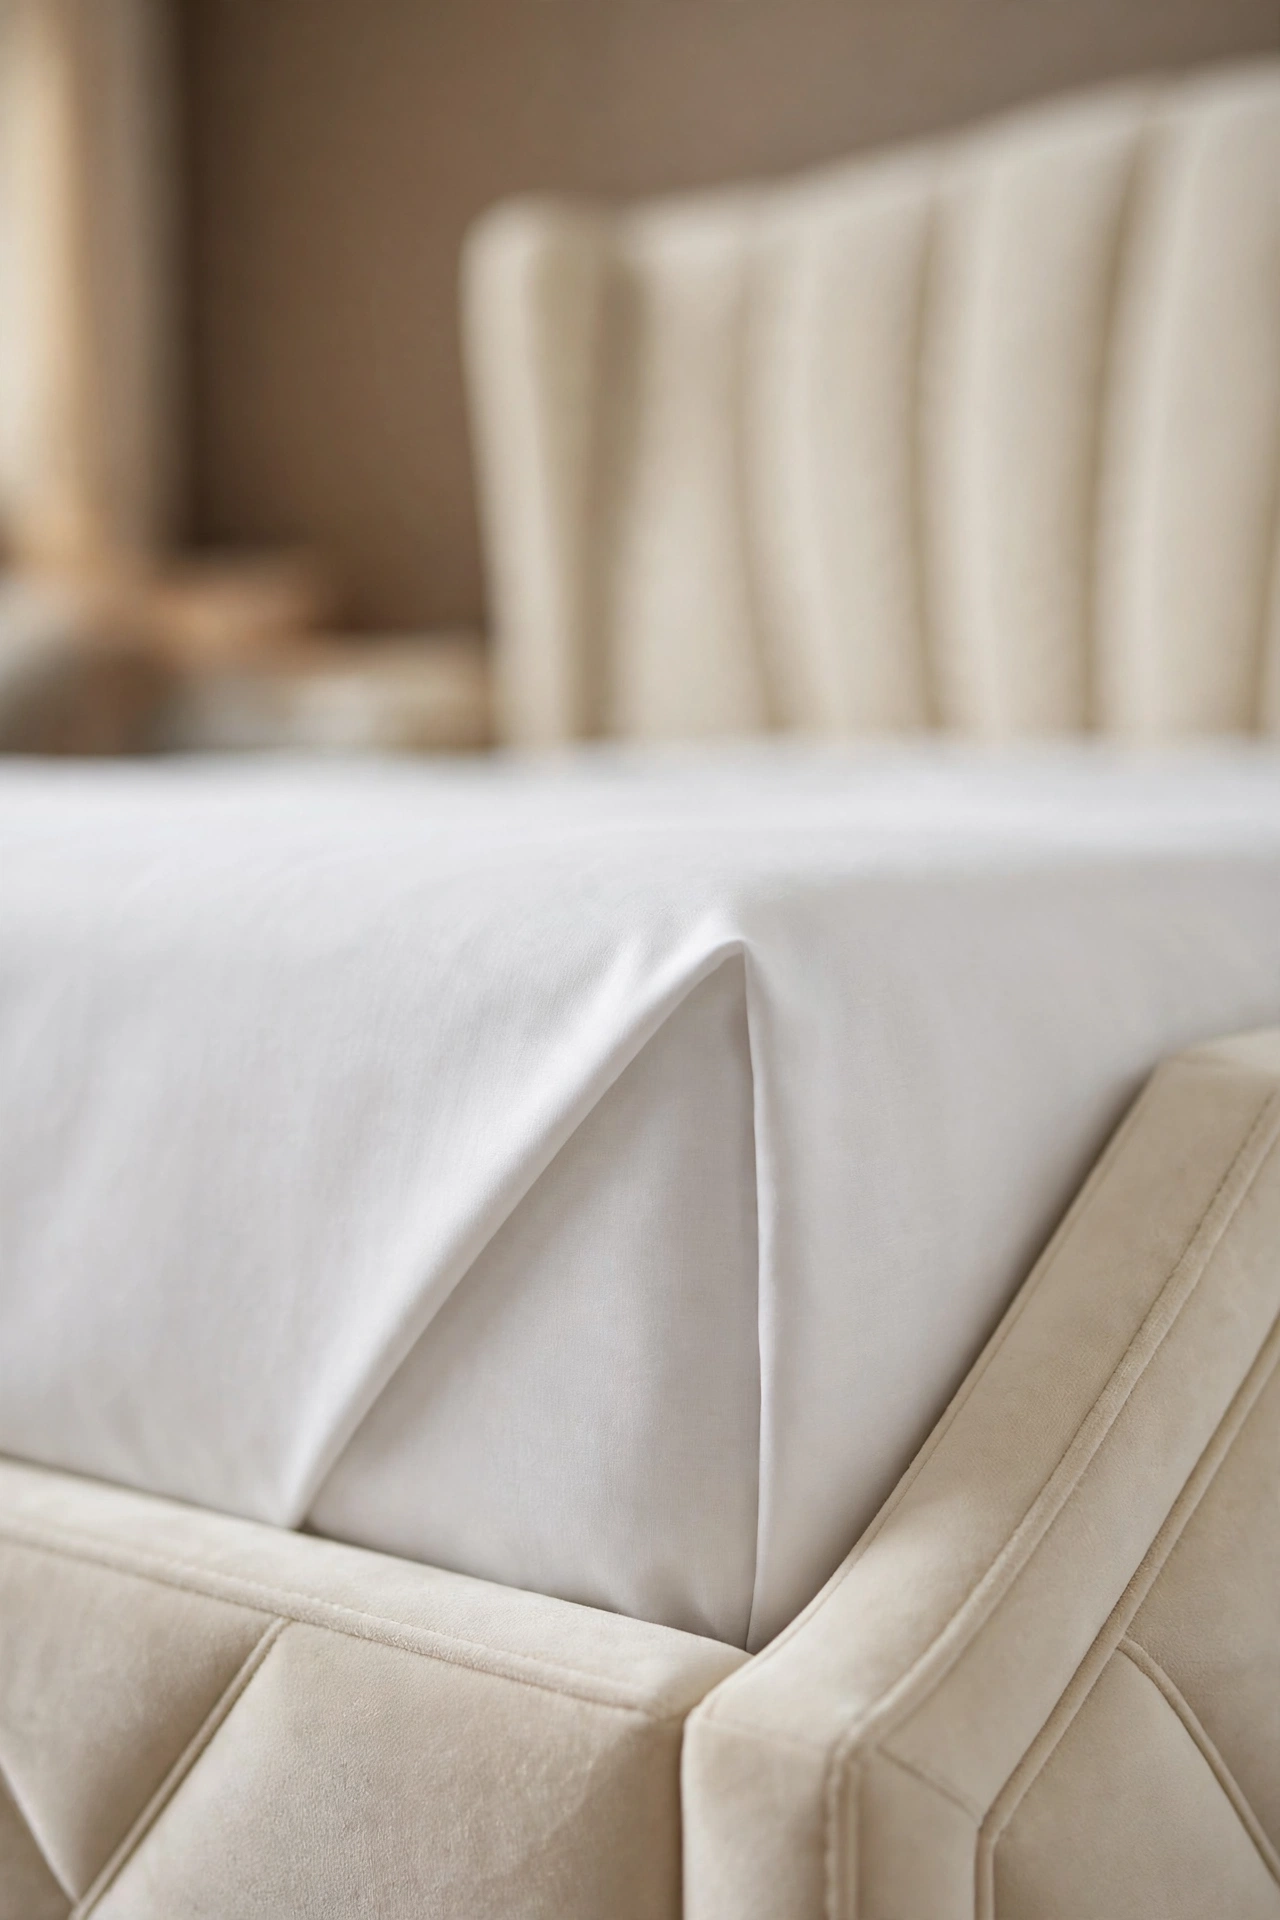
Hospital corners are the fold that gives a hotel bed its tailored edges. The technique turns the loose sheet at each foot corner into a flat diagonal fold, the same fold used on hospital and hotel beds because it holds through the night and looks sharp from the doorway. Do the foot end first as one straight tuck, then form each corner, then run the sides in last so the lines stay long and unbroken from head to foot.
How to do it: Tuck the foot end of the flat sheet under the mattress. At one corner, lift the side fabric a hand’s length from the corner so a triangle flap forms on top of the bed. Tuck the hanging part under the mattress, let the flap drop, and tuck it in flat. Repeat on the other corner, then tuck both sides in straight. Pro Tip: Smooth each flap with the edge of your hand before tucking, like ironing with your palm. The fold sets cleaner and the angle stays crisp. Common mistake: Grabbing the corner fabric and stuffing it under in a bunch. A stuffed corner holds for an hour, then works loose and lumps under the duvet.
6. Choose a Duvet Insert That Fills Its Cover
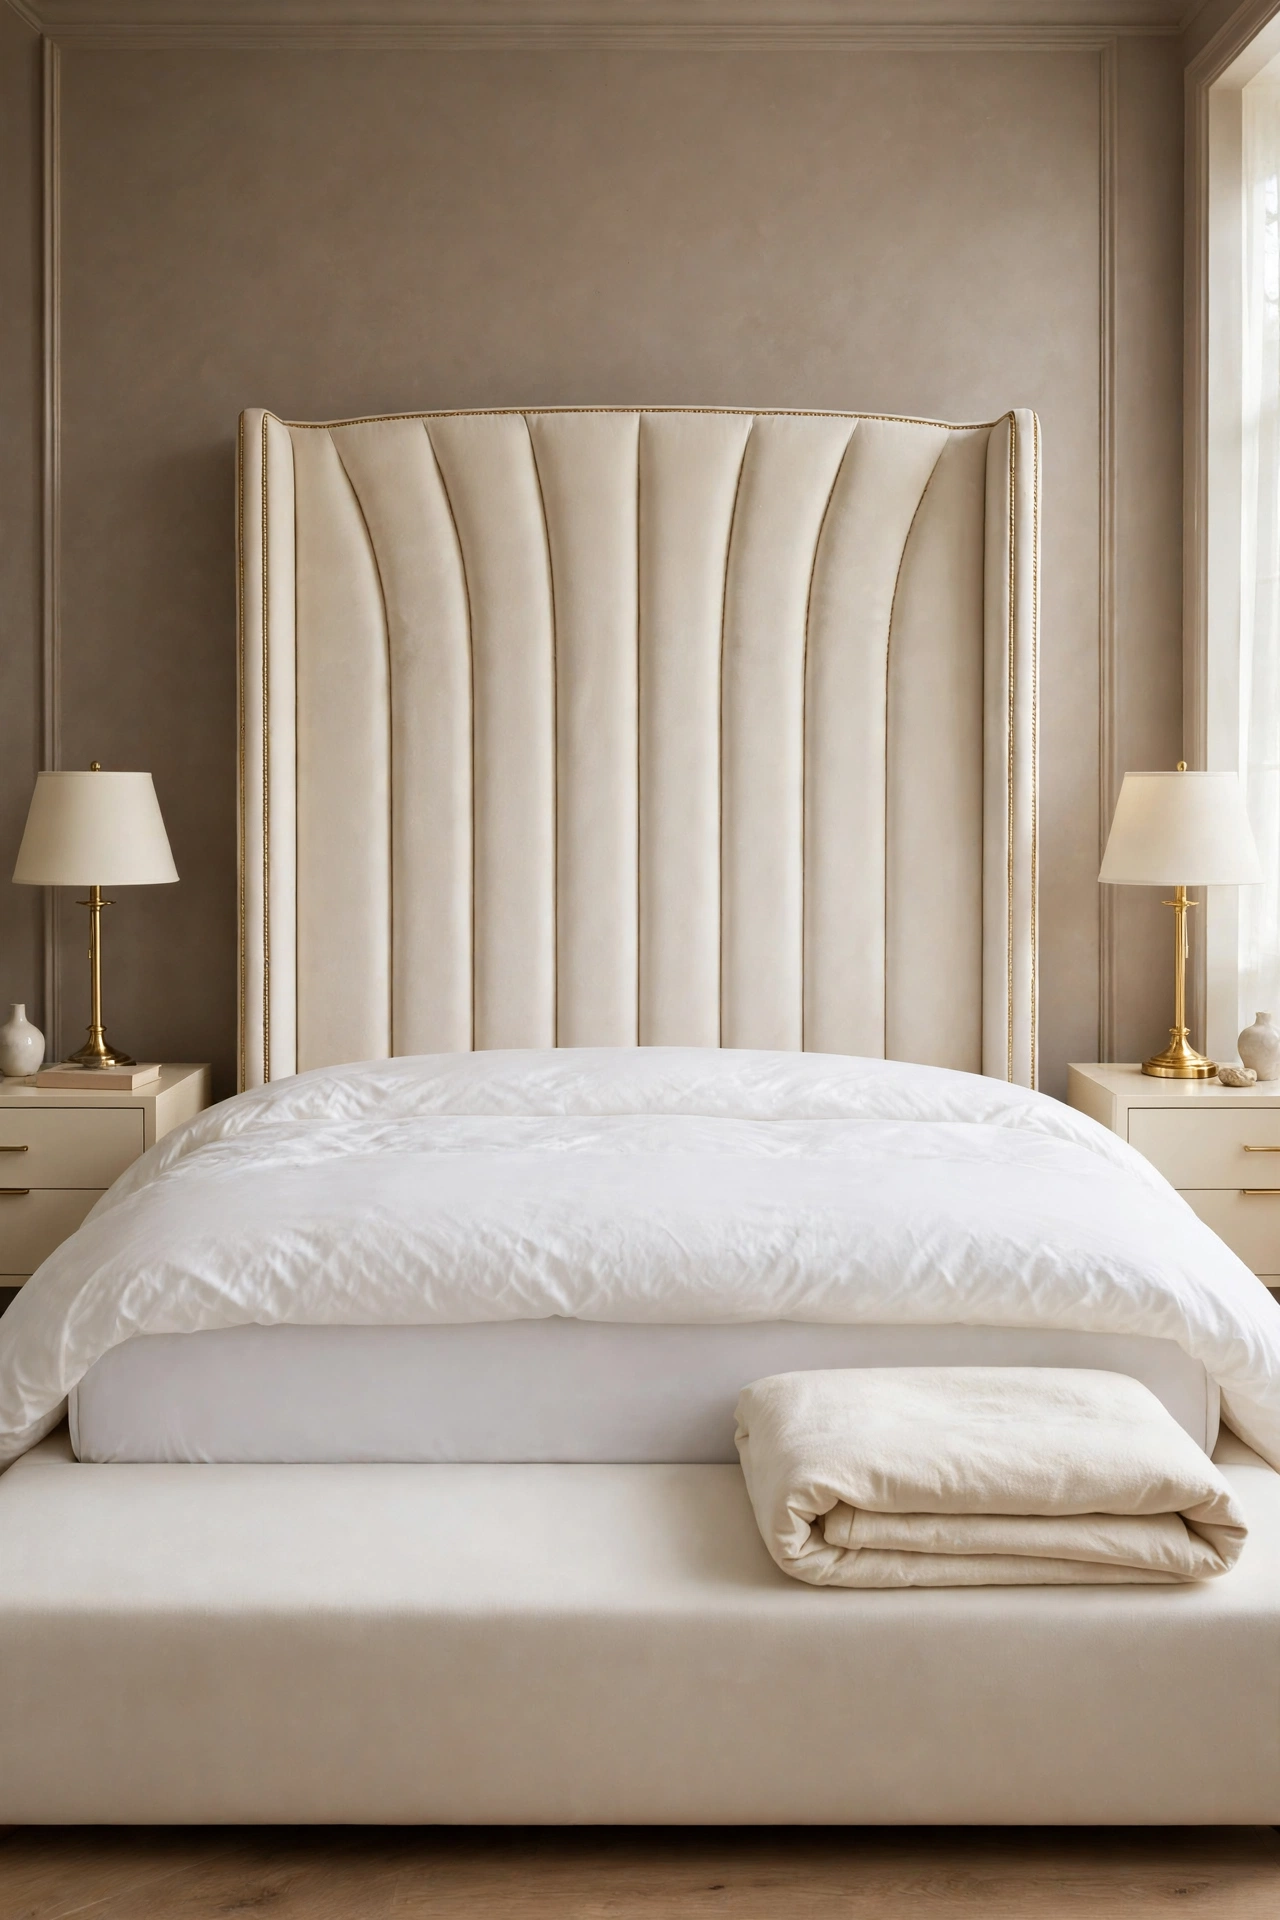
A flat duvet breaks the hotel look faster than any other layer, and the cause is usually sizing. An insert that is smaller than its cover swims inside it: the corners of the cover hang empty, the fill slides to one end, and the bed looks tired by noon. The insert should match the cover size or be slightly larger, an inch or two on each side, so it fills the corners fully and holds a soft loft across the whole bed. Shake the insert out and let it rest a few minutes so the fill can lift before the cover goes on.
How to do it: Lay the insert flat on the bed and check its corners against where the cover’s corners will sit. Fluff it by hand, pushing the fill gently toward any thin corner rather than shaking it all toward the middle. Check that the insert’s corner loops or tabs line up with the ties inside the cover if it has them. Pro Tip: Write the insert and cover sizes on a small tag inside the cover’s corner. Matching the right pair at every wash stops the slow mix ups that leave one bed flat and another bunched. Common mistake: Forcing an oversized insert into a much smaller cover to get more loft. Past a small difference, the fill bunches into lumps instead of rising evenly.
7. Put the Duvet On and Spread It Even
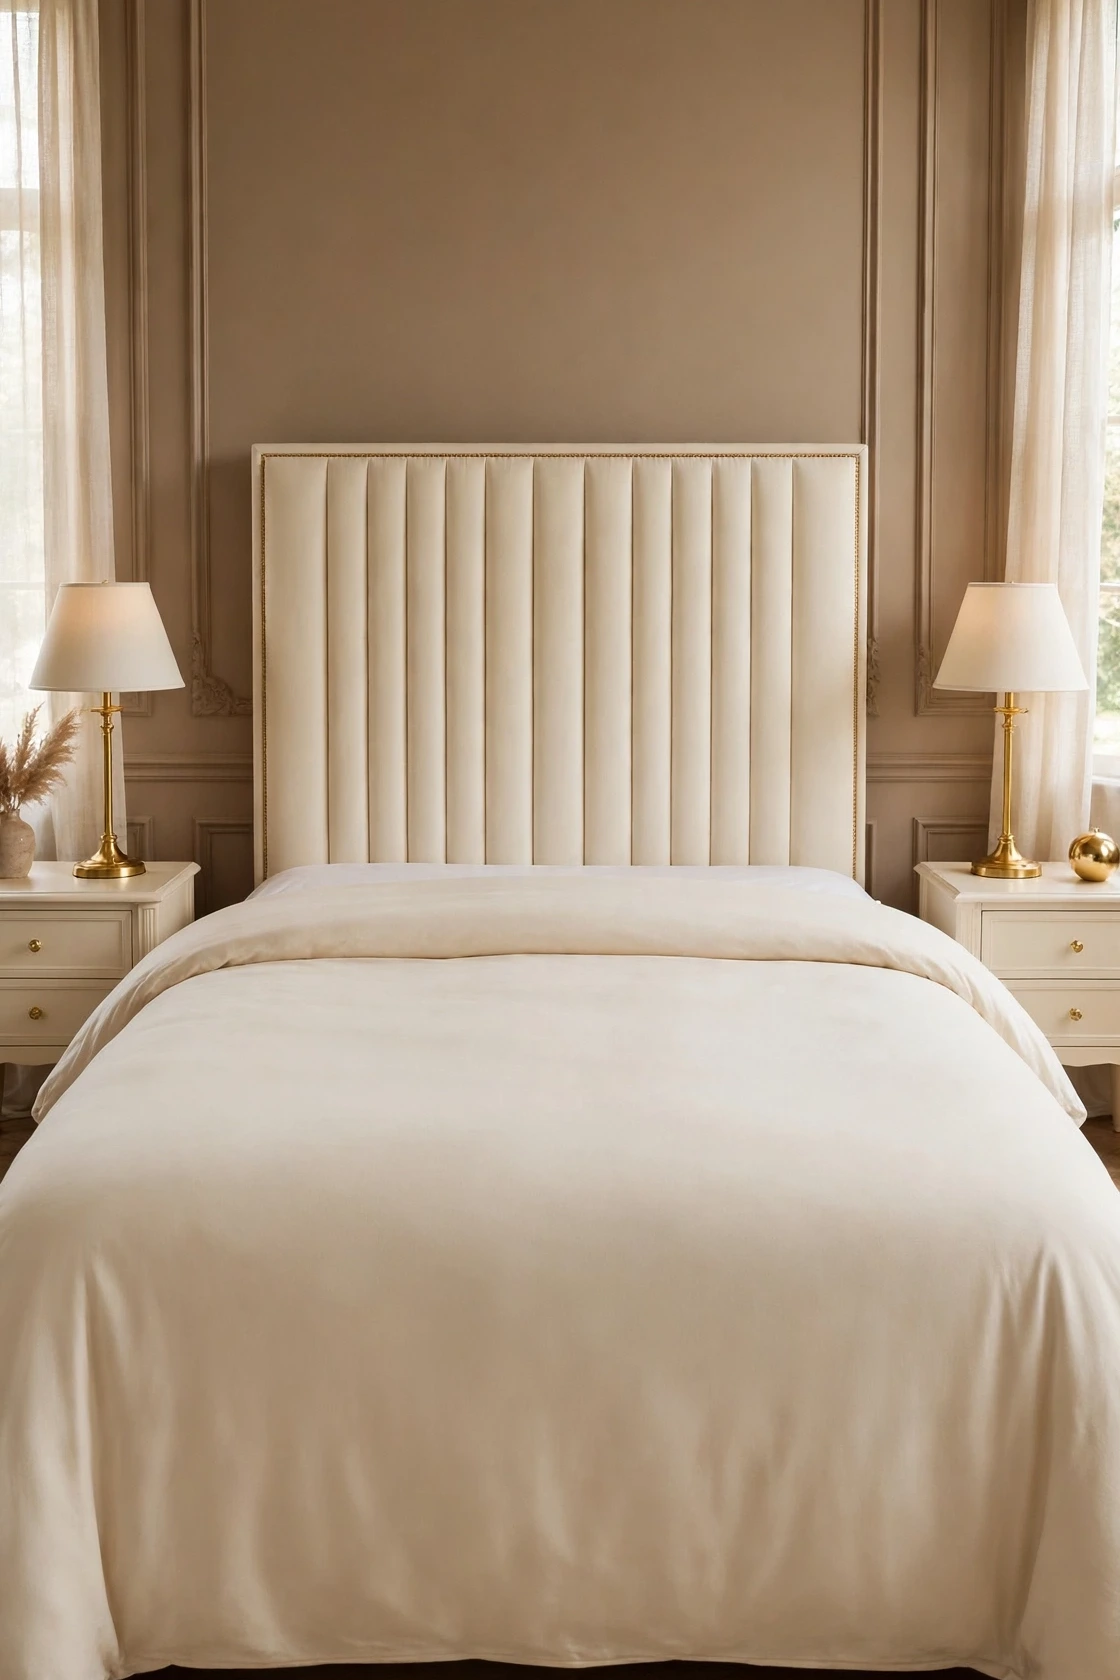
Getting the insert settled inside the cover, corner to corner, is the step people rush and the step the finished bed cannot hide. Use the slow method: turn the cover inside out, reach inside and take hold of its two far corners, grip the matching corners of the insert through the fabric, and shake the cover down over the insert like a pillowcase over a pillow. Tie or button the corners if the cover has ties, close the cover, then lay the duvet on the bed and center it.
How to do it: Spread the duvet so the same amount hangs on both sides and the foot end hangs evenly. Shake it once from the foot edge so the fill settles toward the head. Walk to both sides and check that the duvet’s top edge sits a short distance below the top of the mattress, leaving room for the fold and the pillows. Pro Tip: If one corner of the cover feels empty, reach in and pull that insert corner into place before closing, not after. Fixing it through closed fabric never fully works. Common mistake: Shaking the duvet hard by one corner to spread it. The fill migrates to the opposite corner and the duvet wears a permanent slope.
8. Fold the Top Down in One Clean Band
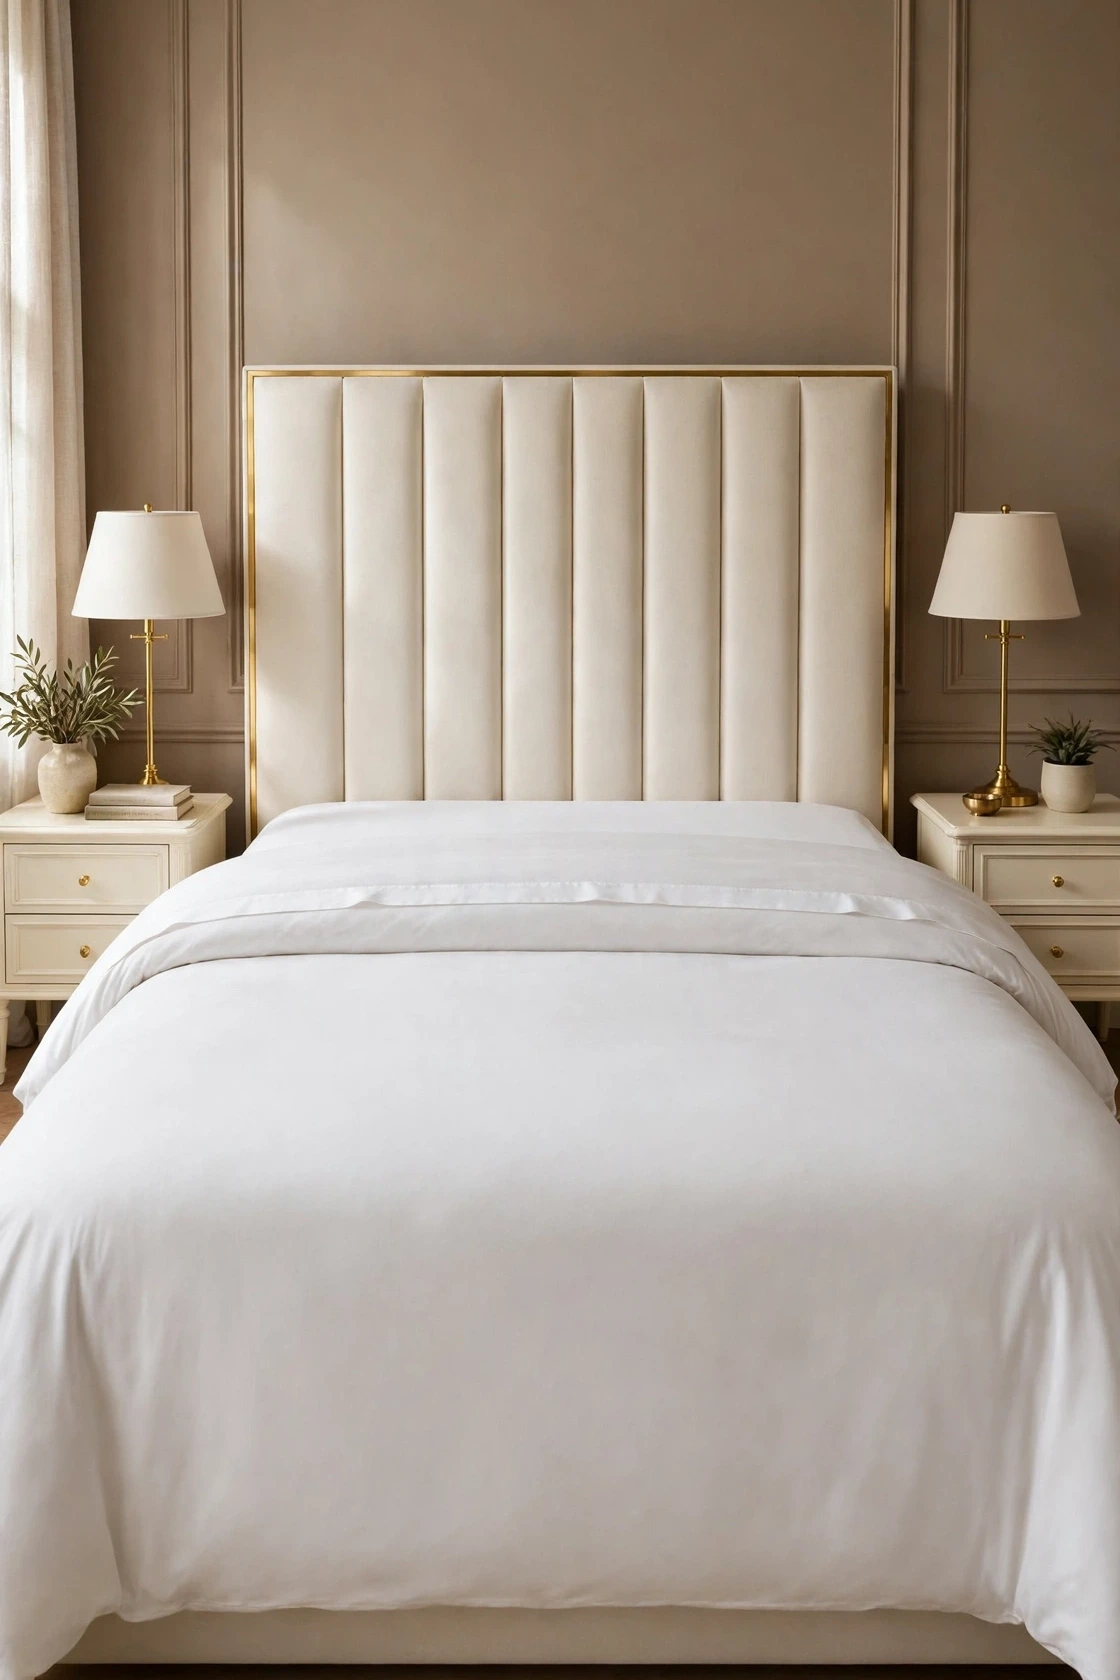
The fold-down is the signature line of a hotel bed. Folding the duvet and the flat sheet back together, in one deep, straight band across the upper part of the bed, shows the clean sheet layer, frames the pillows, and gives the bed its finished, turned down look. Because the flat sheet went on face down, its finished side now faces up inside this fold, wide hem showing. The fold line must run dead straight and level, because every other line on the bed is judged against it.
How to do it: Stand at one side and fold the top of the duvet down toward the foot by roughly the length of your forearm, taking the flat sheet with it. Repeat the same depth on the other side, then check the fold line from the foot of the bed and level it. Fold the top edge of the flat sheet over the duvet edge as a neat band and smooth the whole fold flat with both palms. Pro Tip: Measure the fold depth against your forearm on both sides instead of guessing. Matching depths are what make the band look level even before you check it. Common mistake: A shallow, uneven fold that wanders. A deep fold looks generous and hides small differences; a thin one shows every wobble.
9. Dress and Fluff the Sleeping Pillows
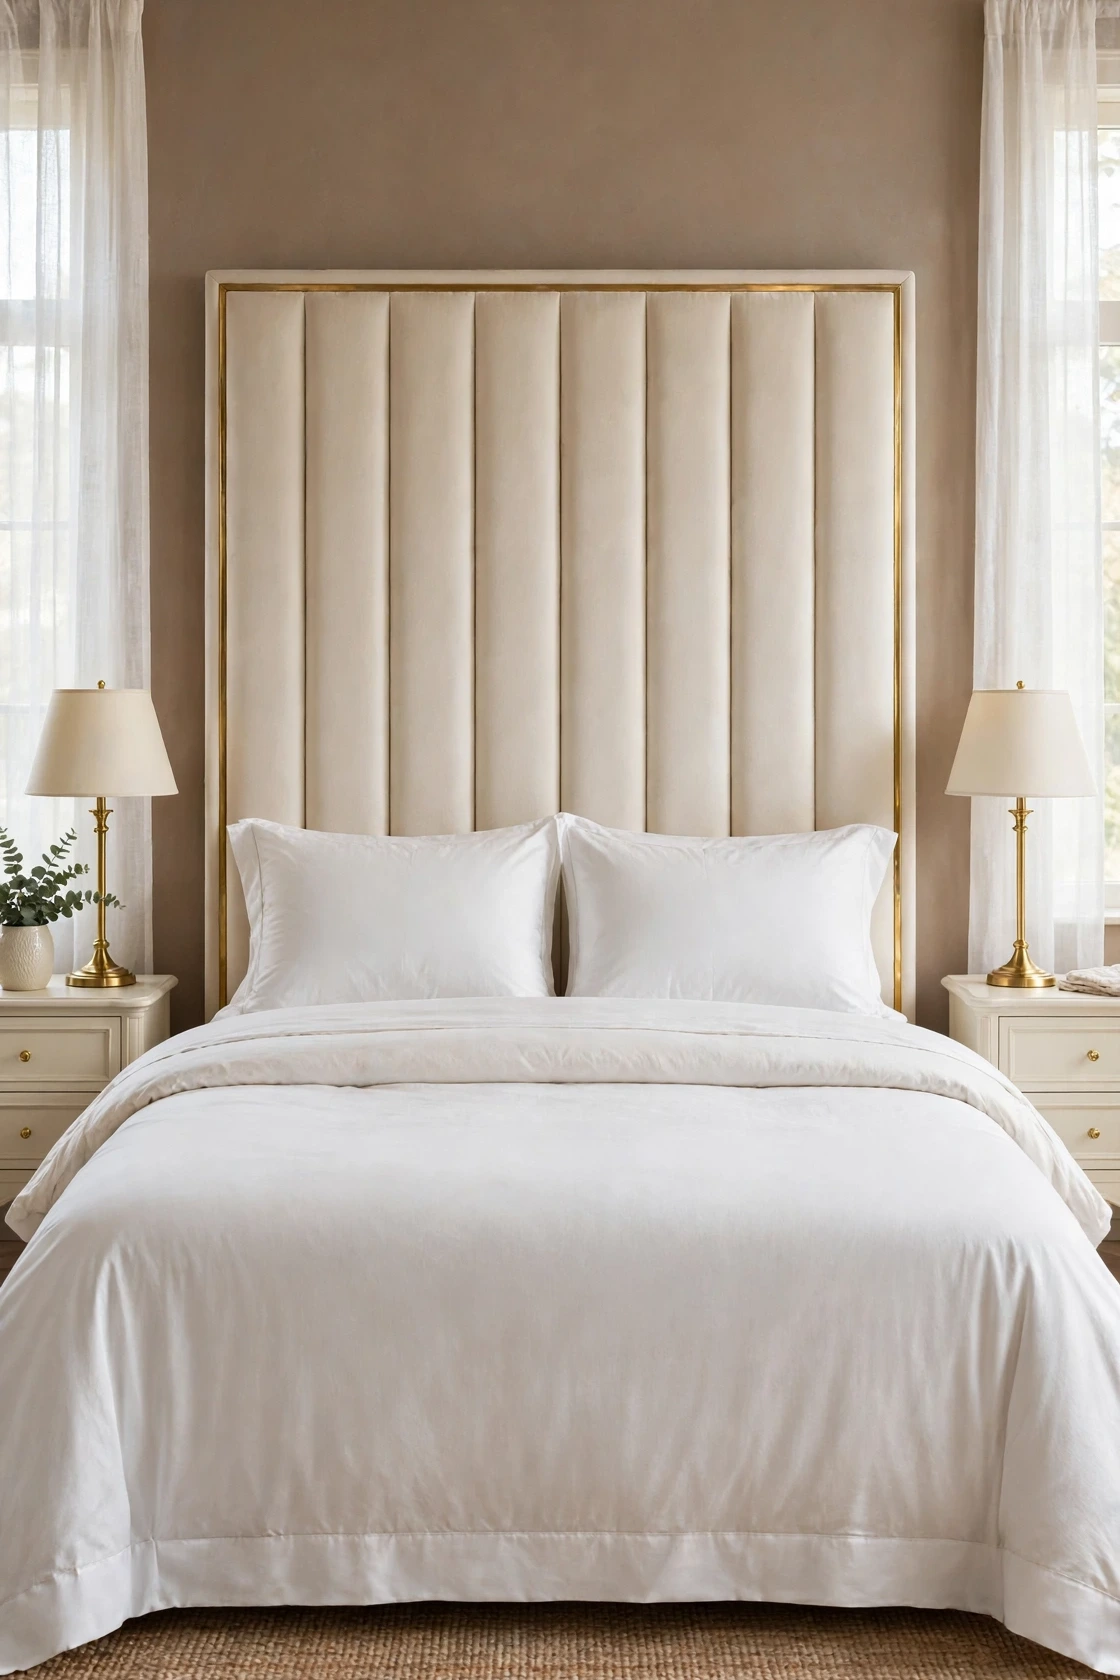
Hotel sleeping pillows stand plump and smooth, with no crease down the middle and no loose case fabric flapping at the open end. Fluff each pillow by hand before it goes on the bed: push the fill from the edges toward the center so the pillow stands up on its own. Dress it in a smooth case, then fold the extra case fabric inside itself at the opening, the envelope tuck, so the pillow shows clean fabric on every side.
How to do it: Push the pillow into the case corner first, then work the rest in and shake it down. Fold the loose end fabric inward in one flat fold. Stand the two sleeping pillows on the bed leaning lightly against the headboard, smooth faces forward, seams and folded ends facing the edges of the bed. Pro Tip: Fluff pillows while they are off the bed, holding them at eye level. It is far easier to see a lopsided pillow in your hands than once it is in the stack. Common mistake: The karate chop dent down the center of each pillow. That look belongs on a sofa cushion; a hotel sleeping pillow reads as luxury because its face is full and smooth.
10. Stack the Pillows in Hotel Order

With the sleeping pillows dressed, the stack is built back to front in size order. The back row is the tallest: two large euro shams standing straight against the headboard, giving the bed its height and its soft wall. The sleeping pillows stand in front of them, slightly lower. The front row is one piece only, a single long lumbar cushion or one square accent cushion centered on the bed, in the room’s one soft color, here a blush that picks up the throw. Three rows is the full hotel formula.
How to do it: Set the euro shams first and check their tops form one level line. Stand the sleeping pillows in front, centered over the shams’ lower half. Place the front cushion dead center, then step to the foot of the bed and check the stack reads as a pyramid: tall at the back, low at the front, nothing leaning. Pro Tip: On a smaller bed, drop the euro row and keep sleeping pillows plus the one front cushion. The order matters more than the count, and a small bed with three rows looks stuffed, not layered. Common mistake: A pile of mixed cushions in no order, tall at the front hiding everything behind. If the eye cannot read the rows, the stack looks like storage, not styling.
11. Add the Runner and Throw at the Foot
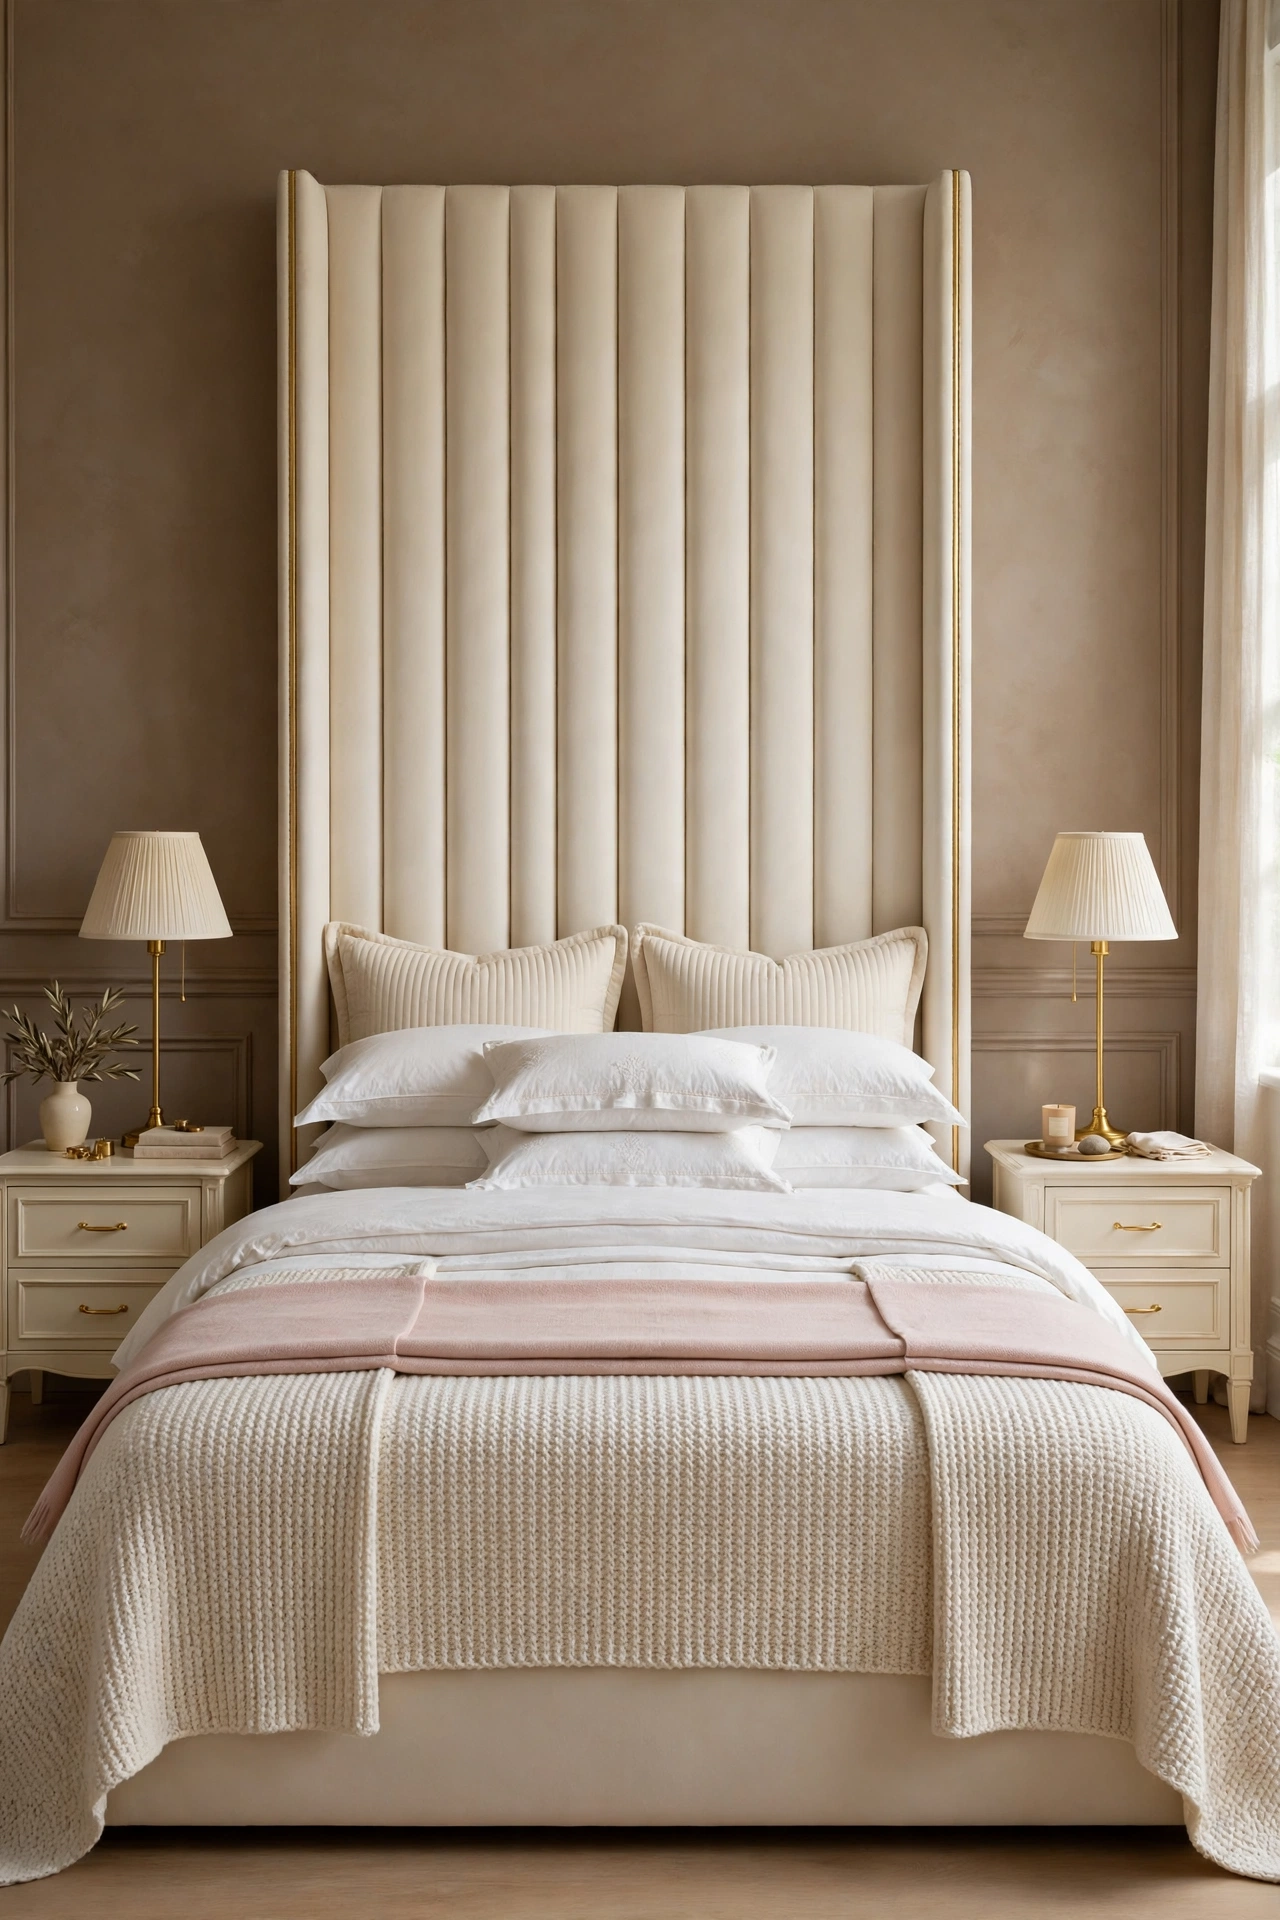
The foot of the bed gets the final fabric layer: a runner across the foot and a throw folded into a long band. The runner protects the white duvet where bags, feet, and sitting land, and its straight edge gives the bed a tailored finish line. The throw carries the room’s color in its most controlled dose. Folded lengthways into thirds and laid as a flat band, in hotel style, it adds blush and texture without covering the fold-down or the pillows’ work.
How to do it: Lay the runner across the foot so it is centered, with the same drop on both sides and its edges parallel to the foot of the bed. Fold the throw long and narrow, then lay it as one straight band across the lower part of the bed, over or just above the runner, and smooth its edges level. Pro Tip: Keep the throw band parallel to the fold-down band at the head. Two matching straight lines, one at each end, are what make the whole bed read as designed rather than dressed. Common mistake: The throw tossed in a loose diagonal with its corners trailing. On a bed built from straight lines, one rumpled piece undoes the order of all twelve steps at a glance.
12. Finish With the Hotel Final Checks

Hotels finish a bed with a check, not a glance, and the check is always done from the foot of the bed and from the door, the two views a guest actually gets. Look for lines first: the fold-down band level, the throw band level, the pillow tops level. Look for balance second: the duvet overhang the same on both sides, the runner centered, the front cushion centered. Then smooth last: one slow pass of the hand over the duvet and the fold, pushing any ripple outward to the edges.
How to do it: Stand centered at the foot and fix the biggest uneven line first, then work down to small ones. Tug the duvet corners at the foot to even the overhang, straighten the runner by its corners, and check the pillow stack heights match left to right. Take one photo from the doorway; the camera shows crooked lines your eye has already forgiven. Pro Tip: Save that final photo on your phone. It becomes the reset guide, so the bed can be returned to exactly this finish in a few minutes each morning instead of being remade from memory. Common mistake: Checking the bed only from the side where you stood to make it. Every error in a hotel bed hides from the maker and shows from the foot.
Quick Reference Table
| Layer or Step | What It Adds | Key Rule |
|---|---|---|
| Bare mattress reset | A clean start | Fix every bump now |
| Mattress topper | Soft top layer | Flush with the mattress edges |
| Fitted sheet | Tight foundation | Corners fitted diagonally |
| Flat sheet | The fold-down layer | Finished face down |
| Hospital corners | Tailored edges | Flat diagonal fold, no stuffing |
| Duvet insert sizing | Loft | Match the cover or slightly larger |
| Duvet spread | Even cover | Equal overhang on both sides |
| Fold-down band | The signature line | Deep, straight, and level |
| Sleeping pillows | Plump faces | Envelope tuck, no center dent |
| Pillow stack order | Height and order | Tall at back, one piece in front |
| Runner and throw | Finish and color | Bands parallel, edges level |
| Final checks | The guest view | Check from the foot and the door |
The Hotel Bed Checklist
- Bed stripped back to a bare, smooth mattress
- Topper flat, corners lined up, edges flush
- Fitted sheet drum tight with no corner wrinkles
- Flat sheet centered with equal overhangs
- Hospital corners folded flat at both foot corners
- Duvet insert filling every corner of its cover
- Duvet spread with equal overhang on both sides
- Fold-down band deep, straight, and level
- Sleeping pillows plump with envelope tucked cases
- Pillows stacked tall at back, one cushion in front
- Runner centered and throw band straight at the foot
- Final check passed from the foot and from the door
Frequently Asked Questions
Why does a hotel bed feel softer than the same mattress at home?
The softness sits on top of the mattress, not inside it. The added topper gives the surface its gentle give, and the lofted duvet adds the light, floating layer over the body. A home bed with no topper and a flat, undersized duvet insert feels firmer and thinner even on an identical mattress, which is why Steps 2 and 6 change the feel more than any other steps in this guide.
Do the sheets have to be white for this to work?
White is the easiest version because every layer matches, washes together, and reads as one calm surface, which is why hotels use it. The same twelve steps work in cream or a soft neutral: keep all the sheeting in one color family, keep the fold-down band clean, and let one piece, like the blush throw here, carry the color. Mixed patterns on the sheets are what break the look, not the absence of white.
I do not use a flat sheet. Can I still get the hotel look?
Yes, with one change at Step 8. Fold the duvet alone in a deeper band, and lay the folded throw or a second thin coverlet across the fold line to give it a finished edge. You lose the crisp sheet band, which is the sharpest line on the bed, so the fold itself must be extra straight and the pillow stack extra tidy to carry the look.
How long does the full twelve step make take once I know it?
The first full build is the slow one, because the topper, corners, and insert sizing are being set correctly for the first time. After that, the daily reset is only the top layers: smooth the duvet, reset the fold, stand the pillows, straighten the throw. That takes a few minutes, and the saved final photo from Step 12 is what keeps those minutes from stretching.
Conclusion
A luxury hotel bed is a sequence, not a purchase: strip it bare, add the soft top layer, pull the sheets tight and fold their corners flat, size the duvet so it rises, fold one deep straight band, stack the pillows tall to small, band the foot with a runner and throw, and check the whole bed from where a guest would stand. Do the twelve steps in order and the bed stops looking slept in and starts looking kept, every single day.