
15 Modern Luxury Bedroom Ideas for a Five-Star Feel
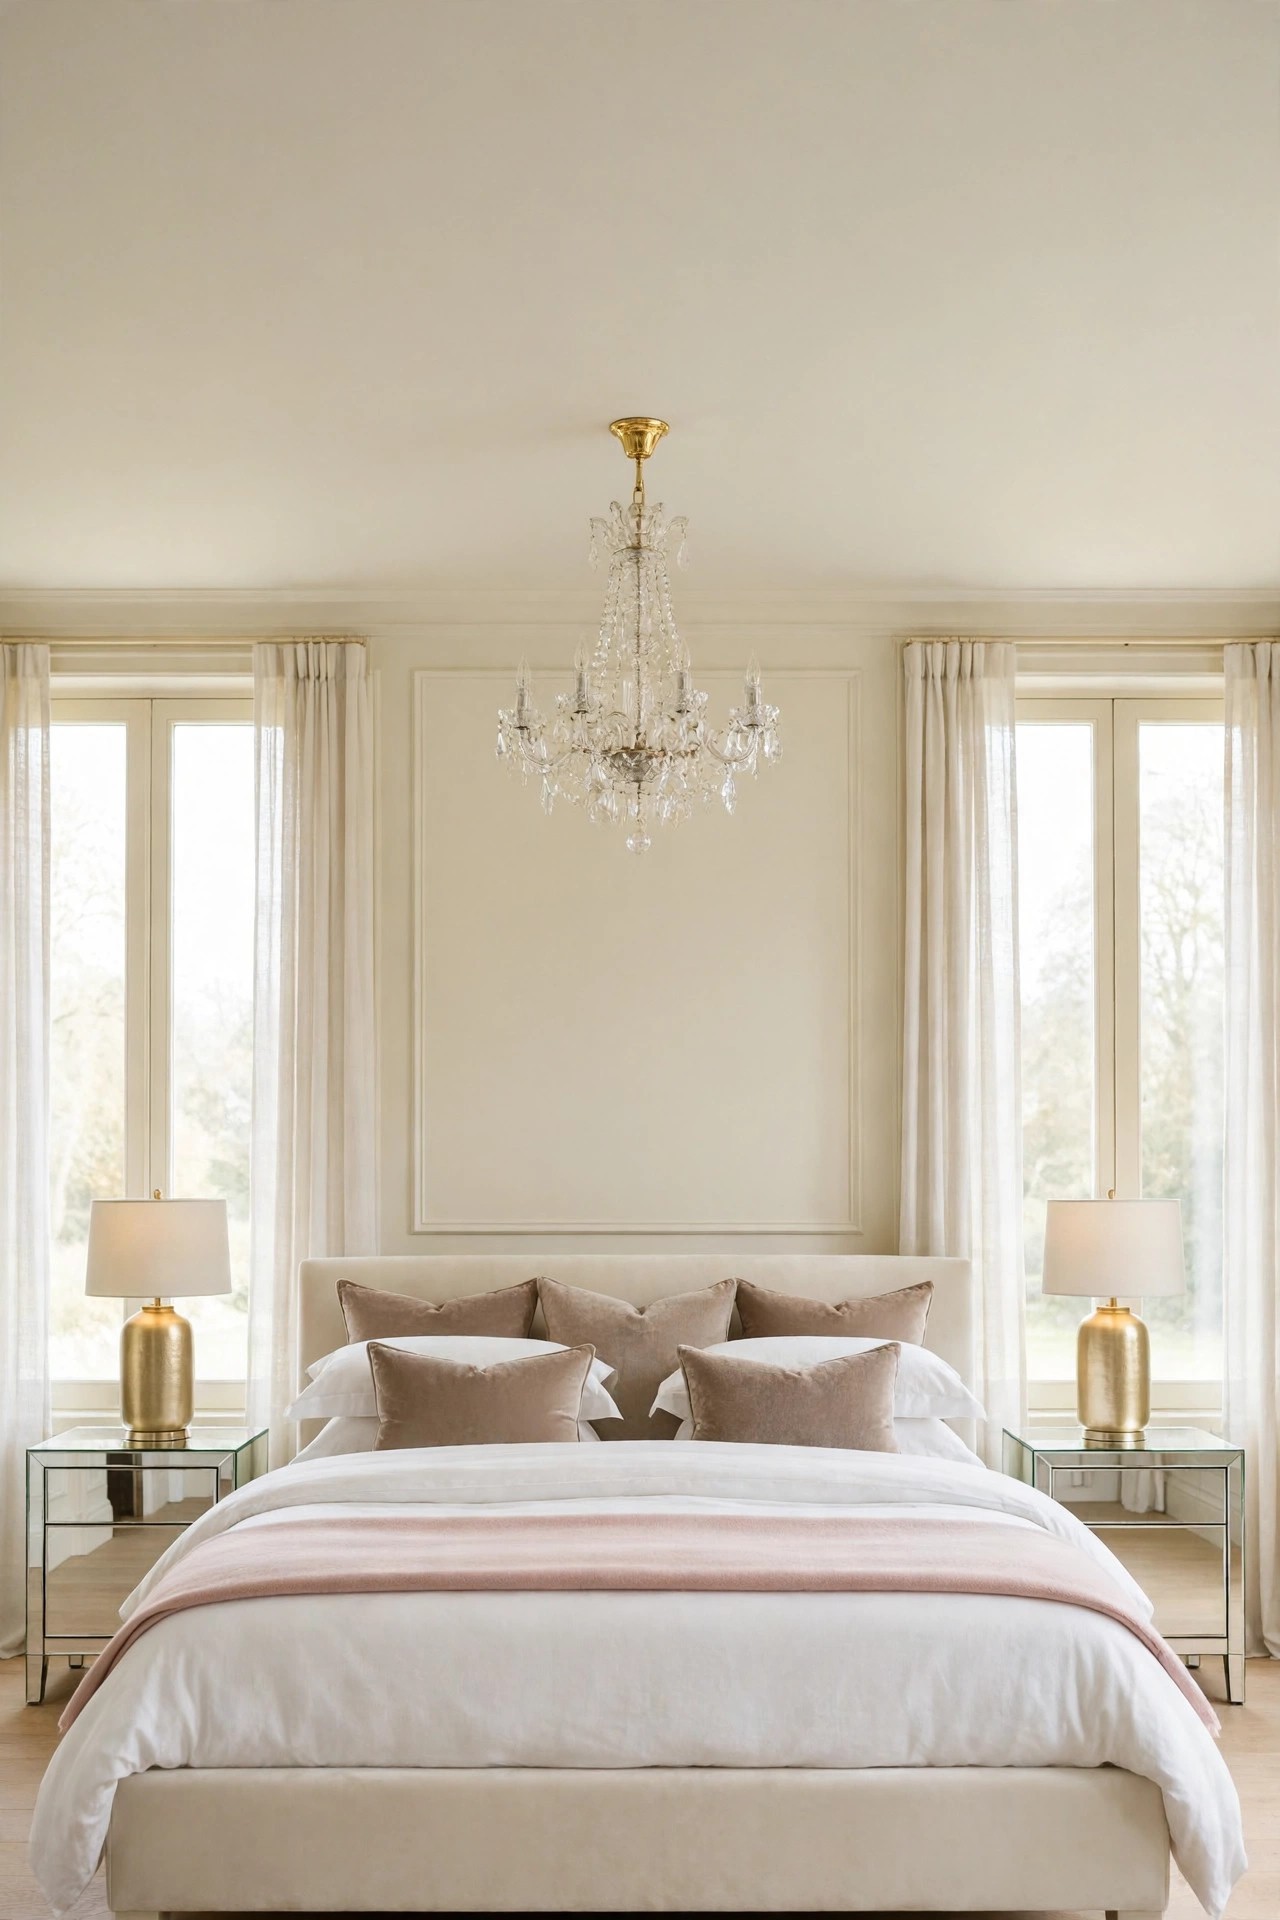
A modern luxury bedroom rarely comes from one expensive purchase. It comes from order: bedding layered the way hotels layer it, a headboard tall enough to anchor the wall, light that lands at the right height, and textiles with some weight to them. The trouble is that luxury pieces are often sold separately, with no guidance on which one a plain room needs first. This collection keeps the focus narrow: fifteen ideas in the white, cream and warm taupe palette with blush pink and brushed gold, each with what you need, clear steps, an honest cost estimate and a renter note. For a wider mix of styles and budgets, start with these bedroom ideas and then come back here for the luxury layer.
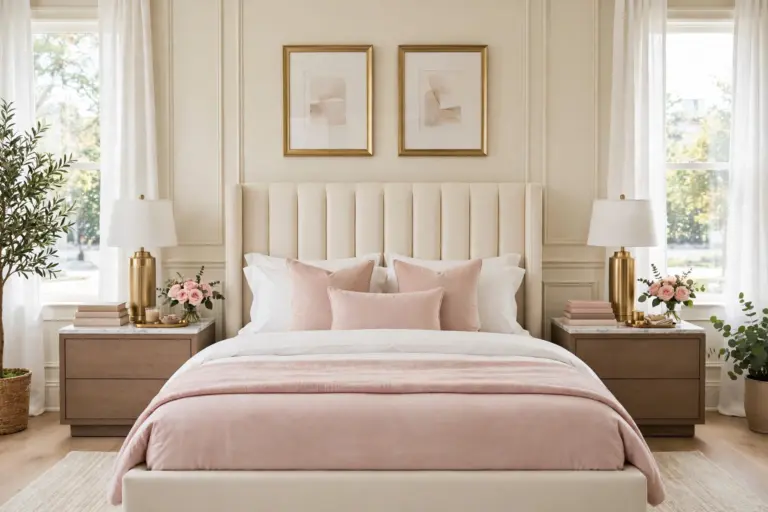
1. Layer the Bed the Way Hotels Do
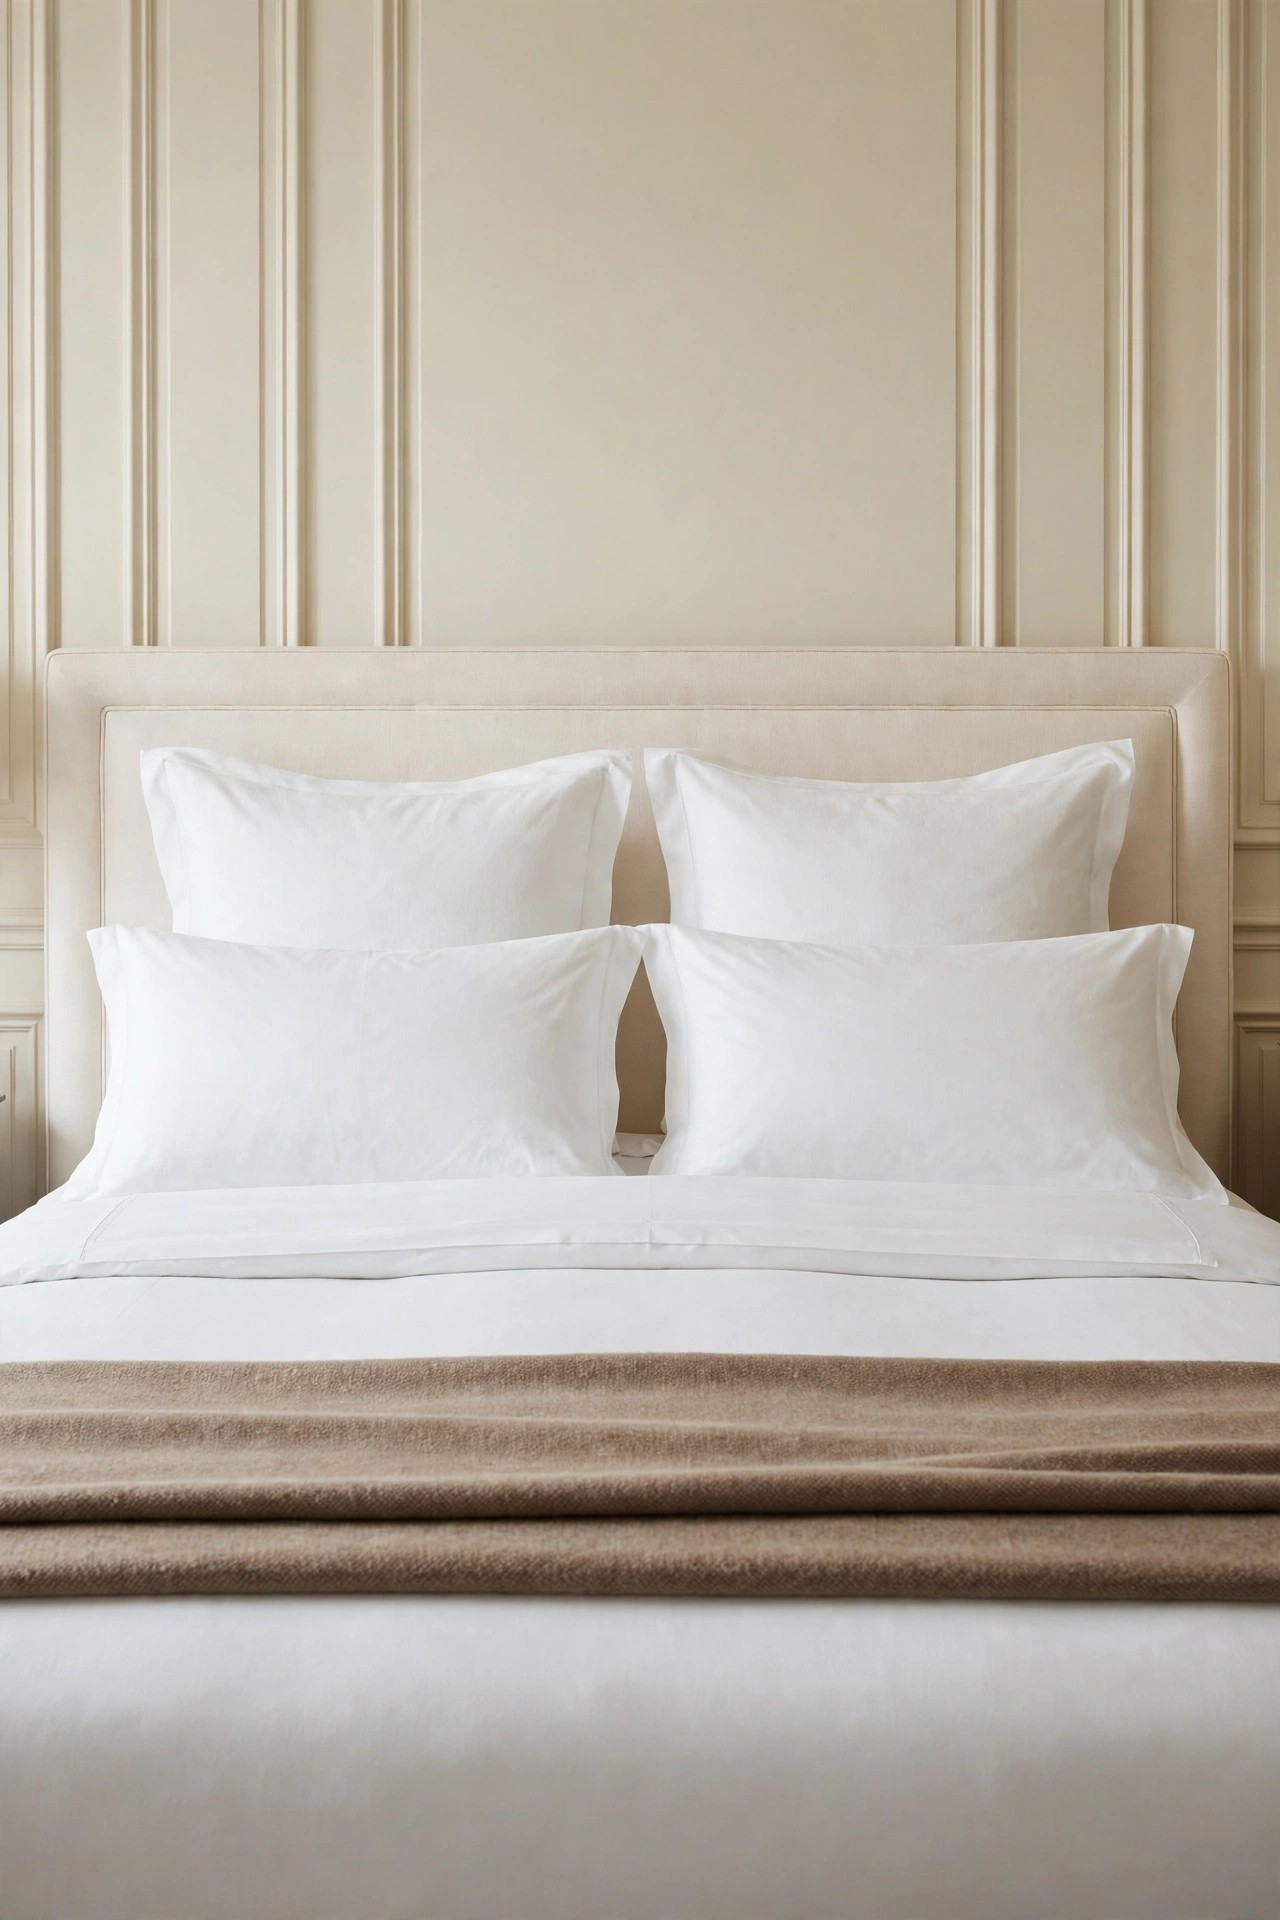
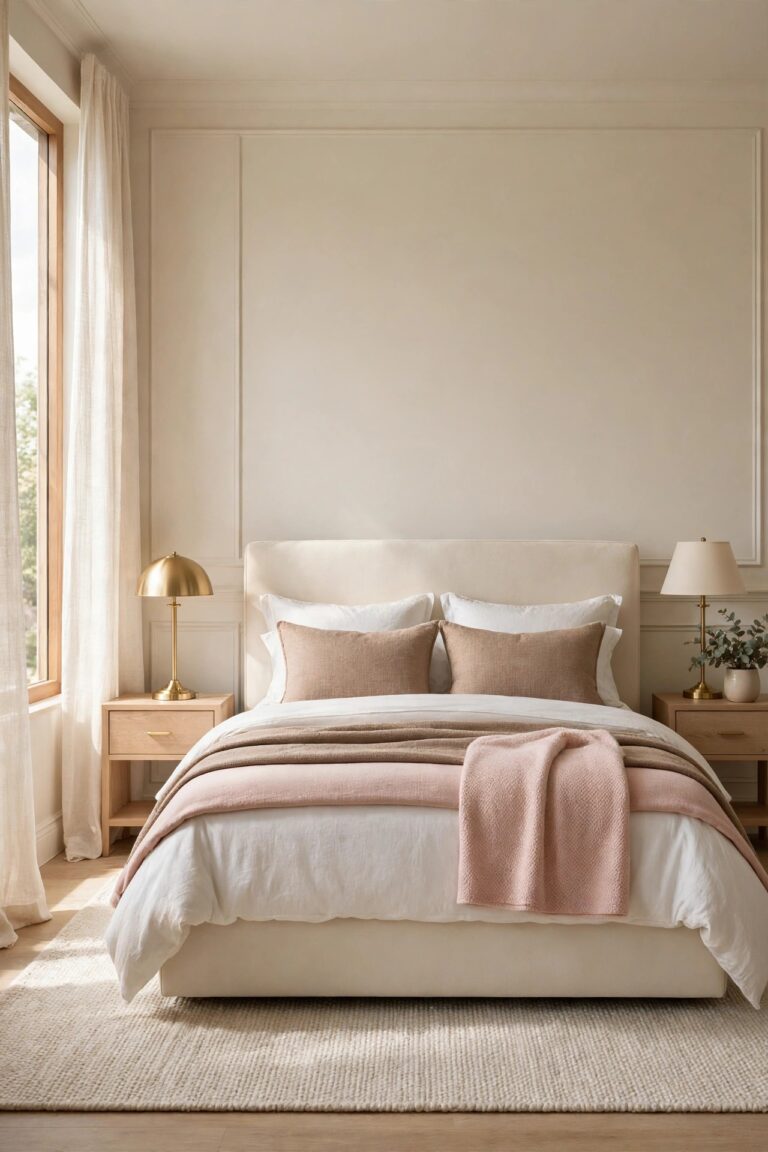
Description: Hotel beds look expensive because of sequence, not thread count alone. A smooth fitted sheet, a duvet in a plain white sateen cover, a top sheet folded back in a wide band, then two pillow rows with euro shams standing at the back. Each layer has a visible edge, which is what reads as care. The trade off is laundry: white bedding shows marks and needs a hot wash routine to stay bright, so warm ivory is the practical swap if that upkeep does not suit your household.
Best For: Main bedrooms that already have decent furniture but feel flat and unfinished.
Not Ideal For: Households that cannot keep up with frequent hot washing of white bedding.
Estimated Cost: $90-$180 (estimate) for a cotton duvet cover set, two euro shams and a throw.
Budget Note: The duvet cover set is the visible layer, so spend there first and add the euro shams later if the bed still looks low.
Renter Friendly: Yes
Renter Note: It is all bedding and soft furnishings, with nothing fixed to the room.
What You Need
White sateen duvet cover set in your bed size, duvet insert, two euro shams with inserts, one warm taupe or blush throw, plain white sheet set.
Product recommendation (partially verified): Bedsure 100% Giza Egyptian Cotton Duvet Cover Set, Queen, White, 3 pieces, 90 x 90 inches
Why it fits: The sateen woven Egyptian cotton gives the smooth, low sheen surface this layered look needs, and the set includes the duvet cover with 8 interior ties plus two shams, so the cover stays put inside its layers.
Retailer/product page: https://www.amazon.com/dp/B0G529BZMX/ref=sspa_mw_detail_3
How To Do It
- Make the bed with the fitted sheet and lay the flat sheet over it, hemmed side down.
- Fit the duvet insert into the cover, tie all the corner ties, and spread the duvet so it falls evenly on both sides.
- Fold the top sheet and the top edge of the duvet back together in one wide band, about 30 cm deep.
- Stand the euro shams against the headboard, then the sleeping pillows, then fold the throw across the foot third of the bed.
Pro Tip
Iron or steam just the folded band and the sham edges; those are the only parts the eye reads closely, and the rest can stay unpressed.
2. Choose a Tall Arched Velvet Headboard
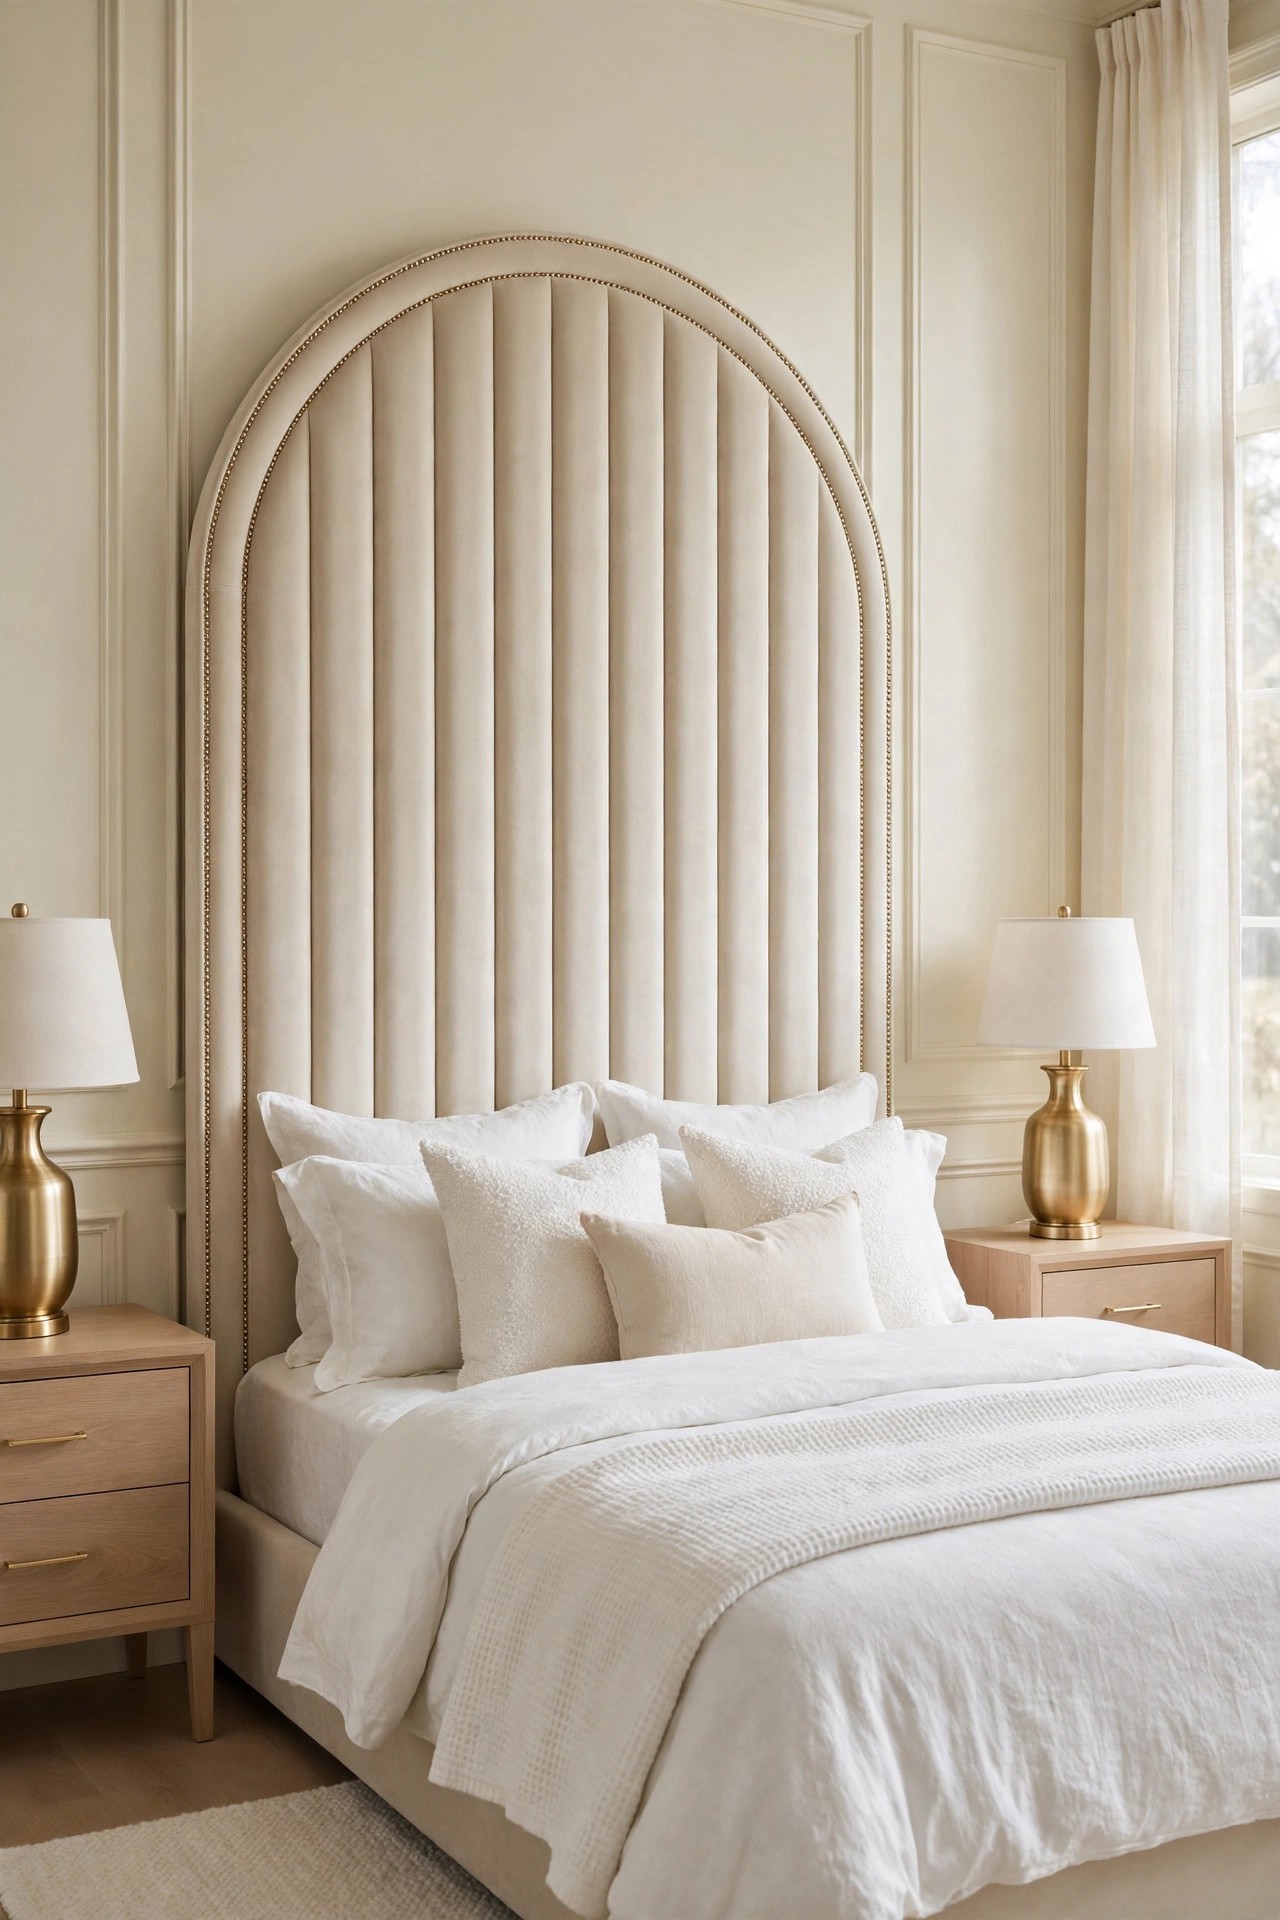
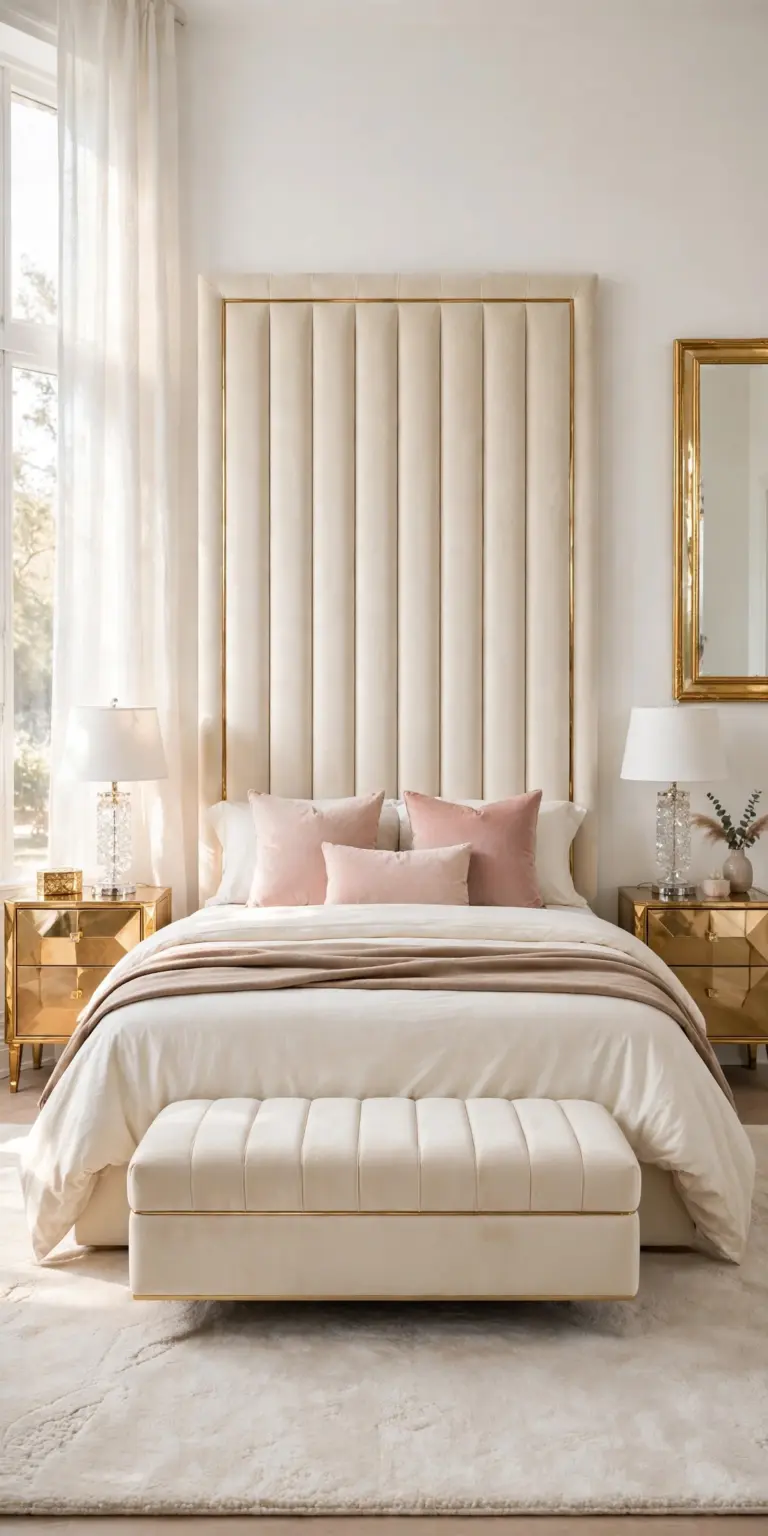
Description: A low headboard disappears behind pillows, so the wall above the bed stays empty and the room feels unfinished. A tall arched headboard, around 48 inches or more, fills that space and gives the bed a suite-like outline. Velvet suits the shape because the pile catches light along the channels. Cream keeps it calm against white bedding, and a line of gold nailhead trim adds the metal note without extra furniture. Measure your ceiling and light switches before ordering, as tall frames vary.
Best For: Plain main bedrooms with a blank bed wall and standard or high ceilings.
Not Ideal For: Rooms with low ceilings, sloped attic ceilings, or a window directly behind the bed.
Estimated Cost: $380-$650 (estimate) for a queen upholstered bed frame with a tall velvet headboard.
Budget Note: A full frame costs more than a headboard alone, but it removes the need for a bed skirt and gives one clean outline.
Renter Friendly: Yes
Renter Note: The frame is freestanding and needs no wall fixings; put felt pads under the feet to protect a rented floor.
What You Need
Upholstered bed frame with a tall velvet headboard in your mattress size, felt floor pads, a tape measure, a second person for assembly.
Product recommendation (partially verified): RIHHA Queen Bed Frame, Cream White Velvet, 48.8 inch tall arched headboard and footboard, gold nailhead trim, vertical tufted
Why it fits: The arched headboard rises to 48.8 inches with vertical tufting and gold nailhead trim in cream white velvet, which is exactly the pale, trimmed outline this idea describes, and it suits mattresses 8 to 14 inches thick.
Retailer/product page: https://www.amazon.com/dp/B0G29DBFXQ/ref=as_li_ss_tl
How To Do It
- Measure the wall width, ceiling height and the doorway and stair turns the frame must pass through.
- Build the frame following the maker instructions, checking the headboard is level before tightening every bolt.
- Fit felt pads under all feet before the mattress goes on.
- Centre the bed on the wall and leave equal space on both sides for nightstands.
Pro Tip
Sit up in bed against the headboard before you finish dressing it; channel tufting should land behind your shoulders, not at the back of your head.
3. Hang a Crystal Chandelier Above the Bed
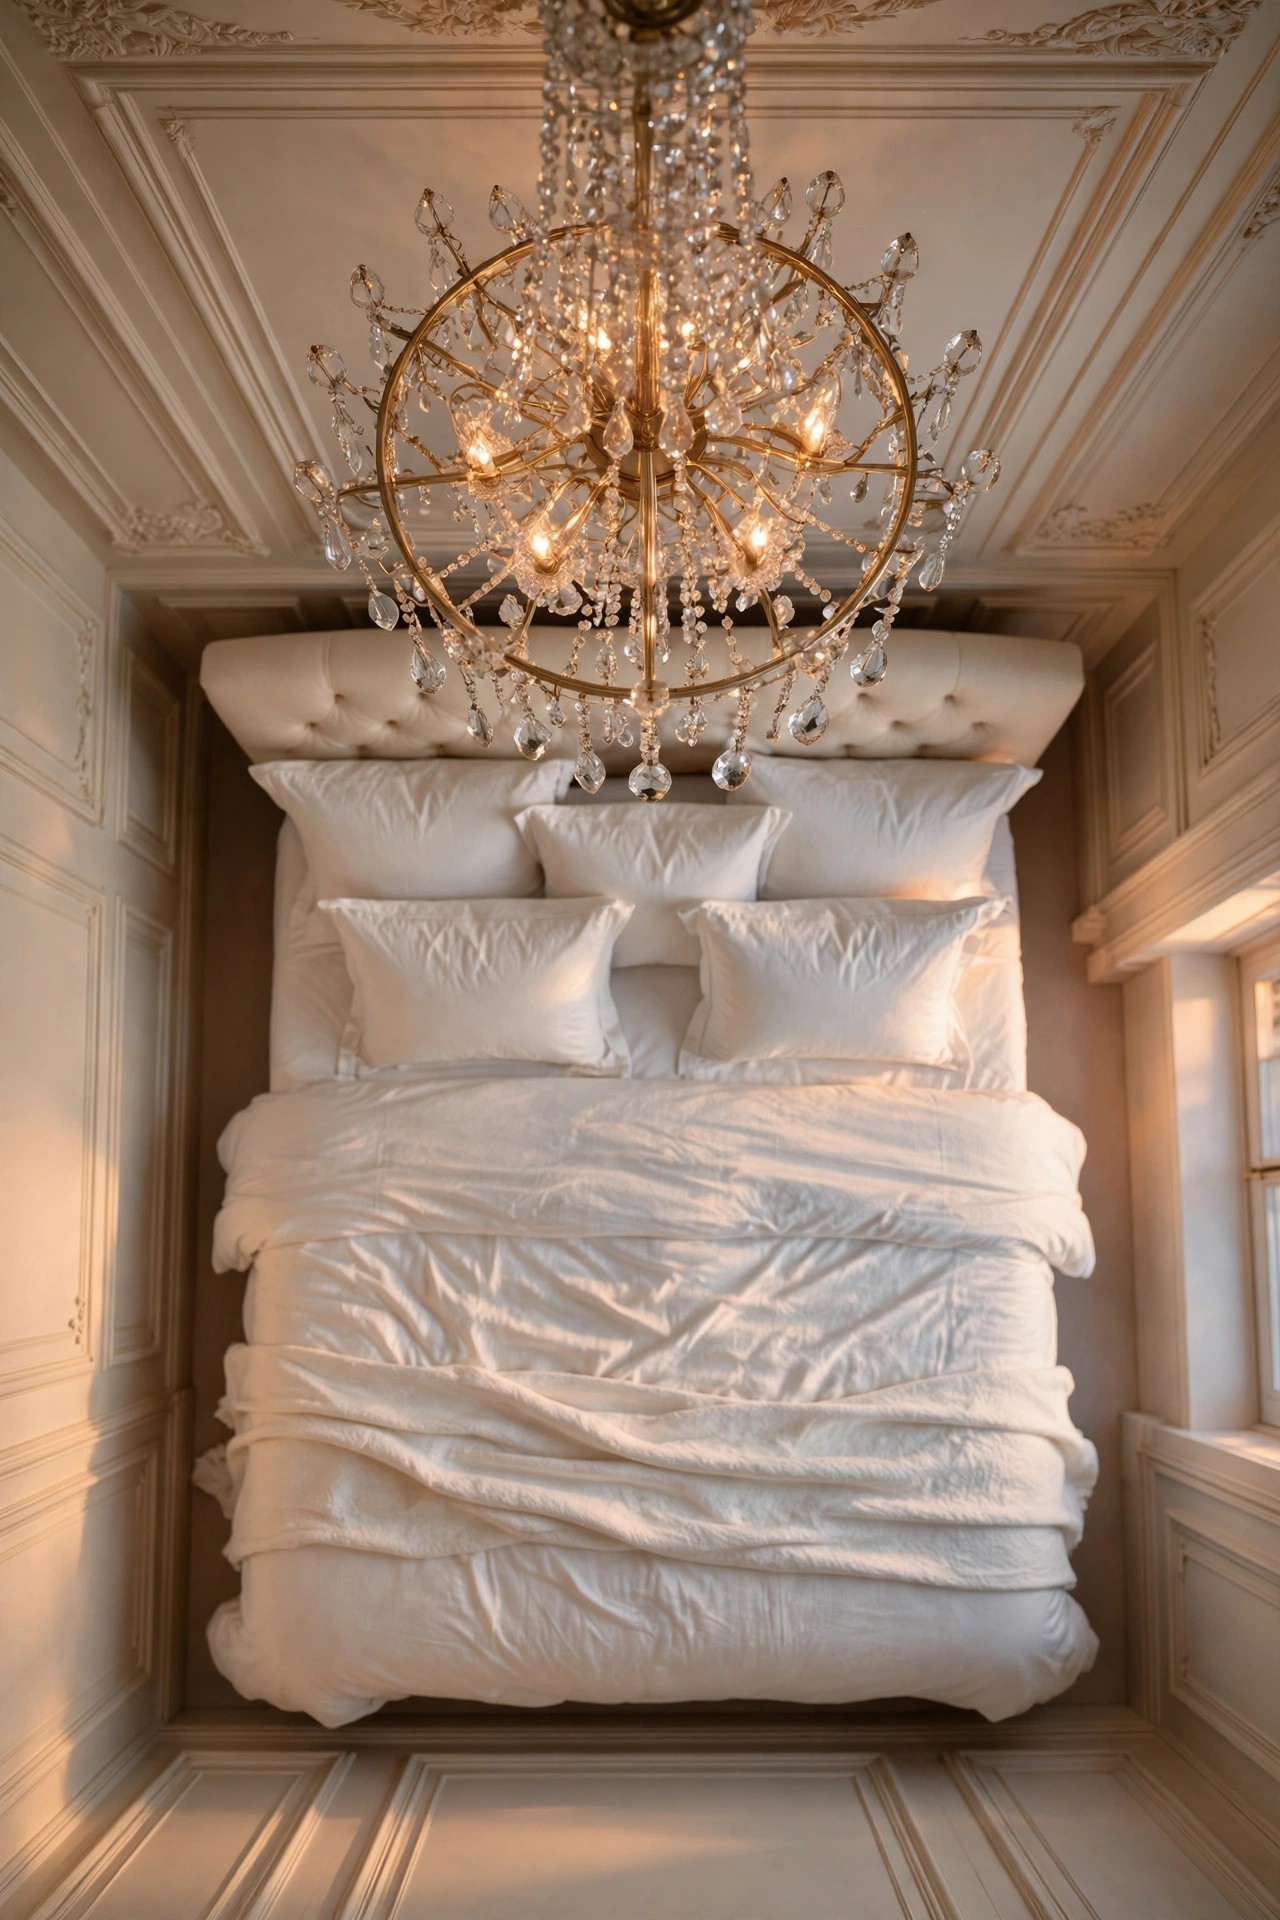
Description: A standard ceiling fitting spreads flat light and leaves the centre of the room visually empty. A crystal chandelier gives the bed a focal point at ceiling height and throws small points of light across the walls, which is a large part of the hotel effect. A 19 to 24 inch fitting suits most main bedrooms; larger rooms can take more. This is a hardwired change, so it needs a suitable ceiling point, a dimmer for control, and a qualified electrician if you are not confident with wiring.
Best For: Main bedrooms with a central ceiling light point and ceilings of 2.6 metres or more.
Not Ideal For: Renters without landlord permission, and low ceilings where a drop fitting would hang too close to the bed.
Estimated Cost: $180-$320 (estimate) for the chandelier, bulbs and a dimmer switch, excluding an electrician.
Budget Note: The fitting itself is mid priced; the cost that surprises people is the electrician, so get that quote before ordering.
Renter Friendly: No
Renter Note: It is hardwired into the ceiling circuit. Renters should only do this with written landlord permission and must refit the original fitting when leaving.
What You Need
Crystal chandelier sized to the room, E12 candle bulbs to the maker’s rating, a compatible dimmer switch, a qualified electrician if needed.
Product recommendation (partially verified): SM Saint Mossi 5 Light Modern K9 Crystal Chandelier, Champagne Crystal
Why it fits: The champagne finish keeps the crystal warm rather than chrome cold, and at 19 inches wide with five E12 lights it is sized for a bedroom rather than a dining hall; it is dimmable when dimmable bulbs are used.
Retailer/product page: https://www.amazon.com/dp/B09F38VC5L/ref=cm_sw_r_apan_dp_JXC1W3GHTWWYYVEQ6NPM_1
How To Do It
- Switch off the circuit at the consumer unit and confirm the old fitting is dead before touching it.
- Have the electrician, or a confident adult with the power off, mount the bracket and connect the fitting to the ceiling point.
- Hang the crystal strands in the order shown in the maker instructions, working from the centre out.
- Fit dimmable E12 bulbs within the maker’s maximum wattage and test the dimmer at its lowest setting for flicker.
Pro Tip
Hang the bottom of the chandelier at least 2.1 metres above the floor; over a bed it can sit slightly lower than over a walkway, but never where a tall person sitting up could reach it.
4. Sleep Against Real Silk Pillowcases
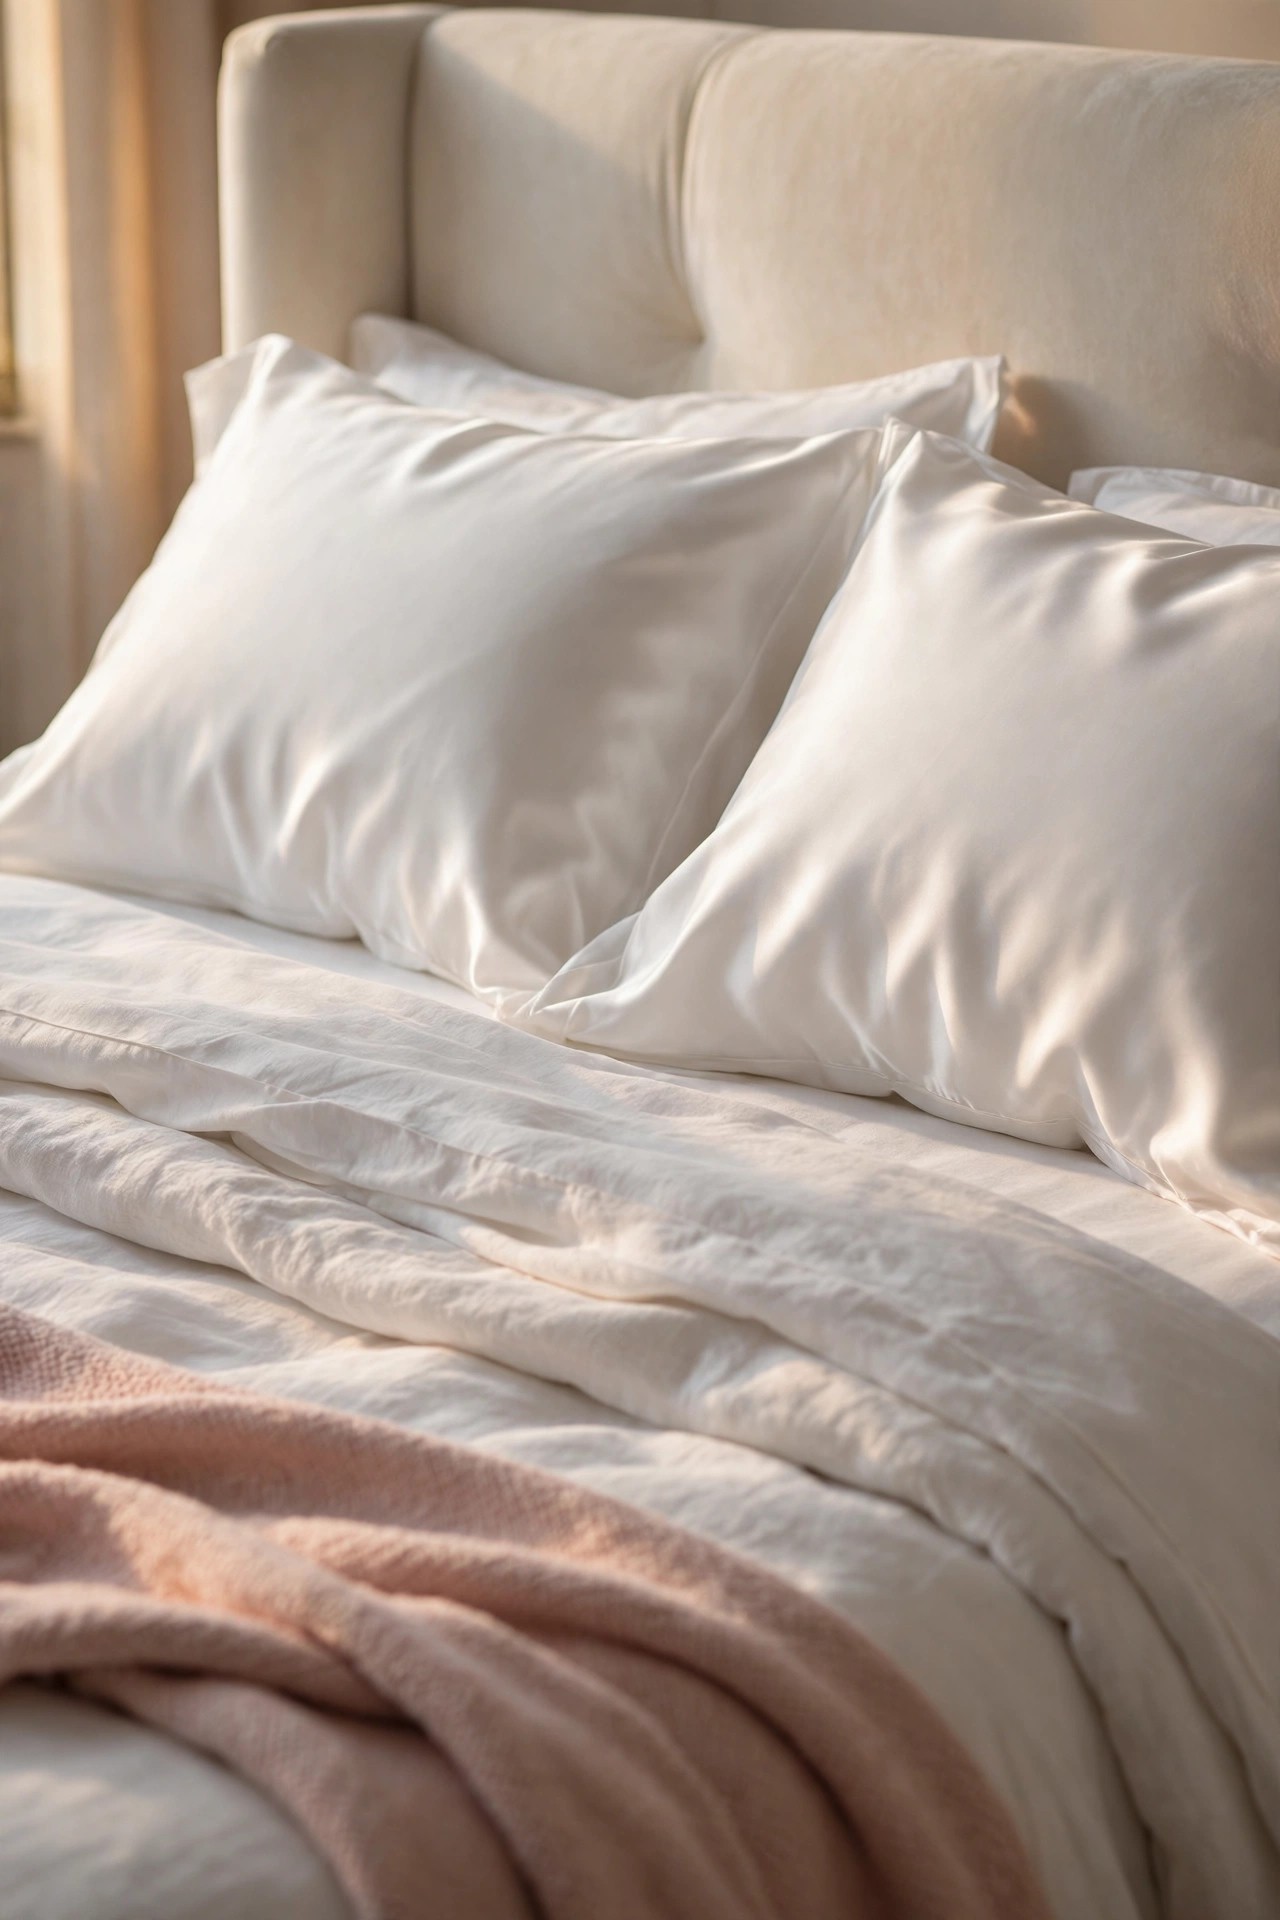
Description: Silk is the smallest luxury change in this list and the one you feel rather than see from the door. A mulberry silk pillowcase has a smooth, cool surface that cotton cannot copy, and the gentle sheen lifts plain white bedding. Buy two, one per pillow, in white, ivory or taupe so they sit quietly inside the palette. Silk needs kinder washing than cotton, on a gentle cycle in a mesh bag, which is the real cost of the idea.
Best For: Anyone who wants one genuine luxury material in the room without changing furniture.
Not Ideal For: Households that wash all bedding on a hot, heavy cycle, which shortens silk’s life.
Estimated Cost: $55-$85 (estimate) for two queen size mulberry silk pillowcases.
Budget Note: One pillowcase per sleeper is enough; the euro shams behind can stay cotton.
Renter Friendly: Yes
Renter Note: Bedding only, with nothing fixed or changed in the room.
What You Need
Two mulberry silk pillowcases in your pillow size and palette colour, a mesh laundry bag, gentle detergent.
Product recommendation (partially verified): ZIMASILK 100% Pure Mulberry Silk Pillowcase, Queen 20 x 30 inches, White, Grade 6A silk both sides, hidden zipper, 1 piece
Why it fits: It is pure mulberry silk on both sides rather than silk on one face, and the hidden zipper keeps the pillow inside without the loose flap that spoils the smooth line; two pieces cover a pair of sleeping pillows.
Retailer/product page: https://www.amazon.com/dp/B01LVY0G0Y/ref=cm_sw_r_as_gl_api_gl_i_dl_SYAX08DDSPT8BPJAXK7Y
How To Do It
- Turn each pillowcase inside out and zip the pillow inside, easing the corners into place.
- Smooth the silk face up and check the sheen reads evenly in daylight.
- Wash weekly on a gentle cycle inside the mesh bag, separate from towels and zips.
- Dry flat or on a line out of direct sun, and store the spare set away from rough fabrics.
Pro Tip
Judge silk by momme weight and a both sides silk claim rather than thread count alone; a 19 to 22 momme case feels substantial and lasts longer.
5. Panel the Bed Wall with Picture Frame Moulding
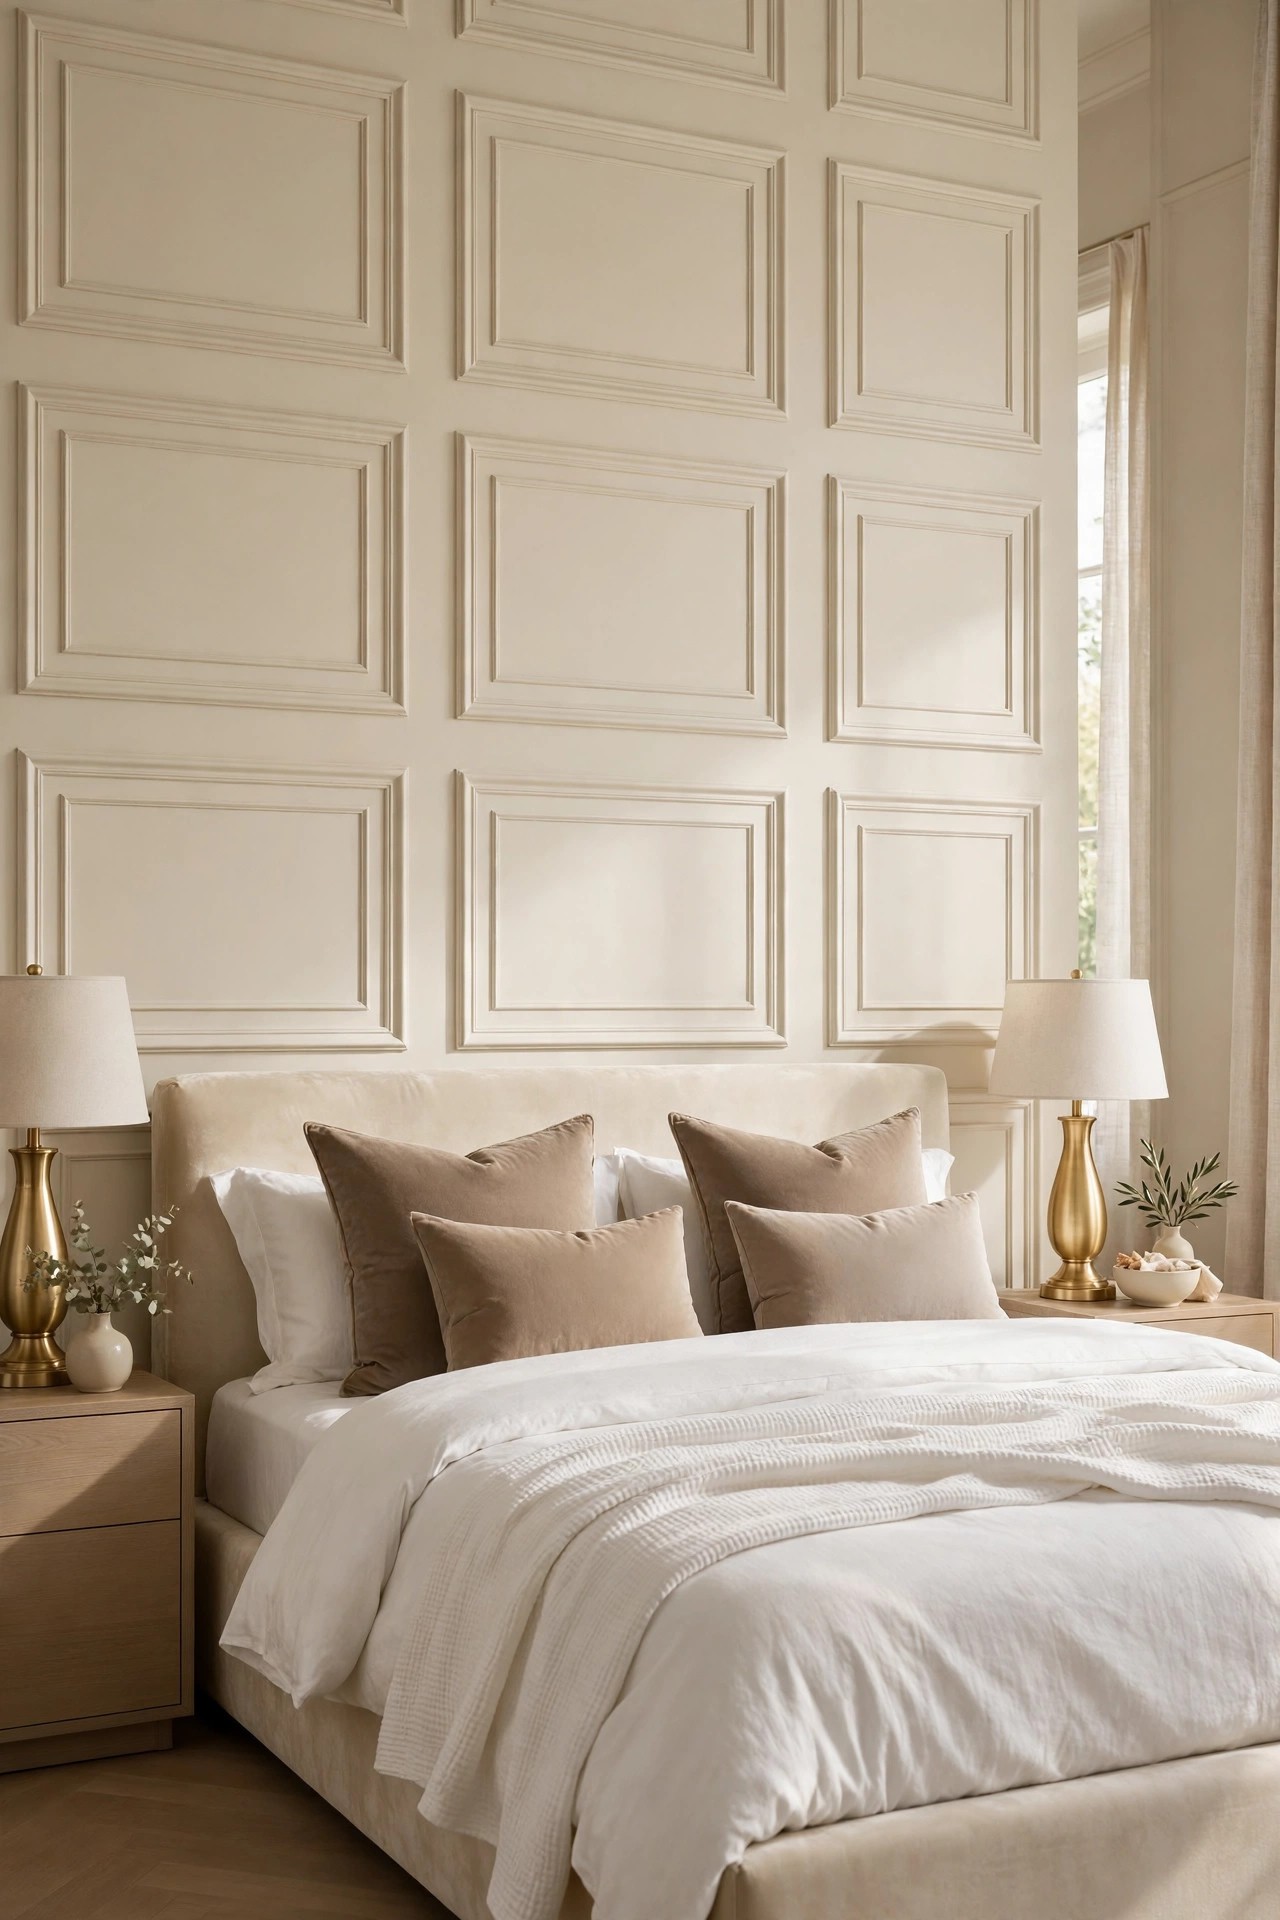
Description: Plain painted walls are where many luxury attempts stall, because flat walls make even good furniture look temporary. Picture frame moulding adds shallow rectangles of trim that catch light and shadow, giving the bed wall the built-in feel of a panelled suite. Pre-cut kits remove most of the measuring and mitre cutting. Paint the trim and the wall in the same cream so the effect stays quiet, and plan the layout around the headboard so the central panel sits hidden behind it with even panels showing on each side.
Best For: Homeowners with a flat, blank bed wall and a free weekend.
Not Ideal For: Textured or heavily damaged walls, where thin trim will not sit flat.
Estimated Cost: $120-$260 (estimate) for moulding kits, adhesive, filler and paint for one bed wall.
Budget Note: Kits cost more per metre than raw trim, but they remove the saw work and most of the waste.
Renter Friendly: With Conditions
Renter Note: Peel and stick kits can still pull paint on removal. Use them only with landlord permission, and expect to repaint the wall when you leave.
What You Need
Pre-cut wall moulding kits sized to your wall plan, construction adhesive if the kit needs it, painter’s tape, a level, filler, and wall paint matched to the trim.
Product recommendation (partially verified): Art3d Pre-Cut Wall Molding Set, Ready-to-Assemble Panels, 3 Top 3 Bottom
Why it fits: The pre-cut polystyrene pieces are stiff enough to align straight, paintable, and moisture and warp resistant; one package is sized to cover a wall of about 10 ft high by 11 ft wide, and adhesive is not included, which the steps below allow for.
Retailer/product page: https://www.amazon.com/dp/B0DCFF7DBS/ref=cm_sw_r_as_gl_api_gl_i_8NRK1C3QVXGWA5FSGJPJ
How To Do It
- Sketch the wall layout on paper first, centring the design on the bed and keeping equal margins at both edges.
- Tape the full layout on the wall with painter’s tape and live with the lines for a day before fixing anything.
- Fix the trim pieces with adhesive, checking each rectangle with the level as you go.
- Fill the joints, let the filler dry, sand lightly, then paint trim and wall in the same colour in two coats.
Pro Tip
Keep at least 15 cm between the moulding and any socket, switch or curtain track; trim that crowds a fitting looks like a mistake rather than a design.
6. Swap Plain Nightstands for Mirrored Ones
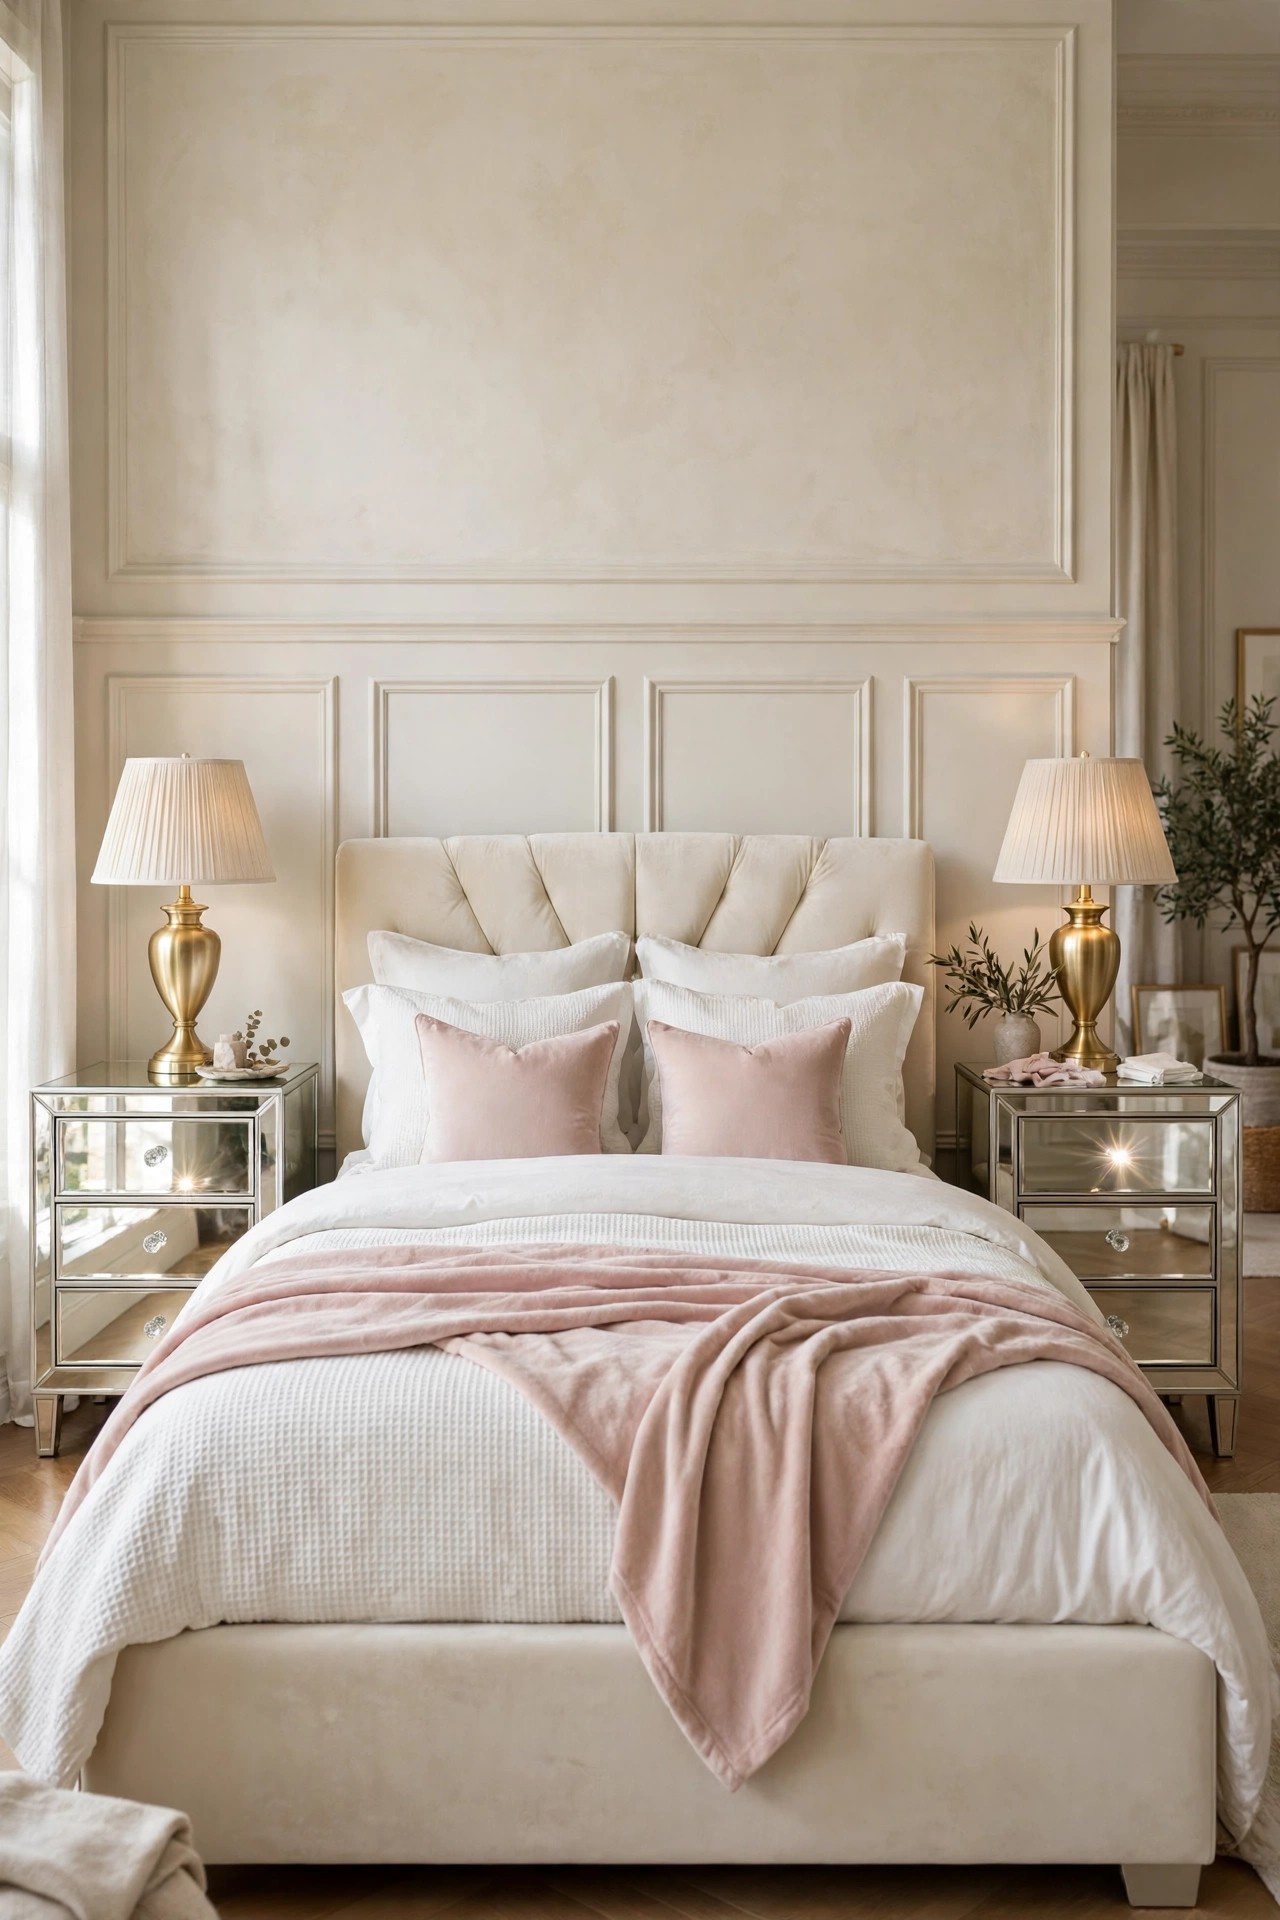
Description: Mirrored nightstands do two jobs in a glam bedroom: they reflect window light into the room, and they make lamp light sparkle after dark. The fronts stay quiet because they show the room back at itself rather than adding a colour. Three drawers each side also hide the chargers, books and bottles that usually spoil the look. The honest downside is upkeep: mirror shows fingerprints and dust faster than wood, so they suit adults’ rooms better than small children’s rooms.
Best For: Main bedrooms that feel dark on the bed wall and anyone short on bedside storage.
Not Ideal For: Homes with toddlers who will press hands on the fronts daily, and anyone who dislikes visible dust.
Estimated Cost: $340-$520 (estimate) for a pair of mirrored three drawer nightstands.
Budget Note: One pair is the whole cost; unlike wood, there is nothing to paint or match later, so check the mirror finish carefully on arrival.
Renter Friendly: Yes
Renter Note: Freestanding furniture with no fixings; keep the packaging until you are sure both fronts arrived uncracked.
What You Need
Pair of mirrored nightstands, a soft microfibre cloth, glass cleaner, felt pads for anything placed on top.
Product recommendation (partially verified): VINGLI 3-Drawer Mirrored Nightstand, Set of 2, Silver, fully assembled
Why it fits: The set of two gives a matched pair with three drawers each and a mirrored finish with crystal style knobs, and the pair arrives fully assembled, which removes the flat pack stage where mirrored panels most often get damaged.
Retailer/product page: https://www.amazon.com/dp/B0BVLCFMSH/ref=mp_s_a_1_18
How To Do It
- Unpack both nightstands on a soft surface and check every mirrored panel and corner before removing the protective film.
- Place one each side of the bed, level with the top of the mattress or a few centimetres below it.
- Load the drawers heaviest at the bottom: books and bottles low, light items in the top drawer.
- Wipe the fronts with a dry microfibre cloth first, then a damp one only if marks remain, to avoid streaks.
Pro Tip
Stand back at the doorway after placing them; mirrored fronts should reflect the window or the bed, not a cluttered corner, so adjust the angle of nearby items first.
7. Set a Tufted Bench at the Foot of the Bed
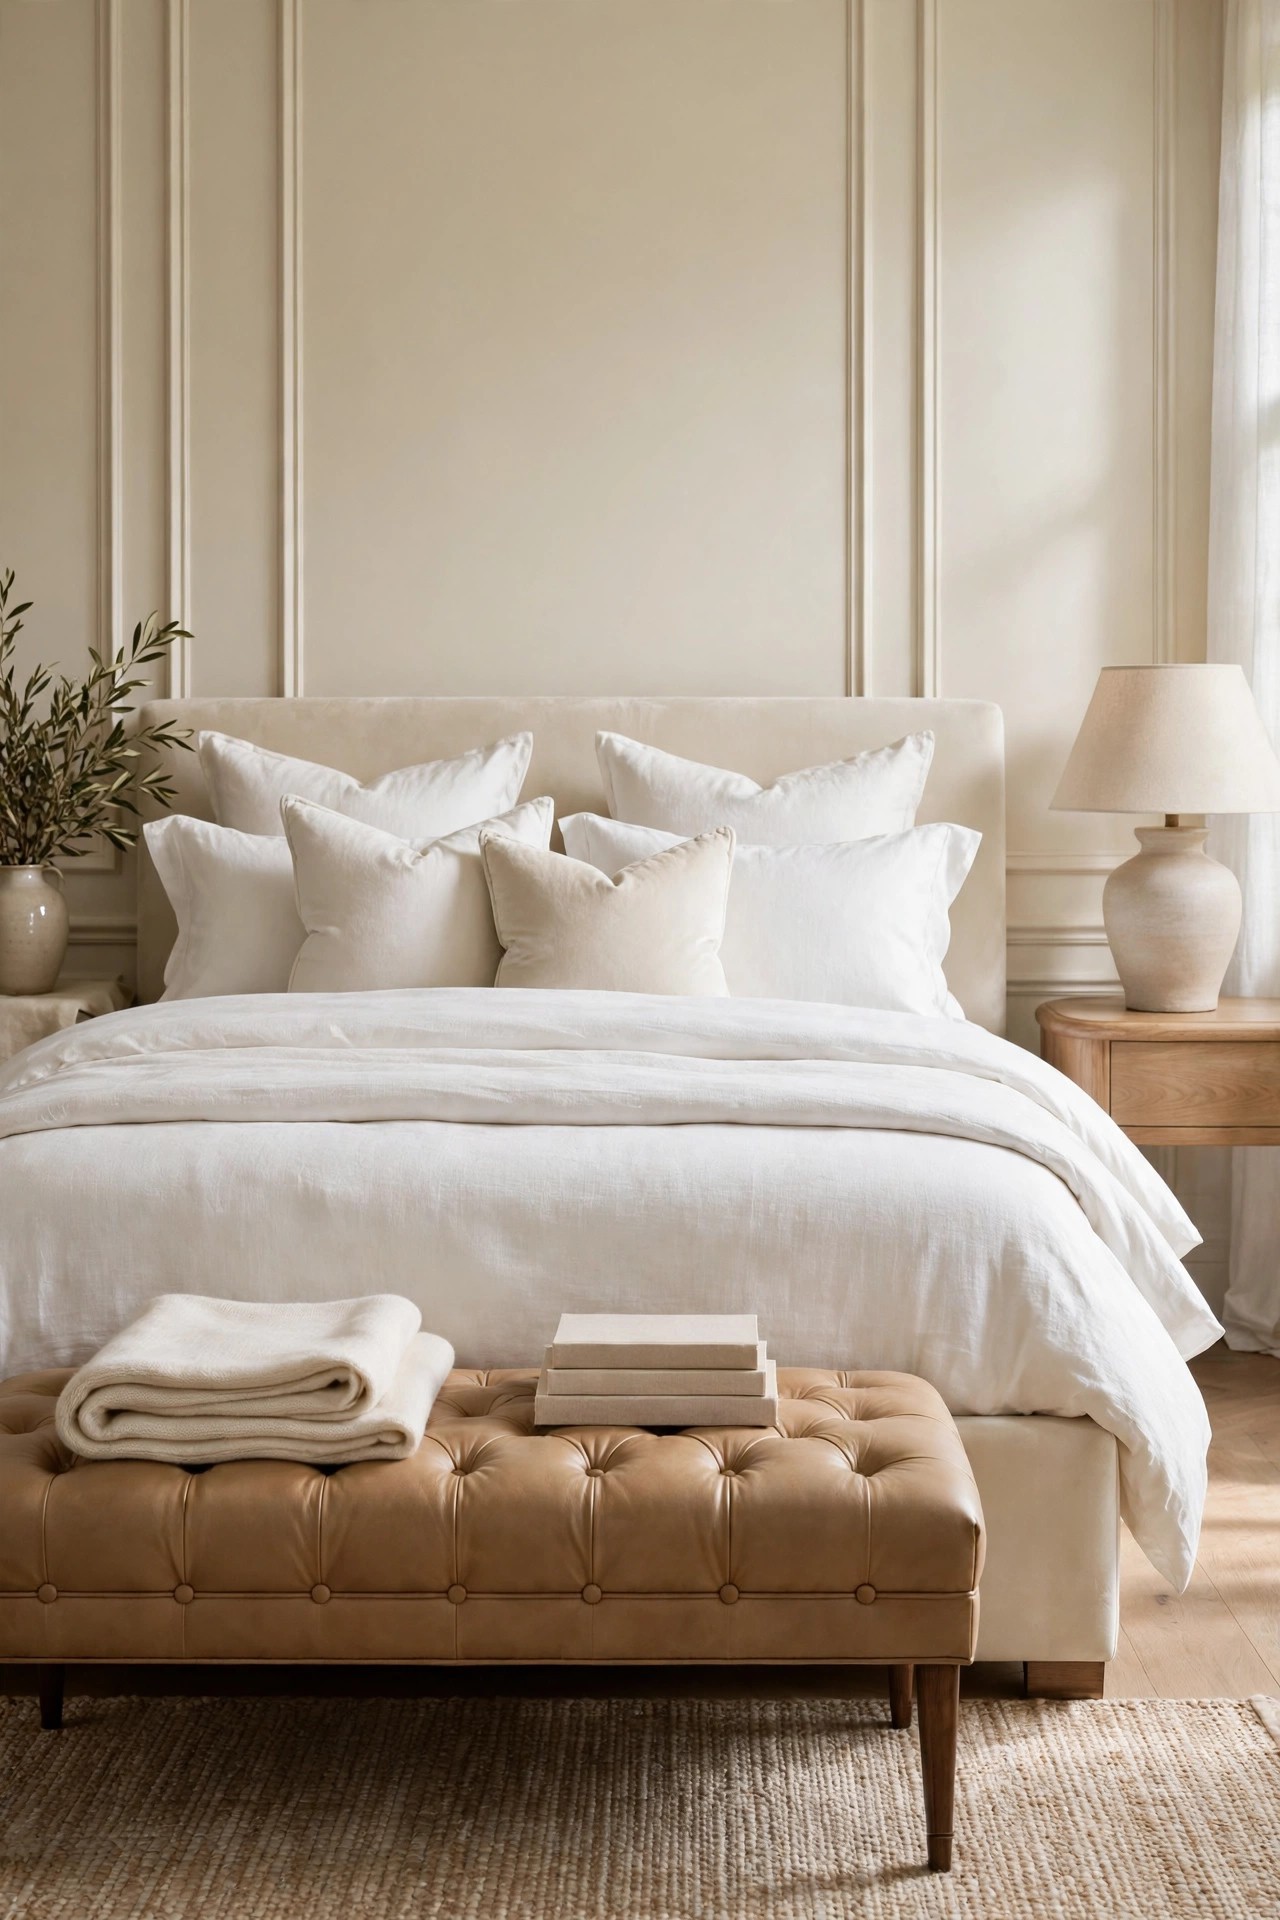
Description: Suites use the space at the foot of the bed rather than leaving it as a walkway. A tufted bench gives the bed a finished end, a seat for dressing, and somewhere for the throw and cushions to go at night. A storage bench hides spare bedding inside, which helps smaller rooms. Keep its width shorter than the bed so the outline steps in neatly, and leave enough floor beyond it to walk comfortably; a bench squeezed against a wall or radiator loses the effect.
Best For: Main bedrooms with at least 75 cm of clear floor beyond the foot of the bed.
Not Ideal For: Small bedrooms where the bench would block a wardrobe door or the walking route.
Estimated Cost: $140-$230 (estimate) for an upholstered storage bench around 40 inches wide.
Budget Note: A storage version costs little more than a plain bench and can remove the need for a separate blanket box.
Renter Friendly: Yes
Renter Note: Freestanding furniture; check its stated weight limit before using it as daily seating.
What You Need
Upholstered bench narrower than your bed, a folded throw, spare bedding if it is a storage bench, felt pads.
Product recommendation (partially verified): HomePop Ainsley Button Tufted Storage Ottoman Bench with Hinged Lid, Tan, 40 x 18 x 18 inches
Why it fits: At 40 inches wide it suits a queen bed foot with space stepped in at both sides, the button tufting matches the luxury brief, and the hinged storage inside takes the spare throw and cushions; the maker states a 250 lb weight limit.
Retailer/product page: https://www.amazon.com/dp/B07C6F2G76/ref=cm_sw_r_cso_fm_apin_dp_KKXKEA8FYFB7TXM1JMVS
How To Do It
- Measure the floor run at the foot of the bed and mark where the bench ends will sit.
- Assemble the bench following the maker instructions and fit felt pads under the feet.
- Centre it on the bed, leaving equal gaps at both ends.
- Store spare bedding inside and keep the top clear except for one folded throw.
Pro Tip
Treat the bench as a surface with a rule of one: one throw or one book stack, never both plus clothes, or it becomes the room’s dumping place.
8. Carve Out a Dressing Corner with a Lit Vanity
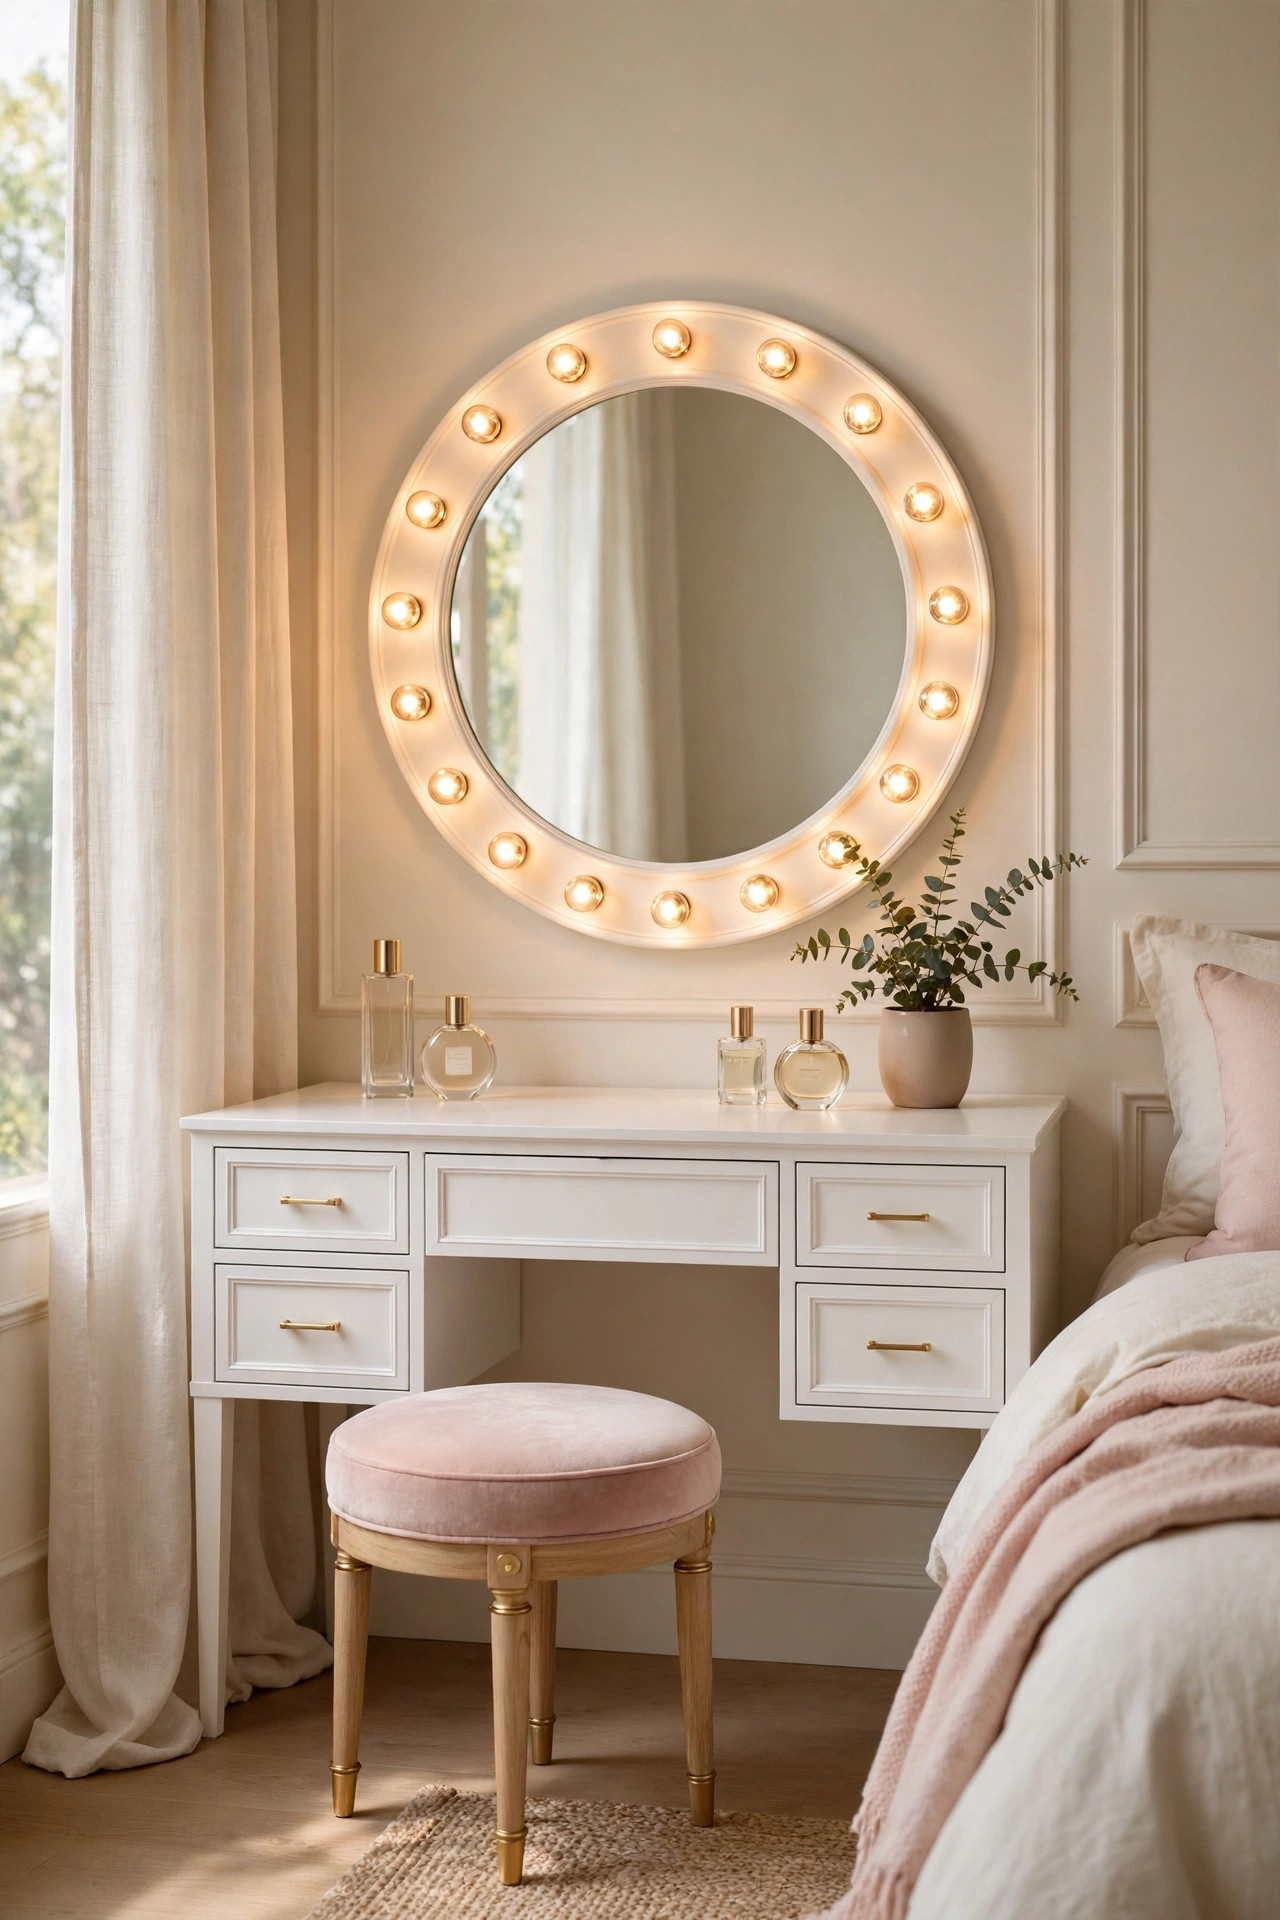
Description: A dressing corner gives a luxury bedroom its second zone and moves bottles, brushes and jewellery off the nightstands and dresser. A vanity with a lit mirror, a few drawers and a stool needs about a metre of wall, ideally near a window but not in direct sun, which fades products and makes mirror light uneven. Three colour light modes let you check makeup in warm evening light or cooler daylight tones. Keep the top to daily items only; the drawers are there so the surface can stay clear.
Best For: Main bedrooms with a spare corner and a morning routine that currently happens in the bathroom.
Not Ideal For: Rooms where the only spare corner faces strong direct sun all morning.
Estimated Cost: $230-$420 (estimate) for a vanity desk set with mirror, lights and stool.
Budget Note: A complete set costs less than buying the desk, mirror and stool separately, and the parts are made to match.
Renter Friendly: With Conditions
Renter Note: The set is freestanding, but most include an anti-tip strap that screws into the wall; use it with landlord permission, or place the vanity where tipping is not a risk and keep heavy items low.
What You Need
Vanity desk set with lit mirror and stool, a power point within reach, small organisers for the drawers, a soft cloth for the mirror.
Product recommendation (partially verified): DWVO Vanity Desk Set with Mirror and Lights, White, 4 drawers and stool, 11 LED bulbs, 3 colour adjustable lighting
Why it fits: The mirror carries 11 LED bulbs with three adjustable colour modes, the four drawers give the closed storage this corner needs, and the set includes a cushioned stool and an anti-tip fitting, at 35.4 inches wide for a corner footprint.
Retailer/product page: https://www.amazon.com/dp/B0C6LH9PMR/ref=cm_sw_r_cso_fm_mwn_dp_2BMZGG5CBT9Q4BV2NTN4
How To Do It
- Choose the corner and measure the wall run and the nearest power point before ordering.
- Build the desk and mirror following the maker instructions, and fit the anti-tip strap if you have permission to fix it.
- Sort products into the drawers by routine order, keeping only daily items on the top.
- Set the light mode you use most and check your makeup once in window light before trusting it.
Pro Tip
Keep perfume out of the sunny spot on the vanity top; heat and light shorten its life, so the drawer nearest the stool is the better home for it.
9. Hang Velvet Curtains from Ceiling to Floor
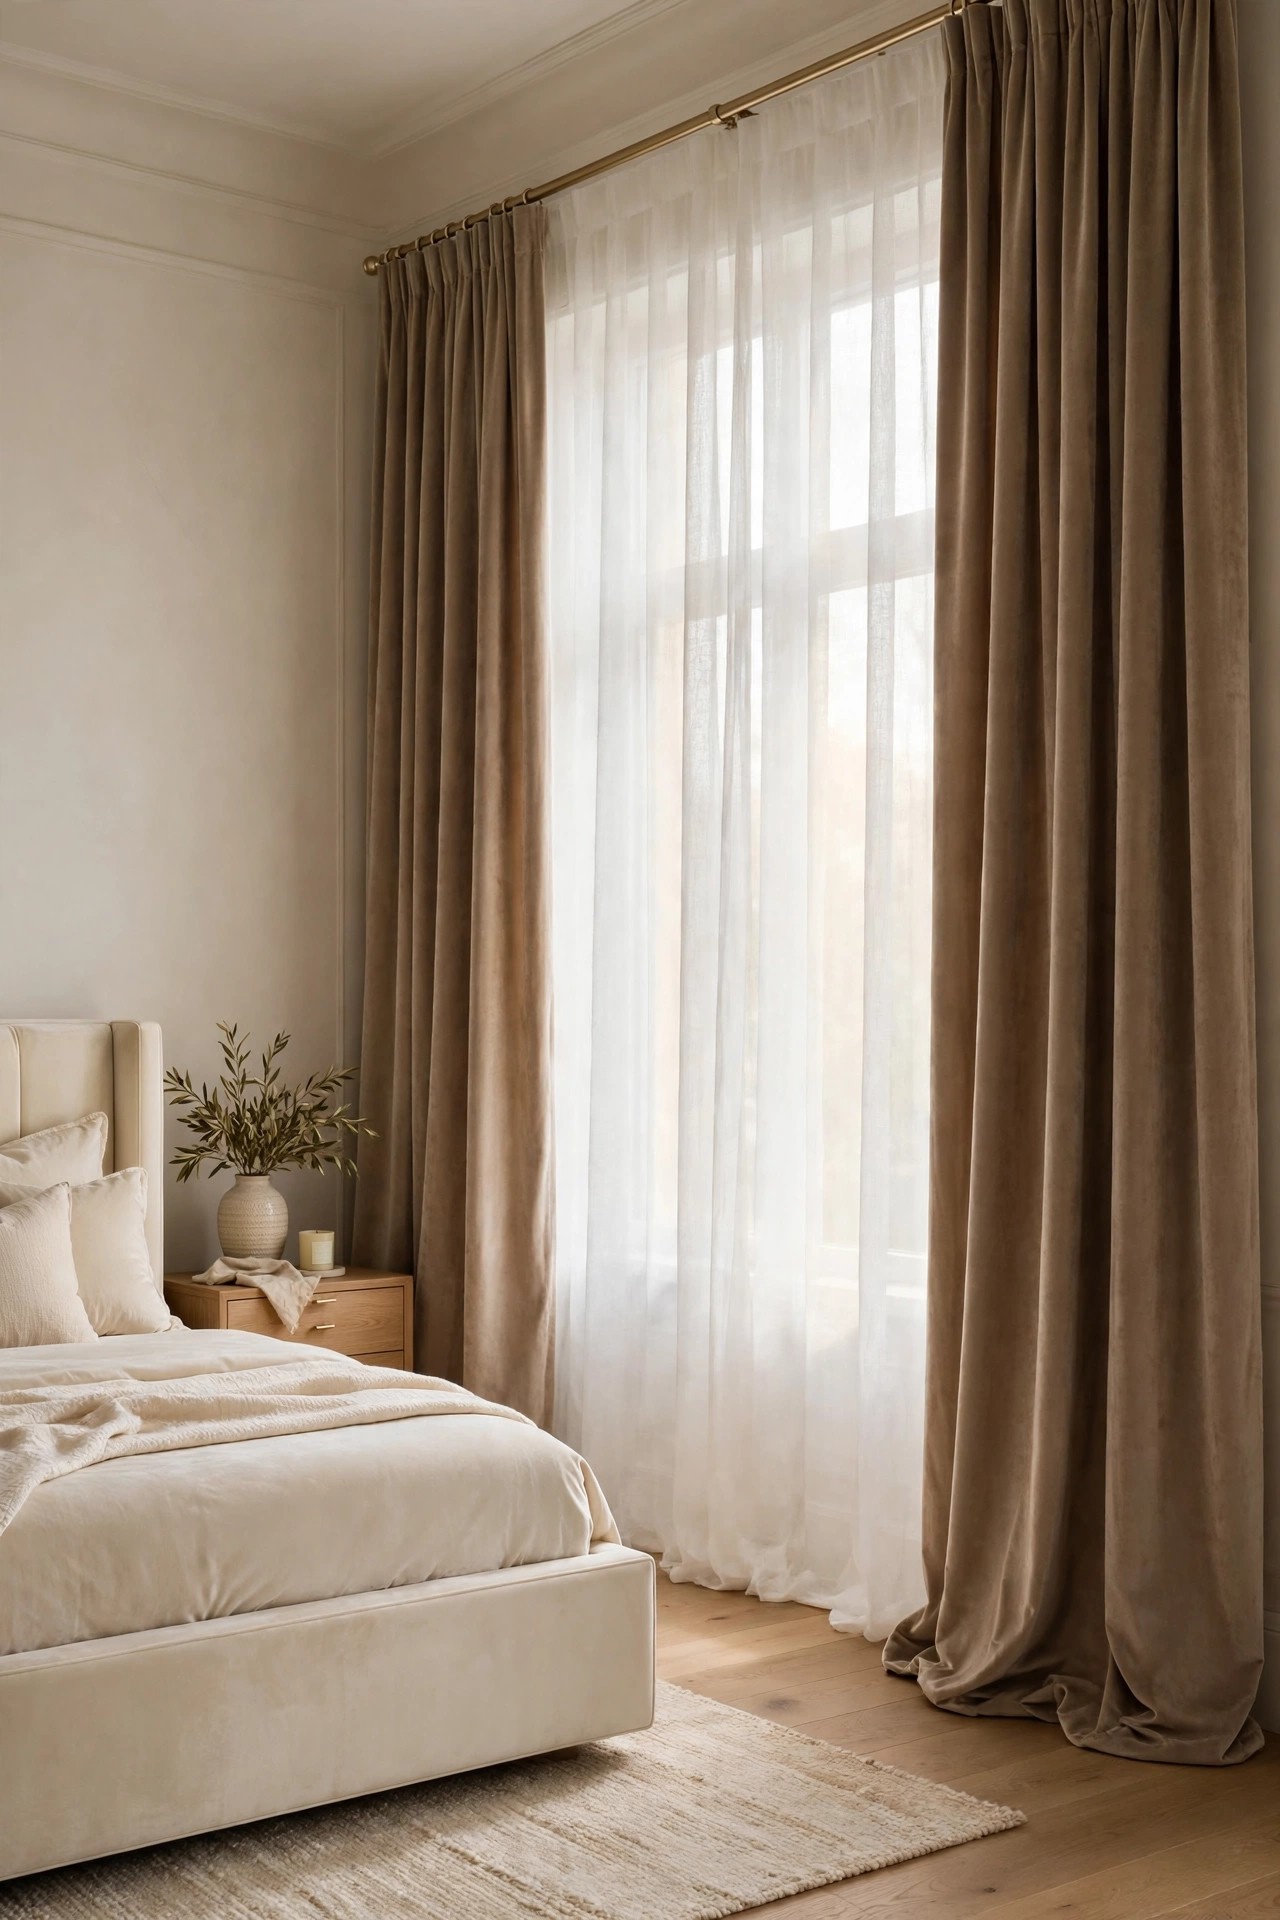
Description: Curtains hung just above the window frame make ceilings feel lower and windows smaller. Velvet panels mounted close to the ceiling and falling to the floor give the wall height and the soft, heavy folds that suit this palette. A sheer layer behind keeps daytime privacy without losing light. Be honest about light blocking: velvet in pale colours such as taupe darkens a room well but does not give full blackout, so shift workers and very light sleepers should add a separate blackout lining or blind behind the sheers.
Best For: Bedrooms with plain windows and ceilings that feel low.
Not Ideal For: Anyone who needs complete darkness in a pale colourway without adding a lining.
Estimated Cost: $90-$170 (estimate) for two velvet panels, a sheer pair and a rod with fixings.
Budget Note: One wide pair of panels usually looks better than two narrow pairs, so measure for fullness before buying two cheaper sets.
Renter Friendly: With Conditions
Renter Note: A rod near the ceiling needs screwed brackets. Renters need landlord permission for the holes, or a tension arrangement inside the window reveal, which sits lower and changes the effect.
What You Need
Velvet curtain panels in a warm taupe or blush, sheer panels, a brushed gold curtain rod and brackets, a drill and wall plugs suited to your wall, a steamer.
Product recommendation (partially verified): RYB HOME Velvet Curtains, Taupe, 52 inches wide x 84 inches long, 2 panels, hook belt header
Why it fits: The taupe velvet sits inside the palette and the panels are a usable 52 inches wide each, so a pair gives proper fullness on a standard window; the maker rates this pale shade at 70 to 85 percent light blocking, which is why the article advises a lining for full darkness.
Retailer/product page: https://www.amazon.com/dp/B0FHWCKQFB/ref=sspa_mw_detail_6
How To Do It
- Measure the window and fix the rod as close to the ceiling as the brackets allow, extending it beyond the frame on both sides.
- Check for pipes and cables in the wall before drilling, and use plugs matched to the wall type.
- Hang the sheers first, then the velvet panels, and arrange the folds evenly by hand.
- Steam the panels once hung so the folds fall straight, and check the hem just touches the floor.
Pro Tip
Buy panels at one and a half to two times the rod width in total; velvet only shows its folds when there is spare fabric to gather.
10. Lay a Deep Pile Rug Under the Bed
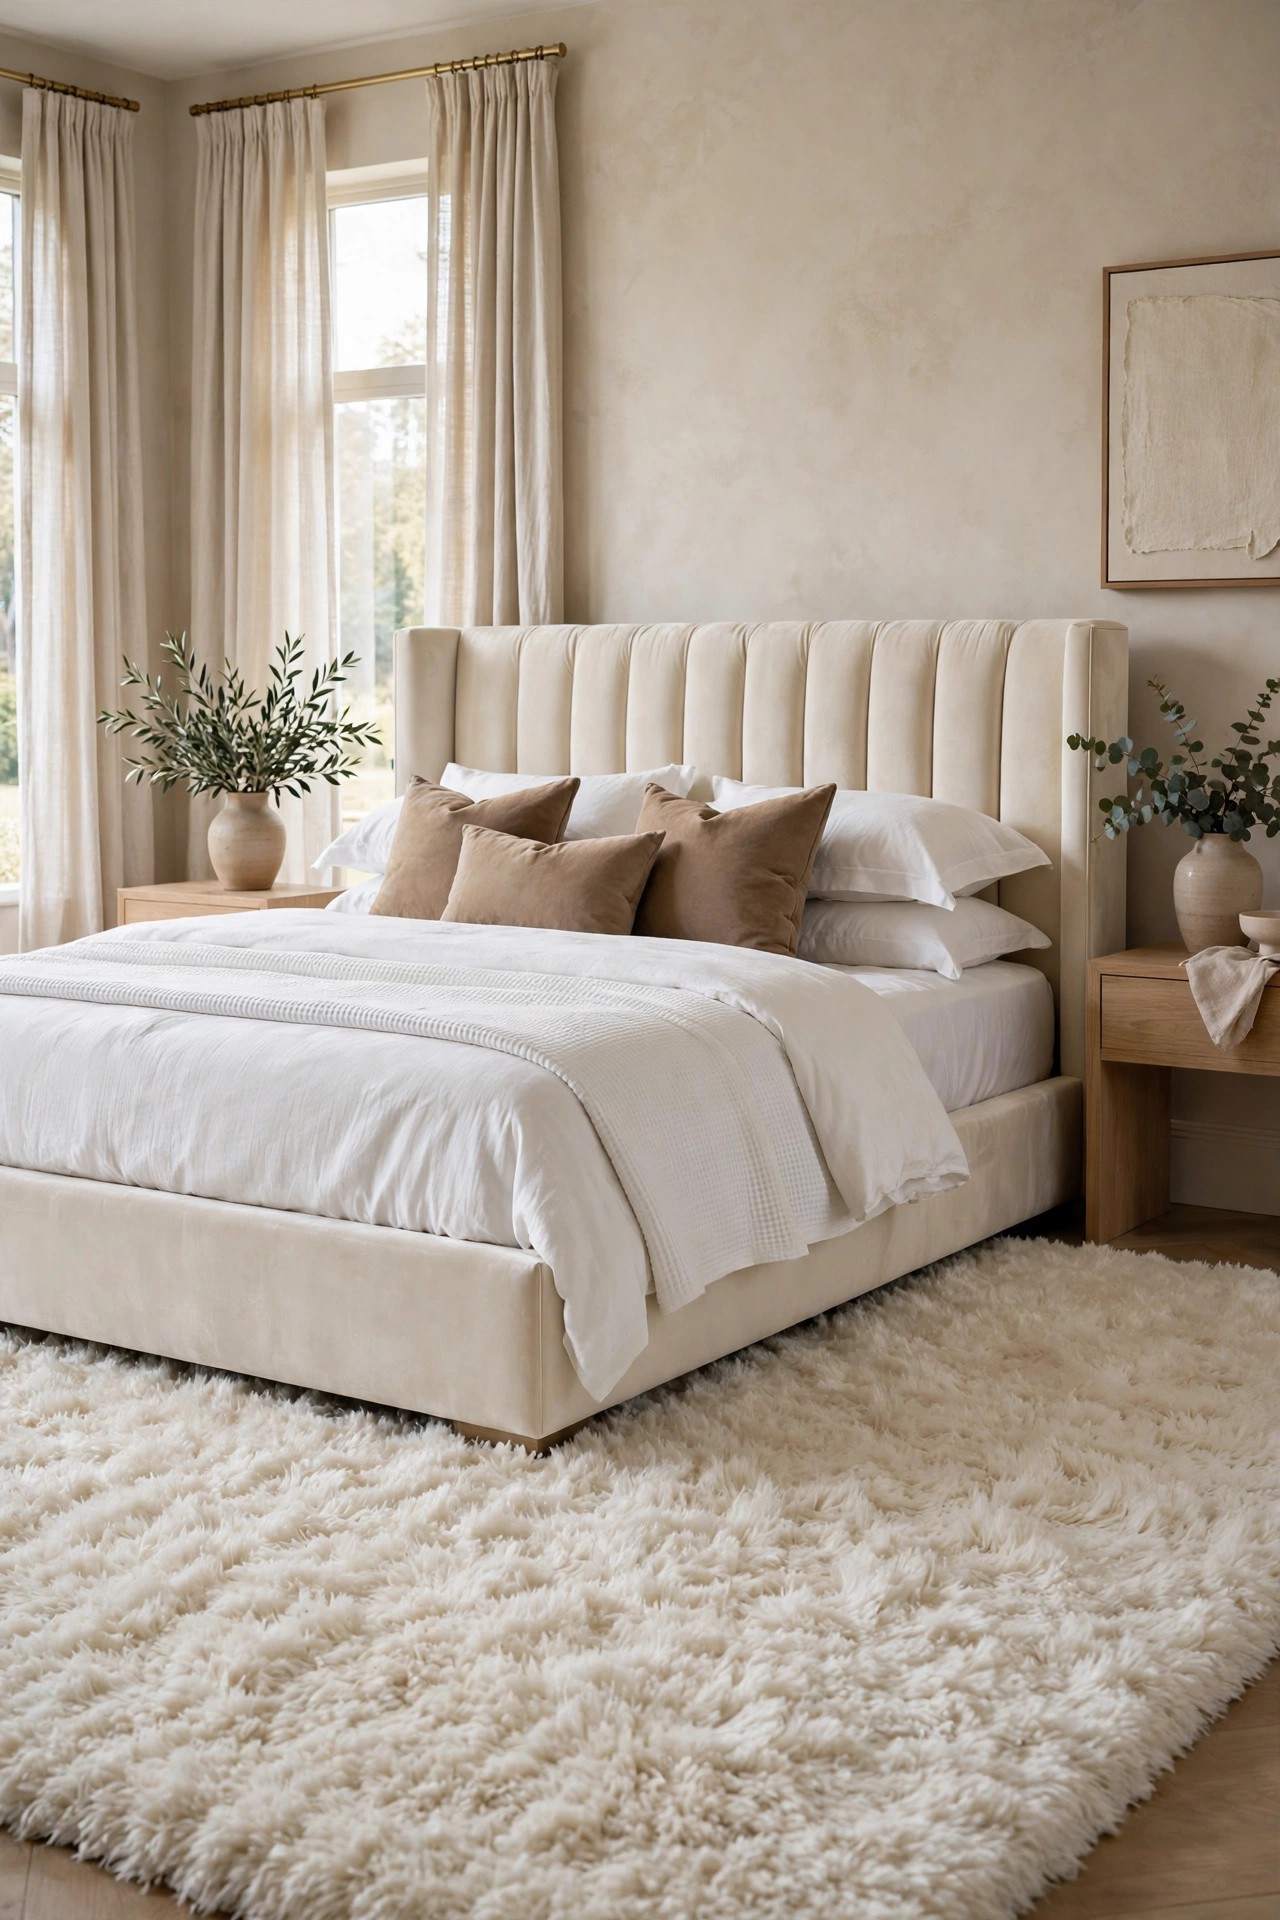
Description: Bare floor around a bed is where a luxury scheme often breaks, because the first step out of bed lands on cold boards. A deep pile rug sized to extend at least 50 cm beyond both sides and the foot of the bed frames the whole sleeping zone and softens sound in the room. Ivory and warm beige keep it inside the palette. Place the rug before the bench and vanity go in. A rug pad underneath stops creep on hard floors and adds to the softness underfoot.
Best For: Bedrooms with hard floors and a cold or echoing feel.
Not Ideal For: Homes with dogs that shed heavily, where a 2 inch pile needs frequent deep cleaning.
Estimated Cost: $260-$480 (estimate) for an 8 x 10 ft plush rug and a rug pad.
Budget Note: Size matters more than pile price here; a smaller luxury rug that stops at the bed sides looks like a mat, so buy the larger size in a mid range line.
Renter Friendly: Yes
Renter Note: A rug and pad protect the floor beneath; shake and air the rug outdoors before moving out.
What You Need
Plush area rug sized to your bed, a non slip rug pad cut to size, a vacuum with a suction only setting for shag.
Product recommendation (partially verified): SAFAVIEH Hudson Shag Collection Area Rug, 8 x 10 ft, Ivory and Beige, SGH206B
Why it fits: The 2 inch pile gives the deep, soft landing this idea is built on, the ivory and beige colouring stays inside the palette, and the power loomed polypropylene is non shedding, which keeps upkeep realistic for a bedroom.
Retailer/product page: https://www.amazon.com/dp/B08KT9HJV1
How To Do It
- Roll the rug out in the room a day early so the pile relaxes and any packing folds settle.
- Lay the pad first, centred on where the bed will sit.
- Position the rug so it extends evenly beyond both sides of the bed and further at the foot.
- Lower the bed onto the rug with a helper rather than dragging it, which can tear the backing.
Pro Tip
Vacuum shag with suction only and no rotating brush bar; a beater bar pulls at long pile and dulls the finish within a season.
11. Match a Pair of Crystal Table Lamps
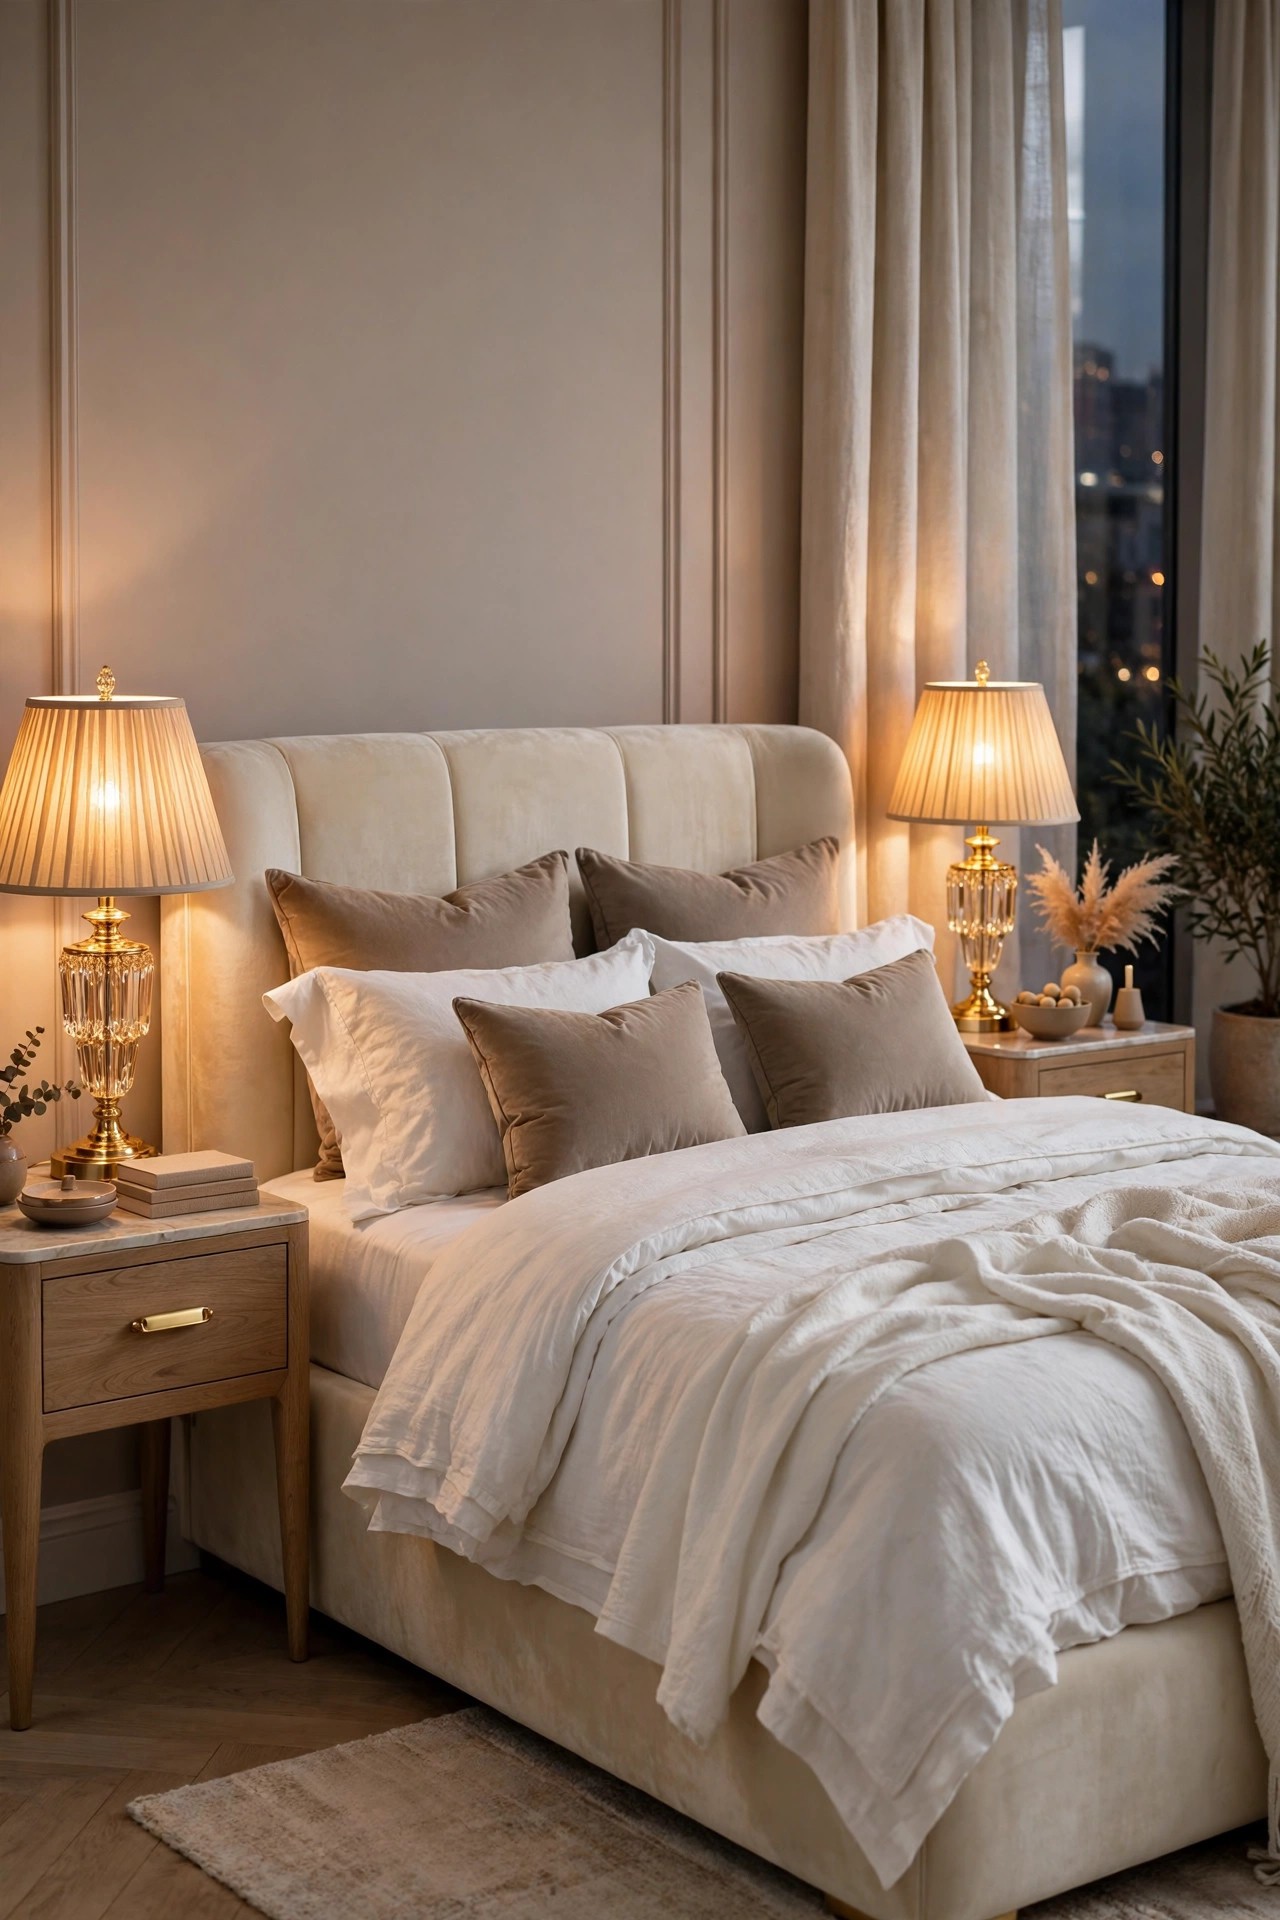
Description: Bedside light does the evening work in a luxury bedroom, and a matched pair is what makes it look planned. Crystal stems catch and scatter the light so the lamps read as part of the decor even when off. Touch dimming matters more than it sounds: three levels cover reading light, general evening light and a low night setting without a harsh ceiling light. Keep both lamps the same height as each other and roughly level with the top of the mattress plus the headboard line.
Best For: Couples who read in bed and anyone whose room relies on one ceiling light after dark.
Not Ideal For: Very small nightstands, where a wide lamp base leaves no room for a book and a glass.
Estimated Cost: $95-$160 (estimate) for a pair of crystal table lamps with bulbs.
Budget Note: A true matched pair in one box costs less than two singles bought at different times, and the finishes are guaranteed to match.
Renter Friendly: Yes
Renter Note: Table lamps plug in and move with you; no fixings or wiring changes.
What You Need
Pair of crystal table lamps, bulbs if not included, a power point or a short extension lead rated for the load on each side of the bed.
Product recommendation (partially verified): Boncoo Crystal Table Lamp Set of 2, Gold, 3 way dimmable touch control, 2 USB charging ports per lamp, B11 LED bulbs included
Why it fits: The set is a true matched pair with crystal shades on gold bases, touch dimming in three levels for the bedtime range this idea describes, and USB ports in each lamp so phones charge without extra adapters on the nightstand.
Retailer/product page: https://www.amazon.com/dp/B093L9L9SK/ref=cm_sw_r_cso_cp_apin_dp_NRXM13E0QQ5PN3MCM5SH
How To Do It
- Place one lamp on each nightstand, centred front to back so the base sits clear of the wall.
- Route each cord down behind the nightstand rather than across its top.
- Fit the included bulbs and test all three touch levels on both lamps.
- Check from the doorway that both lamps read at the same height and brightness.
Pro Tip
Use the lowest touch level as the night setting and keep phones on the far side of each lamp, so the light, not the screen, is what you reach for.
12. Add a Velvet Reading Chair in the Corner
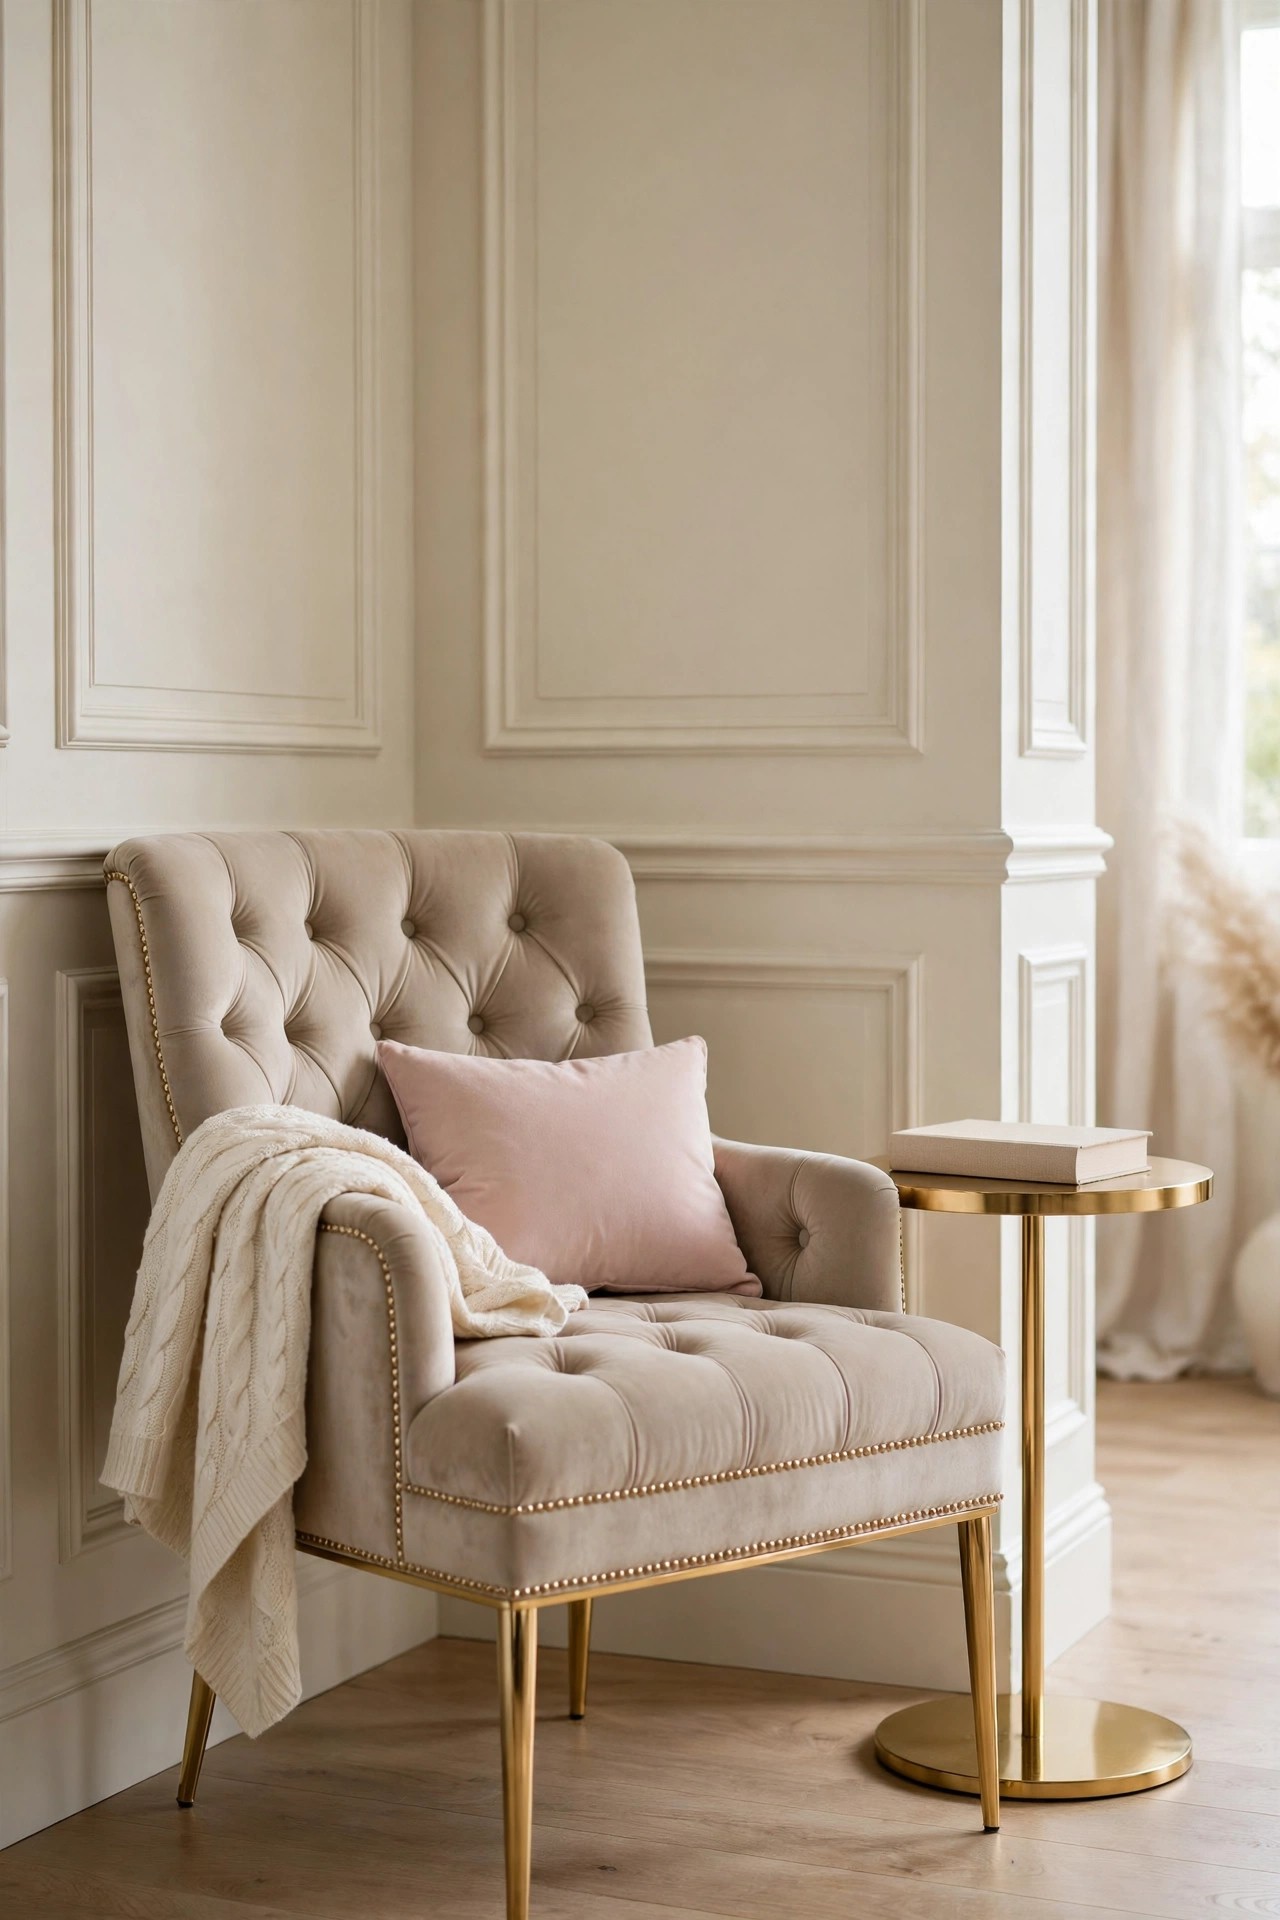
Description: A chair turns the corner by the window into a place to read, dress or sit with morning coffee, and it gives the room a second seating height that makes the layout feel considered. Velvet with button tufting and nailhead trim keeps the chair in the same family as the headboard without matching it exactly. Beige and cream chairs are the safe choice in this palette; blush works if the bed already carries blush. Add a small side table within reach or the chair will collect cups on its arms.
Best For: Main bedrooms with an unused corner of about a metre square.
Not Ideal For: Rooms where the corner is the only route to a wardrobe or ensuite door.
Estimated Cost: $240-$400 (estimate) for a velvet accent chair and a small side table.
Budget Note: The chair is the spend; a plain round side table from a budget range sits quietly beside it and does not need to match.
Renter Friendly: Yes
Renter Note: Freestanding furniture; fit the maker’s floor protectors or felt pads under metal legs.
What You Need
Velvet accent chair, small round side table, one cushion in blush or taupe, a throw, felt pads.
Product recommendation (partially verified): JEEOHEY Chesterfield Velvet Sofa Chair, Beige, 37 inches, button tufted with nailhead trim and gold legs
Why it fits: The rolled arms, deep seat and button tufting give it the settled, suite corner feel this idea needs, the beige velvet stays inside the palette, and the gold legs repeat the metal used on the lamps and headboard trim.
Retailer/product page: https://www.amazon.com/dp/B0GHMYHGJ8/ref=sspa_mw_detail_1
How To Do It
- Clear the corner and measure the floor space, allowing room to sit and cross your legs.
- Assemble the chair following the maker instructions and check its stated weight limit.
- Angle the chair slightly toward the room rather than flat against one wall.
- Set the side table on the side of your writing or drinking hand, with the cushion and throw on the chair.
Pro Tip
Sit in the chair at the time of day you plan to read; a corner that is bright at noon can be the darkest spot in the room by evening, which is when you will want a lamp plan.
13. Lean an Oversized Arched Gold Mirror
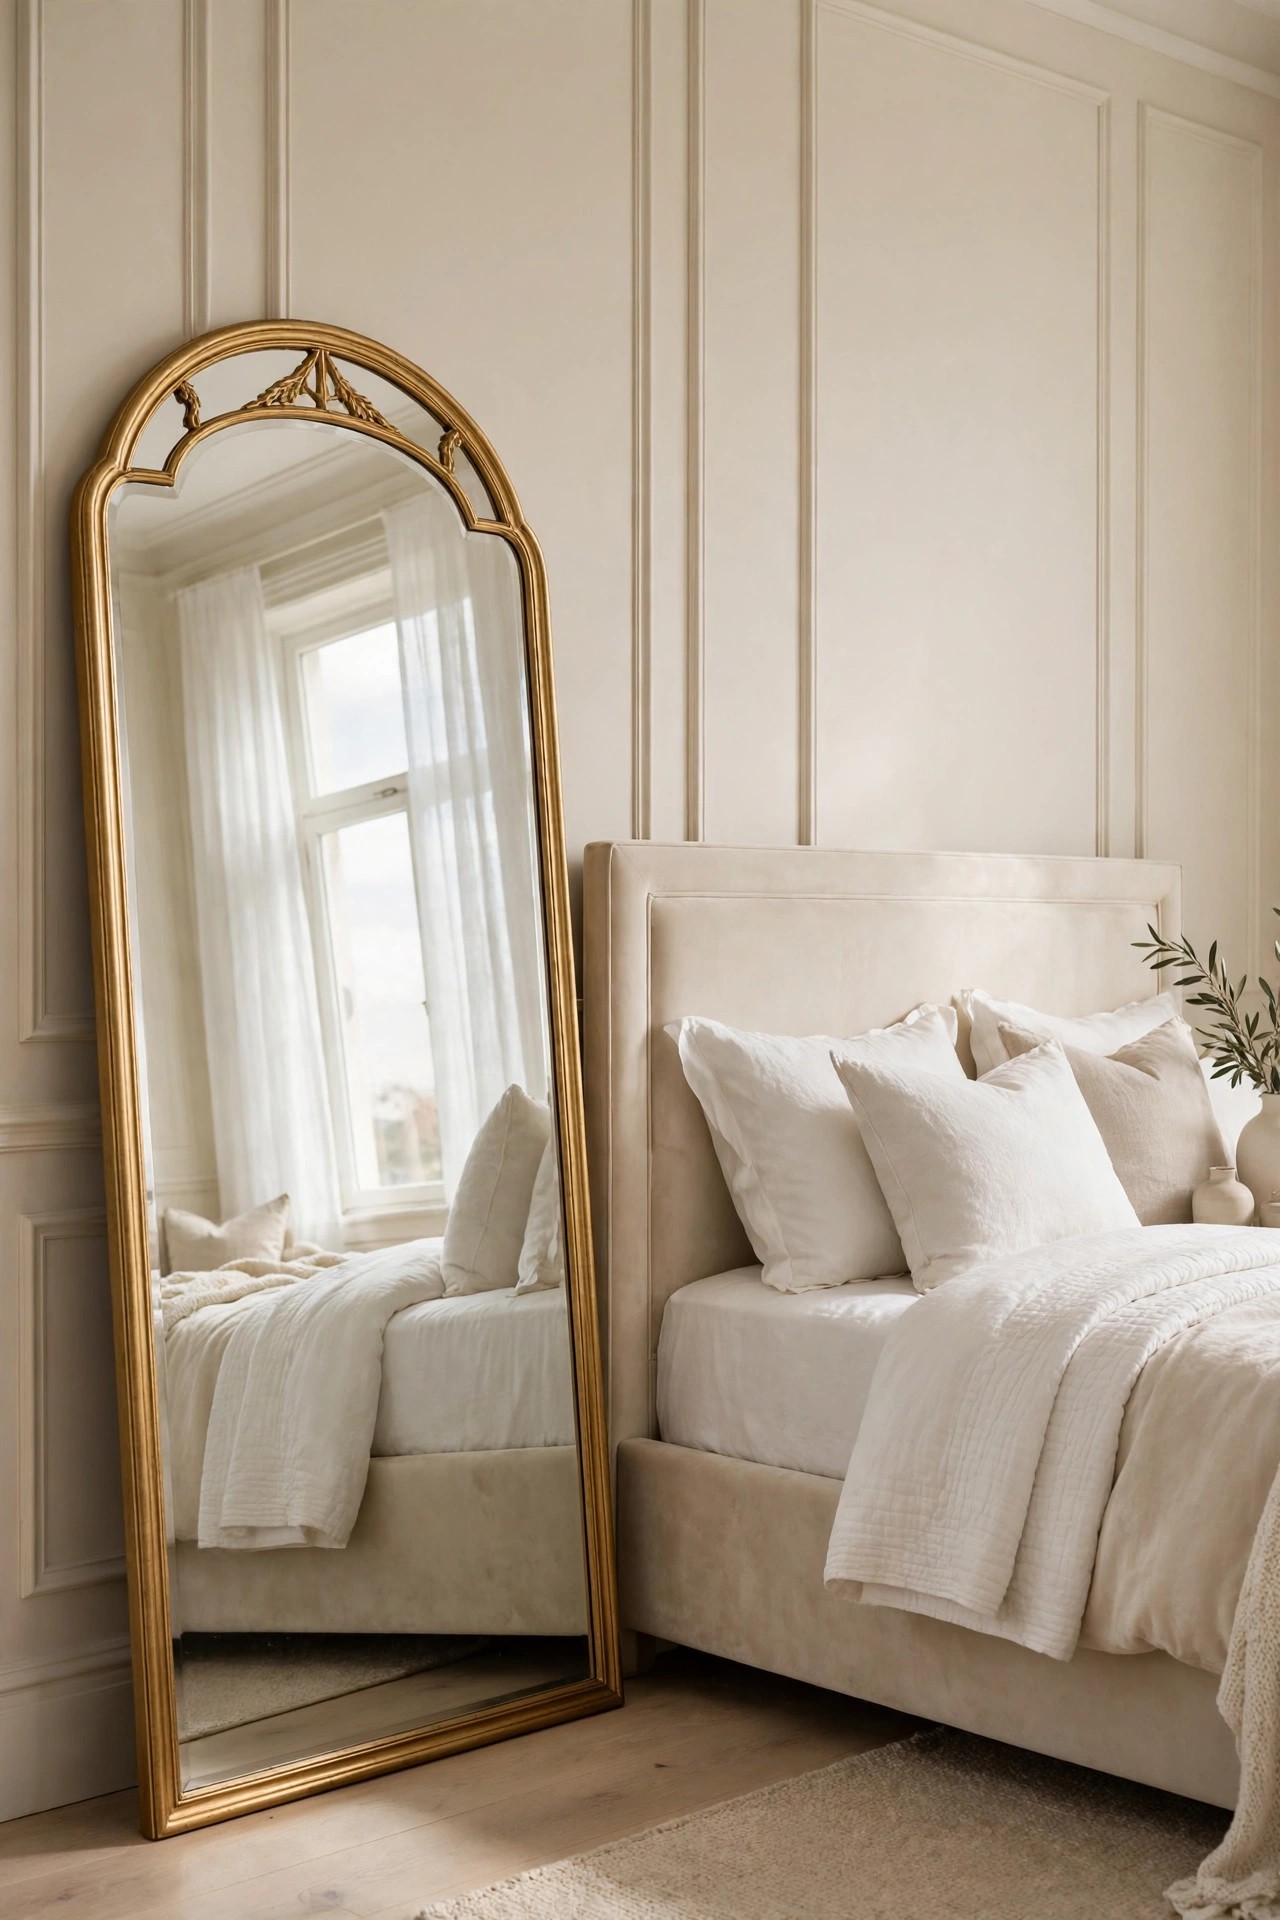
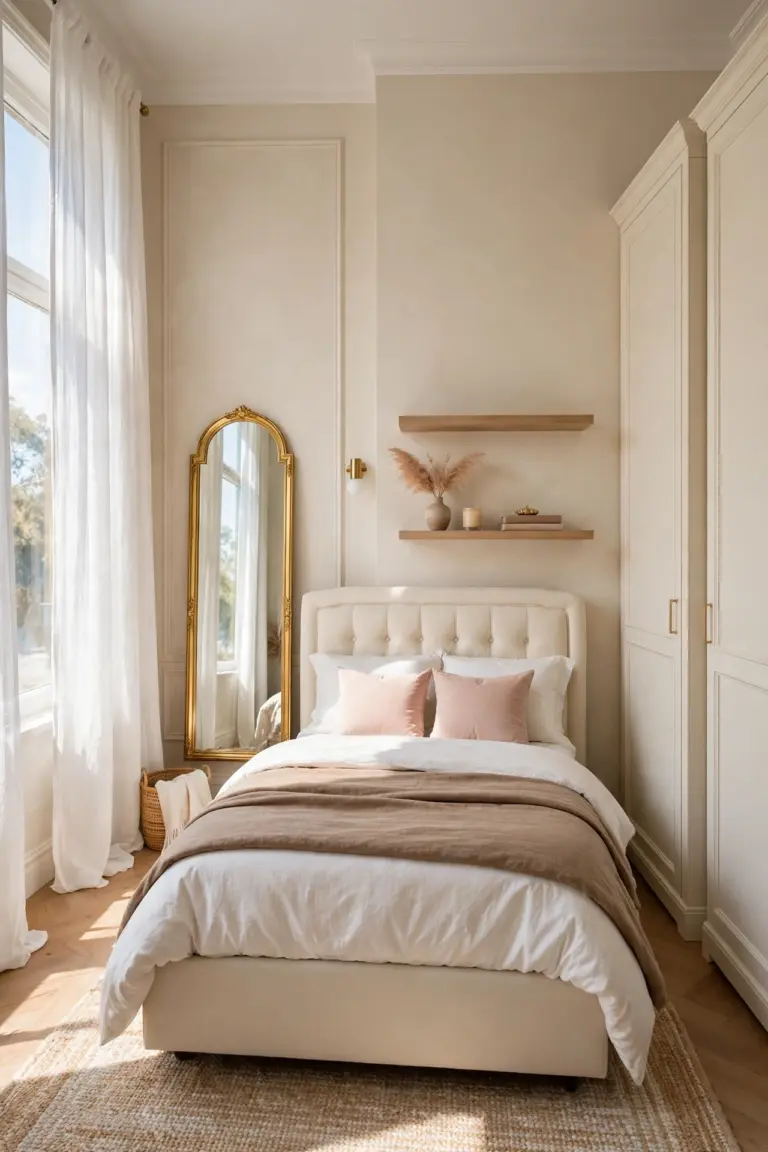
Description: An oversized arched mirror gives a luxury bedroom height, a second view of the room and a full length check before leaving. Leaning rather than hanging keeps it flexible, and the arch softens a room full of straight lines. Position it to reflect the bed and window, not a doorway or a laundry pile. A mirror this size is heavy and must be secured with the maker’s stand or an anti-tip strap, because a leaning sheet of glass that slides is a hazard in a room where people walk barefoot.
Best For: Main bedrooms with a free stretch of wall near the dressing corner.
Not Ideal For: Homes with small children who play in the bedroom, unless the mirror is fixed to the wall.
Estimated Cost: $190-$330 (estimate) for an oversized arched floor mirror and an anti-tip kit.
Budget Note: Larger mirrors cost more to deliver safely than to buy, so order from a seller whose price includes proper packaging and returns for cracked glass.
Renter Friendly: With Conditions
Renter Note: Leaning on its stand needs no fixings, but an anti-tip strap screwed to a wall stud is the safe option and needs landlord permission.
What You Need
Arched full length mirror with a stand or anti-tip strap, a helper for carrying, a soft blanket to rest it on during setup, felt pads.
Product recommendation (partially verified): KOMCOTE Arched Floor Mirror, 76 x 34 inches, Gold, aluminium frame, shatterproof film
Why it fits: At 76 by 34 inches it is genuinely oversized for the leaning look this idea describes, the aluminium frame keeps the weight manageable for its size, and the explosion proof film on the glass is a sensible safety feature in a bedroom.
Retailer/product page: https://www.amazon.com/dp/B0CHV6G7LQ/ref=cm_sw_r_cso_fb_apan_dp_0DEKHXNY42ECCZR3RX29
How To Do It
- Carry the mirror in with two people, keeping it upright and resting it on a blanket, never on a bare corner.
- Set the stand or lean angle so the mirror rests steadily with its weight through the base, not the top edge.
- Fix the anti-tip strap to a wall stud if you have permission, following the maker instructions.
- Stand where you will dress and check the reflection shows a full length view without distortion at the edges.
Pro Tip
Angle the mirror a few degrees toward the window if the room is dark, or away from it if morning sun bounces straight into the bed.
14. Finish the Bed with Velvet Cushions in Champagne and Blush
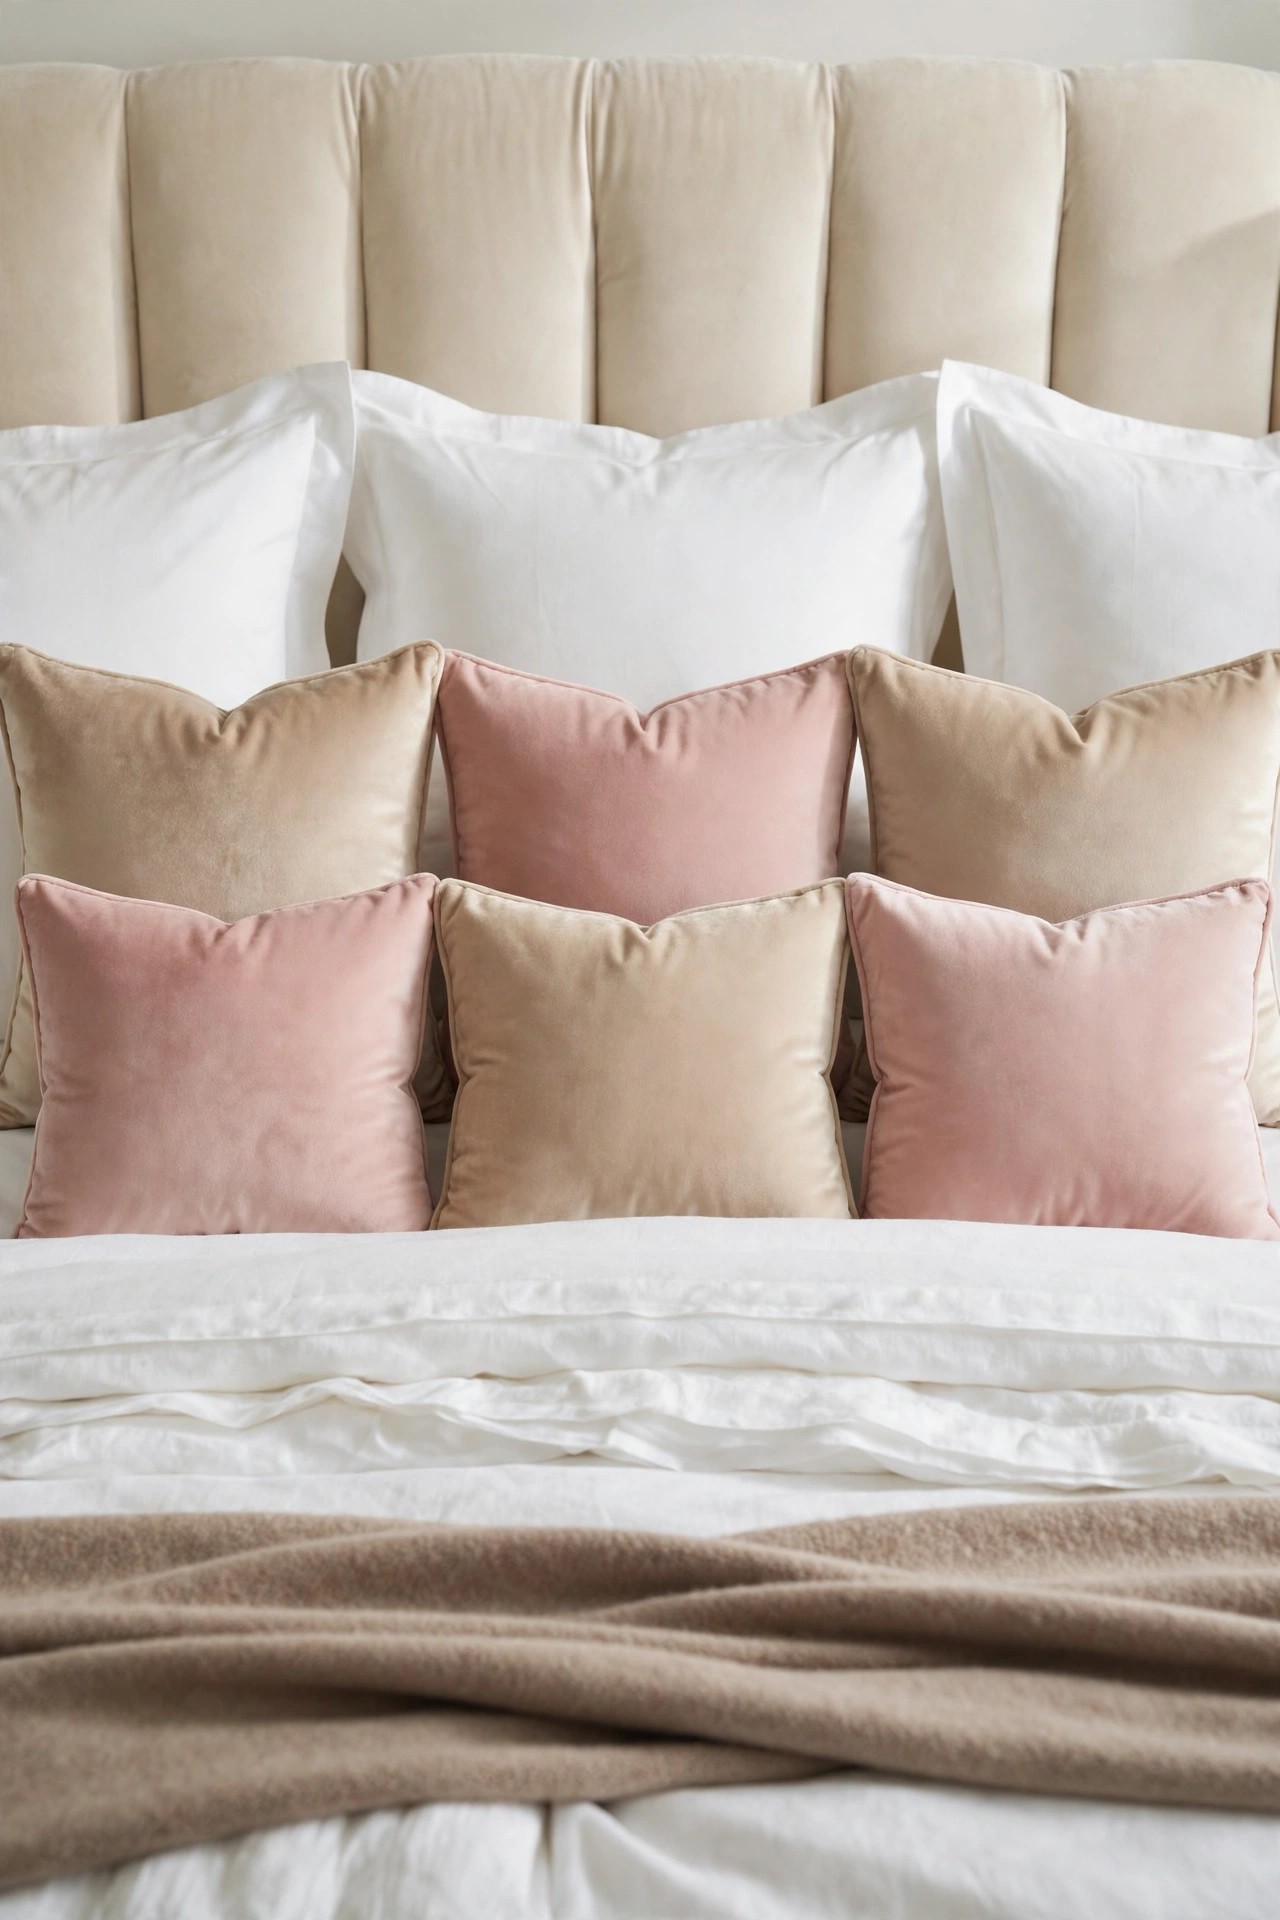
Description: Cushions are where the blush in this palette usually enters, because they can be changed in minutes. Velvet covers in champagne and blush give the bed its soft colour layer over the white base from idea 1, and the pile changes with the light so the bed does not look flat. Keep the formula simple: two larger covers at the back, two smaller in front, all in velvet, no mixed patterns. Buy inserts one size up from the covers so the cushions sit plump rather than slack.
Best For: Anyone whose bed is dressed but colourless, and guest rooms before visitors arrive.
Not Ideal For: Beds that already carry patterned bedding, where more texture will fight the print.
Estimated Cost: $45-$90 (estimate) for four velvet cushion covers and inserts.
Budget Note: Covers over inserts you already own bring this down to the cost of the covers alone.
Renter Friendly: Yes
Renter Note: Soft furnishings only, with no fixings or changes to the room.
What You Need
Four velvet cushion covers in two sizes, inserts one size larger than the covers, a steamer or a warm iron and cloth.
Product recommendation (partially verified): MIULEE Velvet Throw Pillow Covers, Pack of 2, Champagne, 18 x 18 inches, invisible zipper
Why it fits: The champagne colour sits between the cream bedding and the gold accents, the 18 inch size is the standard front cushion on a queen bed, and the invisible zipper keeps the velvet face clean; buy a second pack in blush from the same range for the colour mix.
Retailer/product page: https://www.amazon.com/dp/B0FK4KT492/ref=aip_sf_list_spv_ons_m_asin
How To Do It
- Fit each insert into its cover, pushing the corners fully out before closing the zip.
- Steam the velvet lightly to lift the pile and remove packing creases.
- Arrange the larger pair upright against the euro shams and the smaller pair in front, slightly angled.
- Give each cushion one firm karate chop crease at the top centre for the styled finish.
Pro Tip
Keep every cushion the same fabric family; mixing velvet with linen and knit on one bed reads as leftovers, while one fabric in two colours reads as a set.
15. Style the Dresser Top with a Marble and Gold Tray
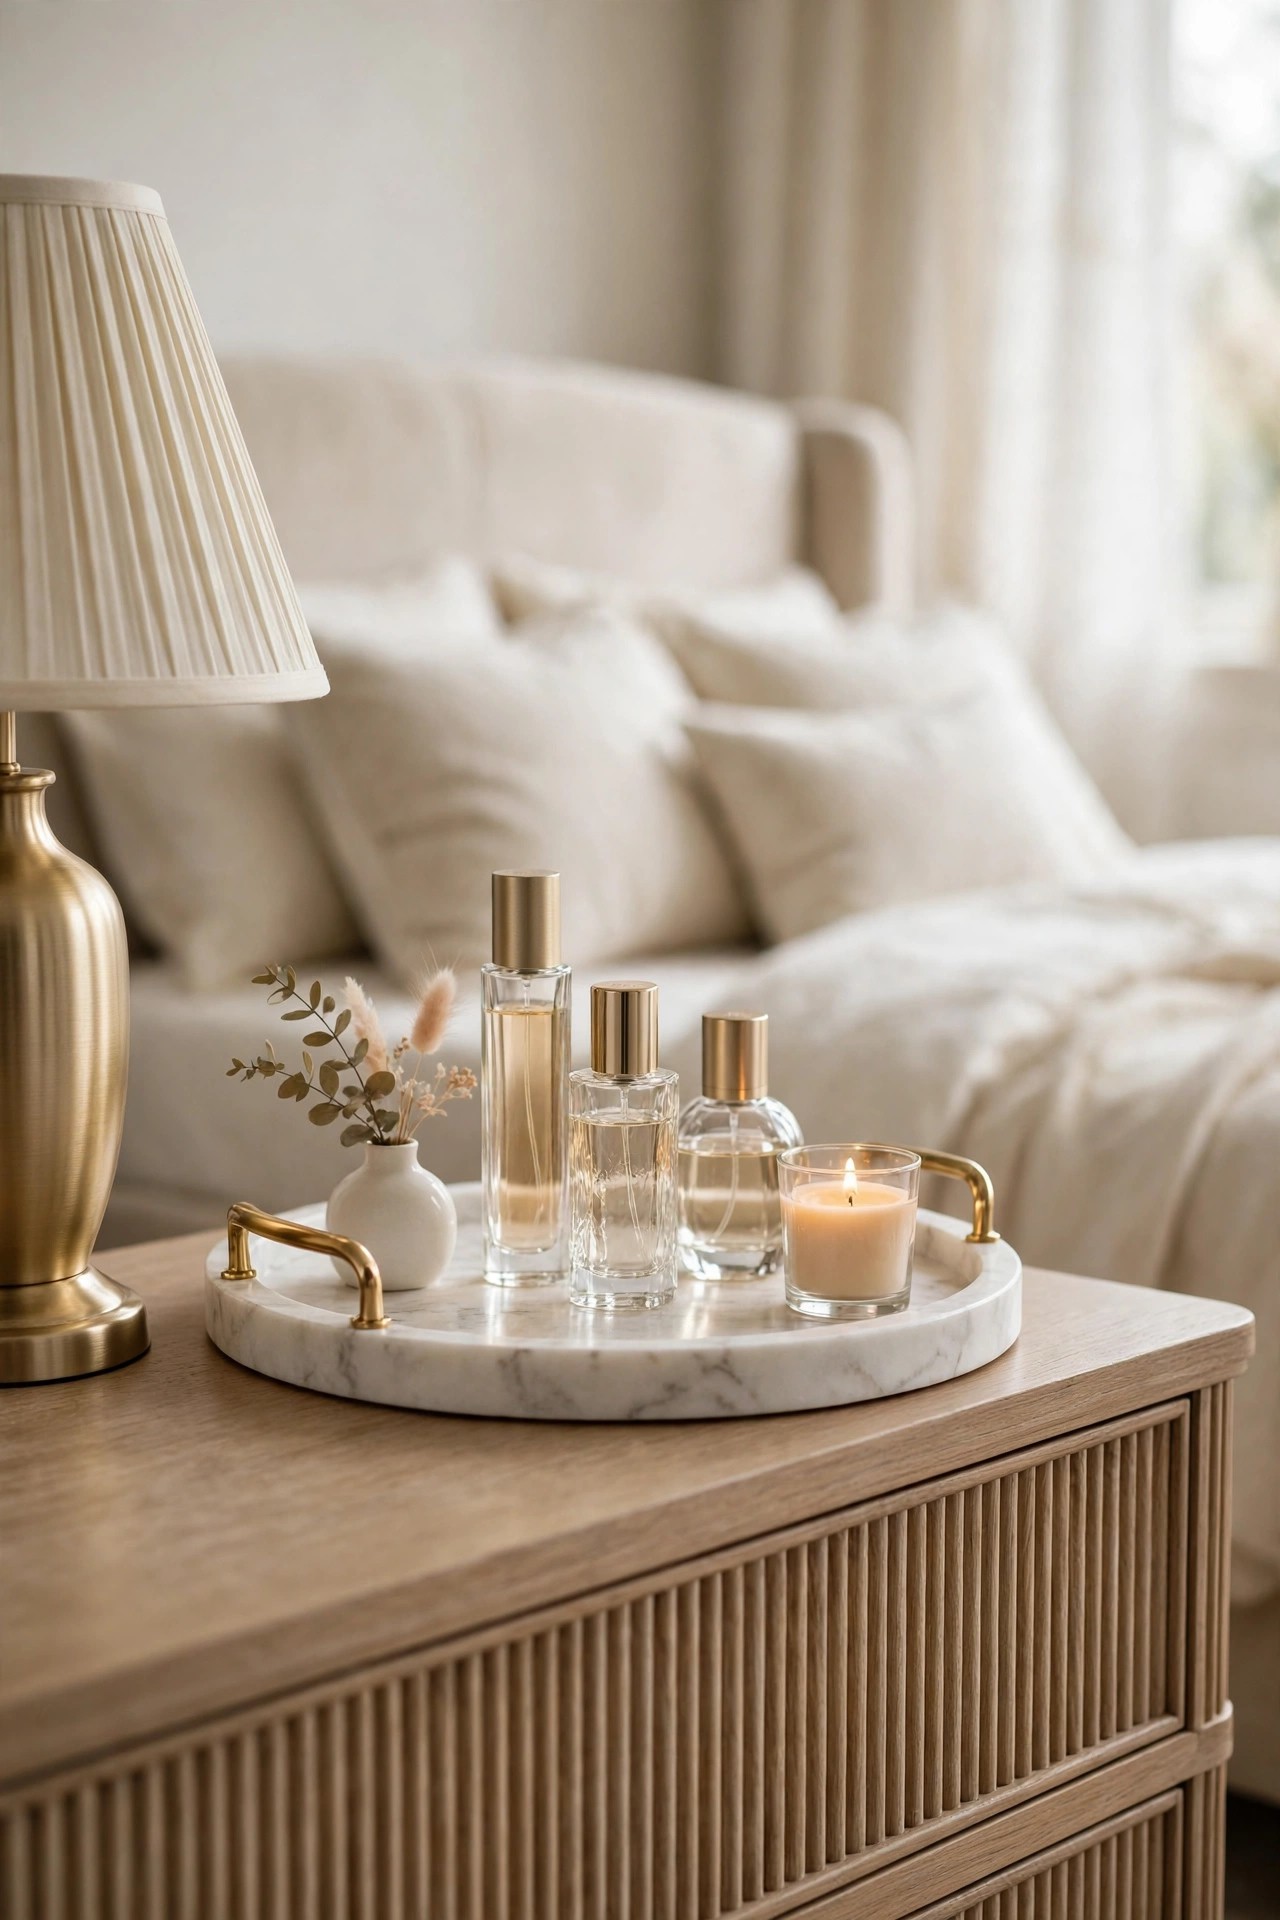
Description: Dresser tops collect bottles and loose items until the surface looks like storage rather than part of the room. A marble tray with gold handles sets a boundary: what fits on the tray stays, everything else gets a drawer. The white stone repeats the bedding colour and the gold repeats the lamps, so a practical organiser also finishes the scheme. Keep the group small, three to five items of different heights, and leave at least half the dresser top empty so the tray reads as a display, not a container.
Best For: Dressers that currently hold a spreading collection of bottles and jewellery.
Not Ideal For: Dressers used as a changing surface or a workspace, where a display tray will be moved daily.
Estimated Cost: $60-$120 (estimate) for a marble tray, a candle and a small vase.
Budget Note: The tray is the purchase; the candle and vase can come from items you already own elsewhere in the house.
Renter Friendly: Yes
Renter Note: A tray also protects a landlord’s furniture from perfume and oil marks, which is worth noting on the condition report.
What You Need
Round marble tray with handles, three to five daily items, a candle, a small vase or plant, a soft cloth for the stone.
Product recommendation (partially verified): GR Trading Luxury Marble Tray with Metal Handles, Round, White with Gold Edges and Handles, 11.7 inches
Why it fits: The white marble and gold edging repeat this palette’s two main finishes in one piece, and at 11.7 inches across it holds a perfume group without taking over the dresser; the handles make it easy to lift the whole group away for cleaning.
Retailer/product page: https://www.amazon.com/dp/B0BN18K8S2/ref=pd_aw_fbt_img_m_sccl_1_2
How To Do It
- Clear the dresser top completely and clean the surface before anything goes back.
- Place the tray off centre, roughly a third along the dresser, rather than in the middle.
- Arrange items tallest at the back, keeping the group to perfume, the candle and one small vase.
- Move everything that did not make the tray into a drawer or another room the same day.
Pro Tip
Wipe the marble weekly and keep citrus based sprays off it; marble marks easily, and coasters under perfume bottles stop the rings that give the habit away.
Practical Tips for a Modern Luxury Bedroom
- Work in the hotel order: bed layers first, then the headboard wall, then ceiling and bedside light, then textiles, then small decor. Buying in that order stops the common pattern of owning lovely cushions in a room that still feels unfinished.
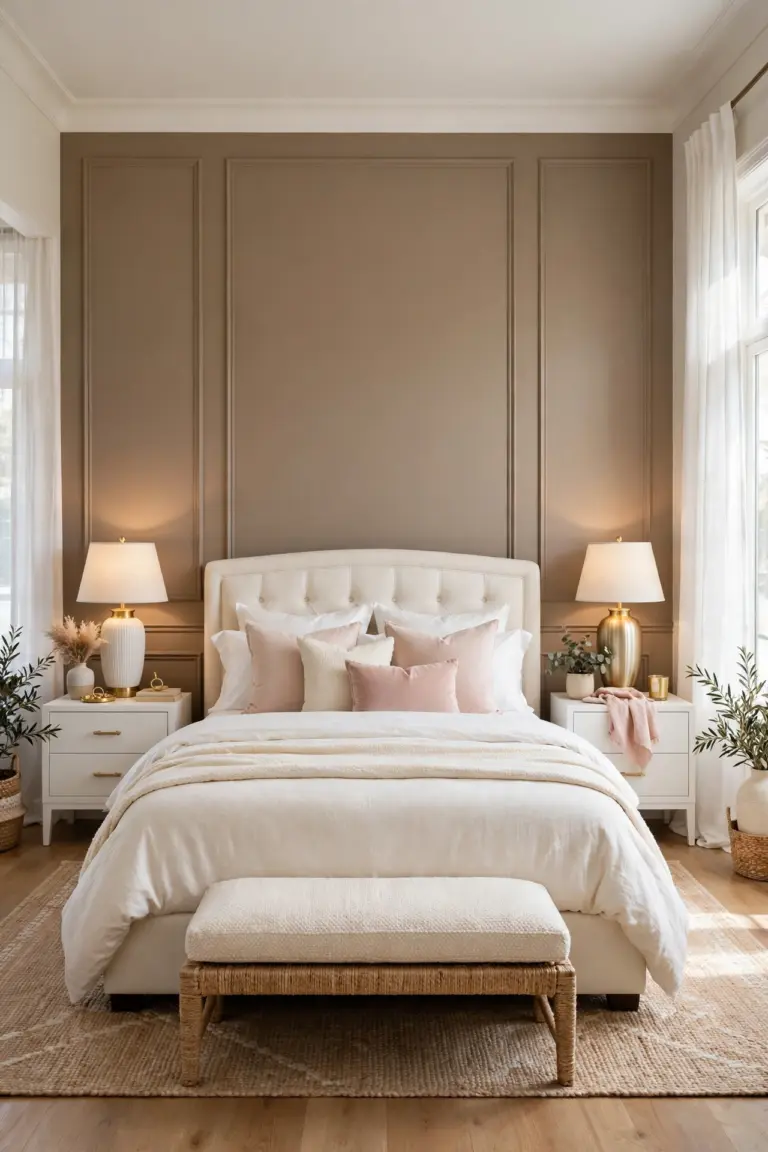
- Hold the palette to white, cream and warm taupe, with blush as the only soft colour and brushed gold as the only metal. When everything matches this rule, pieces bought years apart still sit together; the same discipline in colour pairing is covered for living rooms in these living room color combination.
- Keep every textile washable or dry cleanable by choice, not by accident. Silk, velvet and white cotton all need a care plan, and the room only stays luxurious if the plan is realistic for your laundry routine.
- Match light colour temperature across the chandelier, the bedside lamps and the vanity: warm white bulbs throughout. One cool bulb in a warm room is the fastest way to make cream paint look grey.
- Leave surfaces at one third full. The tray rule in idea 15 applies to nightstands and the vanity too: a clear surface is the clearest signal that separates a suite feel from a furnished room.
- Carry one finish into the ensuite. Repeating the brushed gold in a tap or mirror frame keeps the two rooms reading as one suite, as these bathroom decor ideas show with the same finishes.
Frequently Asked Questions
Which of these luxury ideas should I do first?
Idea 1, the hotel bed layering. The bed is the largest surface in the room, and correct layers change how every other piece looks against it. The headboard in idea 2 comes second, because it sets the wall the bed sits on.
Can a modern luxury bedroom work in a small room?
Yes, if you scale the furniture rather than dropping the formula. Choose the lamps, silk, cushions and tray ideas, take the rug and curtains at the smaller end of their sizes, and skip the bench and the oversized mirror if the floor plan cannot take them without blocking a door.
How do I keep white and cream from looking cold?
Use warm versions of both, add taupe as the middle tone, and keep every bulb warm white. Texture does the rest: velvet, silk sheen, deep pile and crystal all reflect light differently, which is what stops pale rooms reading as flat.
Is the crystal chandelier safe above a bed?
It is a standard ceiling fitting position, provided the fixing is sound, the bulbs stay within the maker’s rating, and the bottom of the fitting hangs at least 2.1 metres above the floor as set out in idea 3. Use a qualified electrician if you have any doubt about the wiring or the ceiling fixing.
What is the cheapest idea with the biggest effect?
Idea 14, the velvet cushions, at the lowest estimate in this list. Four covers in champagne and blush over the white layers from idea 1 give the bed its colour and texture in one step, and they can be removed in minutes if you tire of them.
Conclusion
Start with the bed: the layered white base in idea 1 and the tall headboard in idea 2 set the standard that the lighting, textiles and small pieces then have to meet. Add the chandelier or the lamp pair when the room’s light is ready for them, and let the palette rule, white, cream, taupe, blush and gold, settle every later choice. One finished idea at a time will get a plainer room further than five half fitted ones.
One Comment
Comments are closed.