15 Walk In Wardrobe Ideas for a Calm, Glam Closet
A walk in wardrobe should feel like a calm dressing room, not a crowded cupboard, and the difference is the plan behind it. Most wardrobes fail in the same quiet ways: rails hung too high to reach, shoes piled on the floor, one dim bulb that leaves the back corners dark, and no place to sit down while you decide what to wear. These walk in wardrobe ideas fix the layout first, then add the glam layers that make getting dressed feel easy: warm white cabinetry, brushed gold hardware, a full-length mirror, soft lighting and a blush velvet seat in the middle. Work through the list in order, because the early ideas set the shape and the light, and the later ones add the storage and styling that keep a wardrobe tidy week after week. If you want a broader starting point for the bedroom around it, our guide to bedroom ideas is a useful companion read
Disclosure: This article may contain affiliate links. If you buy through a link on this page, GlamNStyle may earn a small commission at no extra cost to you. Product links in this article are plain links; each one is checked on the retailer’s own page before it is added.
1. Start with a U-Shaped Layout That Fits Everything
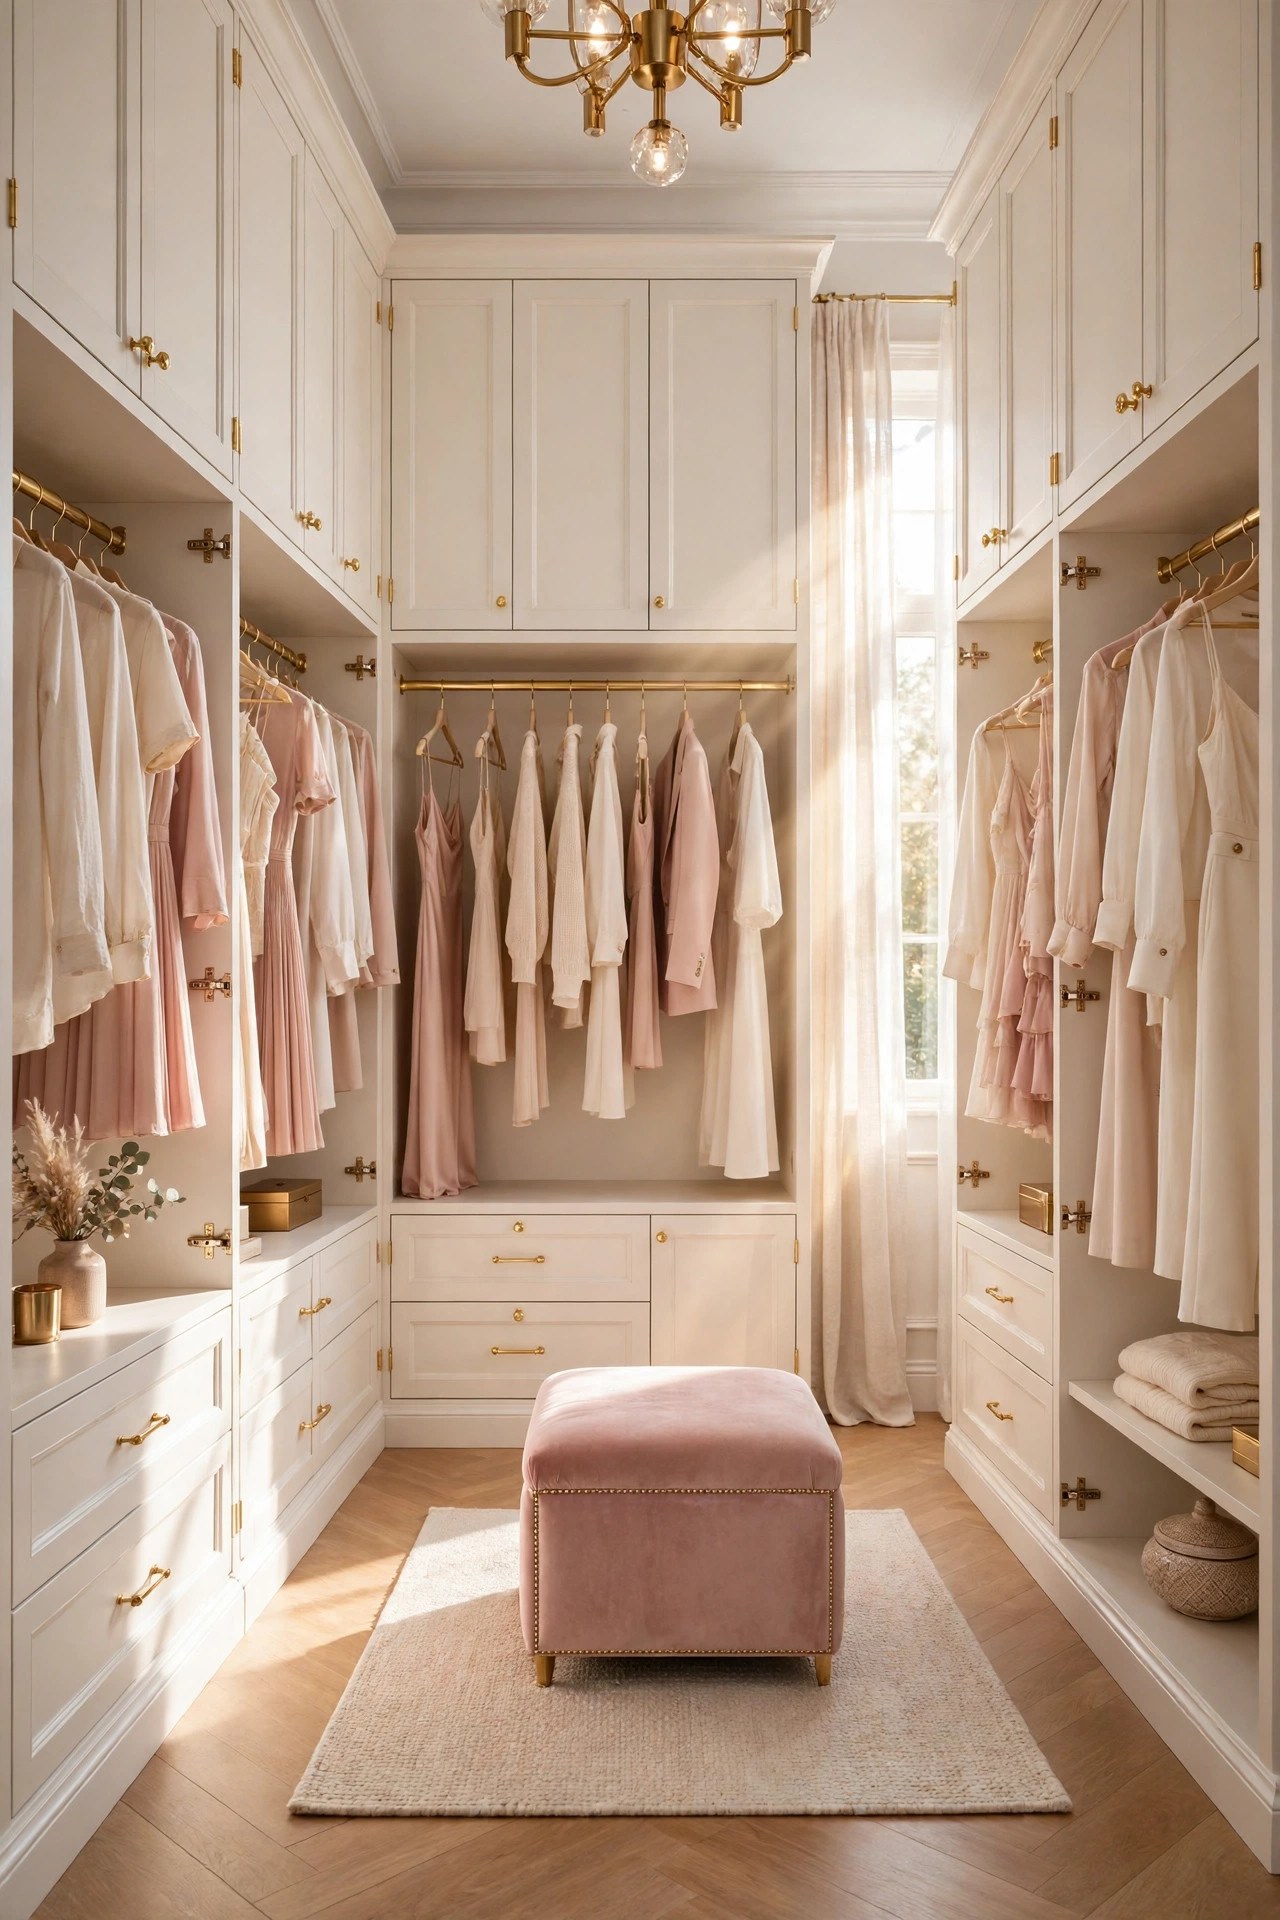
A U-shaped layout is the shape that makes a walk in wardrobe work, because it puts storage on three walls and leaves the middle clear for standing and choosing. Hang the longest clothes on one wall, folded clothes and shoes on the second, and a mirror with a small seat on the third, so every part of the wardrobe is used and nothing hides behind a door. Keep at least 90 cm of clear floor in the middle, so two people can pass and a chair or ottoman fits without blocking the rails. Measure the room before ordering anything: a U shape needs a room roughly 2.4 m wide to feel open, and a narrower room is better served by the single-wall layout in idea 4.
Best For: Spare bedrooms and large dressing rooms where three walls can carry storage, and anyone sharing a wardrobe with a partner.
Not Ideal For: Narrow rooms under 2 m wide, where a U shape leaves no clear floor; a single-wall layout with open shelving is calmer there.
Estimated Cost: $1,500-$6,000 (estimate) for fitted or modular cabinetry in a U-shaped layout, depending on size and finish.
Budget Note: The cabinetry is the spend; modular units cost far less than fully fitted joinery and can move with you.
Renter Friendly: With Conditions
Renter Note: Freestanding modular units work for renters; fitted cabinetry fixed to the walls needs the landlord’s agreement.
What You Need
Measuring tape, paper plan of the room, modular or fitted wardrobe units, hanging rails, shelves, a blush ottoman for the centre.
Product type to look for: Wardrobe units with adjustable shelves and rails, in a warm white finish, sized so the middle floor stays at least 90 cm clear.
How To Do It
- Measure all three walls and draw the U shape on paper, marking doors, windows and light switches first.
- Place long hanging on one wall, folded storage on the second, and the mirror and seat on the third.
- Check the clear floor in the middle with tape on the floor before any unit is ordered.
- Install the units in order from the back wall outward, then add the ottoman last so it never blocks the work.
Pro Tip
Put the most used rail at eye level and the least used shelf at the top. A wardrobe that makes you stretch for daily clothes will be messy within a week.
2. Paint the Wardrobe Warm White and Add Gold Hardware
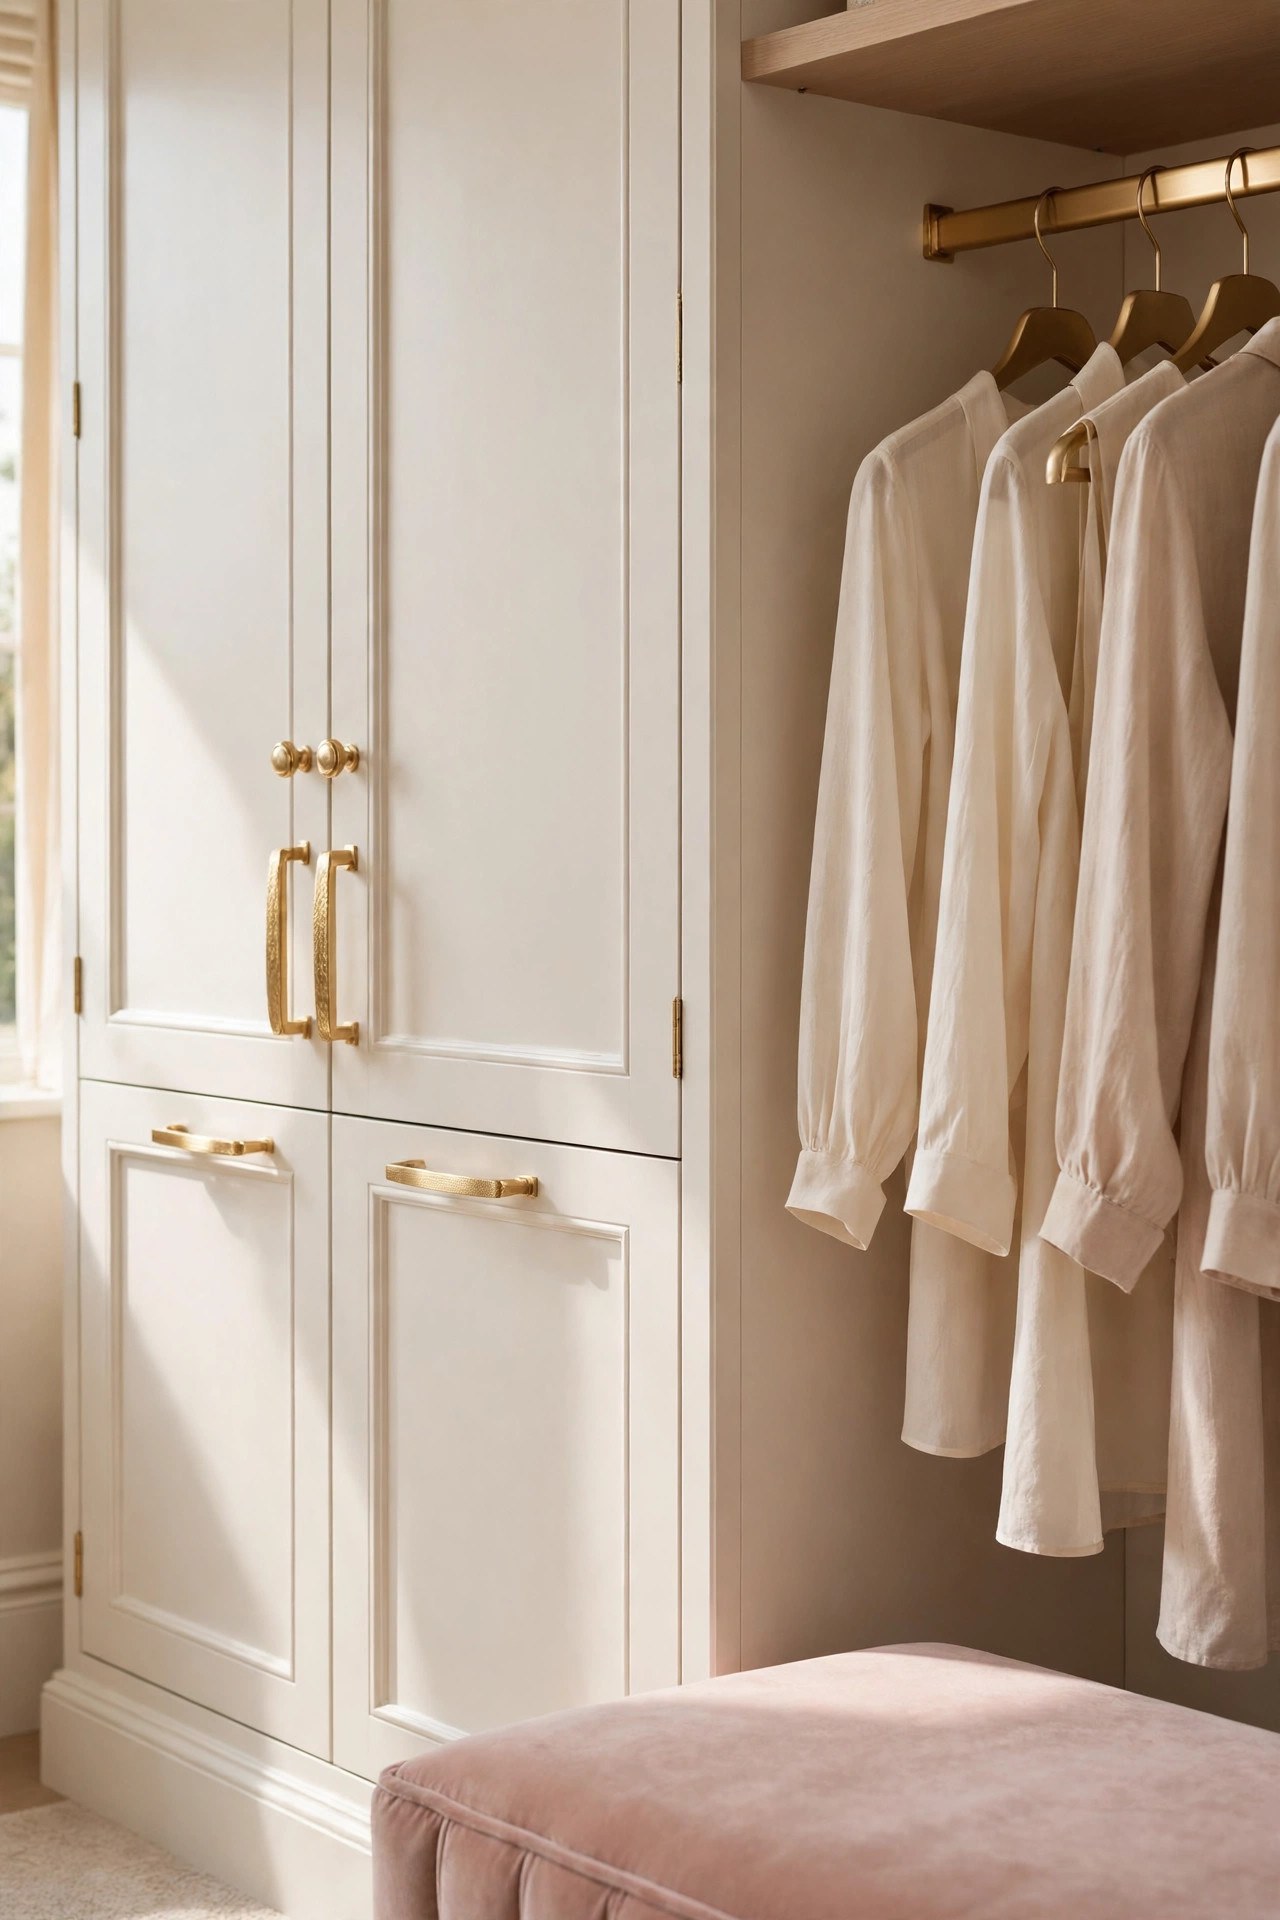
Warm white cabinetry with brushed gold hardware is the base that makes a walk in wardrobe feel glam instead of plain. A warm white, not a cold stark white, keeps cream and blush clothes looking soft, and gold knobs, handles and rail ends repeat the same metal across every door so the room reads as one plan. Keep the hardware to one finish: brushed or satin gold throughout, never mixed with chrome or black in the same wardrobe. Test the paint beside the clothes you wear most, because warm white deepens under lamplight and a shade that looks pale on the card can turn creamy on a full wall of doors.
Best For: Wardrobes that feel dark or dated, and anyone who wants the biggest visual change without rebuilding the room.
Not Ideal For: Rooms with very little natural light, where even warm white needs the LED strips in idea 7 to carry the corners.
Estimated Cost: $200-$900 (estimate) for paint, primer and new gold hardware, depending on how many doors the wardrobe has.
Budget Note: Hardware is the lasting spend; a good knob used on every door costs less than replacing the doors themselves.
Renter Friendly: With Conditions
Renter Note: Swapping knobs is reversible if the old ones are kept; painting fitted doors needs the landlord’s agreement.
What You Need
Primer, warm white paint for cabinetry, small roller and angled brush, brushed gold knobs and handles, screwdriver, dust sheets.
Product type to look for: Knobs and handles in one brushed gold tone, with screws that suit the door thickness, and a washable cabinet paint that wipes clean.
How To Do It
- Remove the old knobs and handles, label each door, and clean every surface before painting.
- Prime the doors, then roll two coats of warm white, letting each coat dry fully before the next.
- Fit the new gold hardware in the same position on every door, checking the alignment as you go.
- Step back and check the gold tone in daylight and at lamp light before refitting the doors.
Pro Tip
Match the gold, not the shape. One shared metal tone across knobs, handles and rail ends is enough to tie the wardrobe together, and mixed shapes keep it from looking like a set.
3. Add a Full-Length Arched Mirror with a Gold Frame
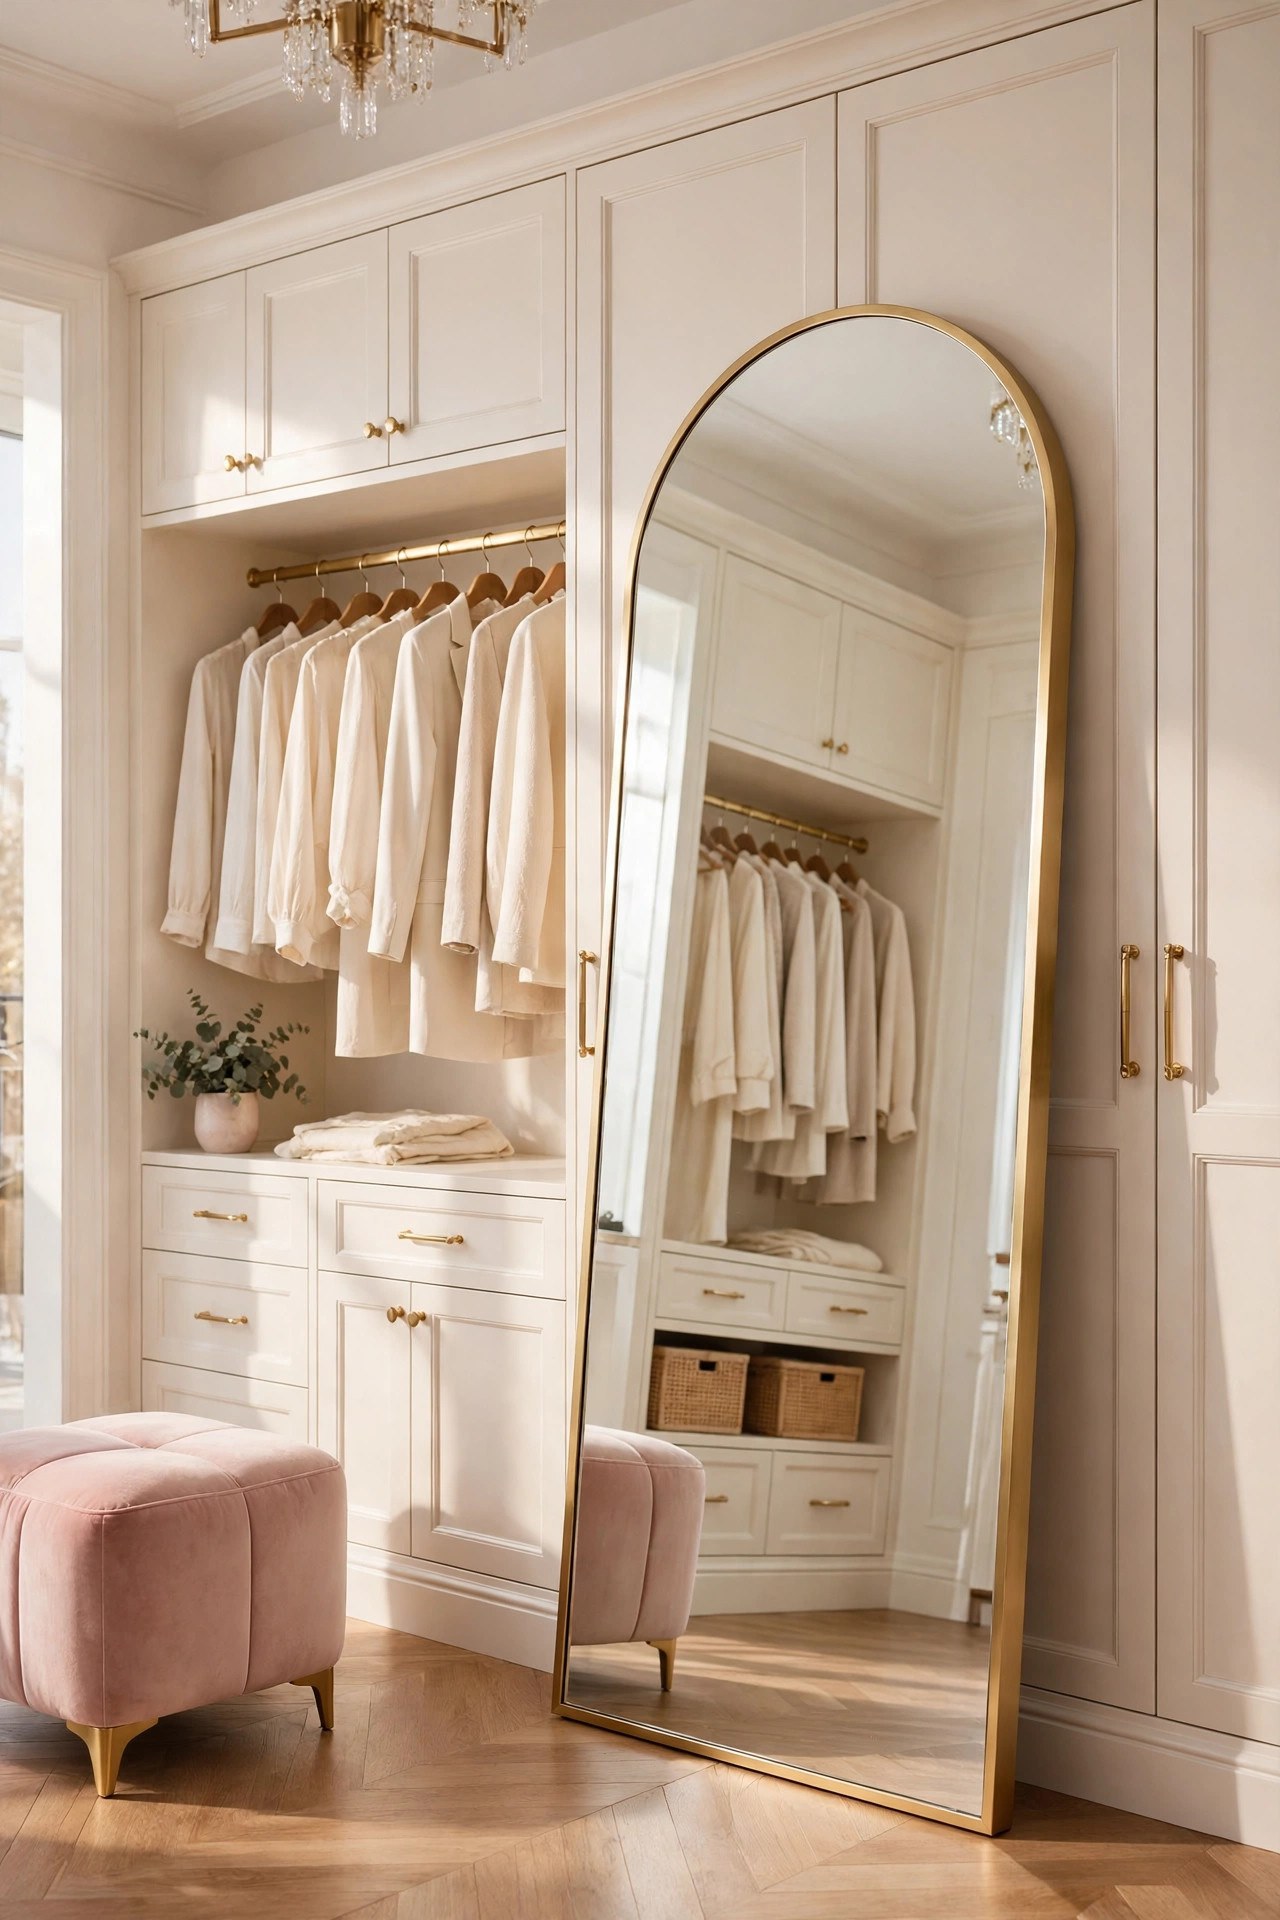
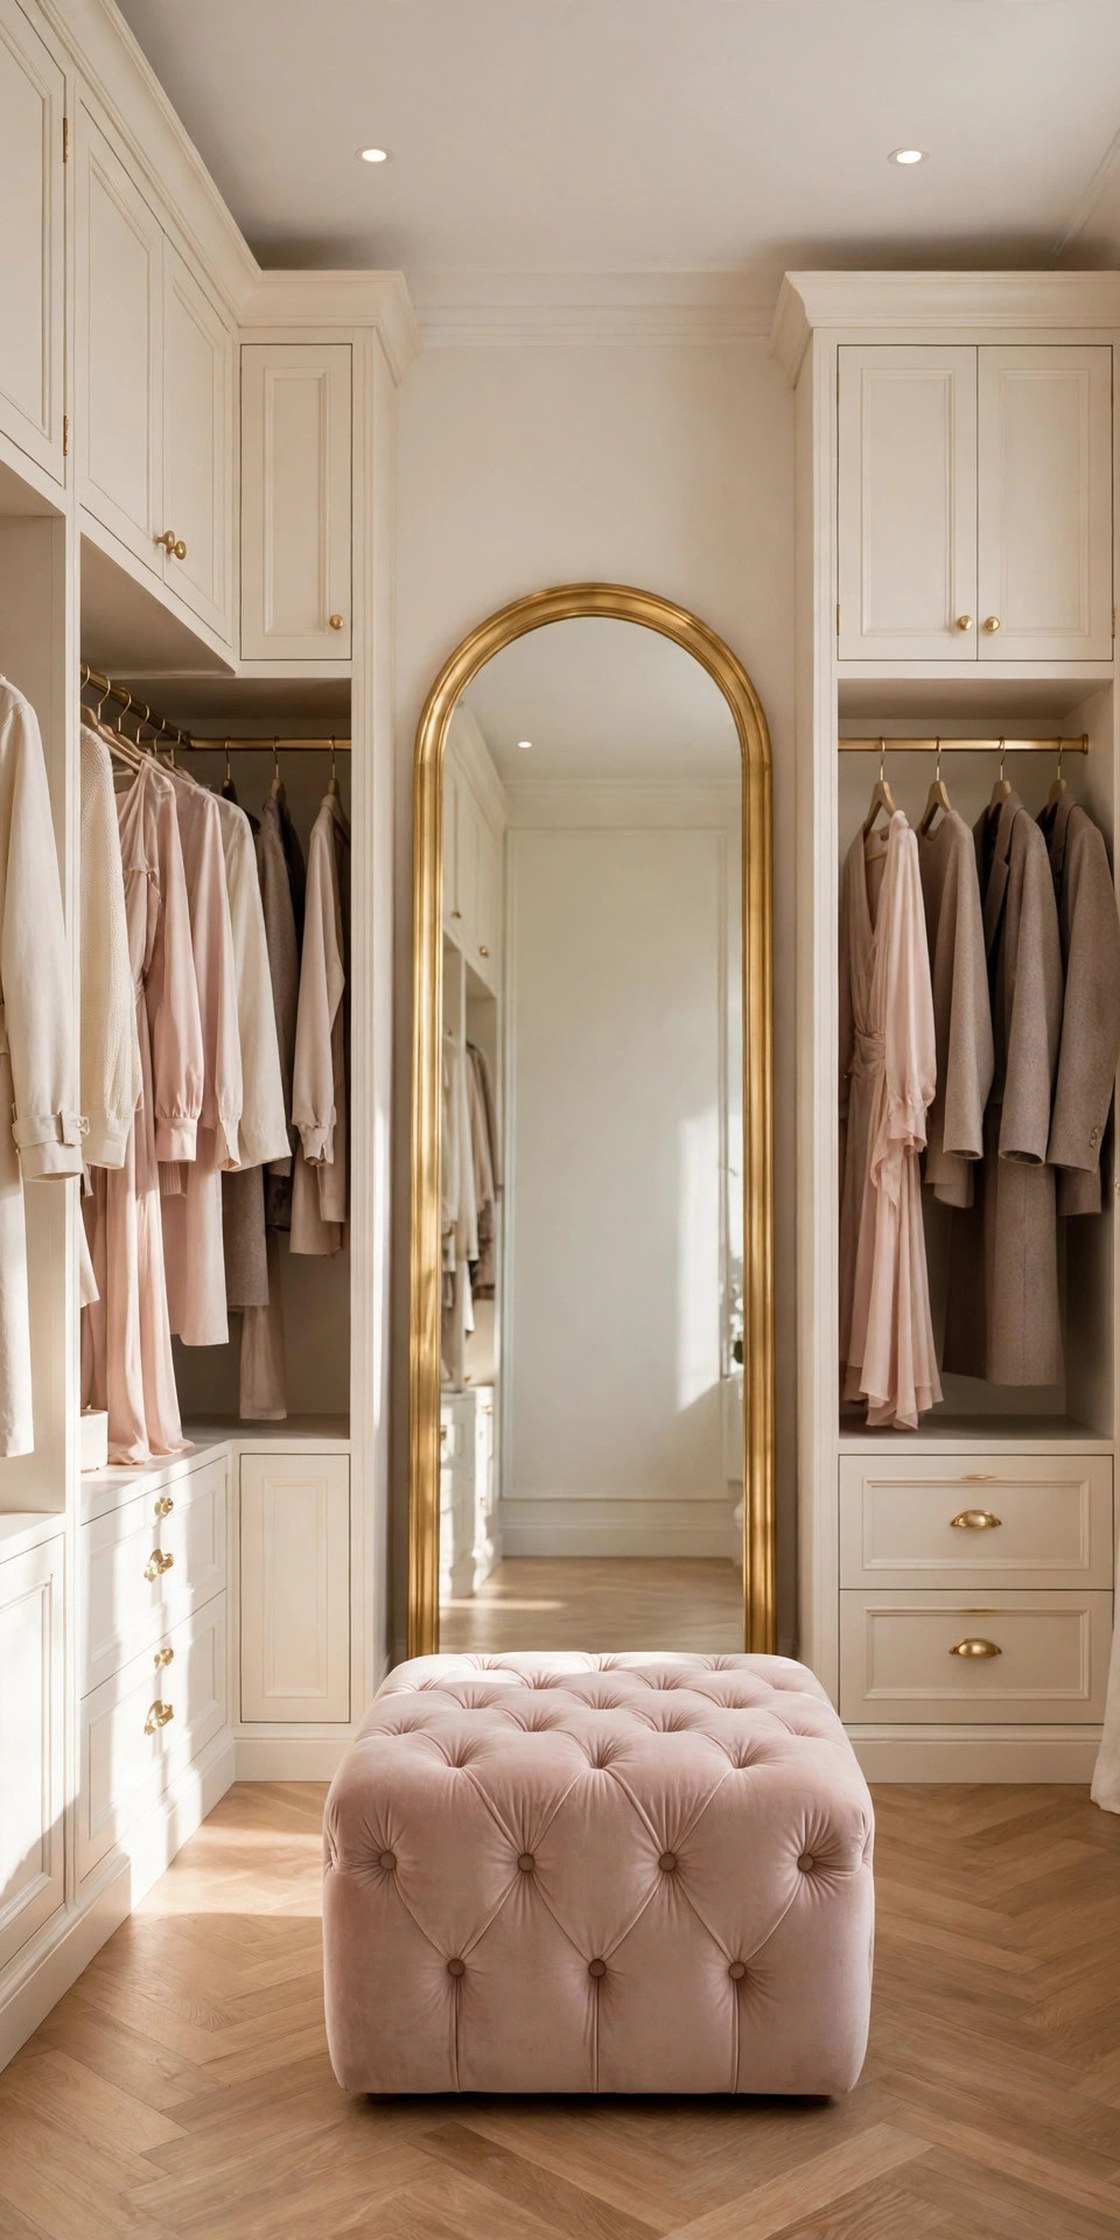
A full-length mirror is the one piece a walk in wardrobe cannot work without, and an arched mirror in a slim gold frame is the version that suits this palette best. It lets you check a full outfit in the room where the clothes live, it bounces light into the back corners, and its soft arched top breaks the straight lines of the cabinetry. Place it on the wall opposite the main rail, or lean it at a slight angle against a clear stretch of wall, so the reflection shows the clothes and the ottoman, not the doorway. Large mirrors are heavy, so fixings must match the wall type and the mirror weight, and a leaning mirror needs a secure wall fixing at the top so it can never slip forward.
Best For: Any walk in wardrobe without a full-length mirror, and rooms that need more reflected light in the back corners.
Not Ideal For: Walls with a window directly opposite, where a mirror reflects glare instead of the room.
Estimated Cost: $180-$550 (estimate) for a large full-length arched mirror with a slim brushed gold frame.
Budget Note: The mirror is the spend; the wardrobe styling around it can stay simple and cheap.
Renter Friendly: With Conditions
Renter Note: A leaning mirror with a top wall fixing is usually acceptable; a heavy wall-hung mirror needs the lease to allow strong fixings.
What You Need
Full-length arched mirror with a slim brushed gold frame, fixings rated for the mirror weight and wall type, level, tape.
Product type to look for: A mirror tall enough to show a full outfit, with safety backing and a frame in the same gold tone as the hardware in idea 2.
How To Do It
- Tape the mirror outline on the chosen wall, centred on the clear stretch, with its base clear of the ottoman.
- Fix the mirror with rated fixings, check it with a level, and test it gently before styling around it.
- Stand in front of it in a full outfit and check the reflection shows the clothes, not the door.
- Clean it with a dry microfibre cloth so spray does not run behind the glass.
Pro Tip
Hang the mirror so its reflection shows the brightest wall, not the doorway. A mirror that faces the light doubles the brightest view in the room.
4. Build Open Shelving for Shoes and Folded Clothes
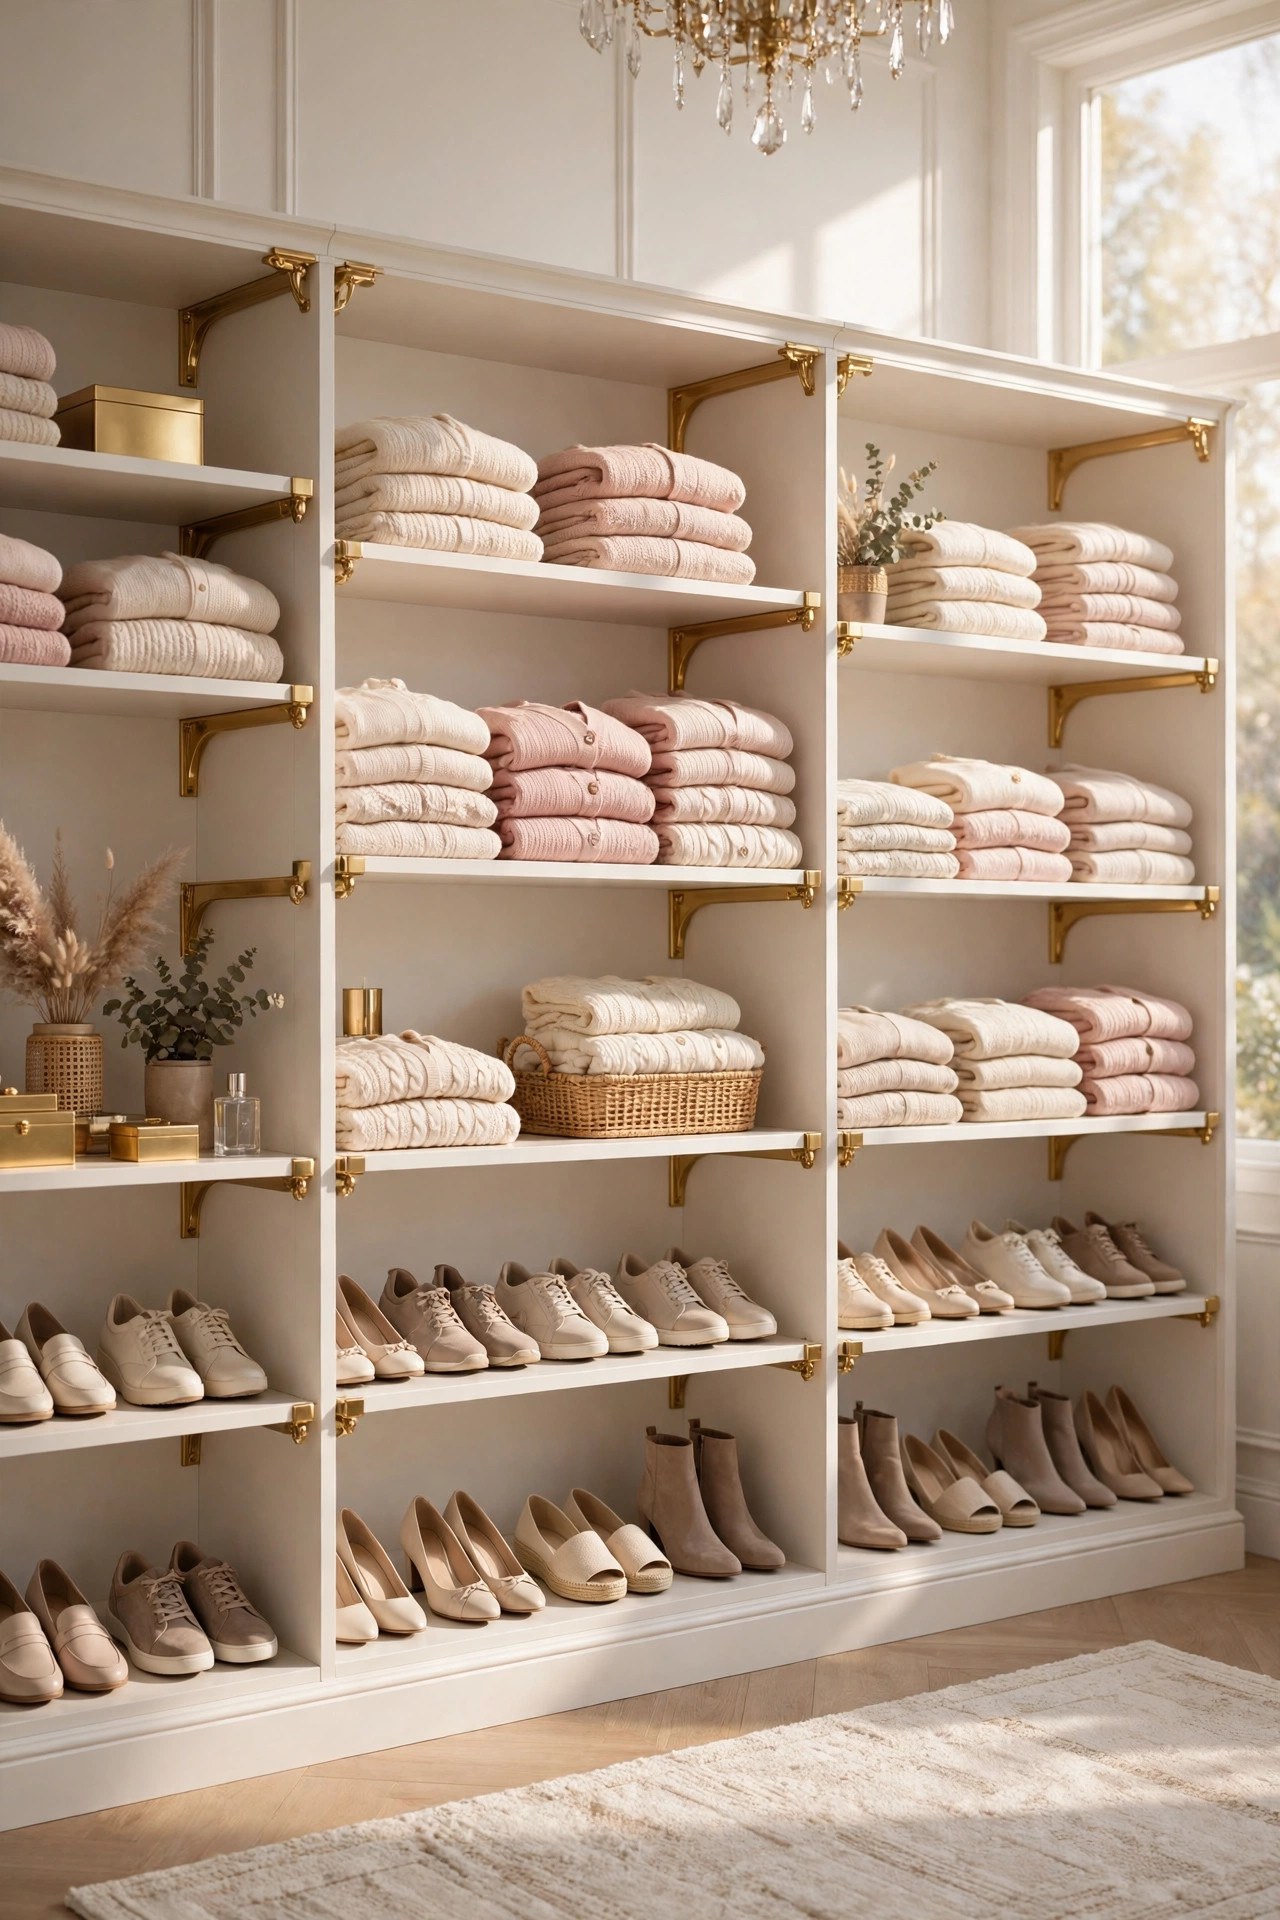
Open shelving is what keeps folded clothes and shoes visible, and visible clothes get worn. Stack knitwear in neat piles of three or four on open shelves at eye level, keep shoes in rows on the lower shelves, and leave one shelf half empty so the wardrobe can breathe when new pieces arrive. Keep the shelf depth to about 35 cm for folded clothes, so piles sit in one row and nothing hides behind the front pile. Open shelves need tidiness to look good, so this idea suits folded clothes and shoes best; the items you want hidden belong behind the glass doors in idea 8.
Best For: Wardrobes where folded clothes disappear into deep cupboards, and anyone who dresses faster when everything is visible.
Not Ideal For: Very dusty rooms or homes with pets, where open shelves collect dust and hair; glass-front doors are the calmer choice there.
Estimated Cost: $250-$900 (estimate) for open shelving units or fitted shelves, depending on the wall length.
Budget Note: The shelves are the spend; shelf dividers are a small extra that keep piles from toppling.
Renter Friendly: With Conditions
Renter Note: Freestanding shelf units need no fixings; wall-fixed shelves need the lease to allow them.
What You Need
Open shelving units or fitted shelves, shelf dividers, small baskets in cream for the top shelf, measuring tape.
Product type to look for: Shelves about 35 cm deep with adjustable heights, so a folded pile and a row of shoes each fit without wasted space above.
How To Do It
- Measure the wall and mark the shelf heights on paper, with folded clothes at eye level and shoes low.
- Fix or place the shelves, checking each one with a level before loading it.
- Fold knitwear into even piles of three or four and place shoes in single rows, heel to toe.
- Leave one shelf half empty and step back to check the whole wall reads as calm, not crowded.
Pro Tip
Fold every pile to the same width as the shelf. Even piles in one row look styled; mixed widths look like storage.
5. Add a Centre Island with Drawers and a Glass Top
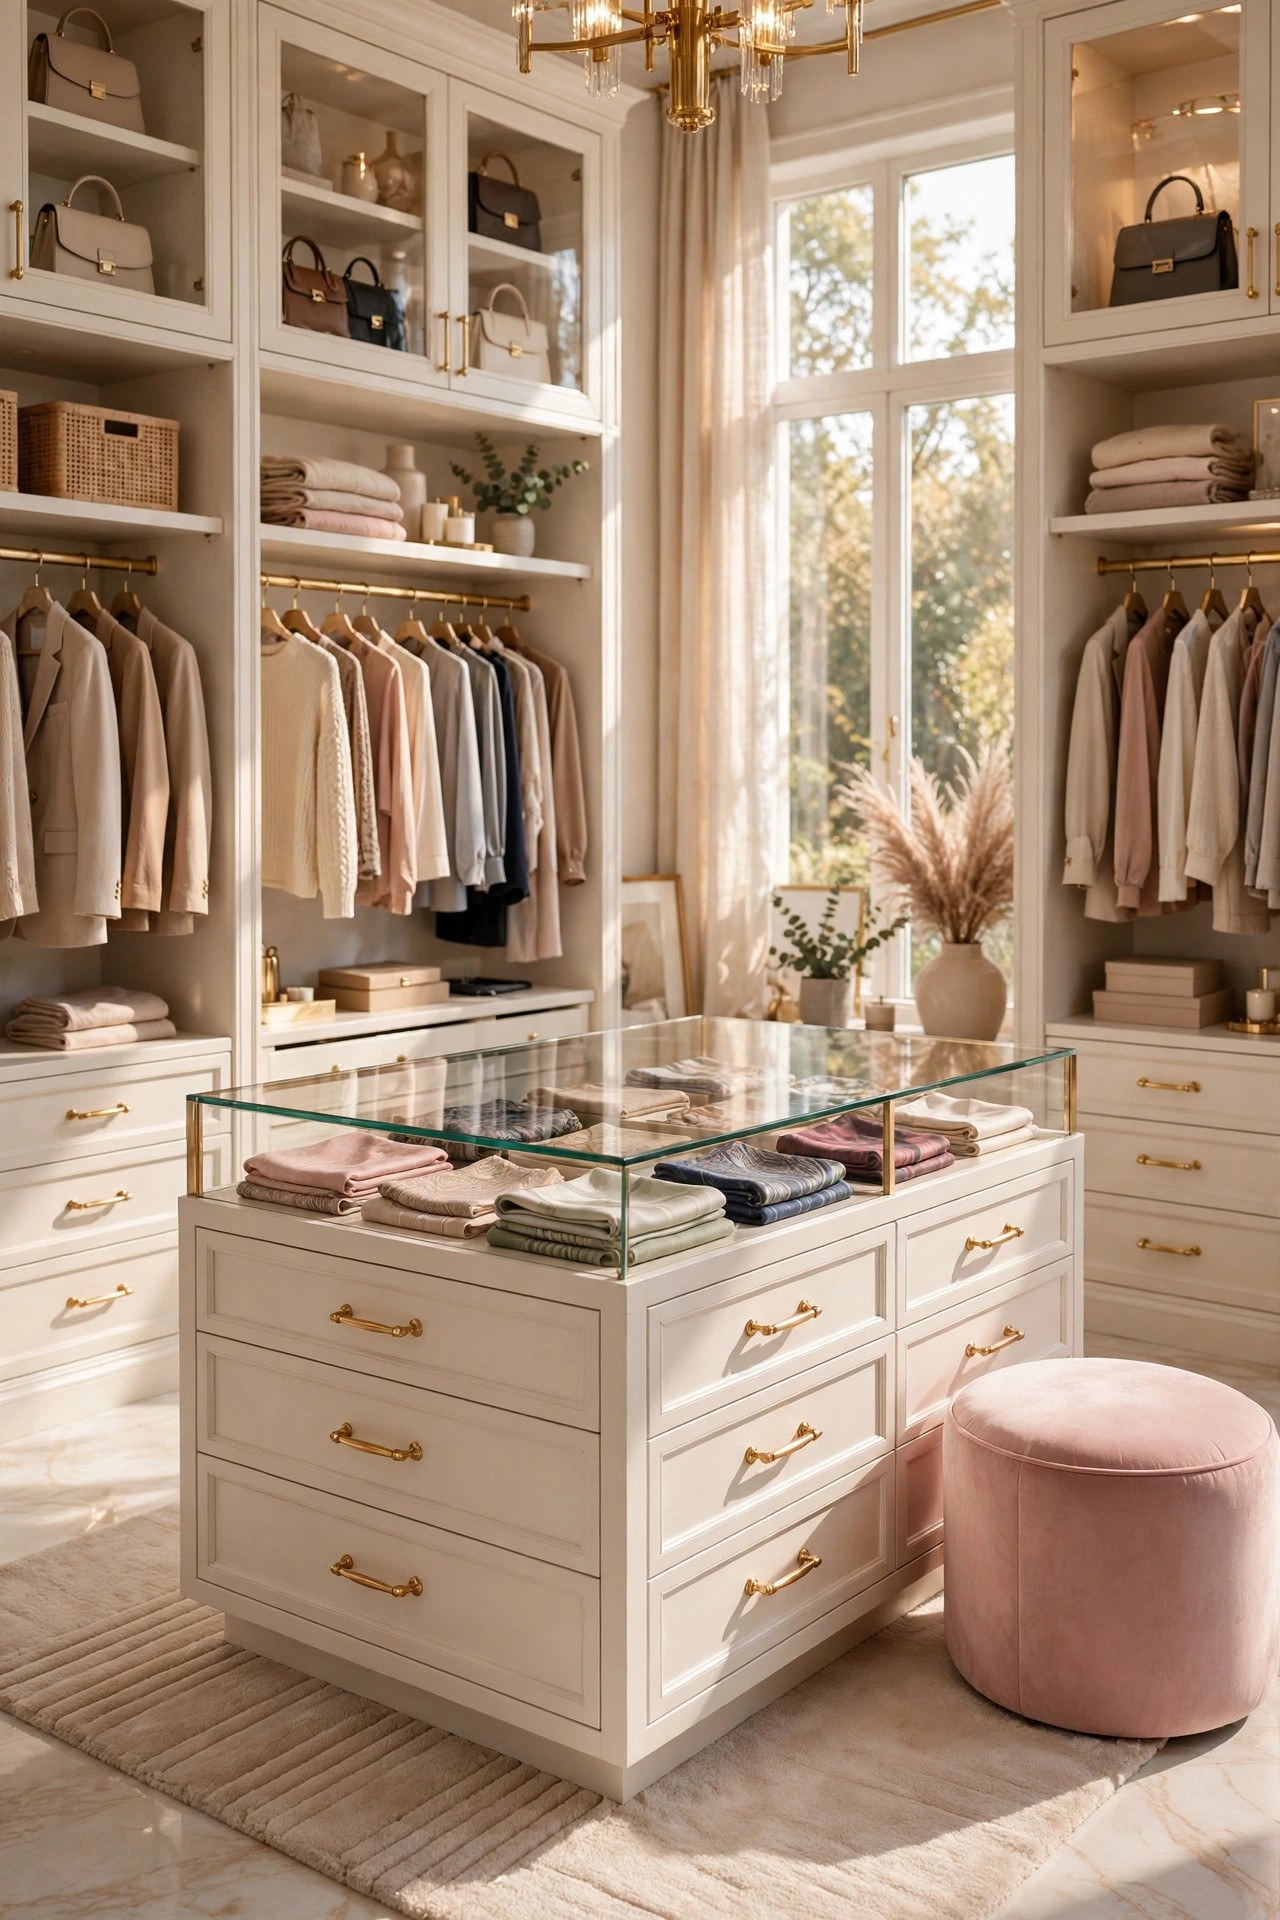
A centre island turns the middle of a walk in wardrobe into useful storage instead of empty floor. Drawers below hold underwear, socks and folded accessories, and a glass top lets you see scarves, belts or a watch tray at a glance while you dress. The island should sit in the centre of a U-shaped layout with at least 90 cm of walkway on every side, so drawers open fully and two people can pass. Keep the top clear of clutter: one tray, one small vase or one folded scarf is enough, because an island covered in piles becomes a dumping surface within days. For a fuller take on the same calm, layered bedroom style around the wardrobe, our guide to modern luxury bedrooms shows how the same palette carries into the room next door
Best For: Larger walk in wardrobes with a U-shaped layout, and anyone who wants drawer storage for small items near the mirror.
Not Ideal For: Small wardrobes under 2.4 m wide, where an island blocks the walkways; a slim bench with storage in idea 14 is the better fit there.
Estimated Cost: $400-$1,500 (estimate) for a centre island with drawers and a glass top.
Budget Note: The island is the spend; drawer dividers are a small extra that keep small items sorted.
Renter Friendly: No
Renter Note: A fitted island is a fixed piece; renters can use a freestanding drawer unit with a clear tray on top instead.
What You Need
Centre island unit with drawers, glass top, drawer dividers, one tray for the top, measuring tape.
Product type to look for: An island with soft-close drawers and a toughened glass top, sized to leave at least 90 cm of walkway on every side.
How To Do It
- Tape the island footprint on the floor and check the walkways on all four sides with the drawers open.
- Place the island in the centre, level it, and fit the glass top.
- Sort small items into the drawers with dividers, keeping daily items in the top drawer.
- Style the glass top with one tray only, then check the walkways again from the doorway.
Pro Tip
Keep the top drawer for daily items only. An island drawer full of rarely worn pieces is a drawer that never gets opened.
6. Hang a Blush Velvet Ottoman in the Middle
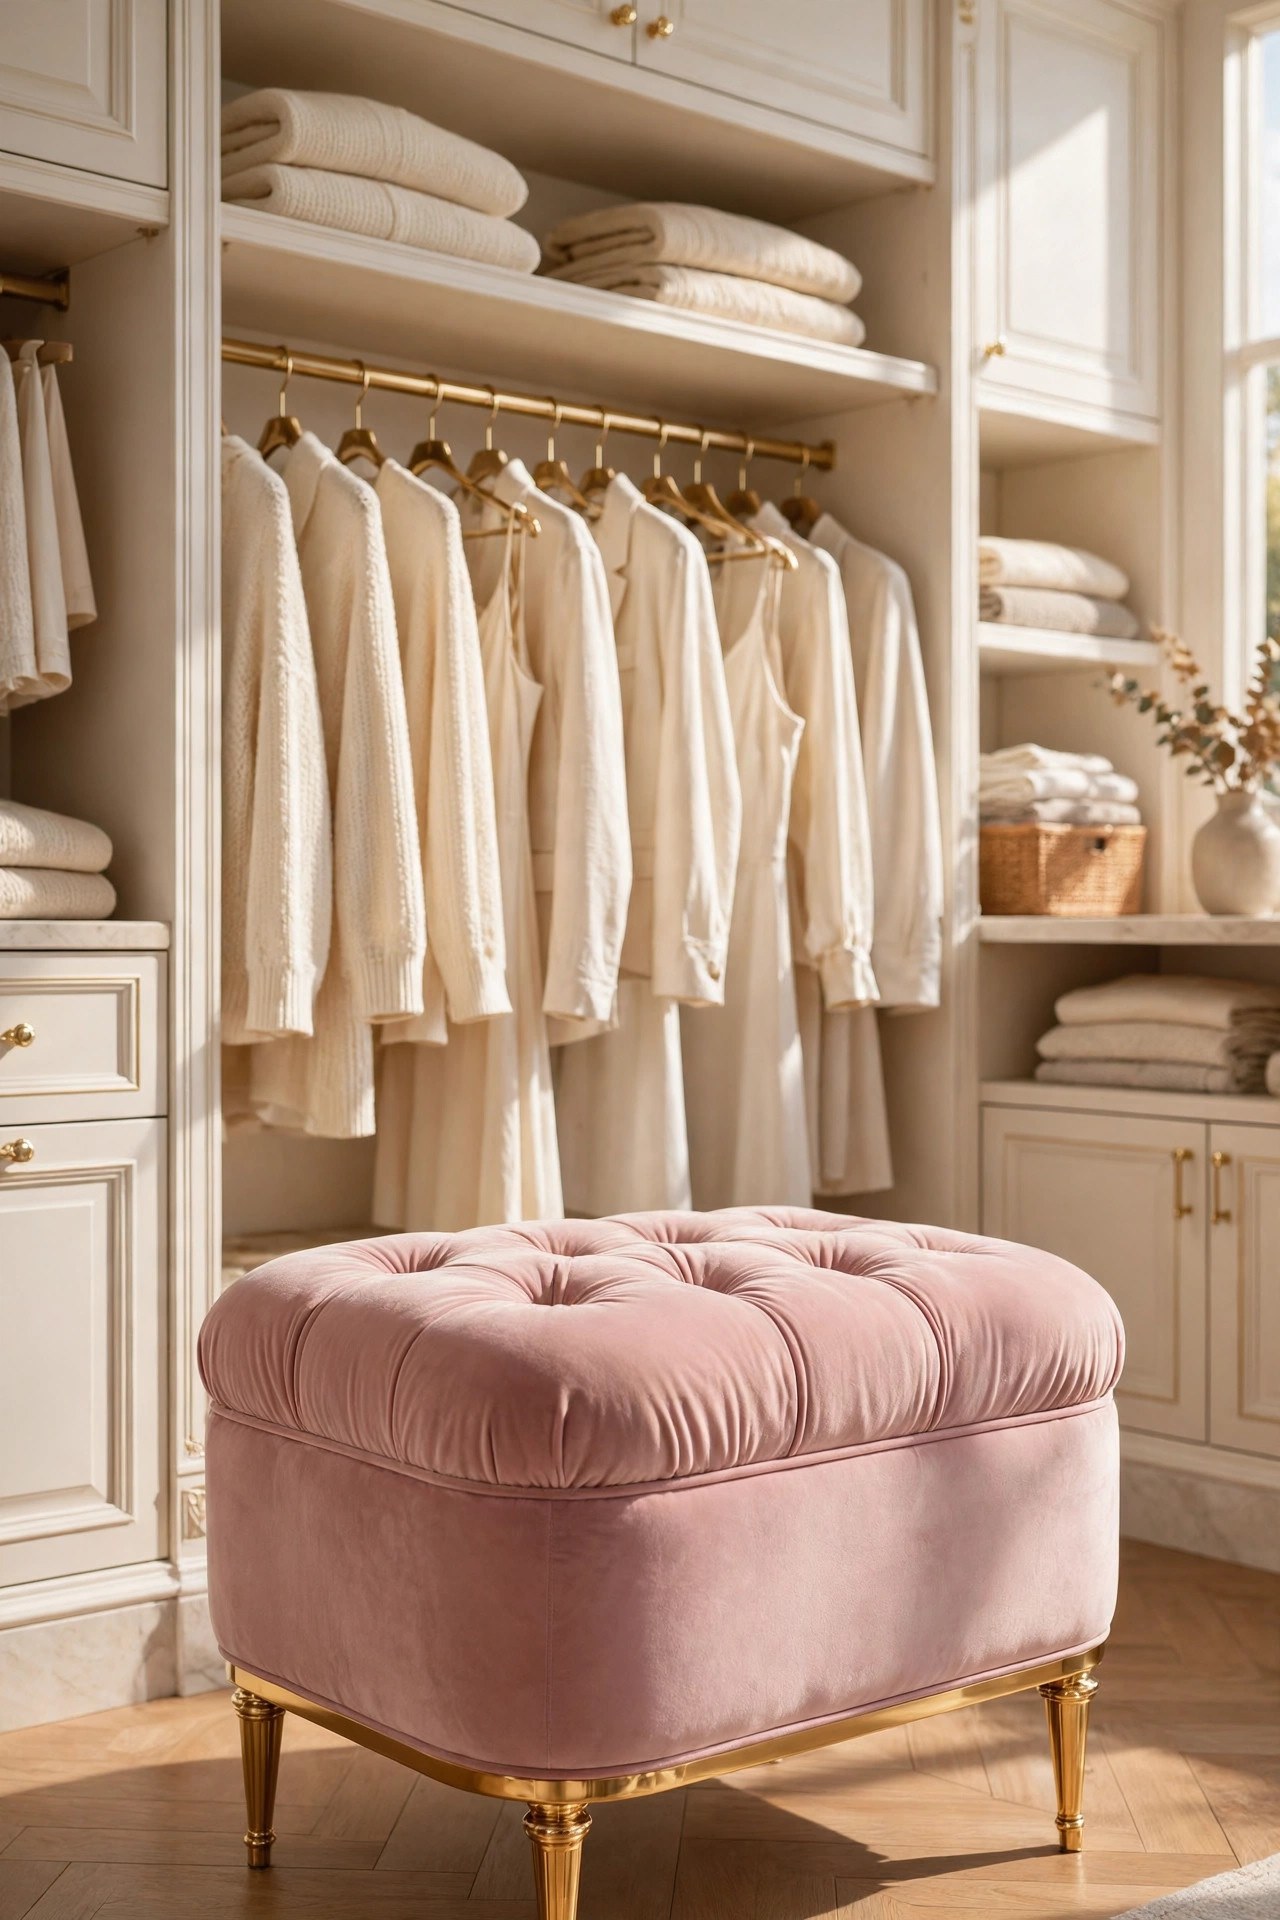
A blush velvet ottoman in the middle of the wardrobe is the seat that makes the room a dressing room. It gives you a place to sit while you put on shoes, a surface to lay out tomorrow’s outfit, and the softest colour note in a room full of white cabinetry. Choose one with gold legs to repeat the hardware, and a size that leaves clear walkways on every side, because an ottoman that blocks the rails will be pushed aside and never used. Velvet reads best here because its soft pile contrasts with the smooth cabinet doors, and a removable cover or a wipeable velvet is worth choosing, since a seat in a wardrobe collects dust and the odd shoe mark.
Best For: Walk in wardrobes with a clear centre floor, and anyone who dresses sitting down or lays out outfits the night before.
Not Ideal For: Small wardrobes where the ottoman would block the rails; a slim bench against one wall is the calmer choice there.
Estimated Cost: $120-$450 (estimate) for a blush velvet ottoman with gold legs.
Budget Note: The ottoman is the spend; a plain cream cushion on top costs little and keeps the velvet clean.
Renter Friendly: Yes
Renter Note: Freestanding; nothing fixed, and it moves with you.
What You Need
Blush velvet ottoman with gold legs, one plain cream cushion, measuring tape.
Product type to look for: An ottoman with a sturdy frame and legs in the same gold tone as the wardrobe hardware, sized to leave clear walkways on every side.
How To Do It
- Tape the ottoman footprint on the centre floor and check the walkways with the drawers and rails in use.
- Place the ottoman in the centre, with its long side facing the mirror.
- Add the cream cushion on top and check the seat height suits putting on shoes.
- Keep the top clear except for the cushion, so the ottoman stays a seat, not a shelf.
Pro Tip
Pick the ottoman colour one shade deeper than the palest clothes in the wardrobe. The seat should be the softest note in the room, not the brightest.
7. Light Every Rail with Warm LED Strips
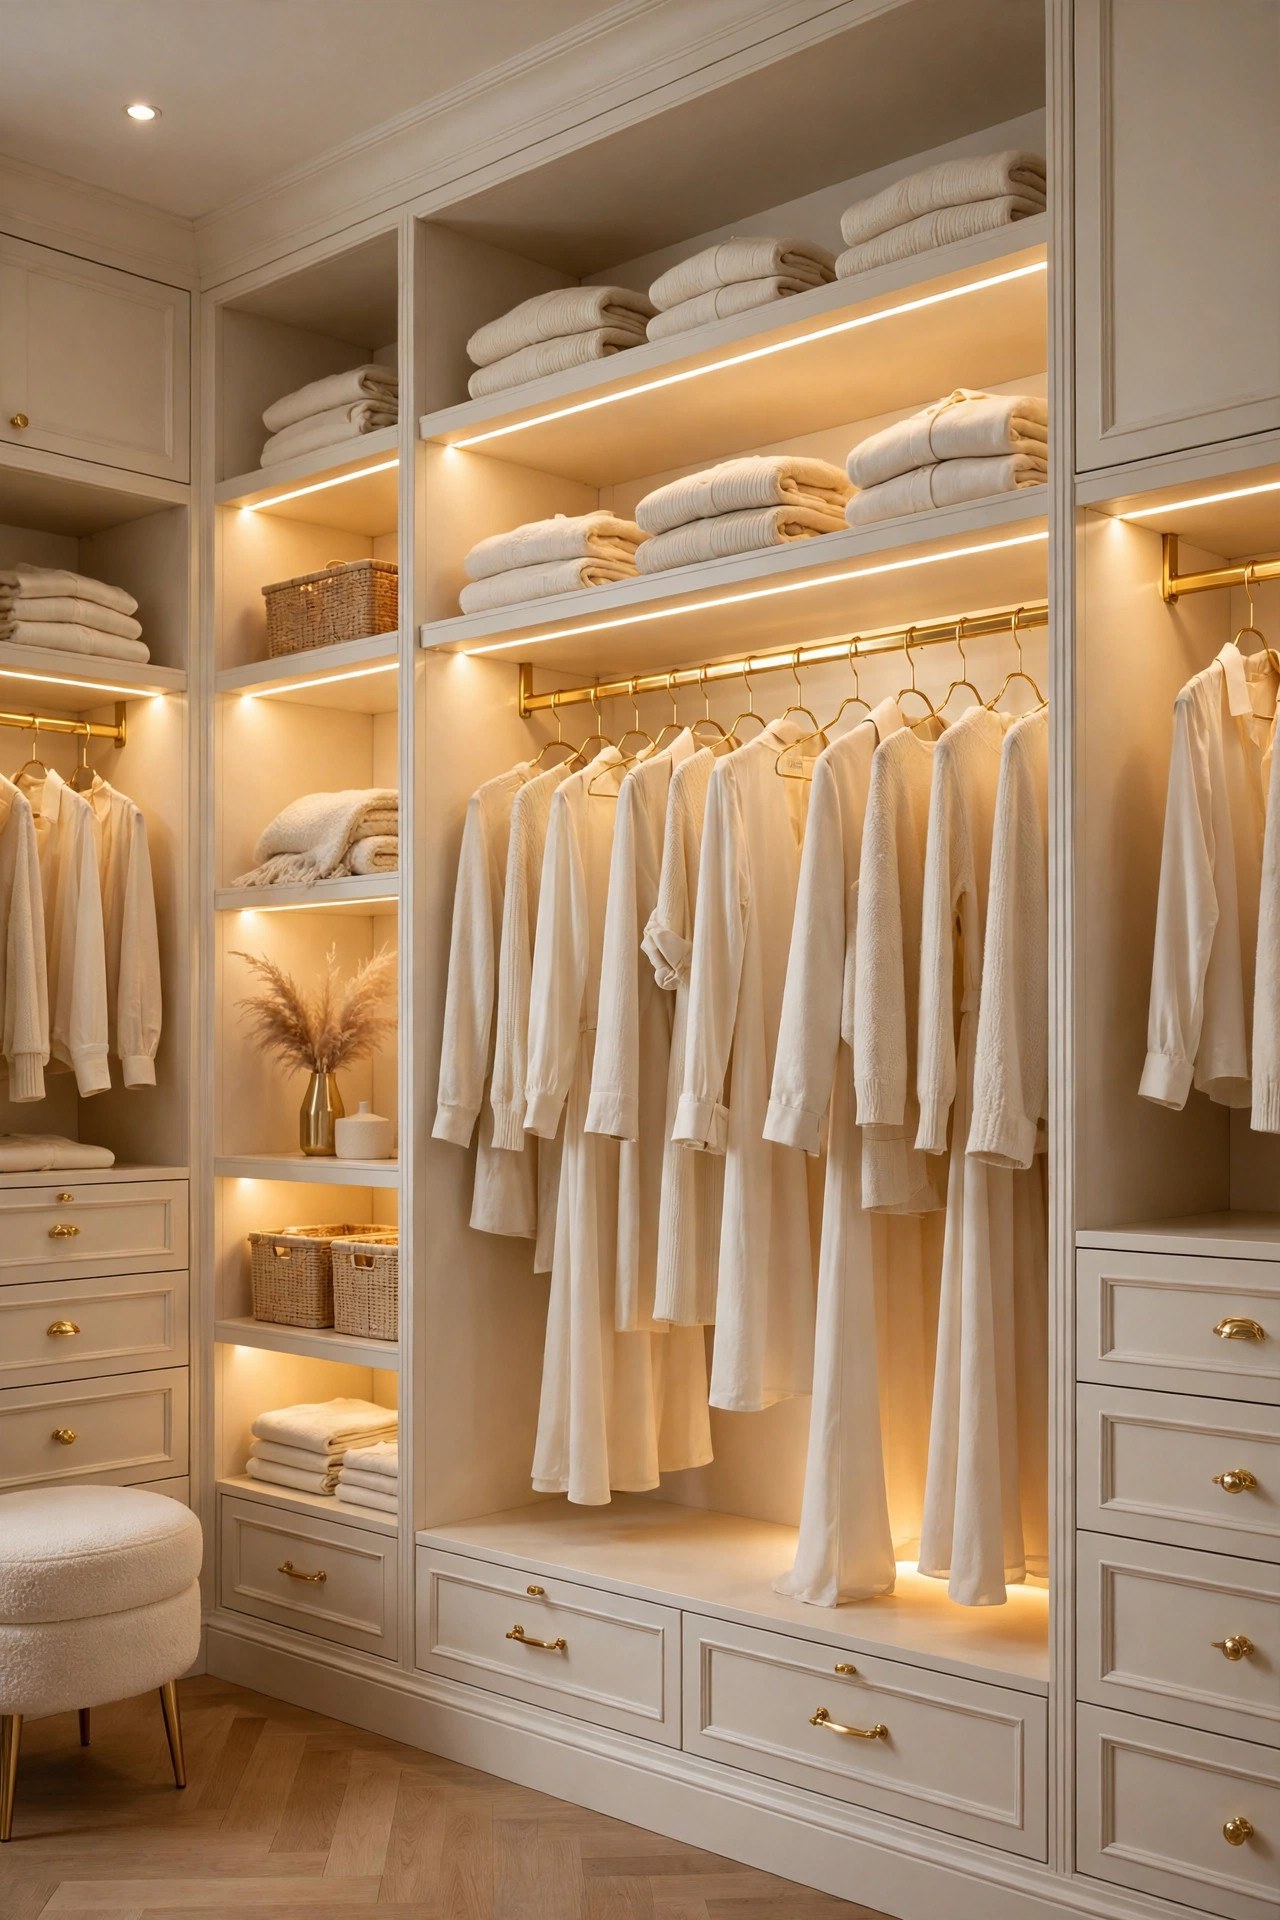
A walk in wardrobe with one ceiling bulb always has dark corners, and warm LED strips are the fix that costs the least and changes the most. Run a strip under each shelf and along the top of each hanging rail, so the light falls on the clothes themselves rather than on the floor. Choose warm white light, around 2700K, because cool white makes cream clothes look grey and blush look washed out. Battery strips suit renters and small wardrobes, while wired strips with a sensor that switches on when the door opens suit a fitted room. Keep every strip the same colour temperature, because mixed warm and cool strips make the same cream blouse look different on two rails.
Best For: Wardrobes with dark back corners or a single ceiling bulb, and anyone who chooses outfits in the early morning.
Not Ideal For: Wardrobes with strong natural light from a large window, where strips add little; the mirror in idea 3 does the work there.
Estimated Cost: $60-$300 (estimate) for warm LED strips, depending on how many rails and shelves the wardrobe has.
Budget Note: The strips are the spend; a motion sensor is a small extra that saves battery and keeps the light automatic.
Renter Friendly: With Conditions
Renter Note: Battery strips with adhesive backing need no wiring; wired strips need an electrician and the landlord’s agreement.
What You Need
Warm white LED strips, measuring tape, adhesive clips or channels, motion sensor or remote, batteries or a plug-in driver.
Product type to look for: Strips in one warm temperature around 2700K, with a diffuser channel so the light reads as a soft line, not a row of dots.
How To Do It
- Measure each rail and shelf, then cut the strips to length following the maker’s marks.
- Fit each strip under the shelf front or along the rail top, keeping the strip hidden from direct view.
- Connect the strips to one sensor or switch and test the light on a cream garment at night.
- Check that no strip shines directly into the mirror, where it would glare.
Pro Tip
Light the clothes, not the room. A strip hidden under a shelf makes the garments glow; a strip on the ceiling just lights the floor.
8. Add Glass-Front Doors to Keep Dust Out
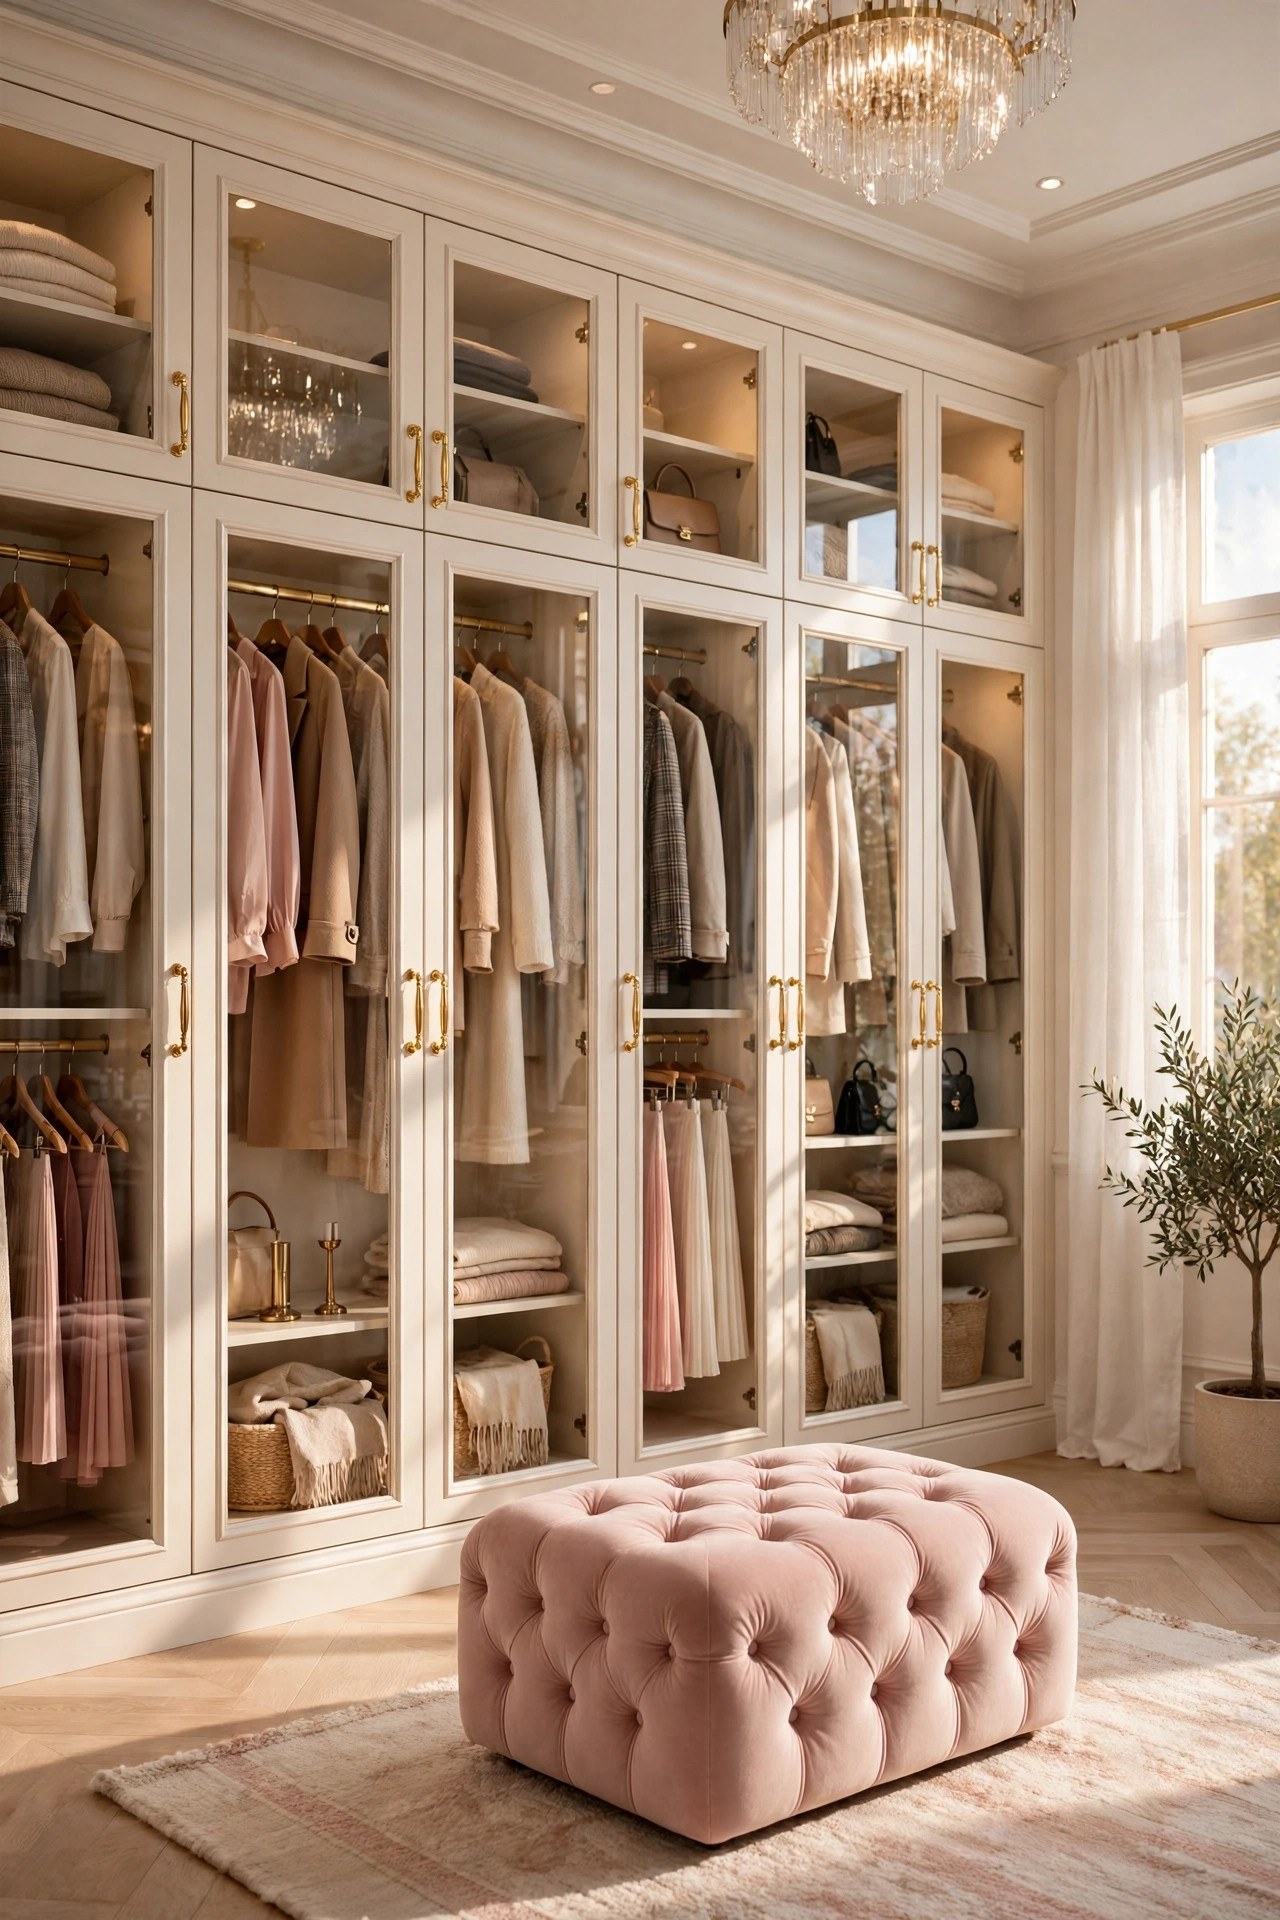
Glass-front doors are the middle ground between open shelving and solid doors: you can see the clothes, and the dust stays out. Clear glass suits a tidy wardrobe, while fluted or frosted glass softens the view and forgives a less tidy shelf, which makes it the honest choice for a family wardrobe. Keep the frames in the same warm white as the rest of the cabinetry and the handles in the same gold, so the doors read as part of the room rather than a separate piece. Glass doors are heavier than solid doors, so hinges must be rated for the weight, and the glass should be toughened for safety in a room where drawers and doors open every day.
Best For: Wardrobes in dusty rooms or homes with pets, and anyone who wants the visibility of open shelves without the dusting.
Not Ideal For: Wardrobes that are rarely tidy, where clear glass shows every messy pile; fluted glass is the softer choice there.
Estimated Cost: $400-$1,800 (estimate) for glass-front doors, depending on how many doors the wardrobe has.
Budget Note: The glass and hinges are the spend; fluted glass usually costs a little more than clear glass.
Renter Friendly: No
Renter Note: Replacing doors is a fixed change; renters can use sheer curtains on a slim rod inside the frame instead.
What You Need
Glass-front doors in warm white frames, hinges rated for the door weight, brushed gold handles, measuring tape, level.
Product type to look for: Doors with toughened glass and hinges rated for the stated door weight, in frames that match the existing cabinetry.
How To Do It
- Measure each opening twice and order the doors to fit, noting which doors open left and which open right.
- Fit the hinges to the frame first, then hang each door and check it with a level.
- Fit the gold handles in the same position on every door.
- Open and close each door fully to check it clears the ottoman, the island and the mirror.
Pro Tip
Choose fluted glass if the wardrobe is shared. It keeps the room calm on busy mornings and still lets you find a colour through the glass.
9. Create a Jewellery and Accessories Drawer
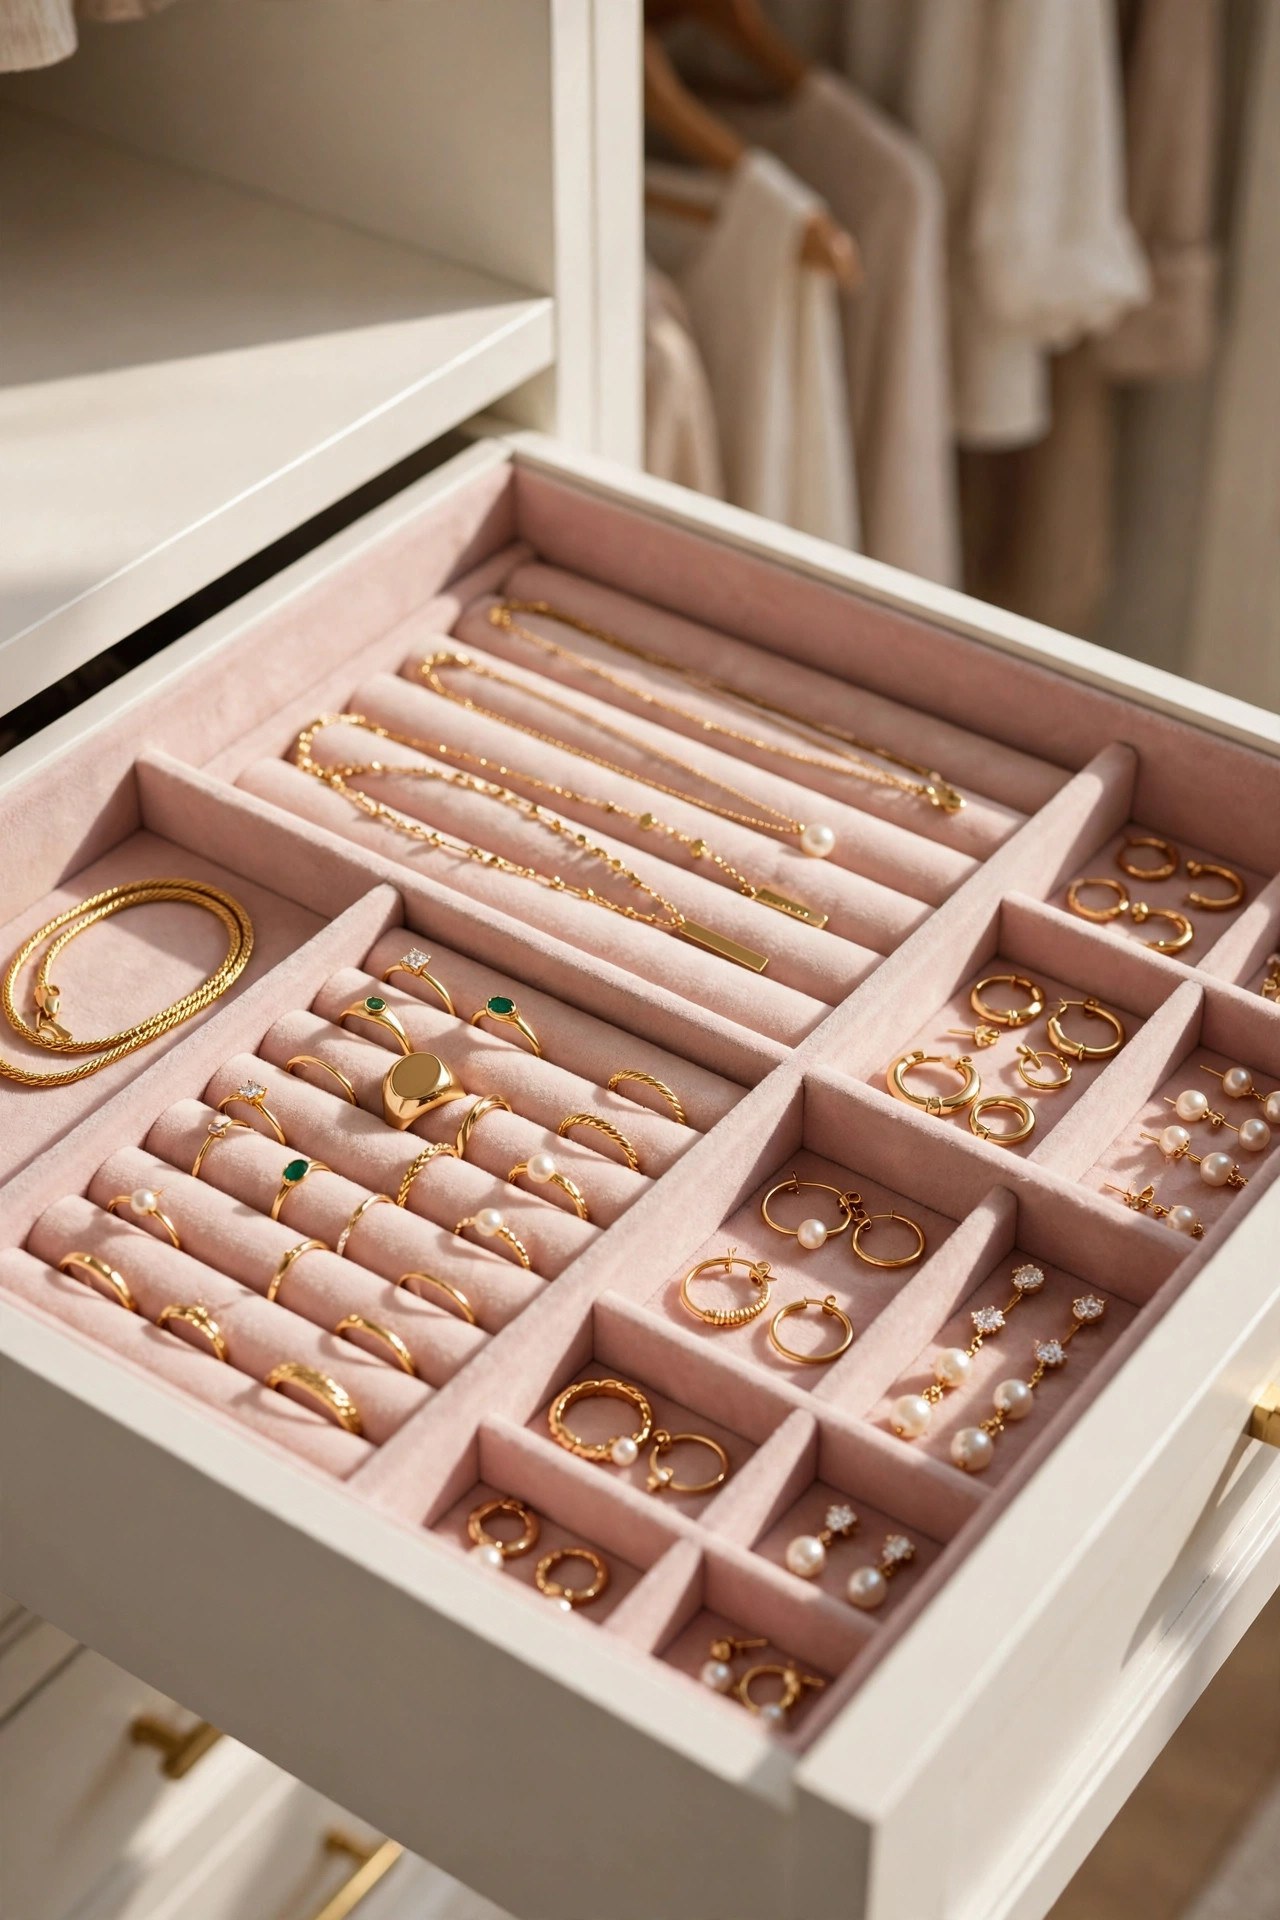
A jewellery drawer is the small luxury that makes a walk in wardrobe feel finished, because it gives every necklace, ring and pair of earrings one home instead of three different boxes. Line a shallow top drawer with blush or cream velvet, add dividers for rings, earrings and necklaces, and keep the drawer near the mirror so you can finish an outfit in one place. Necklaces need long, narrow slots so chains never tangle, and rings need small square compartments so they never roll. Keep the drawer shallow, about 8 cm deep, because a deep jewellery drawer becomes a jumble, and check the velvet lining is washable or replaceable, since jewellery leaves marks over time.
Best For: Anyone with a jewellery collection spread across boxes and dishes, and wardrobes with a shallow top drawer near the mirror.
Not Ideal For: Wardrobes with no spare drawer, where a velvet tray on the island in idea 5 does the same job without new joinery.
Estimated Cost: $40-$200 (estimate) for a velvet drawer insert with dividers, or a fitted lined drawer.
Budget Note: The insert is the spend; a ready-made velvet tray costs far less than a fitted lined drawer.
Renter Friendly: Yes
Renter Note: A velvet tray insert drops into an existing drawer and moves with you.
What You Need
Shallow drawer near the mirror, velvet-lined insert with dividers, small ring rolls, measuring tape.
Product type to look for: An insert sized to the actual drawer, with long slots for necklaces and small squares for rings, in blush or cream velvet.
How To Do It
- Measure the drawer inside and choose an insert that fills it without forcing.
- Sort the jewellery by type and place necklaces in the long slots, rings in the small squares.
- Put the drawer near the mirror and test finishing an outfit from it in one standing place.
- Check the drawer closes fully with the insert in place and nothing catches on the velvet.
Pro Tip
Keep one compartment empty. A jewellery drawer with no spare space is a drawer that pushes pieces back into boxes within a month.
10. Style a Vanity Corner with a Gold-Framed Mirror
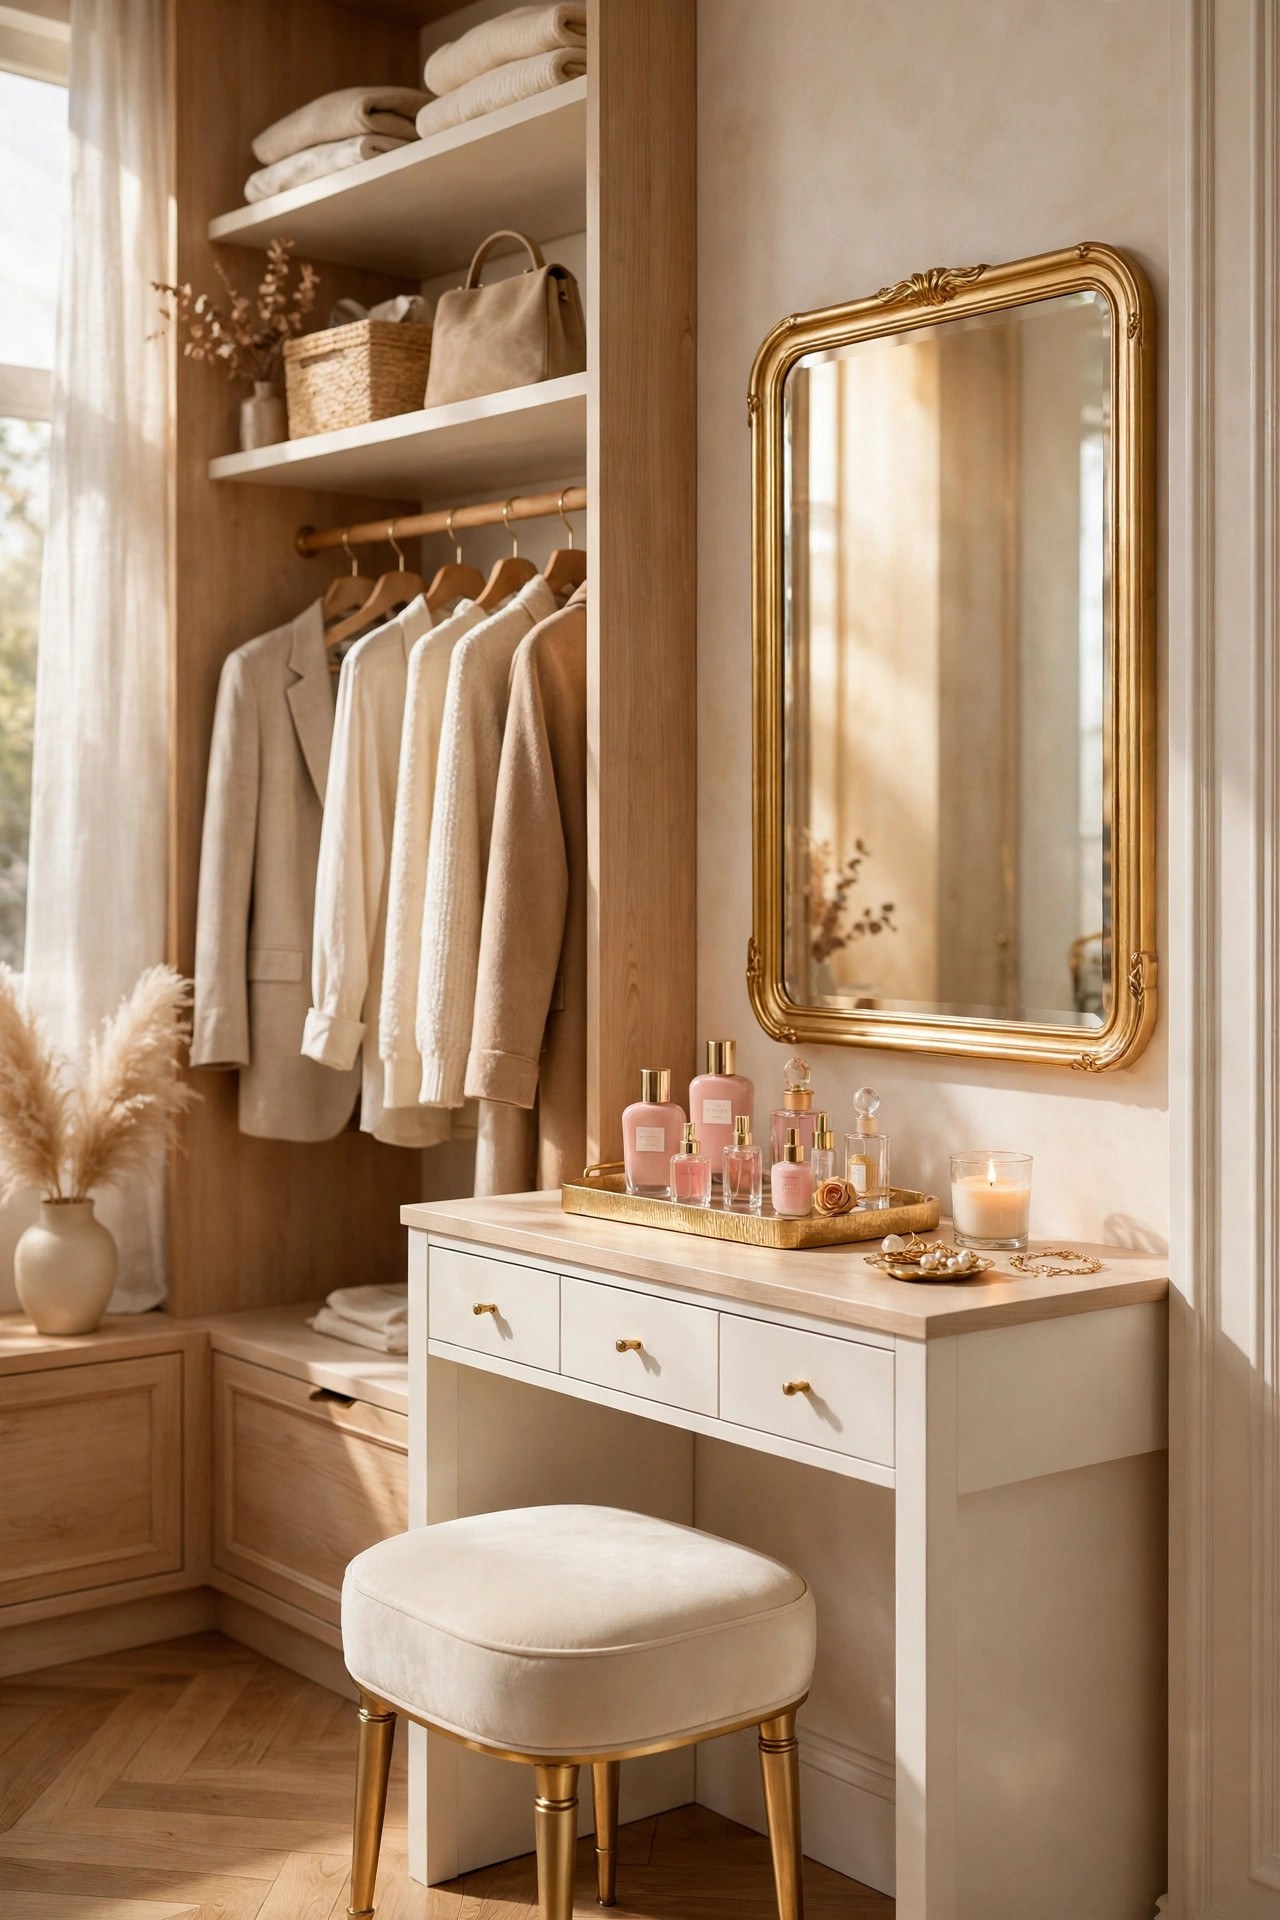
A vanity corner turns the end of a walk in wardrobe into a place to finish getting ready, not just a place to choose clothes. A small warm white dressing table with one drawer, a gold-framed mirror above it, a cream stool tucked underneath and a gold tray for perfume and brushes gives the room a second scene beside the rails. Keep the table small, about 90 cm wide, so it fits the end wall without crowding the hanging clothes, and keep the styling to the tray and one small vase, because a vanity covered in bottles becomes a shelf. A small lamp or a lit mirror frame helps here, since the vanity usually sits in the corner with the least daylight. For the same small-space thinking carried into the bedroom itself, our guide to small bedroom storage without a closet shows how a little room can still hold a lot
Best For: Wardrobes with a spare end wall, and anyone who does hair and makeup in the same room as the clothes.
Not Ideal For: Wardrobes under 2 m wide, where a vanity blocks the walkway; the mirror in idea 3 and the island tray in idea 5 cover the same needs there.
Estimated Cost: $250-$800 (estimate) for a small dressing table, gold-framed mirror, cream stool and gold tray.
Budget Note: The table and mirror are the spend; the stool and tray can be simple pieces that match the room metal.
Renter Friendly: Yes
Renter Note: All freestanding pieces; a wall mirror needs the lease to allow its fixings, or use a tabletop mirror instead.
What You Need
Small warm white dressing table with one drawer, gold-framed mirror, cream stool, gold tray, small lamp or lit mirror frame.
Product type to look for: A table about 90 cm wide with a drawer that holds brushes, and a mirror with a frame in the same gold tone as the wardrobe hardware.
How To Do It
- Measure the end wall and tape the table footprint, checking the stool tucks fully underneath.
- Place the table against the wall and hang the mirror at eye level above it.
- Set the gold tray on the table with perfume and brushes only, leaving half the surface clear.
- Test the light from the stool at night and add the small lamp if the corner reads dark.
Pro Tip
Keep the vanity surface half empty. A dressing table with space to set things down is used every day; a full one is avoided.
11. Use Matching Cream Hangers and Labels
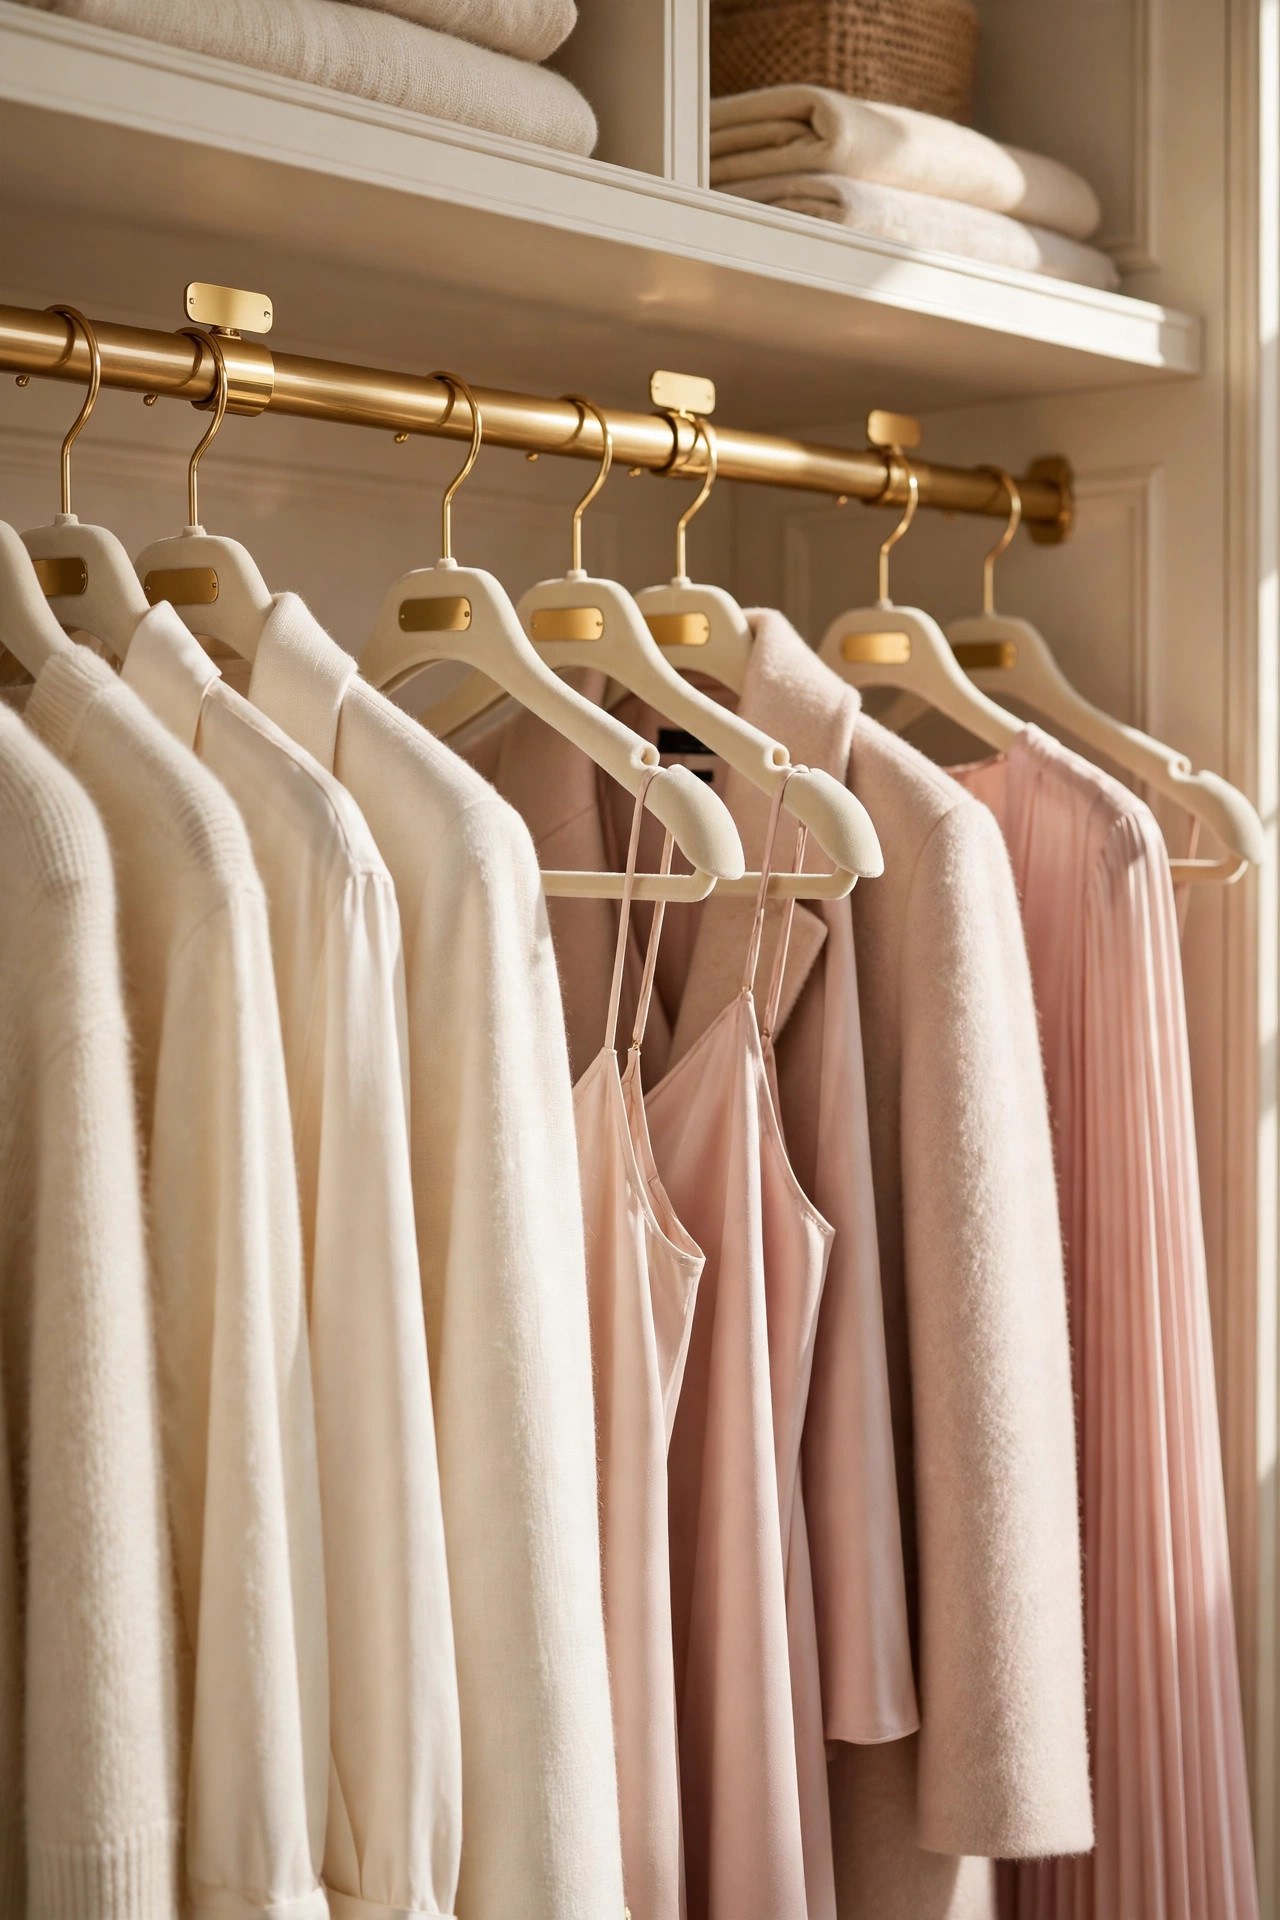
Matching hangers are the cheapest change in this list and the one that makes the biggest visual difference. Swap every mismatched hanger for slim cream velvet hangers in one style, hang the clothes in colour order from cream through blush to taupe, and add small gold labels on the rail for each section, so the wardrobe reads as a calm row instead of a jumble. Velvet hangers grip the clothes and stop them sliding, which matters for silk and fine knits, and slim hangers save rail space, so more clothes fit without crowding. Count the hangers before ordering, because a rail that is half matching and half old is worse than a rail that is all old, and keep a few spare hangers at the end of the rail for new pieces.
Best For: Any wardrobe with a mix of wire, plastic and wooden hangers, and anyone who wants a tidy look for the cost of one order.
Not Ideal For: Very heavy coats, which need sturdy wooden hangers; use cream wooden hangers for those pieces instead.
Estimated Cost: $40-$120 (estimate) for a set of slim cream velvet hangers and small rail labels.
Budget Note: The hangers are the spend; labels are a small extra that keep the colour order in place.
Renter Friendly: Yes
Renter Note: Nothing fixed; hangers and labels move with you.
What You Need
Slim cream velvet hangers in one style, a few sturdy cream wooden hangers for coats, small gold rail labels, measuring tape for the rail length.
Product type to look for: Hangers with a slim velvet grip that hold silk without slipping, in a size that suits the garments on that rail.
How To Do It
- Count the garments on each rail and order enough matching hangers plus a few spares.
- Move the clothes to the bed in sections, swap the hangers, and rehang in colour order.
- Add the gold labels at the start of each colour section on the rail.
- Step back and remove any garment that crowds the rail; a rail with breathing space stays tidy.
Pro Tip
Hang everything facing the same way. One direction for every hanger is what makes a full rail look calm instead of busy.
12. Add a Rug That Softens the Floor
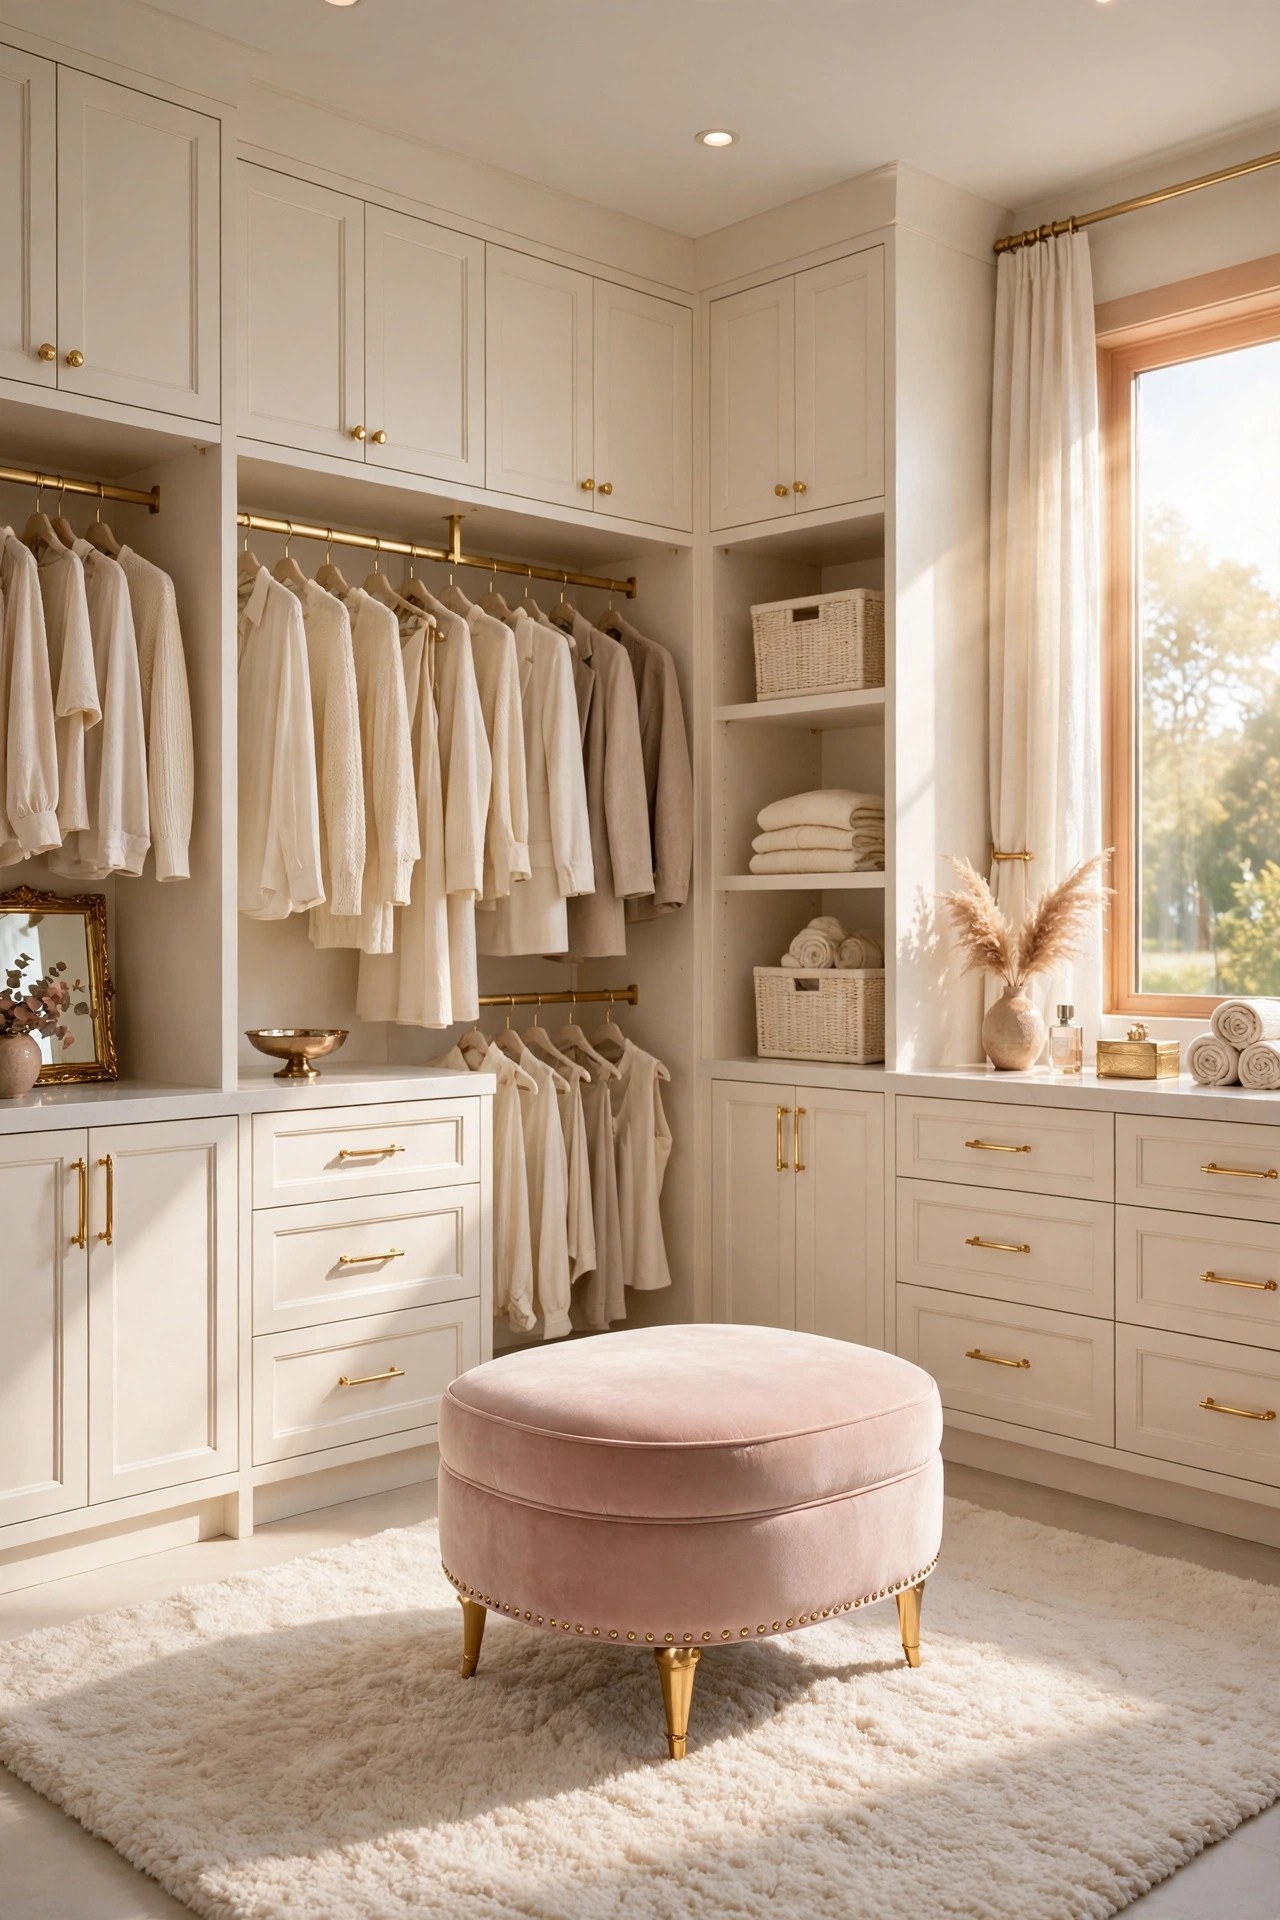
A soft rug is what makes a walk in wardrobe comfortable under bare feet, and it is also what softens the hard lines of the cabinetry. A low pile rug in cream or warm ivory, sized to sit under the ottoman and reach toward the main rail, gives the centre floor a pale frame and keeps the room quiet underfoot. Keep the rug low pile so the ottoman and the island sit level on it, and keep the pattern quiet, a soft border or a faint texture, so the rug stays a calm surface rather than a second statement. A washable rug is worth choosing here, because a wardrobe floor collects dust and the odd shoe mark faster than a living room floor.
Best For: Wardrobes with hard wood or tile floors, and anyone who dresses barefoot in the morning.
Not Ideal For: Very small wardrobes where a rug would bunch under the island or the ottoman; a slim runner along the main rail is the calmer choice there.
Estimated Cost: $80-$300 (estimate) for a low pile rug in cream or warm ivory.
Budget Note: The rug is the spend; a plain cream rug in a good size costs less than a patterned one of the same quality.
Renter Friendly: Yes
Renter Note: Nothing fixed; a rug pad underneath stops slipping and protects the floor.
What You Need
Low pile rug in cream or warm ivory, non-slip rug pad cut to size, measuring tape.
Product type to look for: A rug with a low, tight pile that the ottoman sits on without sinking, in a size that clears the island and the rails.
How To Do It
- Measure the centre floor and tape the rug outline, checking the walkways around it for a day.
- Lay the rug pad first, then the rug, and centre it on the ottoman rather than on the room.
- Set the ottoman on the rug and check it sits level and does not rock.
- Vacuum the rug in both directions and check the pile stays flat under the ottoman legs.
Pro Tip
Choose the rug colour one shade deeper than the cabinetry. The floor should be the middle tone of the room, with the walls brightest and the ottoman softest.
13. Build a Shoe Wall with Slanted Shelves
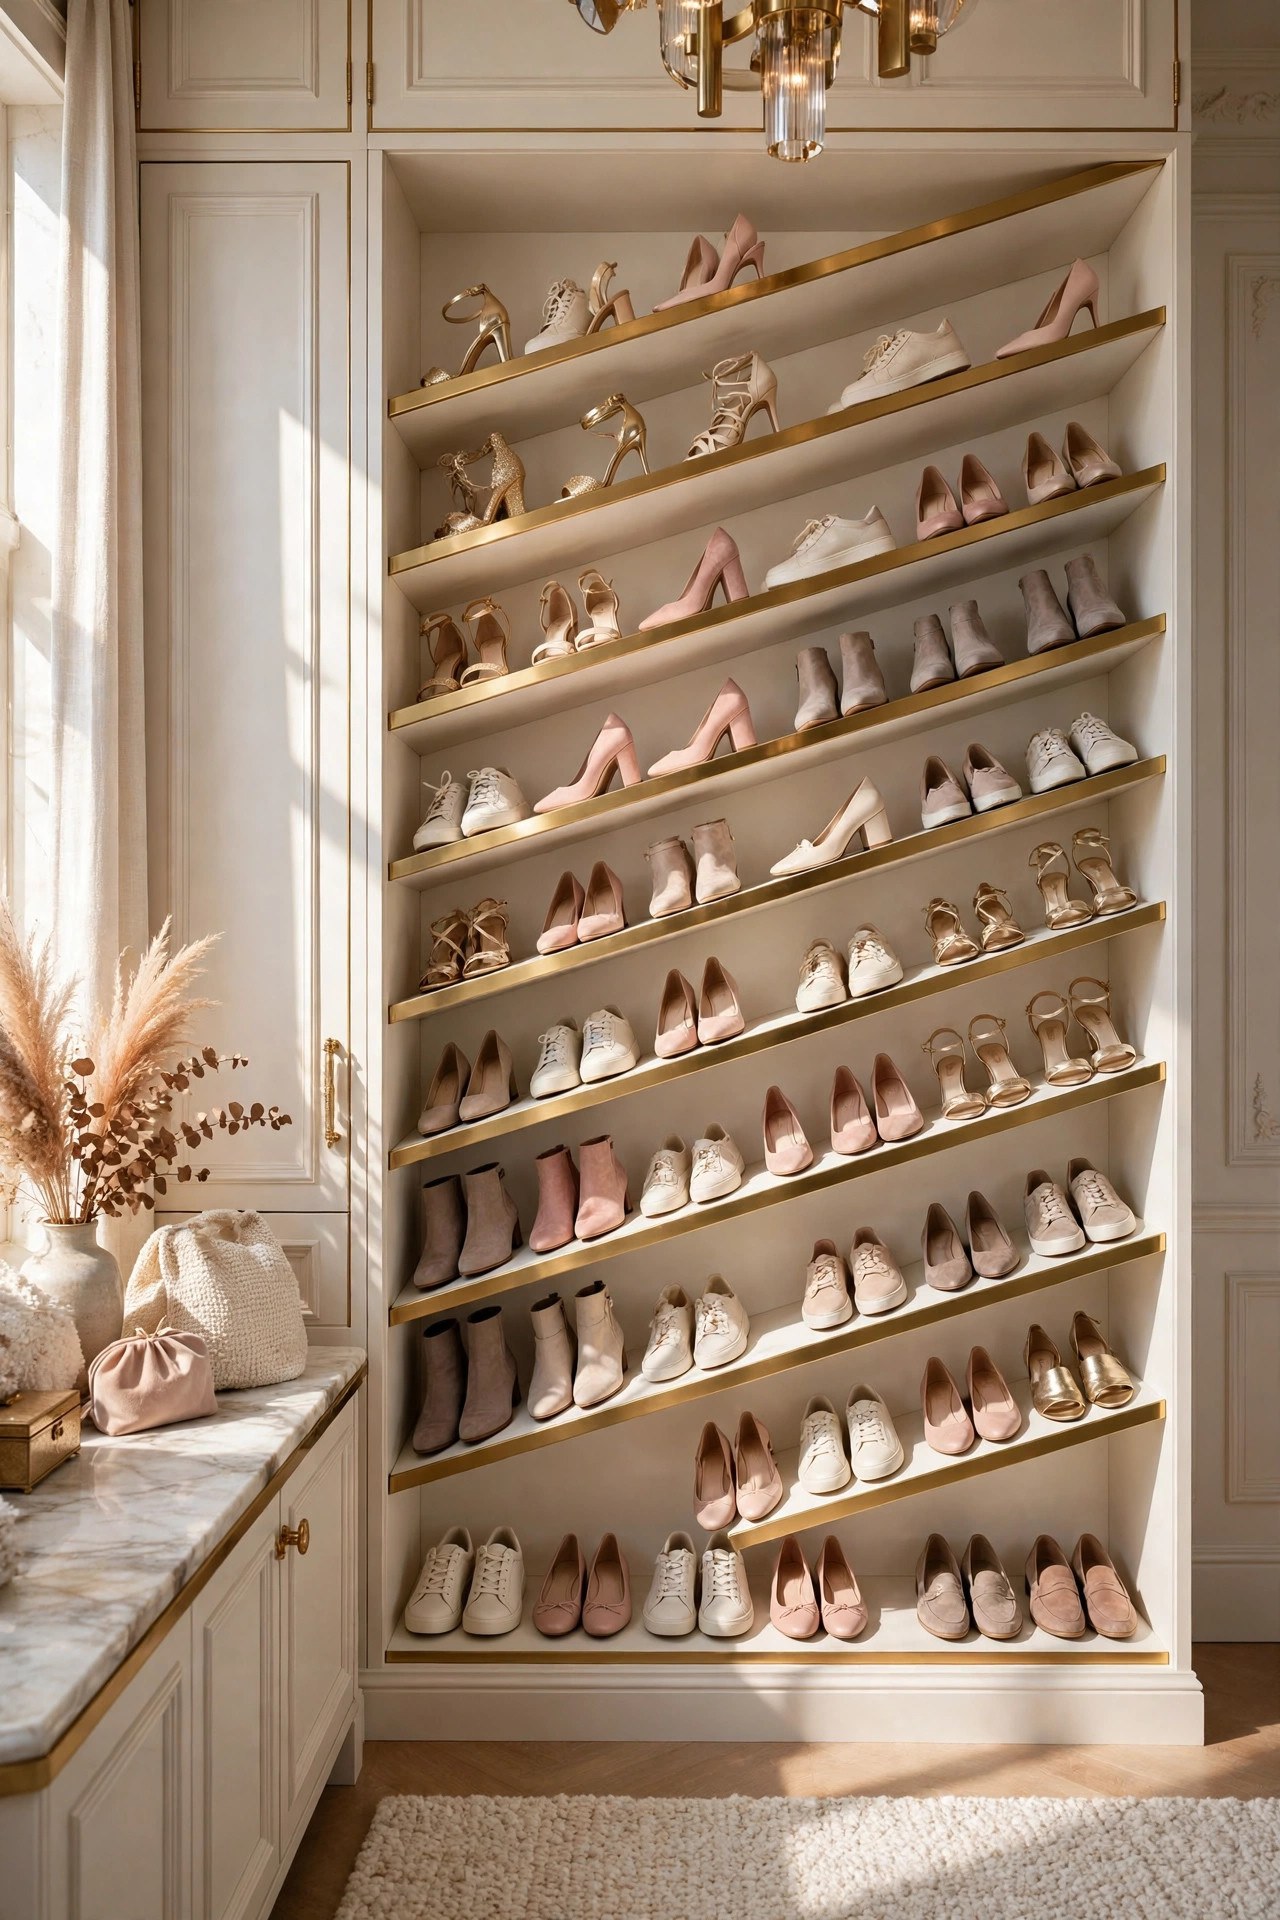
A shoe wall is the storage that turns a pile of shoes into a display, and slanted shelves are what make it work. Angle each shelf slightly forward so every pair is visible at a glance, keep one pair per slot, and arrange the shoes in colour order from cream through blush to taupe, so the wall reads as a calm gradient rather than a jumble. Keep the shelves about 20 cm apart for flats and low heels, and taller for boots, which belong on the bottom shelf or in the boot storage below. Count the pairs before building, because a shoe wall with no spare shelf fills up within a season, and one spare shelf is what keeps the wall tidy. For a fuller take on the same warm palette carried through the bedroom, our guide to bedroom colour ideas shows how cream, blush and taupe sit together in the room next door
Best For: Anyone with more than twenty pairs of shoes, and wardrobes with one full wall free for storage.
Not Ideal For: Wardrobes where shoes live in boxes for protection; a closed cabinet with pull-out shelves is the better choice there.
Estimated Cost: $300-$1,200 (estimate) for slanted shoe shelves, depending on the wall length and the number of pairs.
Budget Note: The shelves are the spend; gold shelf edges are a small extra that tie the wall to the hardware.
Renter Friendly: With Conditions
Renter Note: Freestanding slanted shoe racks need no fixings; wall-fixed shelves need the lease to allow them.
What You Need
Slanted shoe shelves or a freestanding slanted rack, gold shelf edging, measuring tape, level.
Product type to look for: Shelves slanted just enough to show each pair, with a small lip so shoes never slide forward, and spacing that suits the tallest pair on that shelf.
How To Do It
- Count the pairs and measure the wall, then mark the shelf heights on paper, with boots on the bottom shelf.
- Fix or place the shelves, checking each one with a level before loading it.
- Place one pair per slot in colour order, heel to toe, with the prettiest pairs at eye level.
- Leave one shelf spare and step back to check the wall reads as a gradient, not a jumble.
Pro Tip
Keep daily shoes on the lowest shelf. A shoe wall that makes you reach for everyday pairs will be messy within a week.
14. Add a Dressing Bench with Storage Underneath
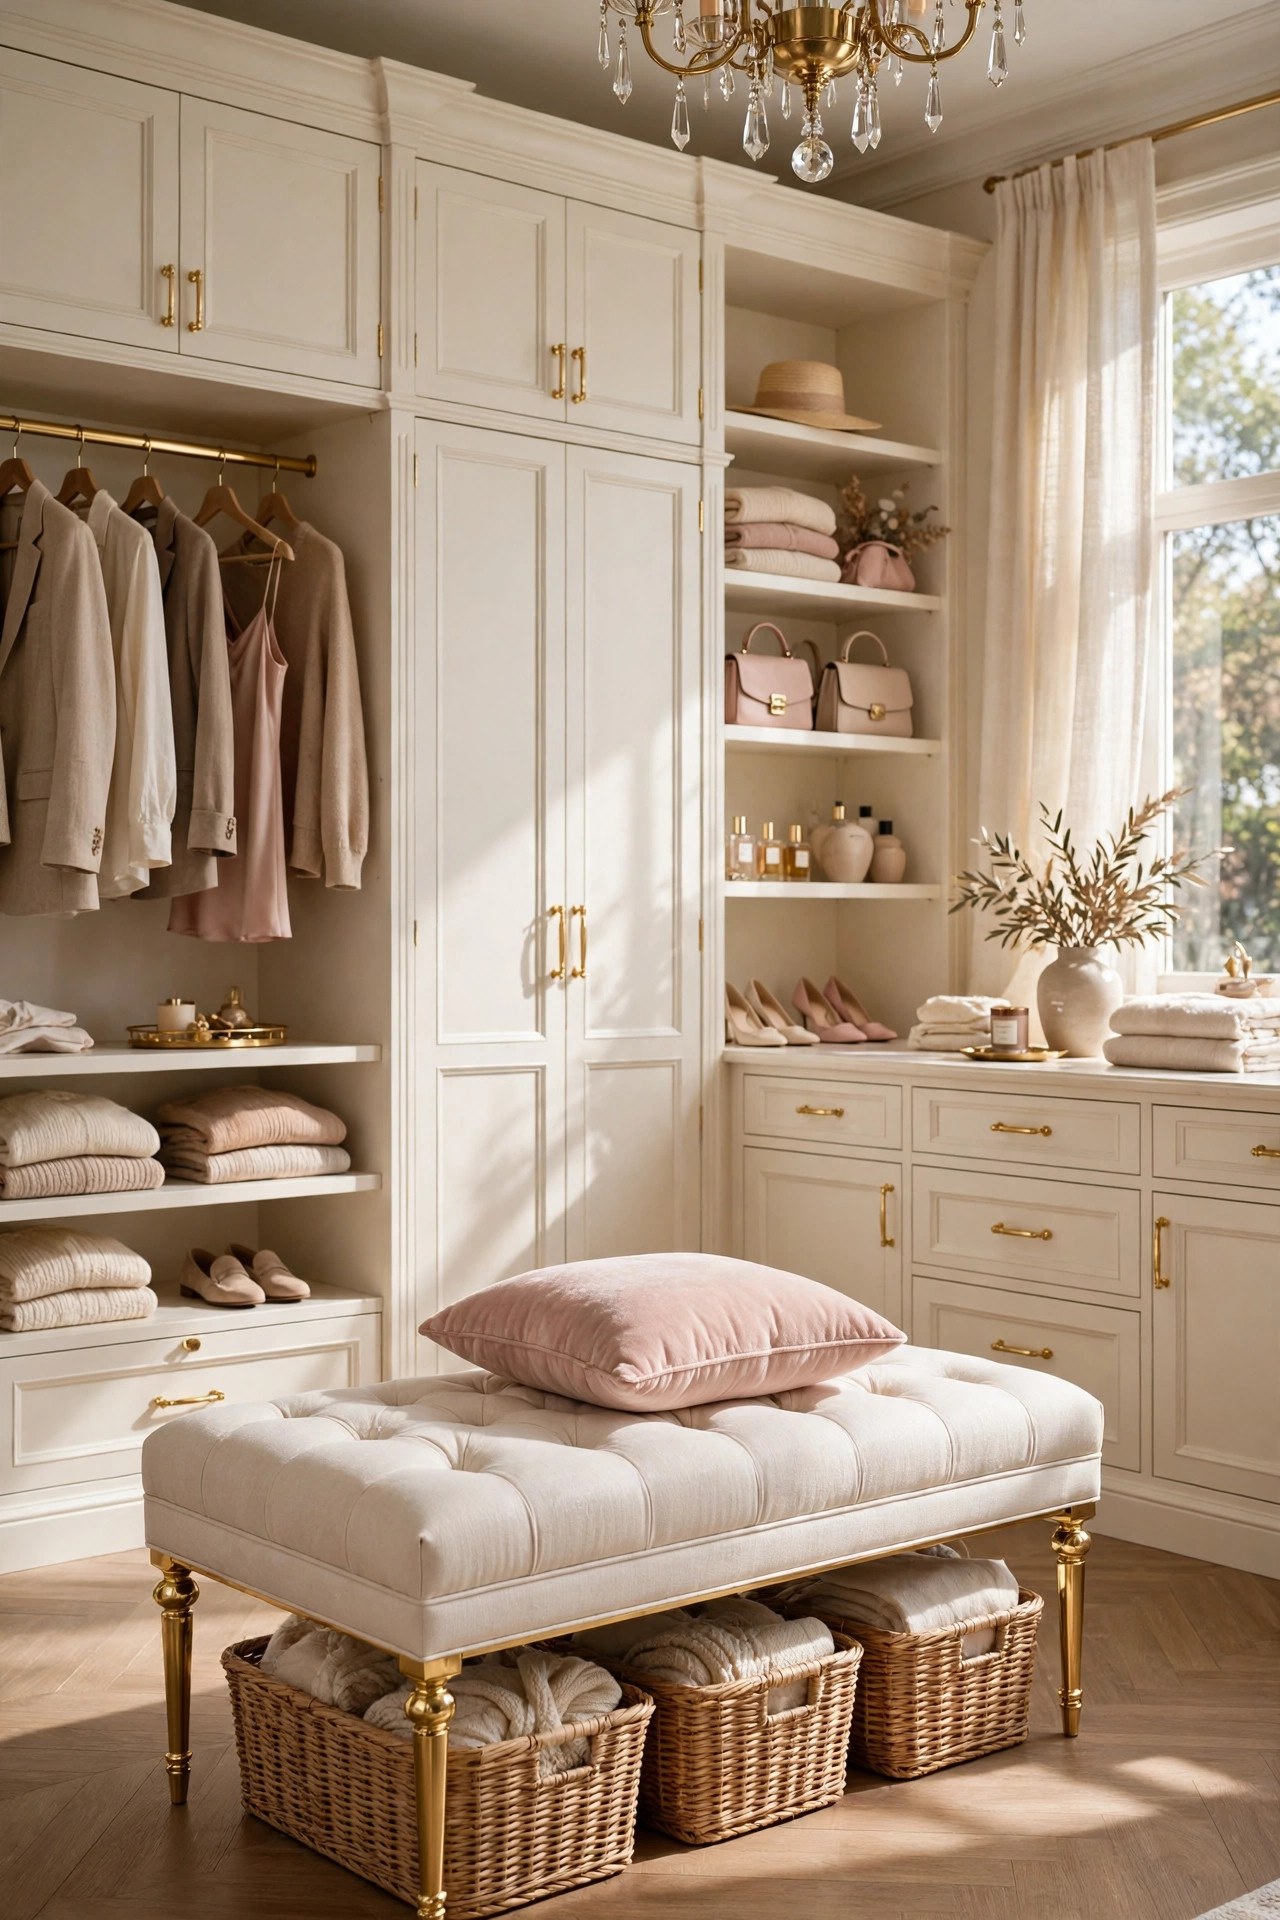
A dressing bench with storage underneath is the seat for a smaller walk in wardrobe, where an ottoman in the middle would block the walkways. Set it against one wall under the main rail, with woven baskets underneath for scarves, bags or off-season clothes, and a blush cushion on top to tie it to the ottoman palette. The bench should be long enough to sit on comfortably and low enough to slide under the rail, so it never blocks the hanging clothes. Keep the baskets in cream or natural woven tones, so the storage under the bench reads as calm, and label each basket so the contents stay findable without pulling every basket out.
Best For: Smaller walk in wardrobes where a centre ottoman would block the floor, and anyone who needs extra storage for scarves and bags.
Not Ideal For: Large wardrobes with a centre island already, where a bench against the wall adds clutter rather than seating.
Estimated Cost: $150-$500 (estimate) for a cream upholstered bench with woven baskets underneath.
Budget Note: The bench is the spend; the baskets are a small extra that keep the storage sorted.
Renter Friendly: Yes
Renter Note: Freestanding; nothing fixed, and it moves with you.
What You Need
Cream upholstered bench with gold legs, two or three woven baskets in cream or natural tones, one blush cushion, labels for the baskets.
Product type to look for: A bench low enough to slide under the hanging rail, with a sturdy frame and baskets that fit fully underneath without sticking out.
How To Do It
- Measure the wall under the rail and tape the bench footprint, checking the baskets fit underneath.
- Place the bench against the wall and slide the baskets underneath, labels facing out.
- Add the blush cushion on top and check the seat height suits putting on shoes.
- Sort scarves, bags and off-season clothes into the baskets and check the bench still slides under the rail.
Pro Tip
Keep the bench top clear except for the cushion. A bench that holds piles becomes a shelf, and a shelf is not a seat.
15. Keep Evening Light Warm with a Small Chandelier
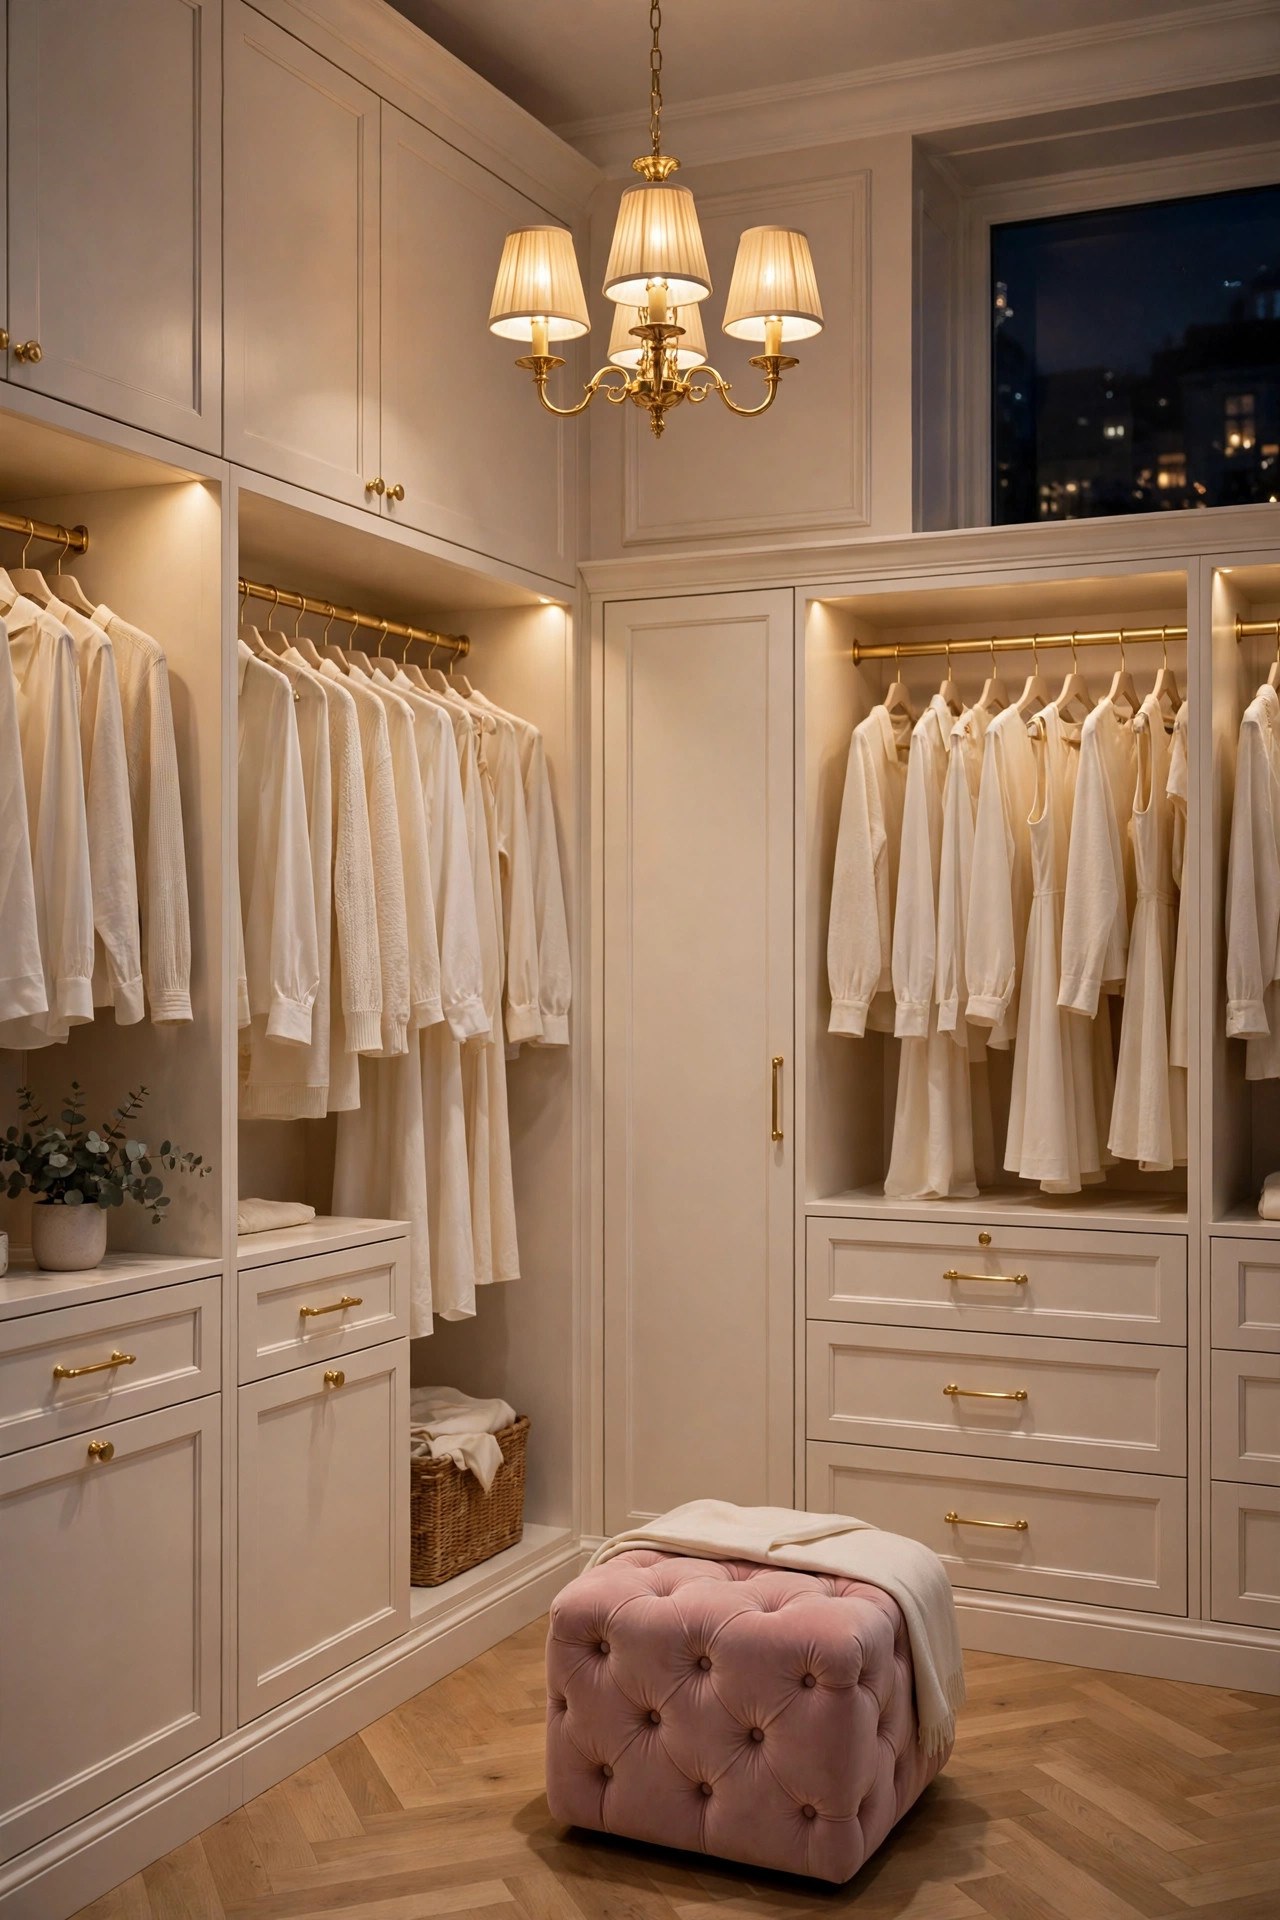
A small chandelier is the final layer that makes a walk in wardrobe feel like a dressing room after dark. Hung in the centre of the room, with warm bulbs and cream shades, it gives the whole wardrobe one soft glow and repeats the gold from the hardware, the mirror and the ottoman legs. Keep it small, about 40 cm across, so it suits the room scale and never hangs low enough to catch on a raised arm or a tall mirror. Match the bulb temperature to the LED strips in idea 7, because mixed warm and cool light makes the same cream blouse look different under the chandelier and on the rail. A dimmer, where the wiring allows, lets the same fitting serve a bright morning and a quiet evening.
Best For: Walk in wardrobes with a ceiling high enough for a small hanging fitting, and anyone who dresses in the evening.
Not Ideal For: Rooms with a low ceiling where a hanging fitting crowds the space; a flush warm ceiling light is the safer version there.
Estimated Cost: $150-$500 (estimate) for a small gold chandelier with cream shades and warm bulbs.
Budget Note: The chandelier is the spend; a dimmer switch is a small extra that changes the whole evening.
Renter Friendly: No
Renter Note: A wired ceiling fitting needs an electrician and the landlord’s agreement; renters can use a plug-in wall light with a warm bulb instead.
What You Need
Small gold chandelier with cream shades, warm bulbs matched to the LED strips, dimmer switch if the wiring allows.
Product type to look for: A fitting about 40 cm across with shades in warm cream, and bulbs in one warm temperature that matches the rest of the wardrobe.
How To Do It
- Measure the ceiling height and choose a fitting that hangs clear of a raised arm and the mirror top.
- Have the fitting wired by an electrician, with the bulbs in one warm temperature.
- Test the light on a cream garment at night from the ottoman and the mirror.
- Set the dimmer so the same fitting serves a bright morning and a quiet evening.
Pro Tip
Light the wardrobe from the centre, not from one corner. Centre light falls evenly on every rail; corner light leaves one wall dark.
Practical Tips for Walk In Wardrobe Ideas
Start with the layout and the light, because every other idea depends on them. The U shape in idea 1 sets the walls, the LED strips in idea 7 set the light, and only then do the mirror, the island and the soft layers arrive. Repeat each light note at least twice: warm white appears in the cabinetry and the bench, gold in the hardware, the mirror frame and the chandelier, blush in the ottoman, the cushion and the jewellery drawer lining. One light note used once looks like an accident; twice or more it looks like a plan. Keep brushed gold as the only metal and match its tone across every handle, frame and fitting, because mixed metals scatter the glam note. Finally, leave one shelf and one drawer empty on purpose: a wardrobe with no spare space is a wardrobe that pushes clothes back onto the floor within a month. Measure twice, buy once, and let the room grow slowly.
Frequently Asked Questions
How big should a walk in wardrobe be?
A room roughly 2.4 m wide suits a U-shaped layout with at least 90 cm of clear floor in the middle. A narrower room under 2 m wide is better served by a single-wall layout with open shelving, so the walkways stay clear and the room never feels cramped.
What is the best colour for a walk in wardrobe?
Warm white cabinetry with brushed gold hardware, because warm white keeps cream and blush clothes looking soft and bounces light into the back corners. Cool stark white can make the same clothes look grey, and a dark wardrobe makes the whole room feel smaller.
How do I light a walk in wardrobe without a window?
Warm LED strips under each shelf and along each hanging rail, in one warm temperature around 2700K, plus a small central ceiling fitting. The strips light the clothes themselves, which is what matters, and a sensor that switches on when the door opens keeps the light automatic.
How do I keep a walk in wardrobe tidy?
Give everything one home, keep one shelf and one drawer empty on purpose, and hang clothes in colour order on matching hangers. Open shelves suit folded clothes and shoes, glass-front doors suit the items you want hidden, and a weekly five-minute reset keeps small piles from becoming a mess.
Is a walk in wardrobe worth it in a small bedroom?
Yes, if the layout is honest about the space. A single-wall layout with open shelving, a slim bench and a full-length mirror gives most of the benefit without taking the whole room, and the storage it adds can free the bedroom itself from a bulky wardrobe.
What should go in the middle of a walk in wardrobe?
A blush velvet ottoman in a larger room, or a centre island with drawers if the room is wide enough for clear walkways on every side. In a smaller room the middle should stay clear, with a slim bench against one wall instead.
Conclusion
A walk in wardrobe feels calm and glam when the layout comes first and the soft layers follow: a U-shaped plan with clear walkways, warm white cabinetry and gold hardware, a full-length mirror, warm light on every rail, and a blush velvet seat in the middle. Start with the shape and the light, add one storage idea at a time, keep one metal and one shared colour across the whole room, and the wardrobe will make getting dressed easier every single morning.