15 Bedroom Lighting Ideas That Feel Soft, Glam and Cozy
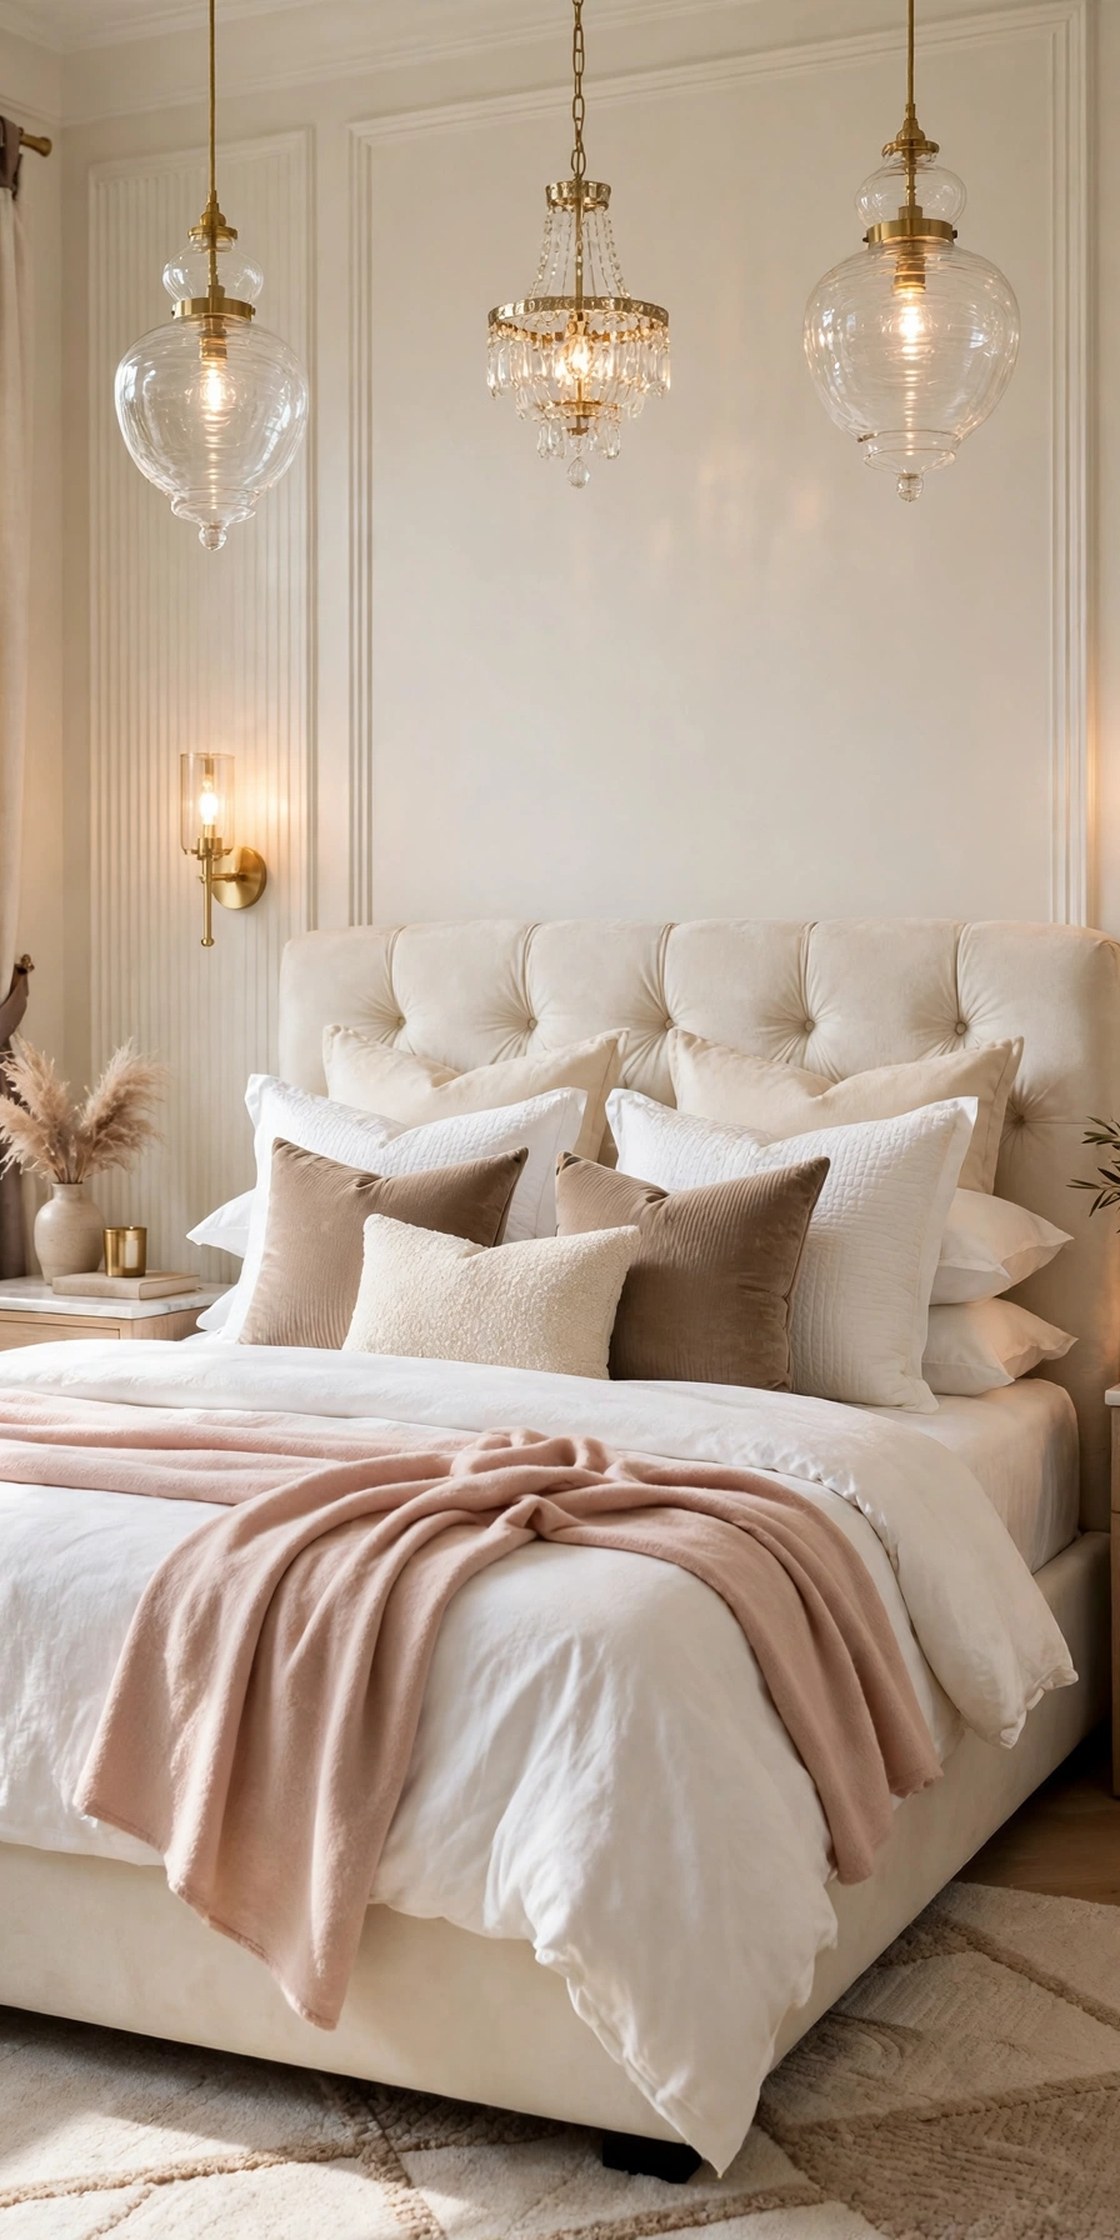
Bedroom lighting fails in two common ways. One harsh ceiling light flattens everything and washes out cream bedding. Or the room relies on a single small lamp, so the corners go dark. Good bedroom lighting ideas fix both by layering light at three heights: ceiling, bed, and a low glow near the floor. These 15 ideas use the same bright glam palette, white, cream and warm taupe warmed with blush pink and brushed gold, so the light becomes part of the decor. Start with the bed wall, then the ceiling and corners. If you are planning the whole room, pair these layers with the layouts in our main guide bedroom ideas
Disclosure: This article may contain affiliate links. If you buy through a link on this page, GlamNStyle may earn a small commission at no extra cost to you. Product links in this article are plain links; each one is checked on the retailer’s own page before it is added.
1. Hang Brushed Gold Wall Sconces Beside the Bed
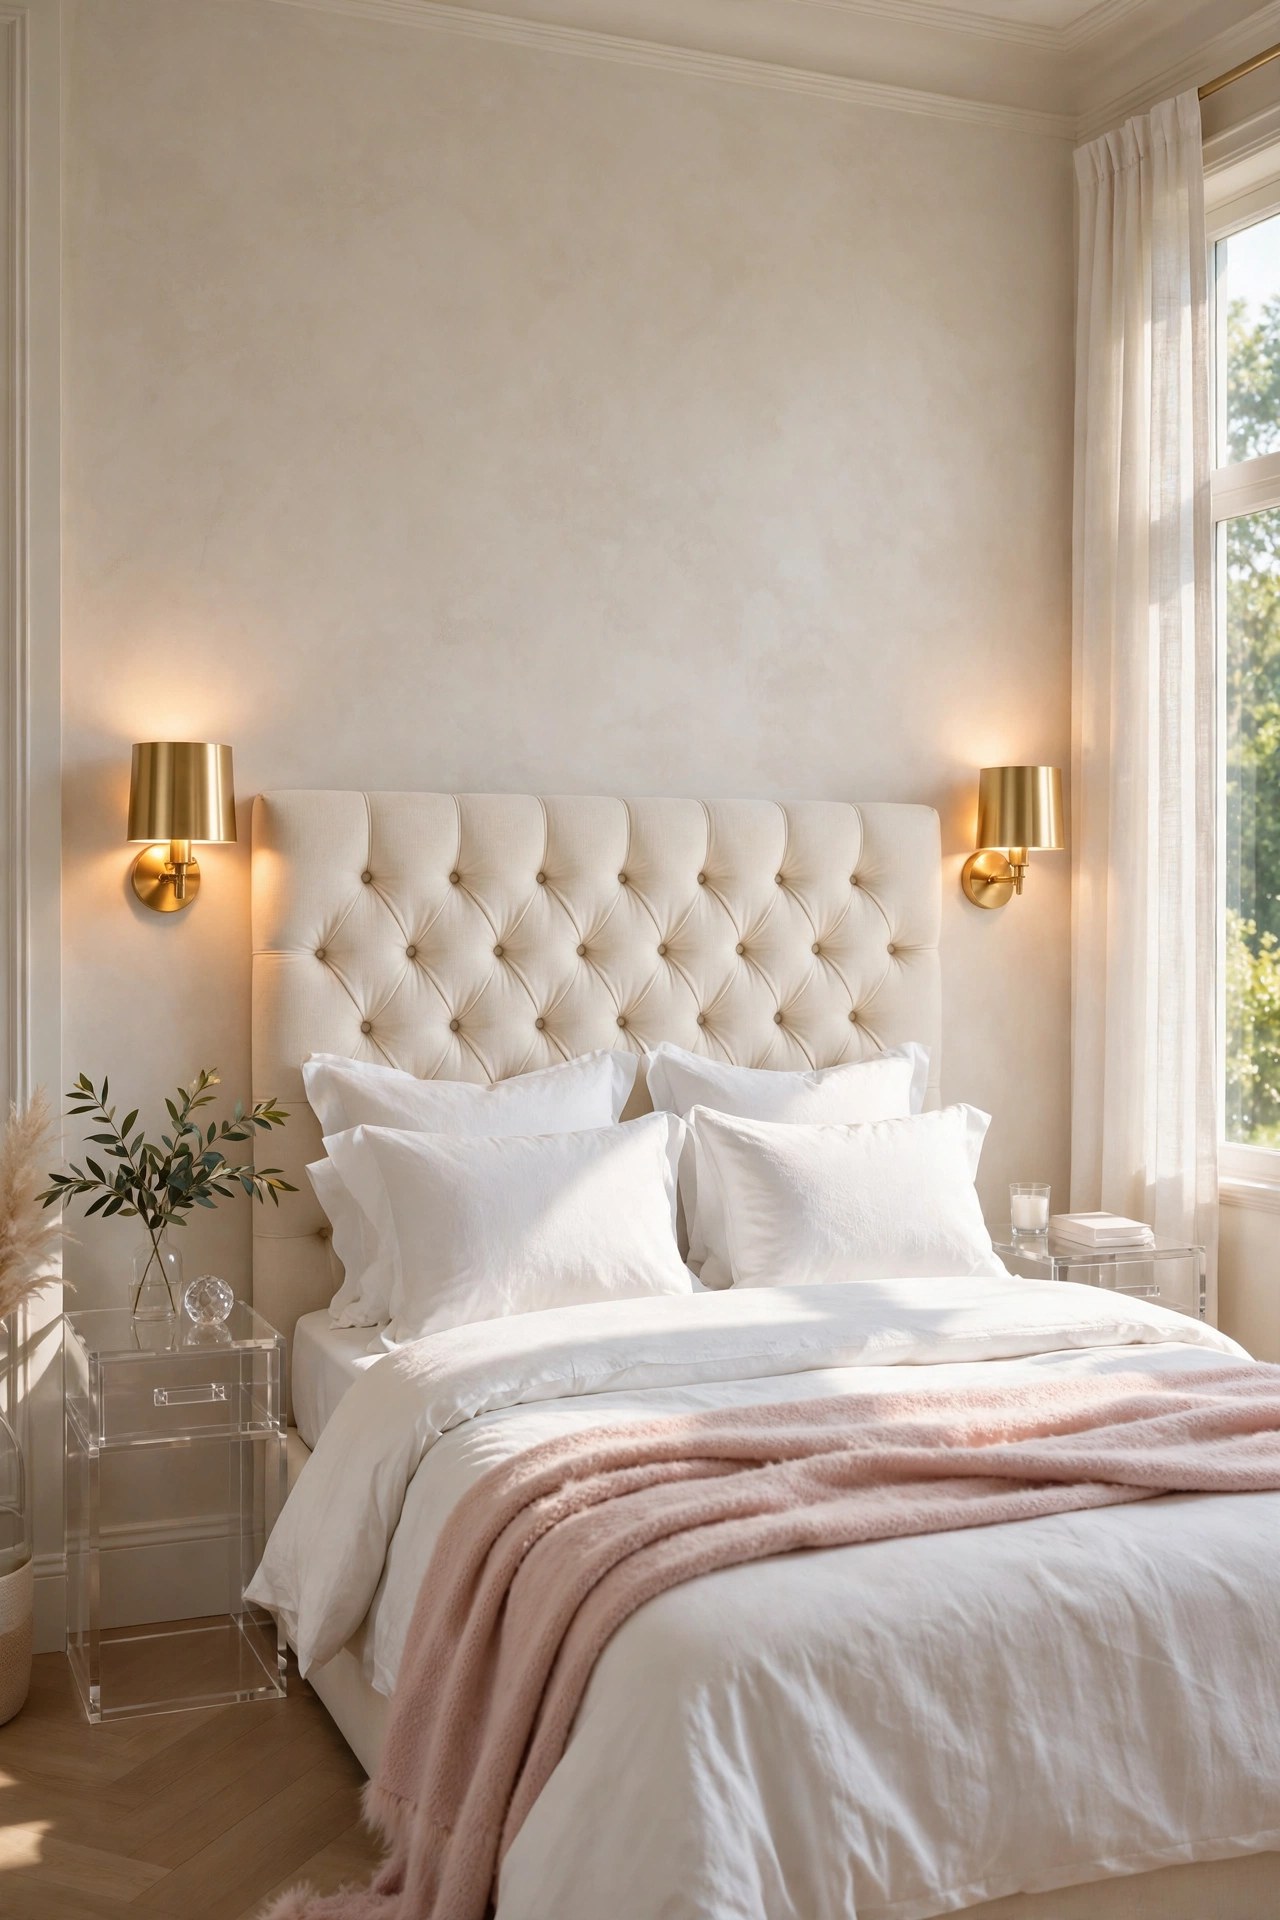
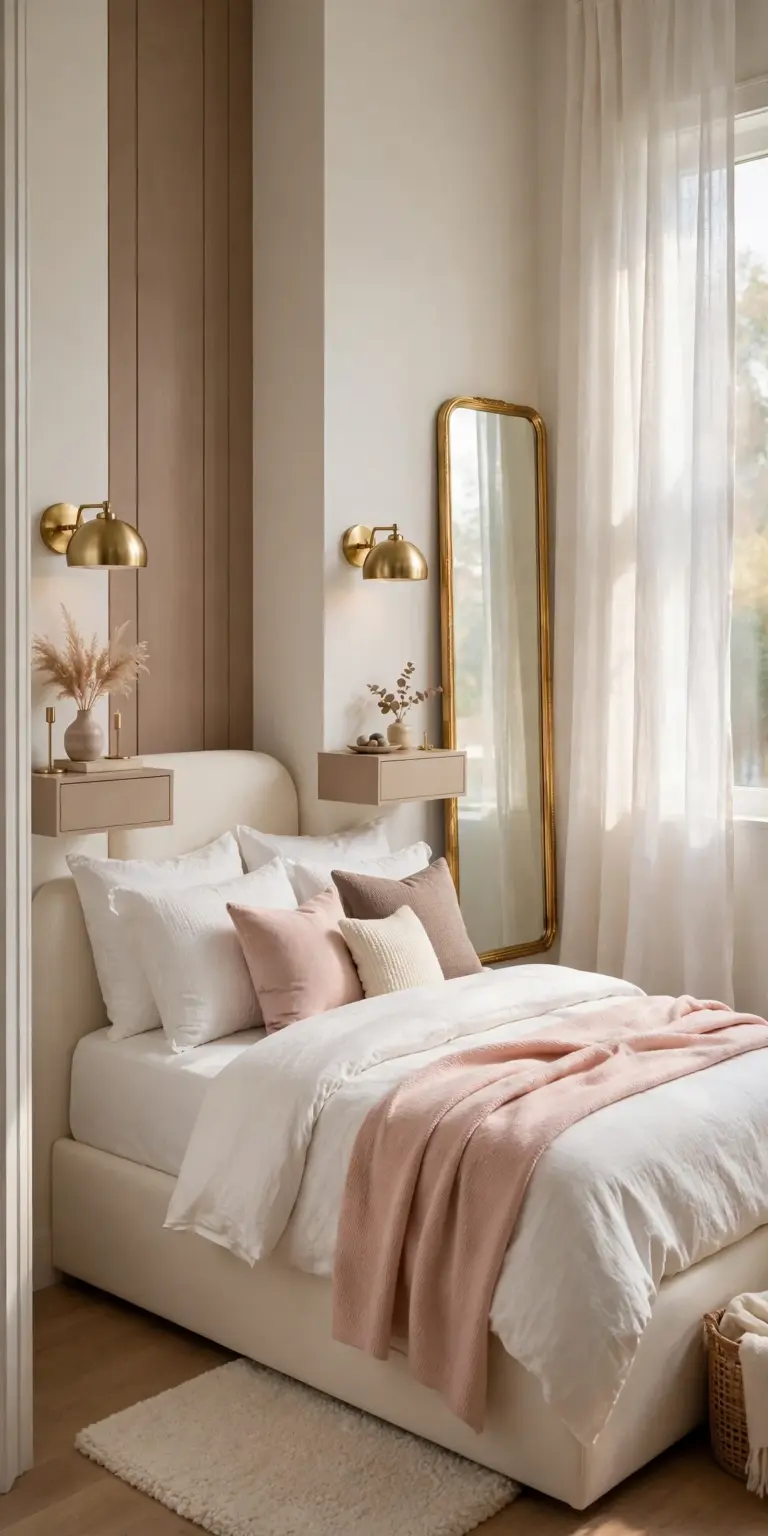
Wall sconces are the backbone of a glam bedroom because they put warm light exactly where the eye rests, at headboard height, without using a single inch of nightstand surface. A pair in brushed gold does two jobs at once: the metal finish carries the glam note during the day, and the upward or shaded glow softens the whole bed wall at night. Mount them just outside the width of the headboard so the light washes the wall rather than shining into pillows. Plug-in models with a fabric cord cover give the same finished look as hardwired ones, and warm white bulbs keep cream bedding looking cream instead of grey.
Best For: Any bedroom where nightstands are small, shared, or already full.
Not Ideal For: Beds that move between walls often; fixed sconces fix the bed position with them.
Estimated Cost: $50-$140 (estimate) for a pair of plug-in brushed gold sconces with bulbs.
Budget Note: Plug-in pairs avoid electrician fees entirely, which is where hardwired lighting budgets usually double.
Renter Friendly: With Conditions
Renter Note: Each sconce needs two small screws; cord covers stick on and peel off, and the holes patch in minutes.
What You Need
Pair of plug-in brushed gold wall sconces, two warm white bulbs from the same pack, cord covers, level, drill and wall fixings.
Product type to look for: Sconces with an inline switch on each cord, a shade or diffuser that hides the bulb from the bed, and fixings rated for the fixture weight.
How To Do It
- Mark both positions level, about 6 to 8 inches above the top of the headboard and just outside its edges.
- Fix the backplates into studs or solid wall fixings and hang the fixtures.
- Run each cord straight down inside its cover to the nearest socket.
- Fit matched bulbs and view the pair from the doorway to confirm one even line of light.
Pro Tip
Buy both bulbs in one twin pack. Two bulbs of the same stated warmth can still differ between brands, and a mismatched pair shows most at night.
2. Swap Table Lamps for Hanging Pendant Lights

Pendants over the nightstands give a bedroom the boutique hotel look that table lamps cannot copy, because the light drops from above and leaves the whole nightstand top free for books, water and a phone. Clear glass shades with brushed gold fittings suit the glam palette best: the glass keeps the fitting light and bright in the day, and the warm bulb glows through it at night. Hang the pair so the bottom of each shade sits roughly at shoulder height when you sit up in bed. That height lights a book page well and keeps the bulb out of direct sight.
Best For: Bedrooms with enough ceiling height for a drop, and anyone tired of knocking table lamps.
Not Ideal For: Ceilings under 8 feet, where a low pendant crowds the bed; use the flush mount in idea 6 instead.
Estimated Cost: $70-$180 (estimate) for a pair of glass and gold pendant lights.
Budget Note: Plug-in swag pendants that hook from the ceiling cost less than hardwired pairs and need no electrician.
Renter Friendly: With Conditions
Renter Note: Hardwired pendants are a landlord conversation; plug-in swag versions use one ceiling hook each and come down cleanly.
What You Need
Pair of glass pendant lights with gold fittings, ceiling hooks or canopy fittings, warm white bulbs, ladder, tape measure.
Product type to look for: Pendants with an adjustable cord length, a shade wide enough to soften the bulb, and a total drop you can set between 12 and 24 inches above the nightstand.
How To Do It
- Measure from the ceiling to the nightstand top and decide the finished shade height before hanging anything.
- Fix the ceiling points centred over each nightstand, not over the bed.
- Hang both pendants and set the cords to exactly the same length.
- Sit up in bed on both sides and check the bulb is hidden from normal reading sight lines.
Pro Tip
Match the pendant drop on both sides to the centimetre. Asymmetry that is invisible in a shop photo is the first thing the eye catches on a real bed wall.
3. Make a Crystal Chandelier the Centrepiece
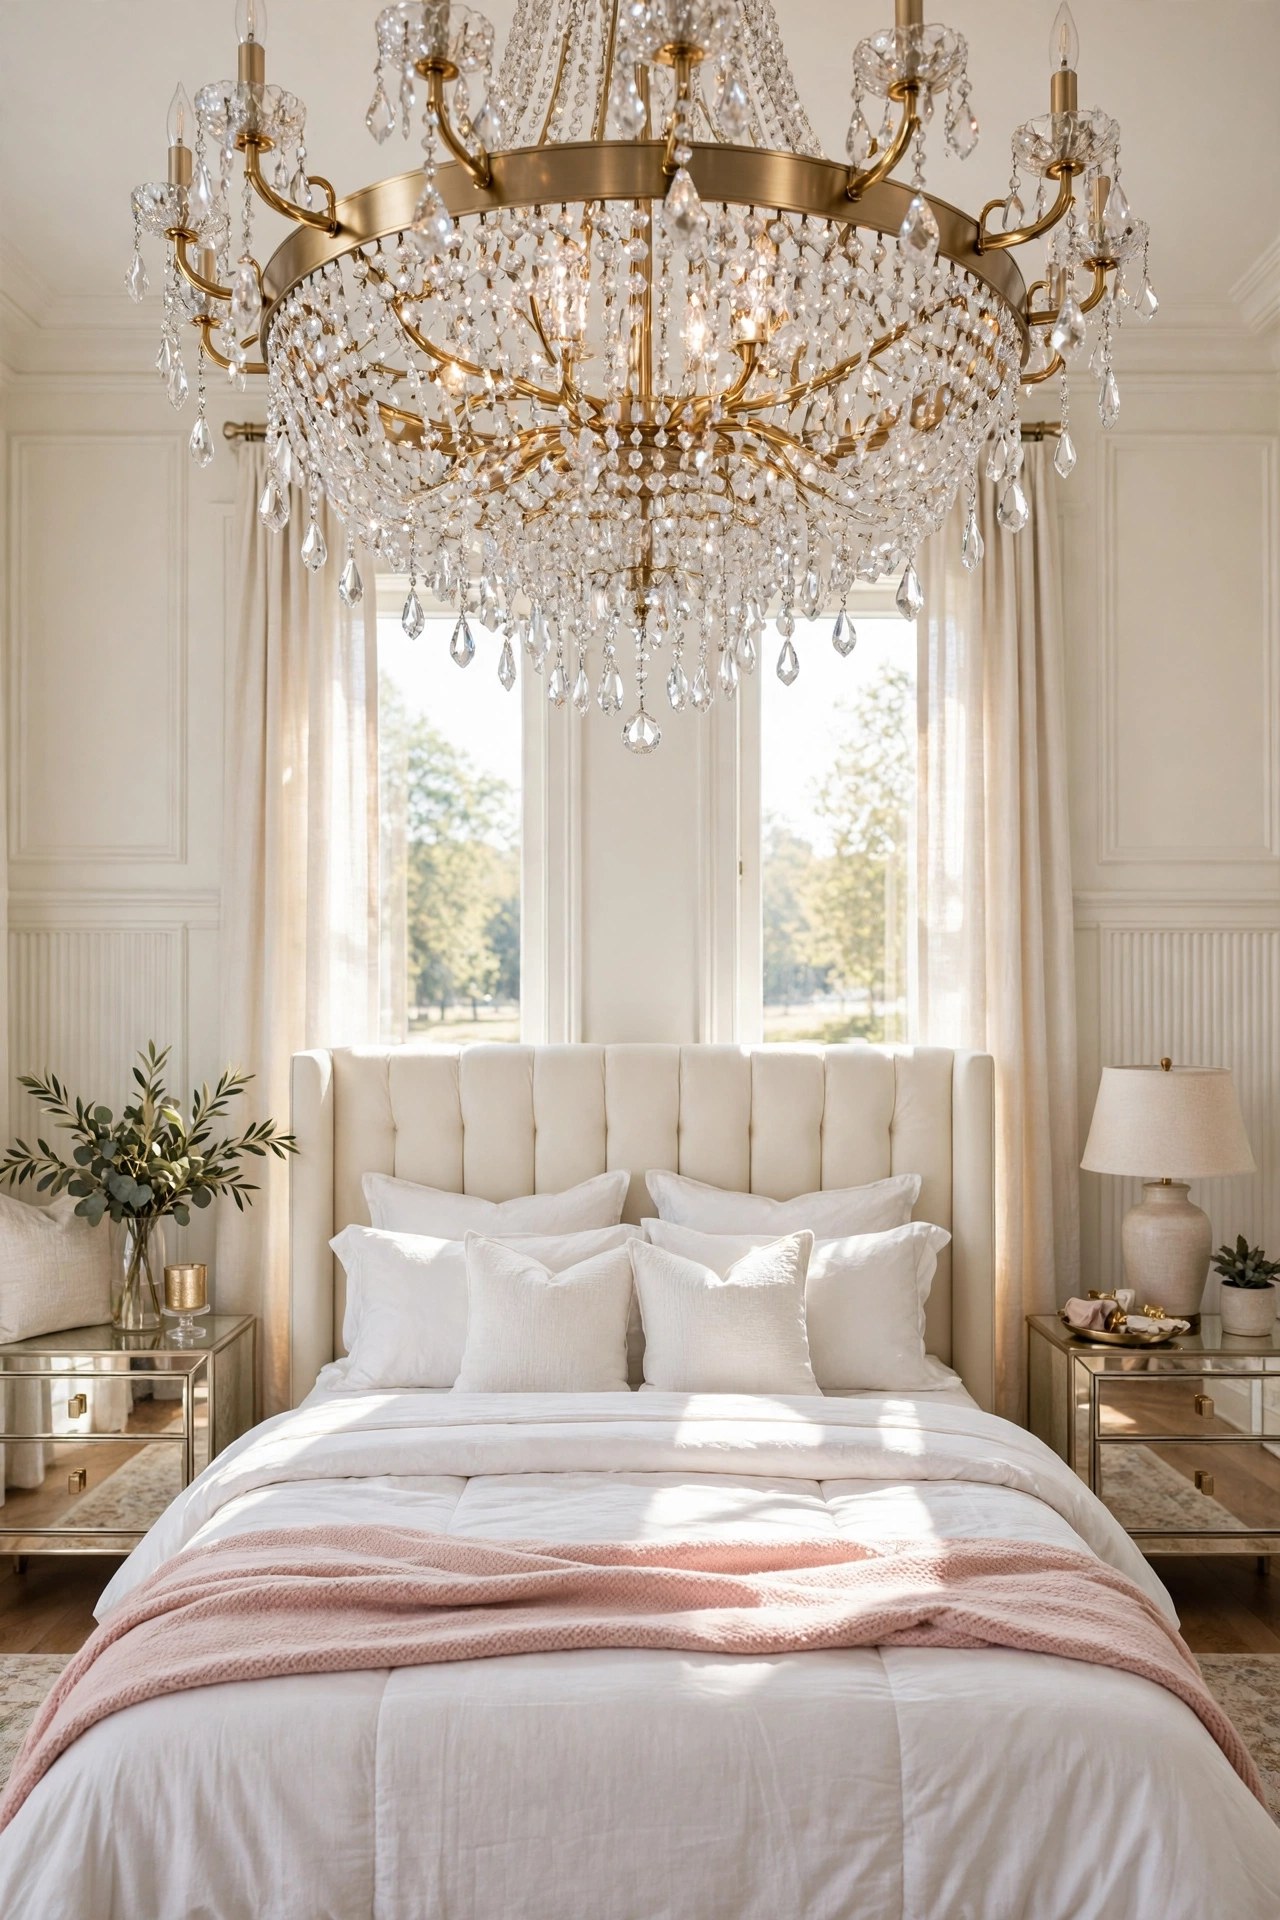
A chandelier changes how a bedroom feels even when switched off. Crystal drops catch daylight and scatter it across the ceiling, and at night the fitting turns a plain ceiling into the warmest surface in the room. Scale is the whole decision: a small chandelier, around 16 to 20 inches wide, reads as jewellery for the room, while an oversized fitting looks heavy over a bed. Keep the finish brushed gold so it talks to the sconces instead of starting a second palette.
Best For: Main bedrooms with a centred bed and a ceiling rose or central fitting already in place.
Not Ideal For: Low ceilings and bunk or loft beds; the fitting needs clear space below it.
Estimated Cost: $120-$350 (estimate) for a small crystal chandelier in brushed gold.
Budget Note: Fitting costs extra if the ceiling point needs moving; centred beds under an existing point keep this to the price of the light itself.
Renter Friendly: No
Renter Note: A chandelier swaps onto the existing ceiling fitting, but it is heavy and wired in, so most renters should get written permission or choose idea 2.
What You Need
Small crystal chandelier with brushed gold frame, matched warm white bulbs, ceiling hook rated for the weight, ladder.
Product type to look for: A chandelier under 20 inches wide with real glass or crystal drops rather than acrylic, and a chain you can shorten for your ceiling height.
How To Do It
- Switch off the power at the breaker and remove the old ceiling fitting.
- Fit or confirm a ceiling hook rated well above the chandelier weight.
- Hang the chandelier centred over the bed, not just centred on the ceiling if the bed sits off centre.
- Fit the bulbs, restore power, and check the drop height from the doorway and from the bed.
Pro Tip
Put the chandelier on a dimmer from day one. Full brightness is for cleaning and dressing; the glam look lives at about half power in the evening.
4. Use Matching Table Lamps With Linen Shades
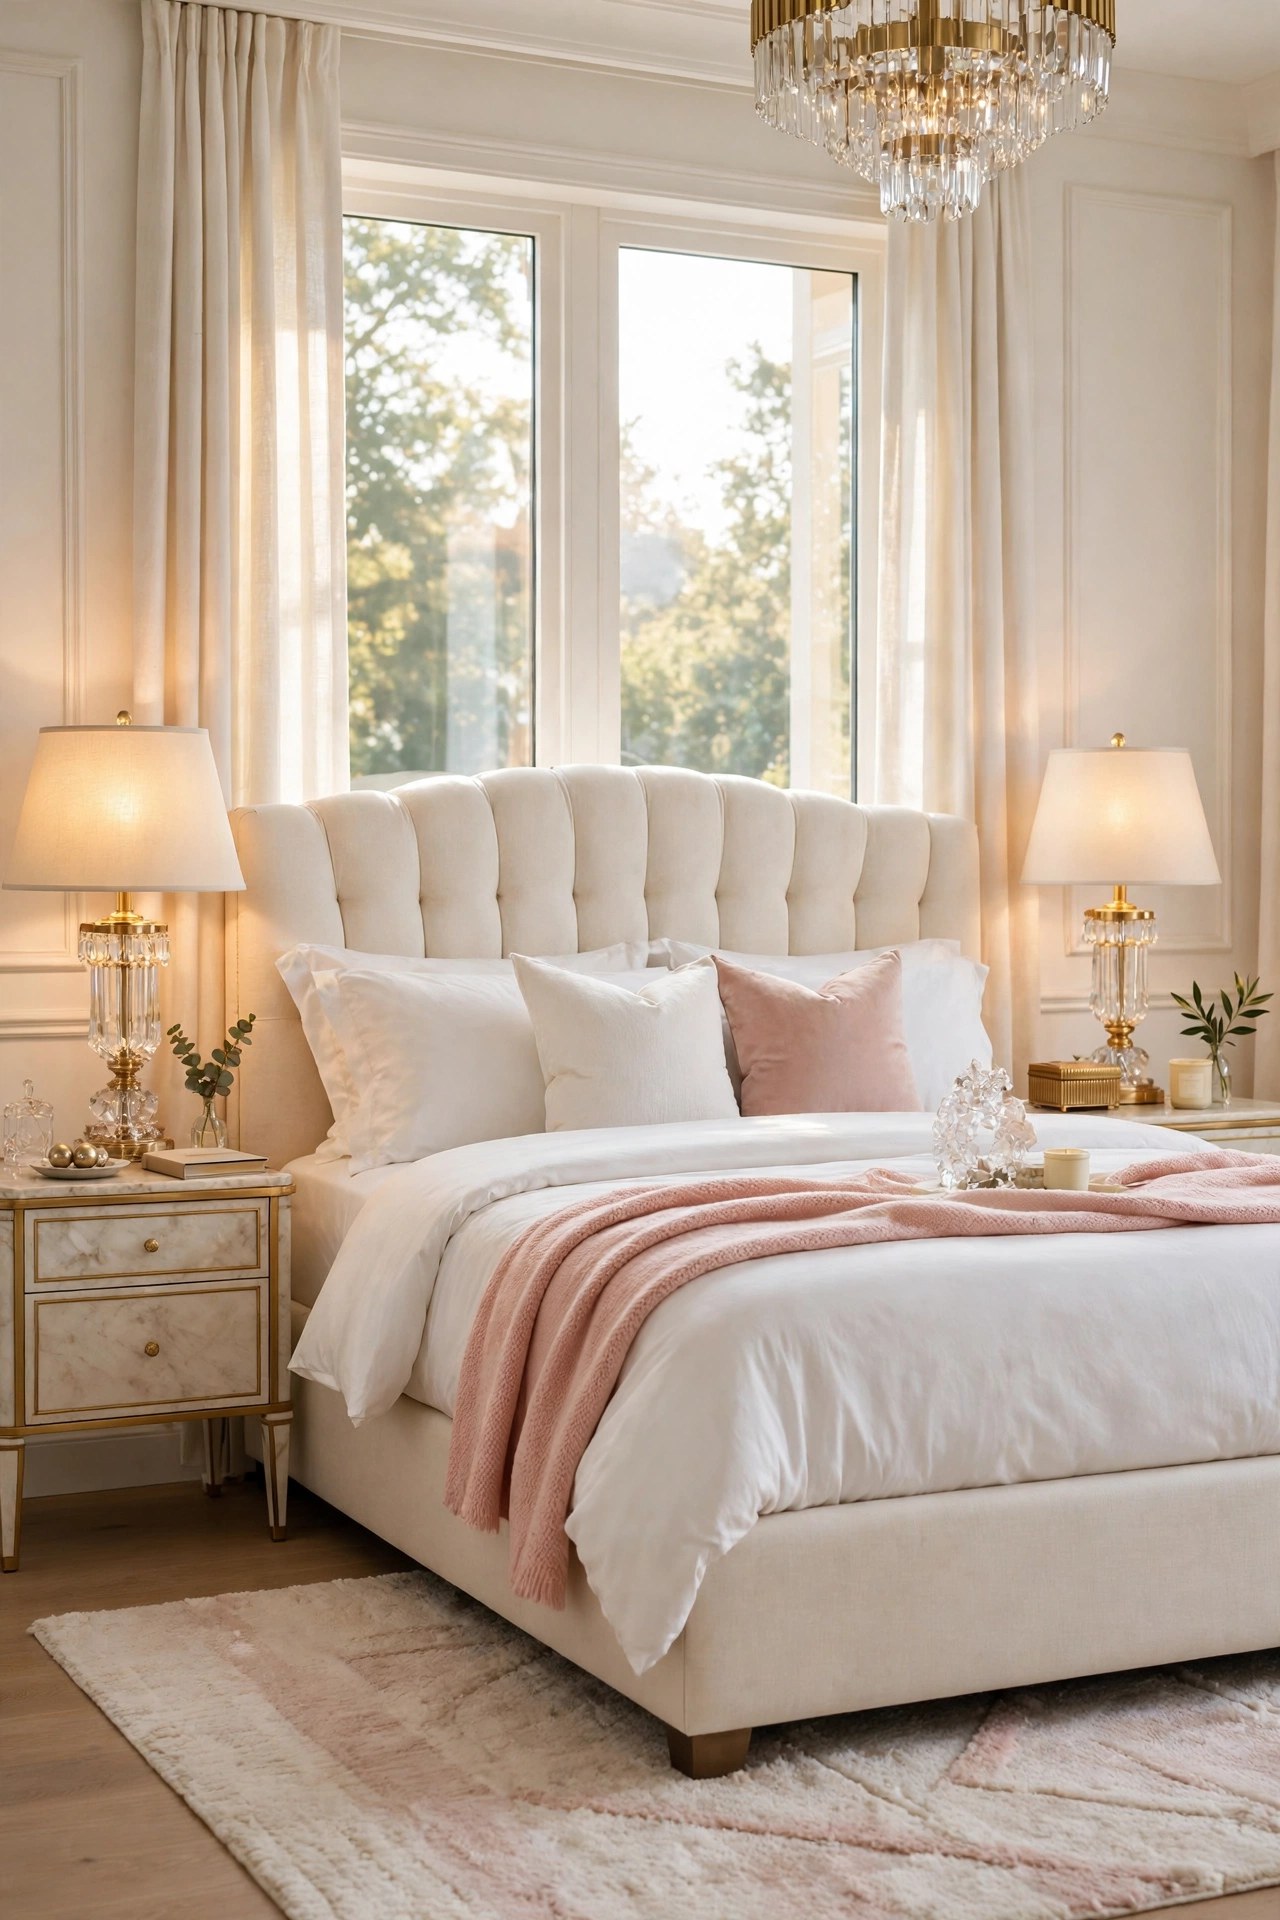
Table lamps remain the easiest bedroom lighting to get right, provided the pair actually matches and the shades do the softening work. A crystal or brushed gold base gives the glam note, while a cream linen shade spreads the light sideways across the bed instead of throwing a hard pool onto the nightstand. Height matters more than style: the bottom of the shade should sit near eye level when you sit up in bed, which usually means a lamp around 24 to 28 inches tall on a standard nightstand. Two lamps of different heights or shades is the most common reason a finished bedroom still looks unfinished.
Best For: Renters and first lighting upgrades, because nothing is fixed, wired or drilled.
Not Ideal For: Very narrow nightstands under 14 inches wide, where a lamp base crowds out everything else; use idea 1 or 2.
Estimated Cost: $60-$160 (estimate) for a matching pair of table lamps with linen shades.
Budget Note: Buying a true pair costs less than two singles and saves the shade matching problem entirely.
Renter Friendly: Yes
Renter Note: Fully freestanding; route cords behind the nightstand so no wire crosses the floor.
What You Need
Matching pair of table lamps with gold or crystal bases, cream linen shades, two warm white bulbs from the same pack.
Product type to look for: Lamps 24 to 28 inches tall with a shade at least 12 inches wide, so the light spreads across the bed rather than spotting the nightstand.
How To Do It
- Measure the nightstand height and choose a lamp that puts the shade bottom near seated eye level.
- Place one lamp centred on each nightstand, pushed back so the front edge stays clear.
- Fit matched bulbs and check both shades sit straight and level.
- Hide both cords down the back of the nightstands before styling anything else on top.
Pro Tip
If one nightstand is wider than the other, keep the lamps identical anyway and balance the smaller side with a small stack of books under a plant or tray.
5. Add a Hidden LED Strip Behind the Headboard
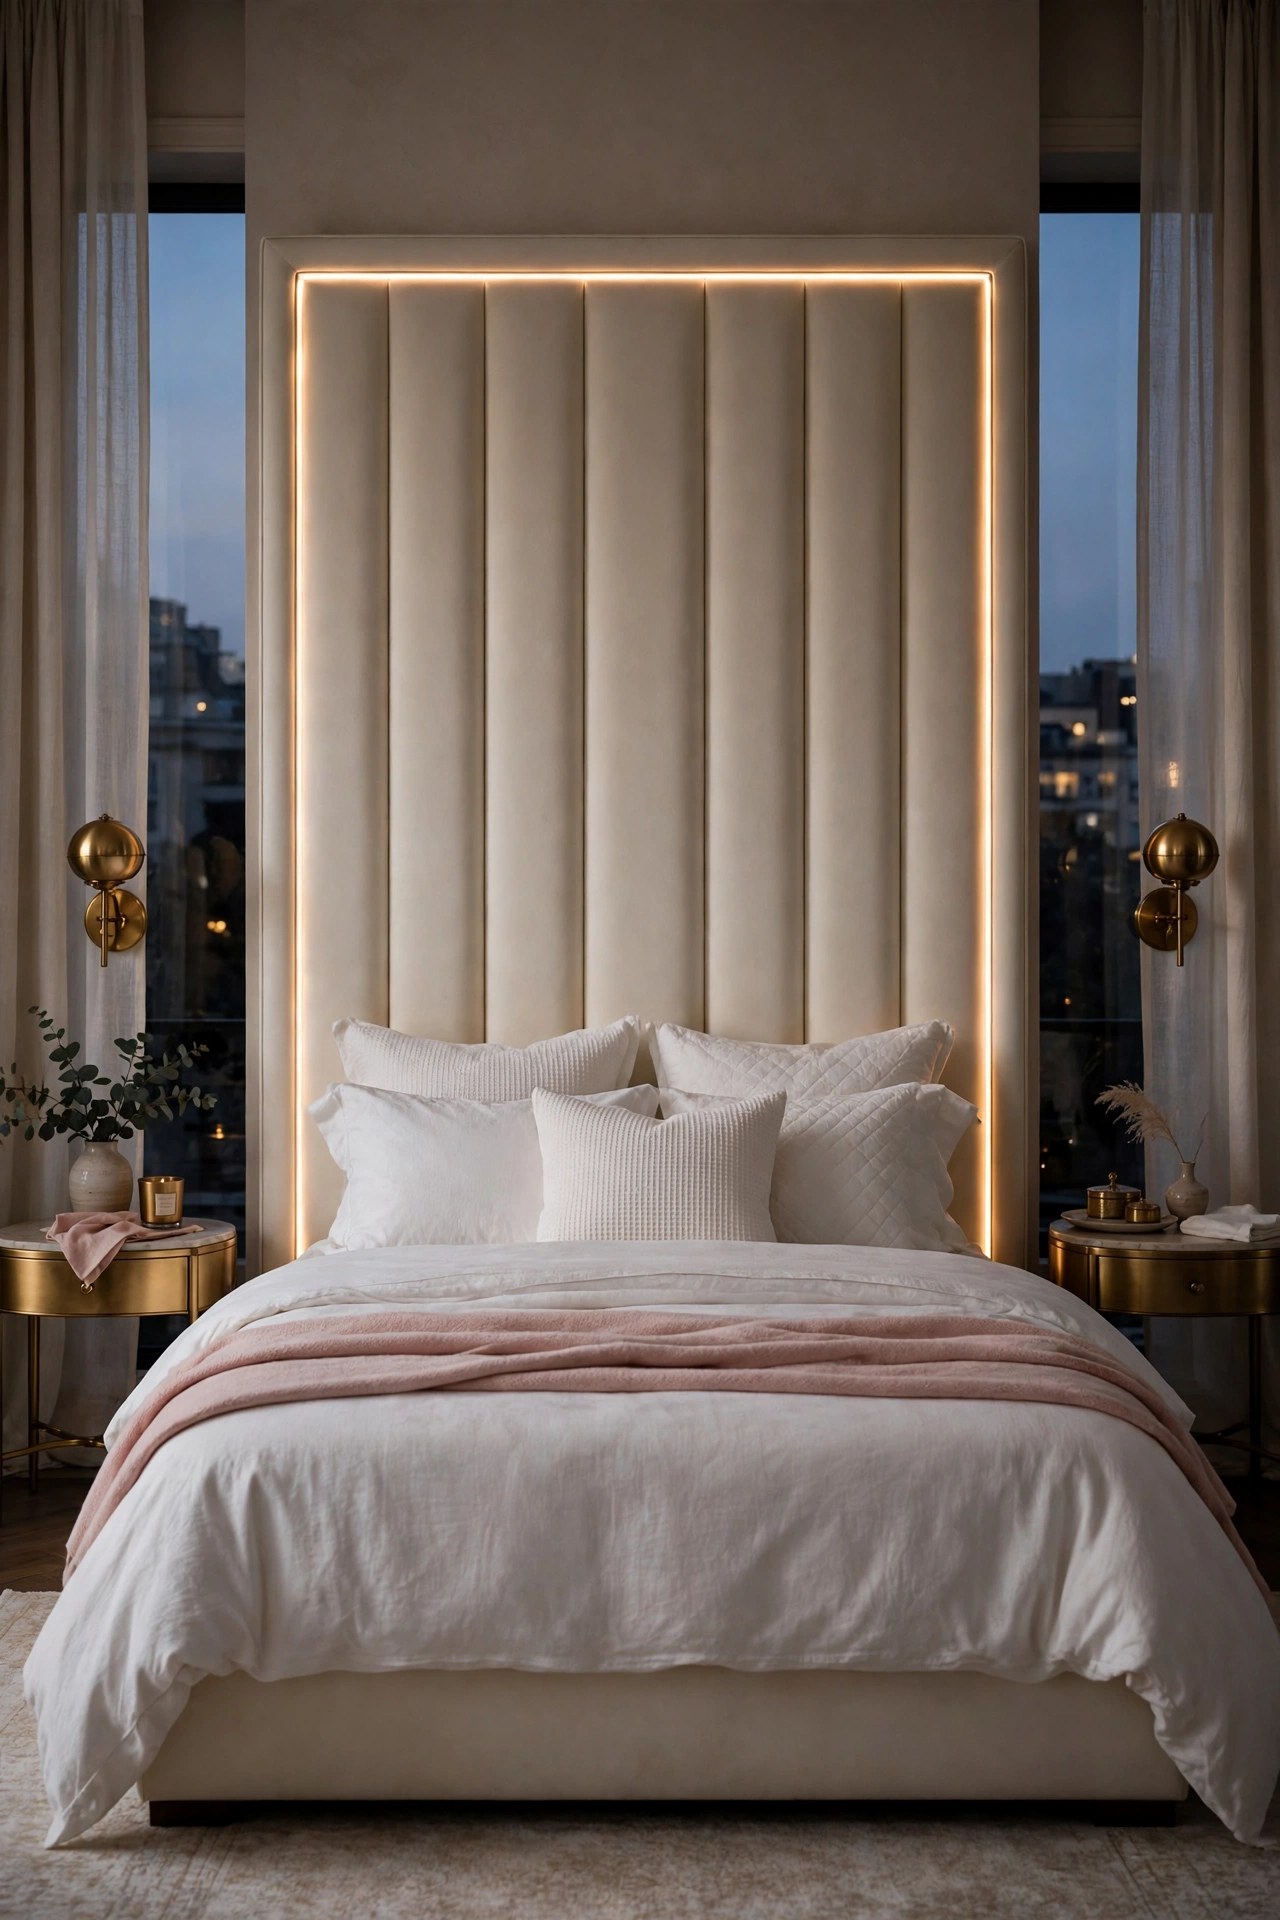
A hidden LED strip behind the headboard creates the floating bed effect that makes a plain wall look architectural. The strip itself is never seen; only a soft halo of warm light escapes around the headboard edges, which separates the bed from the wall and gives the room a low, calm glow for the last hour of the day. Choose a warm white strip at the same colour temperature as your lamps, around 2700K, because a cool blue strip will fight every other light in the room. A dimmer remote matters more than brightness here, since this layer is about mood, not task light.
Best For: Plain bed walls with no panelling, and anyone who wants a night light that is not a lamp.
Not Ideal For: Headboards fixed flush to the wall with no gap; the halo needs an inch or two of space to escape.
Estimated Cost: $20-$60 (estimate) for a warm white LED strip with dimmer remote and power supply.
Budget Note: This is the cheapest idea in the list and often the one guests notice most.
Renter Friendly: Yes
Renter Note: Strips stick on with adhesive backing and peel off slowly with heat from a hairdryer; no screws or wiring.
What You Need
Warm white LED strip long enough for three sides of the headboard, dimmer remote or smart plug, measuring tape, scissors for the marked cut points.
Product type to look for: A 2700K warm white strip with a dimmer included, a power supply rated for the full strip length, and cut marks at short intervals for corners.
How To Do It
- Measure the top and both sides of the headboard back and cut the strip only on its marked lines.
- Clean the back of the headboard so the adhesive holds, then stick the strip facing the wall.
- Connect the power supply and route the cable down behind the bed to the socket.
- Test the halo at the lowest dimmer setting first and raise it until the edge glow is even.
Pro Tip
Run the strip on three sides only, never along the bottom. Light escaping at floor level behind a bed reads as a fault, not a feature.
6. Choose a Flush Mount Light for a Low Ceiling
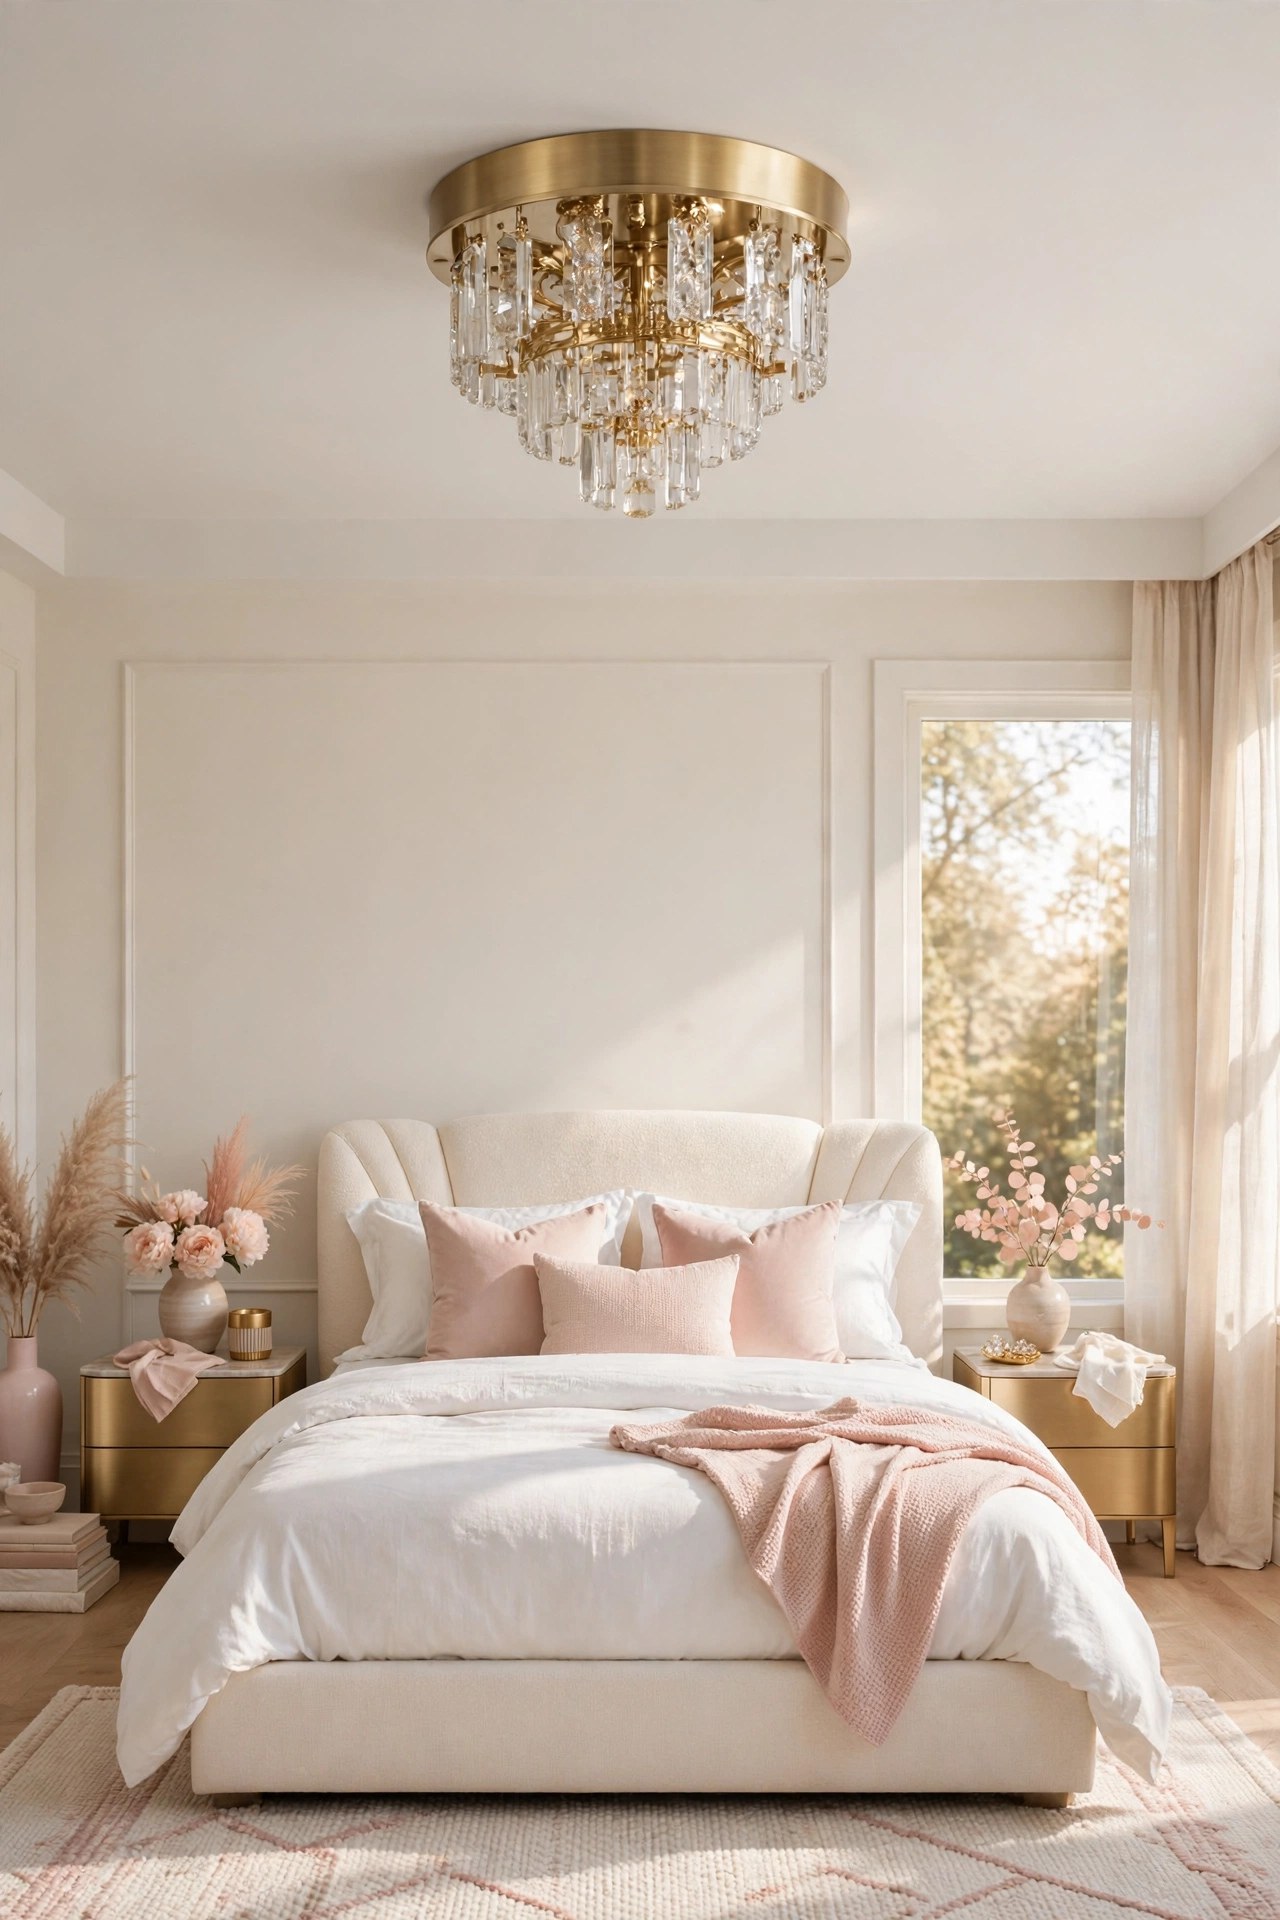
Low ceilings rule out chandeliers and pendants, but they do not rule out glamour. A flush mount fitting in brushed gold with crystal or frosted glass details sits tight to the ceiling and still gives the room a finished centre point, instead of the bare bulb or plain dome that most low rooms settle for. The wide, shallow shape also spreads light more evenly than a pendant, which suits a smaller bedroom where one fitting has to serve the whole room. Pick a fitting with a diffuser or downward shades so the bulbs are never visible from the bed; lying in bed staring into an exposed bulb undoes the whole idea.
Best For: Ceilings under 8 feet, attic bedrooms and small rooms where one light does everything.
Not Ideal For: Rooms tall enough for a chandelier, where a flush mount wastes the drama the height allows.
Estimated Cost: $60-$180 (estimate) for a gold and crystal flush mount ceiling light.
Budget Note: One good flush mount replaces both a centre light and the extra lamps a dim fitting forces you to buy.
Renter Friendly: No
Renter Note: It wires into the existing ceiling point like for like, but get permission first; idea 4 gives renters the same warmth with no wiring.
What You Need
Flush mount ceiling light with diffuser, matched warm white bulbs, ladder, screwdriver set.
Product type to look for: A fitting at least 13 inches wide with a frosted diffuser or shaded bulbs, rated for the room size, in brushed gold or a gold and white finish.
How To Do It
- Turn off the power at the breaker and remove the existing ceiling fitting.
- Connect and mount the flush fitting tight to the ceiling with no visible gap.
- Fit the bulbs and the diffuser or shades before restoring power.
- Lie on the bed and check no bare bulb is visible from pillow height.
Pro Tip
In a low room, ceiling colour decides how this light performs. A warm white ceiling bounces the glow back down; a grey ceiling swallows it.
7. Place an Arched Floor Lamp in the Reading Corner
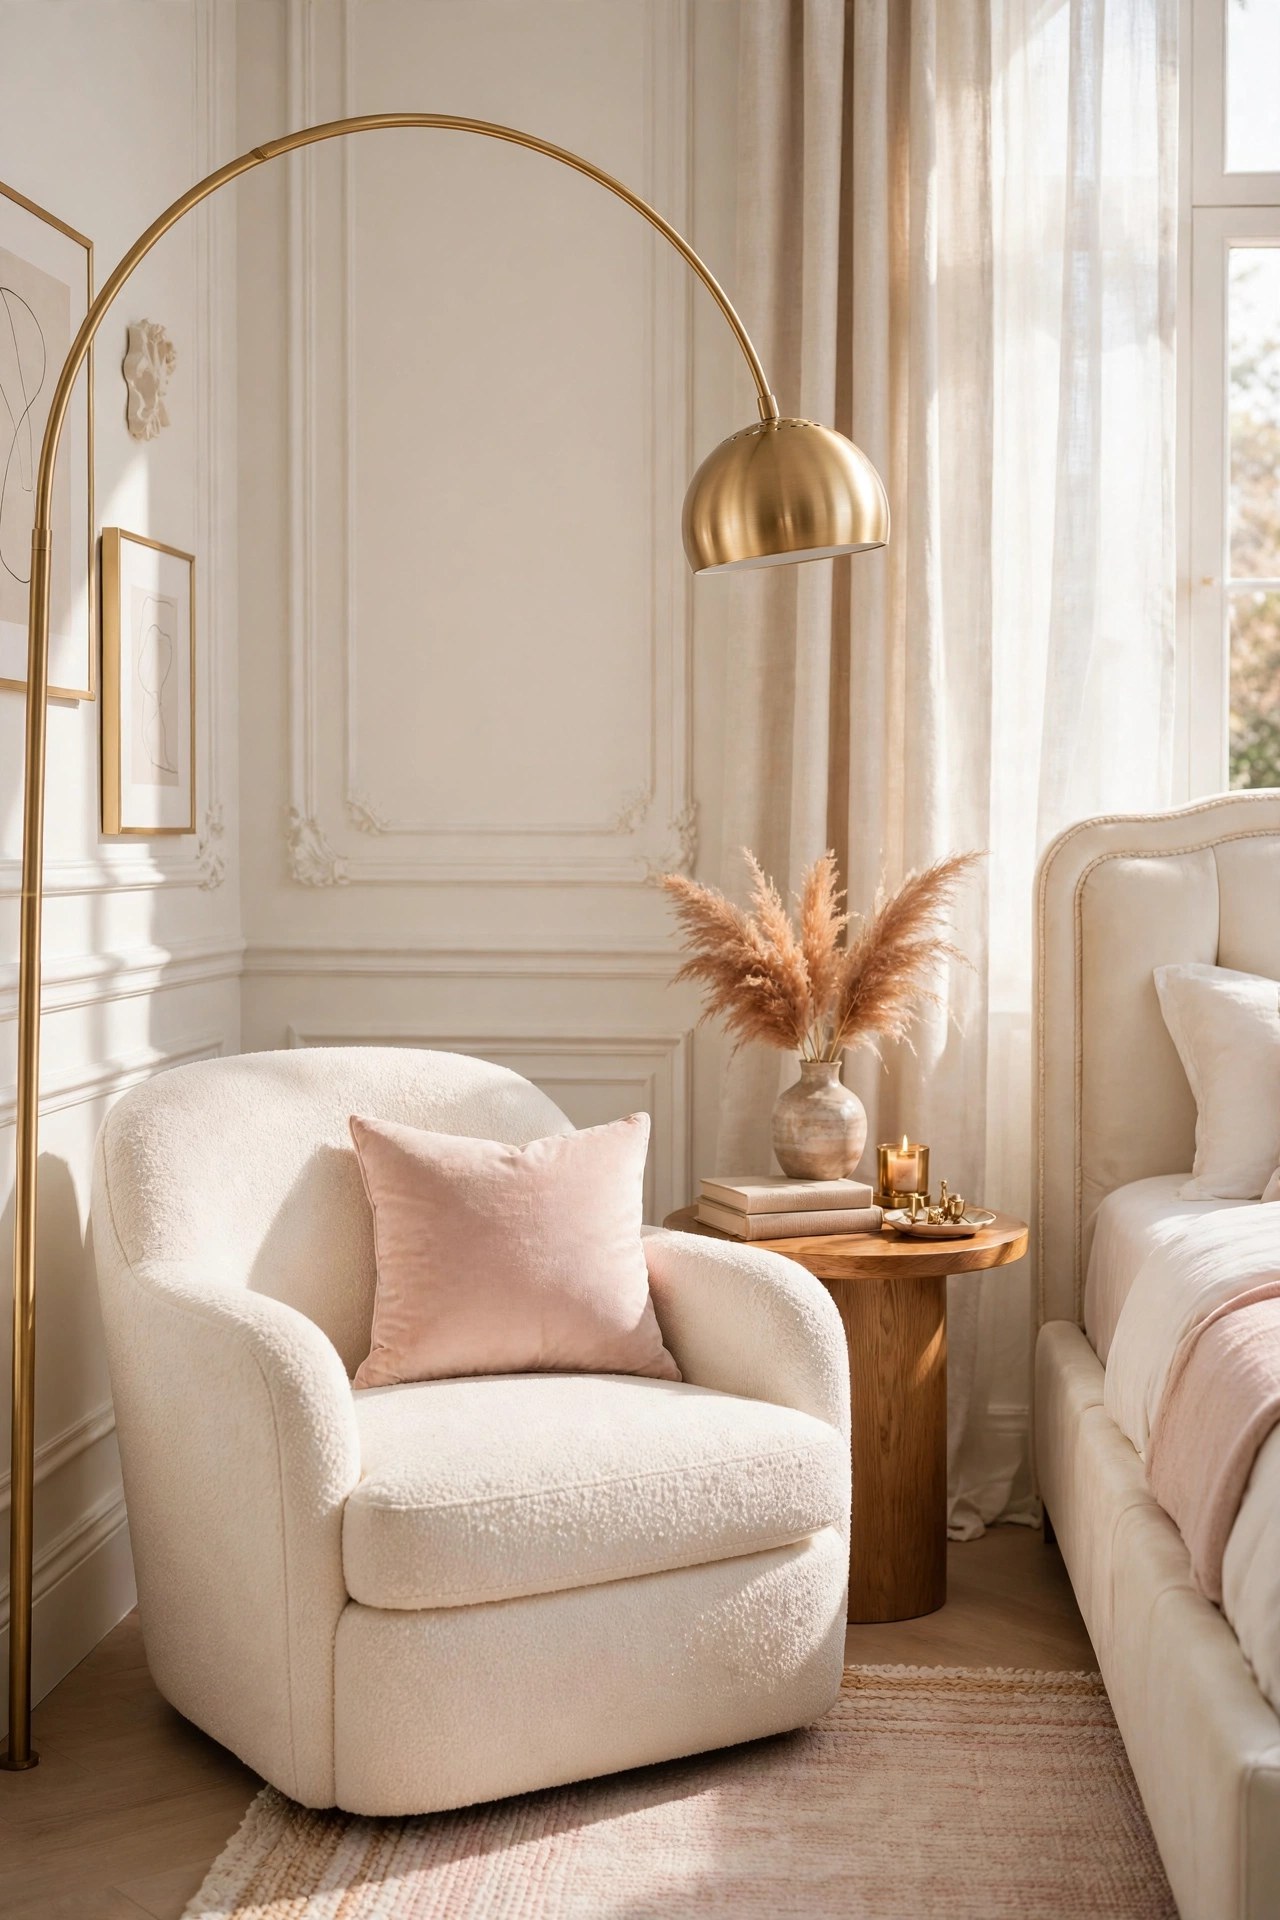
Every bedroom has one corner the bed lights never reach. An arched floor lamp turns it into the reading seat: the base stays in the corner while the arm curves light over the chair, so the glow lands on a book instead of the wall. Brushed gold keeps it in the palette, and a weighted base matters because an arch is top heavy. It is also the easiest way to add a third light height to a room.
Best For: Bedrooms with a chair corner, a dressing corner or any dark corner away from the bed.
Not Ideal For: Rooms where the only corner is a walkway; an arch needs a still zone, not a route.
Estimated Cost: $90-$220 (estimate) for a brushed gold arched floor lamp with a weighted base.
Budget Note: A floor lamp plus a chair you already own is far cheaper than building a lit dressing area or window seat.
Renter Friendly: Yes
Renter Note: Fully freestanding; place the base so the cord runs along the wall, never across the walking line.
What You Need
Arched floor lamp with weighted base and linen or metal shade, warm white bulb, reading chair, small side table.
Product type to look for: An arch at least 70 inches tall with a base heavy enough to hold the curve without flex, and a shade that points the light down onto the seat.
How To Do It
- Set the chair in the corner first, angled into the room, and mark where a reader would sit.
- Place the lamp base behind or beside the chair so the arm curves over the seat.
- Adjust the arm until the shade centre sits above the reader lap position.
- Test it seated with a book before fixing the final position of the side table.
Pro Tip
Point the arch over the shoulder side you read from, not straight overhead. Side light on a page is kinder and stops the shade crowding your head.
8. Light the Dressing Table With Vanity Lights
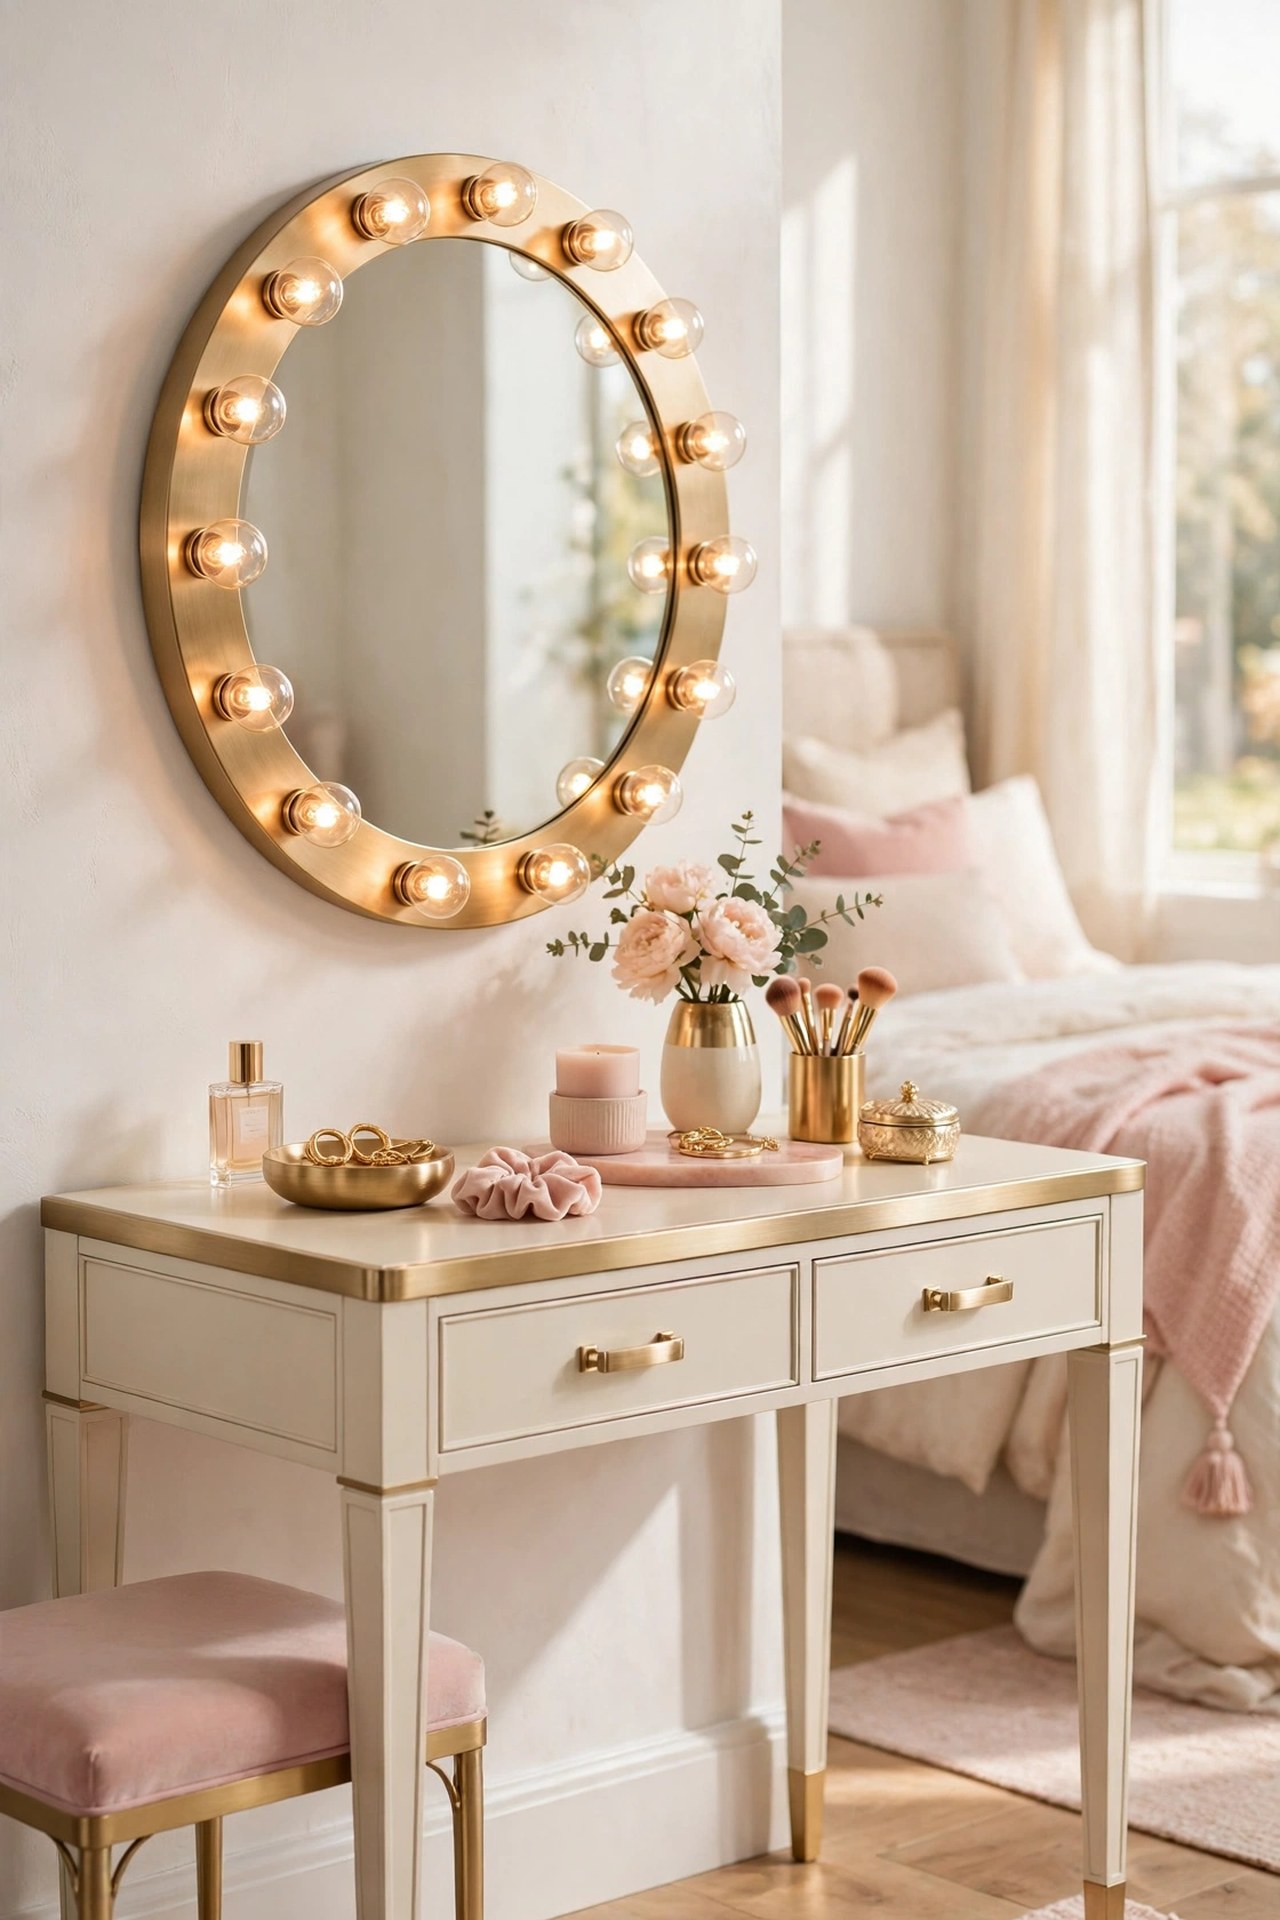
Makeup and skincare done under a single ceiling light always look different in daylight, because overhead light shadows the eyes and chin. Vanity lighting fixes the angle: bulbs or a light bar at face height, on both sides of the mirror or framed around it, light the face evenly with no shadow line. In the glam palette, round warm bulbs around a gold framed mirror double as decor, giving the dressing corner the old dressing room feel even in a small bedroom. Keep the bulbs warm white rather than daylight white; very cool vanity light is accurate but harsh, and it will clash with the rest of the room at night.
Best For: Any bedroom with a dressing table, desk vanity or mirror over a dresser.
Not Ideal For: Rooms where the mirror faces the bed directly; bright vanity bulbs at night will shine straight at a partner in bed.
Estimated Cost: $35-$110 (estimate) for a stick-on or framed vanity bulb set with dimmer.
Budget Note: Stick-on bulb strips that wire into one plug cost a fraction of a new lit mirror and fit the mirror you already have.
Renter Friendly: Yes
Renter Note: Adhesive bulb strips and plug-in bars need no fixings; wired-in lit mirrors are the version to avoid in a rental.
What You Need
Vanity bulb strip, bar or framed lit mirror, existing mirror, dimmer if not built in, microfibre cloth.
Product type to look for: Warm white bulbs around 2700K to 3000K with a dimmer, spaced evenly, and a finish that matches your other gold pieces.
How To Do It
- Clean the mirror edge or wall line where the bulbs will sit so adhesive or fixings hold.
- Space the bulbs evenly on both sides of the mirror at face height, or frame the full mirror if using a strip.
- Route the cable down one side, out of the reflection, to the socket.
- Sit at the stool and check for shadows under the eyes; adjust bulb height before final fixing.
Pro Tip
Dim the vanity lights for evening skincare and raise them only for makeup. One setting for both jobs is why dressing corners often feel too bright at night. For a calmer overall scheme that suits this softer light, see the approach in japandi bedroom
9. Drape Fairy Lights Over a Canopy or Headboard
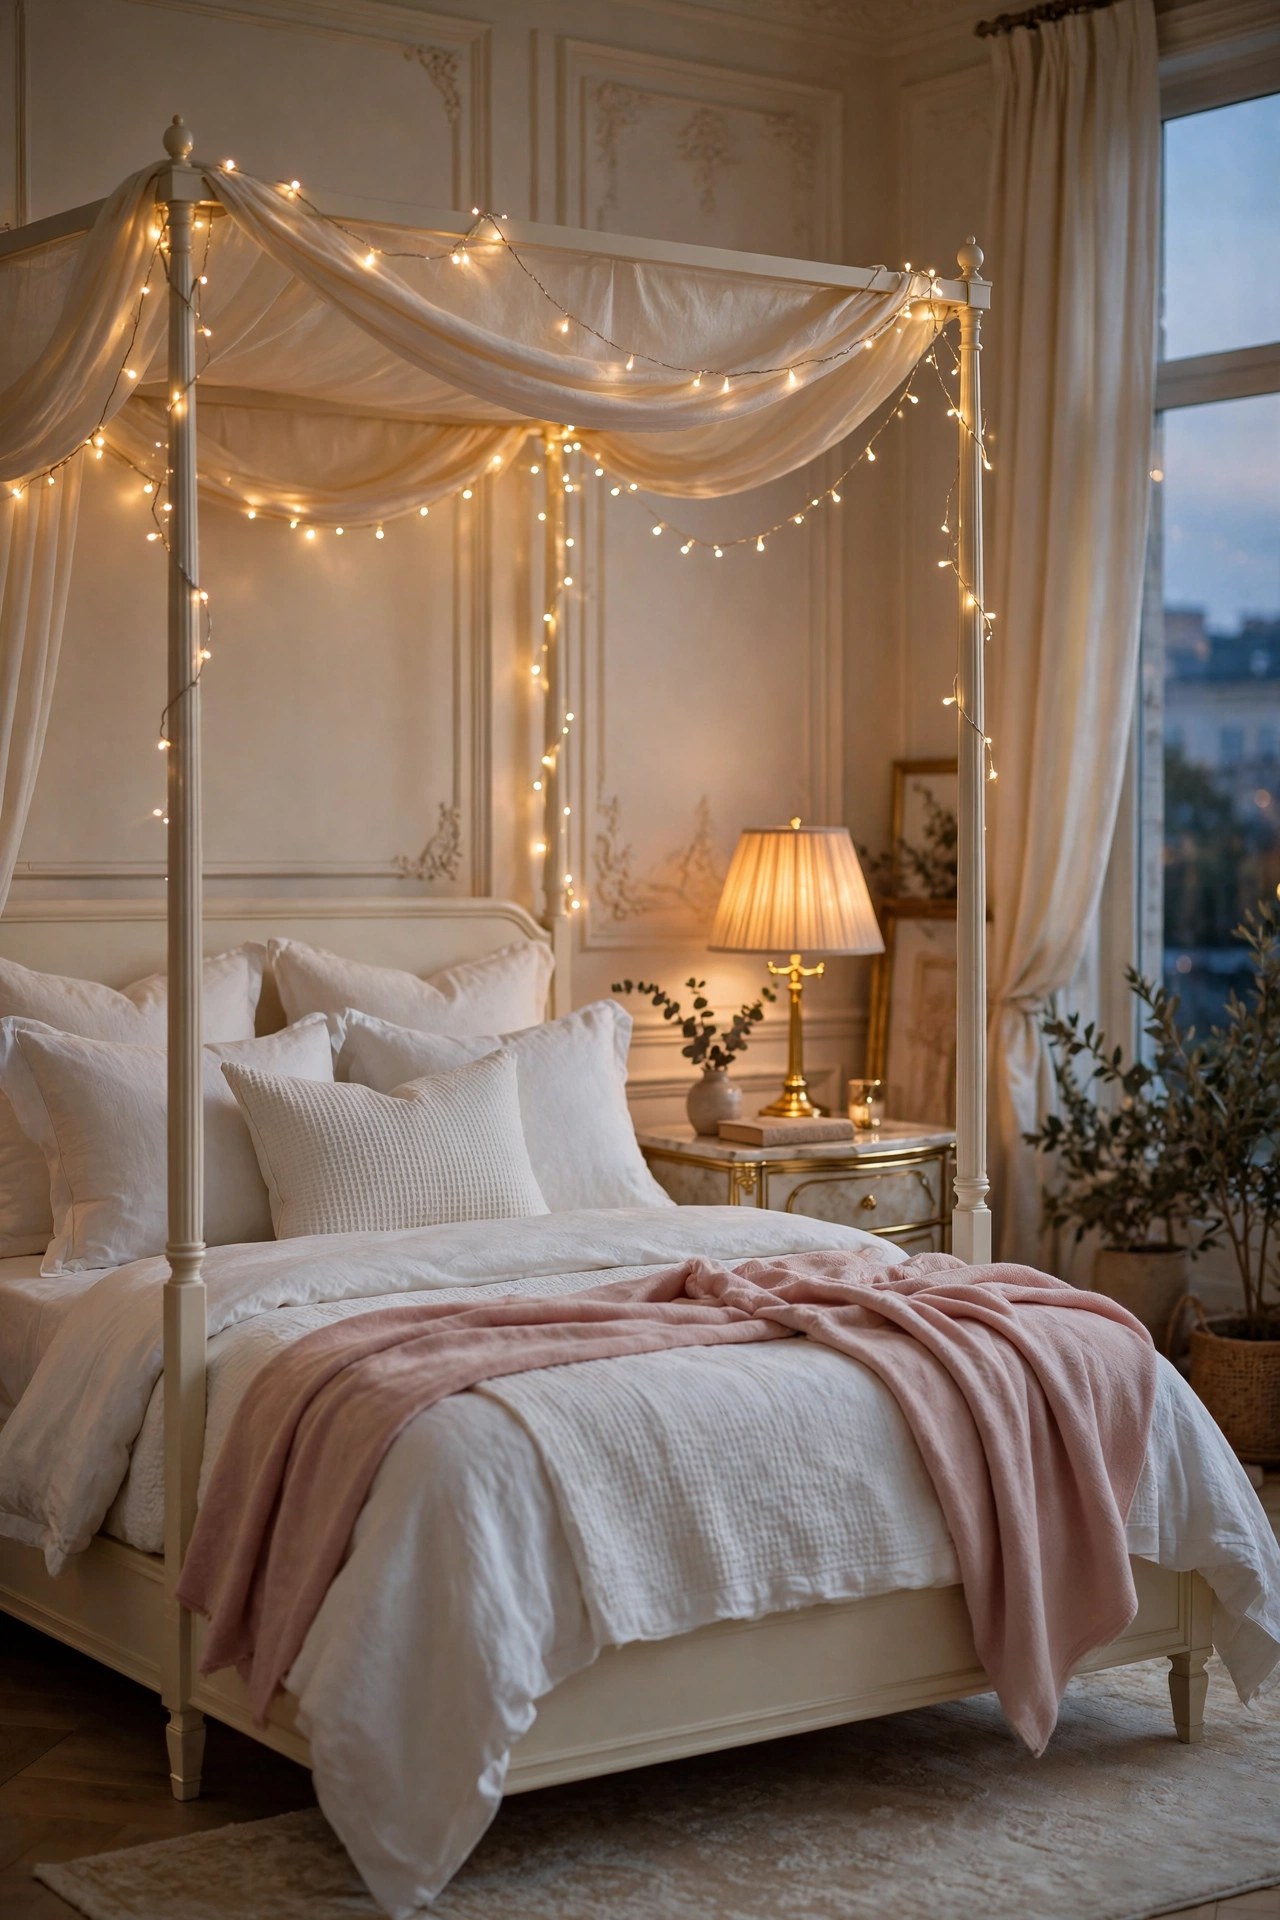
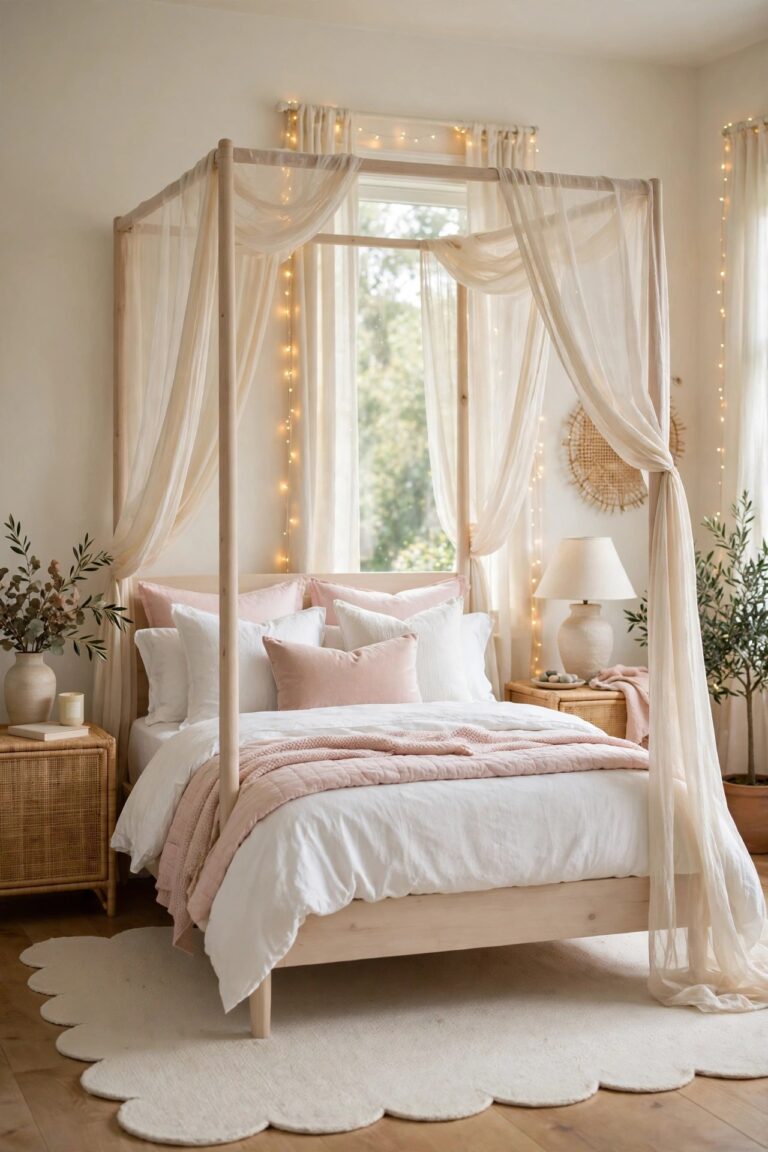
Fairy lights earn their place in a grown up bedroom as one soft layer, not the main event. Draped along a canopy frame, a tall headboard or a curtain rod, a warm white string softens hard furniture lines and gives a glow low enough for the last half hour before sleep. The glam version uses warm white lights on clear or gold wire, in loose swags rather than tight wraps, paired with real lamps elsewhere. Battery sets with a timer are the practical choice.
Best For: Canopy beds, tall headboards and plain curtain rods that need a soft edge at night.
Not Ideal For: Anyone who dislikes visible wire in daylight; choose the hidden strip in idea 5 instead.
Estimated Cost: $15-$45 (estimate) for a warm white fairy light string with timer.
Budget Note: The lowest cost idea in the list after the LED strip, and the fastest to install.
Renter Friendly: Yes
Renter Note: No fixings needed if draped; use removable hooks rather than tape on painted walls.
What You Need
Warm white fairy light string on gold or clear wire, battery pack or plug with timer, removable hooks if needed.
Product type to look for: Warm white, not multicolour or cool white, with a timer function and a wire colour that disappears against your frame or wall.
How To Do It
- Decide the line first, canopy top rail, headboard edge or curtain rod, and measure its length.
- Drape the string in loose, even swags, stepping back after each swag to check the spacing.
- Hide the battery pack or plug behind the headboard or frame leg.
- Set the timer for your normal wind down time and check the glow from the bed at the lowest room light.
Pro Tip
One string, one line. Fairy lights lose their calm the moment they appear in three places at once; pick the bed or the window, never both.
10. Group Candles and Lanterns for a Low Glow
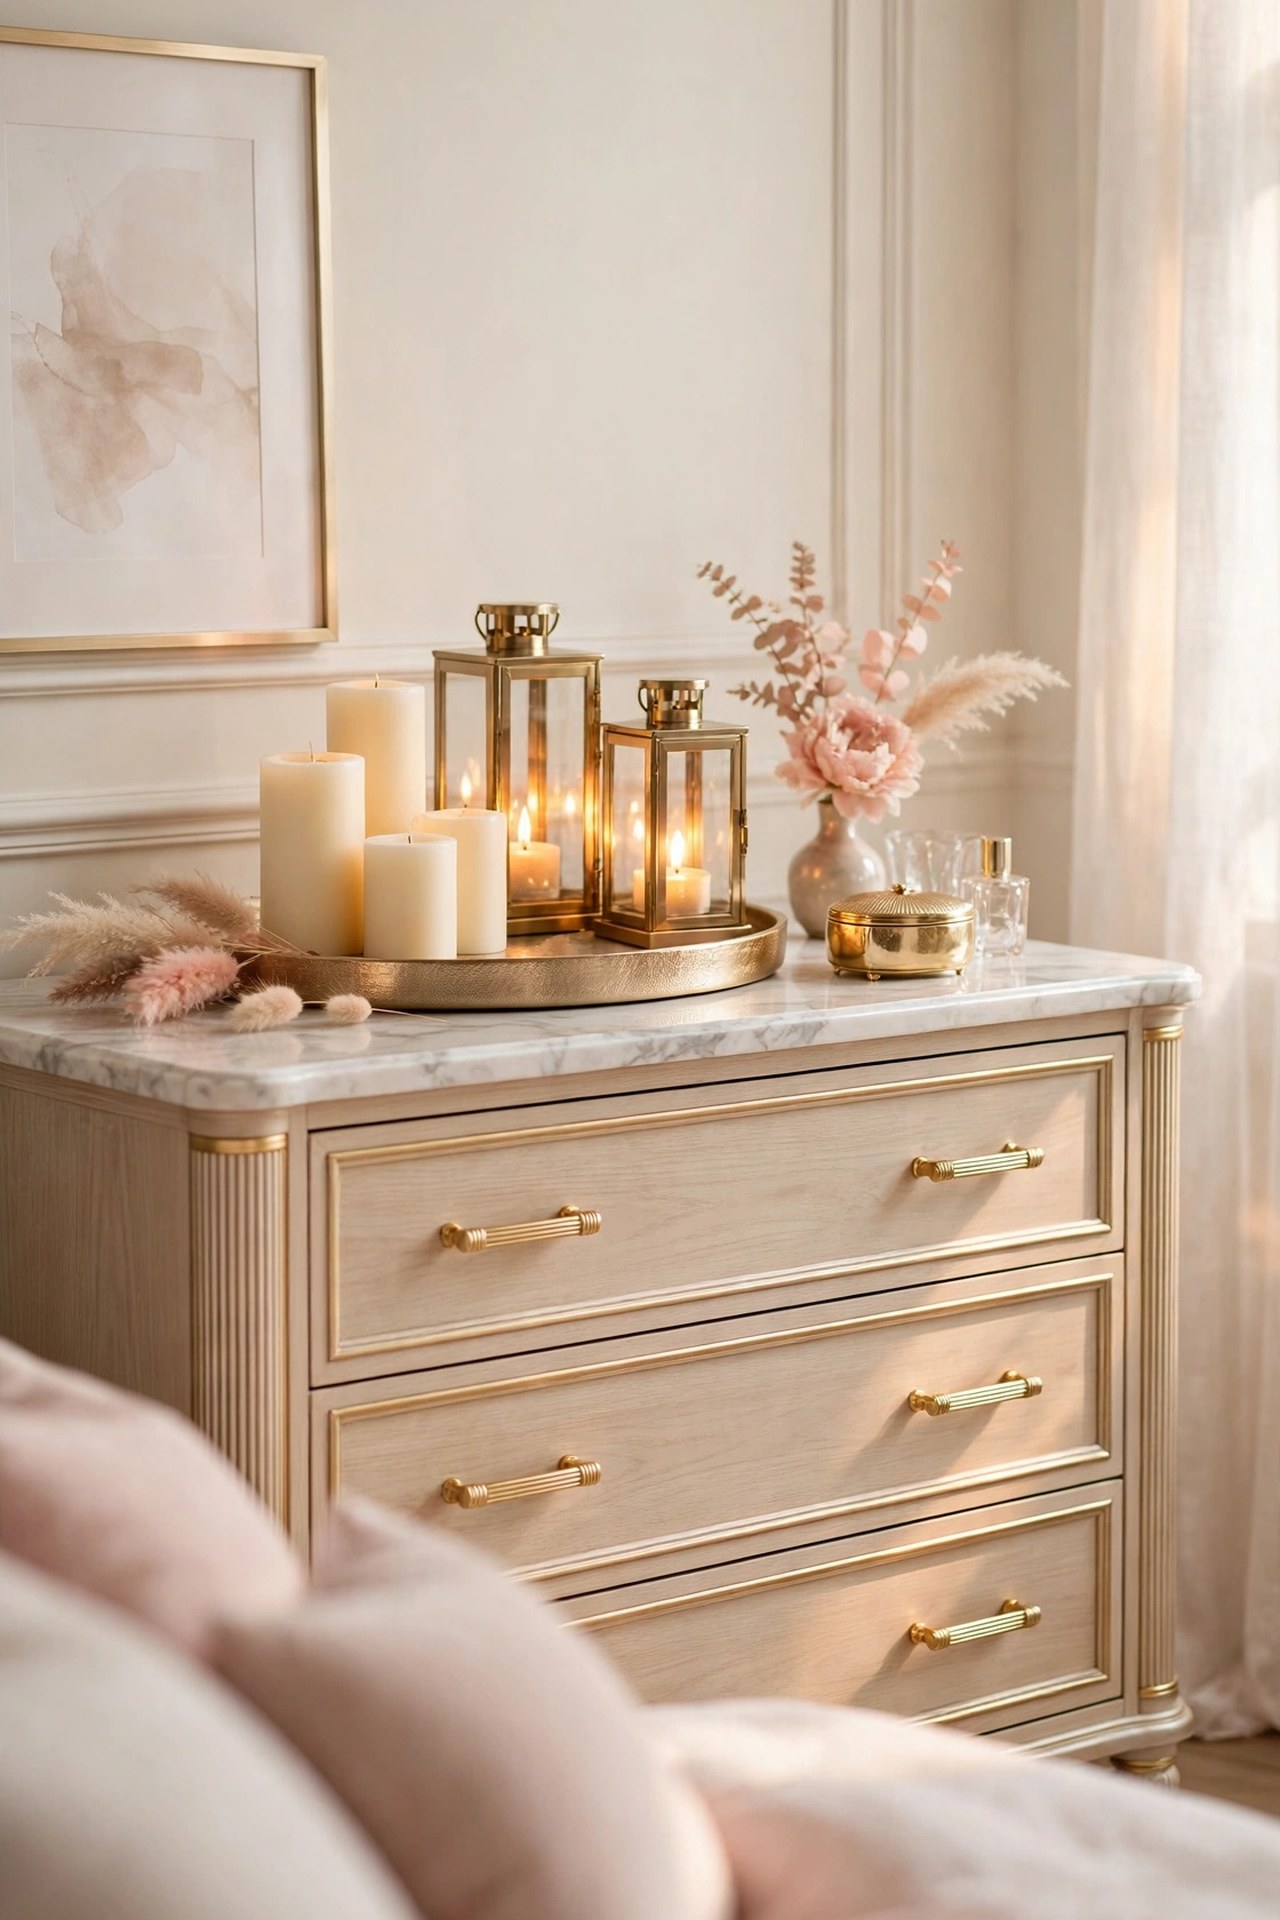
Candlelight sits lower than any lamp, and that low flicker is what makes a bedroom feel calm in a way steady light cannot copy. Grouped on a gold tray on a dresser, three to five candles of different heights read as one styled piece. Flameless candles with a warm flicker setting give the same look with a timer and no fire risk, and they are the sensible choice anywhere near bedding or curtains. Keep real candles inside glass lanterns on a tray, so wax, heat and flame stay contained.
Best For: Dressers, wide windowsills and the top of a low bookcase, anywhere a lamp cord cannot reach.
Not Ideal For: Bedside tables in homes with small children or pets that climb; keep flame and faux flame at dresser height instead.
Estimated Cost: $25-$70 (estimate) for a tray, glass lanterns and a set of flameless or real pillar candles.
Budget Note: Flameless sets with remotes cost more once and nothing per use; real pillars are cheaper to start and ongoing to replace.
Renter Friendly: Yes
Renter Note: Fully freestanding; flameless versions avoid any lease or insurance issue with naked flames.
What You Need
Gold or mirrored tray, three to five pillar candles or flameless candles in graded heights, two glass lanterns or hurricane jars.
Product type to look for: Flameless candles with a warm 2700K flicker tone and a timer, in real wax shells, which look convincing at bedroom distance.
How To Do It
- Set the tray on the dresser or surface and place the tallest candle or lantern at the back.
- Build down in height toward the front, odd numbers only, three or five pieces.
- Leave clear space around the group so it reads as one arrangement, not storage.
- Set timers or light the group at the same time each evening so it becomes part of the wind down routine.
Pro Tip
Match the candle colour to the bedding, cream on cream. White candles against cream bedding look blue by comparison under warm light.
11. Add Cove Lighting for a Soft Ceiling Wash
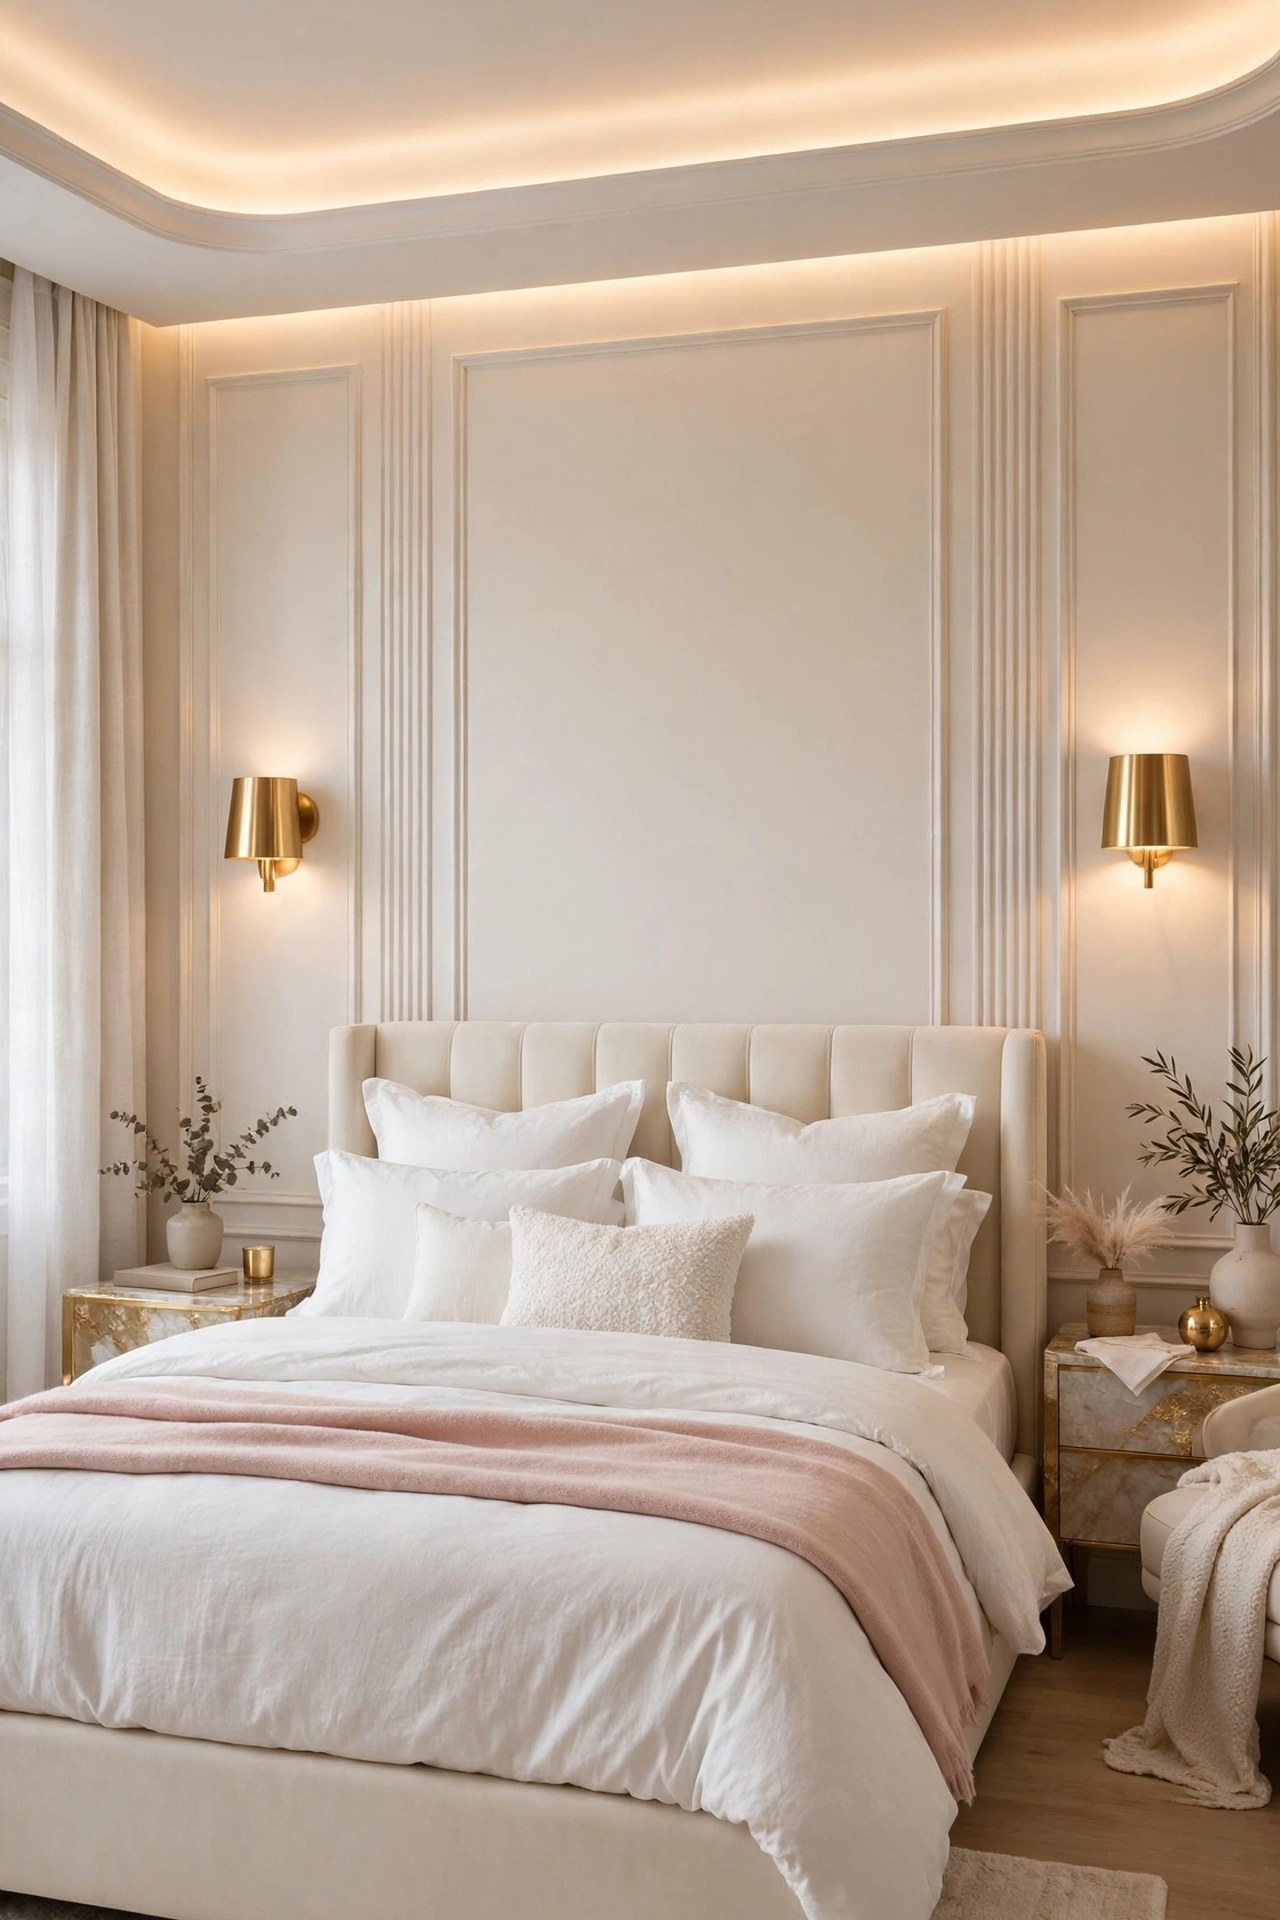
Cove lighting hides a warm strip inside a ceiling recess, a pelmet or the top of built in wardrobes, so the ceiling itself becomes the light source. The effect is the softest in this list: no visible fitting, no glare, just a warm wash that makes the ceiling feel higher. It works best as the evening layer, paired with sconces or lamps for reading. Where a full cove is not possible, a strip along a wardrobe top or pelmet gives most of the same effect for less work.
Best For: Main bedrooms being renovated, and rooms with built in wardrobes or a curtain pelmet already in place.
Not Ideal For: Quick updates with no recess to hide the strip; an exposed strip on a flat ceiling looks like a fault line.
Estimated Cost: $80-$250 (estimate) for strip, channel and fitting along one wall, more for a full ceiling cove.
Budget Note: The wardrobe top version delivers most of the effect at strip lighting prices, with no ceiling work at all.
Renter Friendly: No
Renter Note: A true ceiling cove is building work; renters can copy the glow with idea 5 behind the headboard instead.
What You Need
Warm white LED strip, aluminium channel with diffuser, power supply, dimmer, measuring tape.
Product type to look for: A strip and channel sold as a pair, with a diffuser that removes individual LED dots, at 2700K to match the rest of the room.
How To Do It
- Choose the recess line, ceiling edge, pelmet or wardrobe top, and measure the full run.
- Fit the channel first, then press the strip into it so the light aims at the ceiling or wall, never into the room.
- Connect the power supply at the least visible end and hide it inside the recess or wardrobe top.
- Dim the cove to a low wash and check from the bed that no single LED point is visible.
Pro Tip
Aim cove light at the largest plain surface, usually the ceiling. The bigger the surface it washes, the softer and more expensive the effect feels.
12. Fit Picture Lights Over Art Above the Bed
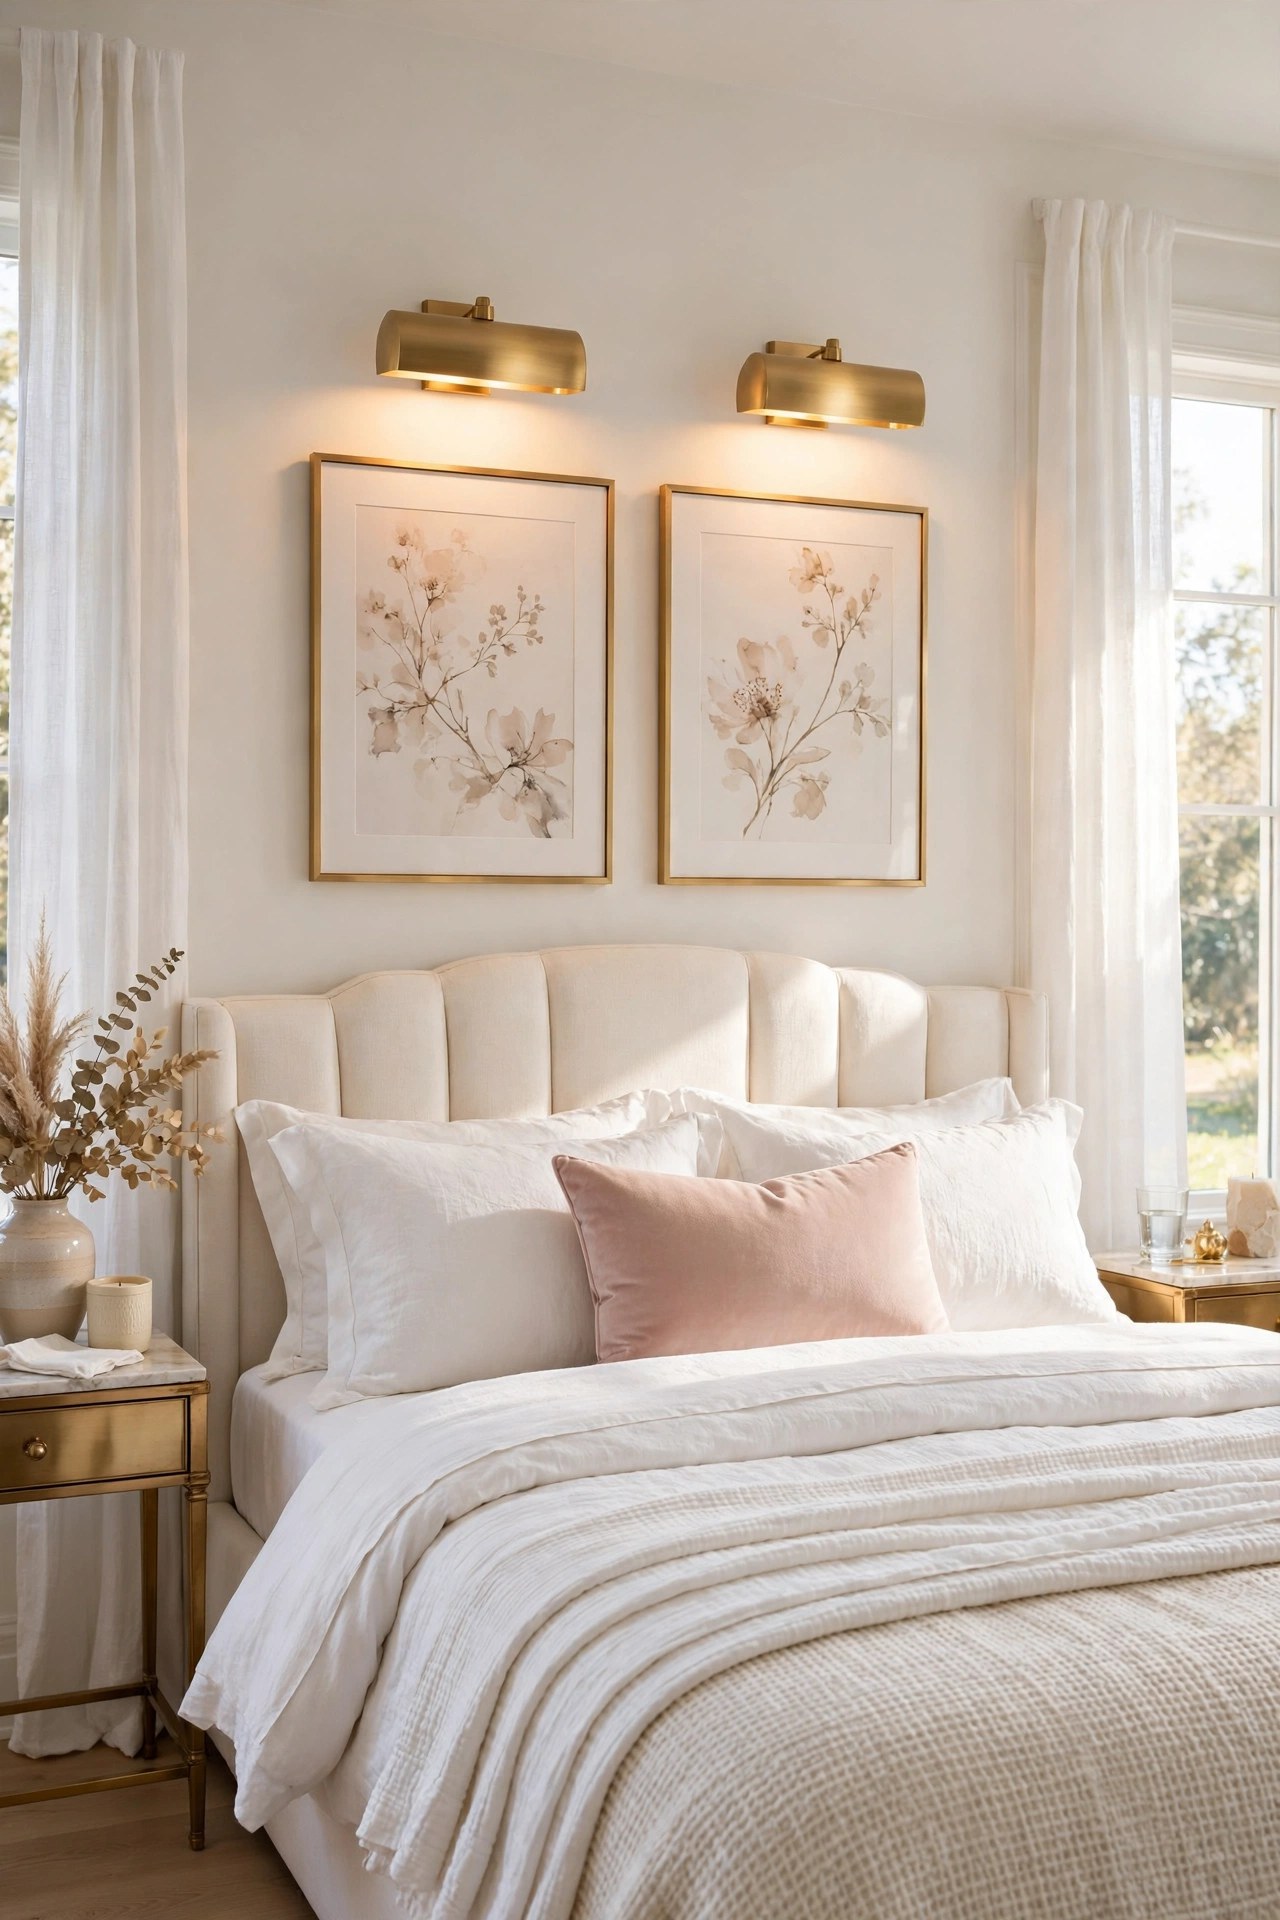
Art above the bed often disappears after dark. A slim picture light in brushed gold, mounted above the frame, washes the artwork in its own warm pool and turns the headboard wall into a lit gallery wall at night. Battery models with a remote make this simple: no wiring, just two screws or a frame clip. Scale the light to half to two thirds of the frame width, and match the finish to your sconces. Rooms styled in the softer direction of modern luxury bedroom use this layer often, because it gives a calm focal point without adding another lamp.
Best For: Bedrooms with one strong piece of art or a framed pair above the headboard.
Not Ideal For: Gallery walls of many small frames; one picture light per frame quickly looks busy.
Estimated Cost: $30-$90 (estimate) for a battery picture light with remote in brushed gold.
Budget Note: Battery models cost more than wired ones per fitting but save the full electrician bill.
Renter Friendly: Yes
Renter Note: Frame clip versions need no wall holes at all; screw fixed versions leave two small holes per light.
What You Need
Picture light sized to the frame, batteries or charger, remote, level, fixings or frame clip.
Product type to look for: A warm white picture light with a dimmer remote, a head that angles toward the art, and a length between half and two thirds of the frame width.
How To Do It
- Centre the light above the frame and mark the fixing line with the level.
- Fix the bracket or clip the light to the frame, depending on the model.
- Angle the head so the wash covers the art evenly with no hot spot at the top.
- Test it at night with the other lights low; the art should glow, not glare.
Pro Tip
Charge or change the batteries before guests or photos, not after. A picture light at half charge gives a dull orange wash that cheapens the art it was meant to lift.
13. Add Swing Arm Reading Lights at Pillow Height
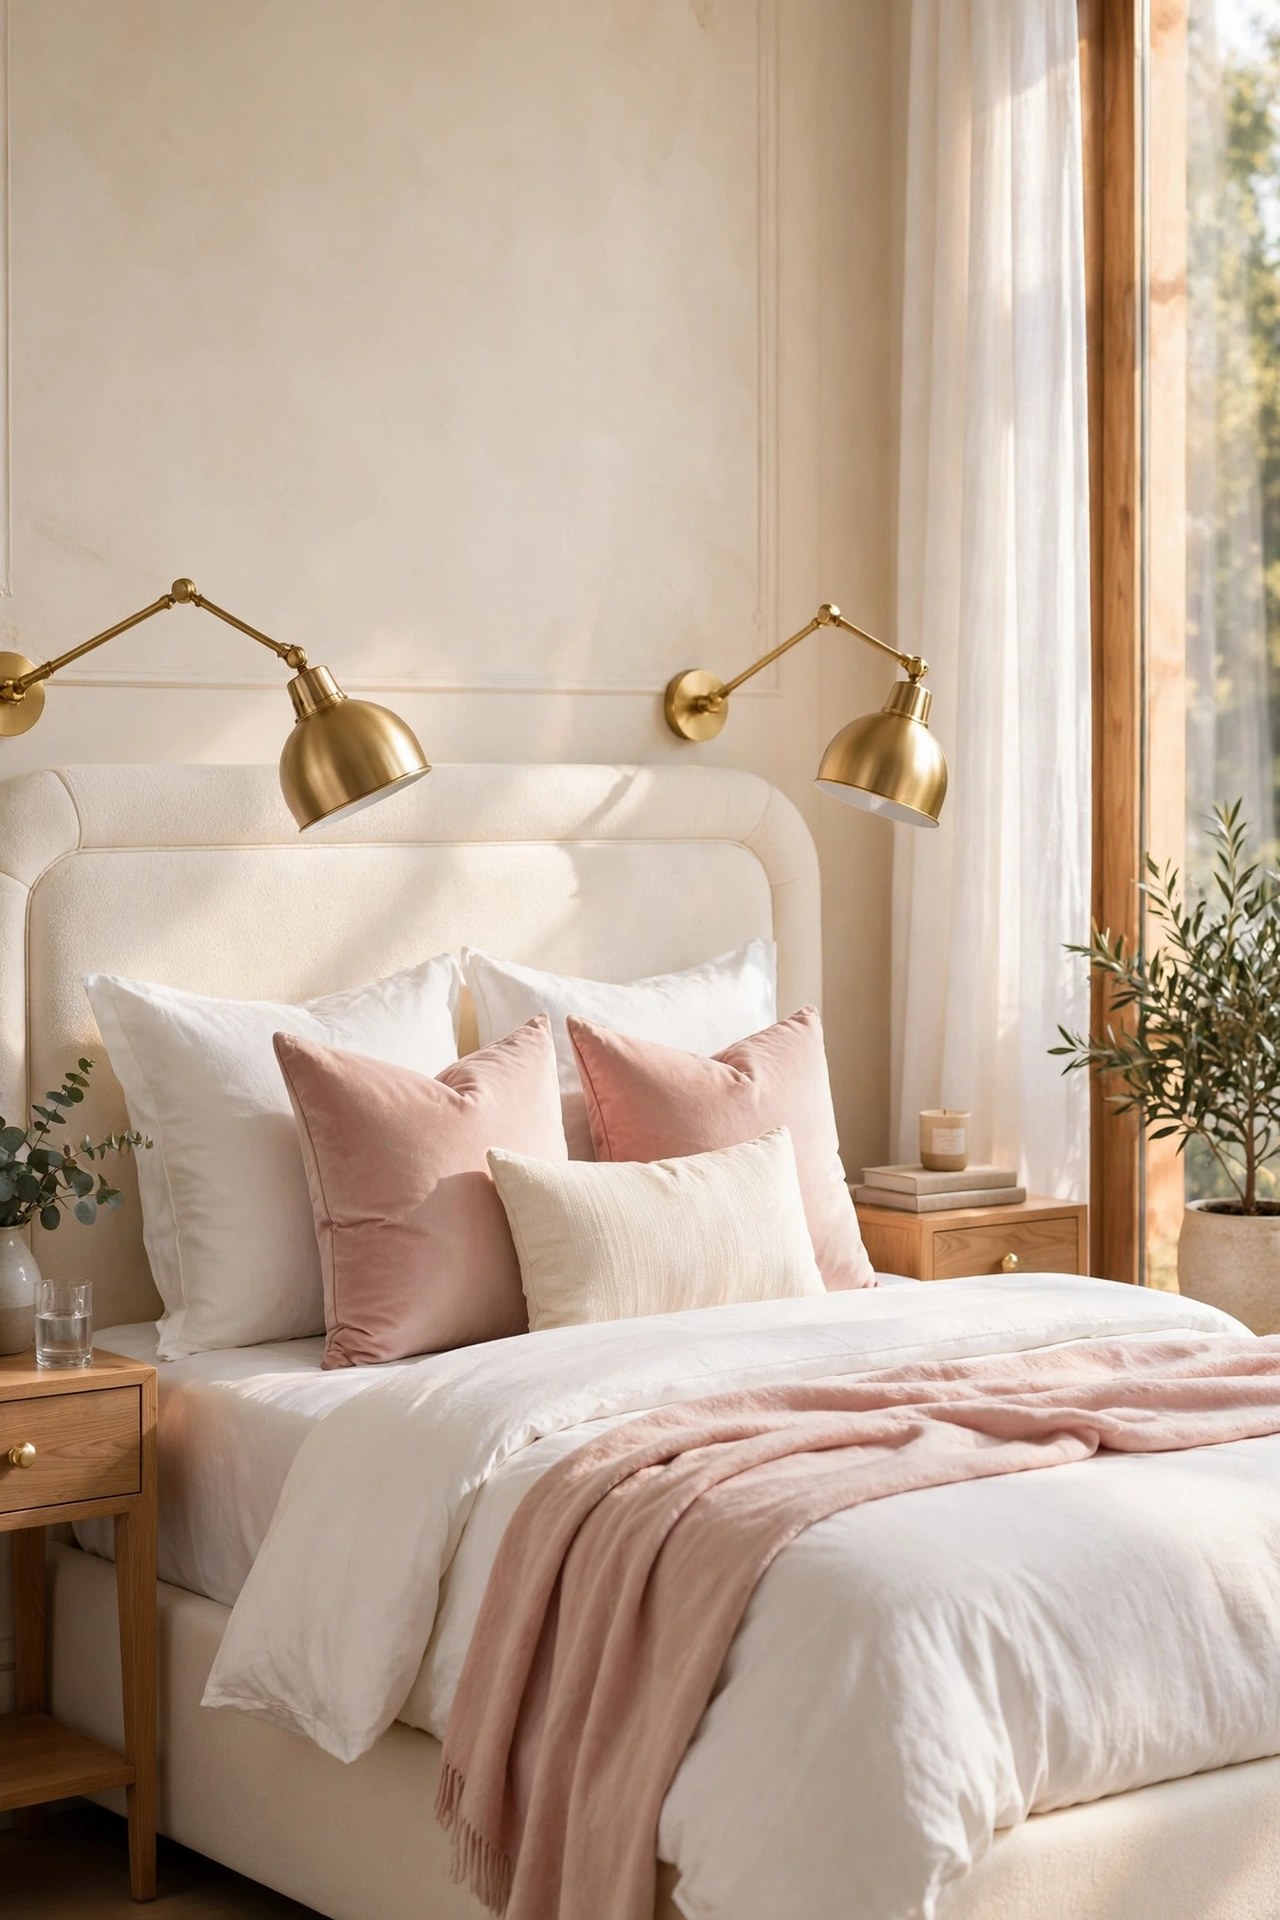
Sconces light the room; reading lights light the page. A small swing arm light mounted at pillow height, or clipped to the headboard, puts a focused beam exactly on a book without lighting the whole bed, which is the difference between reading in bed and keeping a partner awake. Brushed gold arms with a small shade keep the fitting in the palette, and the arm folds flat against the wall or headboard when not in use. This is a second layer beside the bed, not a replacement for sconces: the sconce gives the glow, the reading light does the work.
Best For: Couples where one person reads later than the other, and anyone who reads paper books in bed.
Not Ideal For: Very soft upholstered headboards with no firm fixing point; choose a clip model or a floor version.
Estimated Cost: $40-$110 (estimate) for a pair of swing arm or clip on reading lights.
Budget Note: Clip on models cost less and move with the bed; wall fixed arms cost more and look more built in.
Renter Friendly: With Conditions
Renter Note: Clip on versions are fully renter safe; wall fixed arms need two screws each, like the sconces in idea 1.
What You Need
Pair of swing arm or clip on reading lights in brushed gold, warm white bulbs if separate, fixings or clips.
Product type to look for: A light with a head that angles down at least 45 degrees, a switch reachable from the pillow, and a beam narrow enough to stay on one side of the bed.
How To Do It
- Sit in bed in your normal reading position and mark where the light needs to sit, above and behind the shoulder.
- Fix or clip both lights at that height, matched on both sides of the bed.
- Angle each head down onto the book position and test with a real book, not an empty bed.
- Fold or swing the arms flat and confirm they sit neatly when not in use.
Pro Tip
Test the beam width with the room lights off. A reading light that spills across the whole bed is just a second sconce; the value is in the narrow beam.
14. Run a Soft Light Strip Under the Bed
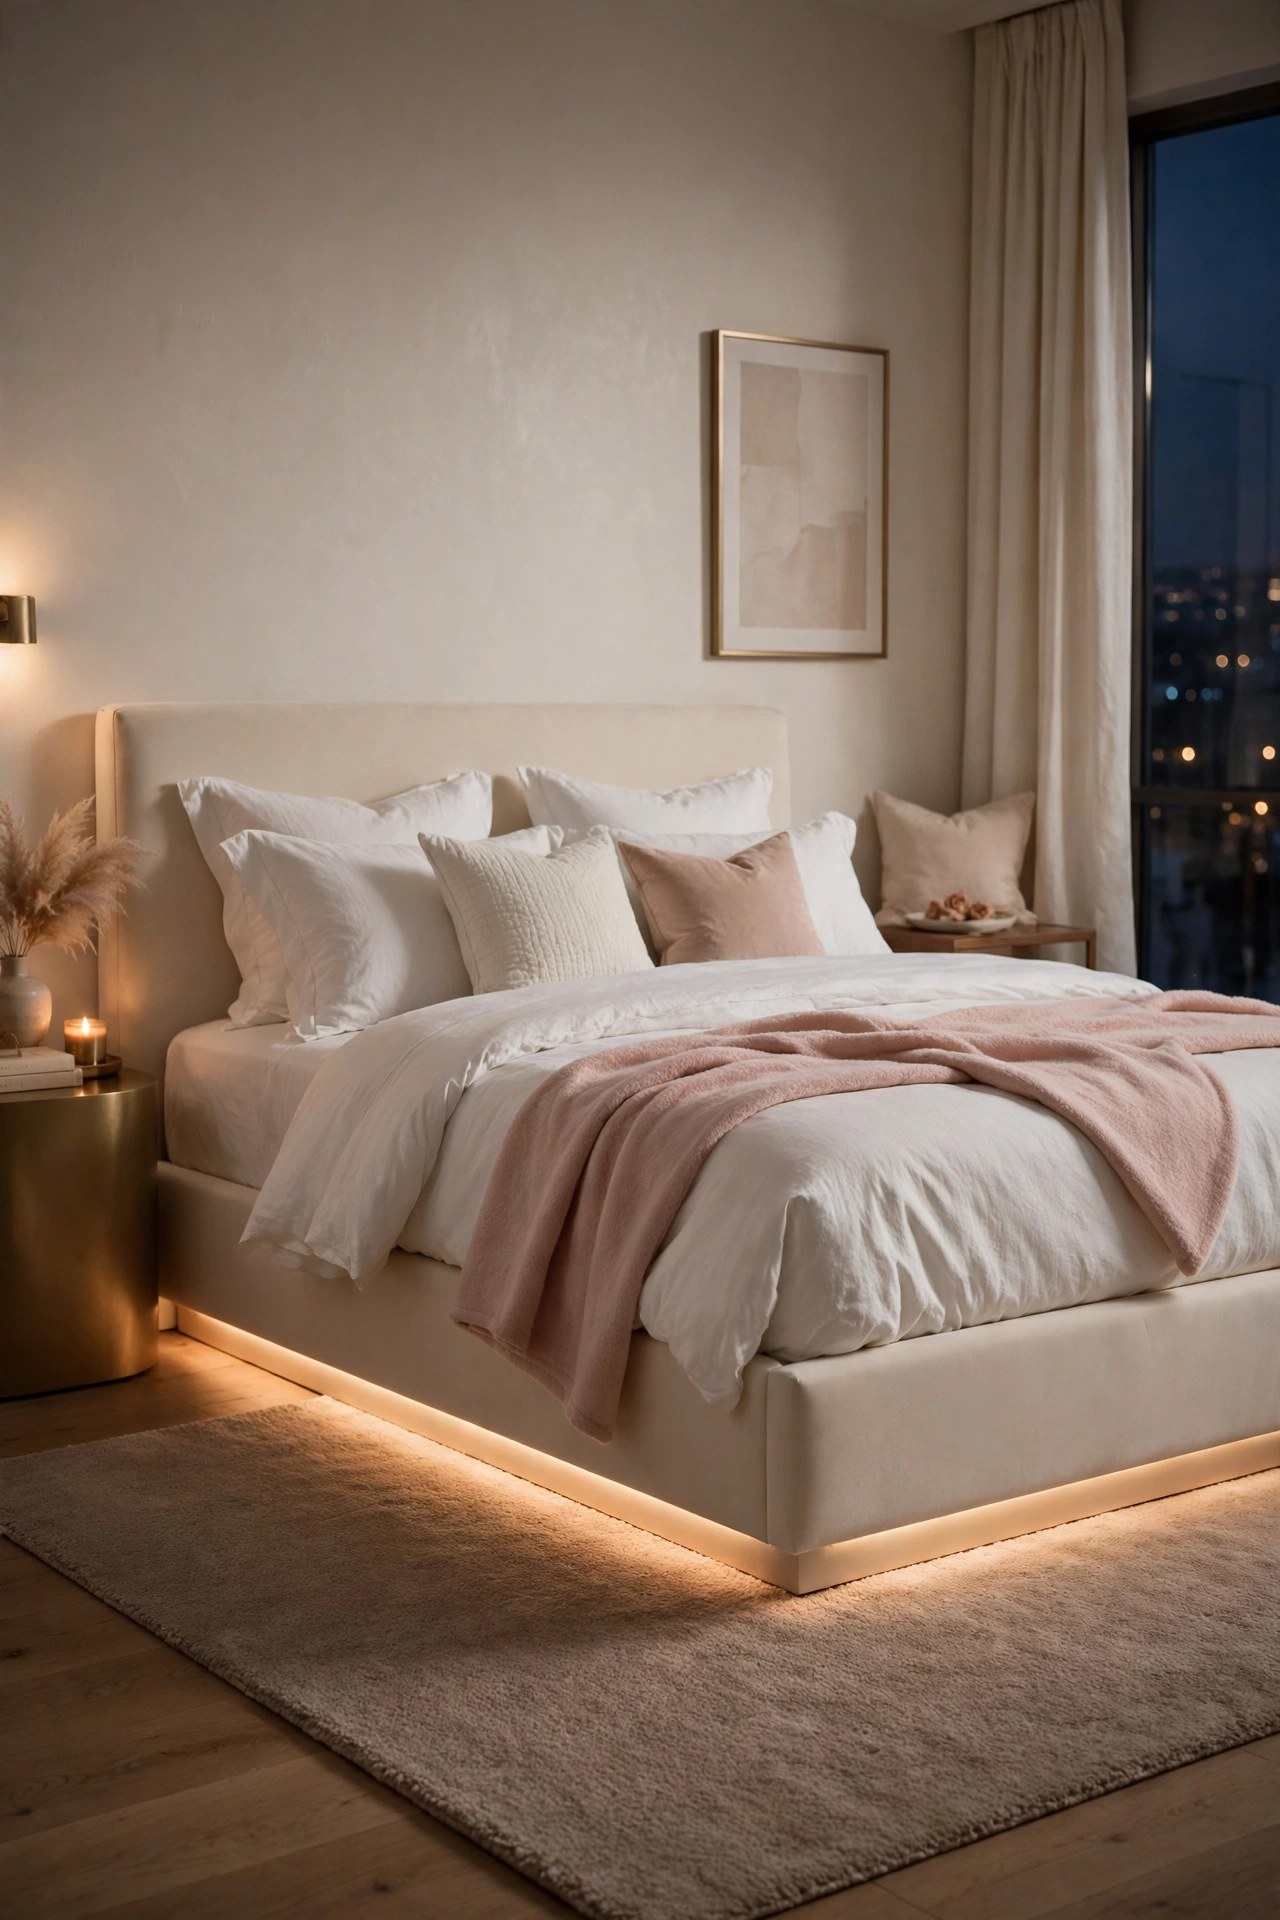
Under bed lighting solves the oldest bedroom problem: getting up at night without switching on a light that fully wakes you or a partner. A warm strip fixed under the frame rails casts a low pool of light at floor level, enough to see the floor, the slippers and the door line, and nothing more. Motion sensor versions are the practical standard, switching on when feet reach the floor and off again after a short delay. During the evening the same strip gives the bed a gentle floating effect that pairs well with the headboard glow in idea 5, though the two should be on separate controls so the night light can stay subtle.
Best For: Anyone who gets up at night, guest bedrooms, and rooms where a partner sleeps lighter.
Not Ideal For: Beds with storage drawers that fill the under bed space; the strip needs a clear rail to fix to.
Estimated Cost: $20-$55 (estimate) for a motion sensor under bed light strip for both sides.
Budget Note: One of the cheapest ideas in the list, and the one most likely to be used every single night.
Renter Friendly: Yes
Renter Note: Adhesive fixing only, and it removes with gentle heat; no wiring beyond one plug or battery pack.
What You Need
Motion sensor LED strip sized for both sides of the bed, adhesive clips, power supply or batteries.
Product type to look for: A warm white strip with a motion sensor, an adjustable timer, and brightness that can be set low; daylight white versions feel clinical at night.
How To Do It
- Measure both long rails of the bed frame and cut or order the strip to match.
- Fix the strip under each rail facing down, set back from the edge so the strip itself is hidden.
- Place the sensors at the head end of each side, where feet first reach the floor.
- Test it in real darkness and set the brightness to the lowest level that still shows the floor clearly.
Pro Tip
Set the timer short, around 30 to 60 seconds. A night light that stays on for five minutes lights the room long after you are back in bed.
15. Layer All Three Heights With Dimmers
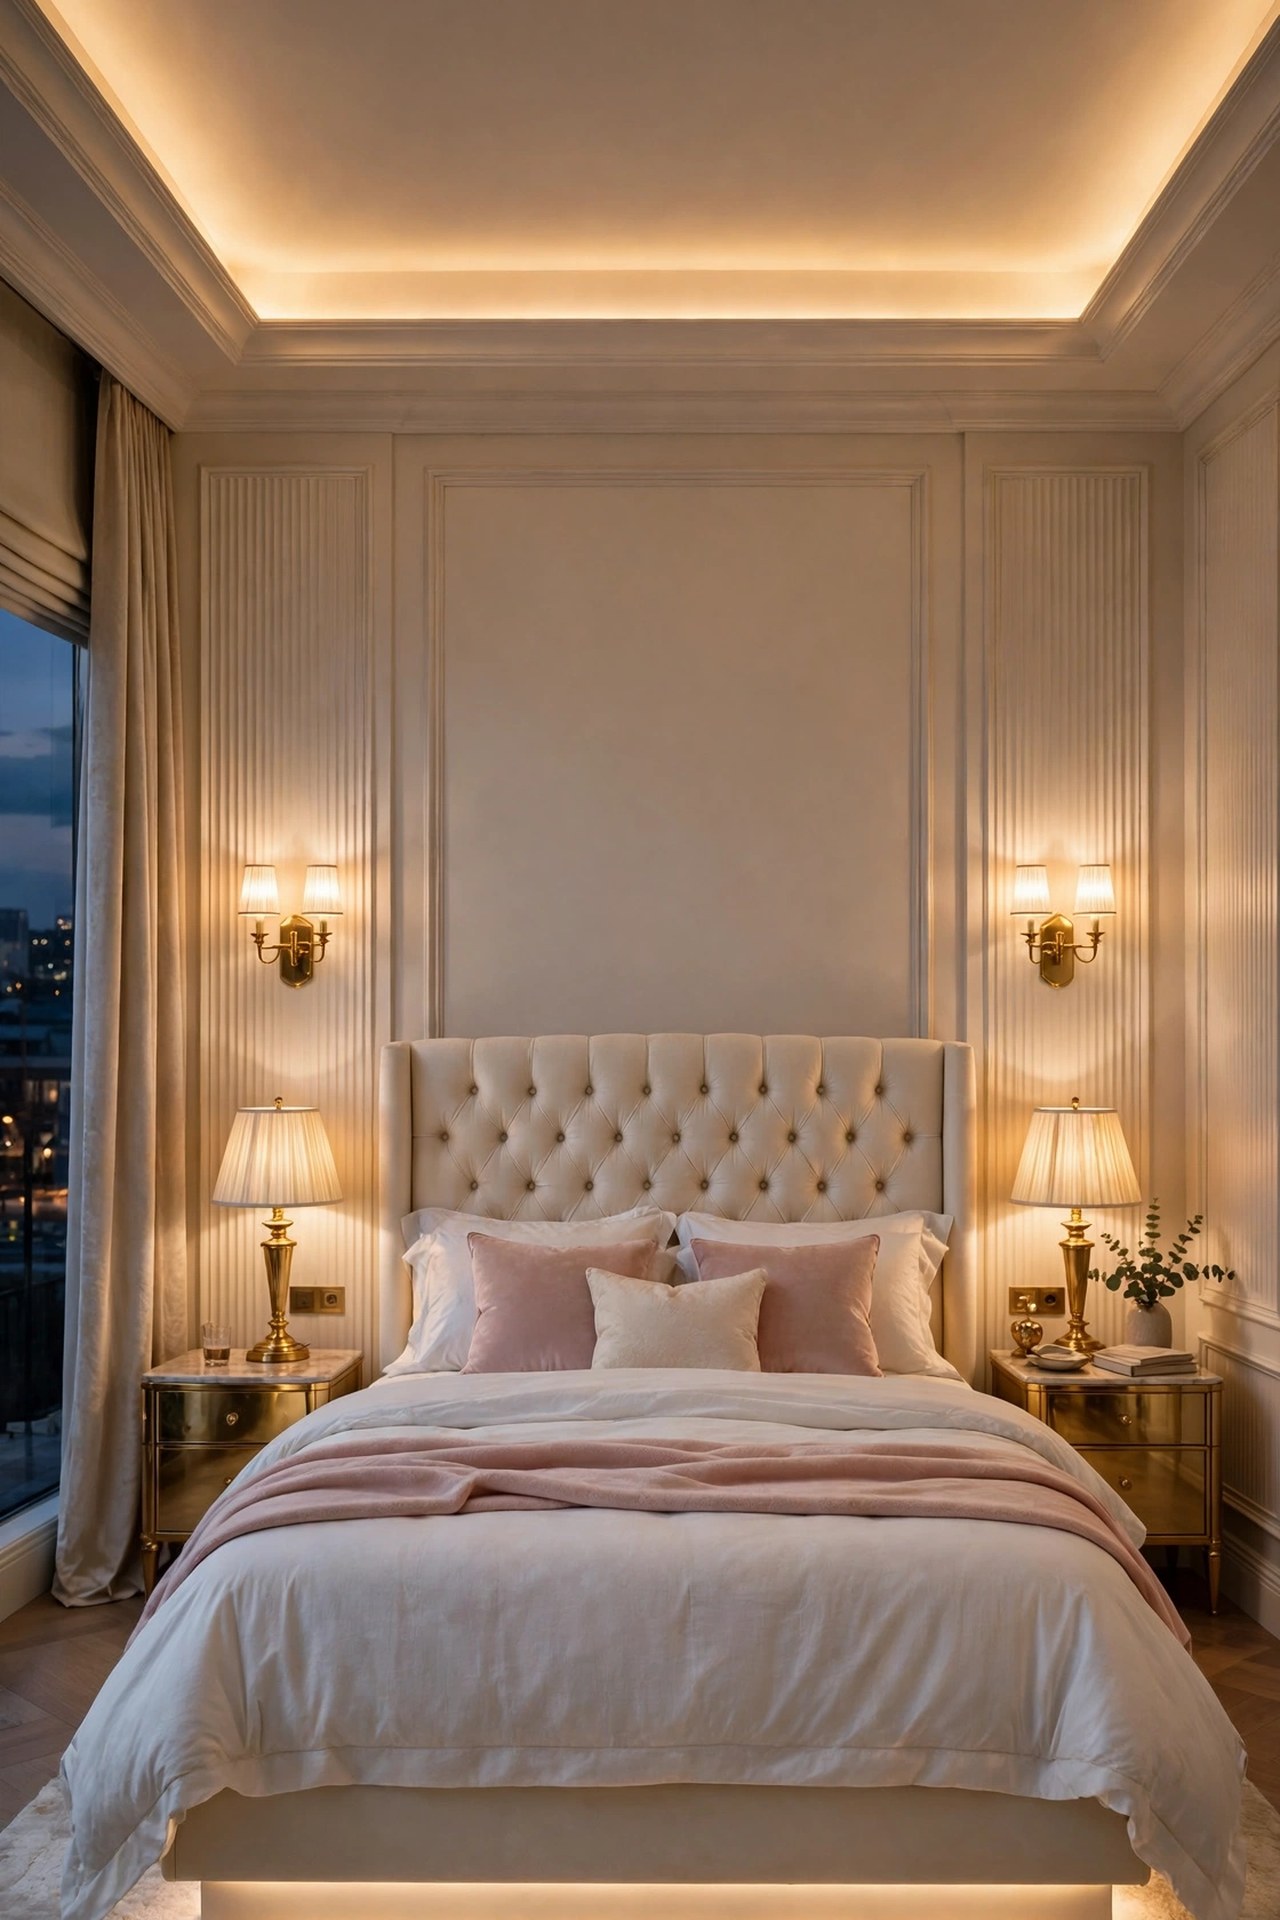
The final idea is the system that makes the others work together: light at three heights, each on its own dimmer. Ceiling light handles dressing at full power and drops to a wash in the evening. Bed height light does the reading and the glow. Low light, the headboard halo, under bed strip or candles, carries the night. Dimmed separately, the same bedroom is bright at 7 in the morning and calm at 10 at night. This layering also gives softer schemes their depth, as shown in aesthetic bedroom ideas
Best For: Main bedrooms used for sleeping, reading, dressing and winding down in one space.
Not Ideal For: Spare rooms used only for sleep, where one good lamp pair is honestly enough.
Estimated Cost: $30-$120 (estimate) for plug in dimmers, smart bulbs or dimmer switches to control existing layers.
Budget Note: Start with plug in dimmers and smart bulbs on the lamps you own; rewiring switches is the last step, not the first.
Renter Friendly: Yes
Renter Note: Plug in dimmers and smart bulbs need no wiring and leave with you; in wall dimmer switches need landlord permission.
What You Need
Plug in dimmer units or smart bulbs for each lamp layer, labels for switches, a note of which light sits on which control.
Product type to look for: Dimmers and bulbs that reach a true low glow without flicker, all in the same 2700K warm white family as your other bulbs.
How To Do It
- List every light in the room and group it into ceiling, bed height and low layers.
- Put each layer on its own control, plug in dimmers for lamps first, then smart bulbs or switches for fixed lights.
- Set three scenes: morning bright, evening glow with ceiling low and bed lights warm, and night with low layer only.
- Live with the scenes for a week and adjust the levels once, rather than retuning every night.
Pro Tip
Keep every bulb in the room at one colour temperature. Layers at mixed temperatures look like mistakes; layers at one warm temperature look like a hotel.
Practical Tips for Bedroom Lighting
Buy bulbs as a system. One warm temperature, around 2700K, across all layers makes separate fittings read as one scheme, and a single cool bulb stands out every night. Count switches before buying fittings: every layer needs its own control, or the layering in idea 15 cannot happen. Light the bed wall first, then the ceiling, then the corners. Keep one source off the ceiling circuit for evenings. In a compact room the same order holds, and the space saving versions pair well with the layouts in very small bedroom ideas Finally, judge every change at night, from the bed and from the door. Lighting that looks fine at noon can glare at pillow height, and pillow height is where the room has to work.
Frequently Asked Questions
How many light sources does a bedroom need?
Three layers is the rule: one ceiling source, one at each side of the bed, and one low source such as a headboard strip, candles or a floor lamp. That mix covers dressing, reading and winding down.
What colour temperature is best for bedroom lighting?
Warm white, around 2700K, flatters skin, cream bedding and brushed gold. Avoid mixing temperatures; a 2700K lamp beside a 4000K ceiling light always looks like one of them is wrong.
Are plug in sconces and pendants as good as hardwired ones?
For light quality, yes. The difference is the cord, and a cord in a cover reads as part of the fitting. Plug in versions suit renters; hardwired versions suit a fixed layout.
Where should bedside lights be placed?
Sconces sit 6 to 8 inches above the headboard top, just outside its width. Pendant bases sit near seated shoulder height. Lamp shades meet seated eye level. All three aim light at the page, not the eyes.
Can LED strips look glam rather than modern?
Yes, when hidden and warm. A 2700K strip behind a headboard, under a bed or in a cove shows only a soft glow. Visible strips and cool temperatures are what look harsh.
Do dimmers really change how a bedroom feels?
More than any single fitting. At half power, sconces give a calm evening room; at full power, a work light for dressing. Dimmers let one set of fittings do both jobs.
Conclusion
Start at the bed wall with sconces, pendants or a matched lamp pair. Add the ceiling next, a chandelier where height allows, a flush mount or cove wash where it does not, then finish with the low layers, a headboard halo, an under bed strip or candles. Keep every bulb at one warm temperature, put each layer on its own dimmer, and a plain bedroom becomes soft, glam and cozy using light alone.