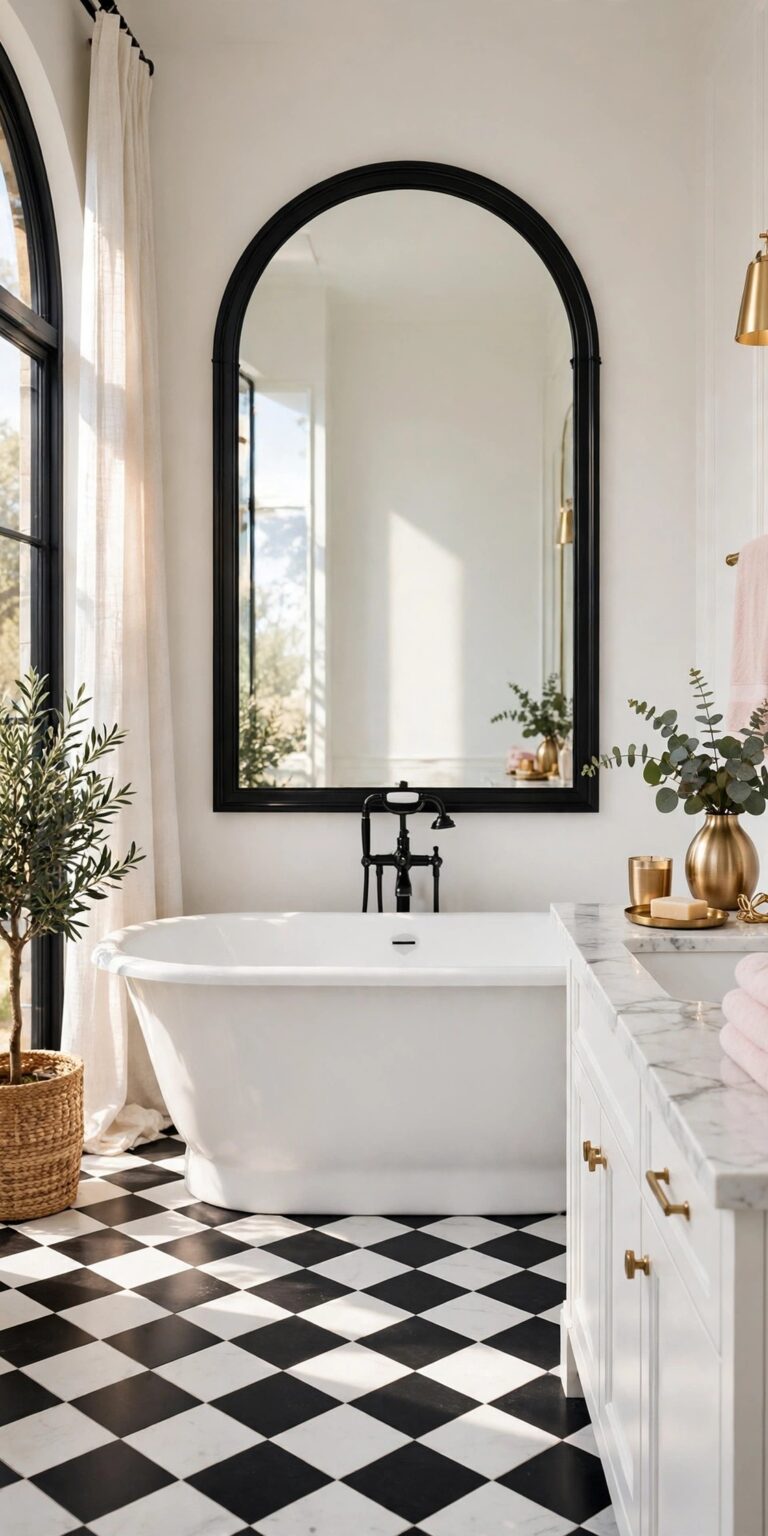
15 Brown Bathroom Ideas for a Warm Glam Look
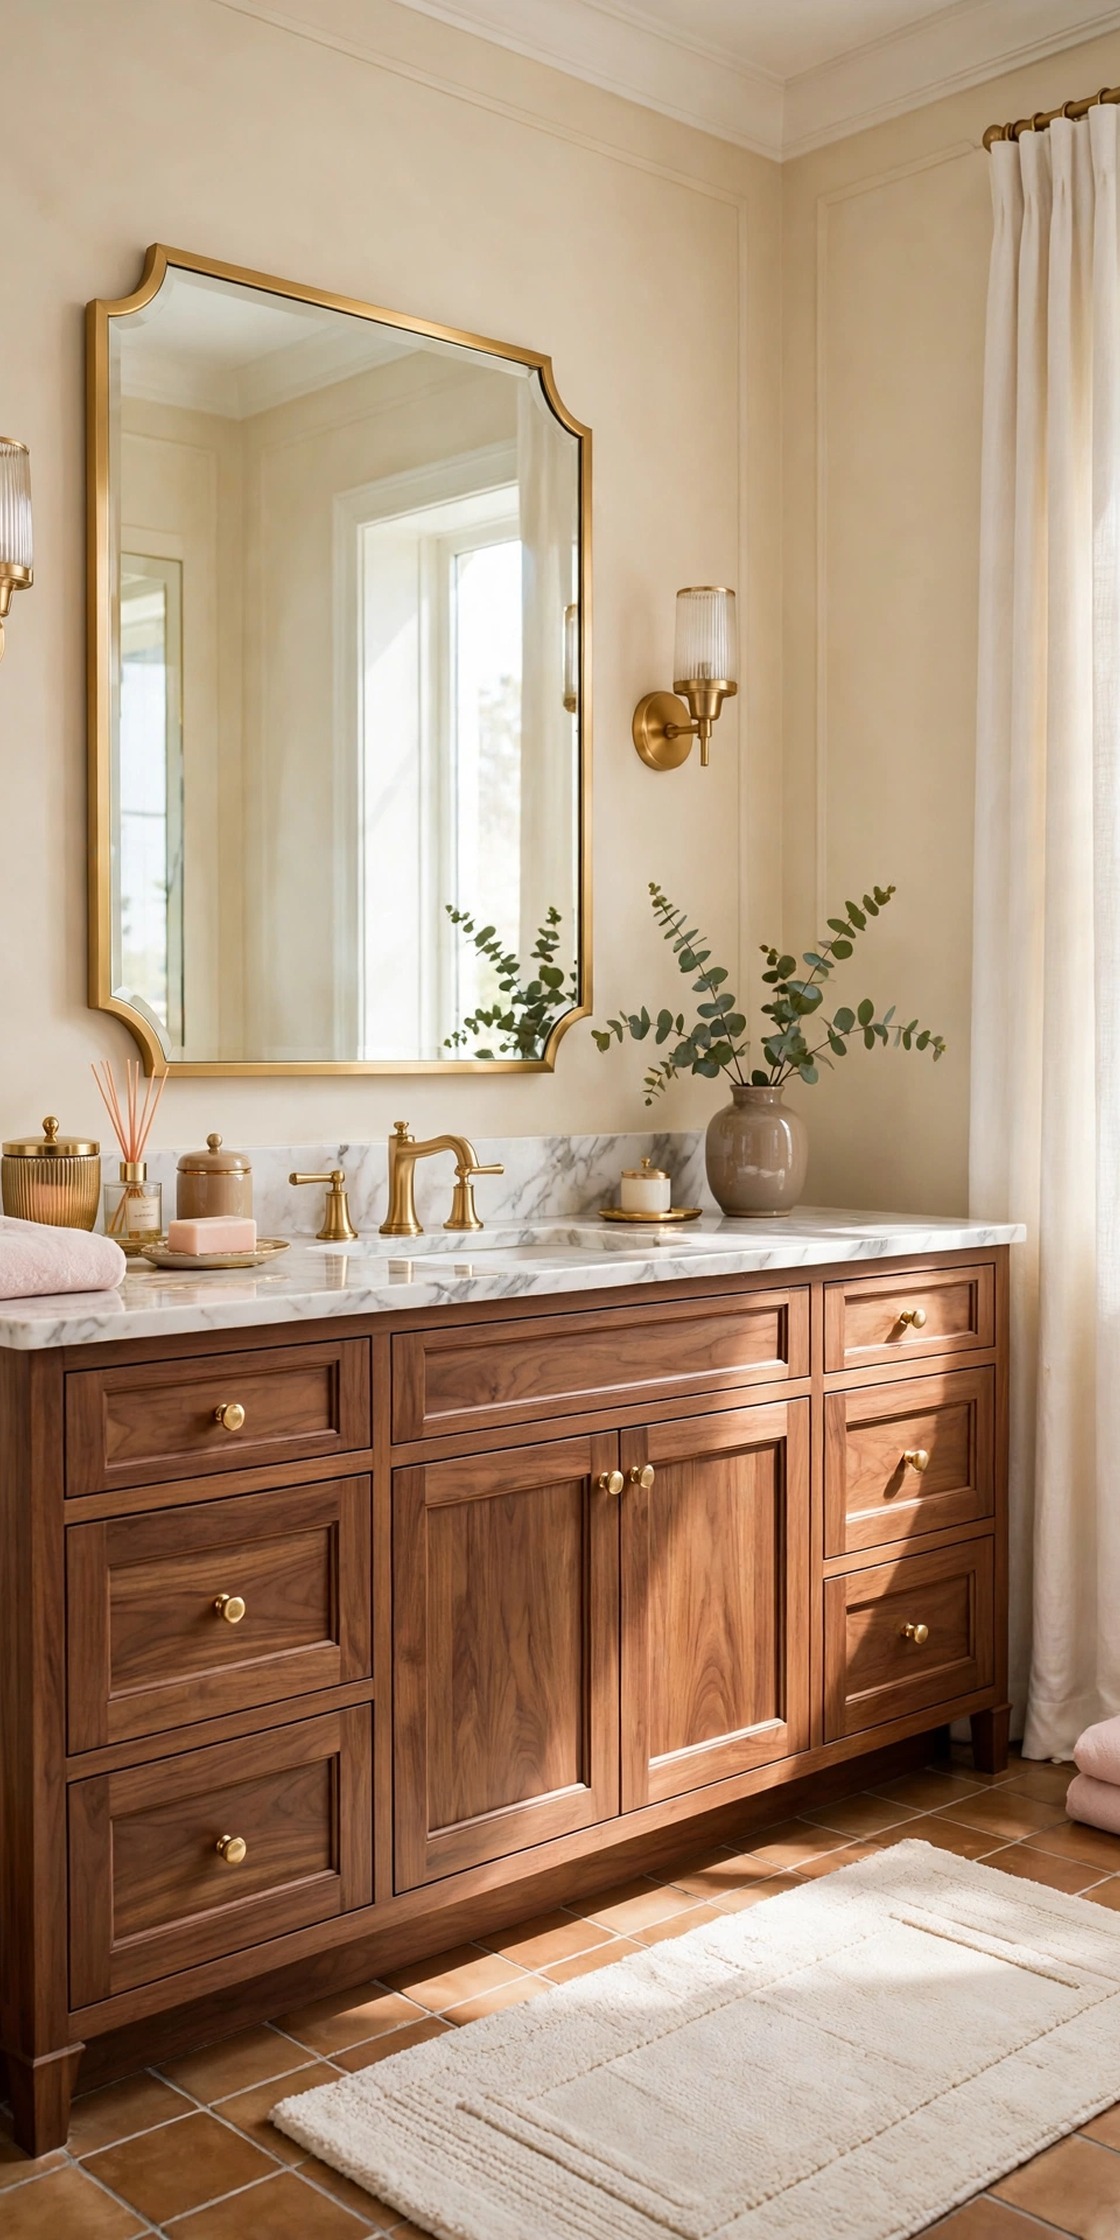
A brown bathroom ideas search usually starts with one worry: brown will make the room dark. It will not, if the brown stays warm and the rest of the room stays bright. Warm walnut, caramel, chocolate and warm taupe are the browns that glow in daylight, and they sit beautifully on a cream base with blush pink and brushed gold, which is the bright glam style GlamNStyle is known for. These brown bathroom ideas keep every brown warm, never grey and never muddy, and they keep the walls, the top and the towels pale so the room reads calm and light. Work through the list in order, because the early ideas set the vanity and the walls, and the later ones add the tile, the mirror and the soft finishing layers. If you are still planning the room around its brown notes, our bathroom decor shows how the vanity, the mirror and the small styling pieces work together first
Disclosure: This article may contain affiliate links. If you buy through a link on this page, GlamNStyle may earn a small commission at no extra cost to you. Product links in this article are plain links; each one is checked on the retailer’s own page before it is added.
1. Anchor the Room with a Warm Walnut Vanity
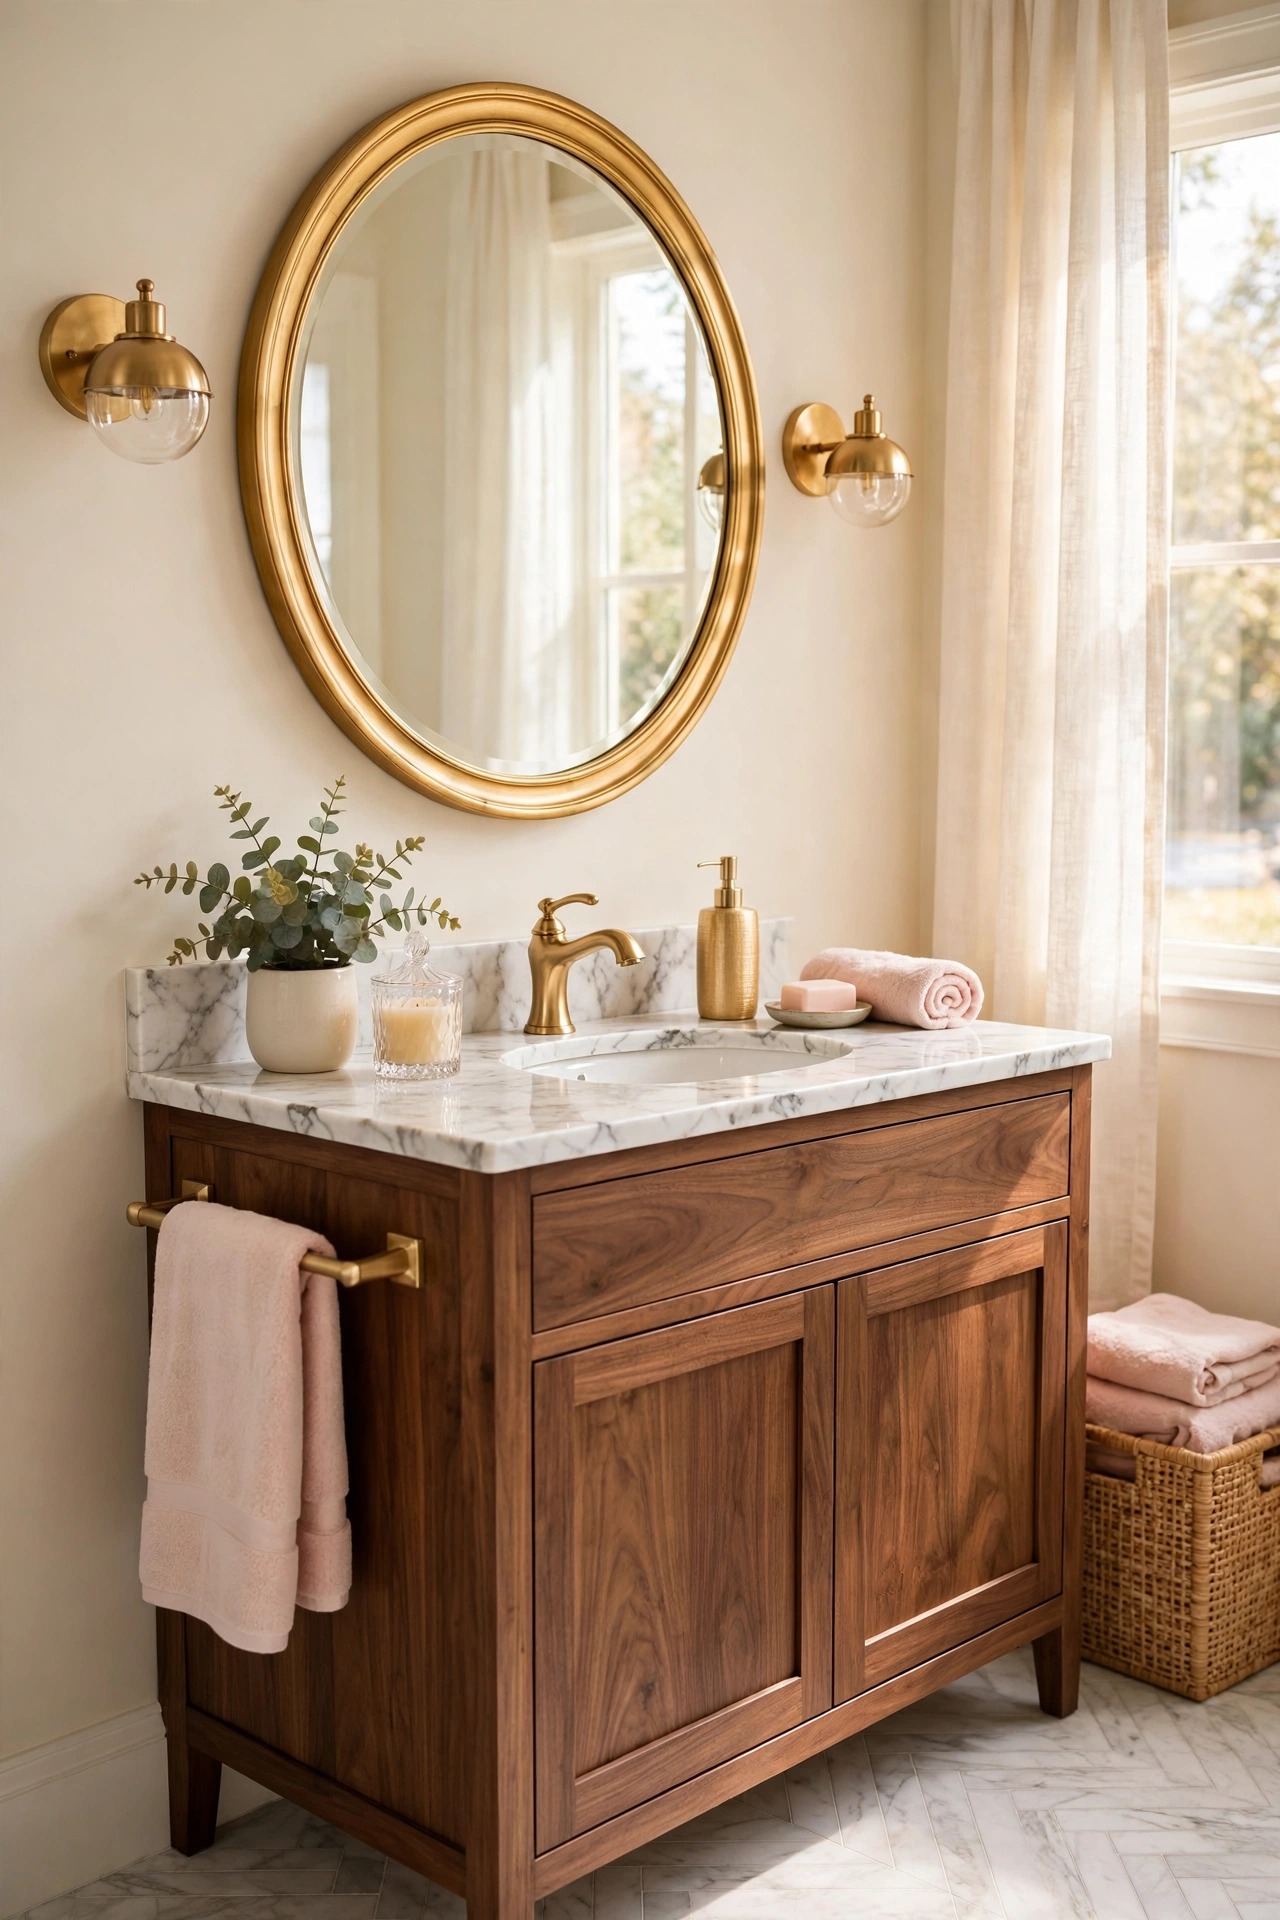
A walnut vanity is the warmest anchor a bright bathroom can hold, and it is the best place to put the brown in this room. The deep warm grain against cream walls and a pale marble top gives the room its grounding note, and the wood stops a white bathroom from feeling cold or clinical. Choose a warm mid-tone walnut with a simple flat-front cabinet, so the grain does the work and the shape stays quiet, and keep the top pale, white marble or quartz, so the contrast stays bright. Seal the wood well on every side, because a bathroom vanity meets water daily and an unsealed grain darkens and lifts. Our bathroom vanity designs show the same walnut piece with the gold and marble pairing worked out in detail
Best For: All-white bathrooms that feel cold, and anyone who wants warmth without adding a paint color.
Not Ideal For: Bathrooms where the floor is already a strong dark wood; two dark woods can fight, so a painted cabinet is the calmer version there.
Estimated Cost: $800-$2,500 (estimate) for a walnut vanity with a pale stone top and sink.
Budget Note: Real walnut veneer is the spend; a good walnut-look finish gives the same warmth for less and seals more easily.
Renter Friendly: No
Renter Note: Fixed plumbing; a walnut tray and a wood stool borrow the warm note on an existing white vanity.
What You Need
Walnut vanity cabinet, pale marble or quartz top, one undermount sink, brushed gold faucet, wood sealant for every exposed edge.
Product type to look for: A cabinet with a sealed, water-resistant finish on all sides, because a bathroom vanity meets splashes on the front and the top every day.
How To Do It
- Hold a wood sample against the floor and the wall in daylight, and pick the walnut that stays warm beside both.
- Set the cabinet level and fix it to the wall, following the maker instructions.
- Seat the pale top, seal the edges, and fit the sink and faucet.
- Style with cream towels and one blush hand towel, and check the wood reads warm, not dark, from the doorway.
Pro Tip
Match the walnut tone to the floor’s warm family, not to the towels. Wood that echoes the floor makes the room feel built, while wood chosen against the towels alone can clash with the floorboards.
2. Paint One Wall Warm Chocolate
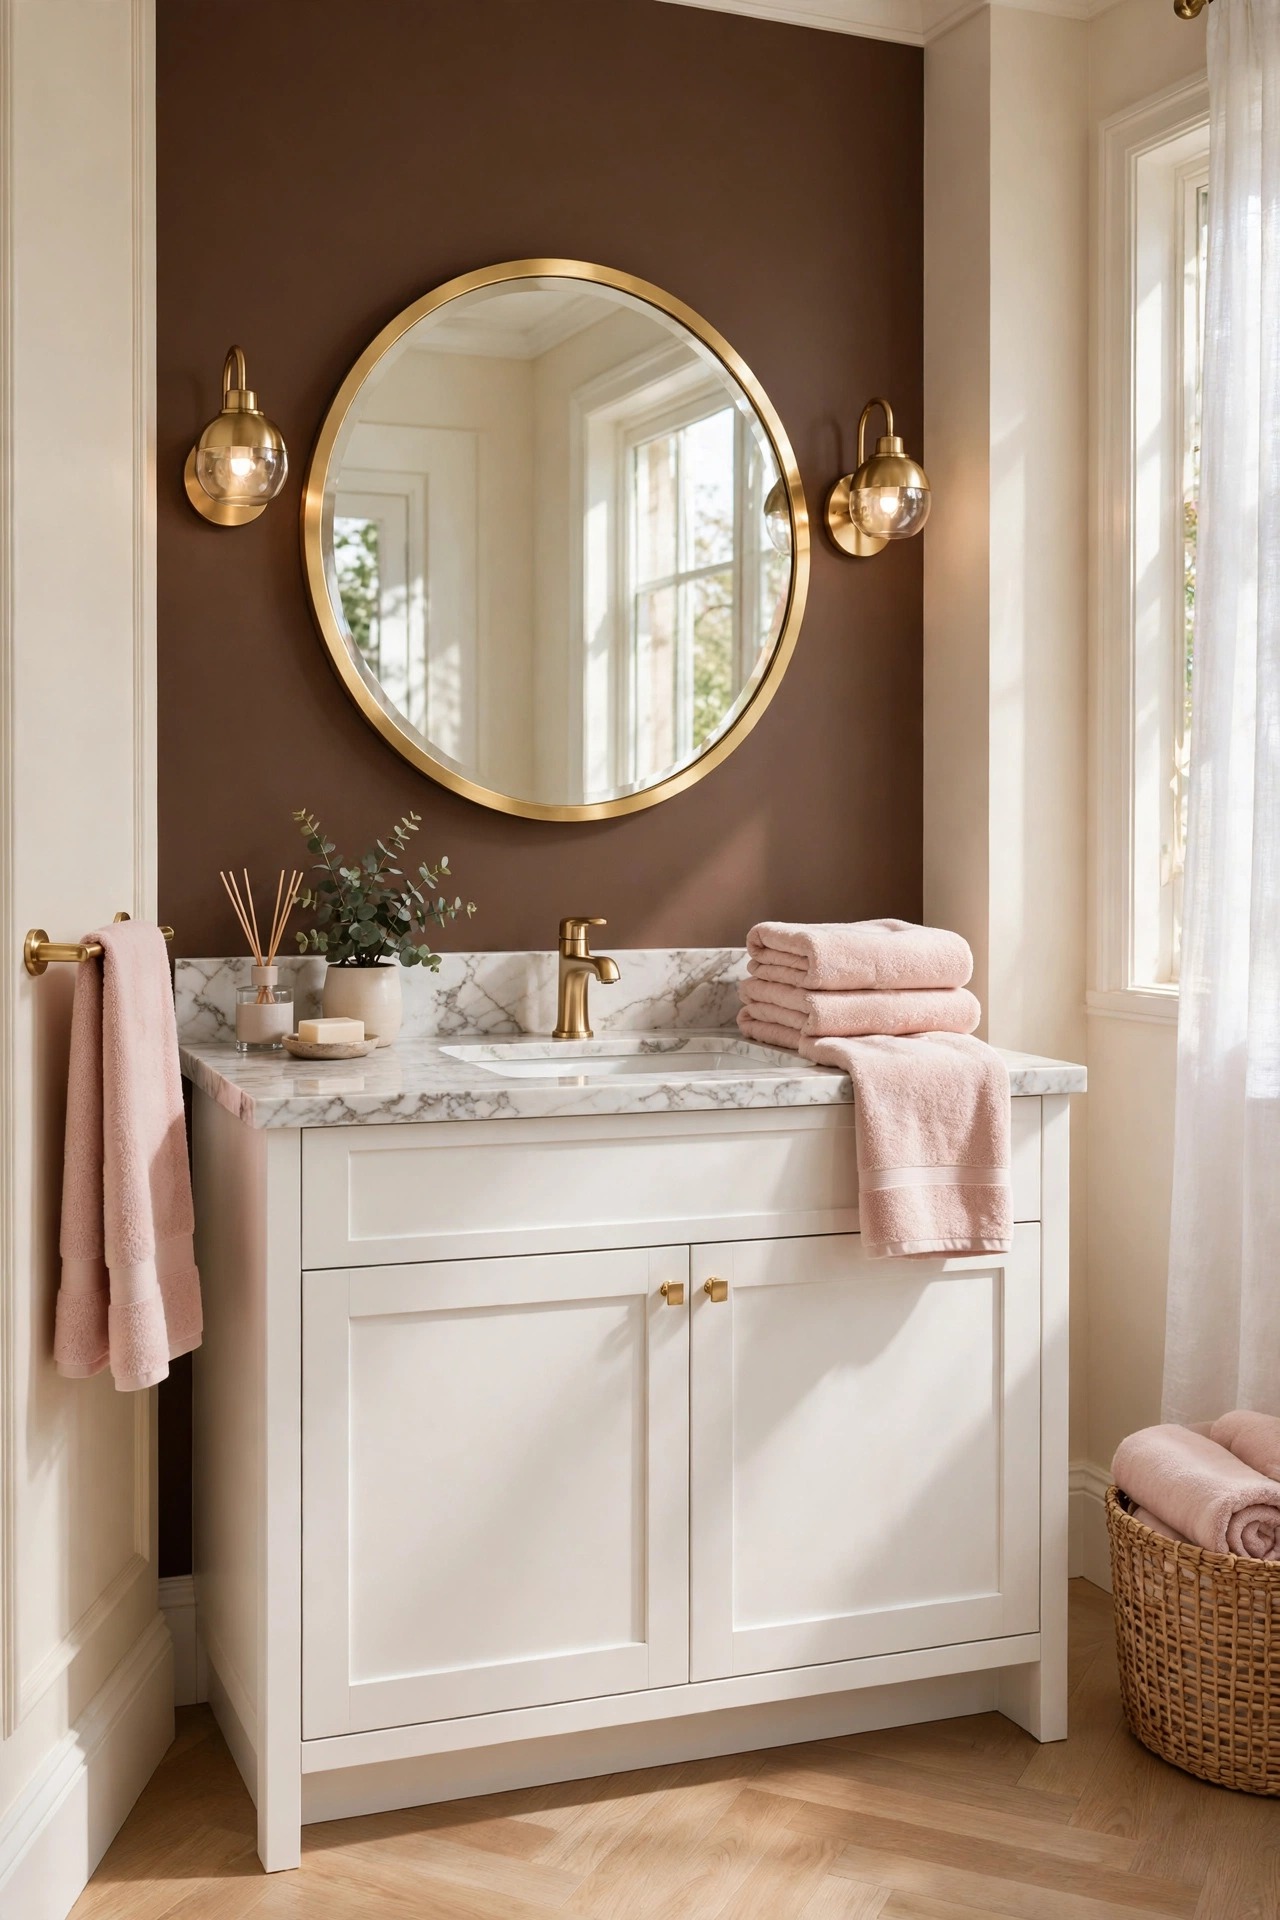
One chocolate wall is the boldest brown in this list, and it works because it is only one wall. Paint the wall behind the vanity a warm chocolate brown, with a red or caramel undertone, and keep the other three walls warm cream, so the dark wall reads as a backdrop and the vanity glows against it. Choose a paint made for bathrooms, with a washable low-sheen finish, because the wall behind a sink takes splashes and daily wiping. Hang a large mirror with a slim gold frame on the chocolate wall, and the mirror will bounce the daylight back into the room, so the dark wall never reads as a cave. Test the color on a large board first, and look at it in daylight and at night.
Best For: Bathrooms with good daylight and a plain white vanity that needs a backdrop.
Not Ideal For: Windowless bathrooms with weak light; a chocolate wall there can feel heavy, so a warm taupe wall is the lighter version.
Estimated Cost: $80-$250 (estimate) for paint and supplies for one accent wall.
Budget Note: Paint is a small spend with the largest effect in this list; sample two chocolate tones on a board before buying the full cans.
Renter Friendly: No
Renter Note: Paint is a landlord decision; renters can borrow the chocolate note with a large brown towel stack and a dark wood tray instead.
What You Need
Bathroom paint in warm chocolate brown, primer suited to the wall surface, fine sandpaper, small roller and brush, painter’s tape, large sample board.
Product type to look for: A washable low-sheen paint made for bathrooms, because the wall behind a sink takes daily splashes and steam.
How To Do It
- Paint two chocolate samples on a large board and hold it on the vanity wall in daylight and at night.
- Clean the wall, tape the edges, and prime where the old color shows through.
- Paint two thin coats, letting each coat dry fully before the next.
- Hang the gold framed mirror on the finished wall and check the vanity glows against the brown.
Pro Tip
Keep the ceiling and the other walls warm cream, never bright white. Cream beside chocolate looks rich, while a stark white beside chocolate looks like a contrast the room did not plan.
3. Pair Caramel Tiles with Cream Walls
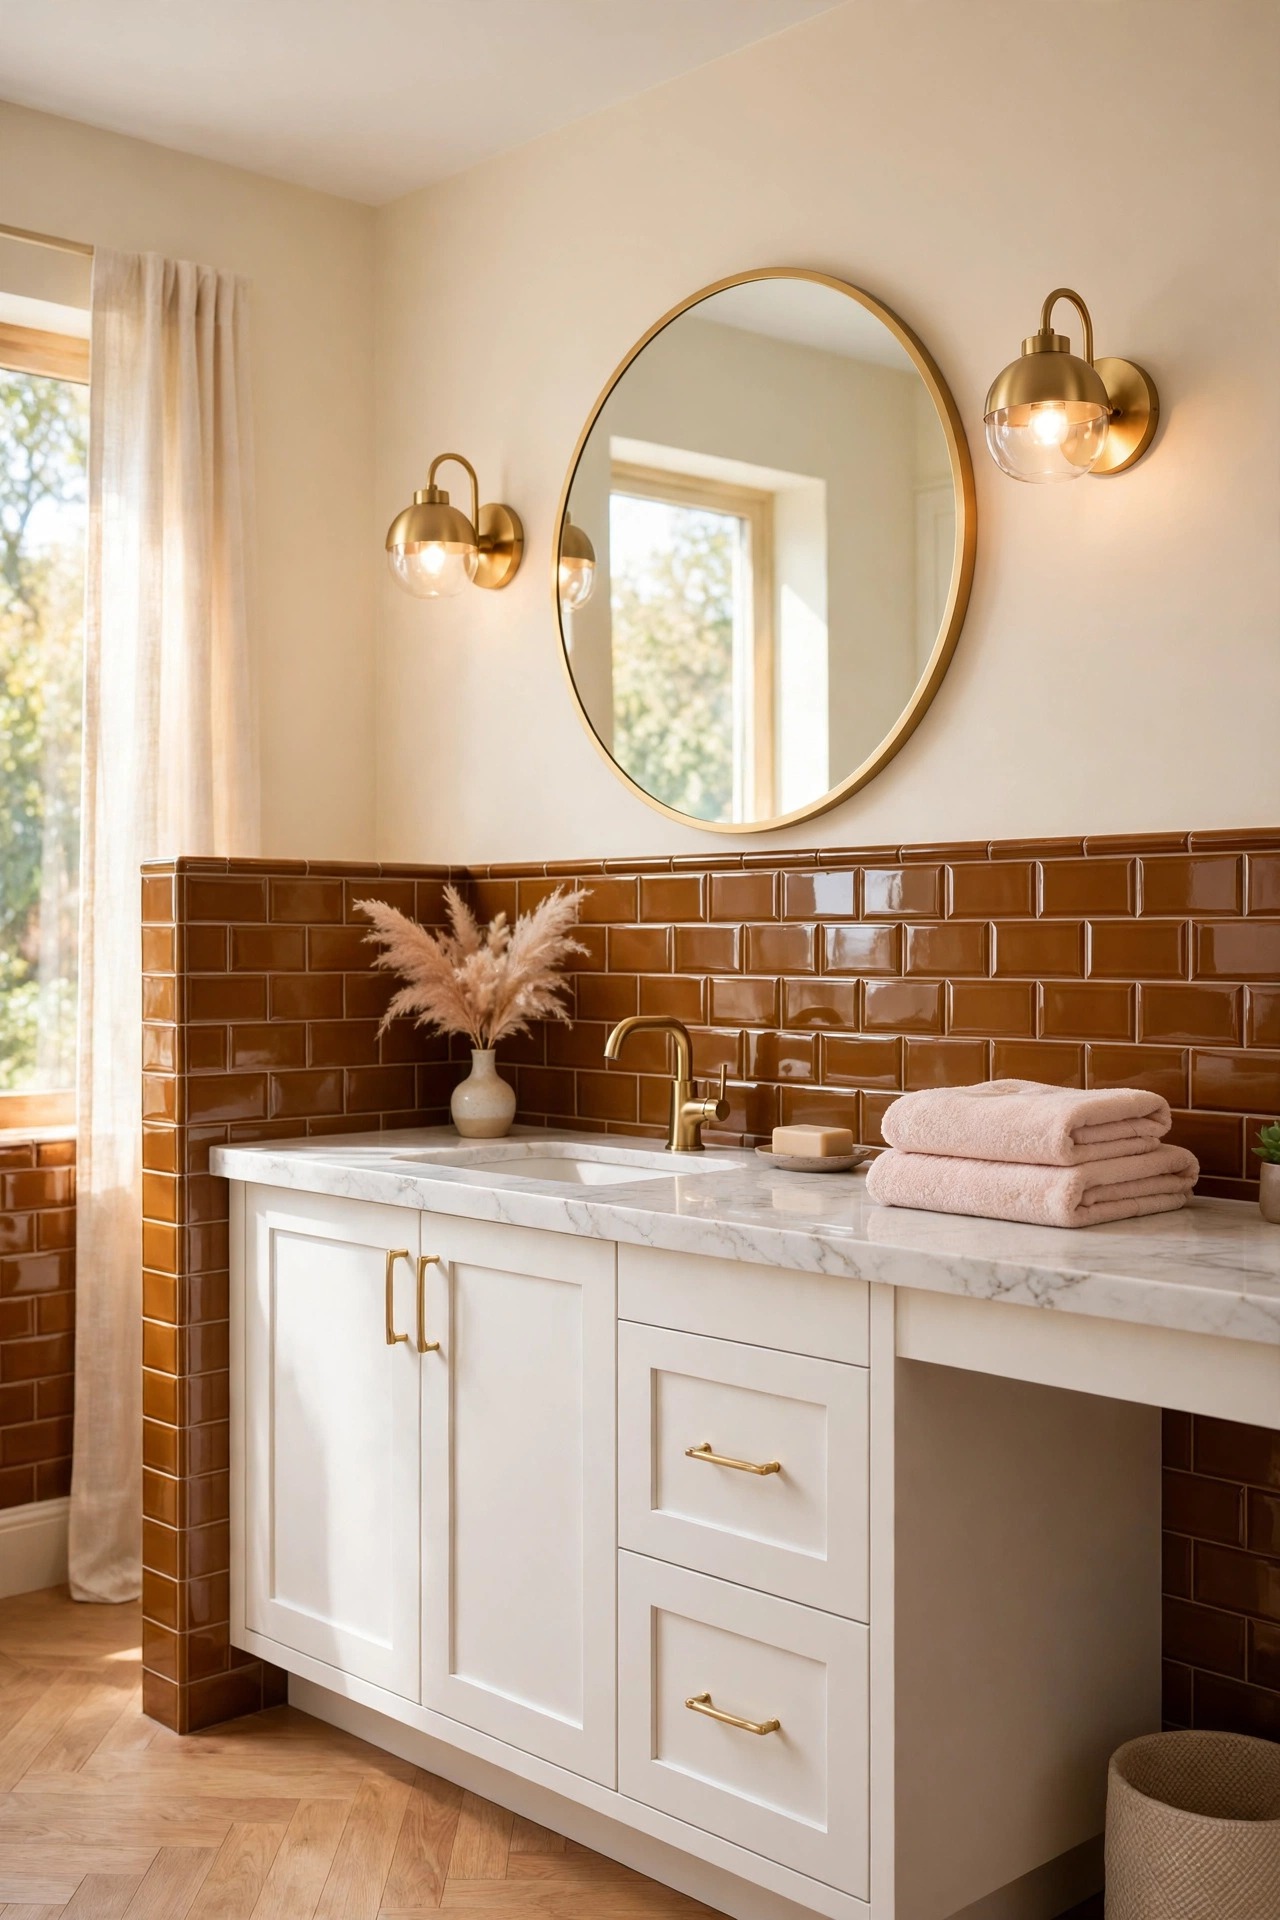
Caramel tiles give the bathroom its brown in a glossy, wipeable form, and they are the easiest brown to live with every day. Run caramel tiles halfway up the vanity wall, or as a full splashback behind the sink, and keep the walls above them warm cream, so the brown sits low and the light stays high. Choose a caramel with a honey or toffee undertone, in a simple rectangle or square, and keep the grout pale, because dark grout makes the tiles read busy and pale grout lets the caramel glow. A glossy tile bounces the daylight around the room, which matters in a small bathroom, and it wipes clean with one pass. Pair the tiles with brushed gold faucets, and the caramel, the gold and the cream read as one warm family.
Best For: Bathrooms that need a washable splash zone, and anyone who wants brown that can be wiped clean.
Not Ideal For: Bathrooms where the floor is already a strong patterned tile; one tiled pattern per room keeps the story clear.
Estimated Cost: $300-$1,200 (estimate) for caramel wall tiles, adhesive and pale grout for one wall.
Budget Note: The tiles are the spend; a simple rectangle in a warm caramel costs far less than a handmade-look tile and reads calmer on a wall.
Renter Friendly: No
Renter Note: Tiling is fixed work; peel-and-stick caramel tiles in a matching tone are the renter version, kept clear of standing water.
What You Need
Caramel wall tiles, tile adhesive, pale grout, tile spacers, level, sponge for wiping grout.
Product type to look for: Glossy tiles in a warm honey-caramel tone with a matching pale grout, because a glossy finish bounces daylight and wipes clean.
How To Do It
- Hold tile samples against the cream wall and the vanity in daylight, and pick the caramel that stays warm beside both.
- Mark the tile height, usually halfway up the wall or to the mirror line, and keep it level.
- Set the tiles with even spacers, let the adhesive cure, then grout in the pale grout.
- Wipe the tiles clean, fit the gold faucet, and check the caramel glows rather than darkens the wall.
Pro Tip
Stop the tile line at the mirror, not halfway across it. A tile edge that lands behind the mirror looks like a mistake, while a clean line at the mirror edge looks planned.
4. Choose a Brown Marble Vanity Top
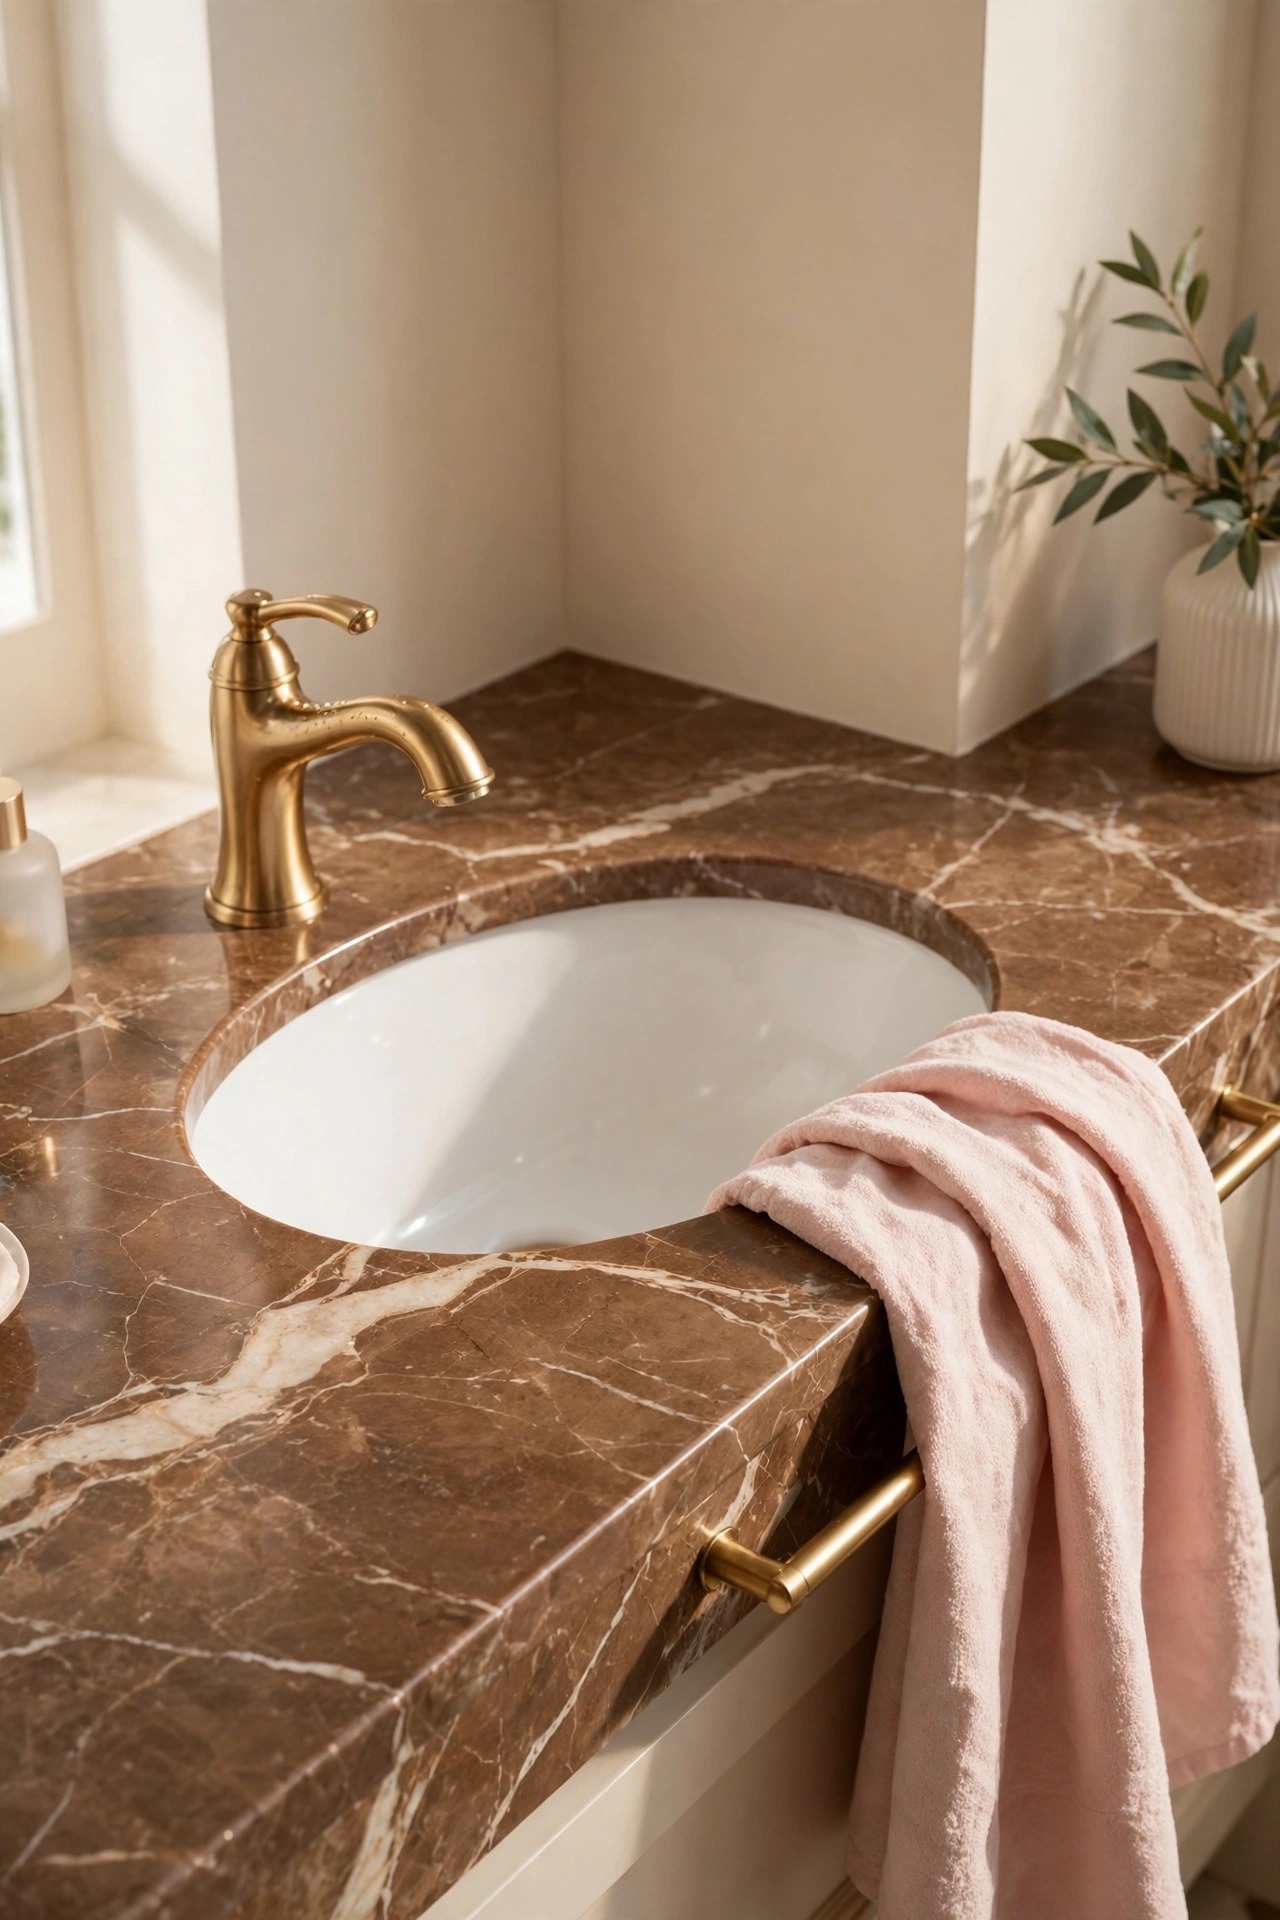
A brown marble top puts the brown exactly where the hands land every morning, and it is the most glamorous brown in this list. Choose a warm brown marble, or a marble-look quartz, with soft cream veining on a milk-chocolate ground, and keep the cabinet below it white or warm cream, so the top is the one dark note and the room stays bright. Seal a real marble top well, because marble stains and a bathroom top meets toothpaste, soap and water every day, and wipe it dry after use in the first weeks while the seal settles. Pair it with brushed gold faucets and a cream towel, and the top reads like a piece of jewellery on a pale cabinet. Measure the sink cutout before ordering, because a marble top is cut once and cannot be stretched.
Best For: Bathrooms where the vanity top is the showpiece, and anyone who loves the look of real stone.
Not Ideal For: Busy family bathrooms where the top is wiped rarely; a brown marble-look quartz needs no sealing and is the calmer version there.
Estimated Cost: $600-$2,000 (estimate) for a brown marble or marble-look quartz top with one sink cutout.
Budget Note: The stone is the spend; a marble-look quartz gives the same warm brown veining for less and needs no sealing.
Renter Friendly: No
Renter Note: Fixed work; a brown marble tray on the existing counter borrows the warm stone note without the fitting.
What You Need
Brown marble or marble-look quartz top with a sink cutout, one undermount sink, brushed gold faucet, stone sealant if using real marble, silicone sealant.
Product type to look for: A top with soft cream veining on a warm brown ground and a sealed, polished edge, because an unsealed cut edge is where water finds its way in.
How To Do It
- Hold stone samples against the cabinet and the wall in daylight, and pick the brown that stays warm beside both.
- Confirm the sink cutout size and position before the top is cut.
- Seat the top level, seal the wall edge and the cutout, and fit the sink and faucet.
- Wipe the top into the sink once, and check nothing pools at the back edge.
Pro Tip
Keep the top nearly clear. A brown marble top earns its keep when its veining shows, so store the daily bottles in the drawer and leave the top to three pieces.
5. Keep the Walls Warm Taupe
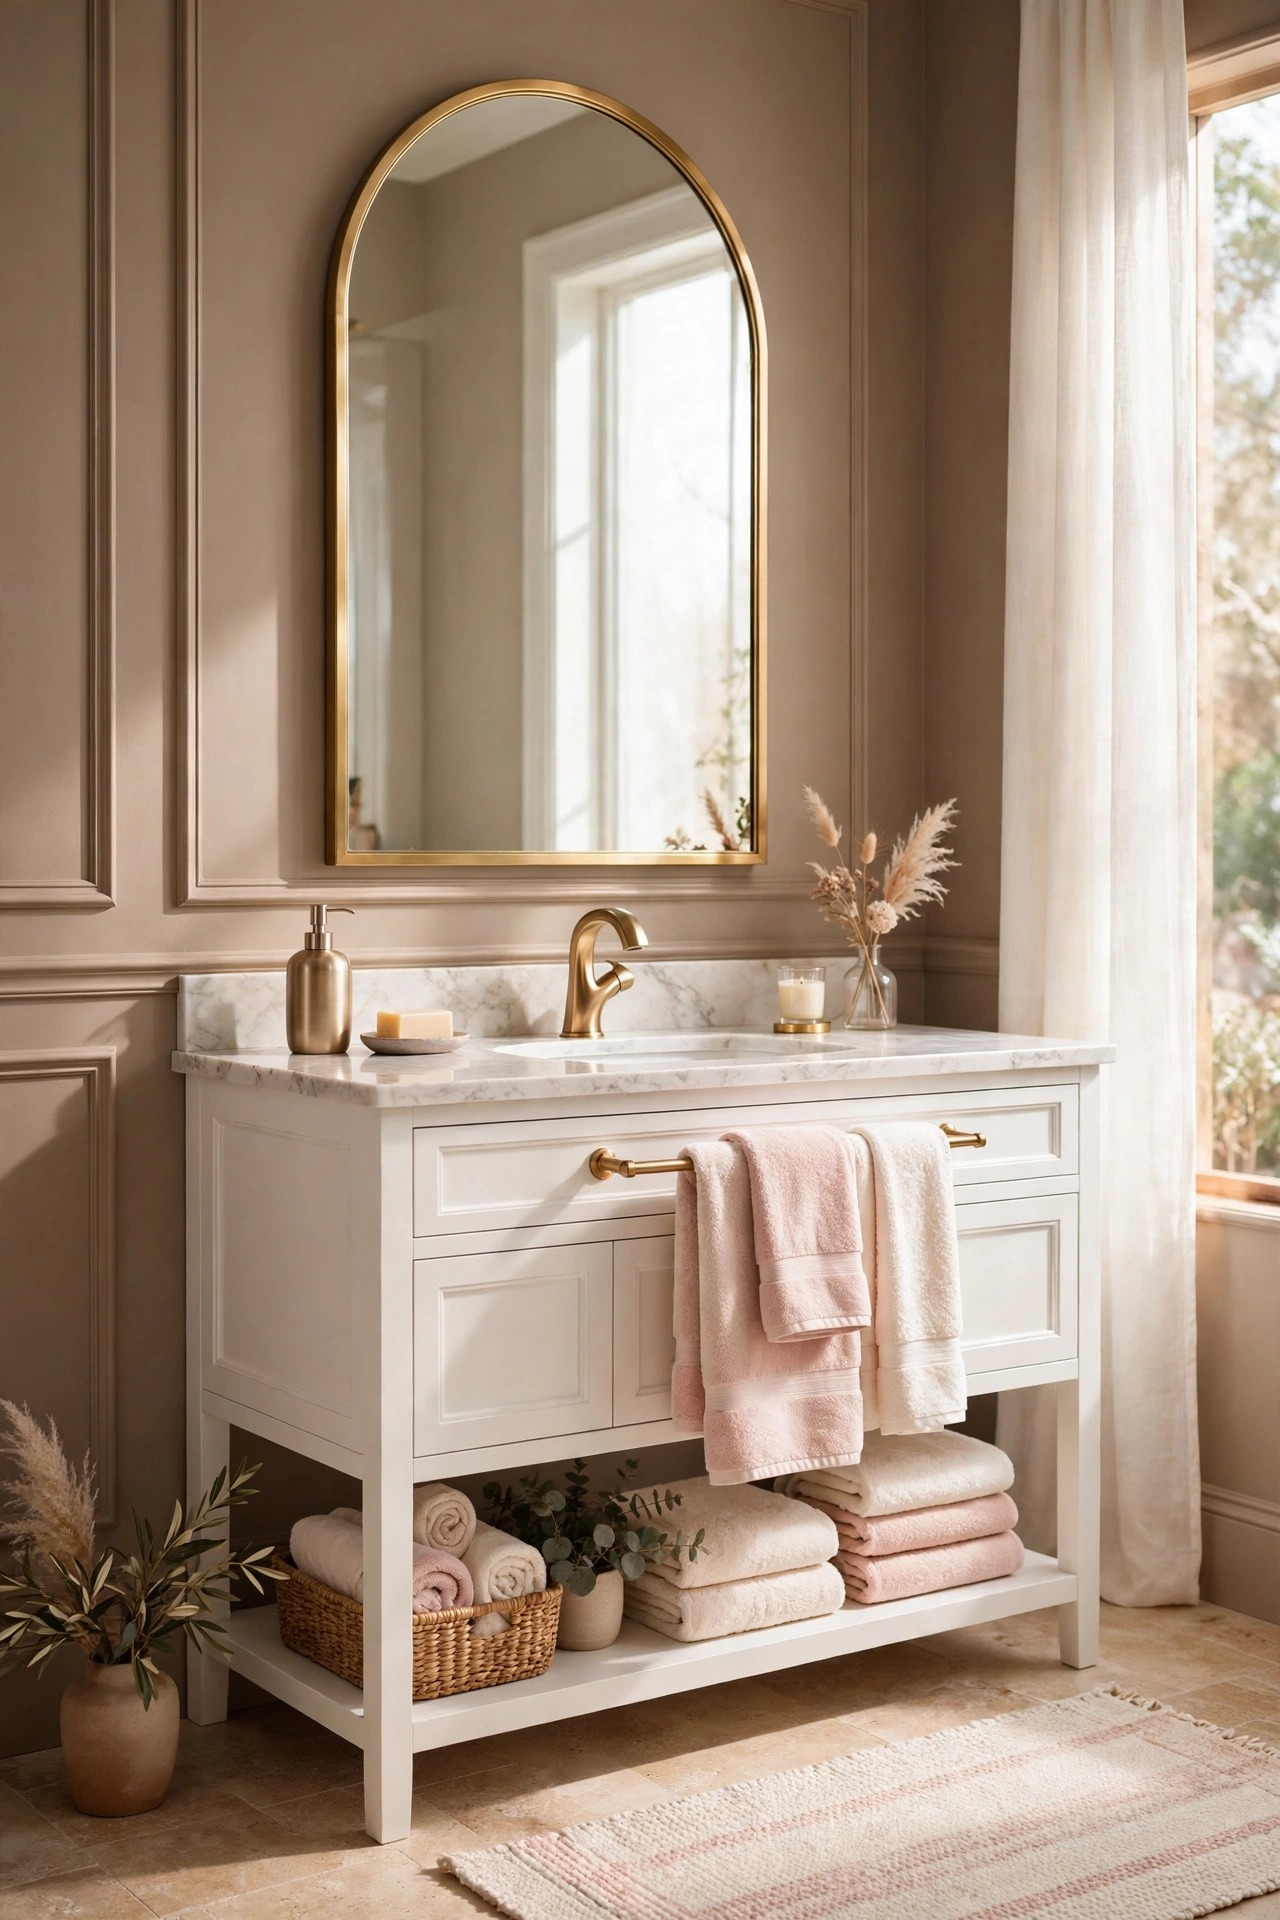
Warm taupe is the gentlest brown in this list, and it is the safest way to make a whole bathroom brown. Taupe sits between cream and chocolate, so it flatters both the white vanity and the walnut wood, and it keeps the room feeling soft rather than themed. Choose a taupe with a warm pink or caramel undertone, never a grey one, because a grey taupe turns cold under bathroom light and the whole point of this palette is warmth. Paint all four walls the same taupe, keep the ceiling warm cream, and let the white vanity, the pale top and the gold mirror frame do the brightening. Test the color on every wall, because a taupe that glows on the window wall can look muddy on the wall opposite the light.
Best For: Bathrooms where the owner wants brown everywhere but gently, and rooms with good daylight.
Not Ideal For: Very small windowless bathrooms; taupe on all four walls there can feel close, so one taupe wall and cream elsewhere is the lighter version.
Estimated Cost: $150-$400 (estimate) for paint and supplies for a small bathroom.
Budget Note: Paint is a small spend; sample two warm taupes on each wall before buying the full cans, because taupe shifts the most with the light.
Renter Friendly: No
Renter Note: Paint is a landlord decision; renters can borrow the taupe note with towels, a rug and a shower curtain in the same warm tone.
What You Need
Bathroom paint in warm taupe, primer suited to the wall surface, fine sandpaper, roller and brush, painter’s tape.
Product type to look for: A washable low-sheen paint in a warm taupe with a caramel or blush undertone, checked on every wall in daylight before buying.
How To Do It
- Paint two taupe samples on each wall and look at them in daylight and at night.
- Clean the walls, tape the edges, and prime where the old color shows through.
- Paint two thin coats, letting each coat dry fully before the next.
- Refit the mirror and the gold hardware, and check the taupe reads warm from the doorway.
Pro Tip
Keep the towels cream and blush against taupe walls. Brown towels on brown walls disappear, while pale towels give the eye a bright place to land.
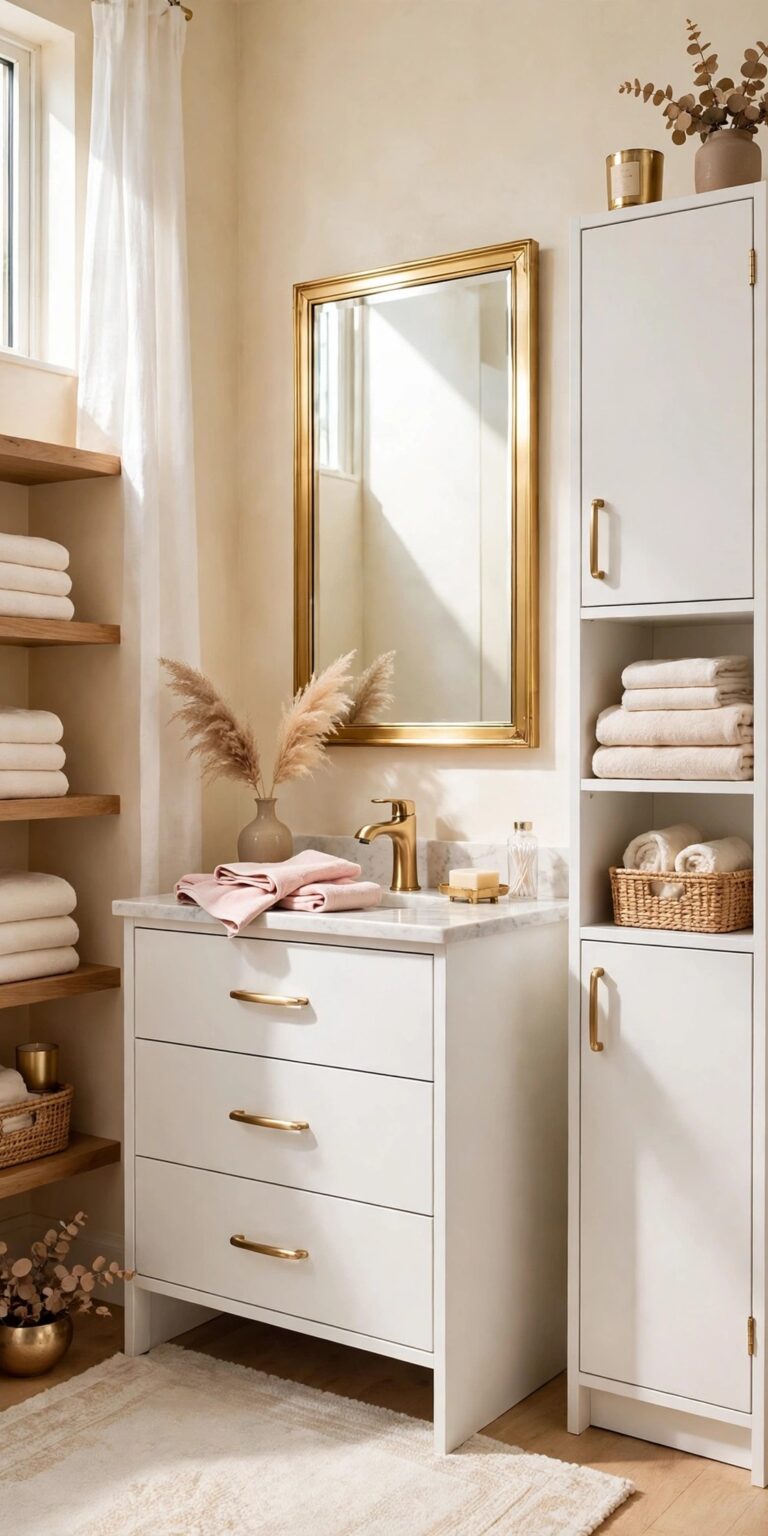
6. Add Brown Wood Open Shelving
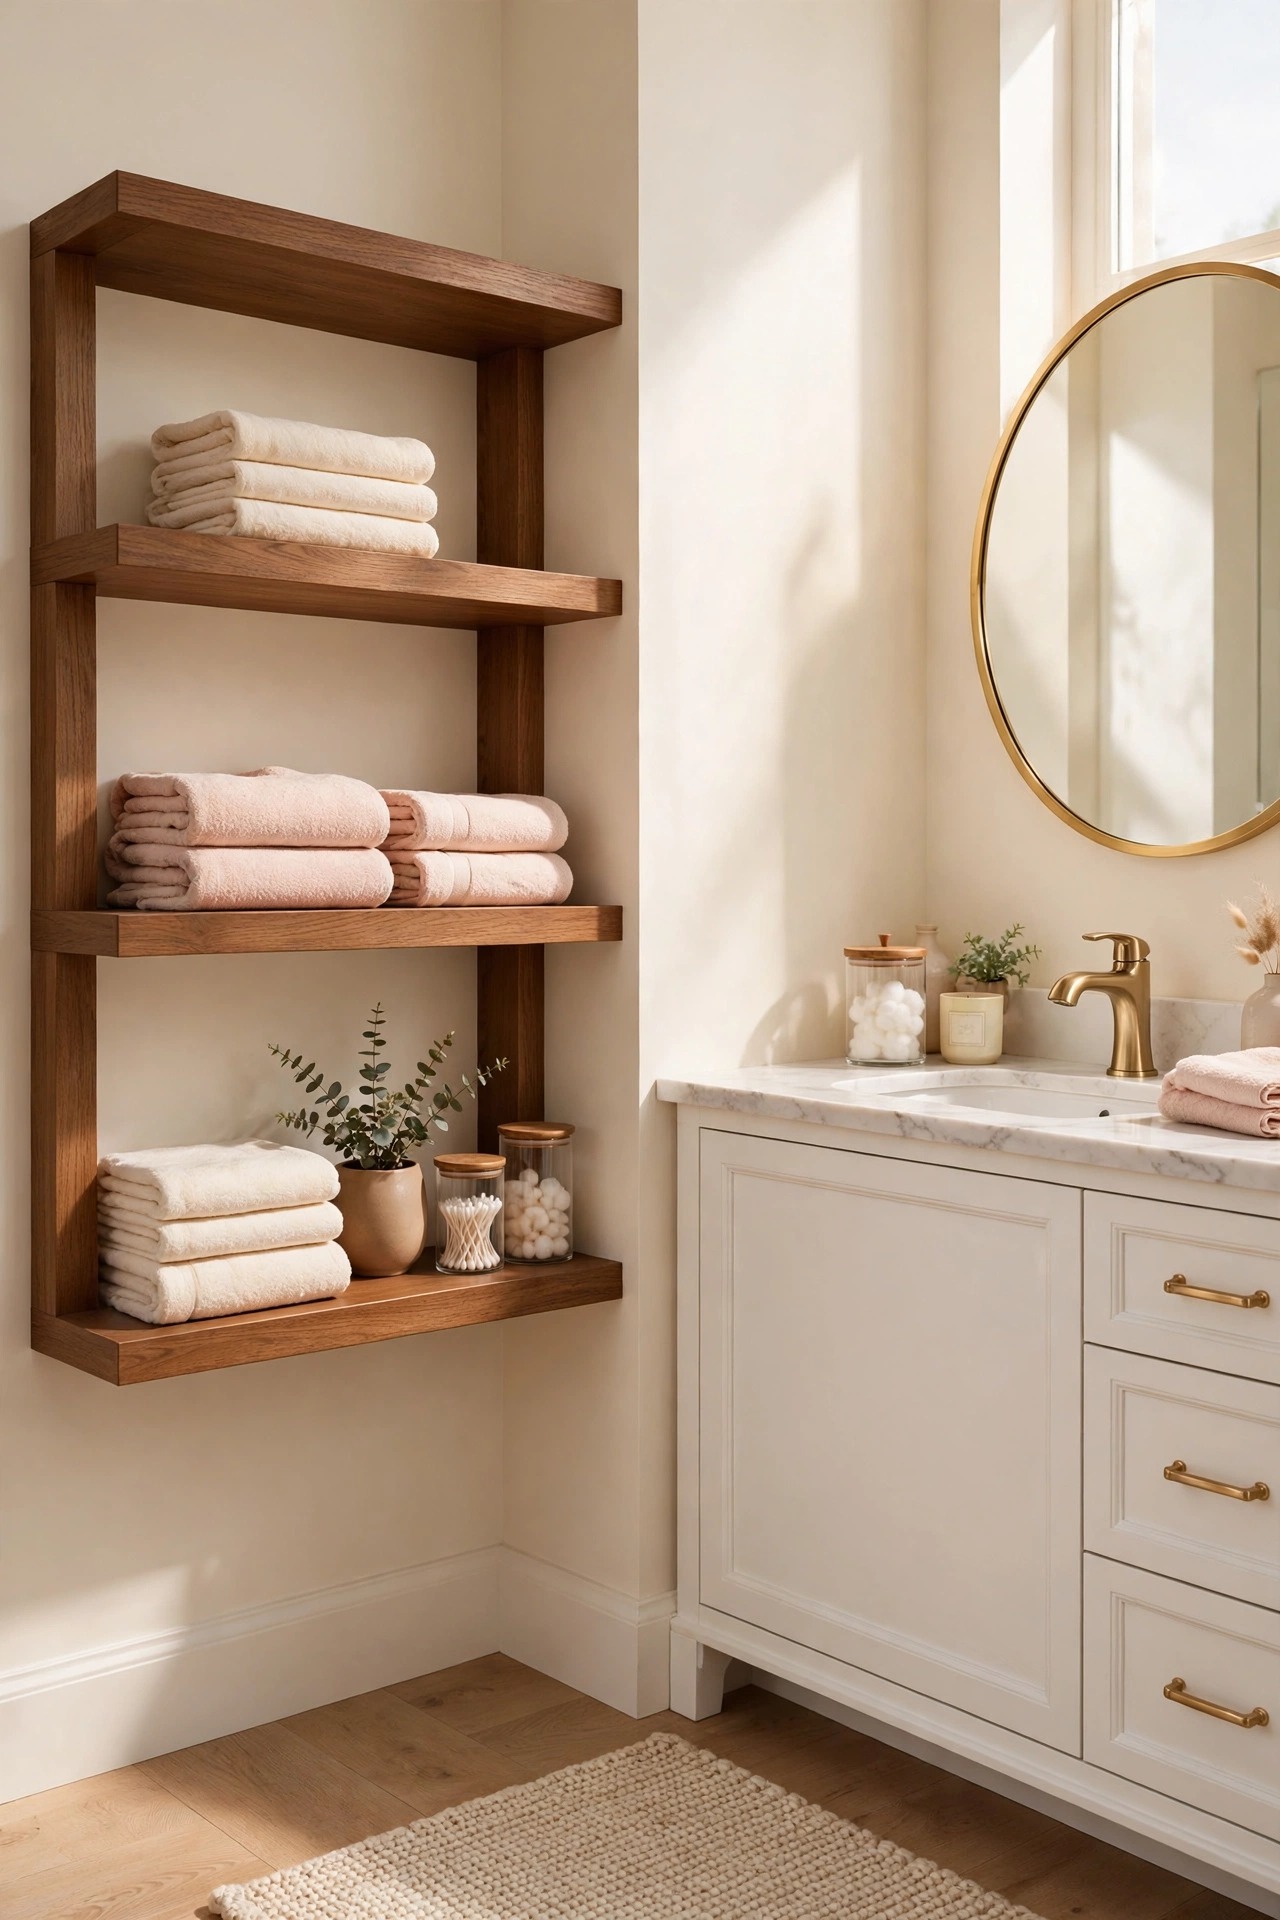
Open shelving in warm brown wood puts the brown at eye level, where it is seen all day, and it stops the vanity drawers from becoming a dark cupboard of forgotten bottles. Two or three shelves in walnut or warm oak, holding folded cream towels, a small plant and two glass jars, give the wall a calm, useful layer. Keep the shelves shallow, so they hold a folded towel and a jar without jutting into the walkway, and fix them into studs or rated anchors, because a shelf of towels and jars is heavier than it looks. Style them lightly: one stack of towels, one jar, one small plant per shelf, and leave breathing space between the groups, because a crowded shelf beside a vanity reads as storage, not design. Match the shelf wood to the vanity wood, so the two browns read as one family.
Best For: Bathrooms where the vanity drawers are always full, and anyone who likes their towels and jars in reach.
Not Ideal For: Very humid bathrooms with no fan, where open towels stay damp; closed storage is the honest version there.
Estimated Cost: $80-$300 (estimate) for two or three wood shelves with brackets.
Budget Note: The brackets are the lasting spend; simple wood shelves in a warm finish cost little and can be cut to fit the wall.
Renter Friendly: With Conditions
Renter Note: Shelves need fixings the lease allows; a freestanding ladder shelf beside the vanity is the renter version.
What You Need
Two or three warm brown wood shelves, brackets rated for the loaded weight, folded cream and blush towels, two glass jars, one small plant.
Product type to look for: Brackets rated well above the shelf load, because a shelf of jars and folded towels is heavier than it looks.
How To Do It
- Measure the wall beside the vanity and choose shelves that leave a clear walkway.
- Fit the brackets level into studs or rated anchors, following the maker instructions.
- Set the shelves and load the heaviest pieces, jars and folded towels, on the lowest shelf.
- Style the top shelf lightest, one plant and one jar, and step back to check the groups breathe.
Pro Tip
Keep one shelf for display only, the plant and one jar. A shelf that holds only useful pieces fills up in a week, while one calm display shelf keeps the whole wall looking styled.
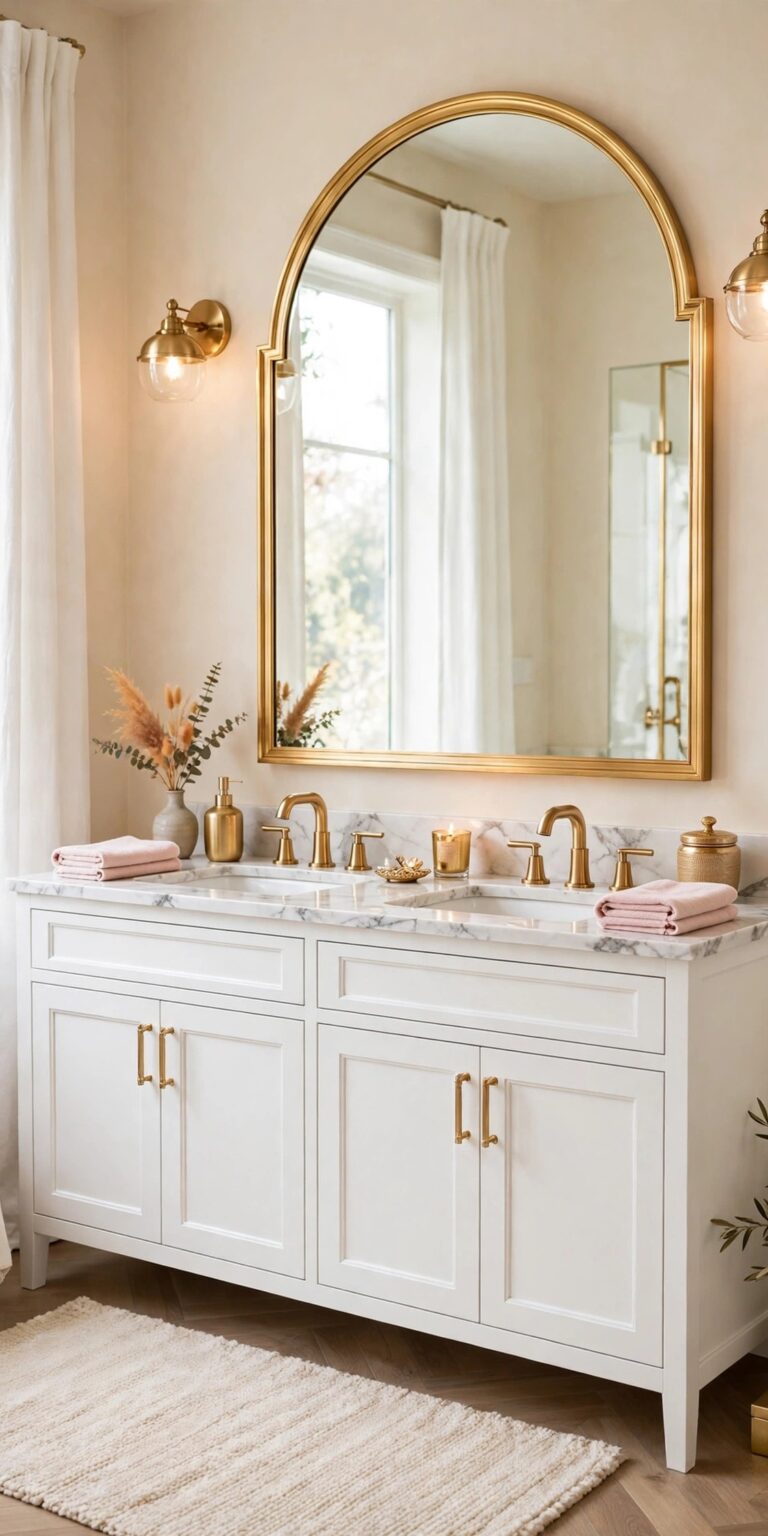
7. Repeat Brushed Gold with the Brown
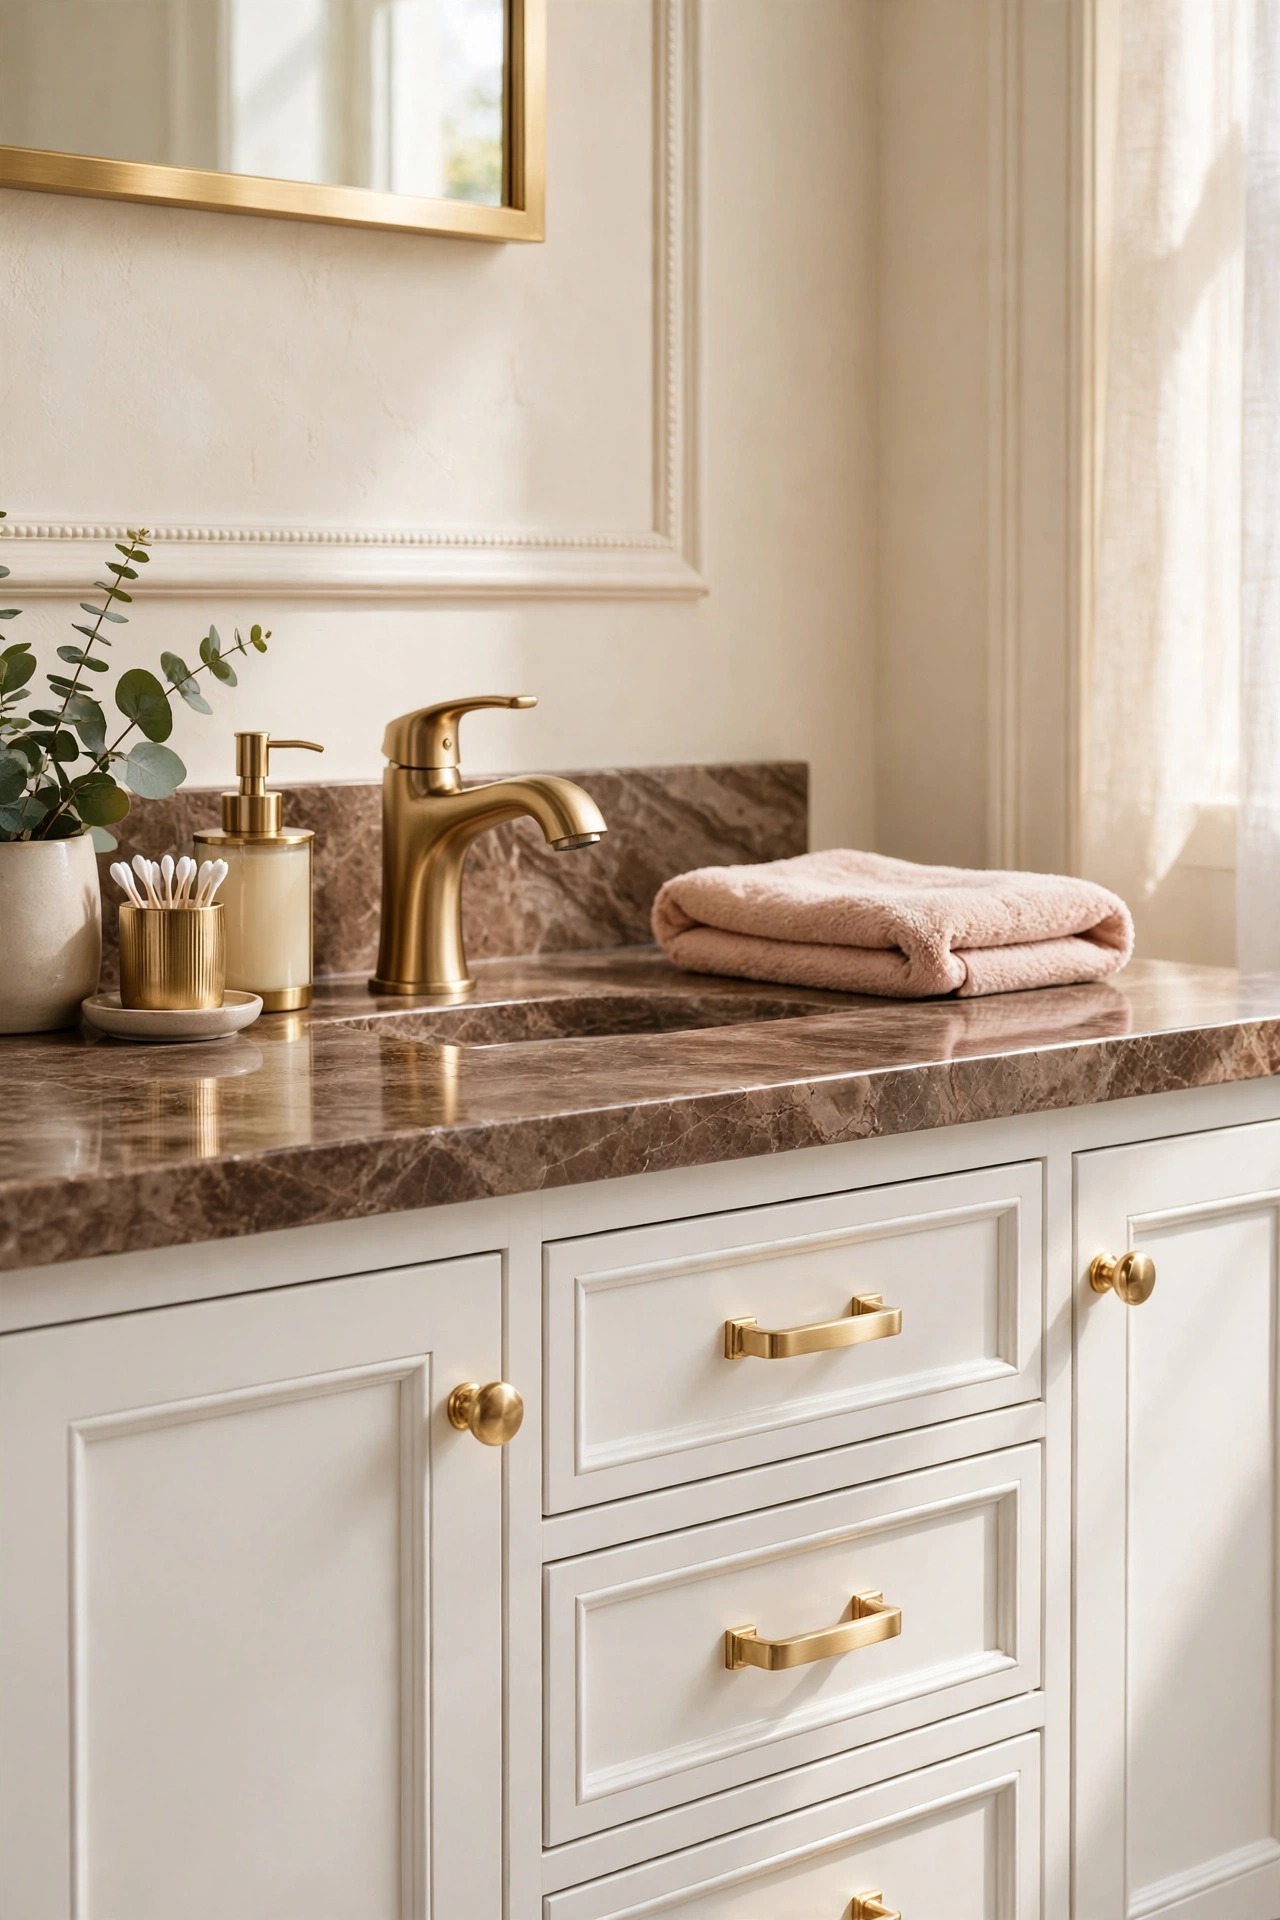
Brushed gold is the metal that makes brown read glam instead of heavy. One gold faucet alone looks like a spare part, so repeat the same brushed gold in three places: the faucets, the cabinet knobs and drawer pulls, and the towel ring or mirror frame. That triangle of gold is what turns a brown bathroom into a glam bathroom, because the eye keeps meeting the same warm metal as it moves around the room. Keep the gold brushed or satin, never polished to a mirror shine, because a soft gold sits calmly beside brown marble while a shiny one sparkles and fights it. Match the tone across the pieces as closely as you can; golds vary, and two different yellows side by side read as a mistake, especially against a warm brown.
Best For: Brown bathrooms that look plain rather than glam, and anyone updating a vanity without replacing it.
Not Ideal For: Bathrooms already committed to chrome or matte black throughout; one metal per room keeps the story clear.
Estimated Cost: $150-$500 (estimate) for two brushed gold faucets and a set of gold knobs and pulls.
Budget Note: The faucets are the spend; knobs and pulls in a matching brushed gold are cheap and can arrive one drawer at a time.
Renter Friendly: With Conditions
Renter Note: Knobs and pulls swap back easily if the originals are kept; faucets need the landlord’s word, so check first.
What You Need
Two brushed gold faucets, matching gold knobs and drawer pulls, gold towel ring, screwdriver and a small parts tray.
Product type to look for: One consistent brushed gold tone across faucets and hardware, checked side by side in daylight before buying the third piece.
How To Do It
- Start with the faucets and live with their gold tone for a week.
- Swap the knobs and pulls for the matching gold, keeping the originals in a labelled bag.
- Add the gold towel ring at the same height as the vanity top, within easy reach of the sink.
- Step back and check the three golds read as one family in daylight; swap the odd one out if not.
Pro Tip
Keep gold at three heights only: low on the pulls, middle on the faucets, high on the mirror frame or towel ring. Gold scattered at every height stops reading as a plan and starts reading as clutter.
8. Frame the Mirror in Warm Brown Wood
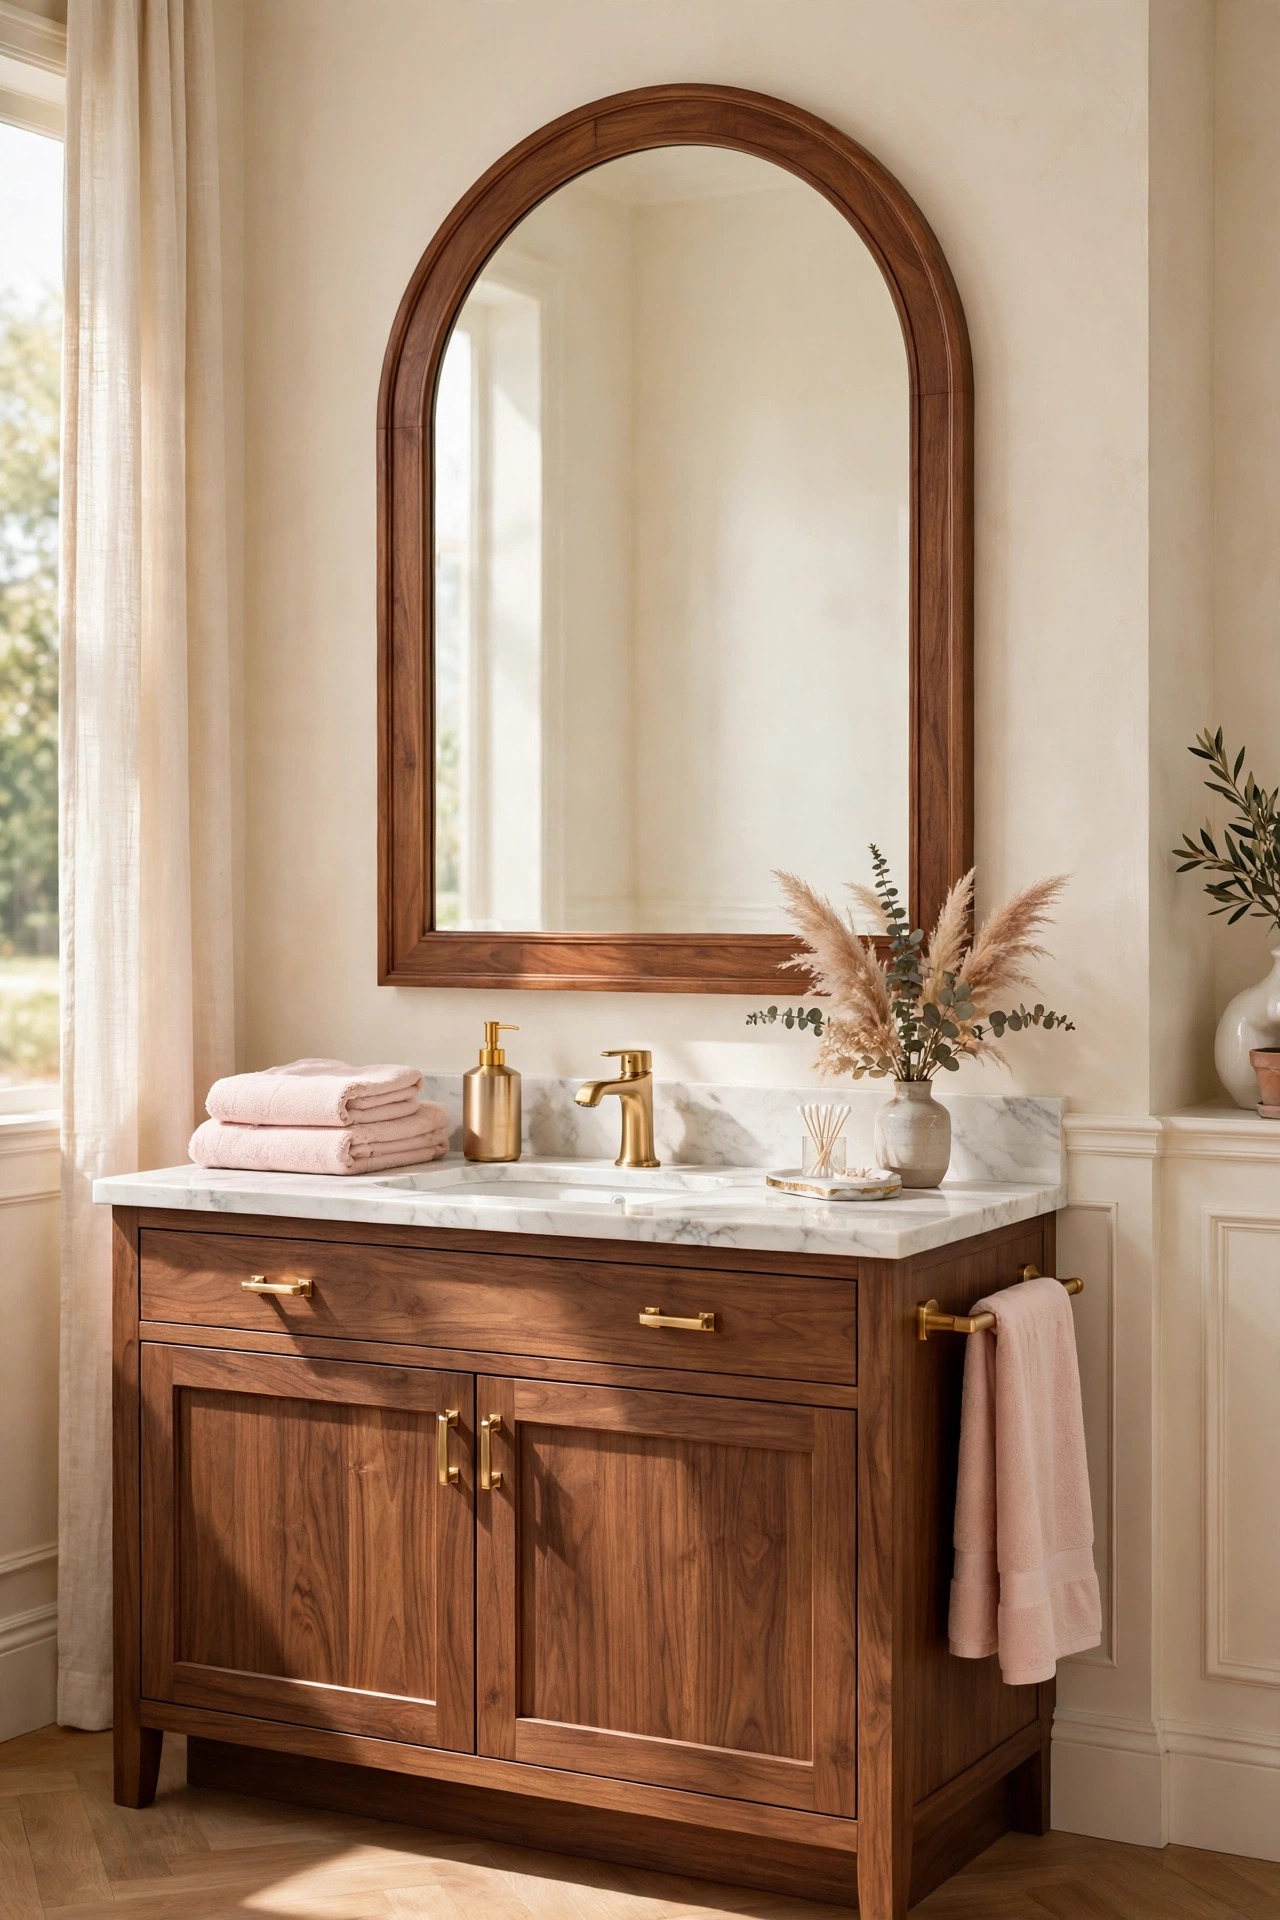
A mirror in a warm brown wood frame is the soft shape a straight vanity needs, and it repeats the vanity wood at eye height. The wood frame breaks the row of straight lines, cabinet, counter, tile, and gives the wall above the vanity a gentle focal point that a bare mirror cannot. Choose a frame in the same walnut family as the vanity, so the two woods read as one decision, and hang the mirror centre at eye height for the tallest user, so nobody has to stoop. A slim wood frame reads calmer than a thick carved one, and it lets the mirror stay the hero while the frame does the warming. Fix it properly: a large mirror is heavy, so the fixing goes into studs or rated anchors, and the bottom edge should sit a hand’s width above the backsplash, not touching the counter.
Best For: Straight, boxy vanities that need softening, and bathrooms where the vanity wood needs an echo at eye height.
Not Ideal For: Very low ceilings where a tall framed mirror crowds the light fitting; a round mirror in a slim wood frame is the softer shape there.
Estimated Cost: $120-$450 (estimate) for a large wood framed mirror.
Budget Note: The frame finish is the spend; a slim walnut frame costs far less than a thick carved one and reads calmer above a vanity.
Renter Friendly: With Conditions
Renter Note: A heavy mirror needs fixings the lease allows; a lighter wood framed mirror on a rated hook is the renter version, weighed first.
What You Need
Large mirror in a slim warm brown wood frame, heavy duty mirror fixings rated for its weight, level, pencil for marking.
Product type to look for: Fixings rated well above the mirror weight, because a bathroom mirror hangs above a hard counter and a sink.
How To Do It
- Measure the vanity width and choose a mirror a little narrower than the vanity, centred on it.
- Mark the centre at eye height for the tallest user and check the mark from the doorway.
- Fit the fixings into studs or rated anchors, following the maker instructions.
- Hang the mirror, check it is level, and leave a hand’s width between its bottom edge and the backsplash.
Pro Tip
Hold the frame sample against the vanity wood in daylight before buying. Two browns that are close but not the same read as a mistake, while one shared walnut family reads as a plan.
9. Lay a Brown Patterned Floor
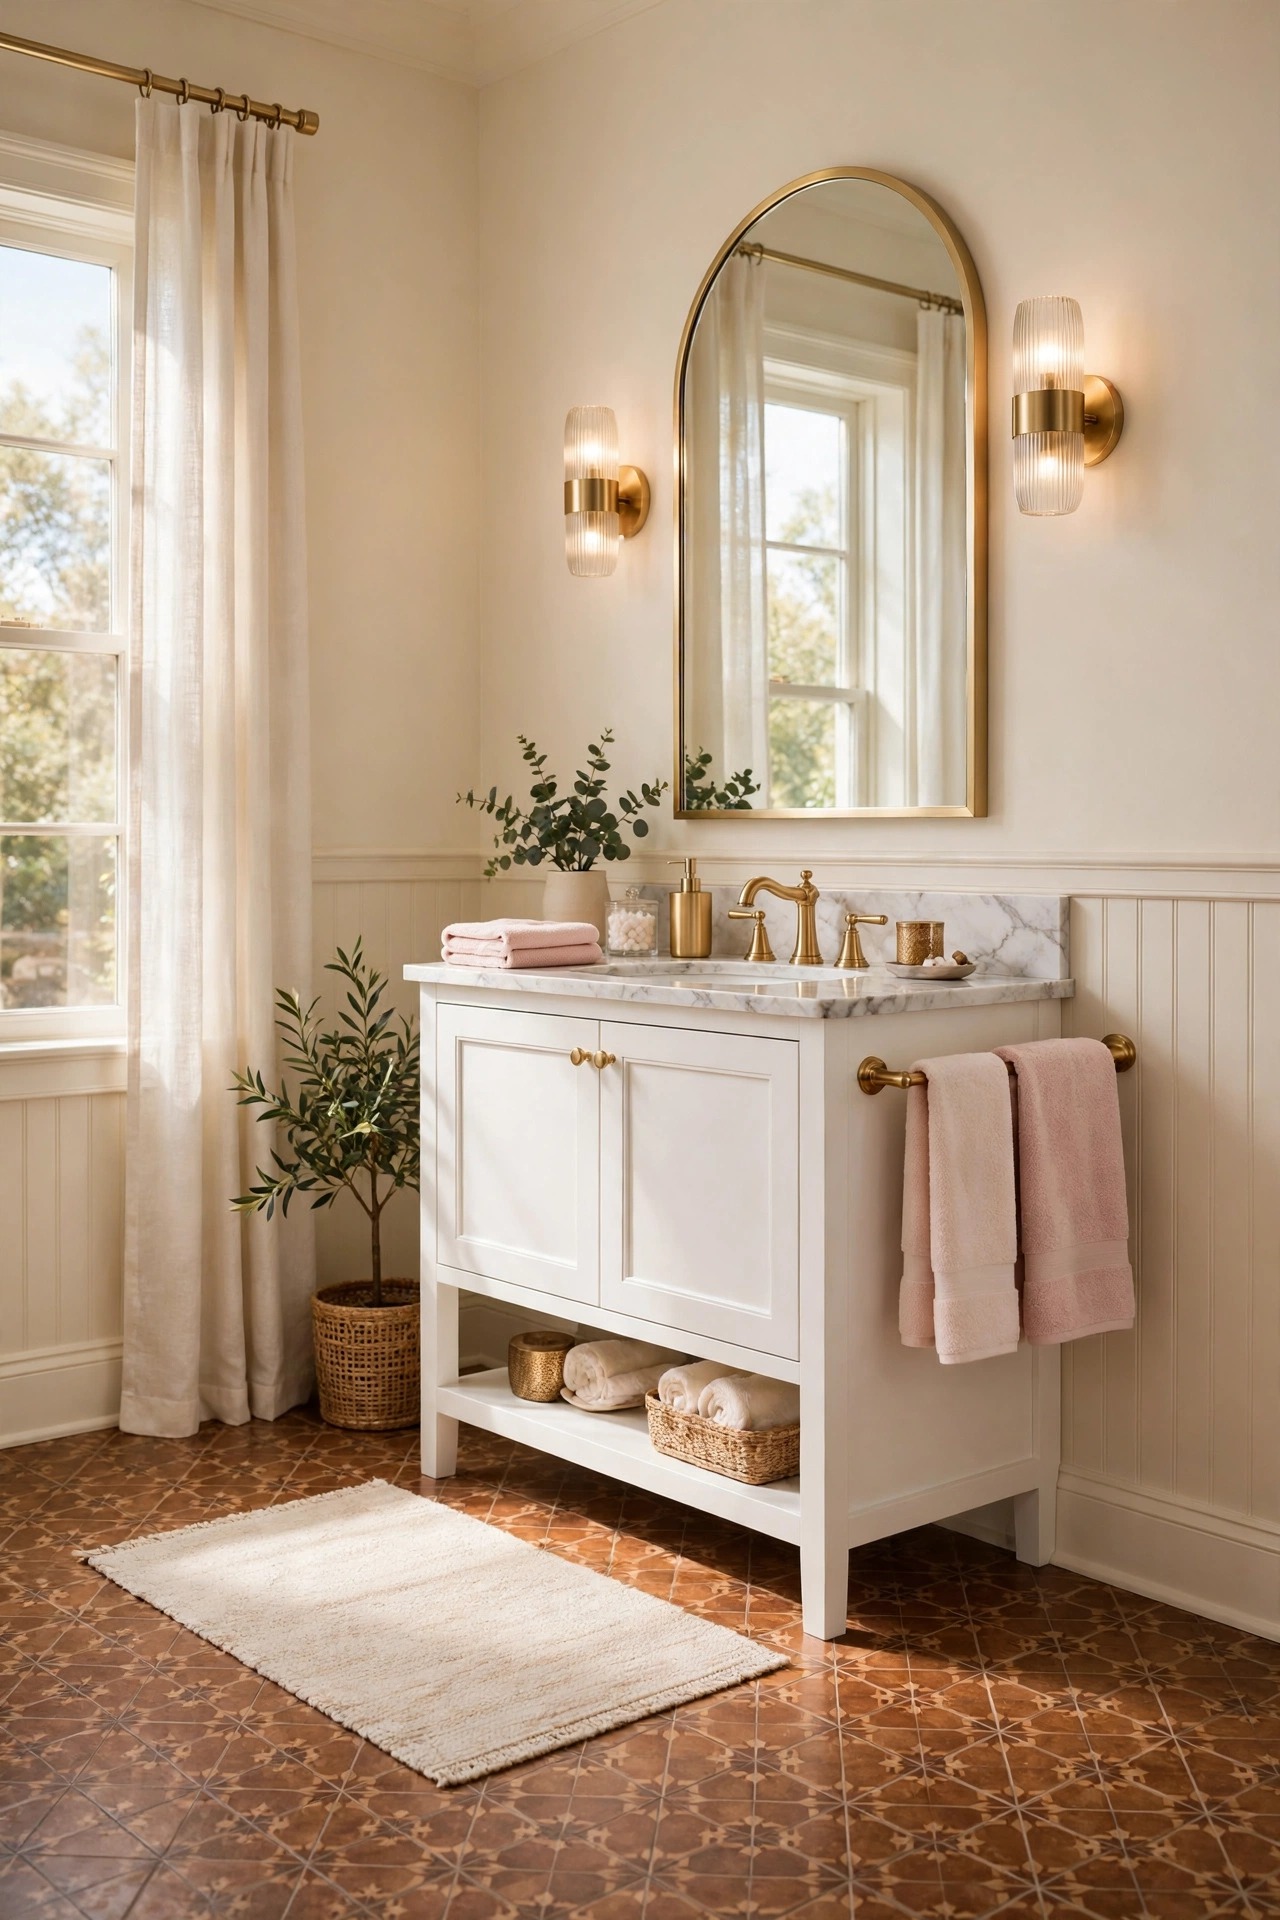
A brown patterned floor puts the brown underfoot, where it grounds the whole room without darkening a single wall. Choose a warm brown pattern, a soft encaustic-look tile or a gentle geometric in chocolate, caramel and cream, and keep the walls and the vanity pale, so the floor is the one patterned note and the room stays bright. Keep the pattern scale modest in a small bathroom, because a large pattern in a small room reads busy and a small pattern reads calm. Lay a soft cream rug over the centre of the floor, so bare feet meet something warm and the pattern shows at the edges like a border. Seal the grout well, because a bathroom floor meets water daily and pale grout in a brown pattern stains fast if it is left unsealed.
Best For: Plain bathrooms that need one strong pattern, and anyone who wants brown without painting a wall.
Not Ideal For: Bathrooms where the walls already carry a strong tile pattern; one pattern per room keeps the story clear.
Estimated Cost: $400-$1,500 (estimate) for patterned floor tiles and fitting for a small bathroom.
Budget Note: The fitting is a real part of the spend; a simple repeating pattern costs less to lay well than a complex one with many cuts.
Renter Friendly: No
Renter Note: Floor tiling is fixed work; a brown patterned rug over the existing floor borrows the look without the fitting.
What You Need
Warm brown patterned floor tiles, tile adhesive, grout, grout sealant, soft cream rug.
Product type to look for: Tiles in warm chocolate and caramel with cream in the pattern, because the cream in the pattern is what keeps the floor bright.
How To Do It
- Lay out a dry run of the tiles and check the pattern scale against the room size.
- Start laying from the centre of the room, so the cut tiles land at the edges.
- Grout, let it cure, then seal the grout well against water and stains.
- Lay the cream rug in the centre and check the pattern reads as a border around it.
Pro Tip
Keep the rug cream, never brown. A brown rug on a brown patterned floor hides the pattern, while a cream rug frames it and keeps the floor bright underfoot.
10. Soften It with Blush and Cream Towels
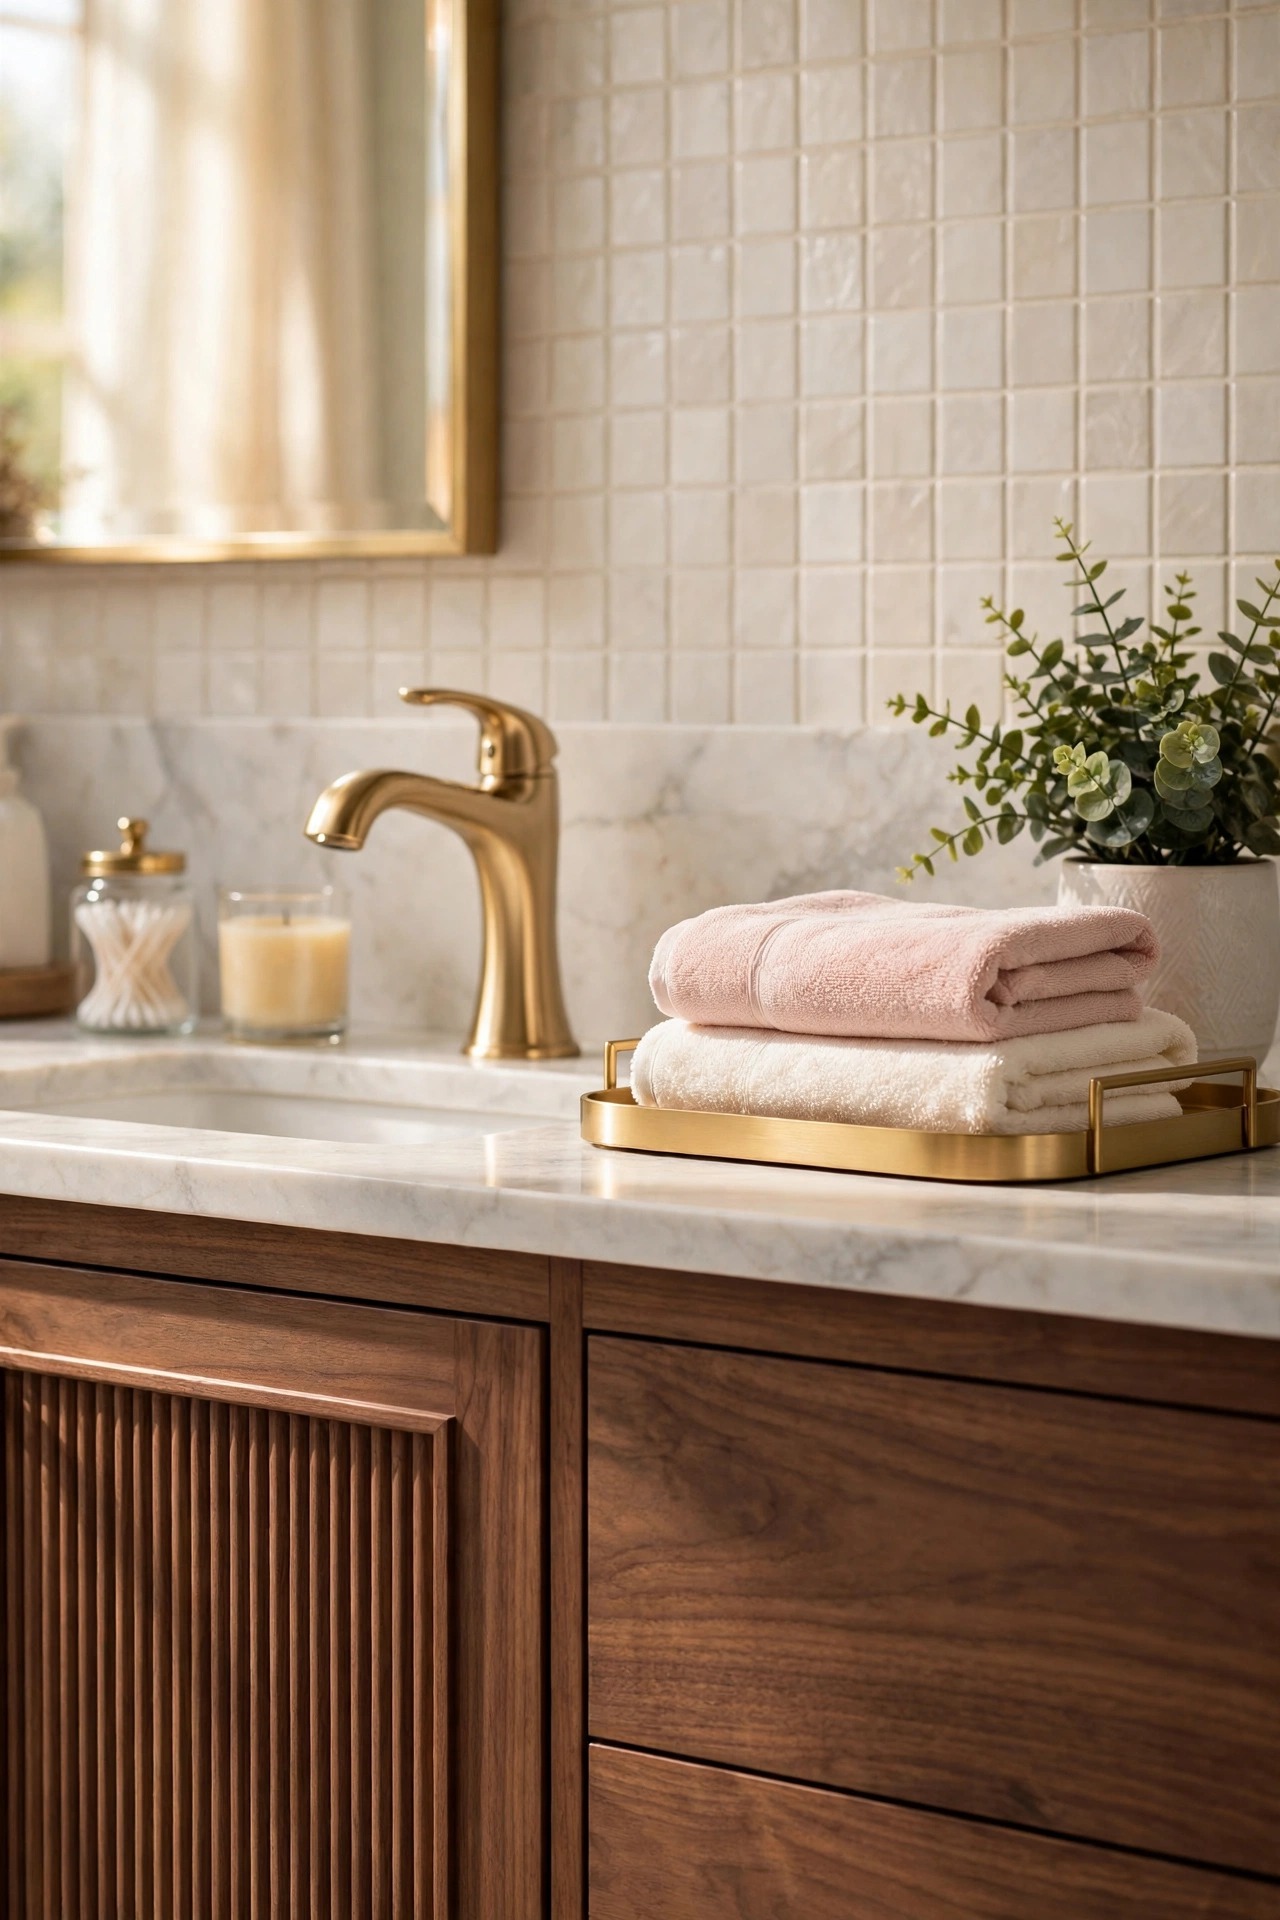
Blush and cream towels are the soft layer that keeps a brown bathroom from feeling heavy, and they are the cheapest idea in this list. Stack folded cream towels on the open shelf and hang one blush hand towel on the gold ring, so the pale towels sit against the brown wood and the brown reads warmer by contrast. Choose thick cotton towels in a soft blush, never a bright pink, because a soft blush sits calmly beside walnut while a bright pink fights it. Keep the towel colors to two only, cream and blush, and repeat them once more in the rug or the shower curtain, so the soft notes look planned rather than accidental. Change the hand towel often, because a brown bathroom shows a greyed towel faster than a white room does.
Best For: Every brown bathroom, and especially rooms that look fine in daylight and heavy in photos.
Not Ideal For: No real exception, but keep the towels pale on a dark chocolate wall, so the bright notes still show.
Estimated Cost: $40-$120 (estimate) for a set of cream and blush cotton towels.
Budget Note: Shop the house first; towels moved from the linen cupboard soften the room for nothing, and new towels are a small spend.
Renter Friendly: Yes
Renter Note: Nothing fixed at all; the whole soft layer can be packed in one box on moving day.
What You Need
Cream bath towels, blush hand towels, gold towel ring if not already fitted, folded stack for the shelf.
Product type to look for: Thick cotton towels in soft blush and warm cream that hold their color after washing, because a faded towel dulls the whole palette.
How To Do It
- Clear the shelf and the towel ring fully, then fold the cream towels into one neat stack.
- Hang one blush hand towel on the gold ring beside the sink.
- Place the cream stack on the shelf and one blush towel folded on top of it.
- Step back and check the pale towels glow against the brown wood from the doorway.
Pro Tip
Fold the towels the same way every time, edges facing the room. A stack folded one way reads as a display, while a stack folded every way reads as a laundry pile.
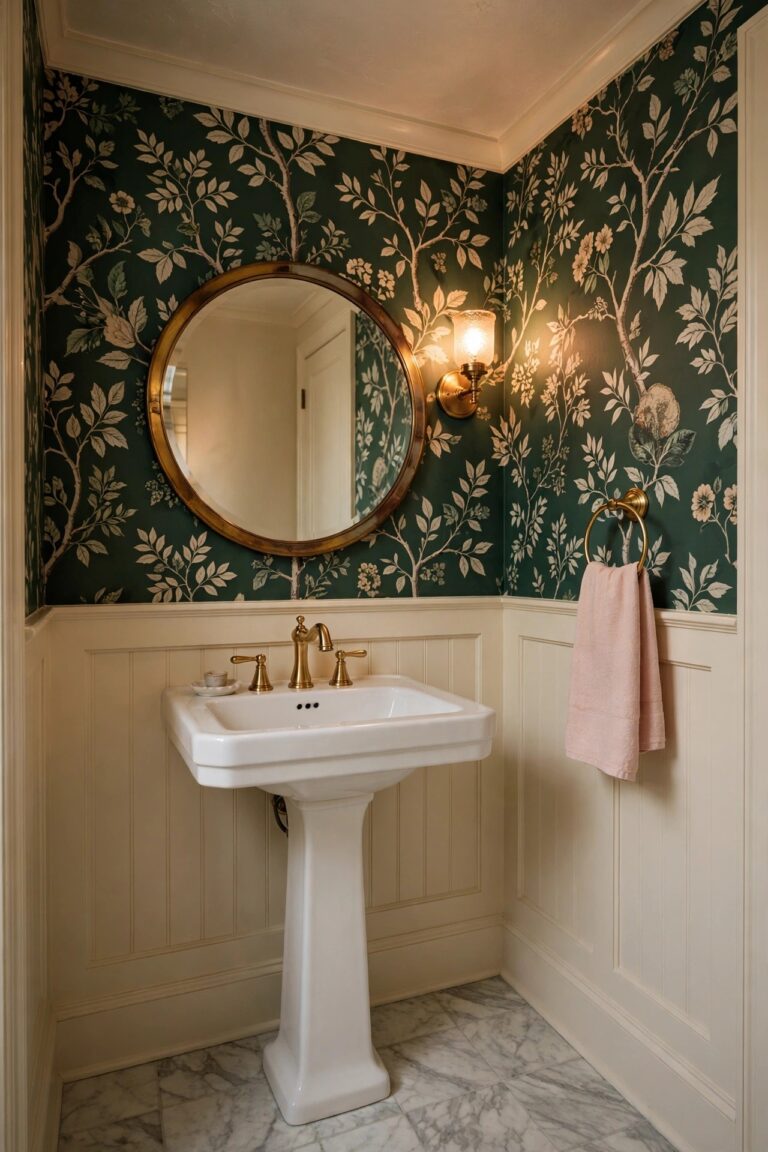
11. Make a Small Brown Powder Room
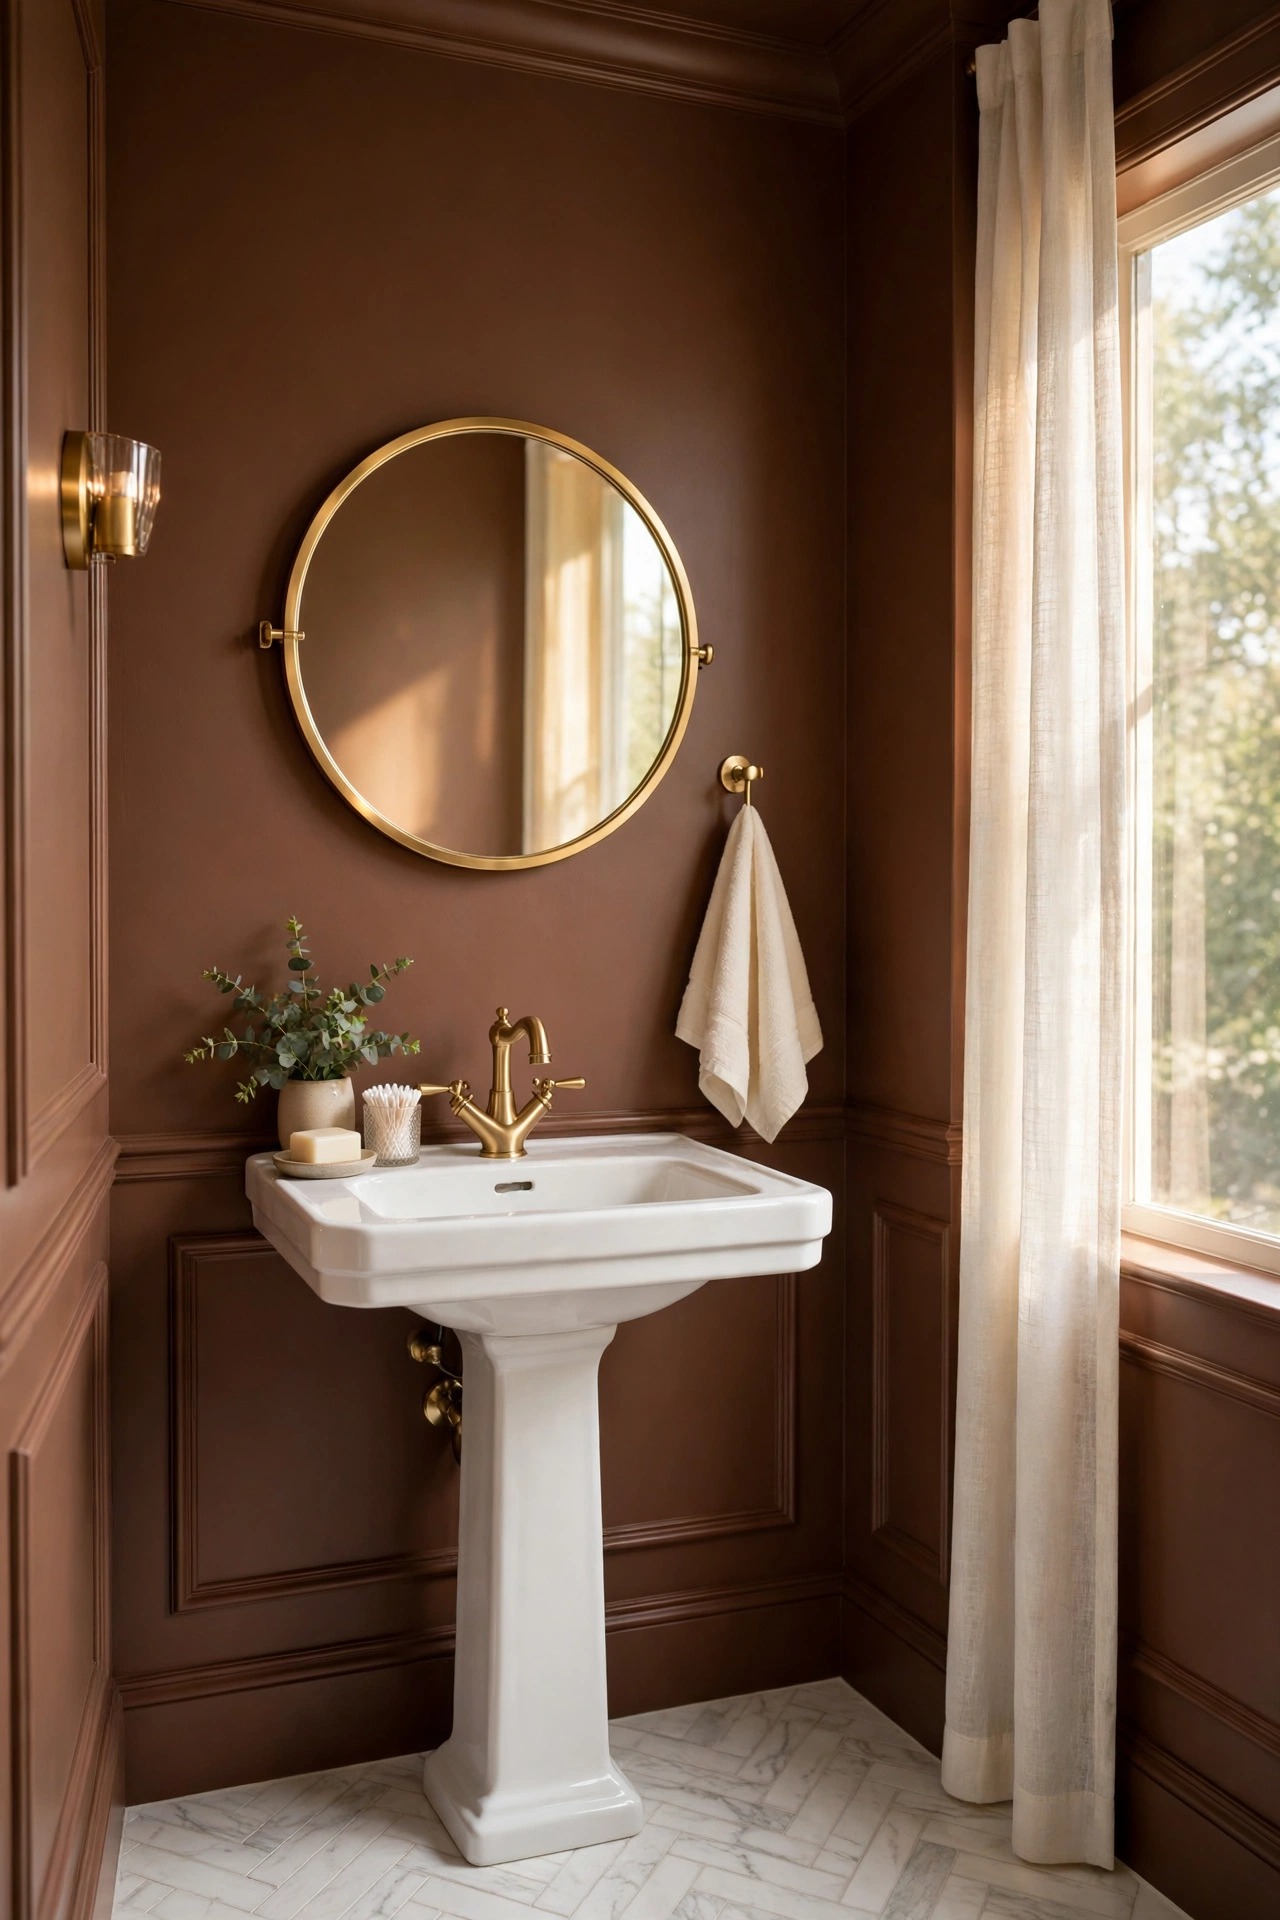
A small powder room is the one place where brown can go bold, because the room is tiny and guests see it for a minute. Paint the walls warm chocolate, keep the pedestal sink white and the faucet brushed gold, and hang a round gold framed mirror above it, so the dark walls make the white sink and the gold glow. Keep the floor pale, a cream tile or a light wood-look tile, so the room has one bright surface underfoot, and keep the hand towel cream, so there is one pale note at eye height. Our powder room ideas show the same small-room tricks with other colors, for readers planning a guest bathroom that feels finished rather than spare
Best For: Guest bathrooms and powder rooms, and anyone who wants a bold brown without committing a large bathroom.
Not Ideal For: A family bathroom used every morning; a dark small room suits a guest visit, not a daily routine.
Estimated Cost: $200-$700 (estimate) for paint, a pedestal sink and a gold faucet in a small powder room.
Budget Note: Paint is the small spend; the sink and faucet are the real cost, and a simple white pedestal keeps the budget calm.
Renter Friendly: No
Renter Note: Paint and plumbing are landlord decisions; renters can borrow the look with a brown shower curtain and cream towels instead.
What You Need
Bathroom paint in warm chocolate brown, white pedestal sink, brushed gold faucet, round gold framed mirror, cream hand towel.
Product type to look for: A pedestal sink with a generous basin, because a small powder room sink still needs room for hands and a soap bottle.
How To Do It
- Paint the walls warm chocolate and let the paint cure fully before the sink is used.
- Fit the white pedestal sink level, following the maker instructions for the plumbing.
- Hang the round gold mirror at eye height above the sink.
- Add the cream hand towel and one small plant, and check the white sink glows against the brown.
Pro Tip
Keep the powder room to three colors only: chocolate, white and gold. A fourth color in a tiny dark room reads as clutter, while three colors read as a jewel box.
12. Add Rattan and Wicker Storage
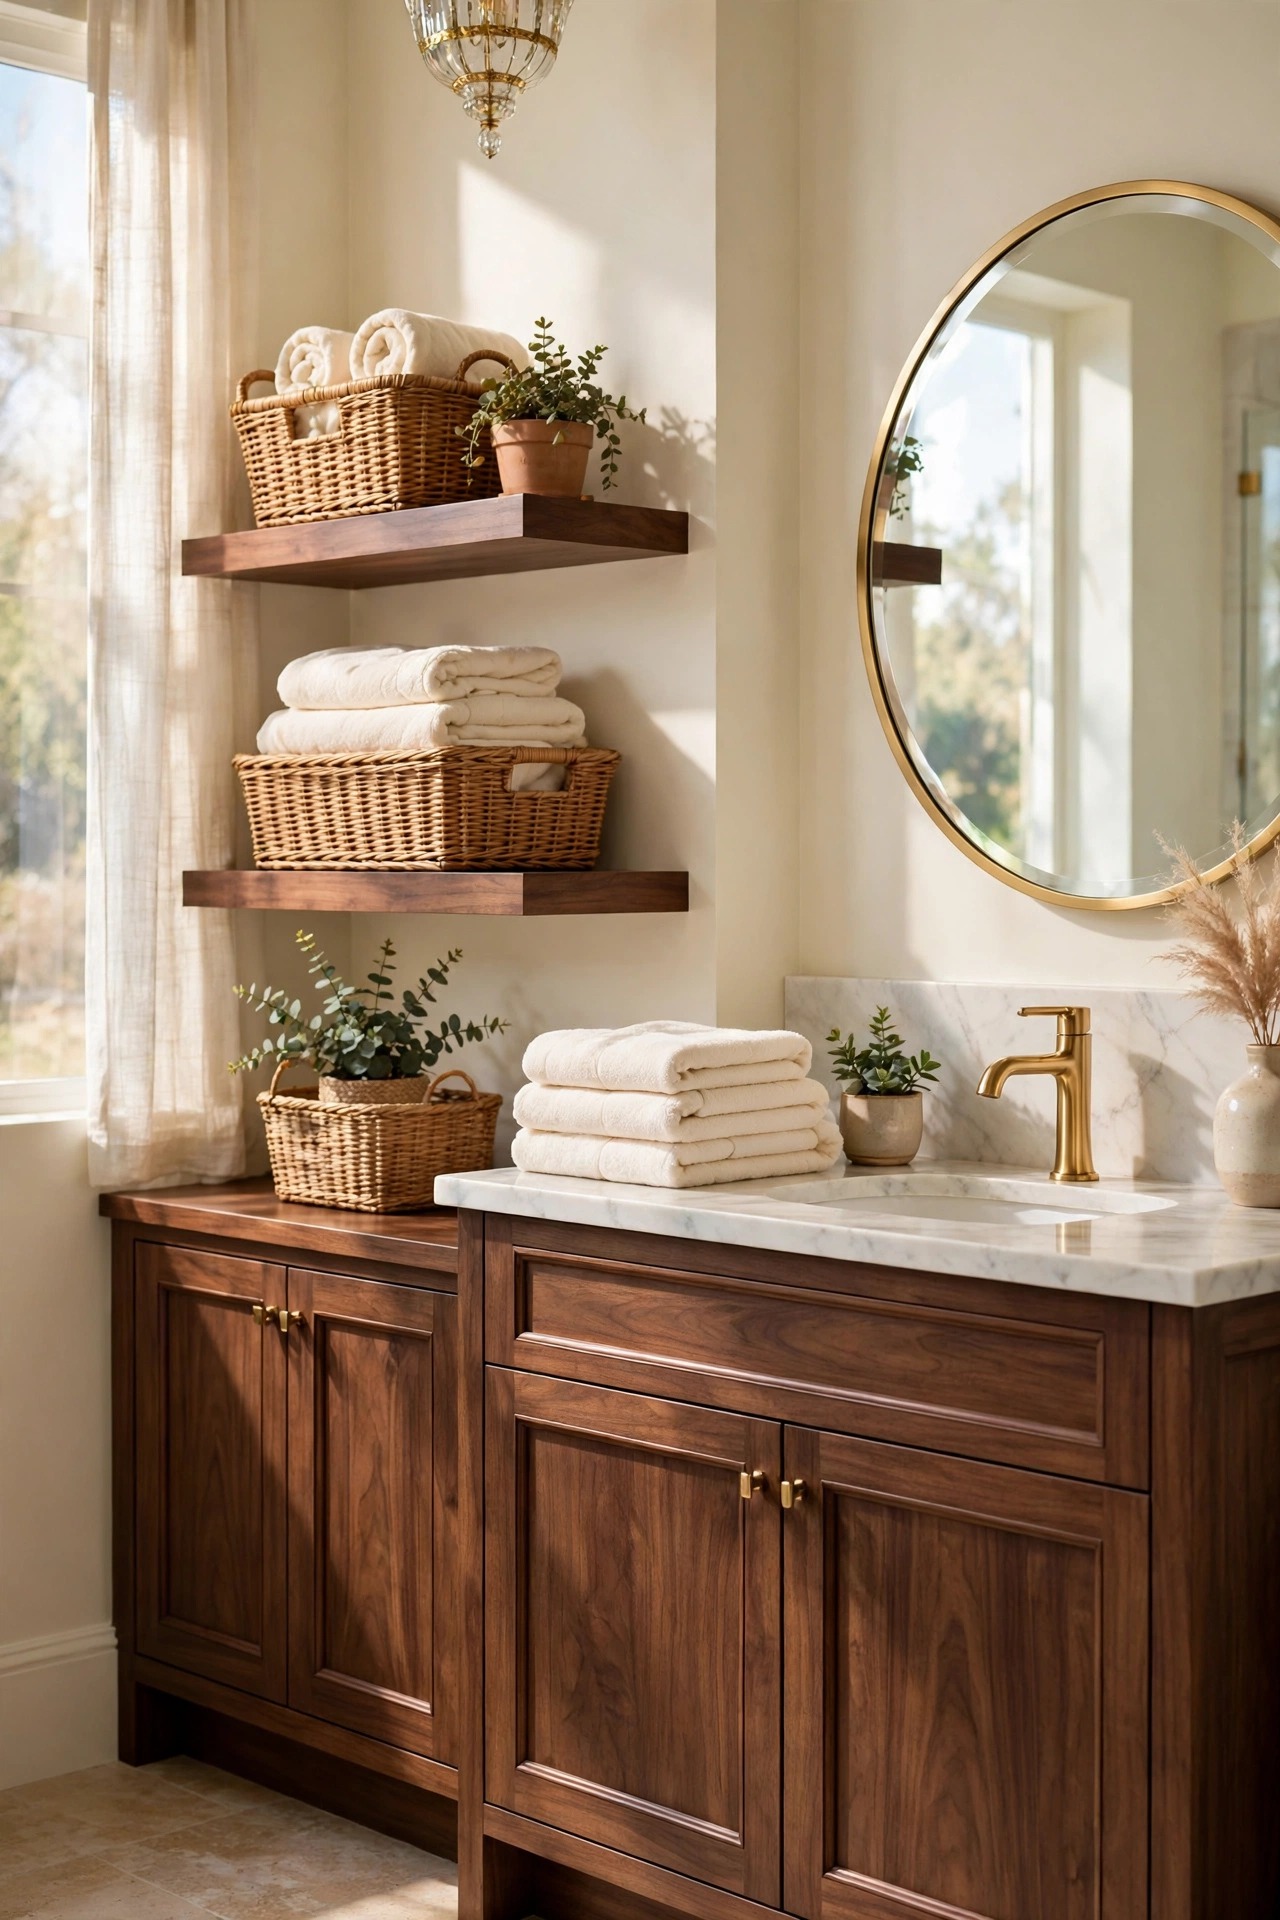
Rattan and wicker bring a lighter brown into the room, and their woven texture keeps a brown bathroom from feeling flat. Set two or three baskets on the open shelves or under a floating vanity, one for rolled towels, one for spare toilet paper, one for hair tools, and let the pale honey-brown weave sit beside the deeper walnut wood. Choose baskets with a tight weave and a sturdy base, because a loose basket sags under a stack of towels and a bathroom basket meets steam every day. Keep the basket sizes matched, two the same size and one smaller, so the group reads as a set rather than a collection of leftovers. Label nothing, because a bathroom basket should look calm, not like a filing box.
Best For: Bathrooms where the open shelves look bare, and anyone who wants texture without another paint color.
Not Ideal For: Bathrooms with no fan where baskets stay damp; sealed baskets or closed storage are the honest version there.
Estimated Cost: $60-$200 (estimate) for two or three rattan or wicker baskets.
Budget Note: The baskets are a small spend; buy the set together so the weave and the honey tone match.
Renter Friendly: Yes
Renter Note: Nothing fixed at all; baskets move out in one box on moving day.
What You Need
Two or three rattan or wicker baskets in a honey brown tone, rolled cream towels, spare toilet paper, hair tools to store.
Product type to look for: Baskets with a tight weave and a sturdy flat base, because a loose basket sags under towels and steam.
How To Do It
- Measure the shelf or the space under the vanity and choose baskets that fit with breathing room.
- Roll the towels rather than folding them, so they fill a basket neatly.
- Load the heaviest basket, spare paper and full bottles, on the lowest shelf.
- Step back and check the honey weave glows beside the deeper walnut wood.
Pro Tip
Keep one basket half empty on purpose. A basket with room to spare absorbs the next purchase without pushing anything onto the vanity counter.
13. Panel the Tub in Warm Wood
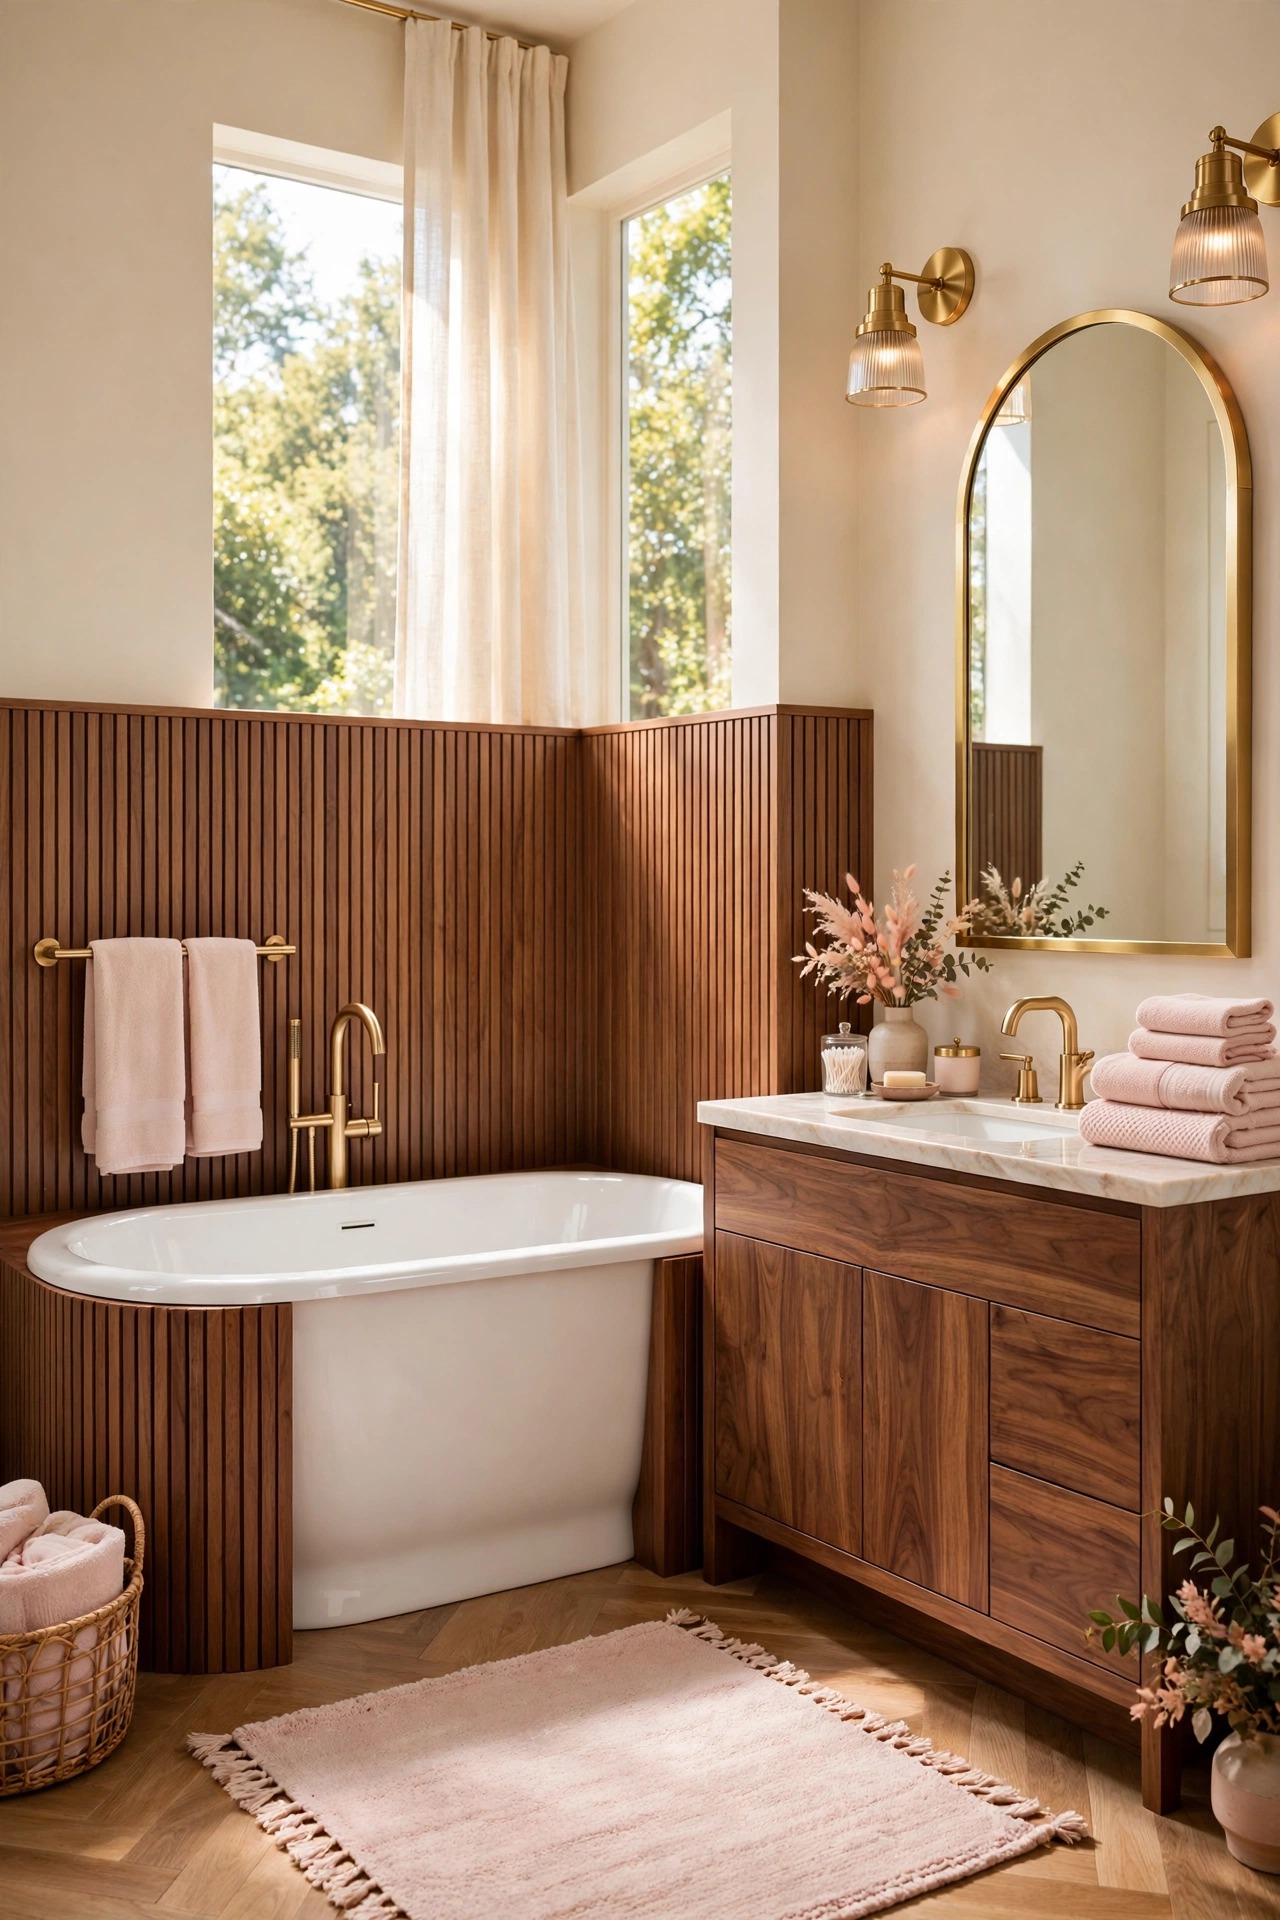
Wood paneling around the tub brings the warm brown to the bathing end of the room, and it balances the walnut vanity at the other end. Panel the tub surround, or the wall behind a freestanding tub, in warm brown wood planks, sealed on every side against water, and keep the tub itself white, so the wood frames the bath rather than swallowing it. Choose a warm mid-tone wood that matches the vanity, and run the planks vertically on the surround so the eye reads the tub as tall rather than long. Keep the bath mat cream and the towels blush, so the pale notes sit against the wood at the bathing end too. Seal the wood well and wipe it dry after a bath, because standing water is the enemy of a wood surround and a sealed plank lasts years longer than an unsealed one.
Best For: Bathrooms with a freestanding or alcove tub, and anyone who wants the brown at both ends of the room.
Not Ideal For: Bathrooms where the tub is splashed hard daily by children; a tiled surround wipes clean faster, so tile is the calmer version there.
Estimated Cost: $300-$1,200 (estimate) for sealed wood paneling for a tub surround.
Budget Note: The sealing is the lasting spend; a well-sealed wood surround costs less over time than a cheap one that lifts and needs replacing.
Renter Friendly: No
Renter Note: Fixed work; a wood bath tray and a brown bath mat borrow the warm note without the paneling.
What You Need
Warm brown wood planks for the tub surround, wood sealant for every exposed edge, fixings rated for bathroom use, cream bath mat, blush towels.
Product type to look for: Planks with a sealed, water-resistant finish on all sides, because a tub surround meets splashes on every bath.
How To Do It
- Hold plank samples against the vanity wood in daylight, and pick the tone that matches the vanity family.
- Seal every plank on all sides before fitting, including the cut ends.
- Fit the planks level around the tub surround, following the maker instructions.
- Style with the cream bath mat and blush towels, and check the wood reads warm from the doorway.
Pro Tip
Run the planks vertically on the tub surround. Vertical planks make the tub end feel taller, while horizontal planks make it feel long and low.
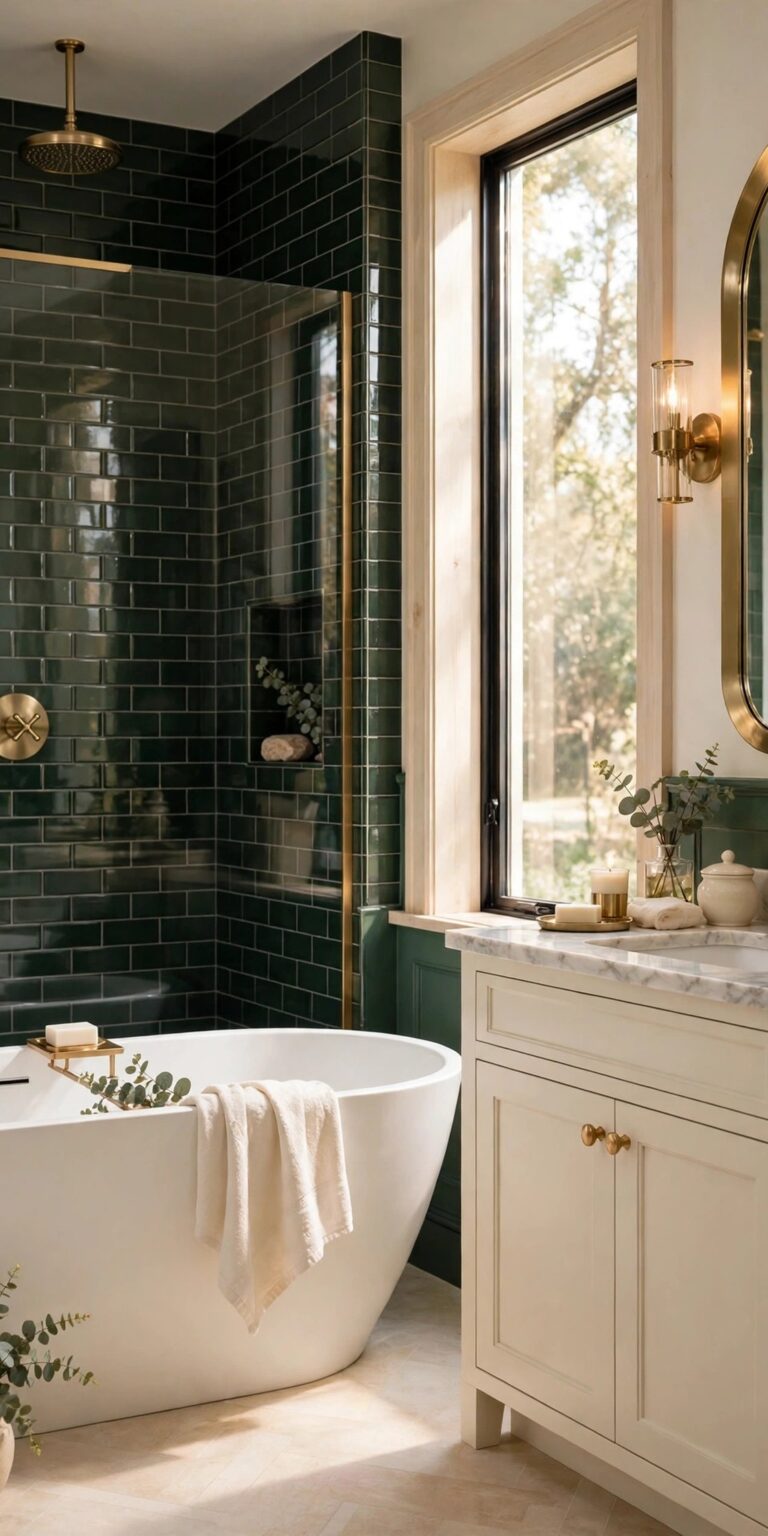
14. Tile the Shower in Warm Brown Stone
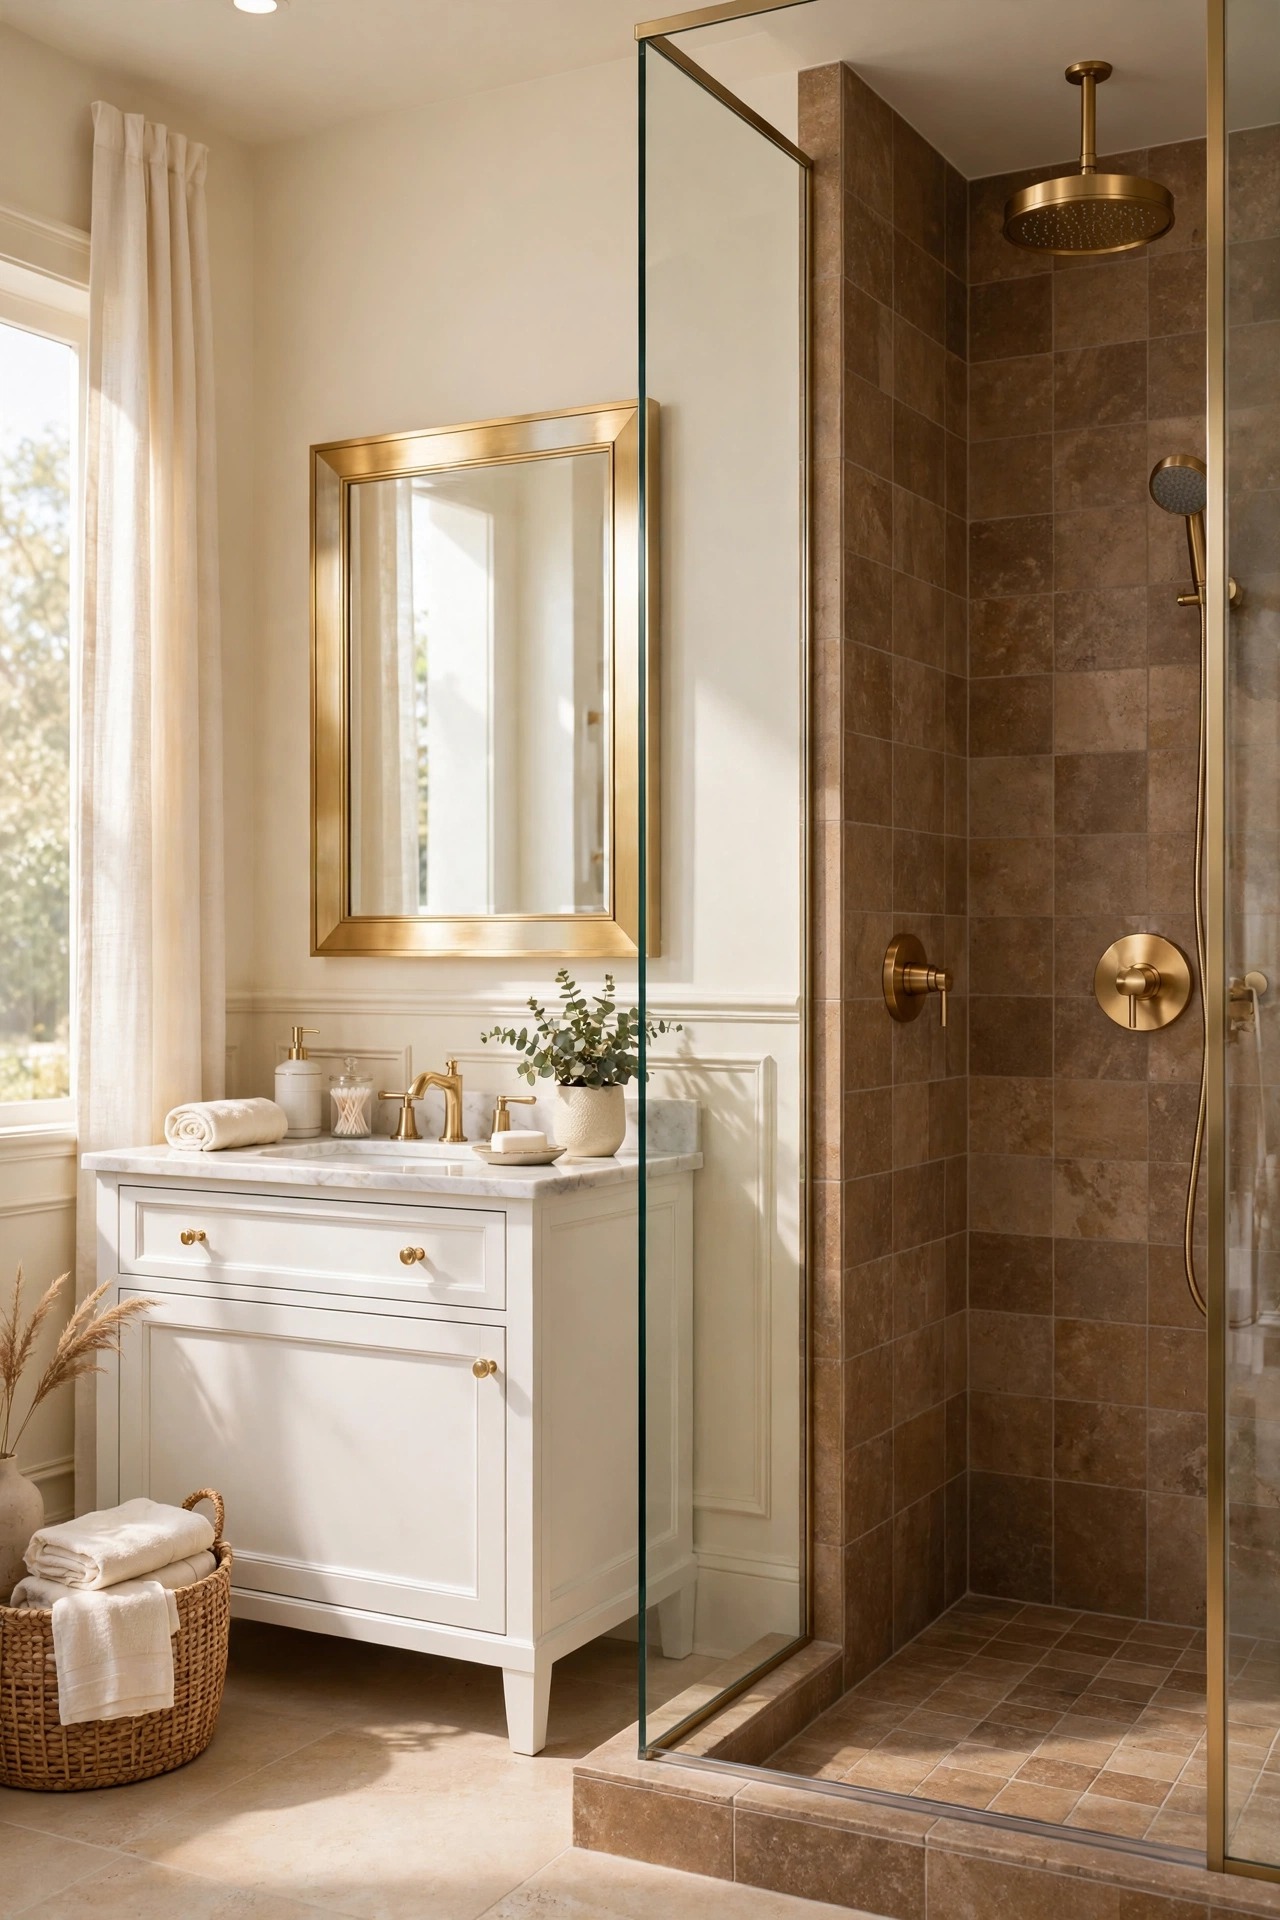
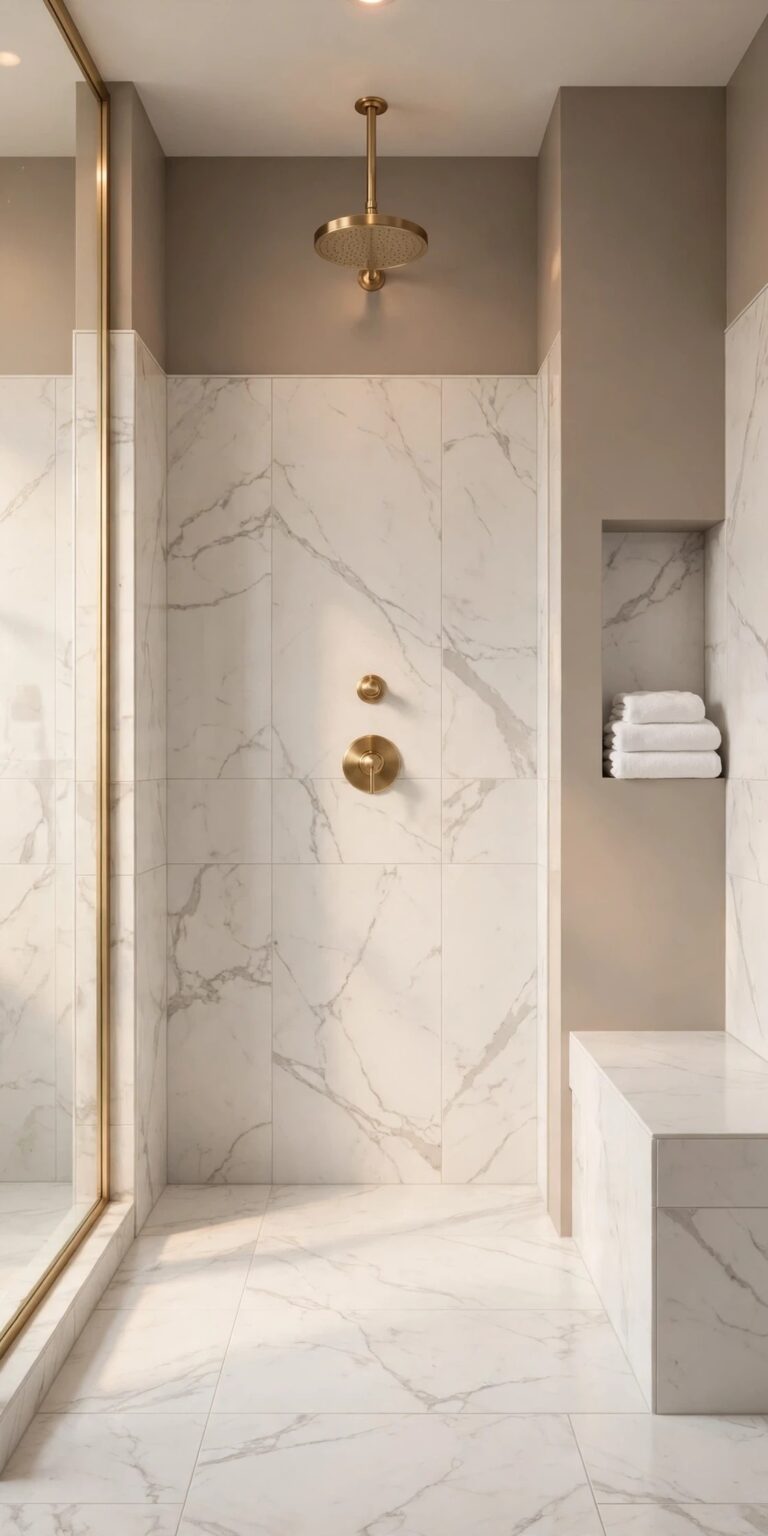
Warm brown stone tiles turn the shower into the calmest corner of the bathroom, and they are the brown that can take the most water. Tile the walk in shower in a warm brown stone, a travertine or a stone-look porcelain in caramel and chocolate tones, and keep the glass panel clear and the fixtures brushed gold, so the stone glows through the glass and the gold repeats the vanity metal. Choose a stone with a warm undertone and a non-slip finish on the floor, because a shower floor must grip bare feet, and seal the stone well, since a shower meets water every day. Our walk in shower ideas show the same glass and gold pairing with other tile colors, for readers planning the shower and the vanity as one room
Best For: Walk in showers and anyone renovating the shower and the vanity together.
Not Ideal For: Bathrooms where the shower is a small curtained tub; stone tile there is a big spend for a small view, so a brown shower curtain is the honest version.
Estimated Cost: $800-$2,500 (estimate) for warm brown stone tiles and fitting for a walk in shower.
Budget Note: The stone and the fitting are the real spend; a stone-look porcelain gives the same warm tones for less and needs no sealing.
Renter Friendly: No
Renter Note: Fixed work; a brown stone-look bath mat and gold hooks borrow the warm note without the tiling.
What You Need
Warm brown stone or stone-look porcelain tiles, tile adhesive, grout, stone sealant if using real stone, brushed gold shower fixtures, clear glass panel.
Product type to look for: A non-slip tile finish for the shower floor, because a shower floor must grip bare feet even when it is wet and soapy.
How To Do It
- Hold stone samples against the vanity wood and the wall in daylight, and pick the warm tone that matches both.
- Tile the walls first, then the floor, keeping the floor tiles small for grip.
- Grout, let it cure, then seal the stone and the grout well.
- Fit the gold fixtures and the glass panel, and check the stone glows through the glass from the doorway.
Pro Tip
Keep the shower shelf in the same stone as the walls. A shelf in a second material splits the shower in half, while one stone through the whole shower reads as a single calm space.
15. Finish with a Warm Brown Styled Tray
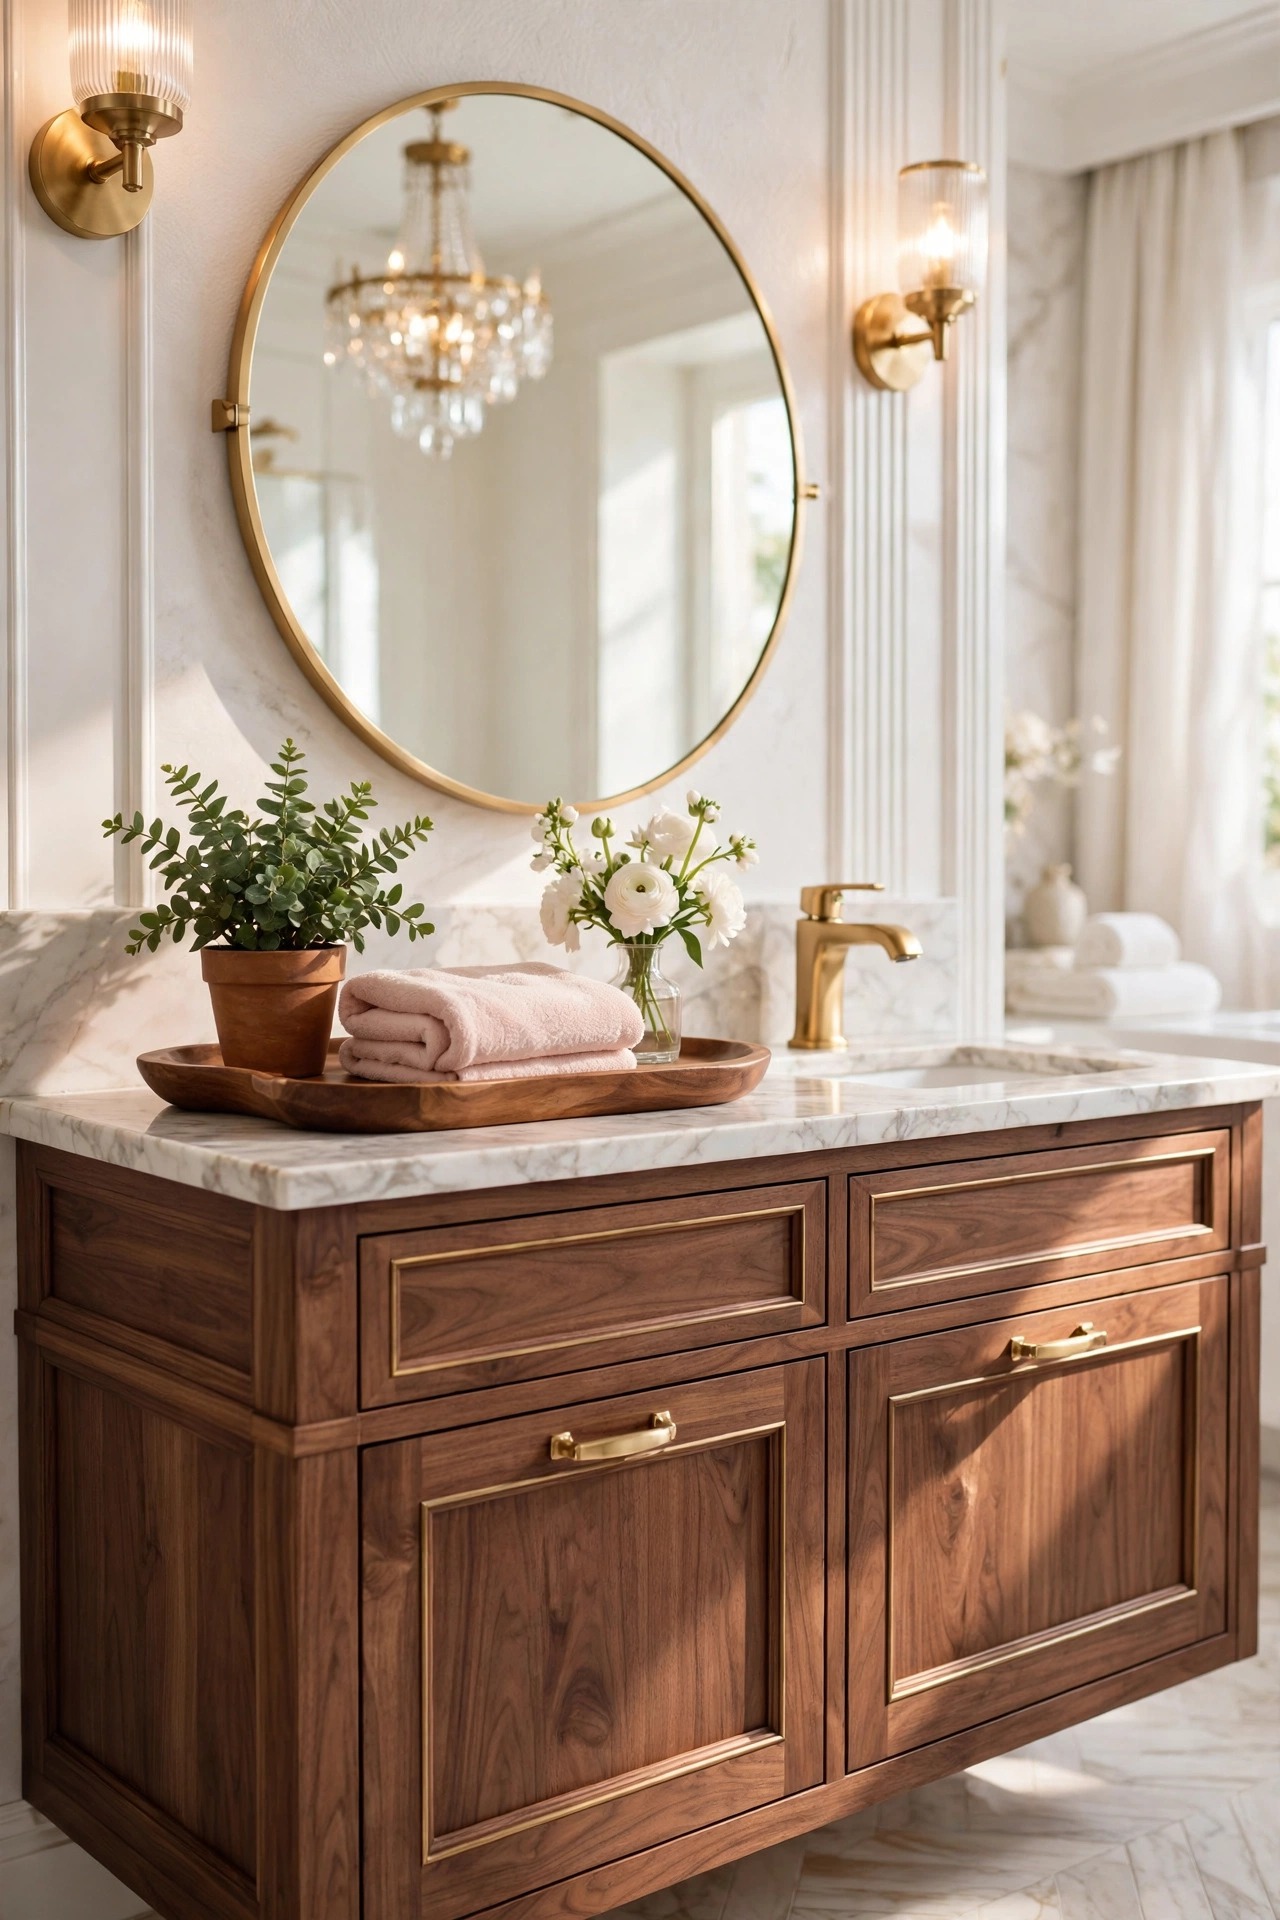
The last idea is the smallest, and it is what makes a brown bathroom look finished in photos and in person. A warm brown wood tray on the vanity, holding one small plant, a folded blush hand towel and the soap bottle, gathers the daily pieces into one calm group and repeats the wood note at the centre of the room. Add fresh white flowers in a small vase beside the tray, one stem is enough, and the vanity reads cared for rather than arranged. Keep the tray honest, sized for what the room actually uses every day, because a styled tray that has to be emptied before anyone can wash their hands is a display, not a finish. Change the flowers weekly and wipe the tray when you wipe the top, and the finish keeps itself.
Best For: Every brown bathroom, and especially rooms that look fine in daylight and unfinished in photos.
Not Ideal For: No real exception, but keep the tray small on a slim vanity so the pale top from idea 4 still shows.
Estimated Cost: $40-$120 (estimate) for a brown wood tray, a small plant and a vase.
Budget Note: Shop the house first; a tray and a vase moved from another room finish the vanity for nothing.
Renter Friendly: Yes
Renter Note: Nothing fixed at all; the whole finish can be packed in one box on moving day.
What You Need
Warm brown wood tray sized for the vanity top, small plant in a gold or cream pot, small vase, fresh white flowers, folded blush hand towel.
Product type to look for: A tray with a low rim, large enough for the daily pieces without crowding, in the same warm brown as the vanity wood.
How To Do It
- Clear the vanity top fully, then place the tray on one third of the top.
- Set the plant, the soap bottle and the folded towel on the tray, and the vase beside it.
- Check the sink is still easy to use without moving the tray.
- Walk to the door and check the vanity as a guest sees it: walnut leading, gold repeated, surfaces calm.
Pro Tip
Reset the tray every evening for one week. The habit, not the objects, is what keeps a styled finish: tray grouped, towel folded, flowers fresh, top two thirds clear.
Practical Tips for Brown Bathroom Ideas
Let the brown be the one warm note and repeat the calm notes until they look planned. The vanity stays walnut or white, the walls stay cream or warm taupe, and blush, brushed gold and warm wood do the supporting work, each used at least twice: blush in the towels and one echo, gold in the faucets, the hardware and the mirror frame, wood in the vanity and the shelves or the tray. One note used once looks like an accident; twice or more it looks like a decision. Keep brushed gold as the only metal and match its tone across every piece, because mixed metals scatter the glam note faster than any other mistake in this palette. Choose every brown by daylight, because a brown that glows at noon can turn muddy under a cool bulb at night, and judge the room twice before calling it done, once at midday for the true brown and once under the evening light. Start in the order of this list, vanity and walls first, and let the tile, the mirror and the soft layers arrive slowly; a bathroom built in a weekend usually has one brown too many, and removing a piece is always easier than finding the right one to add.
Frequently Asked Questions
Will a brown bathroom look dark?
Not if the brown stays warm and the rest of the room stays bright. Keep the walls cream or warm taupe, the vanity top pale, and the towels blush and cream, and the brown reads as a warm note rather than a dark one. A chocolate accent wall works only with good daylight and a large mirror to bounce the light back.
What is the best brown for a bathroom?
Warm walnut, caramel and warm taupe are the safest browns, because they glow in daylight and flatter brushed gold. Avoid grey browns and cool taupes, which turn muddy under bathroom light. Test every brown on the actual wall in daylight before buying, because brown shifts more with the light than any other color.
Can I use brown in a small bathroom?
Yes, and a small powder room is the best place to go bold, because guests see it for a minute and a dark wall makes the white sink glow. In a small family bathroom, keep the brown to the vanity, the floor or one wall, and keep the rest of the room cream, so the room stays bright.
What color goes with a brown bathroom?
Cream, blush pink and brushed gold are the natural partners, because they keep the room bright and glam. White works for the fixtures and the top, and warm wood repeats the brown at a second height. Avoid a second strong color, because one warm brown with pale partners reads calmer than two colors competing.
How do I keep a brown bathroom from looking muddy?
Choose browns with a warm undertone, caramel, honey or blush, and check them in daylight and at night before committing. Keep the grout pale, the towels cream and blush, and the metal brushed gold, because pale grout, pale towels and warm gold are what stop a brown room from reading muddy.
Should the vanity match the mirror frame in a brown bathroom?
Yes, keep them in the same wood family. A walnut vanity with a walnut framed mirror reads as one decision, while two browns that are close but not the same read as a mistake. Hold the frame sample against the vanity wood in daylight before buying.
Conclusion
A brown bathroom ideas list works when the brown is given one clear job: the wood leads, and everything else supports. A walnut vanity with a pale top keeps the room bright, brushed gold repeated in the faucets, the hardware and the mirror frame gives it the glam note, and blush towels, warm light and a styled tray keep the room feeling lived in rather than staged. Start with the vanity and the walls, add the tile and the mirror, keep one metal and one soft accent through the whole room, and the warmest color in the house becomes the one the bathroom is proud of.