15 Dark Green Bathroom Ideas for a Rich, Calm Look
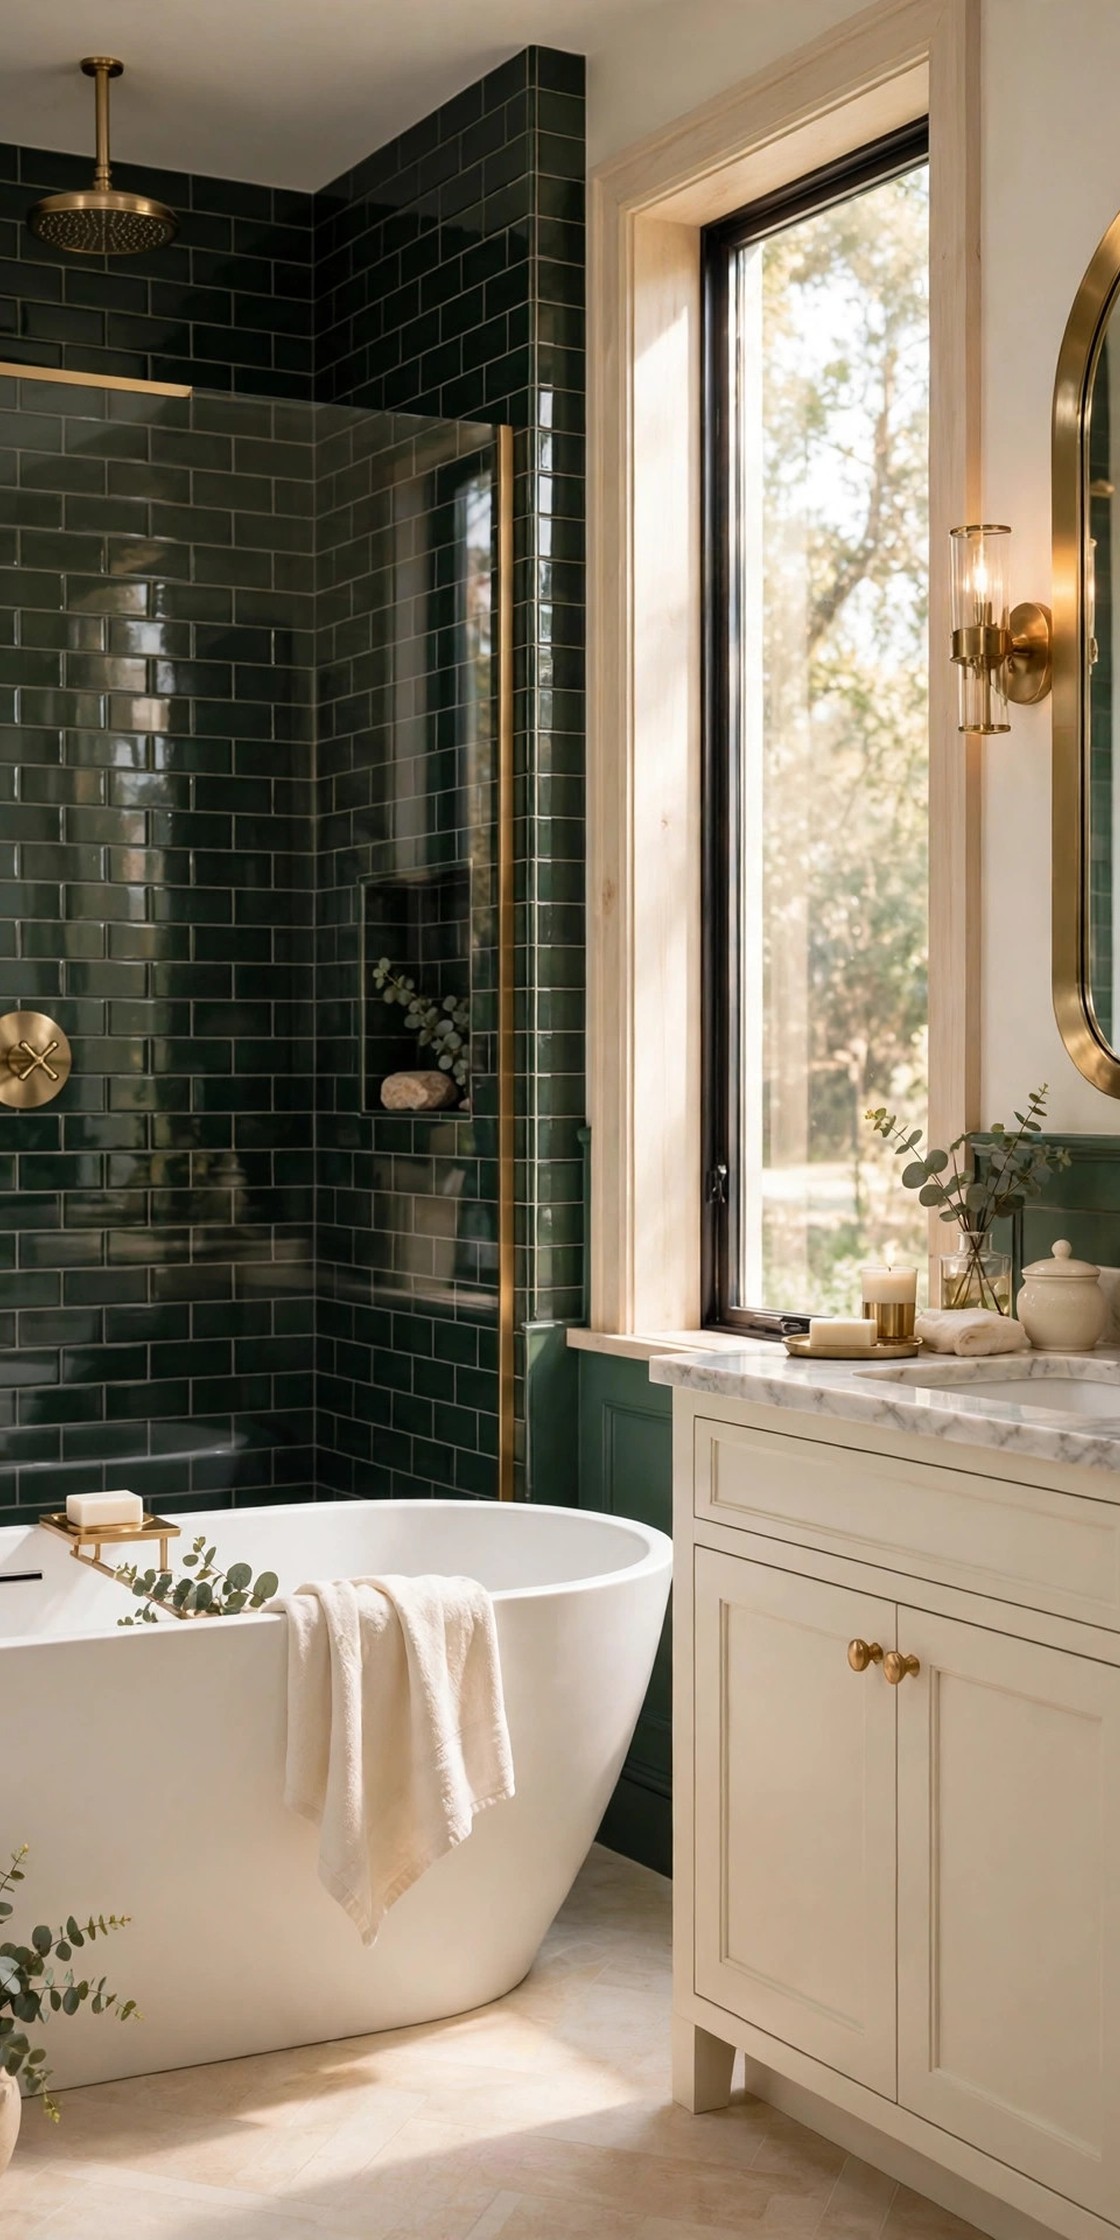
A dark green bathroom works when the green is treated as the room’s one strong colour and everything else stays light enough to let it breathe. The mistake is pairing deep green with more dark colours, which turns the room into a cave, or using green only in towels and calling the room done. These dark green bathroom ideas put the colour where it lasts: tile, paint, a vanity and the floor, then balance it with cream, warm white, pale wood and brushed brass. Work through the list in order, because the early ideas set the tile and the vanity, and the later ones add the storage, light and finishing layers. If you want a broader starting point first, our guide to classic bathroom looks is a useful companion read
Disclosure: This article may contain affiliate links. If you buy through a link on this page, GlamNStyle may earn a small commission at no extra cost to you. Product links in this article are plain links; each one is checked on the retailer’s own page before it is added.
1. Tile the Shower Wall in Dark Green Subway Tile
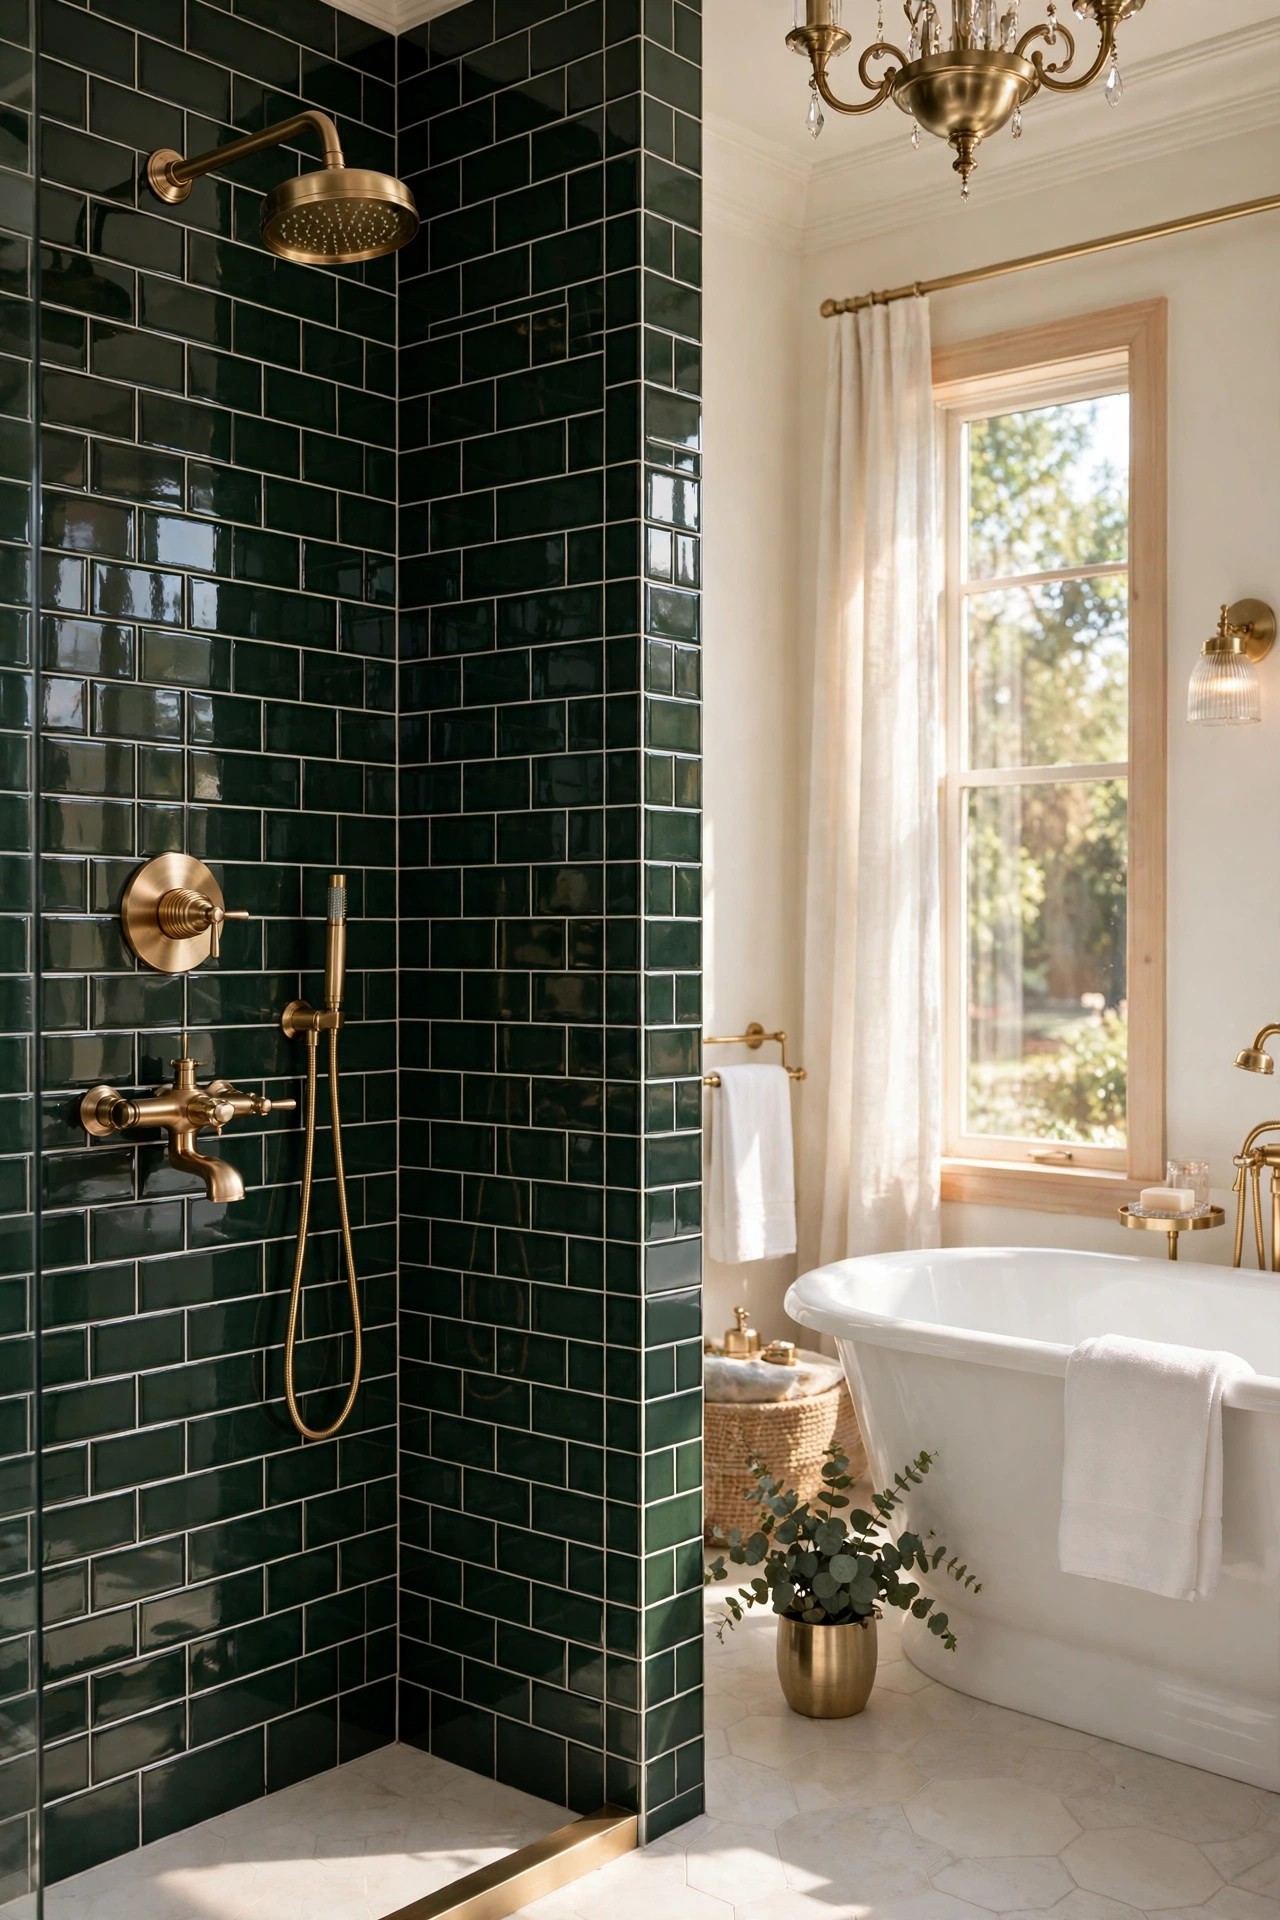
A dark green subway tile shower wall is the most reliable way to bring this colour into a bathroom, because tile loves water and the colour stays rich for years. Glossy green subway tiles laid in a brick pattern, with white or pale cream grout, catch the light along every edge and make the shower read as the room’s feature wall. Keep the rest of the room pale, a cream vanity, a white tub and a light floor, so the green wall feels like a deliberate statement instead of a dark corner. Grout colour changes the whole look: white grout keeps the tile pattern crisp, while a matching green grout softens it into one calm surface.
Best For: Bathrooms with a shower or tub surround that needs one strong feature wall.
Not Ideal For: Very small showers with no natural light, where a full green wall can feel heavy; tile the back wall only there.
Estimated Cost: $600-$1,800 (estimate) for dark green subway tile, grout and fitting for one shower wall.
Budget Note: The tile and the fitting are the spend; standard subway size keeps the tile cost in reach.
Renter Friendly: No
Renter Note: Tile is a permanent change; renters can use the painted vanity in idea 2 instead.
What You Need
Dark green glossy subway tile, white or pale cream grout, tile adhesive and spacers, brushed brass shower fixtures, waterproof sealant, tile cutter or a tiler.
Product type to look for: A glazed ceramic or porcelain subway tile with a consistent deep green glaze, in a size that suits the wall, plus grout rated for wet areas.
How To Do It
- Measure the shower wall and order tile with at least 10 percent extra for cuts and breakage.
- Dry lay one row on the floor to check the pattern and where the cut tiles will fall.
- Tile from the bottom up in a brick pattern, keeping grout lines even with spacers.
- Grout once the adhesive has set, seal the grout, and fit the brass fixtures last so nothing scratches the new tile.
Pro Tip
Hold a sample tile against the wall at morning and evening light before ordering. Glossy green deepens in low light, so the sample should still read green, not black, at dusk.
2. Paint the Vanity Dark Green With Brass Handles
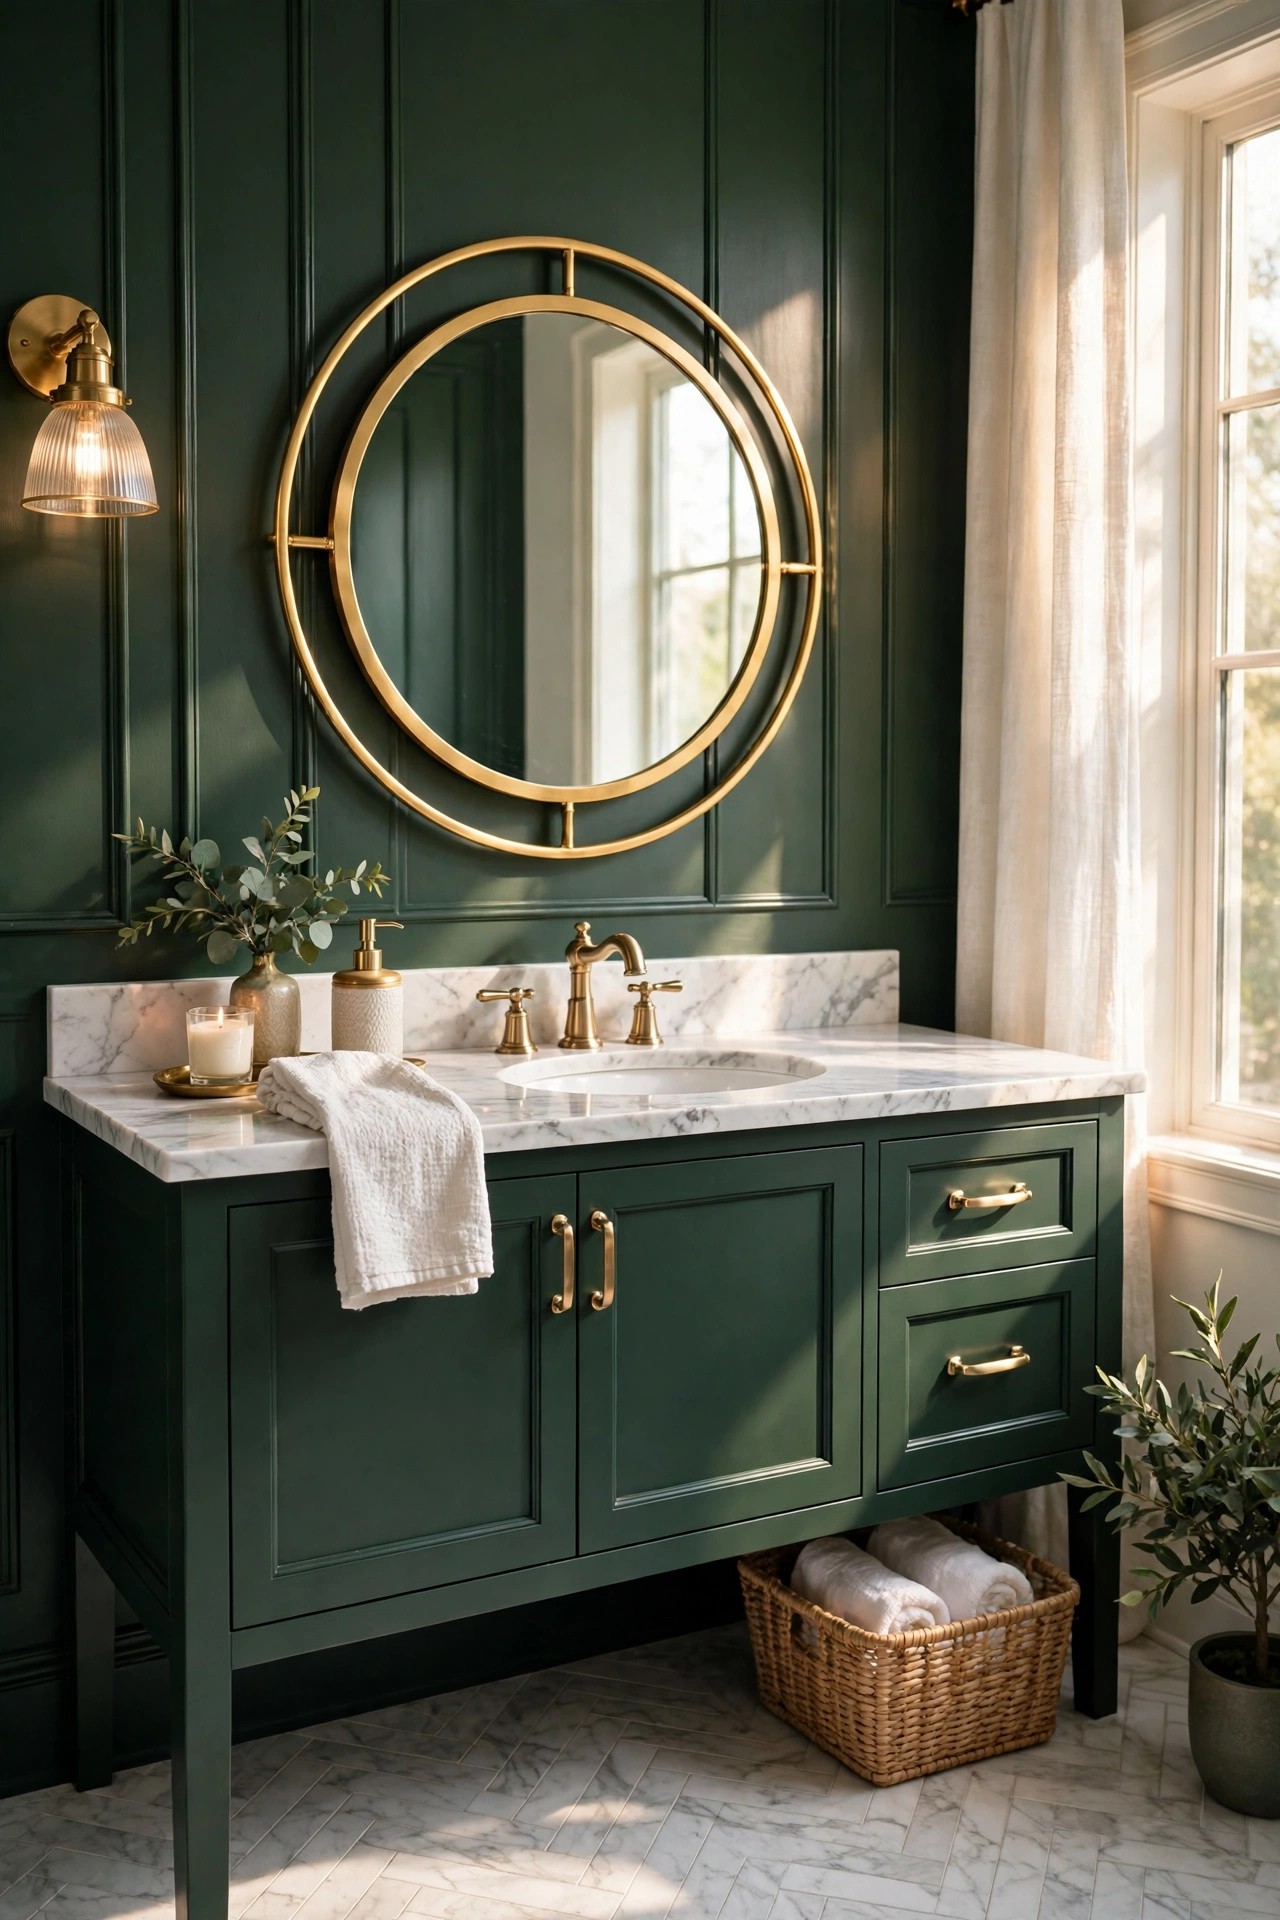
A painted dark green vanity is the cheapest large change in this list and the one most bathrooms can carry. A plain wood vanity, painted in a deep green with a washable satin or semi-gloss finish, turns a forgettable cabinet into the room’s furniture piece, and brushed brass handles give it the glam note that ties it to the fixtures. Keep the top white marble or pale stone and the walls cream, so the green cabinet reads as one confident block of colour. The paint must suit a wet room: a quality cabinet paint with a primer made for wood, two coats, and a full cure before the room steams up again.
Best For: Bathrooms with a plain wood vanity and anyone who wants the green look at paint cost.
Not Ideal For: Vanities with peeling laminate or swollen chipboard, where paint will not bond; replace the cabinet there.
Estimated Cost: $120-$380 (estimate) for cabinet paint, primer, brushes and new brass handles.
Budget Note: The handles are the lasting spend; the paint itself is a weekend cost.
Renter Friendly: With Conditions
Renter Note: Only paint a vanity the lease allows you to change; a freestanding green cabinet is the removable version.
What You Need
Cabinet paint in deep green with a satin or semi-gloss finish, primer for wood, fine sandpaper, brushes or a small roller, brushed brass handles, dust sheets, painter’s tape.
Product type to look for: A washable cabinet paint made for humid rooms, sampled on the actual vanity, because green dries deeper than the card suggests.
How To Do It
- Remove the doors, drawers and handles, clean every surface, and sand lightly so the primer grips.
- Prime all faces, let it dry fully, then apply two thin coats of green, sanding lightly between coats.
- Fit the new brass handles once the paint has cured, keeping the spacing even across drawers.
- Set the vanity back in place and keep the counter clear for a day so nothing marks the fresh finish.
Pro Tip
Paint the inside of one drawer front as a test first. If the green looks too dark in the room light, a slightly lighter green on the same card saves a full redo.
3. Paint the Walls Green Above White Wainscoting
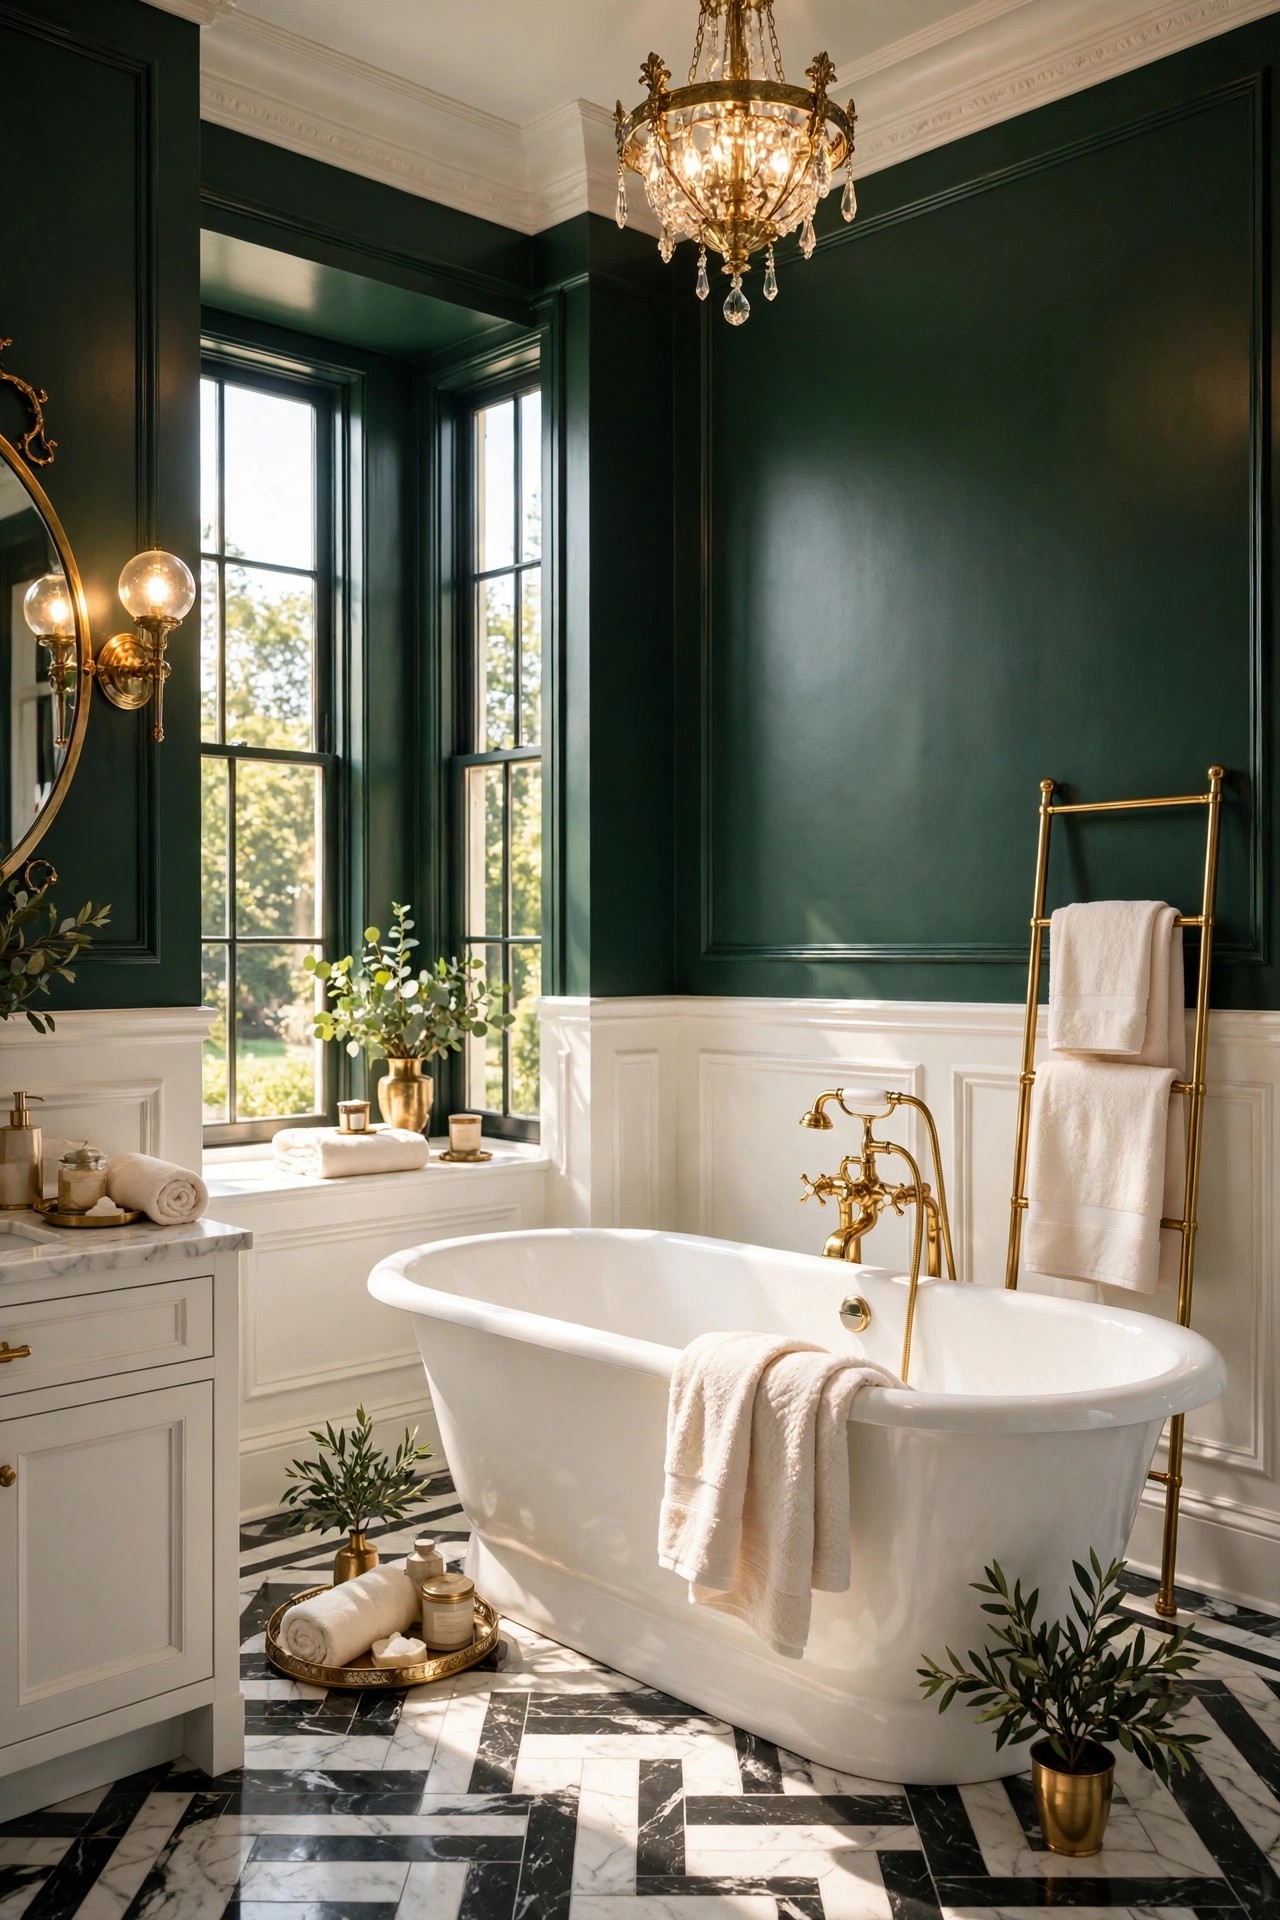
Green walls above white wainscoting give a bathroom the look of a classic panelled room, with the colour held at eye level and the lower wall protected from splashes. Paint the upper wall in deep green and keep the wainscoting bright white, with a slim chair rail between them, and the room gains architecture without a single tile. The white lower half keeps the floor line bright, which is what stops the green from closing the room in. Use a washable bathroom paint on both surfaces, because the wainscoting sits exactly where water lands, and keep the ceiling and trim white so the green has a clear frame.
Best For: Bathrooms with plain plaster walls and a tub or vanity that needs a backdrop.
Not Ideal For: Rooms with damp walls or flaking paint, where the finish will not bond; fix the wall first.
Estimated Cost: $150-$450 (estimate) for washable green paint, white wainscoting boards or panels, primer and trim.
Budget Note: The wainscoting boards are the spend; the green paint is a weekend cost.
Renter Friendly: No
Renter Note: Paint and fixed panelling are landlord decisions; renters can use the freestanding pieces in ideas 2 and 11 instead.
What You Need
Washable bathroom paint in deep green, white wainscoting boards or ready panels, primer, chair rail trim, painter’s tape, level, fine brush for edges, dust sheets.
Product type to look for: A moisture resistant bathroom paint with a washable finish, and wainscoting boards in a moisture tolerant material for the splash zone.
How To Do It
- Measure the wall and mark the chair rail height, usually around a third of the wall height from the floor.
- Fit the wainscoting panels level, fill the joints, and paint them bright white first.
- Tape the chair rail, then paint the upper wall in deep green in two coats, cutting the edge in carefully.
- Paint the ceiling and trim white last, and check the green at midday and at lamp light before calling it done.
Pro Tip
Keep the green one shade lighter than the vanity green in idea 2 if both appear in the same room. Two identical deep greens fight; a wall a touch lighter lets the vanity lead.
4. Add an Emerald Green Zellige Tile Backsplash
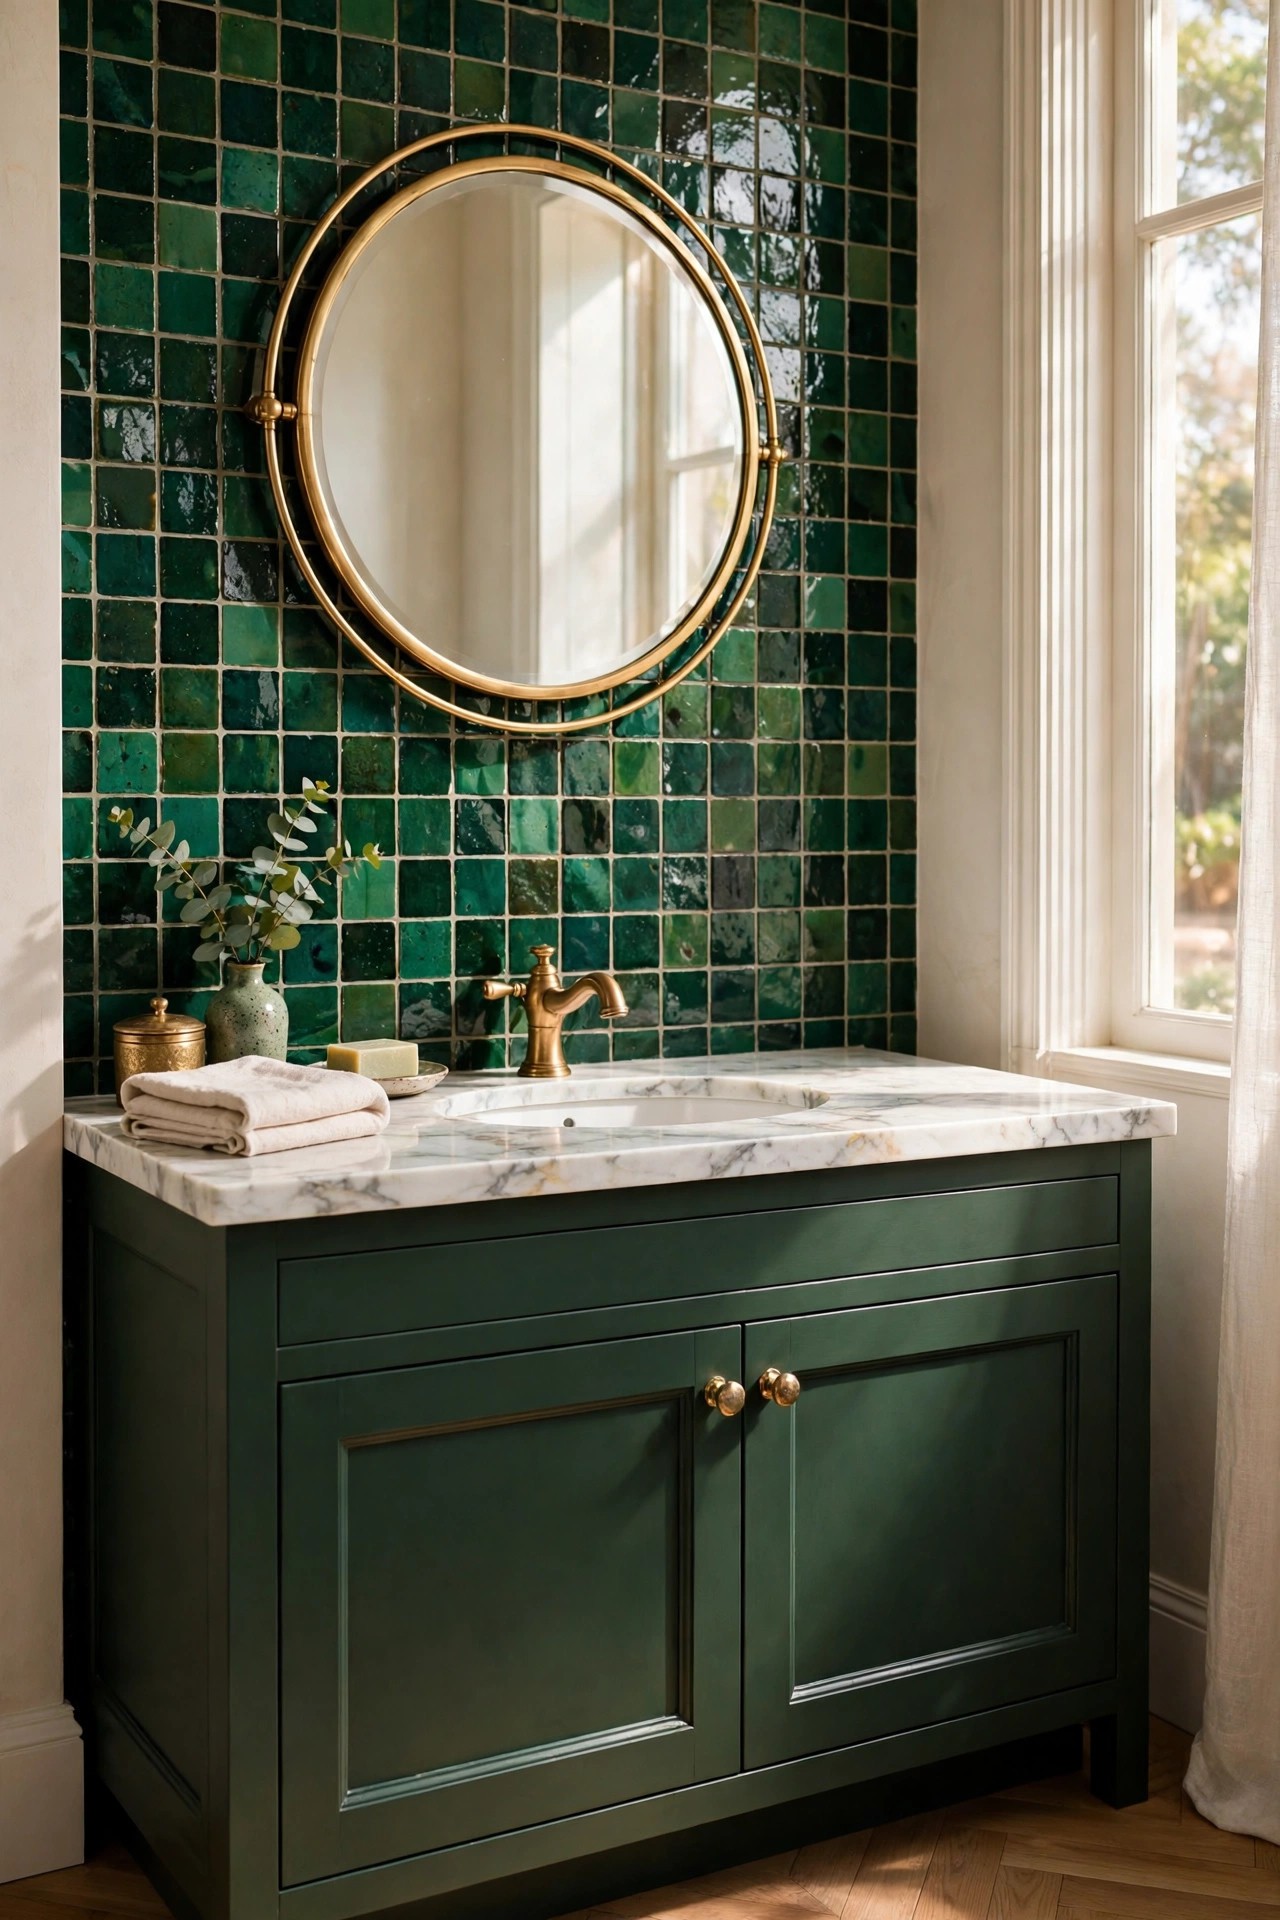
A zellige tile backsplash brings the green in as texture, not just colour. Handmade emerald tiles, each with a slightly different glaze, catch the light unevenly across the wall behind the vanity, so the backsplash shimmers instead of sitting flat. Keep the splash small, one band from the counter to the mirror, and let the rest of the wall stay cream, because zellige is a statement material and a little of it goes a long way. The uneven surface is part of the charm and part of the care: grout lines need sealing, and the glaze depth varies from tile to tile, so order from one batch and mix tiles from several boxes as you lay them.
Best For: Vanity walls that need one handcrafted note, and bathrooms where the shower already carries the big green statement.
Not Ideal For: Tight budgets, since handmade tile costs more per square foot than standard ceramic; a green subway tile in idea 1 is the cheaper version.
Estimated Cost: $250-$700 (estimate) for emerald zellige tile, grout and fitting for one vanity backsplash.
Budget Note: The tile is the spend; one small band keeps the total in reach.
Renter Friendly: No
Renter Note: Tile is a permanent change; renters can use the green accessories in idea 15 instead.
What You Need
Emerald green zellige tiles from one batch, grout in pale cream or matching green, tile adhesive, spacers, grout sealer, brass faucet, tile cutter or a tiler.
Product type to look for: A genuine glazed zellige tile with visible glaze variation, in a size that suits the vanity width, plus grout and sealer rated for wet areas.
How To Do It
- Measure the vanity width and order tile with at least 15 percent extra, since handmade tiles vary and break more.
- Mix tiles from several boxes on the floor and arrange them until the glaze variation spreads evenly.
- Tile from the counter up, keeping grout lines even, and seal the grout once it has set.
- Fit the brass faucet last, and keep the counter styling simple so the tile stays the focus.
Pro Tip
Choose grout one shade lighter than the darkest tile, not white. A pale green-grey grout lets the glaze variation show; white grout turns the pattern into a grid.
5. Set a White Freestanding Tub Against a Green Wall
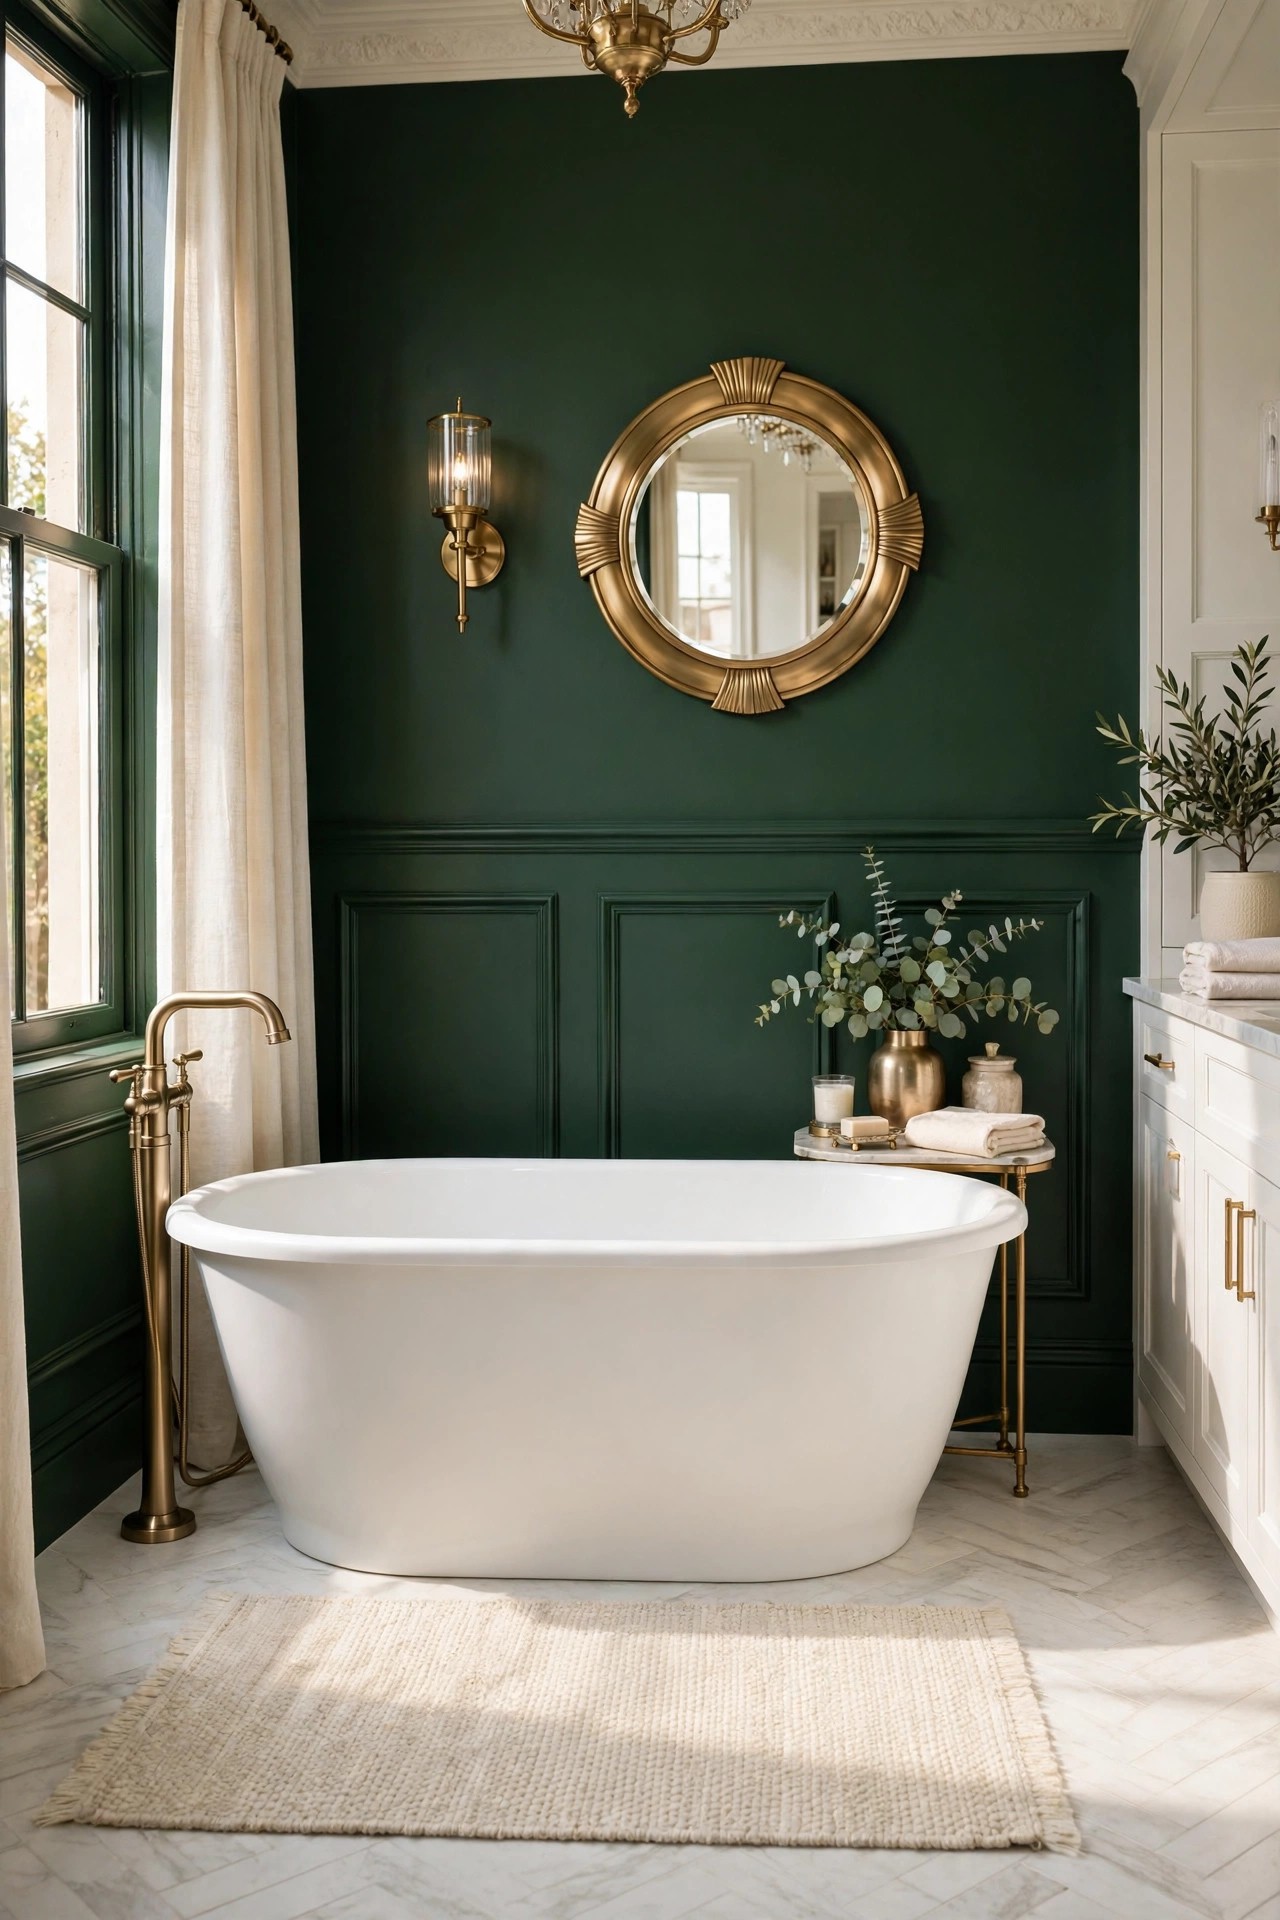
A white freestanding tub against a dark green wall is the room’s hero shot: the white oval glows against the green, and the contrast does the decorating. Paint or tile one wall deep green, keep the other walls cream, and set the tub a few inches out from the green wall with a brass floor mounted faucet beside it. The tub needs breathing room on all sides, so this idea suits bathrooms with a clear wall run and floor space to walk around the tub. Keep the styling near the tub minimal, one folded cream towel and a small wooden bath tray, because the green wall and the white tub already carry the scene. For the same tub-led layout in a softer palette, our guide to calm spa bathrooms shows the gentler version
Best For: Bathrooms with one clear wall and enough floor space to walk around a freestanding tub.
Not Ideal For: Small bathrooms where the tub would touch two walls; a built-in tub with a green tile surround in idea 1 is the honest version there.
Estimated Cost: $900-$2,800 (estimate) for a freestanding tub and brass floor faucet, plus paint or tile for one wall.
Budget Note: The tub and the plumbing move are the spend; the green wall is the cheaper half of the idea.
Renter Friendly: No
Renter Note: A freestanding tub needs plumbing work and a painted or tiled wall, both owner decisions.
What You Need
White freestanding oval bathtub, brass floor mounted faucet, washable green paint or green tile for one wall, cream bath rug, wooden bath tray, plumber for fitting.
Product type to look for: A tub sized to the wall run with clear walkways on both sides, and a floor faucet with a stable base that suits the tub height.
How To Do It
- Measure the wall run and tape the tub footprint on the floor, walking both sides for a day.
- Paint or tile the green wall first, and have the plumber check the floor and water lines before the tub is ordered.
- Set the tub a few inches out from the wall, fit the floor faucet, and check the water flow and drainage.
- Add the rug and the tray last, keeping the tub edge clear so the white shape stays visible.
Pro Tip
Keep the tub white, not cream. Against deep green, a cream tub looks yellowed; a clean white tub is what makes the contrast glow.
6. Top the Vanity With Green Marble and Brass Faucets
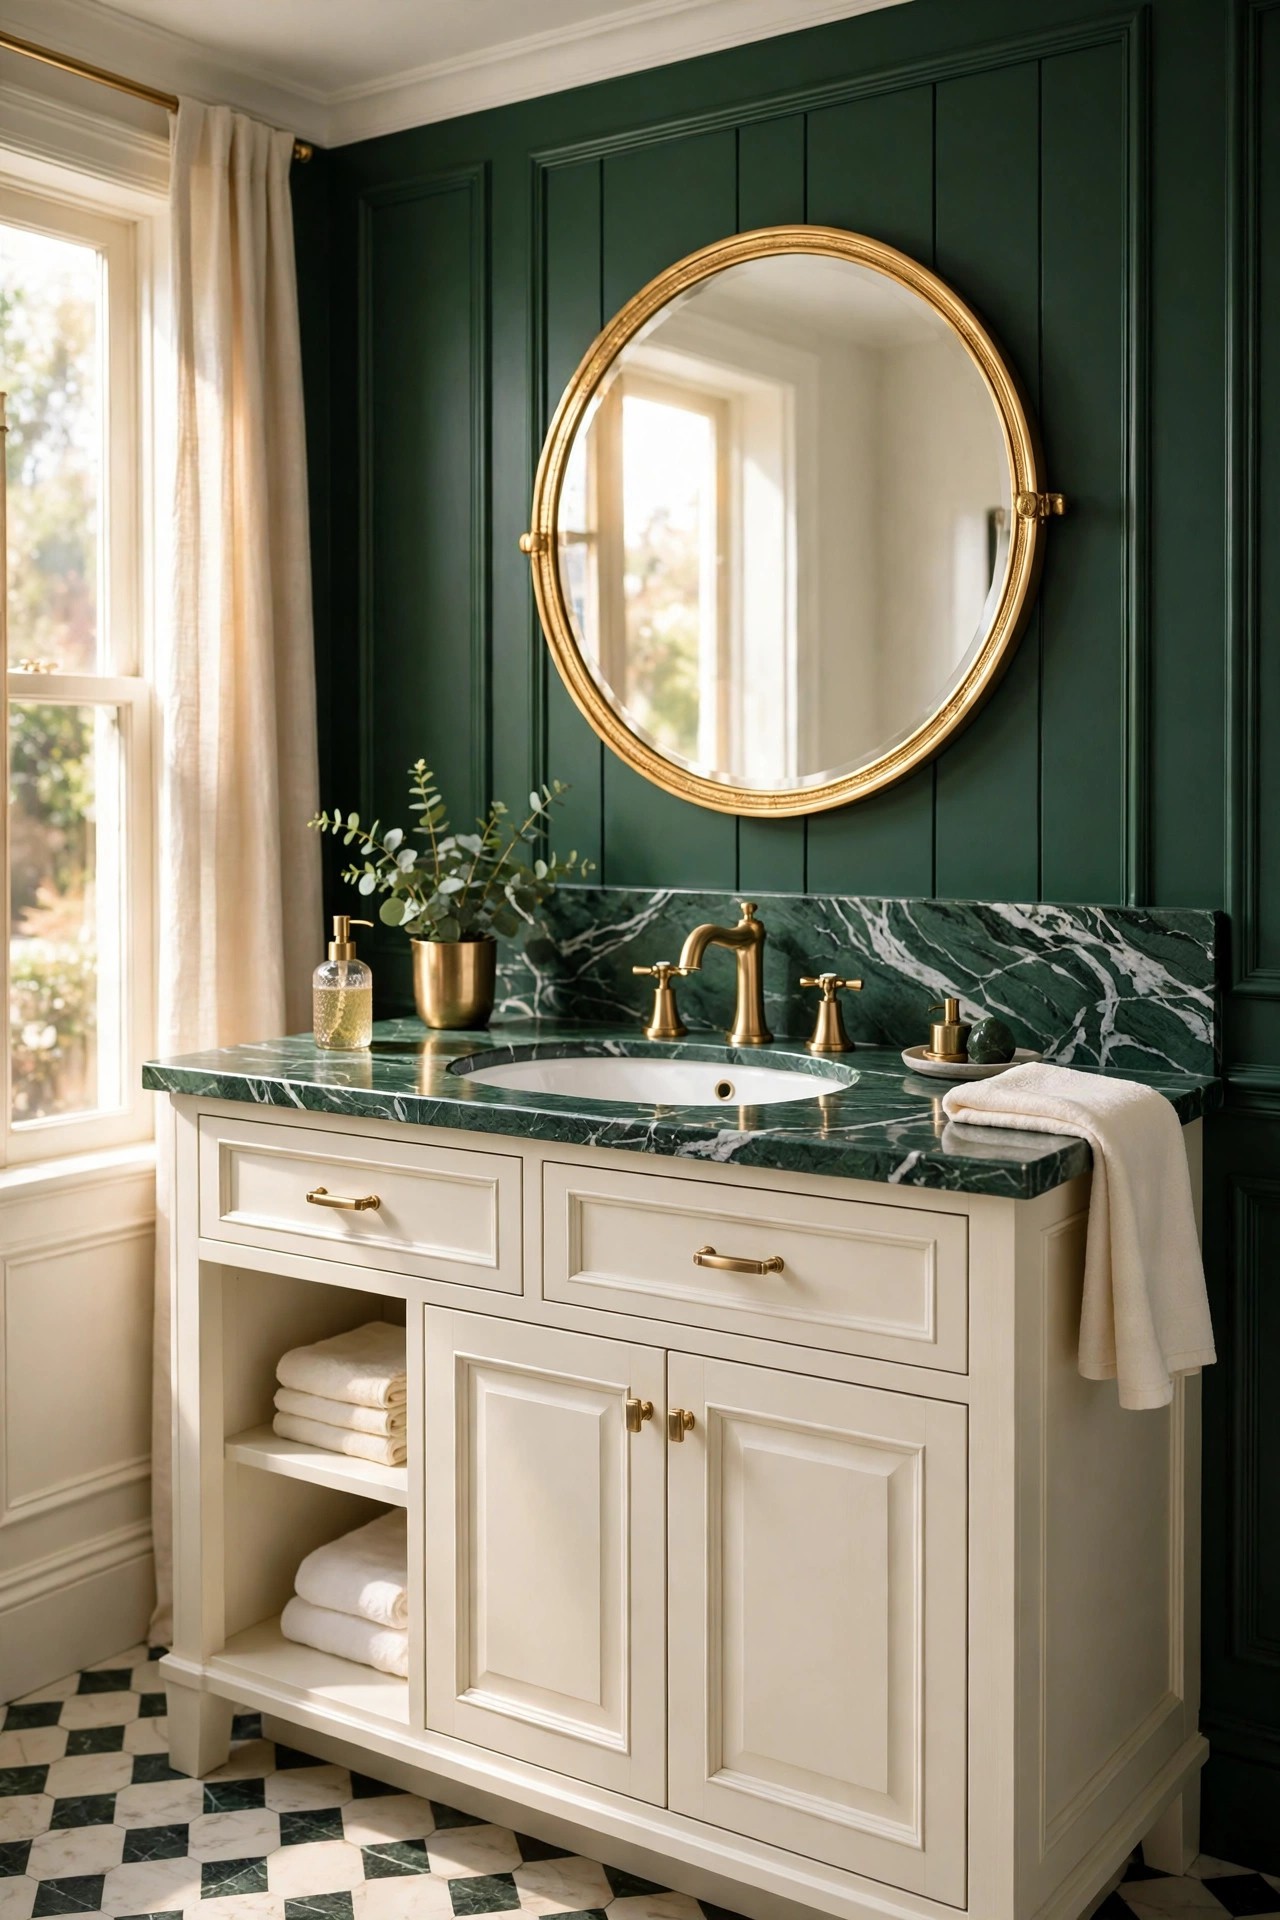
A green marble vanity top brings the colour in as stone, which suits a bathroom better than almost any other material. A deep green marble or marble look top with white veining, set on a cream cabinet with brushed brass faucets, gives the vanity a jewel-like surface that stays cool and wipes clean. Keep the cabinet cream so the green top reads as the accent, and keep the backsplash plain, because a veined top and a patterned tile fight for attention. Real marble needs sealing and gentle cleaning, while a good porcelain marble look top is harder wearing and cheaper; the choice is about care, not looks, since both read green and veined from a normal distance.
Best For: Vanities that need one luxurious surface, and bathrooms where the walls stay pale.
Not Ideal For: Homes where harsh cleaners are the habit, since real marble marks easily; a porcelain marble look top is the safer version there.
Estimated Cost: $400-$1,200 (estimate) for a green marble or marble look vanity top with brass faucets.
Budget Note: The stone is the spend; the brass faucets can be simple pieces in the same metal tone.
Renter Friendly: With Conditions
Renter Note: A replacement top is an owner decision in most rentals; a freestanding green tray on the counter is the removable version.
What You Need
Green marble or marble look vanity top cut to the cabinet size, brushed brass faucets, stone sealer if real marble, silicone sealant, cream cabinet or the painted vanity from idea 2 in cream.
Product type to look for: A top with a sealed, non-porous surface and an edge profile that suits the cabinet, plus faucets with a stated finish that matches the other brass in the room.
How To Do It
- Measure the cabinet exactly, including the faucet holes, and order the top cut to size.
- Set the top level on the cabinet, seal the back edge to the wall, and let the sealant cure.
- Fit the brass faucets, check every joint for drips, and seal real marble before first use.
- Style the top with one soap dish and one small vase only, so the veining stays visible.
Pro Tip
Match the brass tone across the faucets, the mirror frame and the handles. Mixed brass shades scatter the glam note; one warm brushed tone holds it together.
7. Clad One Wall in Dark Green Shiplap
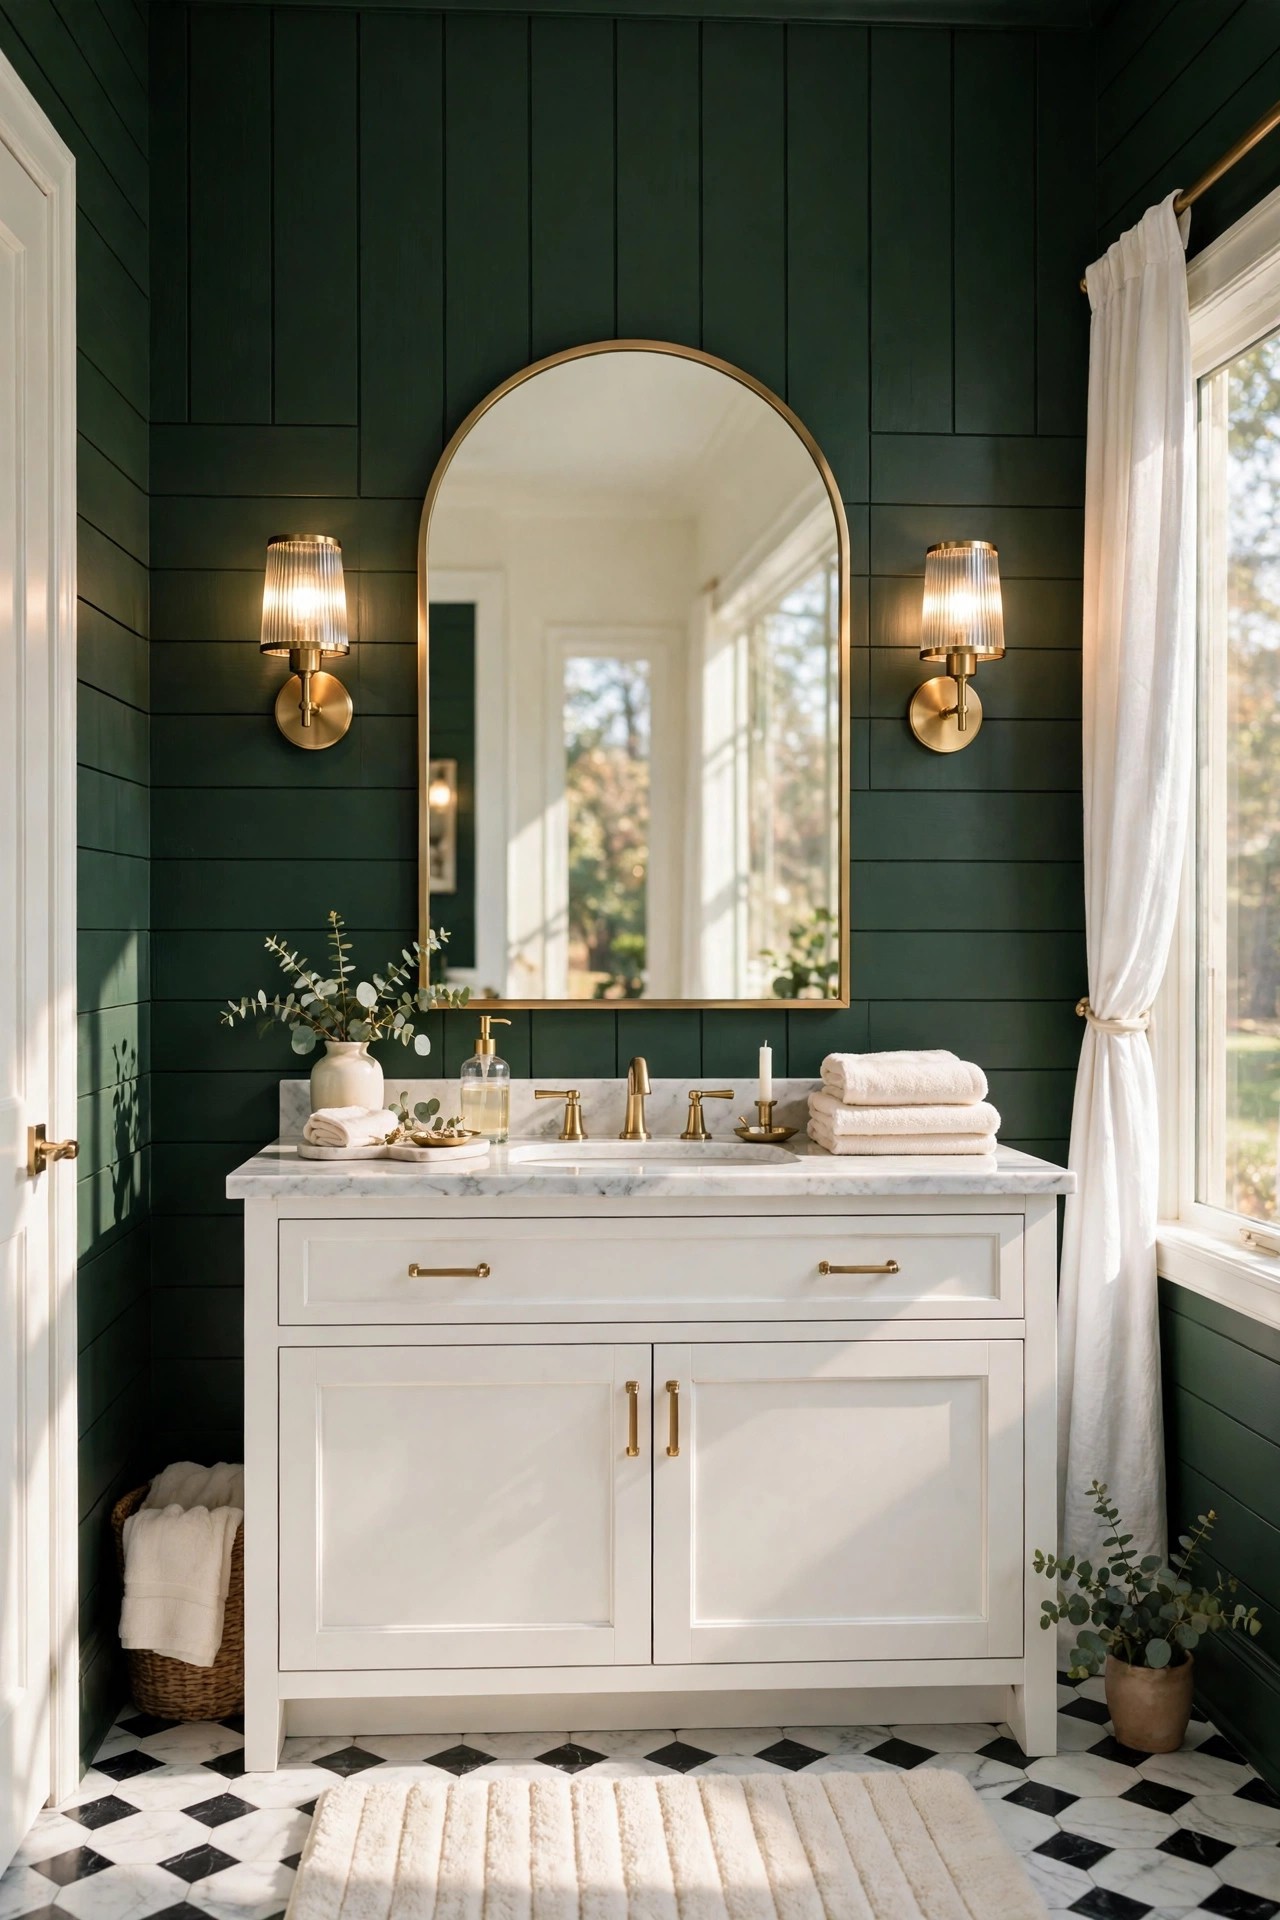
Dark green shiplap gives a bathroom texture and rhythm that flat paint cannot match. Horizontal boards in deep green, fitted on one wall behind the vanity or the tub, add shadow lines that make the green feel layered instead of flat, and the boards suit the room’s classic, cottage-glam side. Keep the other walls cream and the ceiling white, so the shiplap wall is the room’s one textured surface. Shiplap in a wet room needs boards and paint made for humidity, with sealed joints, because standard boards swell where steam lands. The wall behind the vanity, away from direct spray, is the safest place for it.
Best For: Bathrooms with one plain wall that needs texture, and rooms leaning toward a classic or cottage glam look.
Not Ideal For: The wall inside the shower, where boards sit in direct spray; tile in idea 1 belongs there.
Estimated Cost: $300-$900 (estimate) for moisture tolerant shiplap boards, paint and fitting for one wall.
Budget Note: The boards and the fitting are the spend; the paint is a small part of the total.
Renter Friendly: No
Renter Note: Fixed panelling is a landlord decision; renters can use the painted vanity in idea 2 instead.
What You Need
Moisture tolerant shiplap boards, washable deep green paint, primer, sealant for joints, level, fixings rated for the wall type, brass sconces or a mirror for the wall.
Product type to look for: Boards made for humid rooms, with a smooth finish that paints cleanly, plus a washable paint that resists steam.
How To Do It
- Measure the wall and order boards with extra for cuts, checking each board is straight before fitting.
- Fit the boards level from the bottom up, sealing the joints as you go.
- Prime and paint in two coats, letting each coat dry fully in a ventilated room.
- Hang the mirror or sconces last, using fixings rated for the board and the wall behind it.
Pro Tip
Run the boards horizontally, not vertically. Horizontal lines widen a narrow bathroom; vertical lines make it feel taller but narrower, which most bathrooms do not need.
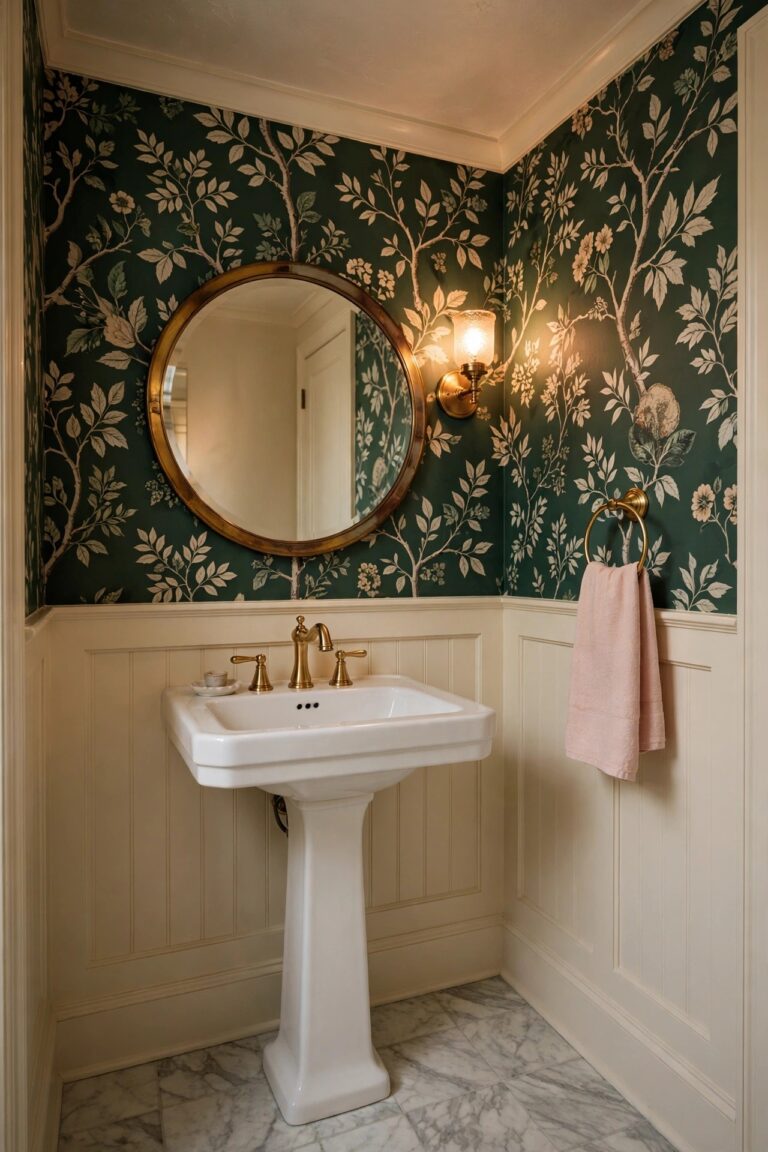
8. Hang Botanical Wallpaper With a Dark Green Ground
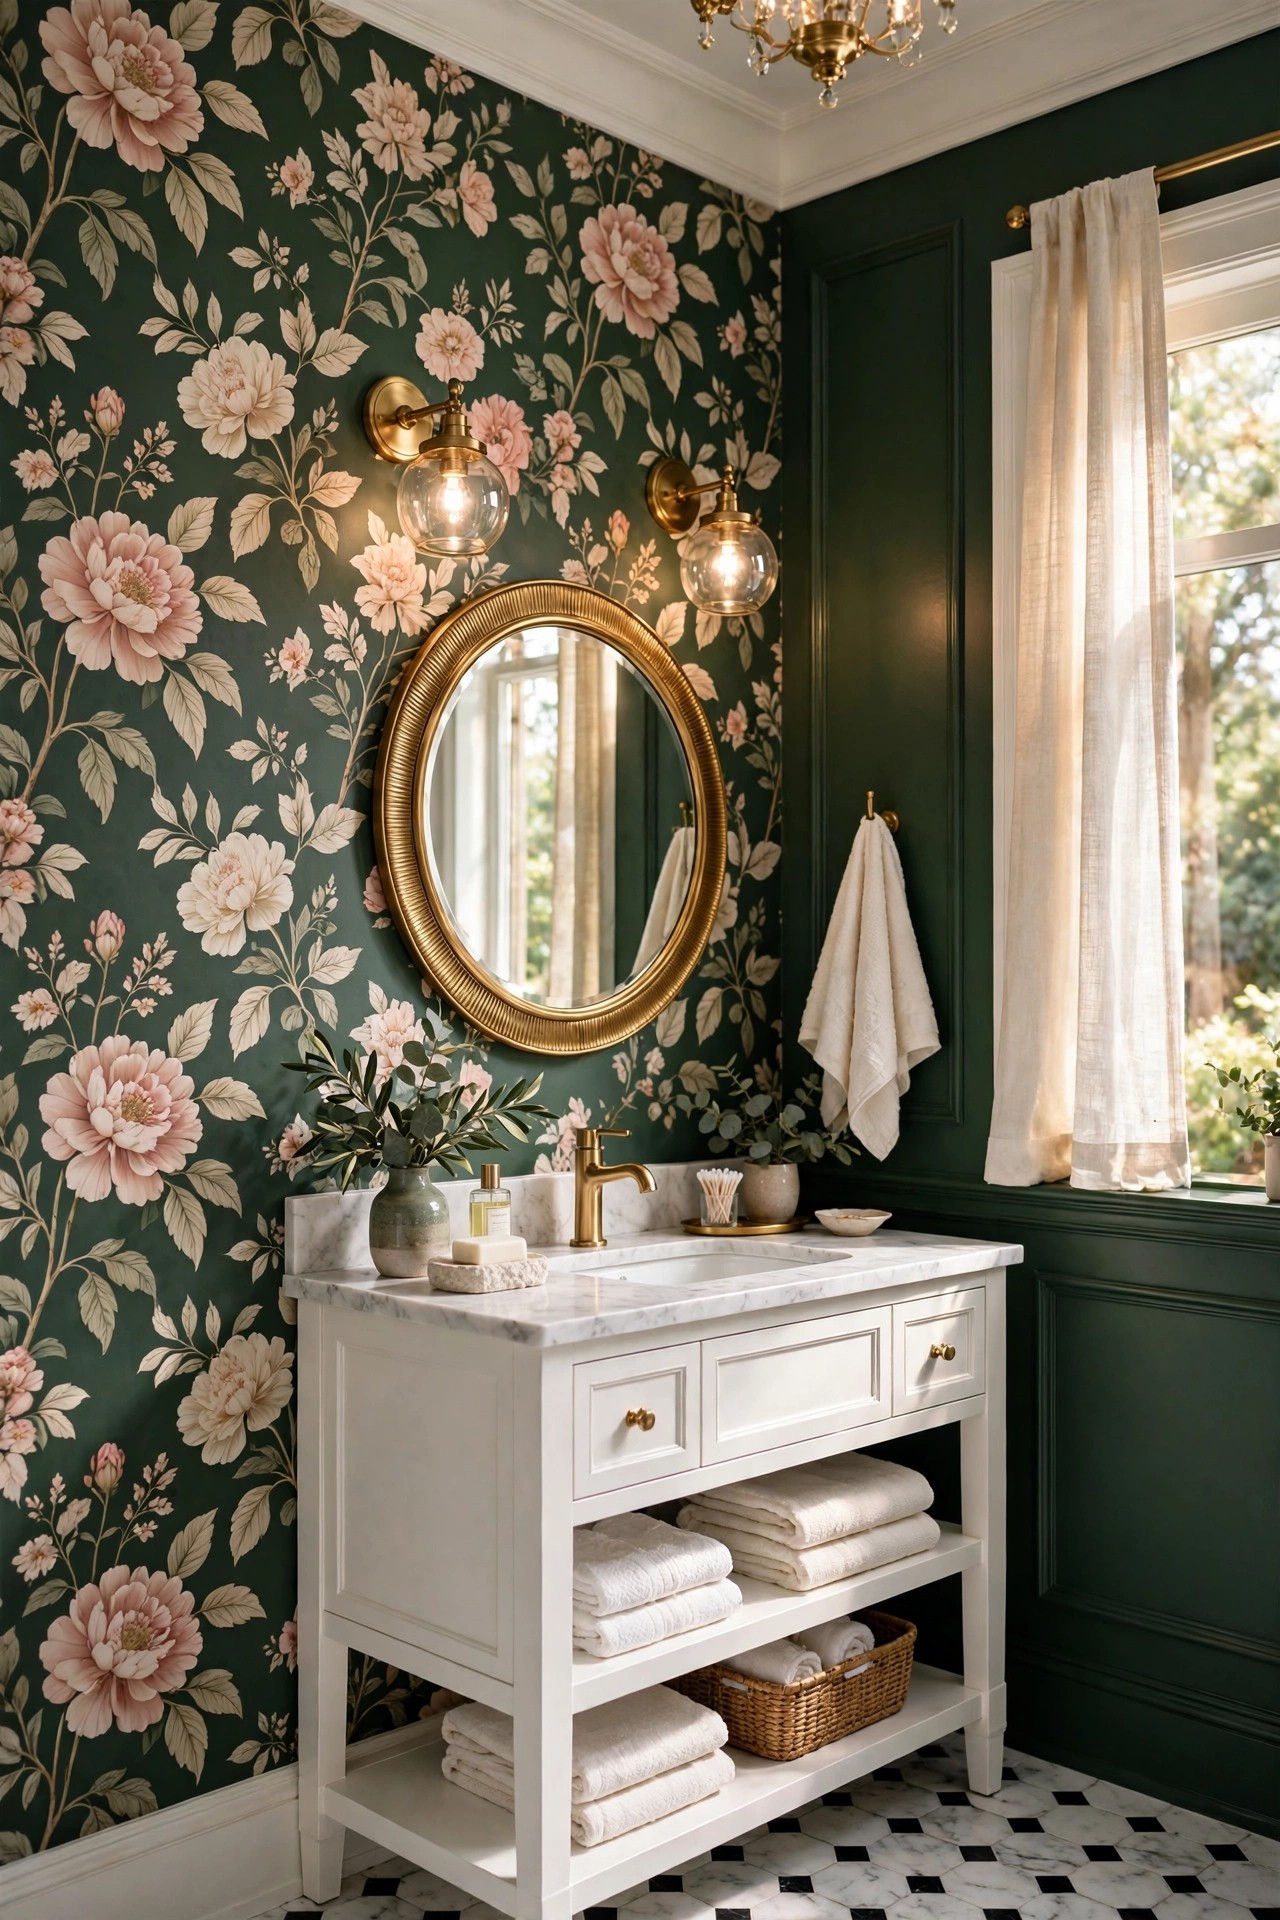
Botanical wallpaper on a dark green ground is the most decorative idea in this list, and it works best on one wall only. Large cream and blush flowers on a deep green ground, hung on the wall behind the vanity or the wall opposite the mirror, turn the bathroom into a garden room without a single plant. Keep the other walls cream, the vanity white or cream, and the brass warm, so the wallpaper is the room’s one pattern. Bathroom wallpaper must be washable and hung with paste made for humid rooms, and it belongs away from direct spray; the vanity wall, not the shower wall, is its place. A mirror hung over the paper doubles the pattern and the light.
Best For: Bathrooms with one dry wall that can carry a bold pattern, and anyone who wants the green look with flowers in it.
Not Ideal For: Shower walls and rooms with poor ventilation, where steam lifts paper; a painted green wall in idea 3 is the safer version there.
Estimated Cost: $180-$550 (estimate) for washable botanical wallpaper and paste for one wall.
Budget Note: The paper is the spend; one wall keeps the total in reach.
Renter Friendly: No
Renter Note: Wallpaper is a landlord decision; renters can use a removable botanical panel instead.
What You Need
Washable botanical wallpaper with a dark green ground, paste for humid rooms, paste table, smoothing brush, sharp trimming knife, level, dust sheets.
Product type to look for: A washable, moisture resistant wallpaper with a clear pattern repeat, sampled in the room light, because green grounds read darker once hung.
How To Do It
- Check the wall is smooth, clean and dry, and measure the pattern repeat before ordering.
- Cut lengths with the repeat matched, paste and fold them, and work with a helper from one end of the wall.
- Smooth each length from the centre out, trim the edges with a sharp knife, and check the pattern match at every join.
- Leave the room to dry with the windows shut for a day so the edges do not lift.
Pro Tip
Pick a large scale print, not a small fussy one. On one bathroom wall, a large floral reads as a mural; a small print reads as busy wallpaper.
9. Lay a Dark Green Herringbone Floor
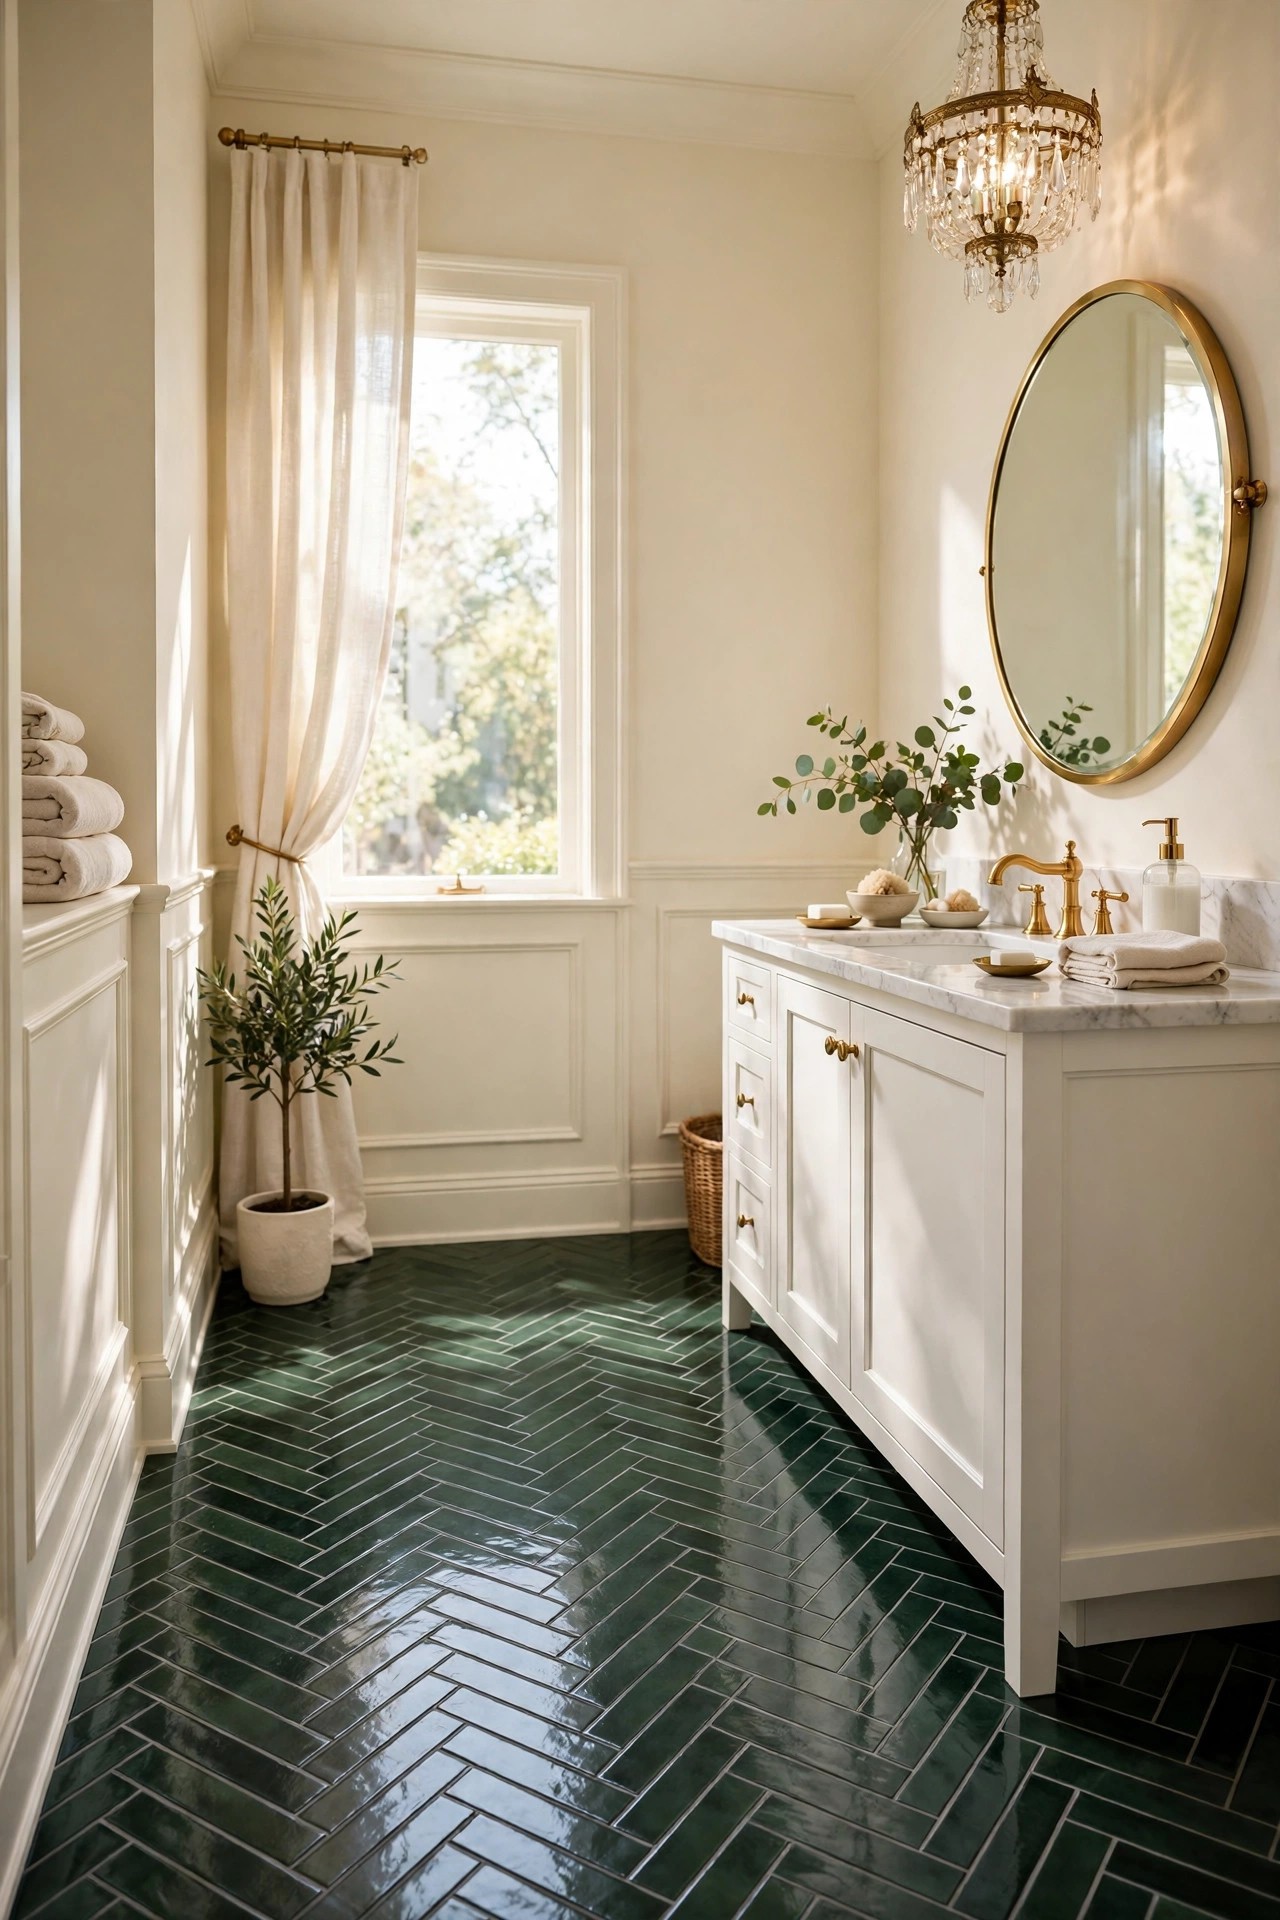
A dark green herringbone floor puts the colour underfoot, which is the boldest placement in this list and the one that frees the walls to stay pale. Small green tiles laid in a herringbone pattern, with pale grout, give the floor movement and craft, and the pattern makes a small bathroom feel wider because the eye follows the zigzag. Keep the walls cream, the vanity white or cream, and the ceiling white, so the floor is the room’s one deep note. Herringbone needs a skilled tiler and more tile than a straight lay, since every edge is a cut, and the grout must be sealed, because bathroom floors take the most wear and water in the room.
Best For: Bathrooms with pale walls and a plain vanity, where the floor can carry the colour.
Not Ideal For: Bathrooms with a patterned wall tile already, since two patterns fight; choose the floor or the wall, not both.
Estimated Cost: $700-$2,000 (estimate) for dark green floor tile, grout and skilled fitting.
Budget Note: The fitting is a large part of the cost, since herringbone is slow to lay and cuts waste tile.
Renter Friendly: No
Renter Note: A floor is a permanent change; renters can use a green patterned bath rug instead.
What You Need
Dark green floor tile in a small rectangular size, pale grout, tile adhesive, spacers, grout sealer, a skilled tiler, cream or white vanity to balance the floor.
Product type to look for: A porcelain floor tile rated for wet areas, with a slip resistant surface, in a size that suits the herringbone pattern.
How To Do It
- Measure the floor and order tile with at least 15 percent extra for herringbone cuts.
- Dry lay the pattern from the centre of the room so the cuts fall evenly at the edges.
- Lay the tile with even grout lines, grout once set, and seal the grout.
- Keep the walls pale and the rug cream, so the floor stays the room’s one deep note.
Pro Tip
Use pale grout, not green grout. Pale grout shows the herringbone pattern; matching grout hides the pattern you paid the tiler to lay.
10. Pair the Green With Warm Brass Everywhere
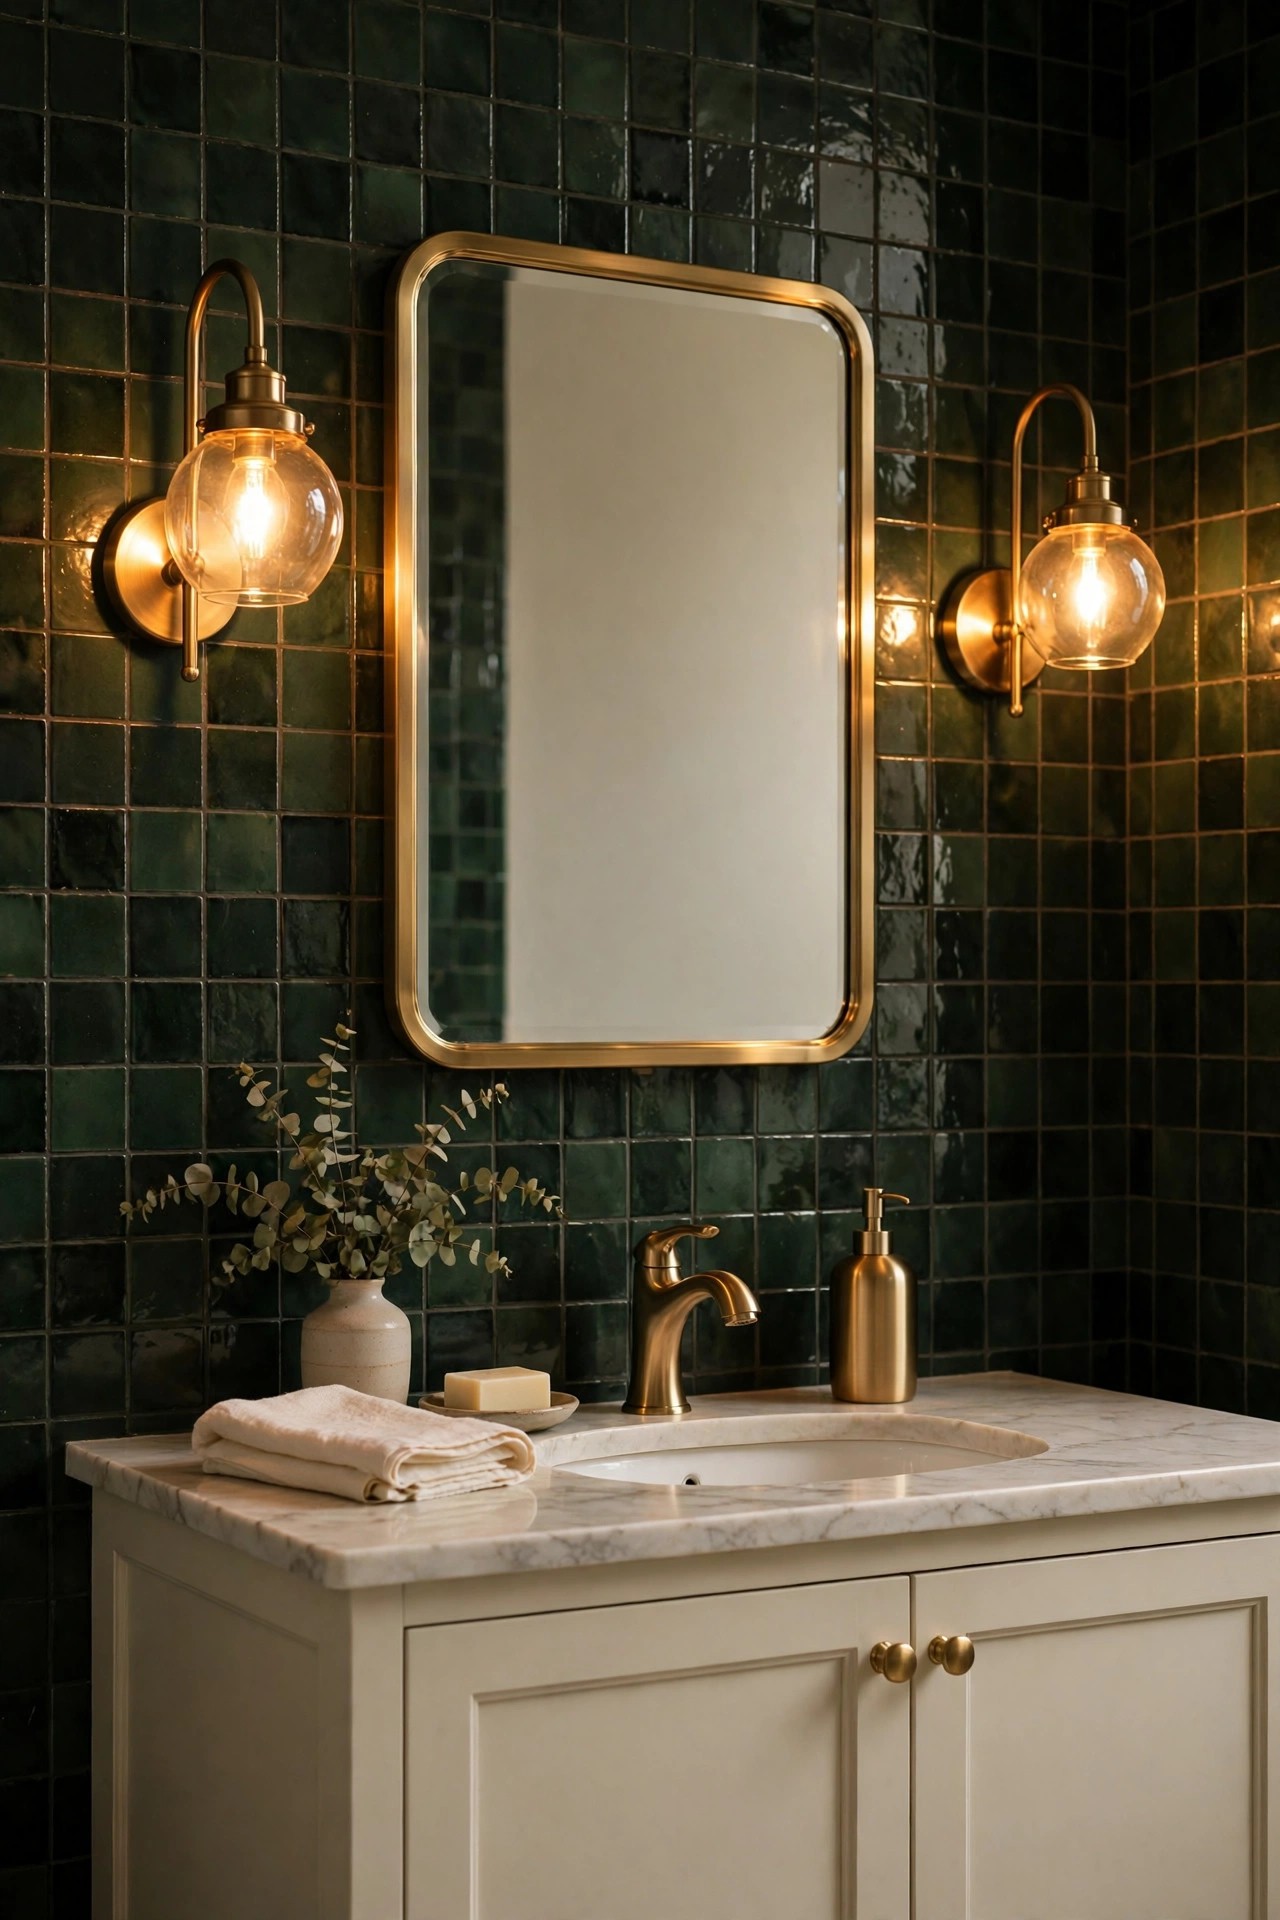
Brass is the metal that makes dark green feel glam instead of flat, and this idea is about committing to it across the whole room. Brushed brass faucets, a brass framed mirror, brass sconces and brass handles, all in the same warm tone, pick up the light that the green absorbs and scatter it back across the room. Keep brushed brass as the only metal: chrome or black mixed in breaks the warmth and makes the green look colder. The pairing works because brass and green are both warm and deep, so they sit together instead of competing. Check the finish on every piece before buying, since brass tones vary from pale gold to deep bronze, and one tone across the room is what holds the look.
Best For: Any dark green bathroom that feels flat or cold, and rooms where the green is already in place.
Not Ideal For: Bathrooms with existing chrome plumbing that cannot change; a full brass switch means changing every visible fitting.
Estimated Cost: $350-$1,100 (estimate) for brass faucets, mirror frame, sconces and handles in one tone.
Budget Note: The faucets are the spend; handles and a mirror frame can change first at a lower cost.
Renter Friendly: With Conditions
Renter Note: Handles and a mirror swap easily; faucets and sconces need the owner’s permission.
What You Need
Brushed brass faucets, brass framed mirror, brass sconces with warm bulbs, brass handles, all in one matching tone, fixings rated for each piece.
Product type to look for: Fittings with a stated brass finish and a lacquered surface that resists water spots, in a tone that matches across brands.
How To Do It
- Gather samples of every brass piece together in the room and check the tones match in daylight.
- Change the handles and the mirror first, since they are the cheapest and the most visible.
- Fit the faucets and sconces next, keeping the same tone, and test the light at evening level.
- Keep every other metal out of the room, including the towel rings and the toilet handle, until the set is complete.
Pro Tip
Choose brushed brass, not polished brass. Brushed brass hides water spots and fingerprints; polished brass shows every mark in a bathroom.
11. Build Dark Green Storage Into the Wall
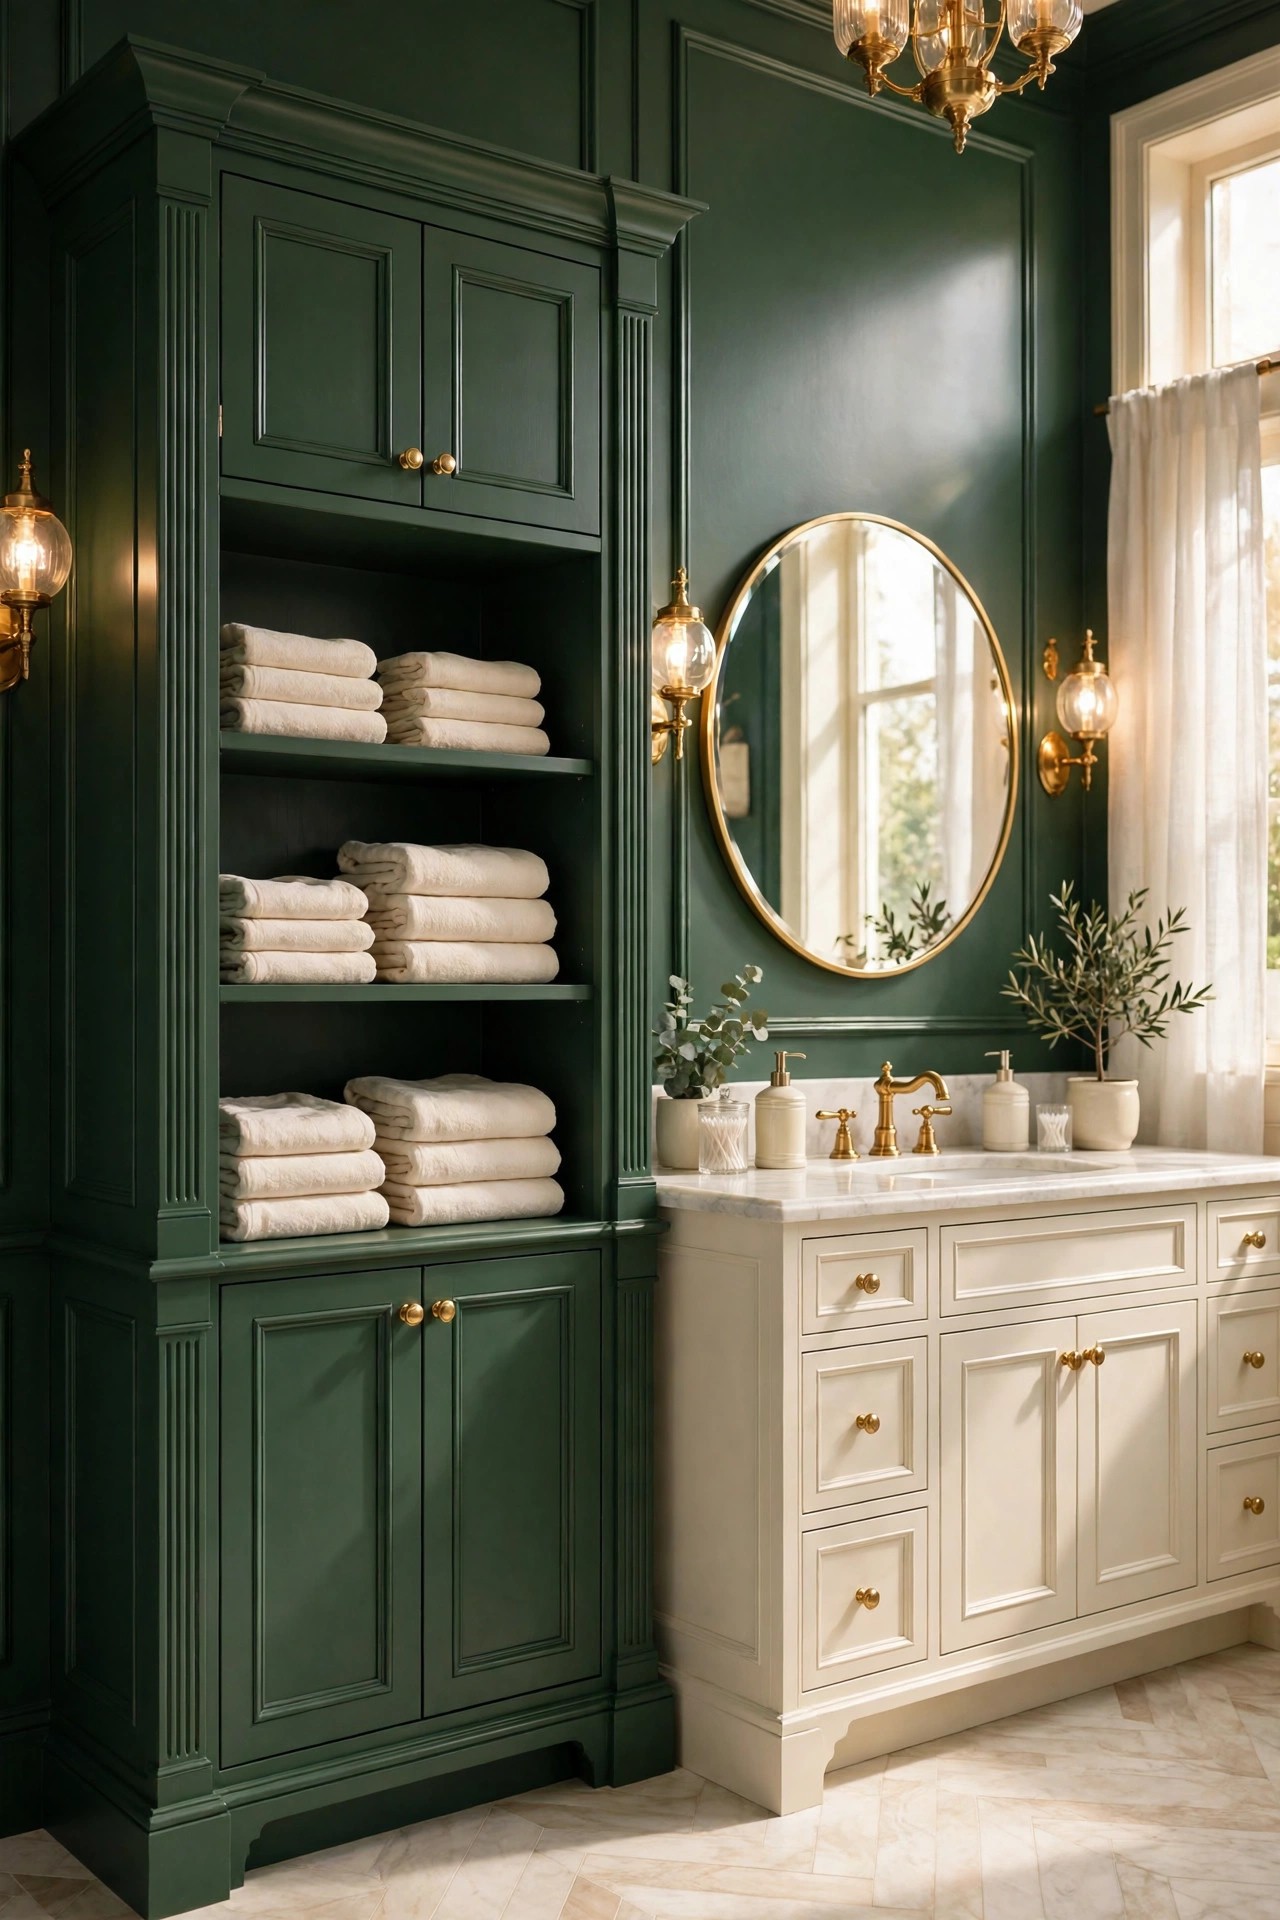
Built-in dark green storage gives a bathroom the colour and the tidiness in one move. A tall linen cabinet in deep green, built into a wall recess or fitted beside the vanity, holds towels, toiletries and cleaning supplies behind closed doors, with one open shelf for folded cream towels and a small vase. Paint it the same green as the vanity in idea 2, with the same brass knobs, so the room reads as one planned set. The cabinet must be built from moisture tolerant board and painted with a washable finish, because bathroom storage steams daily. Keep the inside shelves adjustable, since towel stacks and tall bottles need different heights, and leave one shelf open so the room shows a little softness.
Best For: Bathrooms short on storage, and rooms where the vanity alone cannot hold the daily clutter.
Not Ideal For: Very small bathrooms where a tall cabinet crowds the walkway; a green wall cabinet above the toilet is the smaller version there.
Estimated Cost: $500-$1,500 (estimate) for a built-in green linen cabinet with brass knobs.
Budget Note: The cabinet build is the spend; the paint and knobs are a small part of the total.
Renter Friendly: No
Renter Note: Built-in storage is a landlord decision; renters can use a freestanding green cabinet instead.
What You Need
Moisture tolerant cabinet board, washable deep green paint, primer, brass knobs, adjustable shelves, hinges, level, fixings rated for the wall type.
Product type to look for: A cabinet with adjustable shelves and soft close hinges, in a size that fits the recess without blocking the walkway.
How To Do It
- Measure the recess or wall run at three points, since walls are rarely square, and tape the cabinet outline on the floor.
- Build or order the cabinet to fit, with adjustable shelf holes drilled before painting.
- Paint the cabinet in two coats of washable green, fit the knobs, and set it level in place.
- Fill the closed shelves first, then style the one open shelf with folded cream towels only.
Pro Tip
Paint the inside of the cabinet cream, not green. A cream interior shows the contents clearly; a green interior swallows small bottles in shadow.
12. Cut a Green Tiled Niche Into the Shower
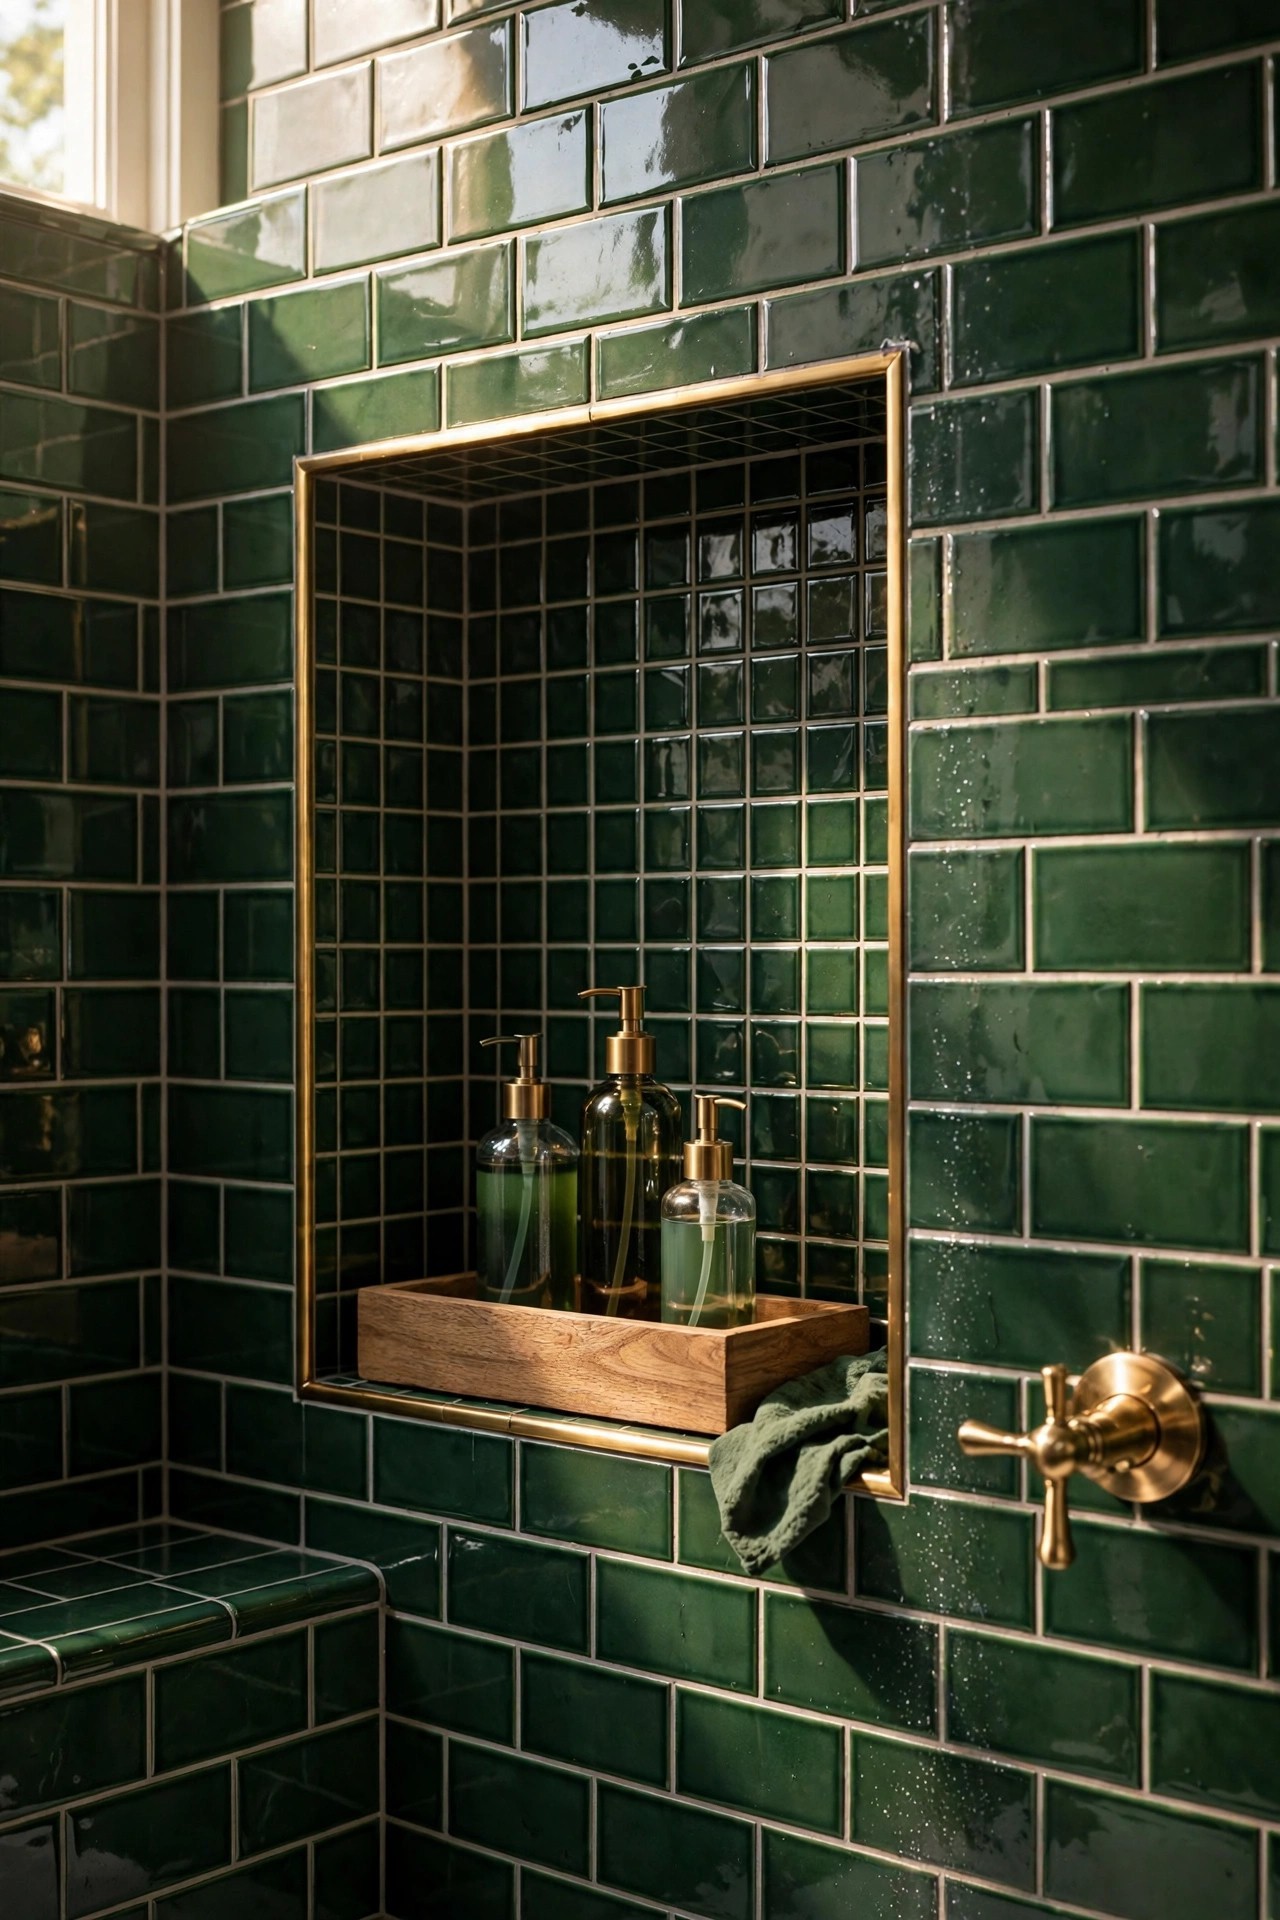
A green tiled niche is a small idea with an outsized effect, because it is the detail every shower user sees up close. A recessed niche in the shower wall, lined in dark green tile with a slim brass trim, holds shampoo and soap where they belong and turns storage into decoration. Line the niche in the same green tile as the shower wall in idea 1, or in a deeper green if the wall is pale, so the niche reads as a framed picture inside the shower. The niche must be waterproofed properly, with a slight slope on the bottom shelf so water drains, and the trim must be a metal made for wet areas, since cheap trim corrodes fast in a shower. For a fuller take on shower storage done well, our guide to walk-in shower design shows how the niche fits the whole shower
Best For: Showers that need storage without a caddy, and bathrooms where the green tile is already in place.
Not Ideal For: Thin walls that cannot hold a recess; a green tiled shelf on the wall is the honest version there.
Estimated Cost: $150-$450 (estimate) for green tile, brass trim, waterproofing and fitting for one niche.
Budget Note: The waterproofing and fitting are the spend; the tile itself is a small area.
Renter Friendly: No
Renter Note: A recessed niche is a permanent change; renters can use a brass shower caddy instead.
What You Need
Dark green tile to match the shower wall, slim brass trim for wet areas, waterproof membrane, tile adhesive, grout, grout sealer, wooden tray or a small brass shelf for bottles.
Product type to look for: A trim made for wet areas with a stated corrosion resistant finish, and tile cut to fit the niche without awkward slivers.
How To Do It
- Plan the niche size around the bottles it will hold, and check the wall depth before cutting.
- Waterproof the recess fully, including the corners, and slope the bottom shelf slightly toward the shower.
- Tile the niche, fit the brass trim, grout and seal once set.
- Keep only three or four bottles inside, on a small tray, so the niche stays a display and not a shelf of clutter.
Pro Tip
Slope the niche shelf by a few millimetres toward the shower. A level shelf holds a puddle; a slight slope drains it and keeps the grout clean.
13. Turn a Small Bathroom Into a Green Jewel Box
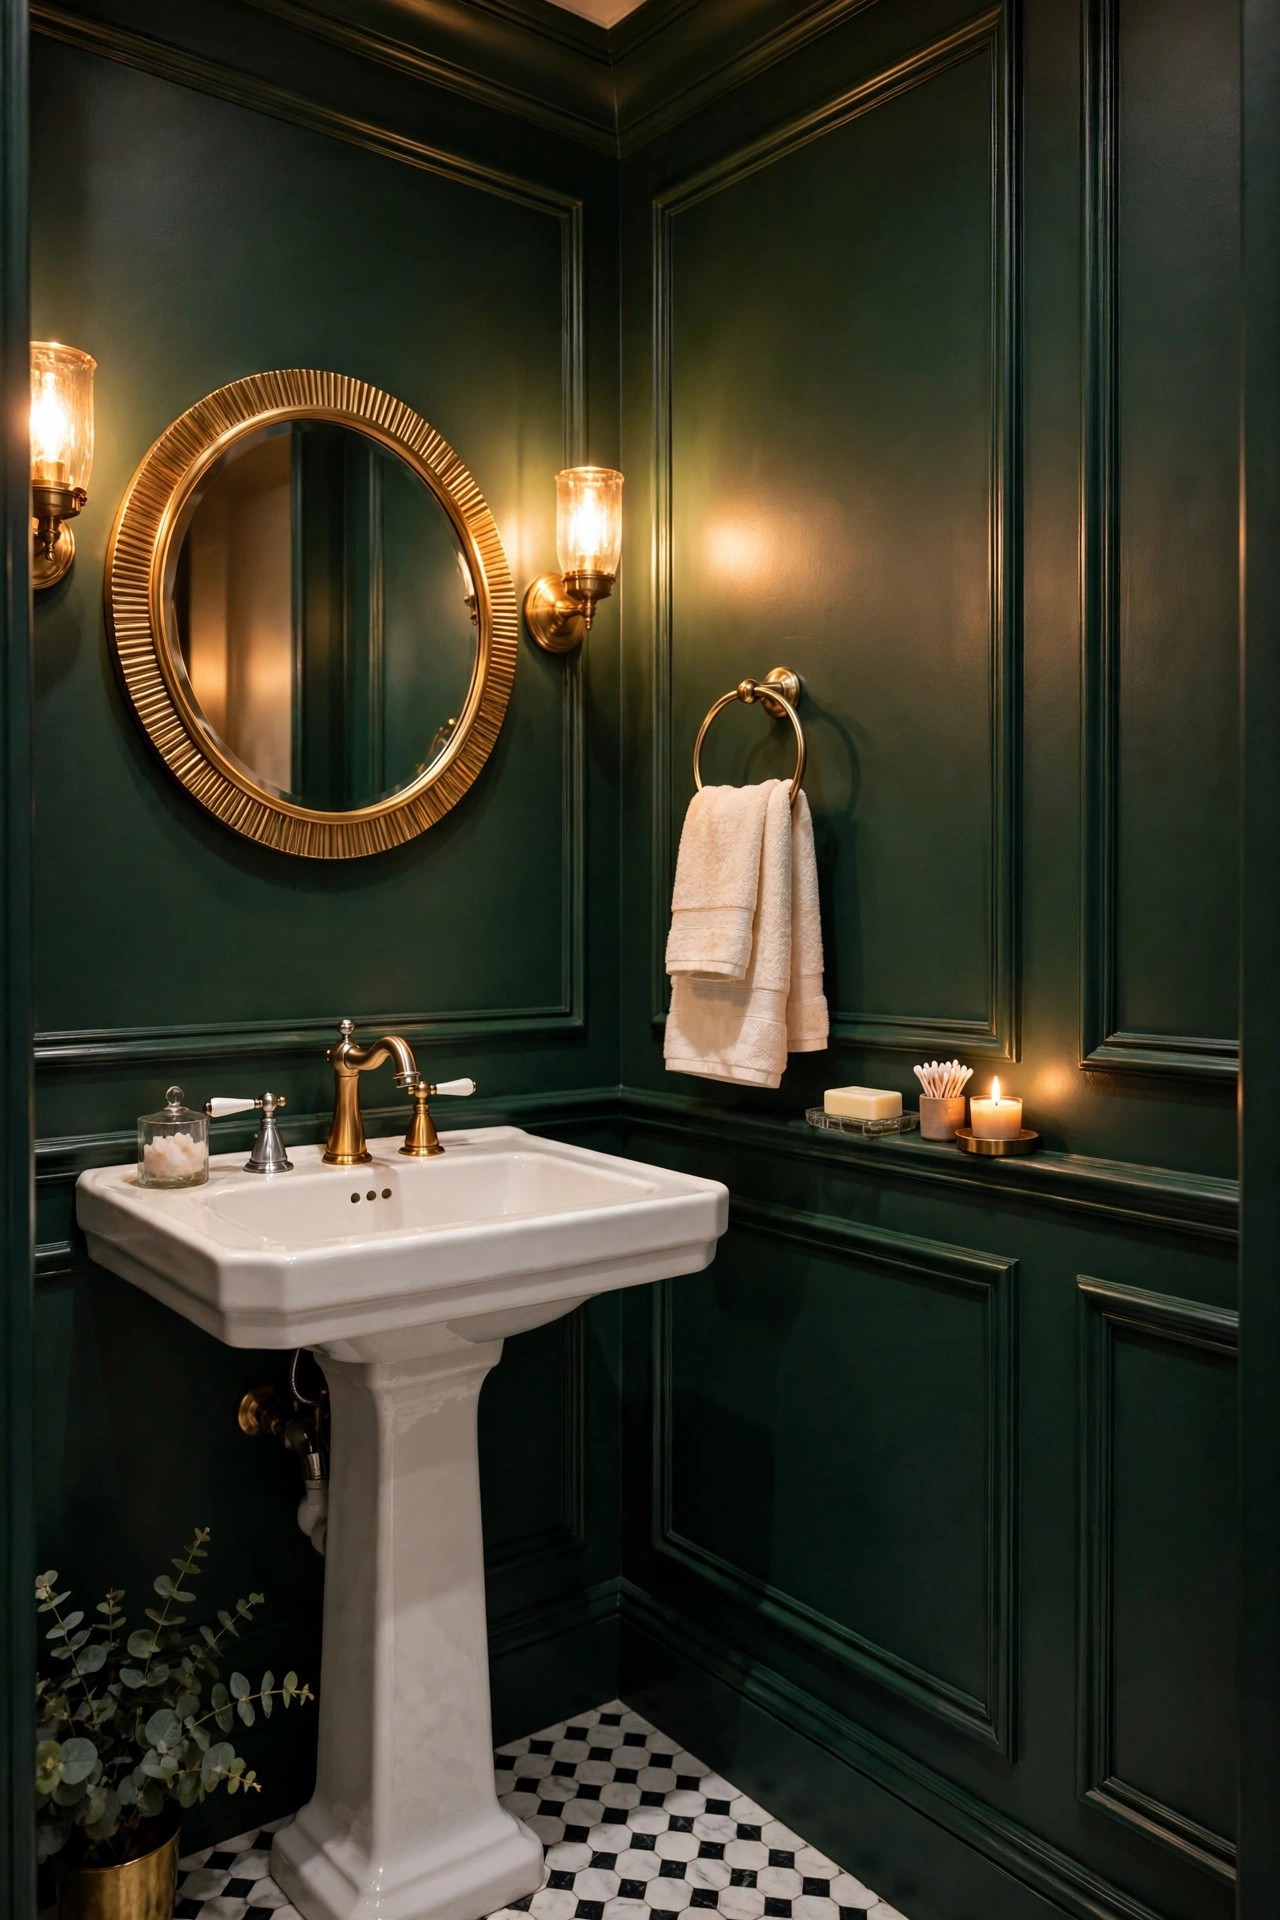
A small bathroom is where dark green works best, because a tiny room can commit to one colour in a way a large room cannot. Paint every wall deep green, keep the ceiling and trim white, and choose a white pedestal sink, a brass mirror and a cream hand towel, and the small room becomes a jewel box instead of a cramped afterthought. The trick is keeping the fixtures white and the mirror large, so the green has bright surfaces to bounce light from, and keeping the counter almost empty. A small room also needs good light more than a large one, so fit a warm bulb and a mirror that spans most of the wall above the sink. The green here is not an accent; it is the whole room, and that confidence is what makes it feel designed.
Best For: Small bathrooms, powder rooms and cloakrooms with one sink and one mirror.
Not Ideal For: Windowless rooms with weak light, where full green walls can feel heavy; paint one green wall and keep the rest cream there.
Estimated Cost: $200-$600 (estimate) for washable green paint, a white pedestal sink and a brass mirror.
Budget Note: The paint is the cheapest part; the mirror is the spend that makes the small room work.
Renter Friendly: With Conditions
Renter Note: Paint is a landlord decision; renters can use a green shower curtain and towels for a removable version.
What You Need
Washable bathroom paint in deep green, white pedestal sink, large brass framed mirror, warm bulb, cream hand towels, small brass hook.
Product type to look for: A mirror large enough to span most of the sink wall, with a slim brass frame, plus a washable paint made for humid rooms.
How To Do It
- Clear the room completely and paint every wall in deep green in two coats, keeping the ceiling white.
- Fit the pedestal sink and the large mirror, centred on each other, with the mirror bottom clear of the faucet.
- Fit the warm bulb and check the light at evening level from the doorway.
- Add one cream hand towel and one small hook only, leaving the counter empty.
Pro Tip
Paint the ceiling white, never green, in a small bathroom. A green ceiling lowers the room; a white ceiling holds the height the green walls need.
14. Run Cream and Green in Two Tones With a Gold Mirror
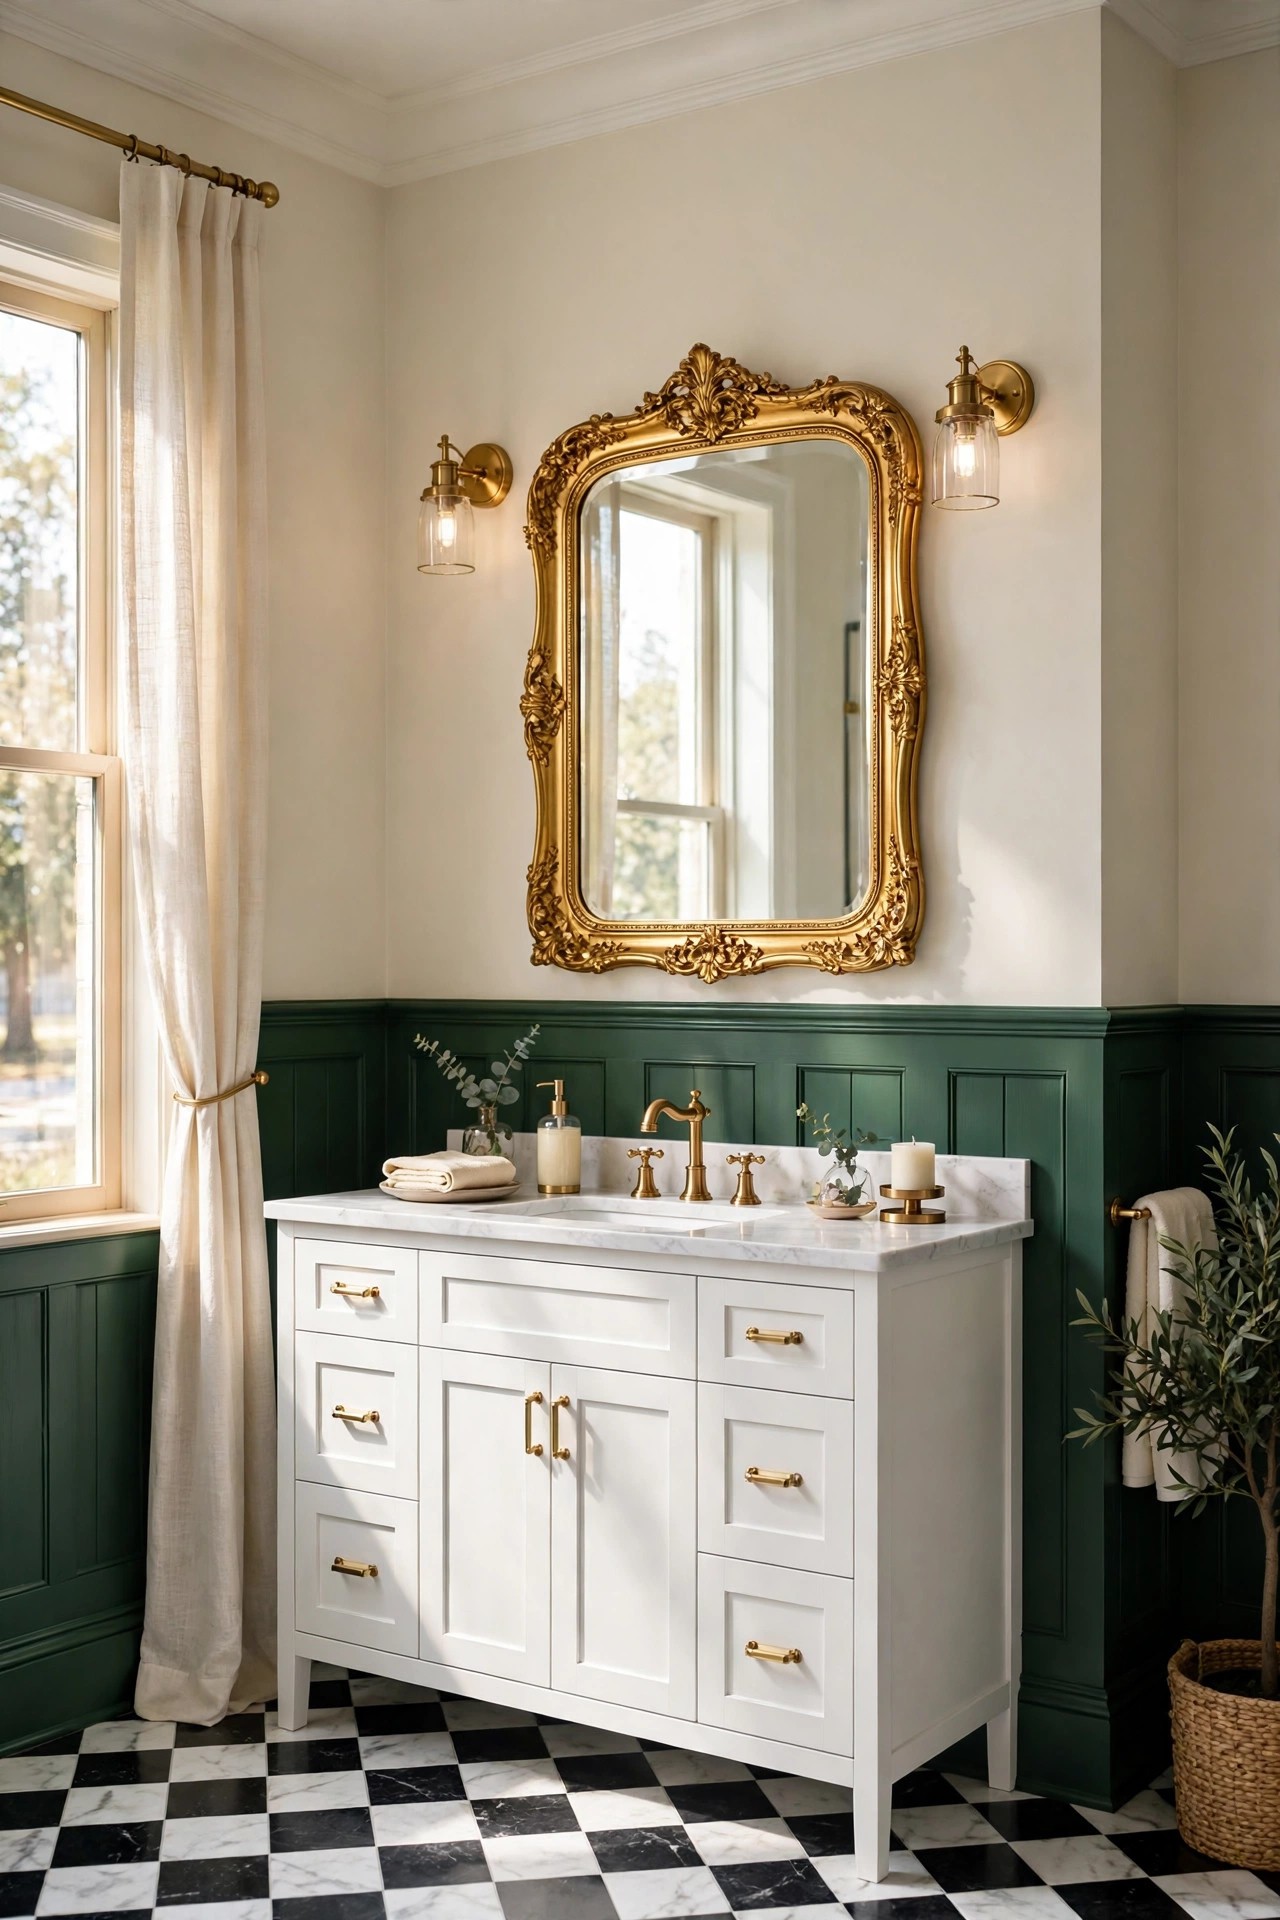
Two-tone walls, dark green below and cream above, give a bathroom the colour without the weight of full green walls. Paint the lower half deep green up to a chair rail, keep the upper half cream, and hang a large gold framed mirror so it spans the join, and the room gains a clear horizontal line that makes the ceiling feel higher. The green lower half also hides splashes and scuffs better than cream, which is a practical win near the sink and the tub. Keep the vanity white or cream and the brass warm, so the mirror and the green band are the room’s two strong notes. The join must be level and crisp, because a wobbly line is the first thing the eye finds.
Best For: Bathrooms where full green walls feel too heavy, and rooms with low ceilings that need a lift.
Not Ideal For: Rooms with a busy tile already on the lower wall, since two lower-wall treatments fight; choose one or the other.
Estimated Cost: $150-$450 (estimate) for washable green and cream paint, chair rail trim and a gold framed mirror.
Budget Note: The mirror is the spend; the two-tone paint is a weekend cost.
Renter Friendly: No
Renter Note: Paint is a landlord decision; renters can use a green vanity and a gold mirror for a removable version.
What You Need
Washable paint in deep green and cream, chair rail trim, painter’s tape, level, fine brush for the edge, large gold framed mirror, fixings rated for the mirror weight.
Product type to look for: A mirror with safety backing and a stated weight, in a gold tone that matches the brass in the room.
How To Do It
- Mark the chair rail height with a level line around the room, usually around a third of the wall height.
- Fit the chair rail, paint the lower half deep green and the upper half cream, cutting each edge in carefully.
- Hang the large mirror centred on the vanity, spanning the join, with fixings rated for its weight.
- Check the line from the doorway and touch up any wobble before styling the vanity.
Pro Tip
Hang the mirror so its reflection shows the cream upper wall, not the green lower half. A mirror facing cream doubles the light; a mirror facing green doubles the dark.
15. Soften the Green With Plants and Pale Wood
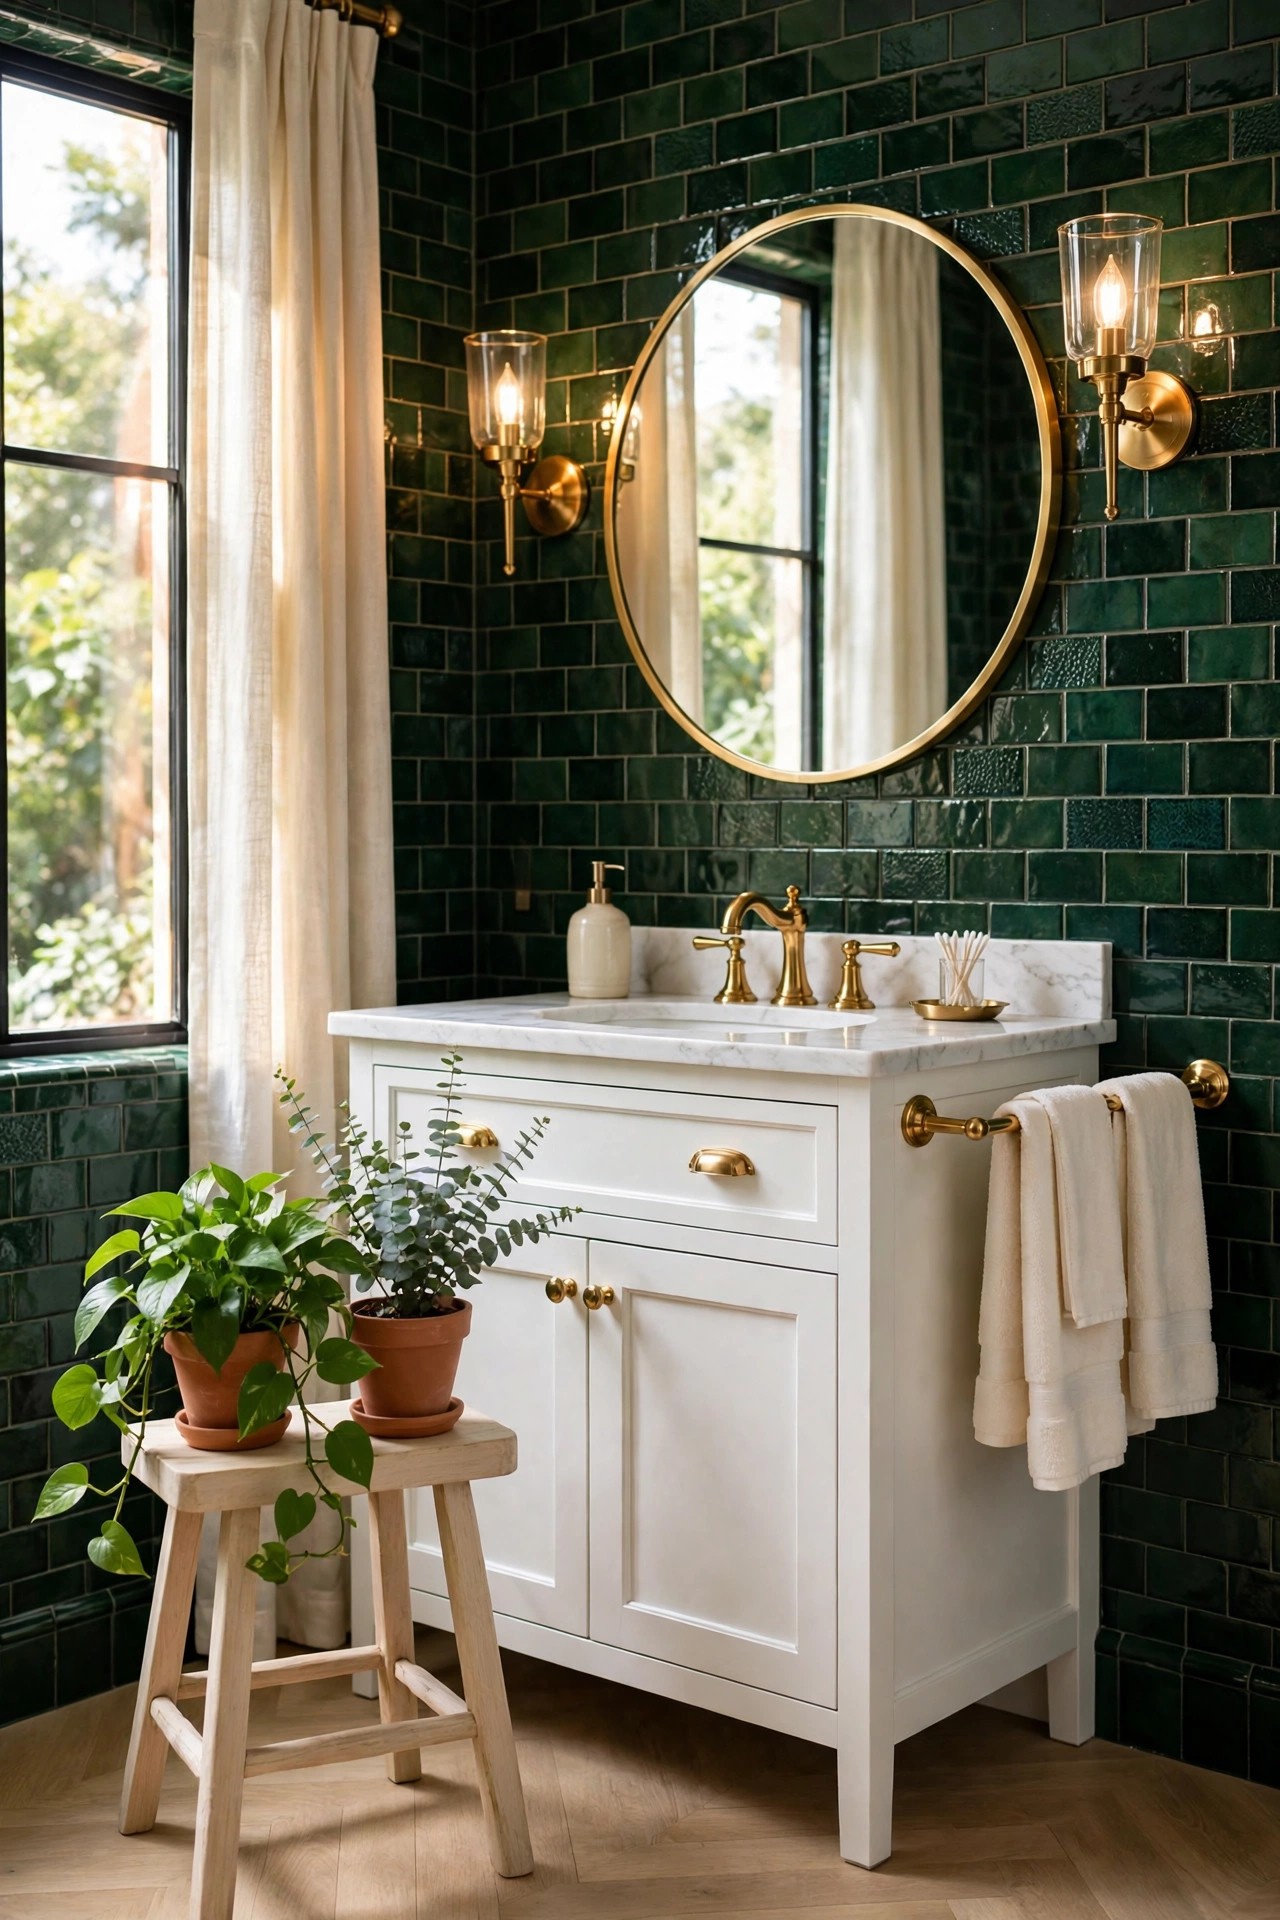
Plants and pale wood are what keep a dark green bathroom feeling alive instead of painted. A potted fern or trailing plant on a pale wood stool, a wooden bath tray across the tub, and a pale wood framed mirror soften the green with living colour and warm grain, and the plants thrive in the steam. Keep the plants to two or three in plain cream or terracotta pots, and keep the wood pale, not dark, since dark wood against dark green muddies the room. Choose plants that like humidity and low light, and keep them out of direct spray, on a stool or a shelf rather than the shower ledge. The wood and the plants are also the cheapest finishing layer in this list, and they can change with the seasons without touching the tile or paint.
Best For: Any dark green bathroom that feels too flat or too formal, and rooms with a window for the plants.
Not Ideal For: Windowless bathrooms, where plants struggle; a pale wood tray and a faux plant in a cream pot are the honest version there.
Estimated Cost: $60-$200 (estimate) for two or three humidity loving plants, pots, a pale wood stool and a bath tray.
Budget Note: The stool and tray are the lasting spend; the plants can be small and cheap to start.
Renter Friendly: Yes
Renter Note: All freestanding pieces; nothing fixed and nothing painted.
What You Need
Two or three humidity loving plants in cream or terracotta pots, pale wood stool, pale wood bath tray, small watering can, plant saucers to protect surfaces.
Product type to look for: Plants suited to low light and high humidity, in pots with drainage, plus a stool tall enough to lift the plants into the light.
How To Do It
- Choose the brightest spot that stays out of direct spray, usually a stool beside the vanity or a shelf near the window.
- Set the plants in their pots with saucers, and check the light on them at midday.
- Add the pale wood tray across the tub and the stool beside it, keeping the walkway clear.
- Water lightly and wipe the leaves weekly, since bathroom steam leaves marks on broad leaves.
Pro Tip
Keep the pots plain cream or terracotta, never patterned. The green wall is already the pattern; plain pots let the plants be the softness.
Practical Tips for Dark Green Bathroom
Hold the base light and let the green live in one or two large surfaces. The floor, ceiling and at least one wall stay cream or white, while the green sits in the tile, the vanity, the walls or the floor, never in all four at once, so the room can breathe. Repeat the green at least twice, in the shower tile and the vanity, or the walls and the floor, so the colour reads as a plan and not a single accident. Keep brushed brass as the only metal and match its tone across faucets, mirror, handles and sconces, because mixed metals scatter the glam note. Light matters more here than in a pale bathroom: a warm bulb, a large mirror and a white tub or sink give the green bright surfaces to bounce from. Finally, test every green in the room light before committing, since deep green reads almost black at dusk, and keep one surface, the ceiling, always white.
Frequently Asked Questions
Does a dark green bathroom make the room look smaller?
It can, if every surface is green and the light is weak. Keep the ceiling white, at least one wall cream, and the fixtures white, and the room holds its size. A small bathroom painted fully green in idea 13 works because the mirror is large, the sink is white and the light is warm.
What colour goes best with a dark green bathroom?
Cream and warm white first, then brushed brass, then pale wood. Blush pink softens the green in towels and flowers, while black and chrome cool it down and fight the glam warmth. Keep the palette to green, cream, brass and one pale wood.
Is a dark green bathroom renter friendly?
Partly. The painted vanity in idea 2, the plants and pale wood in idea 15, and the brass handles and mirror in idea 10 are freestanding or removable. Tile, painted walls, wallpaper, shiplap and built-in storage need the owner’s permission, and each idea in this list states its own position.
What grout colour works with dark green tile?
White grout keeps a subway pattern crisp, pale cream grout softens it, and a green-grey grout lets handmade tile variation show. Avoid pure white grout with zellige tile, since it turns the handmade variation into a grid.
How do I keep a dark green bathroom bright?
Use glossy tile that catches light, keep the ceiling and at least one wall white, fit a large mirror, and choose warm bulbs. A white freestanding tub against a green wall in idea 5 is the brightest arrangement in this list, because the white tub reflects light back into the room.
Is dark green a good colour for a small bathroom?
Yes, if the room commits fully and keeps the fixtures white. A small green jewel box in idea 13 feels designed rather than cramped, while a half-green small room with a dark floor and dark walls together feels heavy. One deep note, not three, is the rule for small rooms.
Conclusion
A dark green bathroom stays glam when the colour is placed with intent: a green subway tile shower or a painted green vanity sets the tone, brass fixtures and a gold mirror warm it, and cream walls, a white tub and pale wood keep the room bright. Start with the tile or the vanity, add the brass in one matching tone, test the green in the room light before it goes on a wall, and the bathroom will feel rich and calm instead of dark.