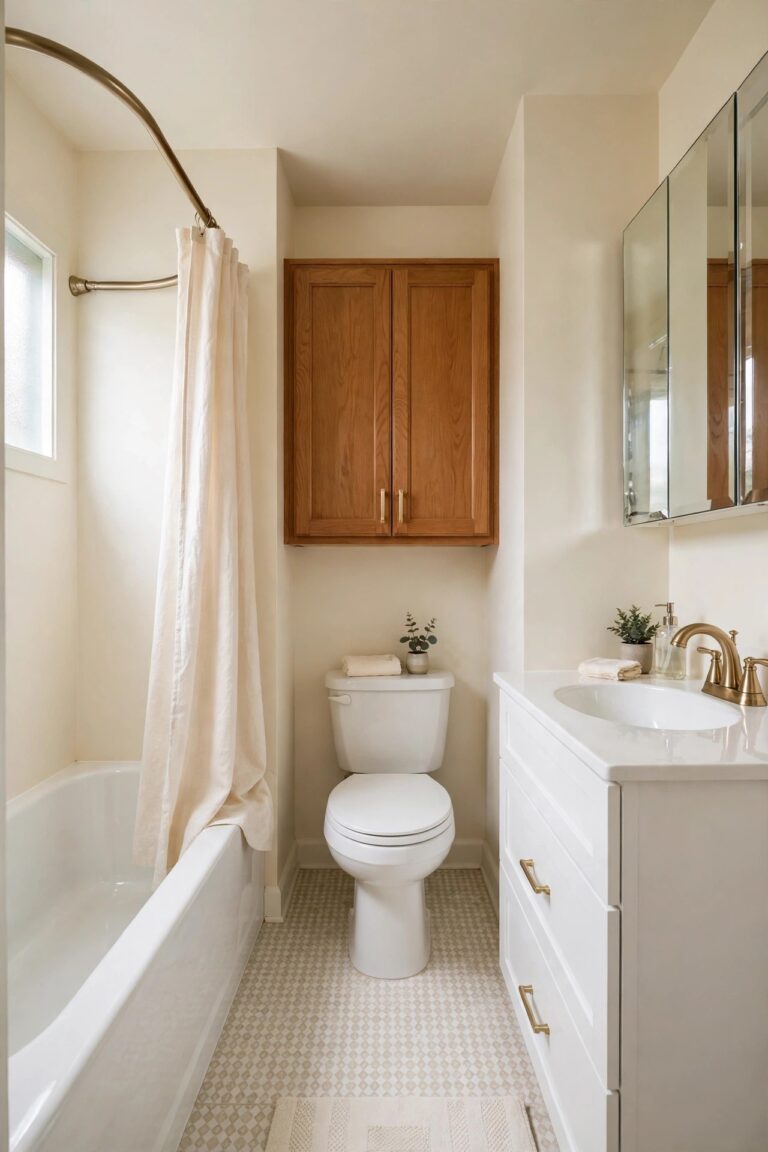
17 Walk In Shower Ideas That Feel Like a Hotel Spa
A hotel spa shower feels different before the water even warms up. The entry has no step to climb, the floor feels steady underfoot, the bottles sit in a niche instead of a wire caddy, the glass is clear to the edges, and warm light makes the tile glow instead of glare. None of that is about luxury fittings alone; it is about a room planned as one calm system, where comfort and safety were designed in rather than added later.
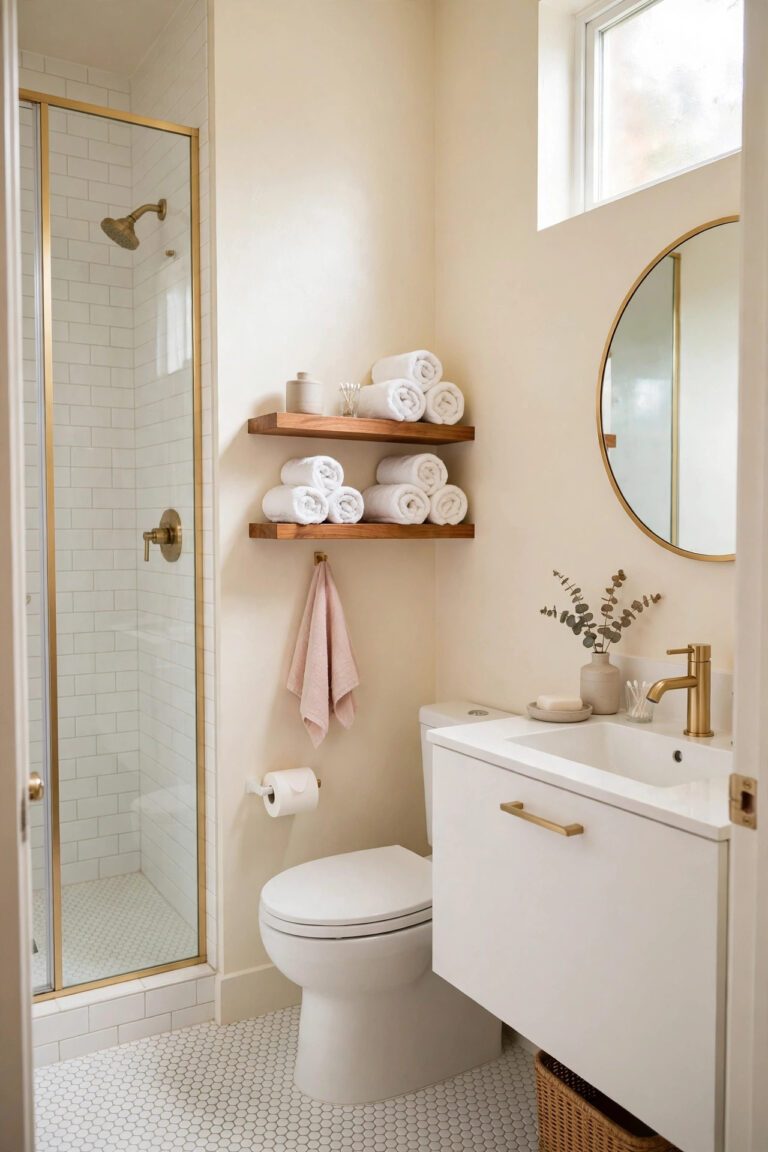
These seventeen walk in shower ideas all restyle the same bright glam bathroom from this site’s bathroom collection, white marble-look tile, brushed gold fittings, a cream vanity and freestanding tub beyond the glass, so you can see one shower grow more spa-like with every layer. A note on honesty runs through the whole list: a walk in shower stands or falls on what you cannot see, the waterproofing and the floor slope beneath the tile. Those parts belong to professionals, and this guide says so wherever it matters.
1. Go Curbless, With the Slope Done Properly
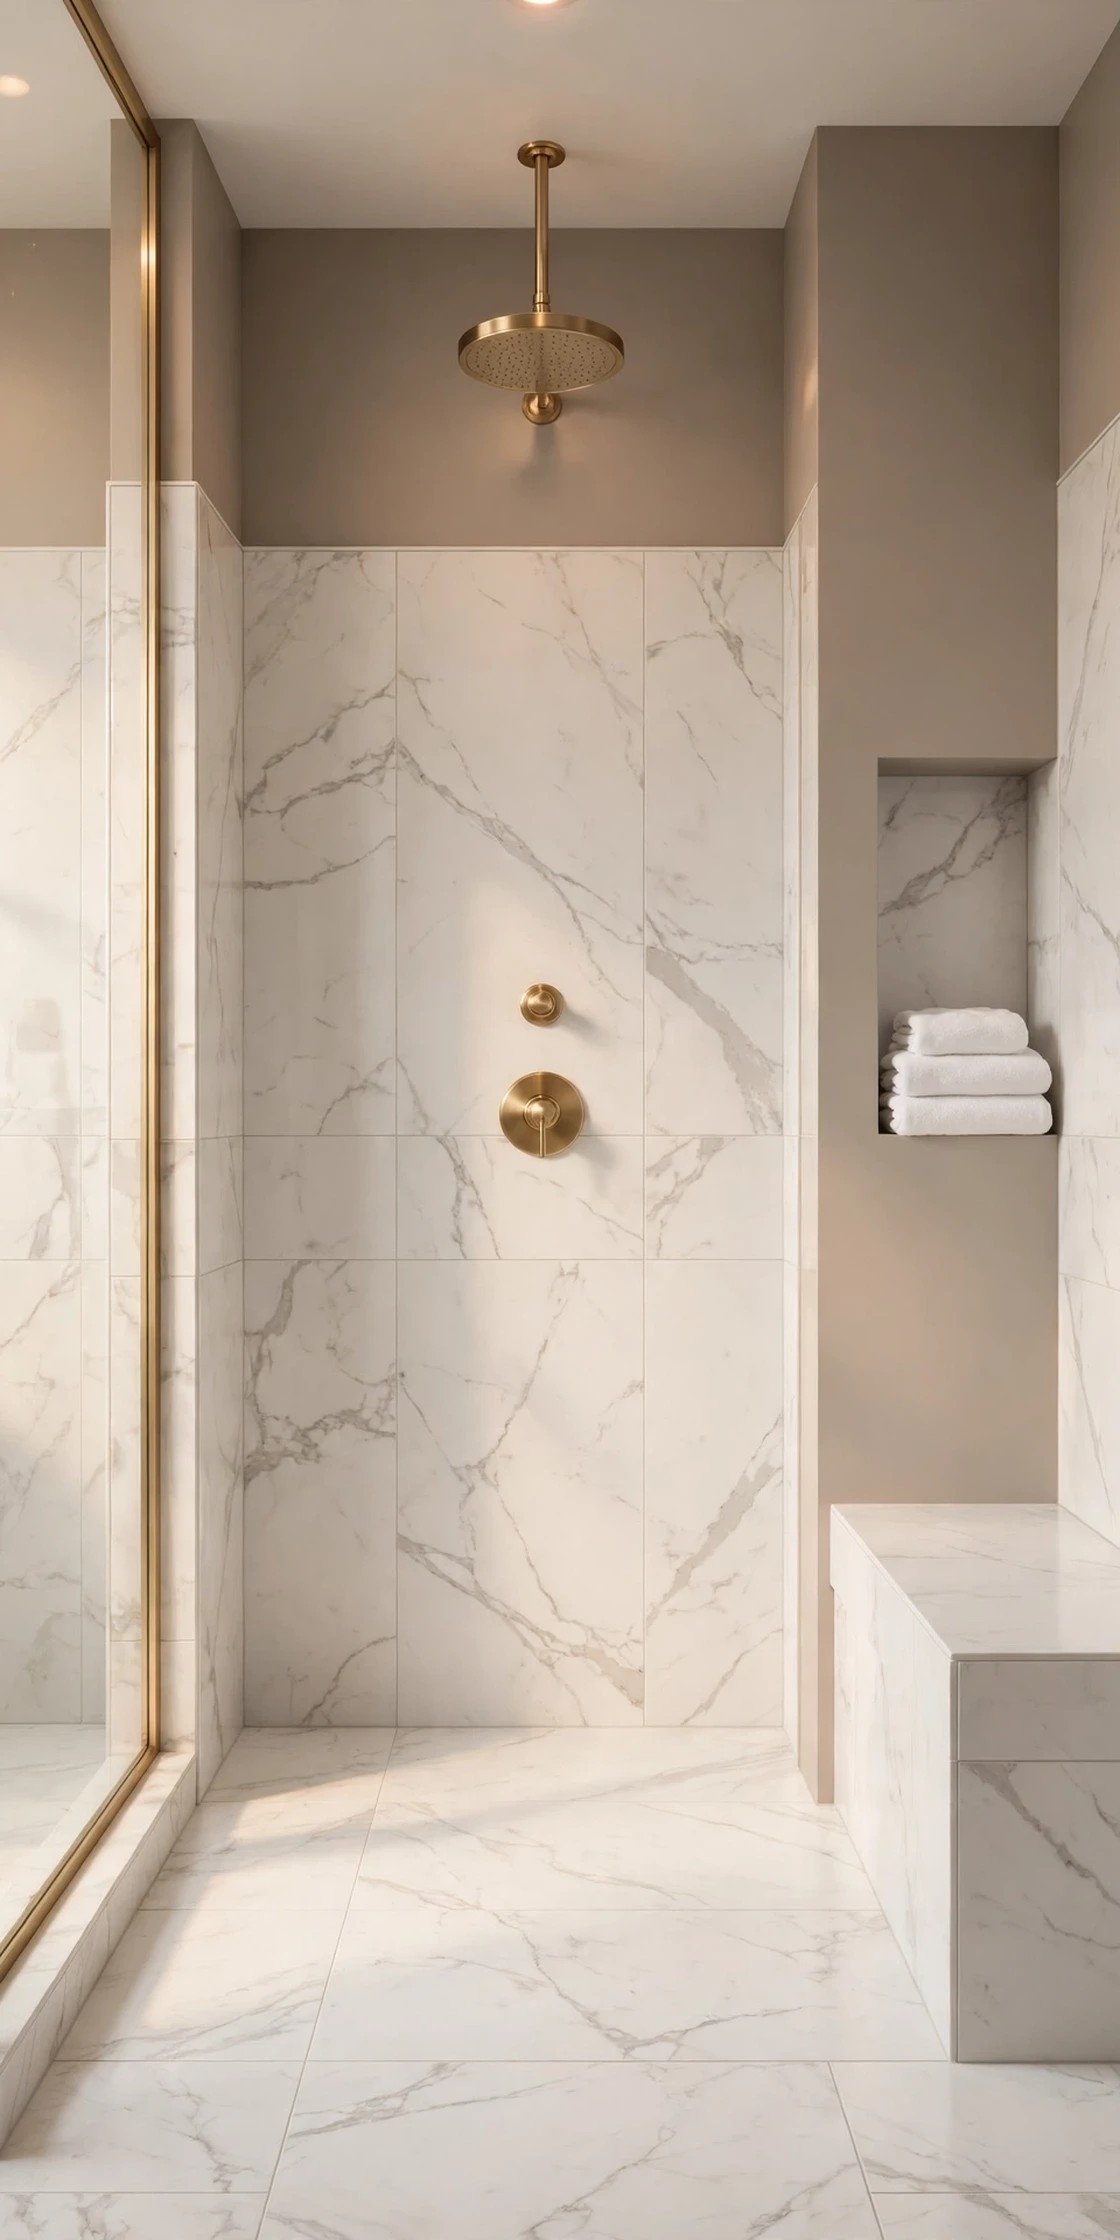
The single move that most changes a shower’s feeling is removing the curb. Stepping over nothing, the shower stops being a box you climb into and becomes part of the room, which is exactly how hotel spas design theirs. A curbless entry is also the kindest design for every age and ability, since there is no lip to trip on with wet feet.
The honesty matters here: curbless only works when the shower floor is built with a gentle, correct slope toward the drain and a continuous waterproof membrane beneath the tile, sealed at every corner and penetration. Water that escapes a badly sloped curbless shower does not announce itself; it travels under the bathroom floor quietly. This is a professional build, not a weekend project, and the money spent on the hidden layers is what buys the visible calm.
How to do it: Plan the entry during a renovation, not as a surface change. Have the floor structure, slope, and waterproofing designed and installed by a tiler or bathroom contractor who can show you the membrane system they use, and water-test the finished pan before tile goes down. Keep the bathroom floor outside in a tile that tolerates the occasional splash at the entry, and place a washable runner where feet land. Pro Tip: A slightly wider shower pays off most in a curbless design, because the extra length keeps spray inside the sloped zone without a door. Common mistake: Removing a curb from an existing shower floor that was never sloped or waterproofed for it. The curb was doing a job; without the hidden system beneath, taking it away is how floors rot.
2. Run One Tile From the Shower Walls to the Room
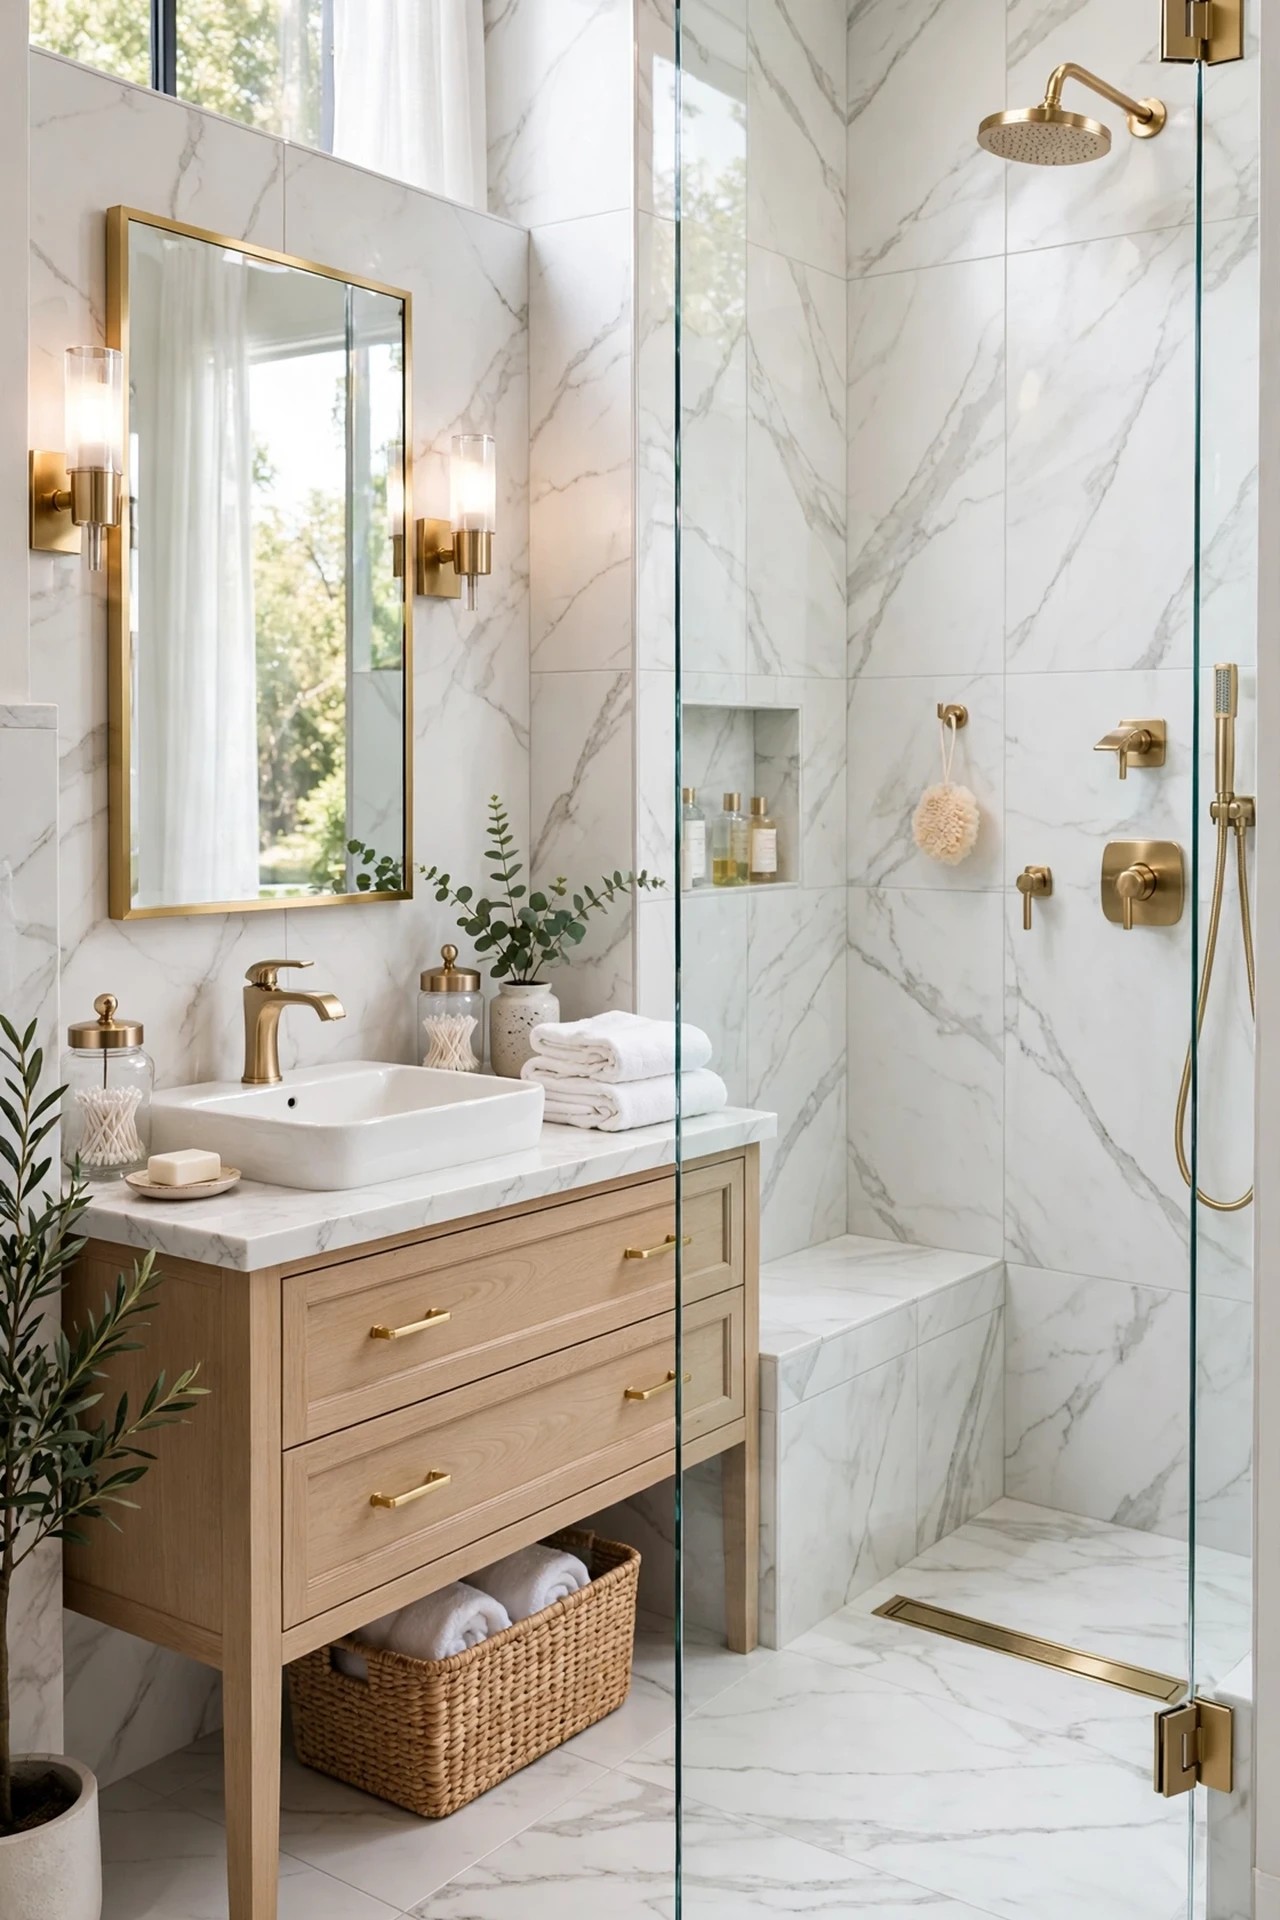
Hotels rarely tile a shower in a different material from the room around it, because one continuous surface is what makes a bathroom feel designed rather than assembled. When the same large-format marble-look tile wraps the shower walls and meets the glass, the shower reads as part of the architecture, and the room feels larger because the eye never hits a border.
Large tiles also mean fewer grout lines on the walls, and grout is where showers age first. Choose a grout tone close to the tile’s background so the wall reads as one calm plane, and keep the veining direction consistent as tiles turn corners, the detail that separates a thoughtful install from a random one.
How to do it: Order the shower walls and any matching bathroom walls from the same tile batch so tone and vein match honestly. Plan the layout from the shower’s most visible corner outward, so cut tiles land in the least seen places. Use large format on the walls only; the floor needs the smaller, gripper format of Idea 3, in the same material family so the two still read as relatives. Pro Tip: A single tile everywhere makes future repairs simpler, since one spare box stored away covers both the shower and the room. Common mistake: Mixing a marble-look shower with a different stone-look floor and a third tile behind the vanity. Three competing stones in one small room cancel each other out; continuity is the luxury.
3. Choose a Slip-Rated Smaller Tile for the Shower Floor
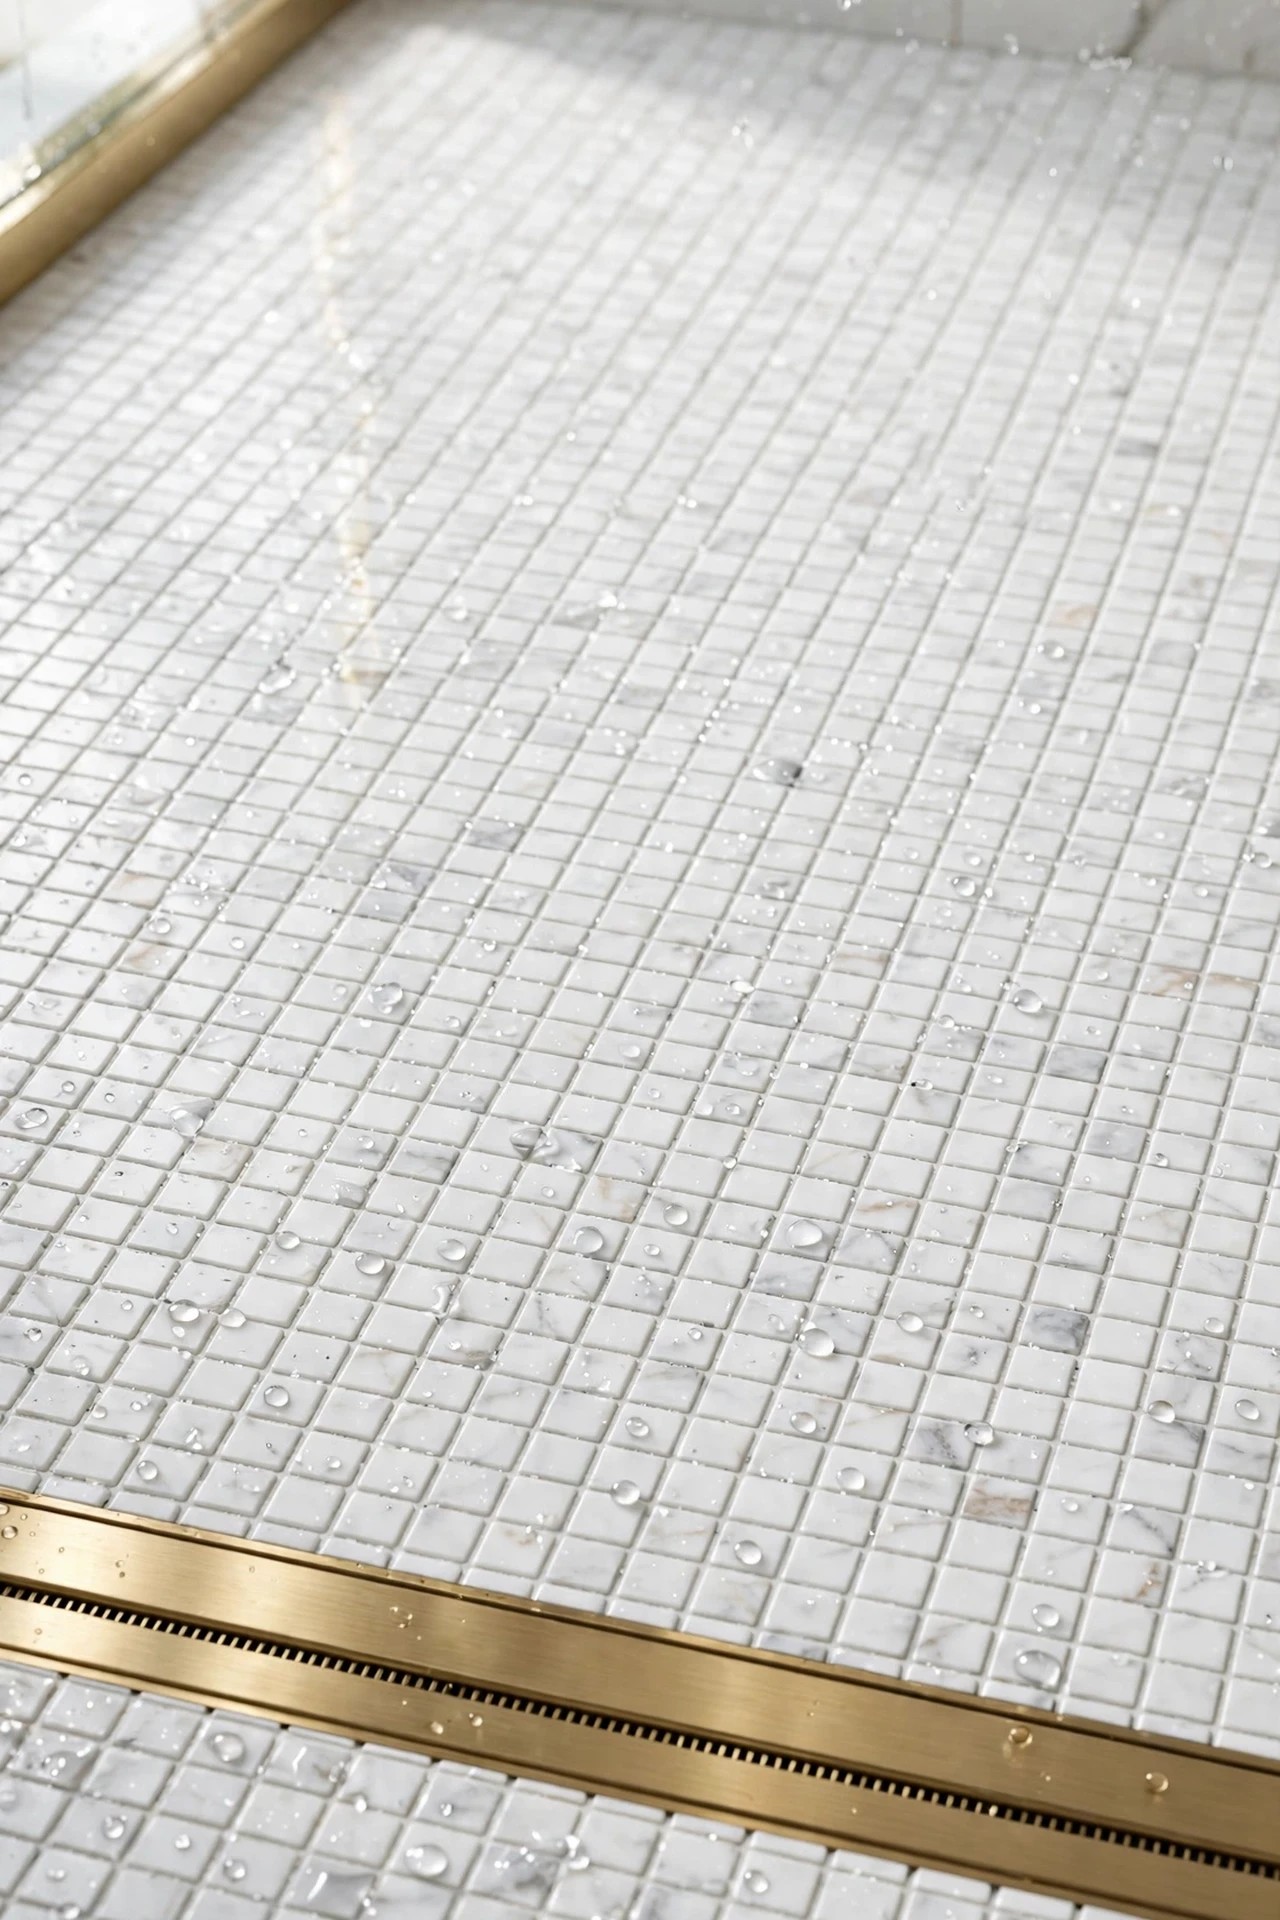
The shower floor is the one surface in the room where looks must come second. Smooth, polished, large tiles that feel wonderful on a wall become a skating rink under soapy water, and a spa feeling ends the moment your feet cannot trust the ground. Hotel showers solve this quietly: the floor tile is smaller, matte, and rated for wet barefoot grip.
Small tiles help twice over. Their many grout lines are themselves grip, breaking the water film under your foot, and small pieces can follow the floor’s slope to the drain without the lippage and pooling that large tiles create on a sloped pan. In this palette, a marble-look mosaic or small hexagon in the same tones as the wall tile keeps the floor calm while it keeps you steady.
How to do it: Choose a floor tile sold as suitable for shower floors, with a matte finish and a wet slip rating the supplier can state plainly, and ask for that rating in writing if you are unsure. Keep grout lines tight and even, and seal grout as the maker directs, since the floor’s grout does the hardest work in the room. Pro Tip: Stand on a sample tile with wet, soapy feet in the shop if they will let you; thirty seconds of honest testing beats any photograph. Common mistake: Continuing the large glossy wall tile onto the floor for a “seamless” look. The seam you remove is visual; the one you add is between your foot and the ground, and it is not worth it.
4. Build In a Tiled Bench
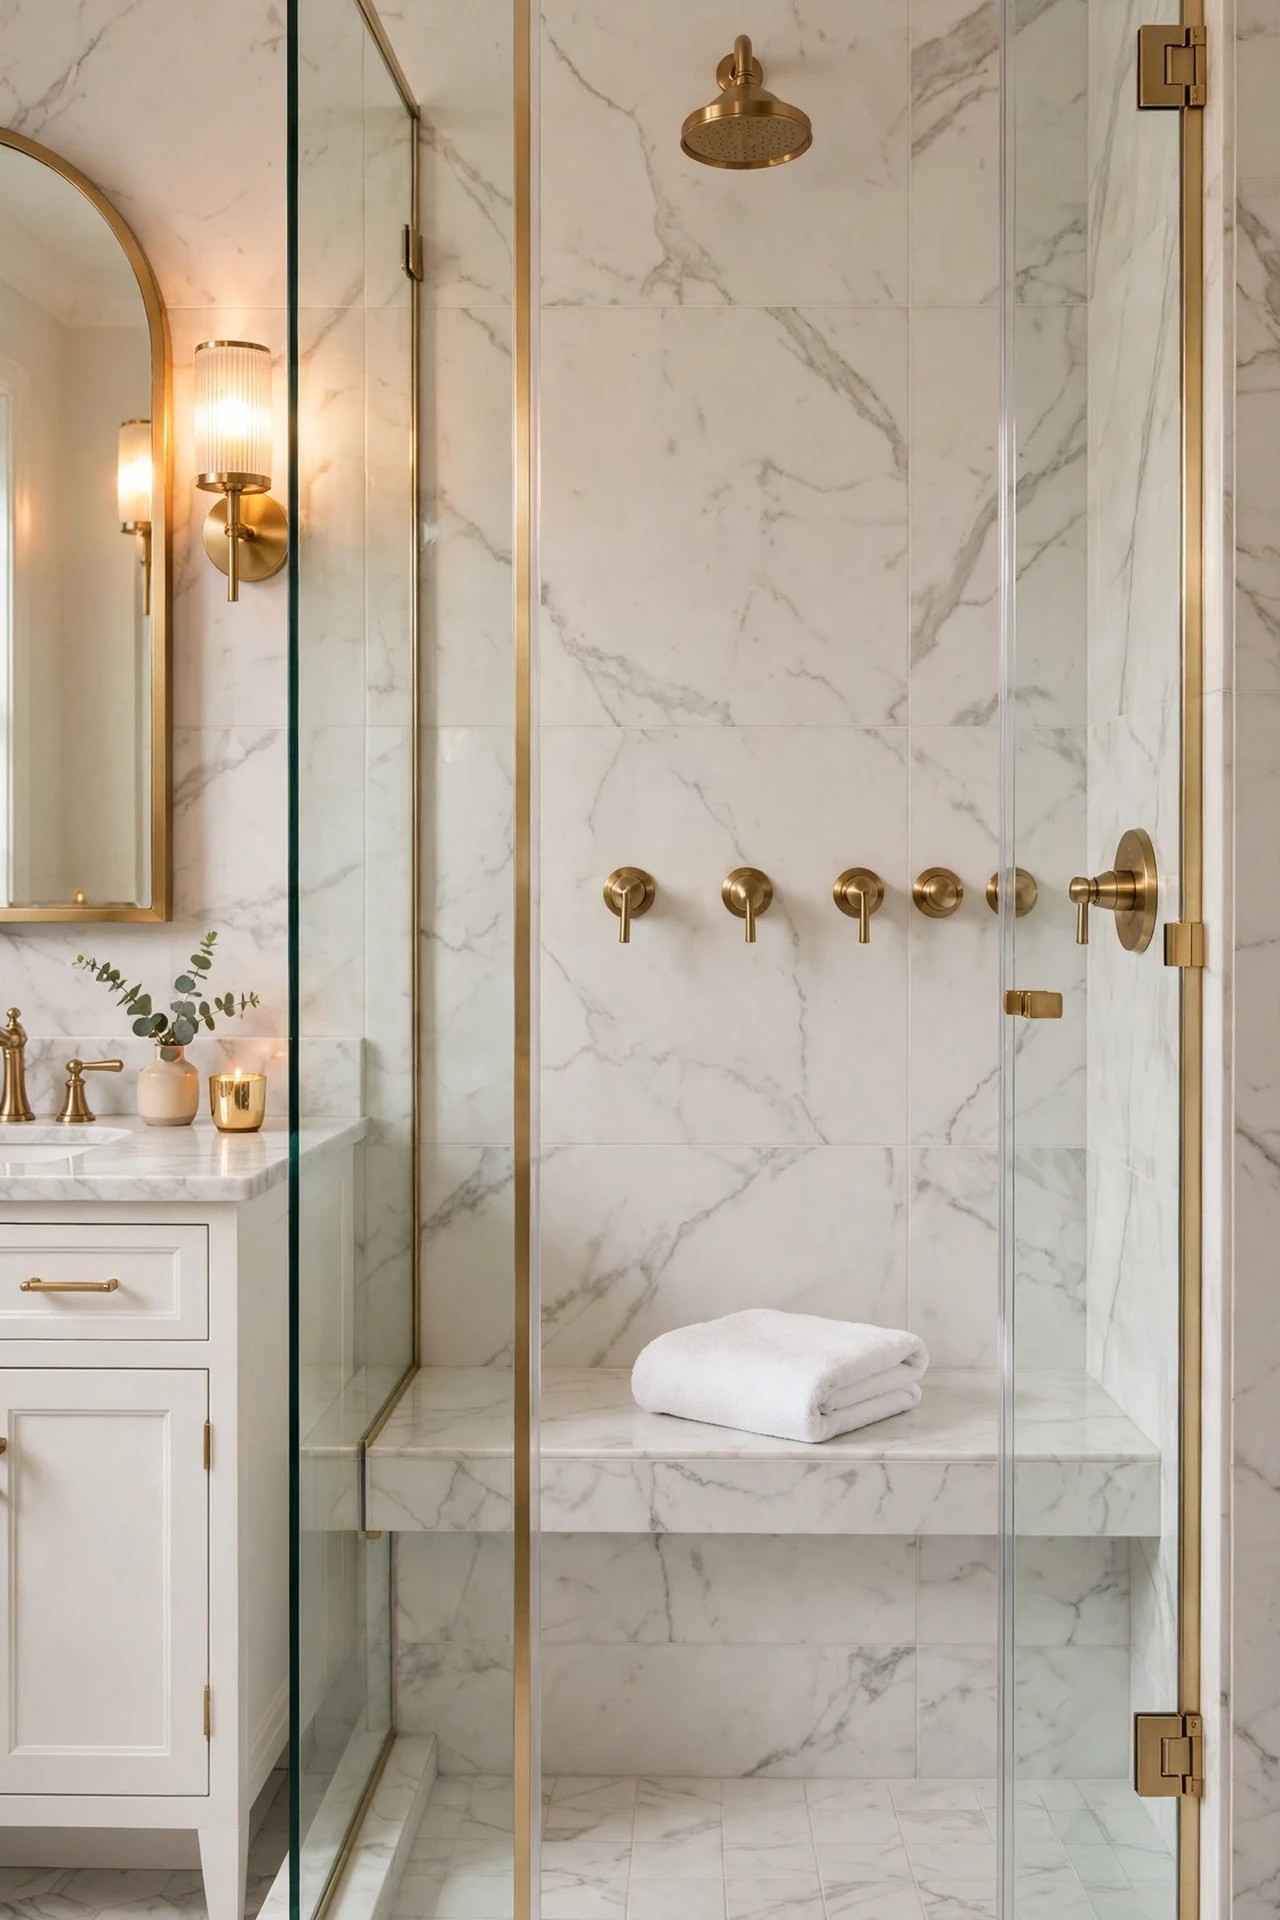
A bench turns a shower from a place you stand into a place you can sit, and sitting is the difference between washing and resting. It is where legs get shaved, feet get scrubbed, steam gets enjoyed, and older family members get a safer shower. Spas build benches in because they understand the shower as a room, not an appliance.
Build the bench as part of the shower’s structure, tiled in the same material as the walls, with its top given the slightest slope so water runs off instead of pooling. Its top surface matters for comfort and grip: the same family of tile as the walls is fine for the top if it is not polished slick, and many people prefer the bench top in the floor’s matte finish. A floating bench or a fold-down seat in warm wood-look material is the alternative where floor space is tight, fitted to fixings rated for the load.
How to do it: Have the bench framed, waterproofed as part of the shower system, and tiled by the same installer who does the pan, since a bench is a horizontal surface water will sit on, and its joins with the wall are classic leak points when treated as decoration. Size it for sitting properly, deep enough to sit on without perching, at a comfortable sitting height. Pro Tip: Place the bench within the handheld’s reach from Idea 6, and sitting showers become easy for everyone in the house. Common mistake: A bench added later as a loose stool of the wrong material, wobbling on a sloped floor. Anything you sit on in a wet room must be fixed, rated, and solid.
5. Carve a Recessed Niche for Bottles
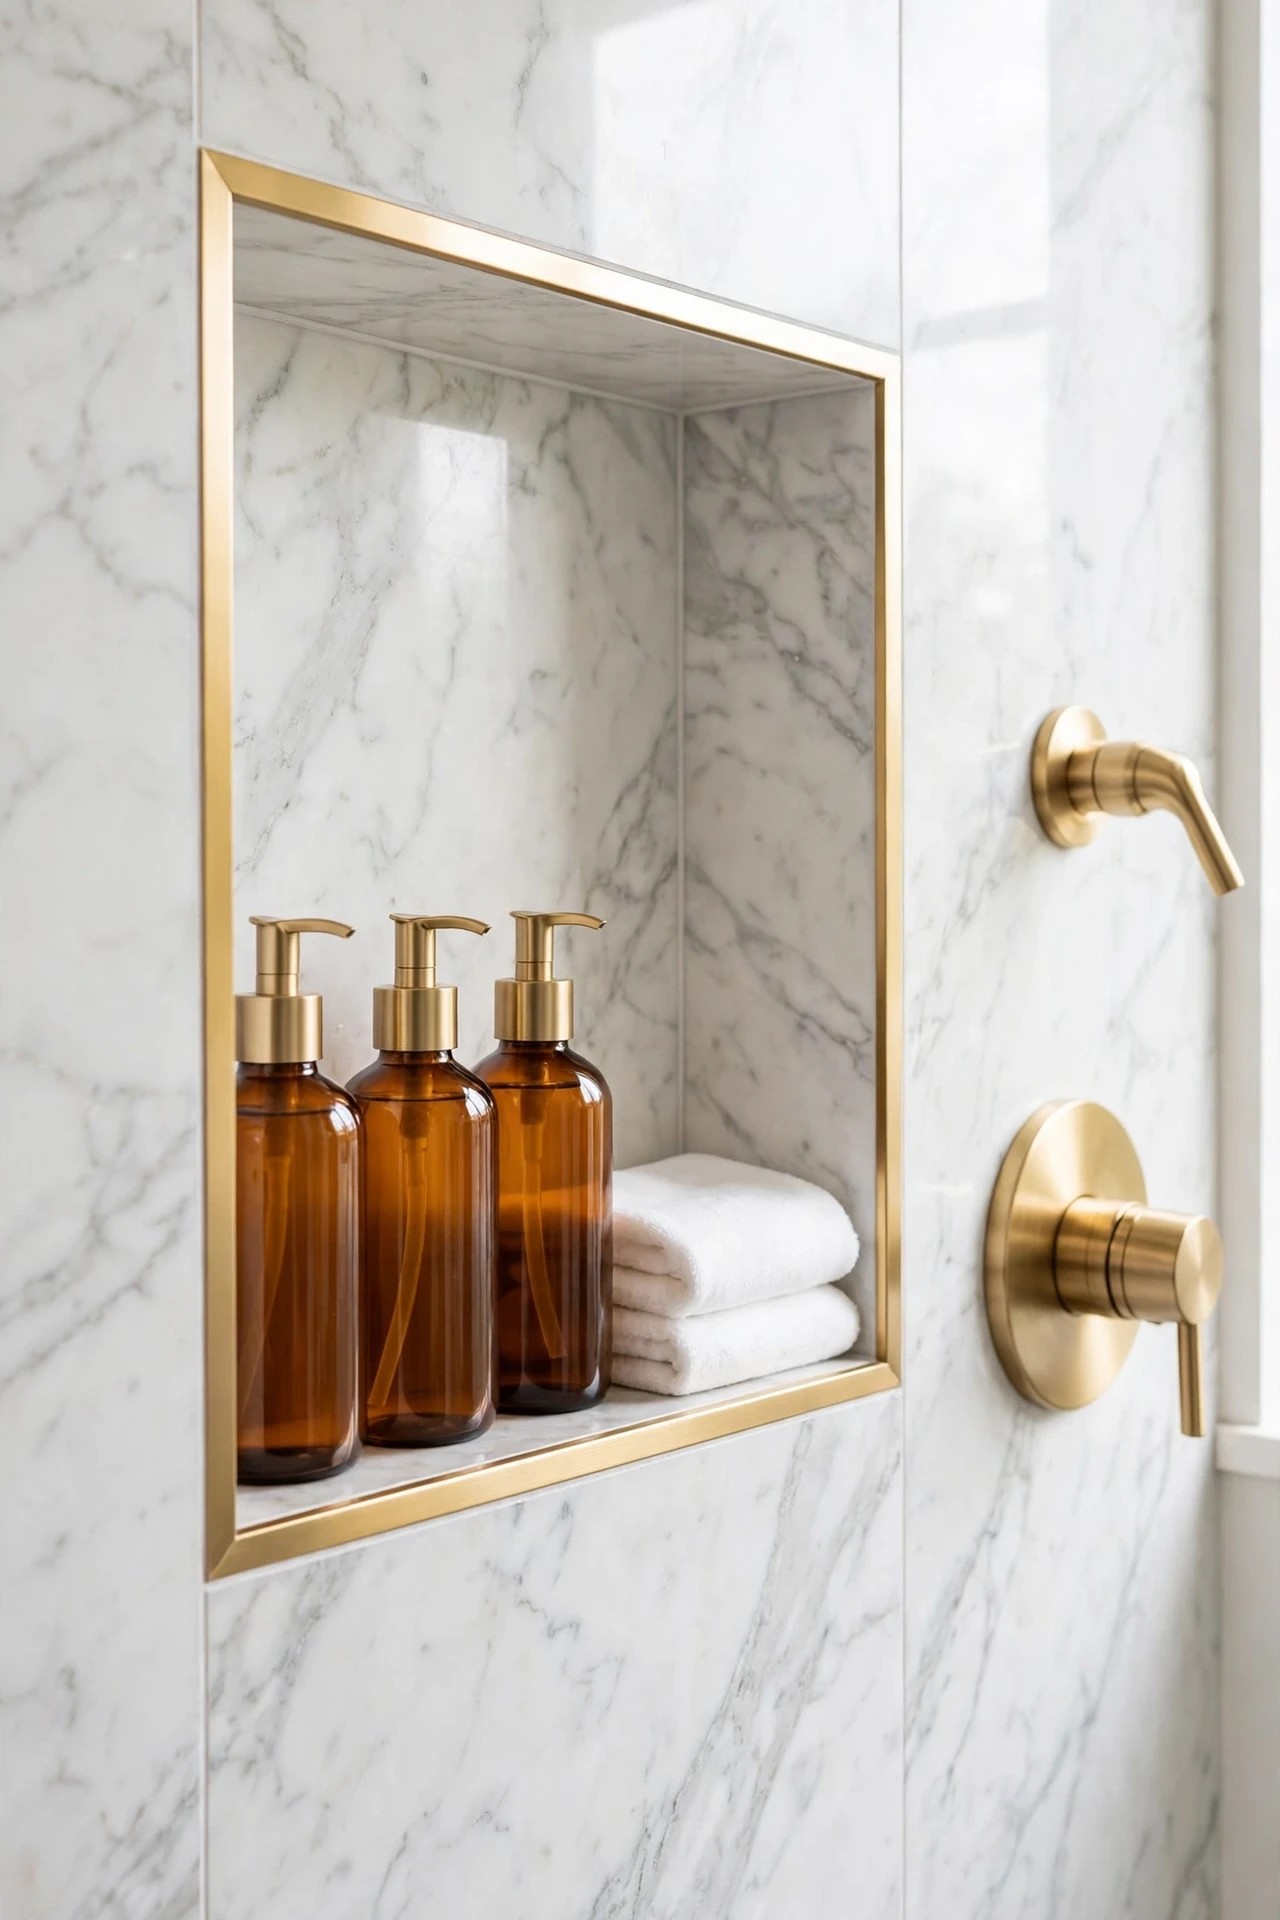
In a hotel shower, bottles live in the wall. At home they live in hanging caddies that swing and rust, on the bench where they get knocked, or on the floor in the corner, which is where spa feelings go to die. A recessed niche gives the daily set a permanent, level home at hand height, and the shower’s lines stay clean.
A niche is a hole in a wet wall, so its honesty paragraph matters: it must be built into the shower’s waterproofing system, with its shelf given a slight forward slope so water runs out instead of sitting, and its edges sealed as part of the membrane, not caulked as an afterthought. A niche retrofitted by cutting into finished tile without rebuilding the waterproofing behind it is one of the most common ways showers leak into walls.
How to do it: Plan the niche during the build or renovation, placed between studs, at a height your hand reaches comfortably while standing, and sized from your tallest bottle upward. Line it in the wall tile, finish the edges with a slim brushed gold trim, and keep only the daily bottles in it, decanted to match as in the bathroom collection’s bottle rule. Pro Tip: A long, low niche along the back wall serves two people better than one tall niche, and its shelf doubles as the foot ledge of Idea 11. Common mistake: A niche shelf tiled dead level or sloping backward. Pooled water in a niche stains grout and grows grime exactly where your cleanest products sit.
6. Pair a Rainfall Head With a Handheld on a Slide Bar
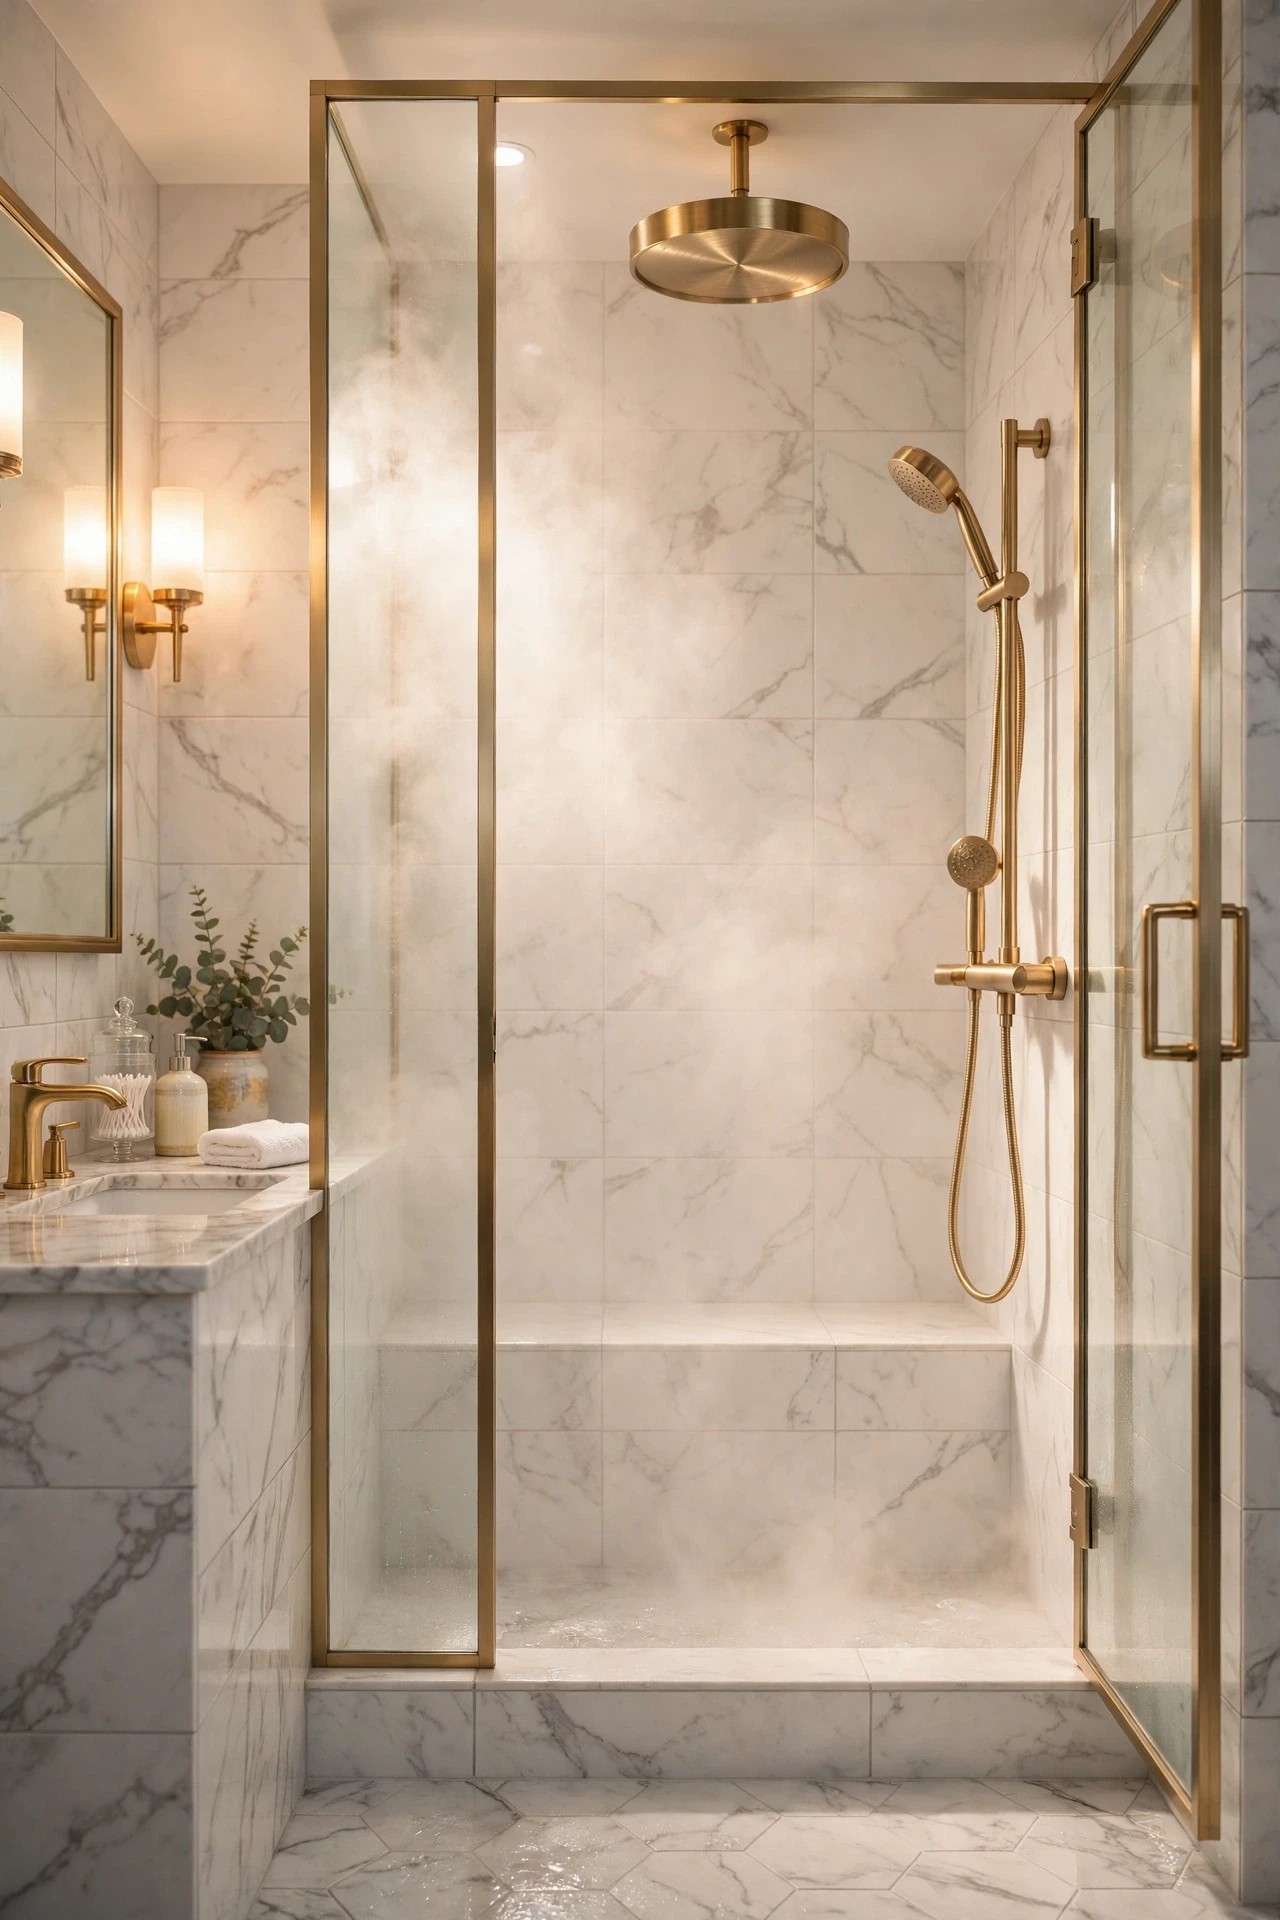
The rainfall head is the photograph; the handheld is the reason the shower actually works. Overhead rain is the spa ritual, gentle and even, but rinsing hair, washing down tile, bathing children and dogs, and showering seated all need water that comes to you. Hotels fit both because they have watched guests long enough to know one head is a compromise.
Fit the handheld on a slide bar so its height adjusts for the tallest and the seated user, and keep both fittings in the same brushed gold as the rest of the room. A diverter that lets either head run alone, or both gently together where your water pressure honestly supports it, keeps the controls simple: one lever, clear choices, no mystery valves.
How to do it: This is plumber’s work inside a waterproofed wall, so it belongs in the renovation plan, with valve positions decided by who will use the shower most. Place the slide bar within reach of the bench, and give the handheld a hose long enough to reach the bench and the floor for cleaning. Pro Tip: The handheld is also the room’s best cleaning tool; a weekly rinse of walls and glass with it prevents more buildup than any spray cleaner. Common mistake: A rainfall head fitted so low or so close to the wall that you must hug the tile to stand under it. The rain should fall where a person naturally stands, in the shower’s middle ground.
7. Frame the Glass in Brushed Gold, Fitted Professionally
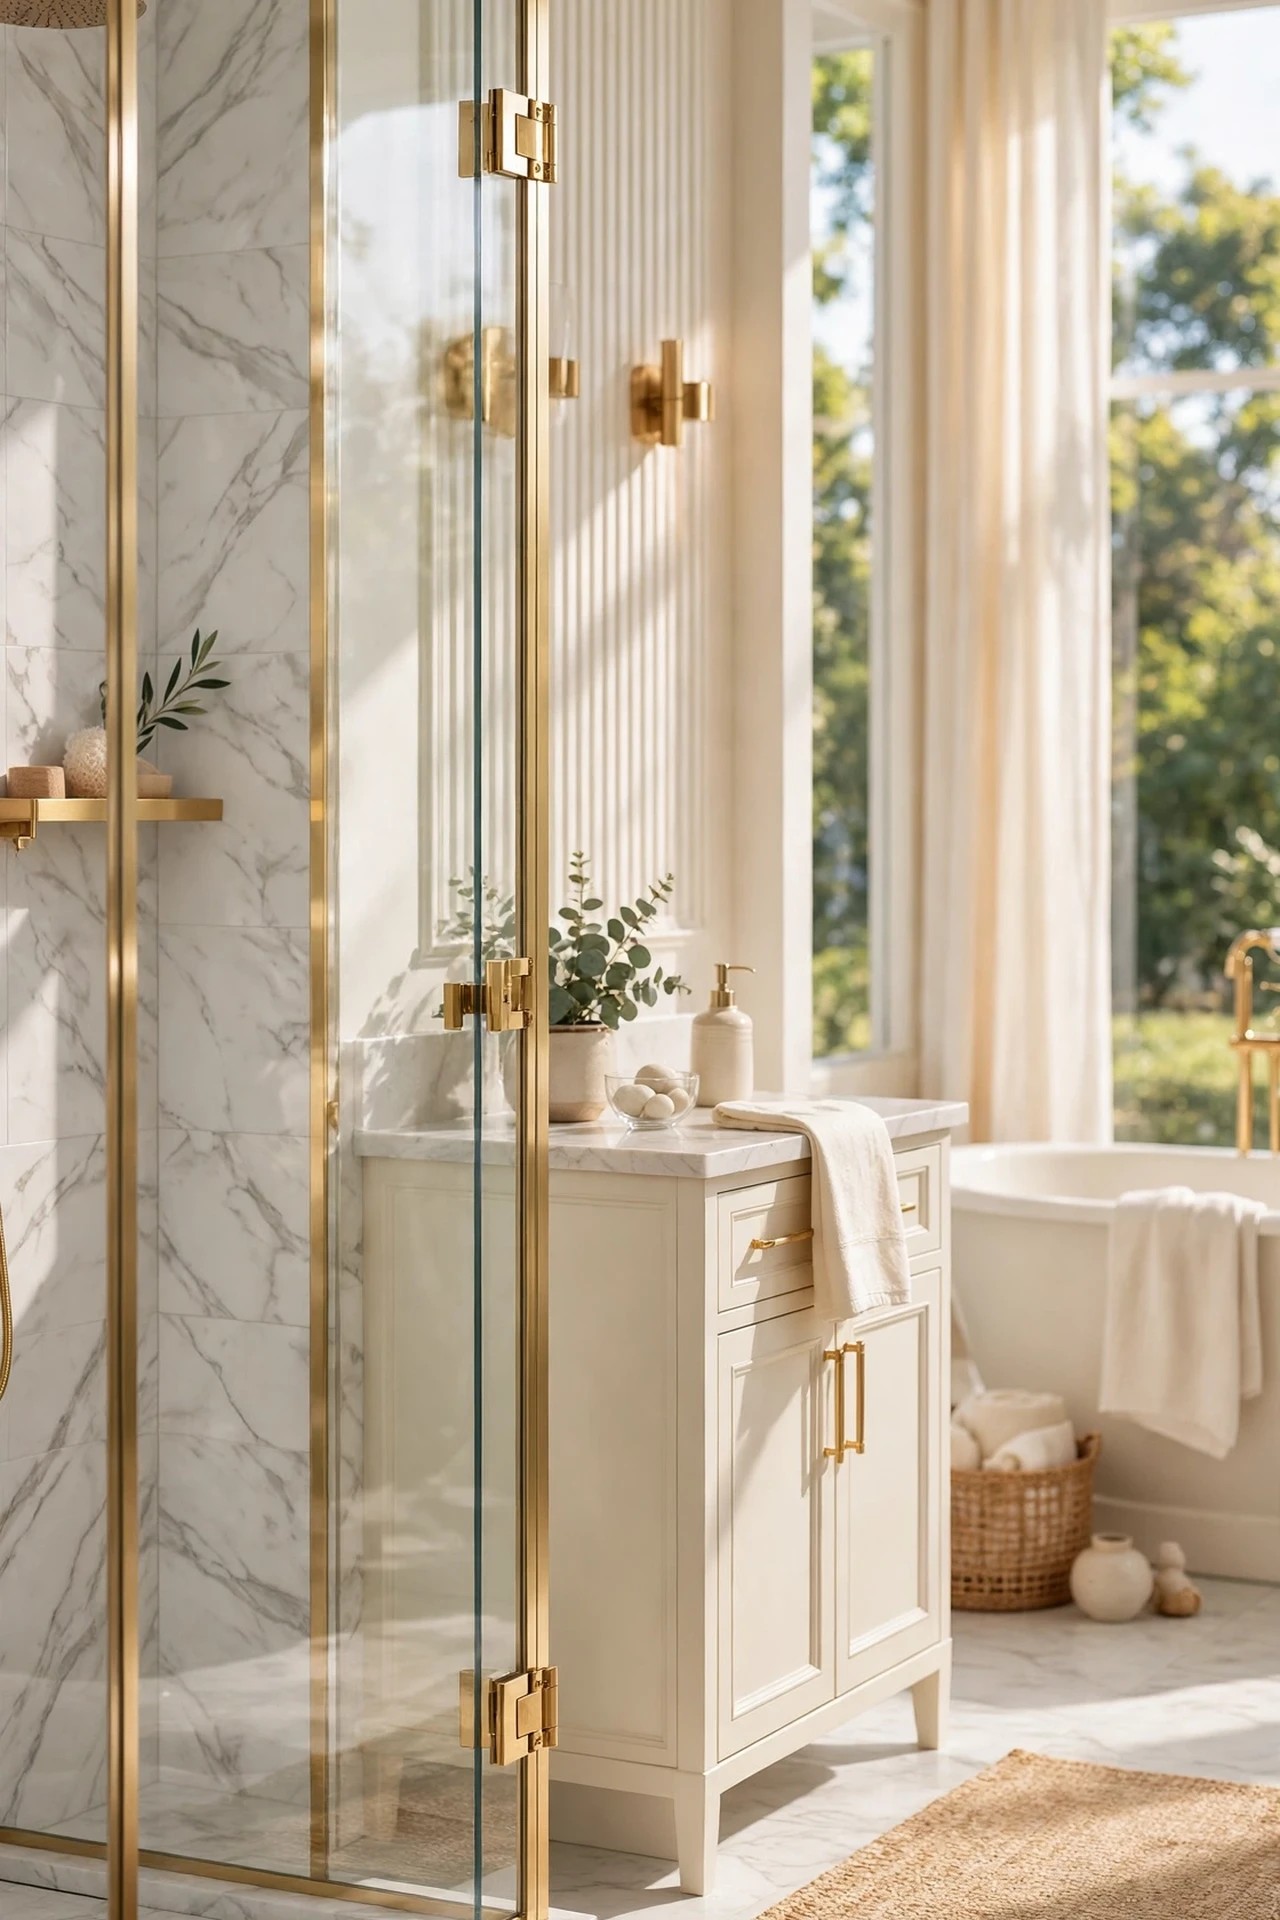
Frameless glass is the default spa look, but a slim brushed gold frame does two things frameless cannot: it ties the shower to every other metal in the room, faucet, mirror, towel bars, and it draws a deliberate outline around the shower, the way a frame finishes a picture. In this palette the shower stops being a glass box that happens to be there and becomes part of the design.
Shower glass is heavy, tempered safety glass that must be measured after the tile is finished, cut to the exact opening, and fixed with hardware rated for its weight into solid structure. This is professional work in the plainest sense: the panels are unforgiving of guesswork, the fixings carry real load, and a door that sags or a panel fixed into tile alone over hollow board is a safety problem, not a cosmetic one.
How to do it: Have the glass measured, supplied, and installed by a shower glass specialist once tiling is complete, and match the frame and hardware finish to a physical sample of your faucet finish, since gold tones vary between makers. Keep the frame slim; the gold should read as an outline, not a cage. Pro Tip: Ask about a factory-applied protective coating on the glass at order time; in hard water areas it slows the mineral film that makes clear glass look tired. Common mistake: Ordering glass from pre-tile measurements to save time. Tile adds thickness on every surface, and glass cut to the rough opening simply does not fit the finished one.
8. Install Grab Bars That Match the Towel Bars
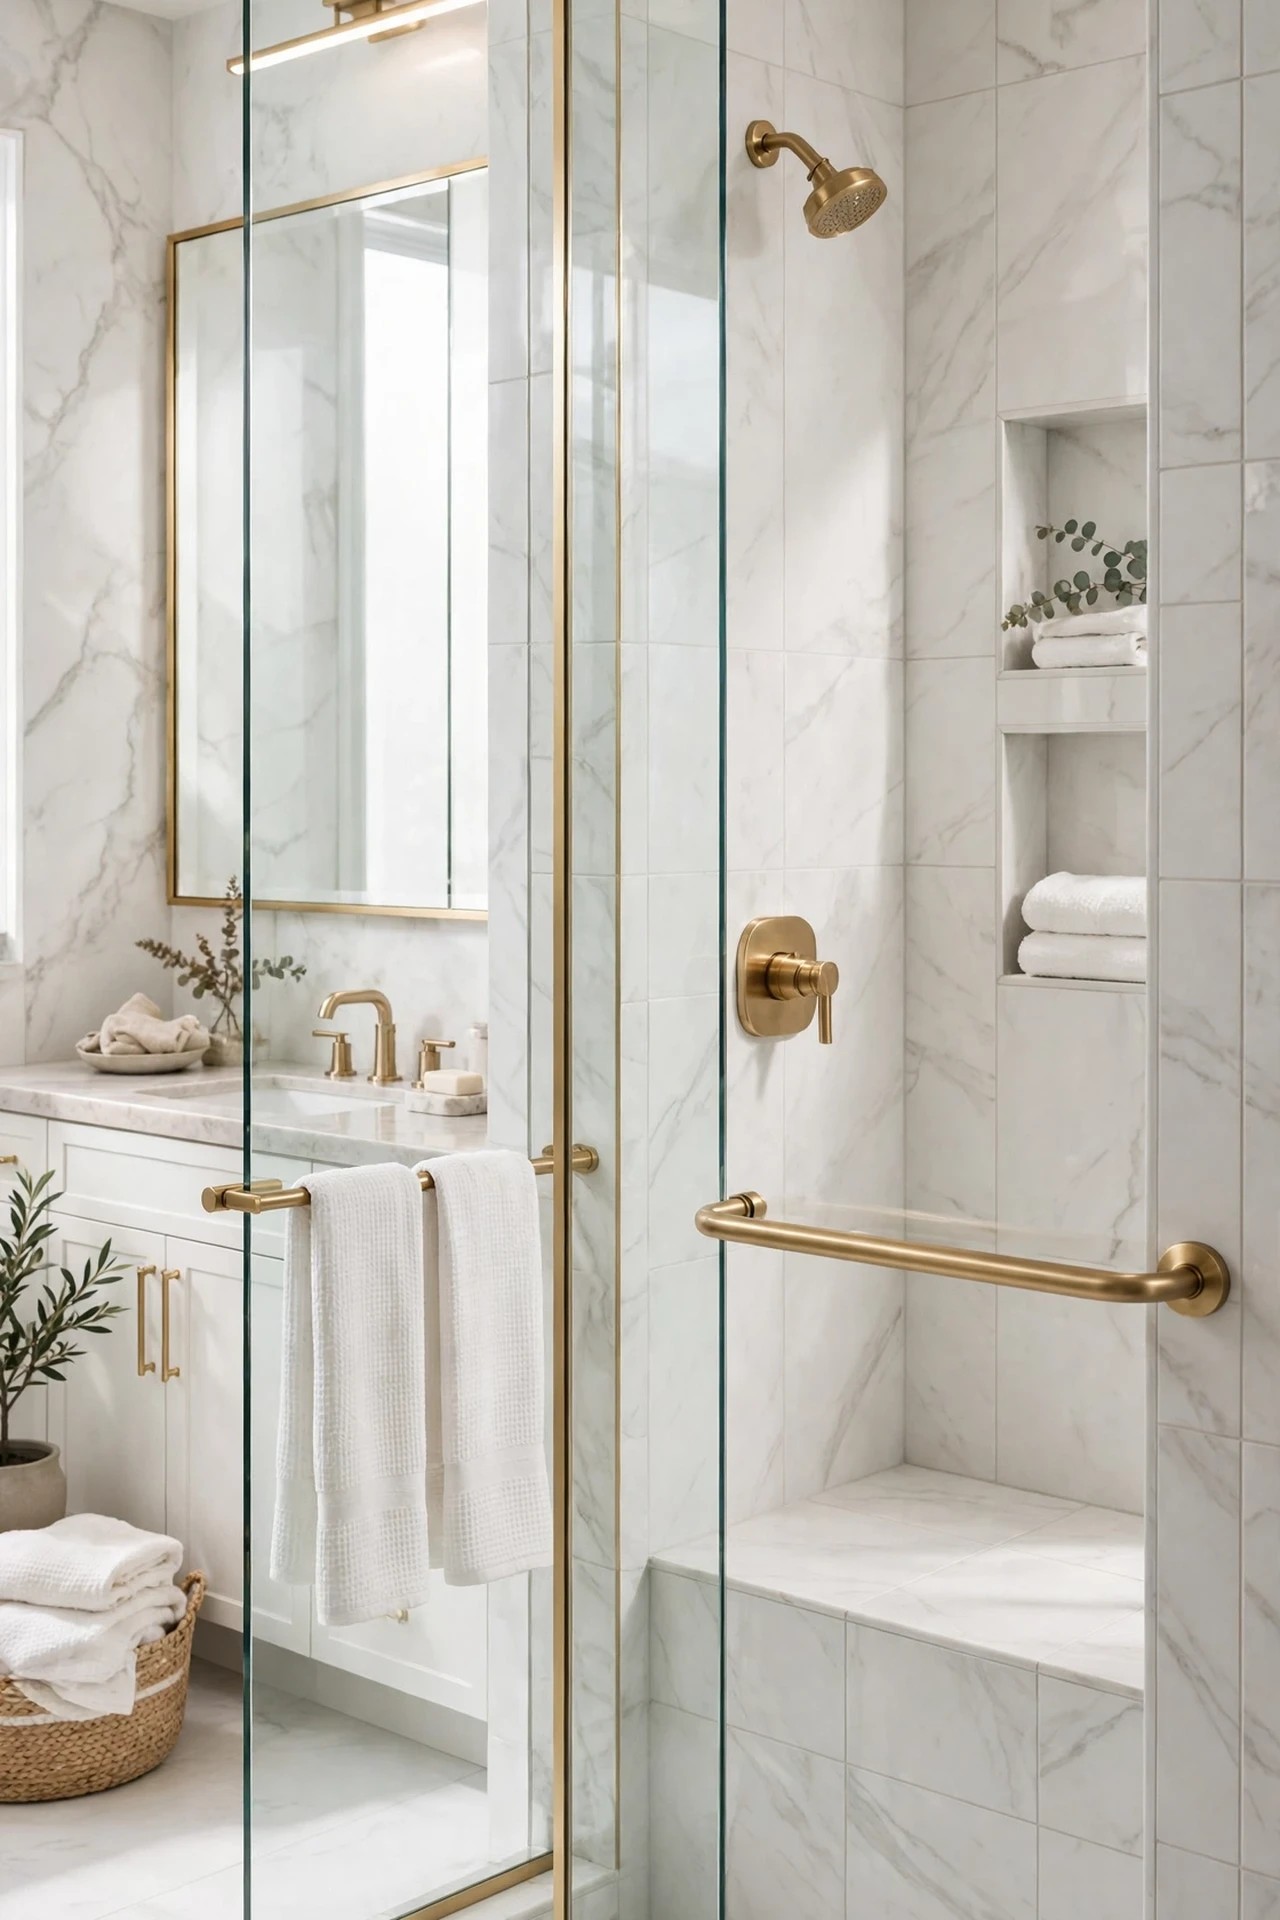
Every hotel spa shower has support within reach, and the best home versions hide that safety in plain sight: grab bars made in the same brushed gold, with the same clean lines, as the towel bars outside the glass. Nobody reads them as equipment. Everybody benefits from them, wet hands, tired legs, children, grandparents, and anyone who has ever felt a foot slide on a soapy floor.
A grab bar is only as safe as what it is screwed into. Bars must fix into studs or into solid blocking built into the wall during construction, using the rated fixings the maker supplies. A bar screwed into tile over hollow board will hold a towel and betray a person, which is why the honest time to plan bars is before the tile goes up, even if the bars themselves are fitted at the end.
How to do it: Plan at least two bars: one at the shower entry where you step in, and one near the bench or controls where you stand and sit. Choose bars rated for support use, in the room’s gold finish, and have them fitted into structure, testing each with a firm pull before first use. If your walls are already finished, a specialist can often locate studs or fit rated anchors designed for the purpose; ask rather than guessing. Pro Tip: A vertical bar at the entry is the one guests use most, because stepping in is the moment balance changes. Common mistake: Using a towel bar as a grab bar. Towel bars are not rated or fixed for body weight, and the day someone grabs one in a slip is the day the difference matters.
9. Layer Wet-Rated Light at Two Heights
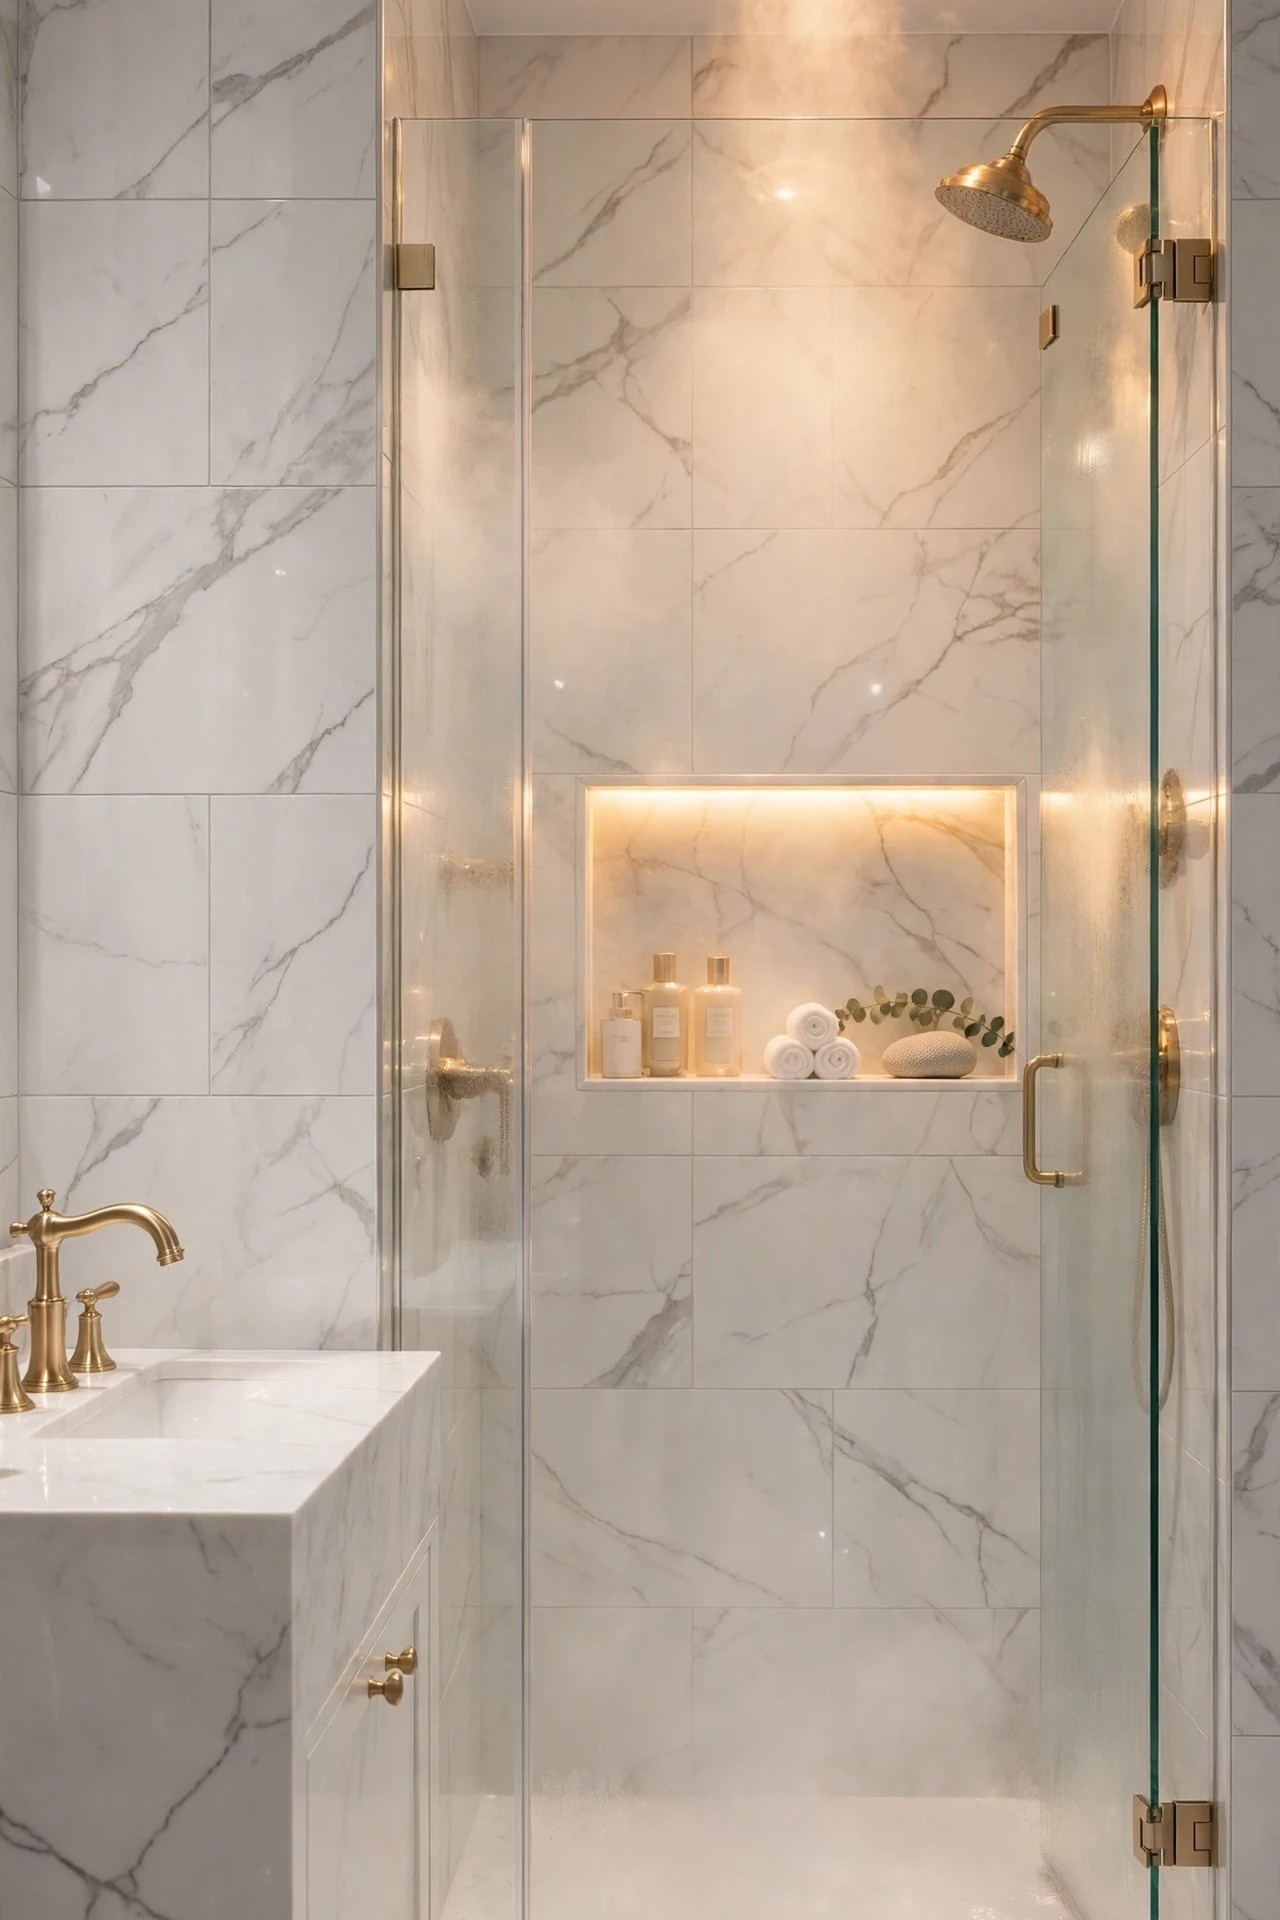
Showers are usually lit by whatever light spills in from the vanity, which leaves the person in the shower standing in their own shadow under a grey half-light. Spas light the shower itself: a warm, sealed ceiling light over the shower floor, and often a second gentle source near the niche or bench, so the tile glows and the water sparkles instead of the bather squinting.
Every fitting inside a shower must be rated for wet locations, sealed against steam and spray, and installed on the correct protected circuit by an electrician. This is not a place for a pretty bathroom light that was almost suitable; the rating exists because water and electricity share this small room permanently. Warm white is the temperature, matching the rest of the bathroom, so stepping into the shower does not feel like entering a different building.
How to do it: Plan the shower’s own light during the renovation, positioned over the standing area rather than behind it, so your body does not shadow your feet. Add the second low-glow source only where a wet-rated fitting exists for the purpose. Keep the shower light on its own switch or a dimmer, so evening showers can run low and warm without lighting the whole bathroom. Pro Tip: Light placed to graze down a tiled wall shows off marble veining beautifully and reveals where cleaning is needed, two kinds of honesty in one fitting. Common mistake: A single bright cool light over the shower. It turns steam into fog lights and skin into paperwork; warm and layered is the spa combination.
10. Run a Slim Linear Drain Along the Wall
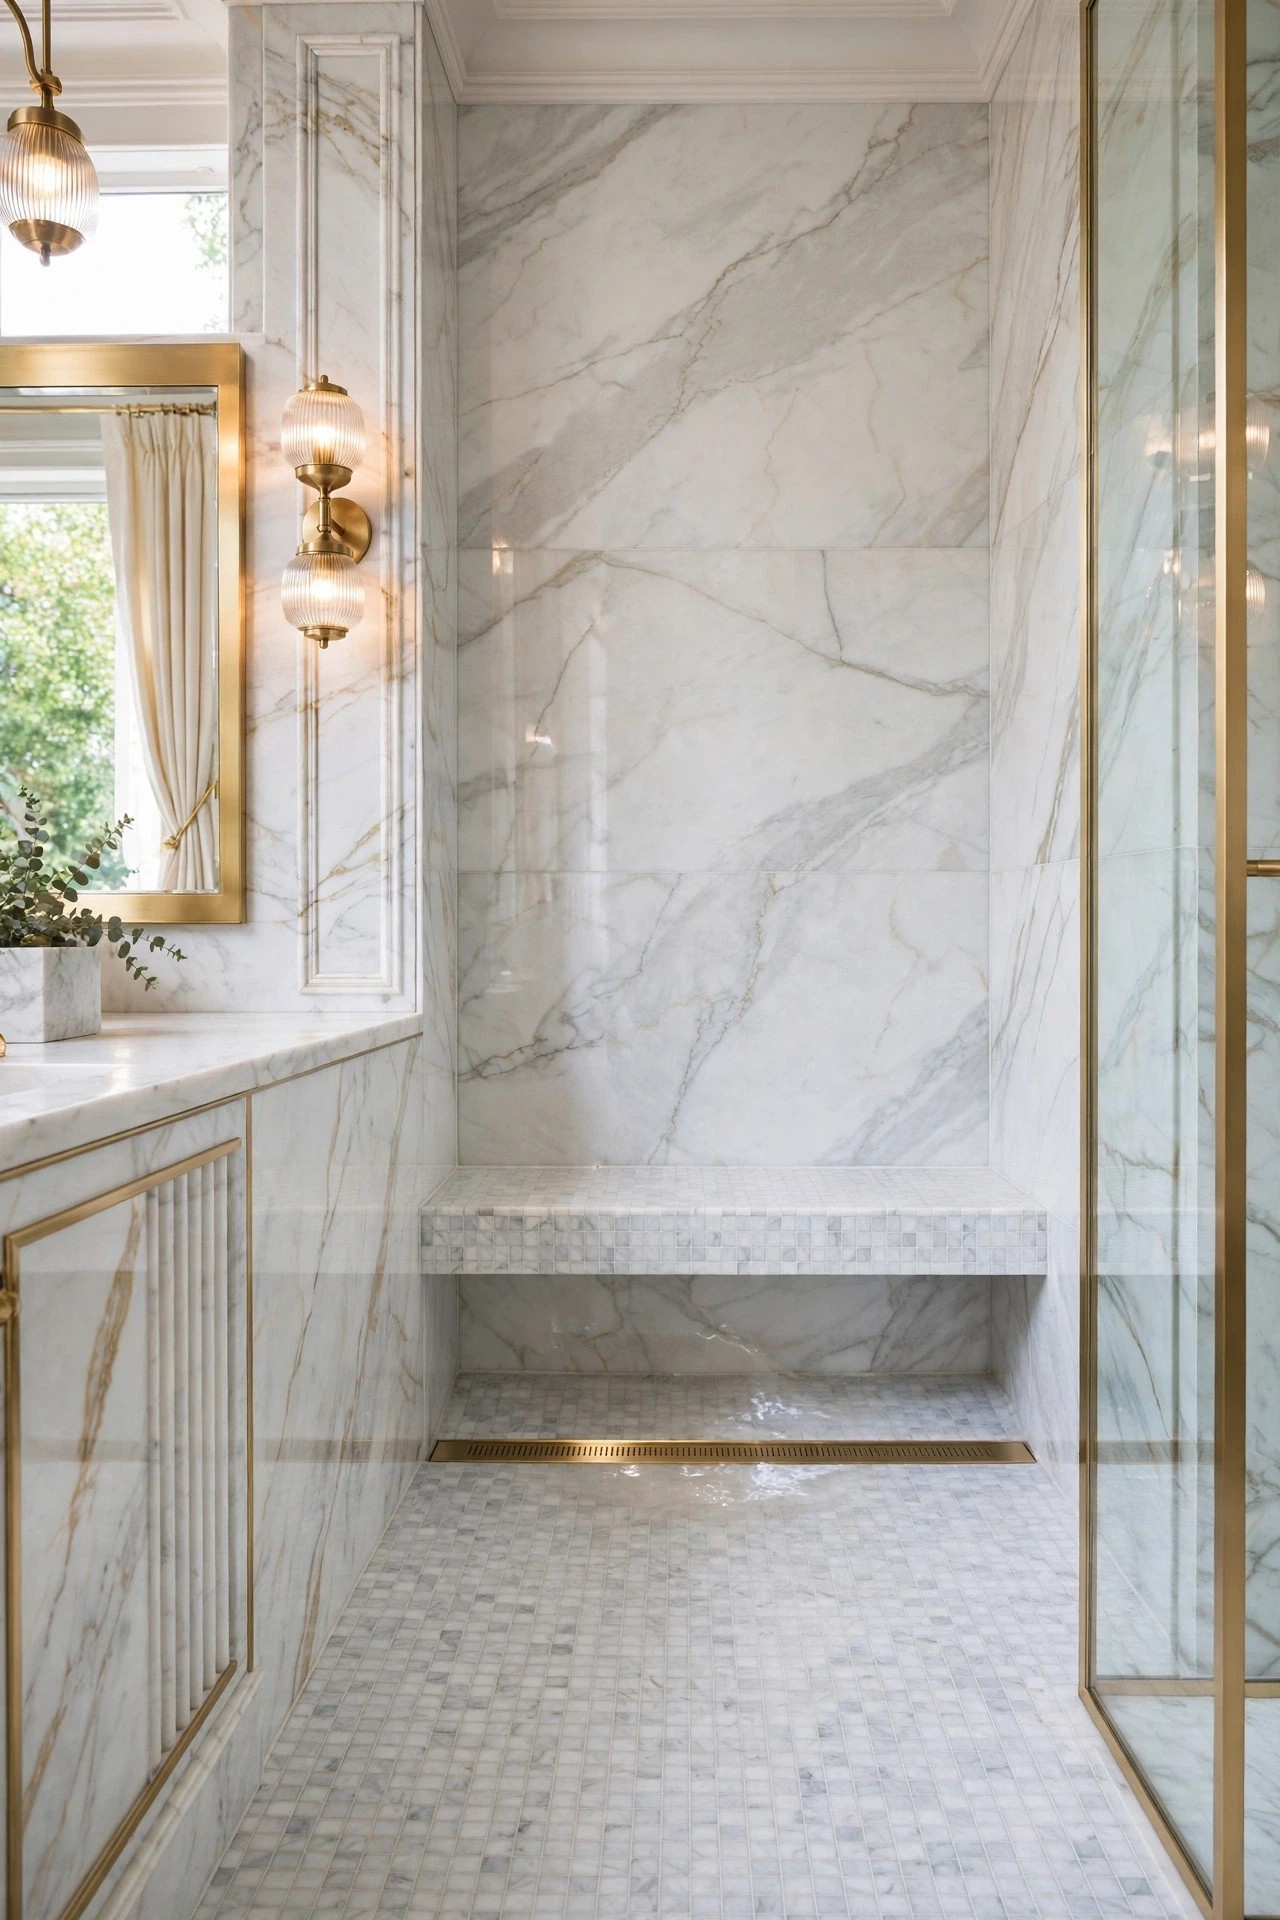
The drain is the hardest-working object in a shower and usually the ugliest, a round grate in the middle of the floor that dictates how the whole floor must slope. A linear drain, a slim channel set along one wall or under the bench, lets the floor slope in one calm plane toward it. One plane means simpler tiling, fewer awkward cuts, and the curbless entry of Idea 1 becomes far easier to build honestly.
In brushed gold, the channel reads as one more deliberate metal line in the room, almost a piece of trim. Choose a model with a removable top and an accessible trap, because the drain you cannot open is the drain that eventually smells, and spa feelings do not survive that either.
How to do it: The drain, its slope, and its connection to the waste pipe are plumber and tiler work, planned before the pan is built, with the floor’s single slope falling toward the channel’s wall. Keep the grate’s finish matched to your other gold, and learn how its top lifts for cleaning before the installer leaves. Pro Tip: A linear drain under the bench hides the channel almost entirely while keeping the one-plane slope; it is the quietest version of this idea. Common mistake: Choosing a decorative drain cover that restricts flow on a curbless floor. On a floor with no curb, drainage speed is the whole safety system; looks never outrank flow here.
11. Add a Low Ledge at Foot Height
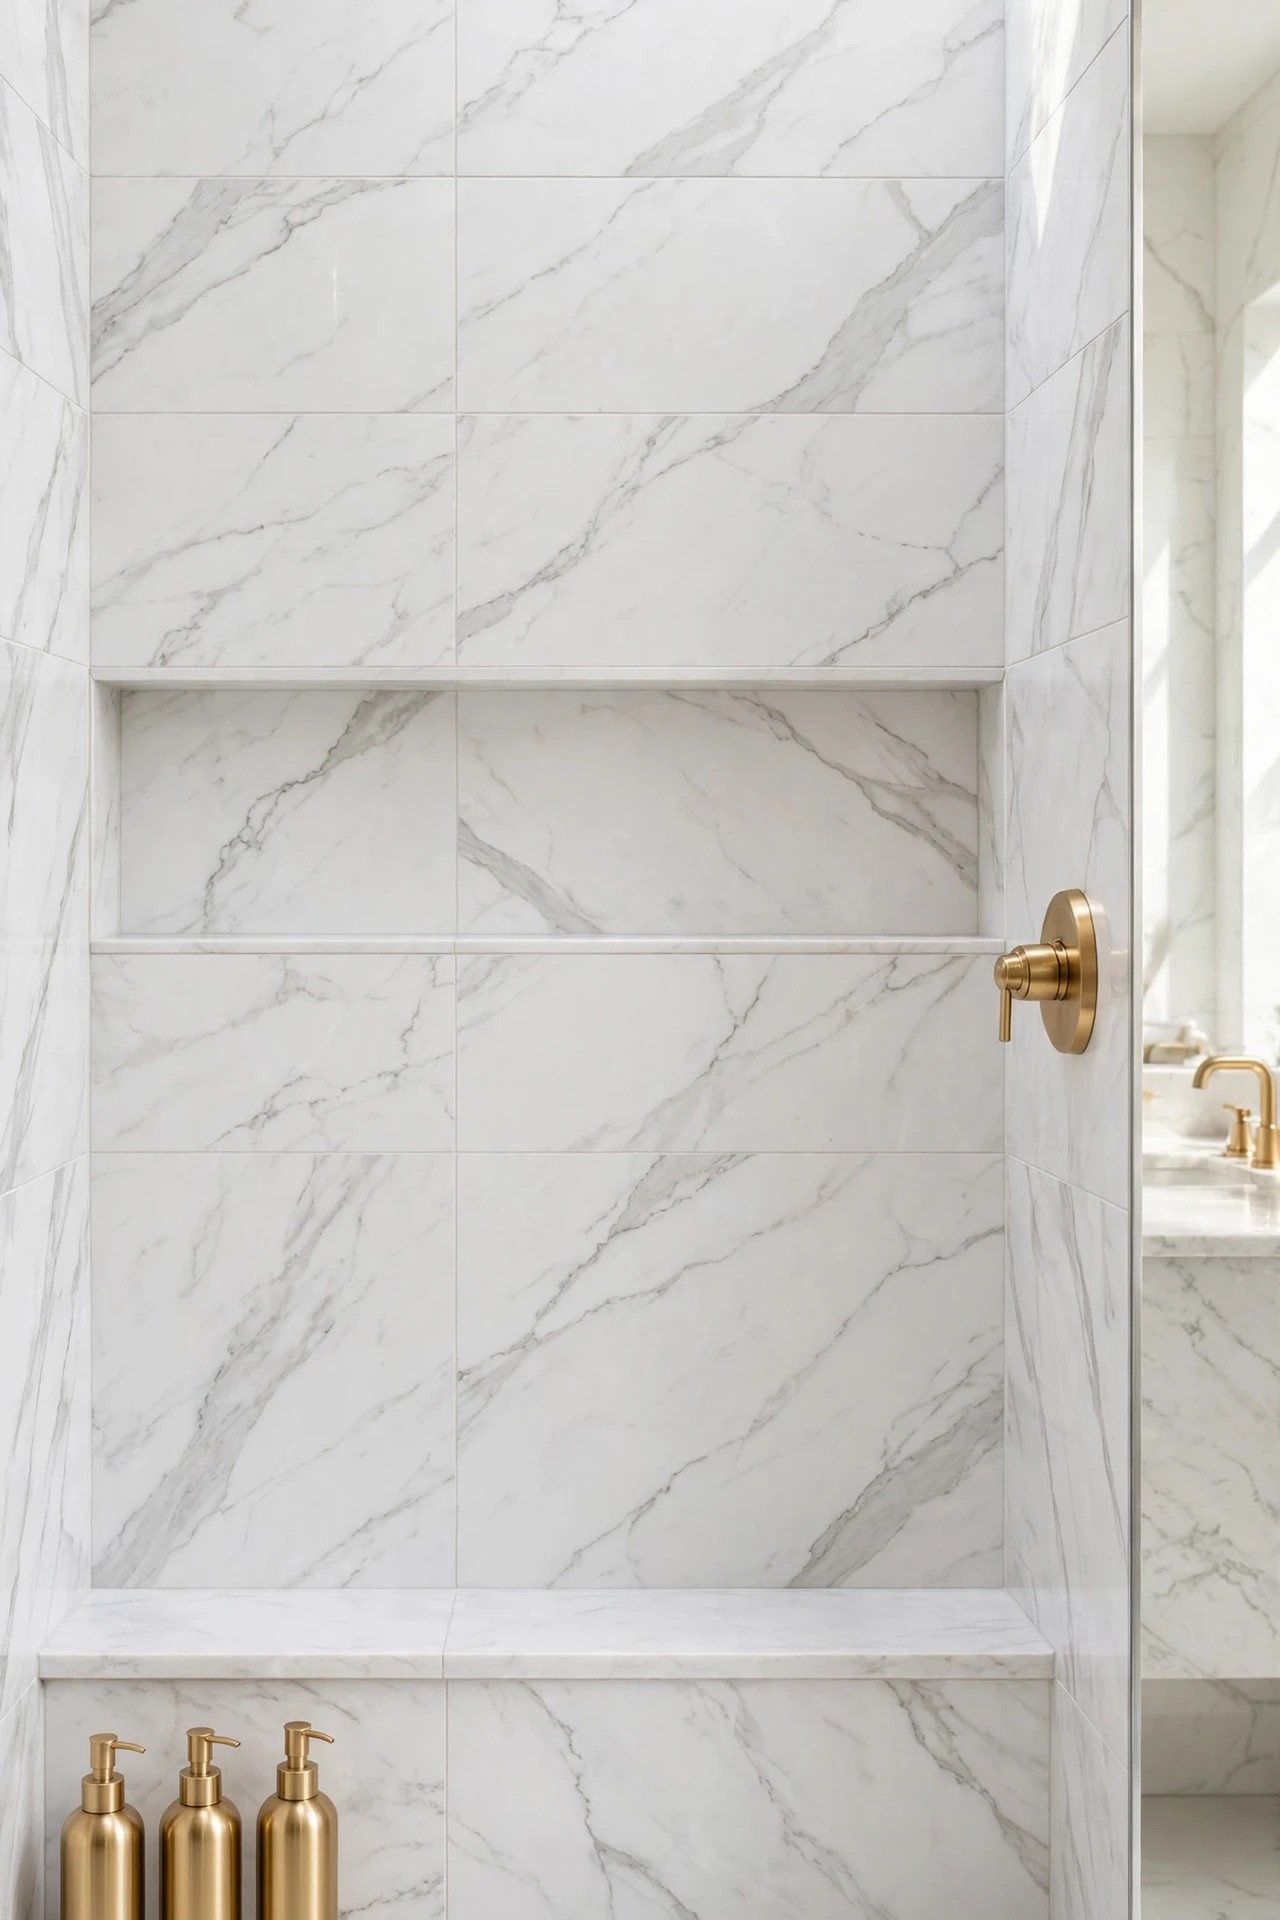
Ask anyone who shaves their legs in a stand-up shower what the room is missing and the answer is always the same: somewhere to put a foot. A low ledge, a tiled step running along the back wall at comfortable foot height, answers it with architecture instead of gymnastics. It also gives the shower a second low shelf for the bottles of whoever showers at bench height, children included.
Build the ledge like the bench in miniature: part of the waterproofed structure, tiled to match, its top matte and slightly sloped so water leaves. Where a full ledge will not fit, a small corner foot rest in the same tile, properly supported, does the same job in a fraction of the space. What does not work is anything suction-cupped or tension-fitted being trusted with a raised foot and a razor; support and sharp tools must never share a wobble.
How to do it: Plan the ledge with the bench and niche so the three form one composed back wall, ledge lowest, niche above, bench to the side. Keep its top in the floor’s slip-rated tile family rather than the wall’s smoother finish. Pro Tip: The ledge also steadies anyone washing feet or bathing a small child in the shower, which makes it the most quietly used idea on this list. Common mistake: A ledge placed where the shower door swings or the bather stands. Walk the movements of a shower in the empty space first; the ledge belongs against the back wall, out of the turning circle.
12. Keep Towels Warm on a Rail Just Outside the Glass
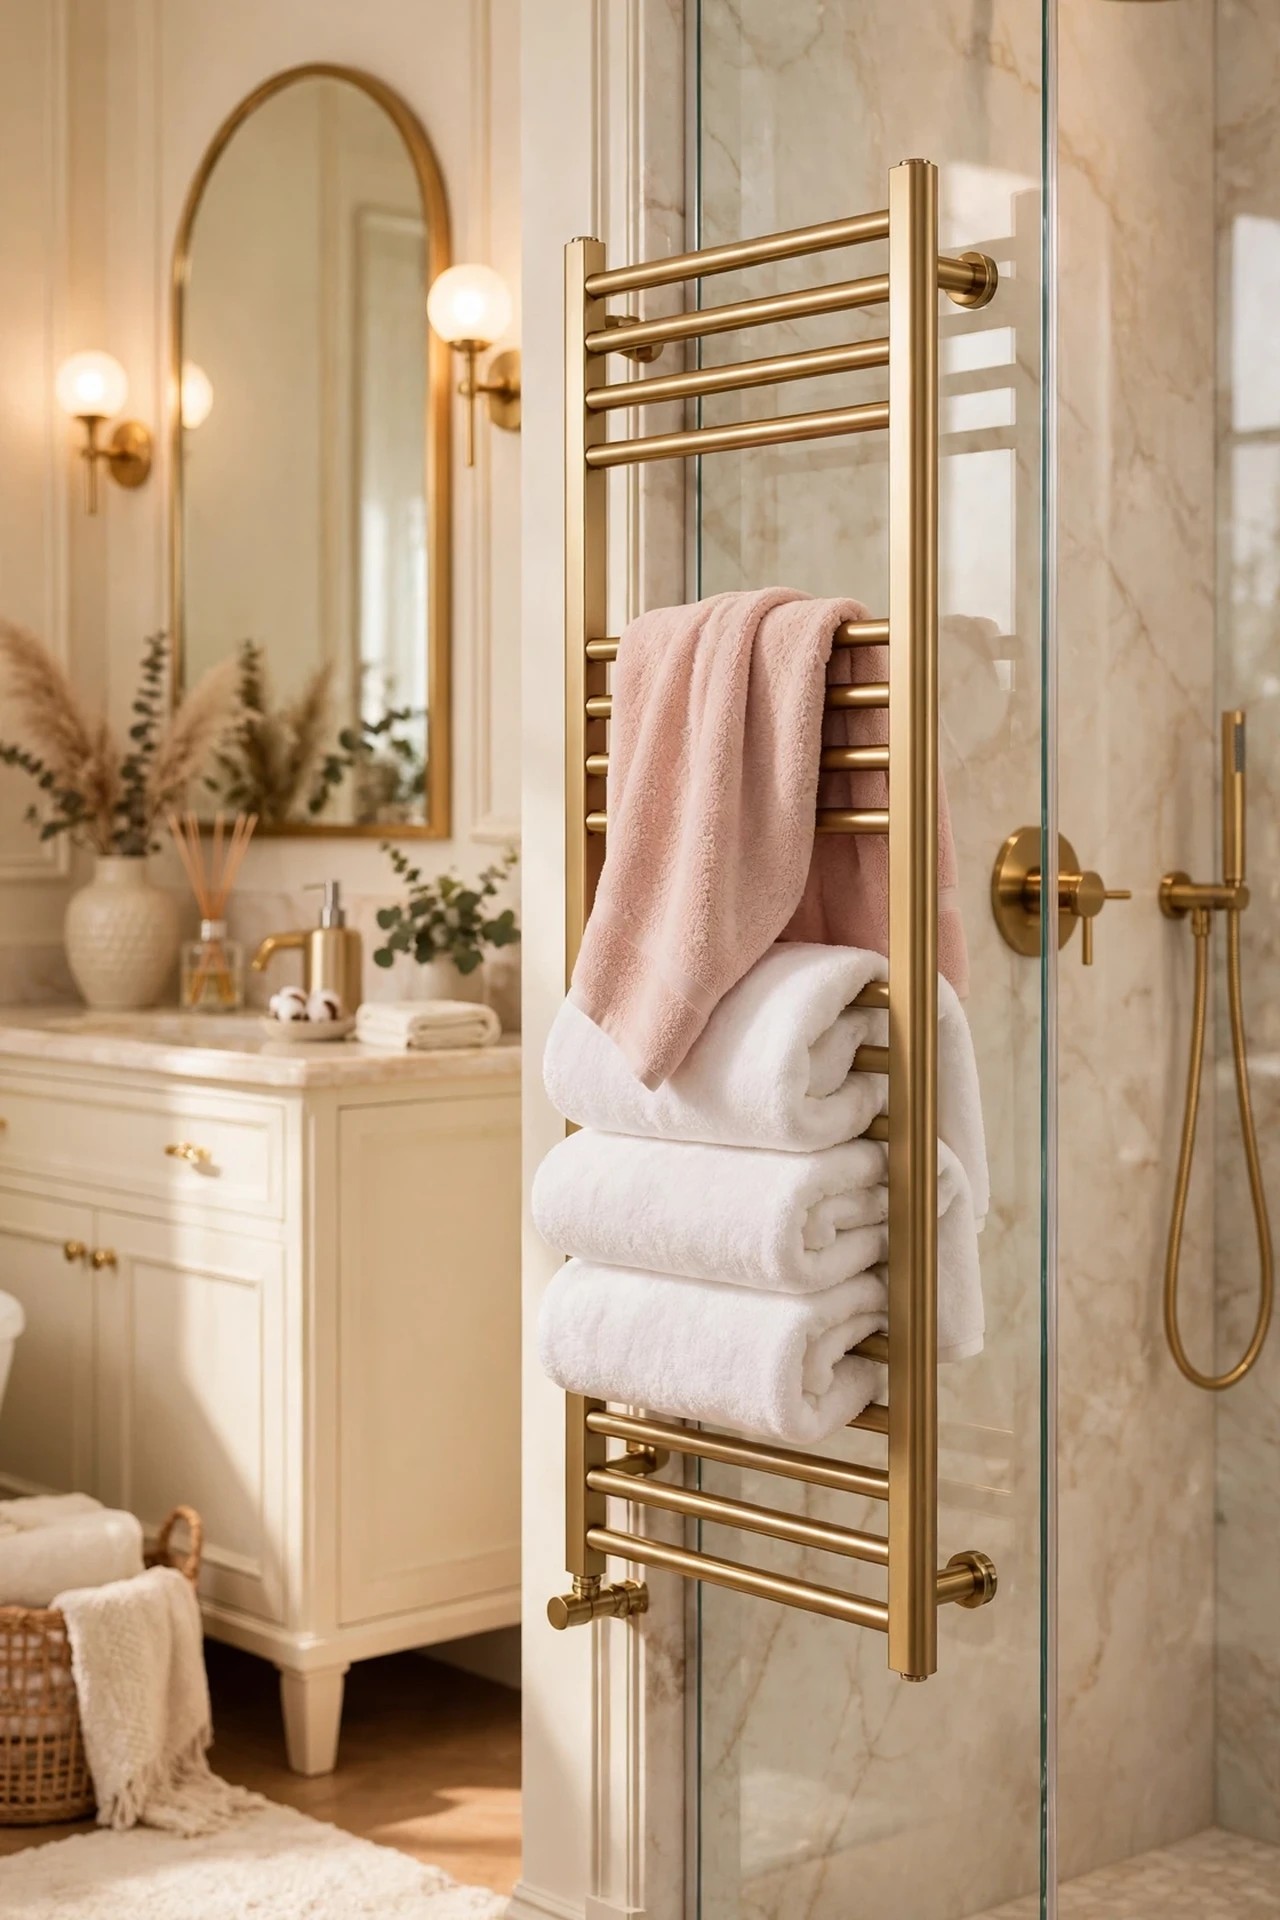
The spa moment is not the shower itself; it is the thirty seconds after, when the towel you reach for is warm. A heated rail within one step of the glass delivers that moment daily, and it earns its keep the rest of the time as the room’s best towel storage, drying towels through instead of letting them sour on a hook.
Placement and power both need honesty. The rail lives outside the shower’s wet zone, close enough to reach with a step, never inside the spray. Hardwired rails belong on the electrician’s list with the shower light; plug-in models must run to a proper bathroom outlet as their maker directs, with cords kept out of wet reach, never draped or extended with adapters. In this palette the rail repeats the brushed gold and holds the room’s white and blush towels as its display.
How to do it: Mount the rail on the wall your hand naturally reaches toward as you open the glass, fixed into studs or rated anchors for its weight plus wet towels. Fold towels over single bars with air between them so the heat reaches the whole towel. Run the rail on a timer if it offers one, warming up before your usual shower hour. Pro Tip: One blush towel among the whites on the rail carries the room’s soft color into the shower zone without a single extra object. Common mistake: Hanging towels doubled thickly over each bar to fit more on. Crowded towels dry slowly and smell of it; the rail works because of the air, not in spite of it.
13. Add a Fluted or Frosted Band for Privacy That Keeps the Light
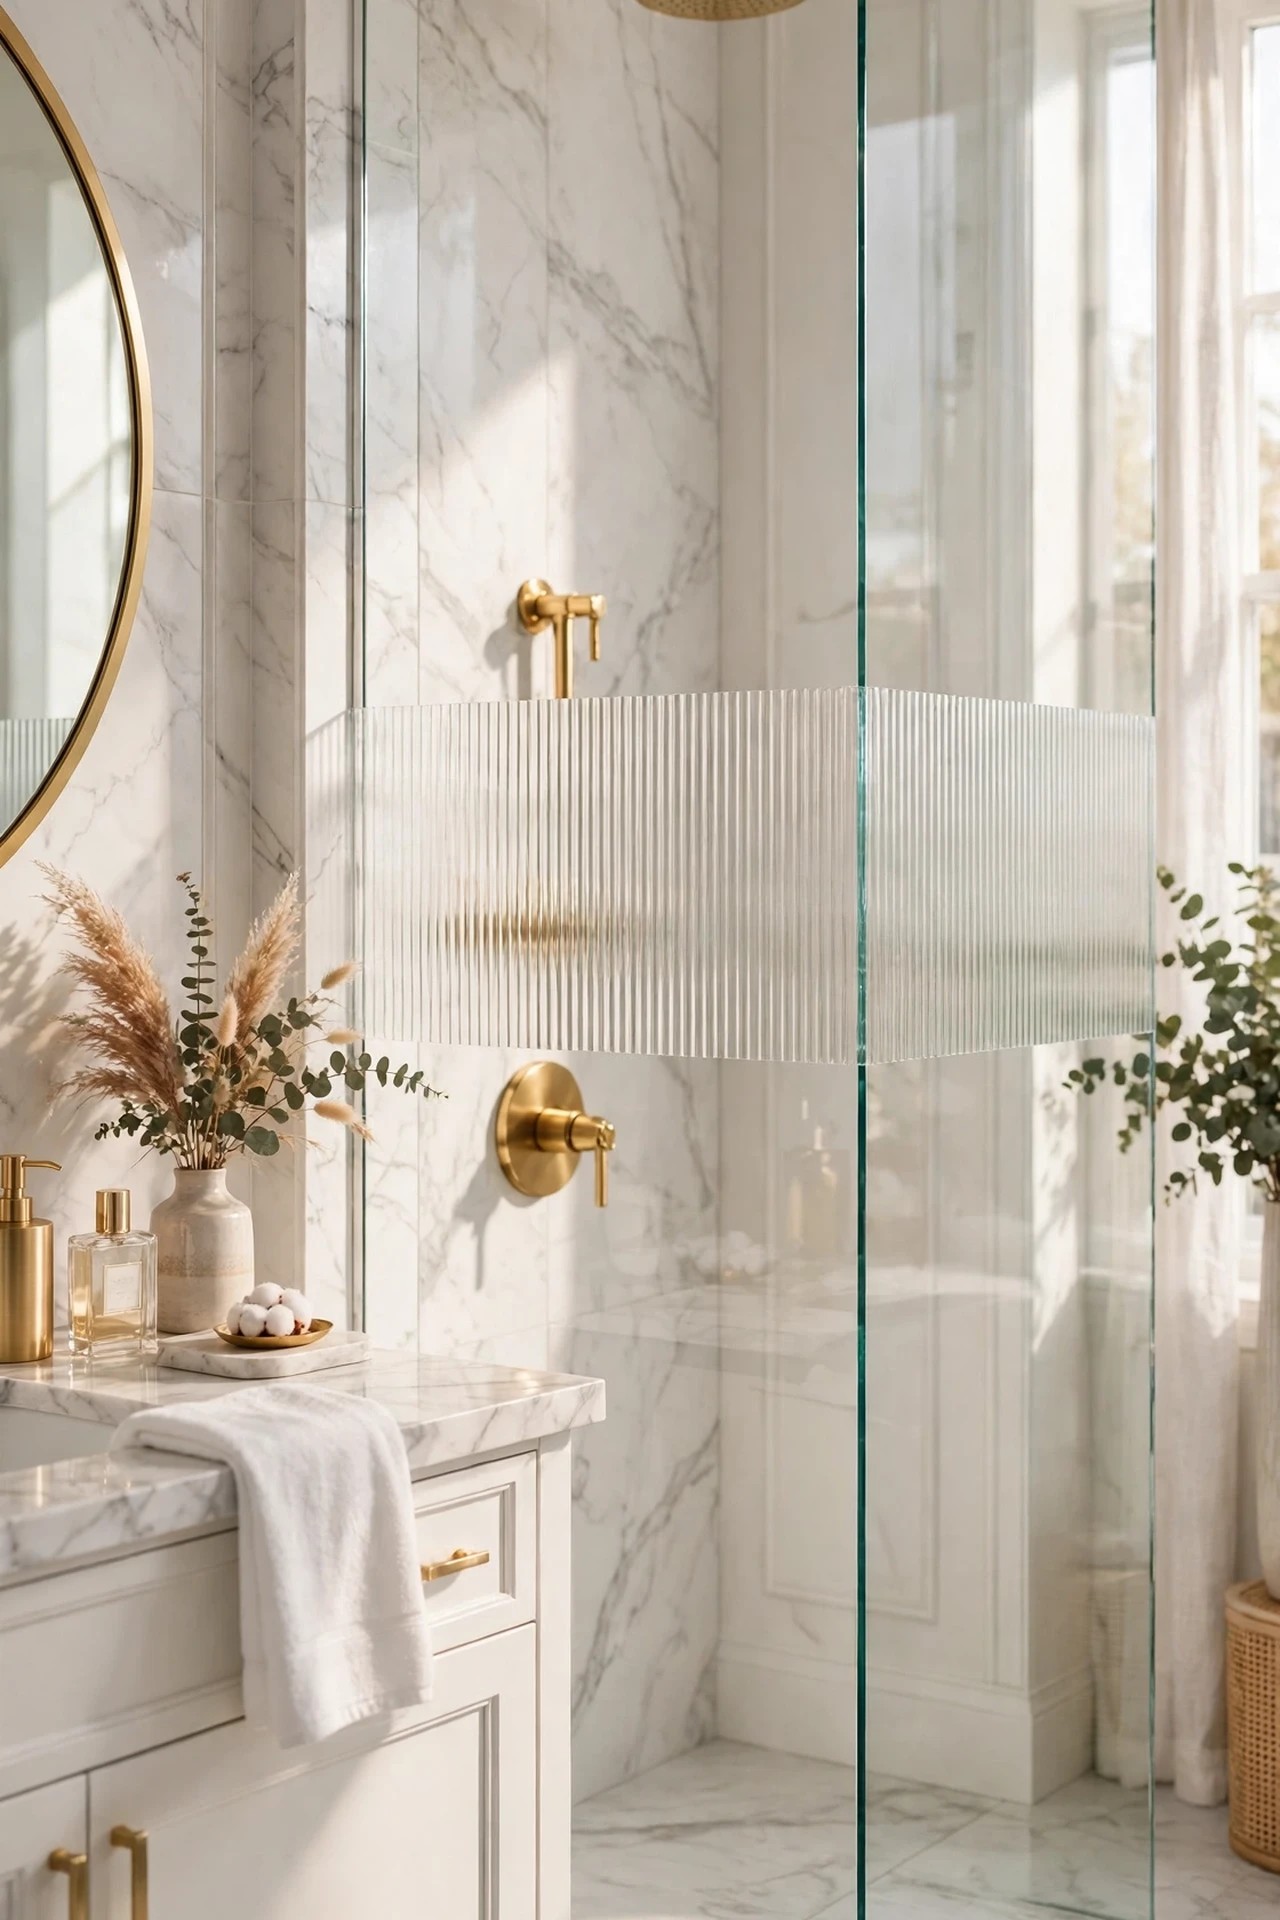
A fully clear shower is beautiful and, in a shared or family bathroom, not always comfortable. Hotels answer with a band of texture: fluted or frosted glass at body height that softens the view while daylight passes straight through, so the shower stays bright and the room keeps its open feeling. The band also hides water spots and soap film at exactly the height they collect, which keeps the glass looking cared for with less effort.
Fluted glass, with its fine vertical reeds, suits the glam palette especially well because it bends light into soft stripes and pairs naturally with the room’s vertical lines. Order the texture as part of the glass itself from the glass specialist, not as an applied film inside the shower, where steam and cleaning will peel it at the edges within the year.
How to do it: Decide the band’s height by standing in the finished shower space before ordering; it should cover the body’s midsection while leaving faces and feet in clear glass, which keeps the room feeling open. Match the frame finish to Idea 7’s gold so the panel reads as one designed piece. Pro Tip: In a windowless bathroom, keep the band narrow; the clear glass above and below is doing real work carrying light into the room’s middle. Common mistake: Frosting the entire panel to be safe. A fully frosted shower turns into a glowing box that shows every silhouette anyway and loses the tile view that makes the room feel large.
14. Lay a Removable Wood-Look Slat Mat Over the Tile
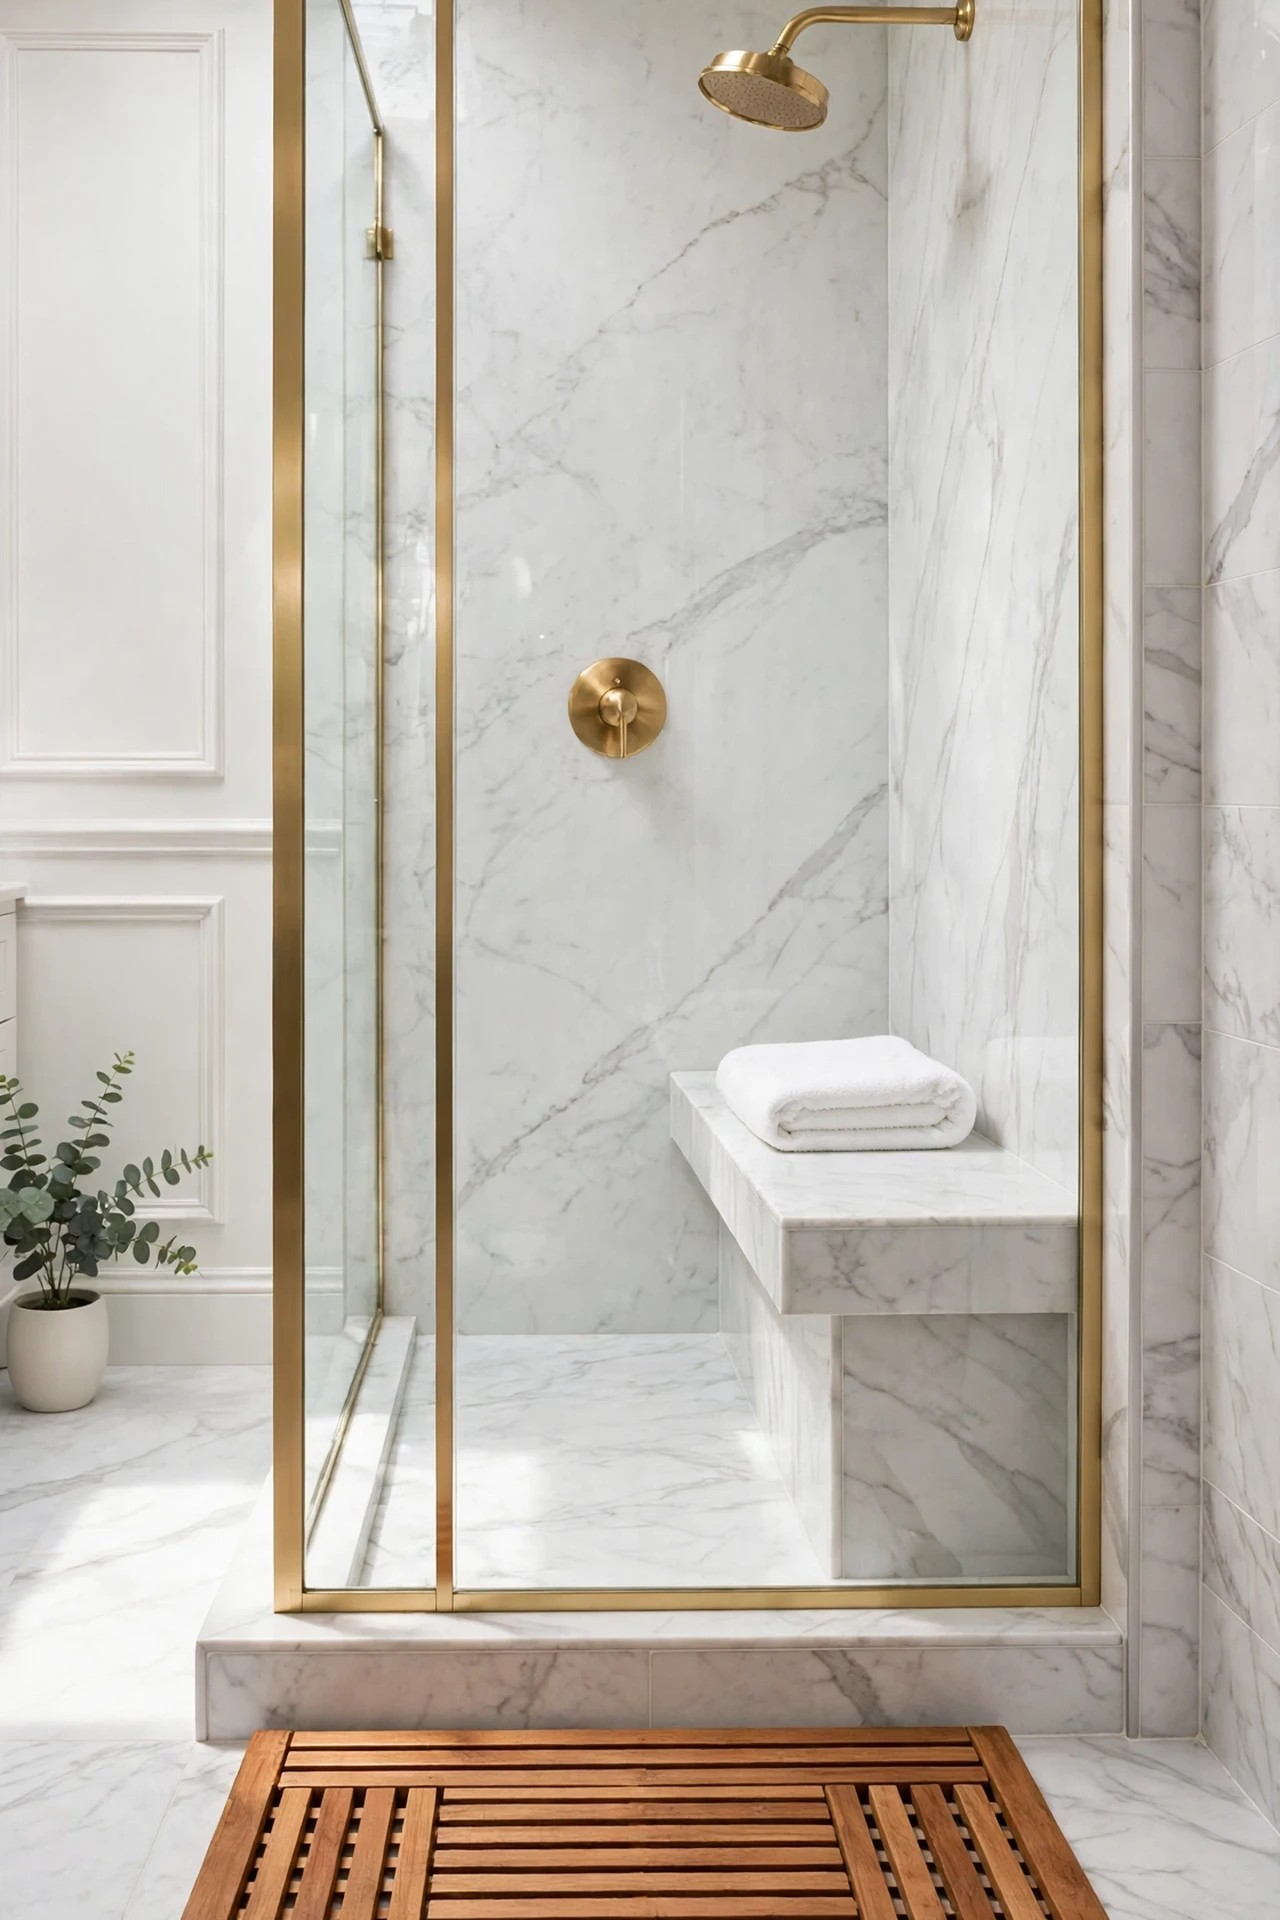
Spas put wood underfoot at the shower’s edge because warm timber tones are the fastest way to soften a tiled room and because a raised slatted surface feels steady and dry the moment you step onto it. A removable slat mat in a water-tolerant wood or convincing wood-look material brings that moment home without rebuilding the floor, and it warms the entry where feet land first.
Removable is the honest word in this idea. A slat mat must be lifted regularly so the tile beneath can dry and be cleaned; left down forever on a wet floor, it becomes a dark, damp sandwich. Choose materials made for wet rooms, keep the mat sized to the dry side of the entry rather than inside the main spray, and let it dry standing on its edge after the morning rush once a week.
How to do it: Place the mat where you step out, overlapping the entry line so the first step out of the water lands on slats. Keep its color in the room’s warm wood family, matching the bath stool or tray if you have them. Clean beneath it on the same day you clean the glass, so the habit pairs itself. Pro Tip: A slat mat is the renter’s version of this whole article’s warmth: it changes the shower’s feeling in one purchase and leaves with you. Common mistake: A solid, unslatted bath mat board inside the shower itself. Without gaps for drainage and air, it traps water against the floor and undoes the slip-safe surface of Idea 3.
15. Give the Accent Wall a Soft Taupe Tile Moment
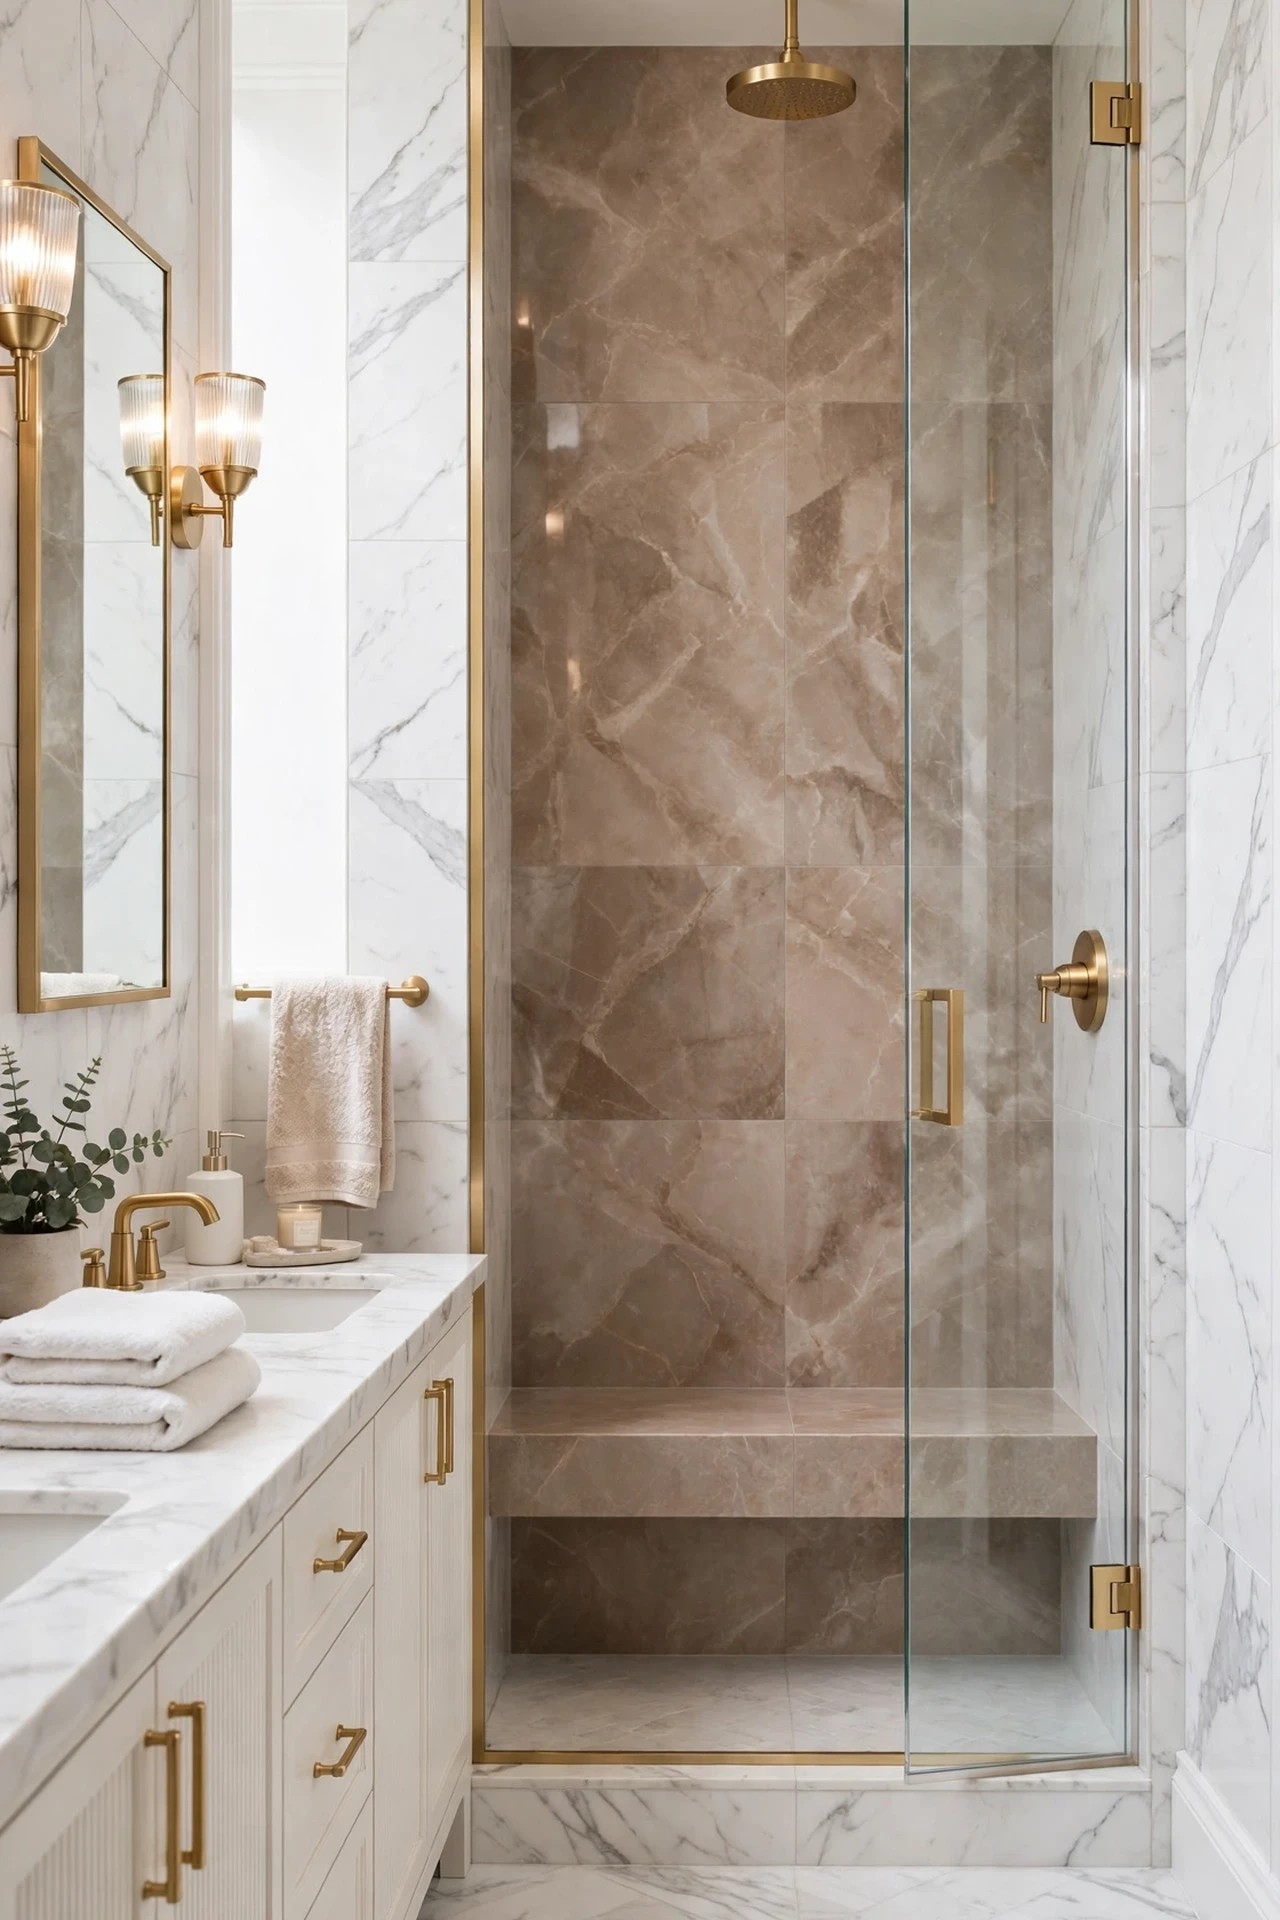
An all-white shower is calm, but a wall of gentle contrast gives the calm somewhere to gather. One back wall in a soft warm taupe version of the same marble-look tile turns the shower into a composition: white wrapping the sides, warmth at the end where the water falls, the bench and niche reading as furniture against it. It is the room’s one deeper note, chosen in tile so it never needs repainting.
Keep the accent in the same tile family, size, and finish family as the white, changing only the tone, so the two read as siblings. Taupe is the glam choice because it warms the white around it and makes brushed gold look richer than any other background in the palette. Blush tile exists in this family too, but taupe is the one that never dates.
How to do it: Choose the wall you face as you enter the shower, usually the back wall carrying the niche or bench. Test the taupe tile wet before committing; every tile deepens when wet, and the shower is the one room where the wet color is the true color. Carry the accent tile from floor to ceiling in one unbroken plane for the designed effect. Pro Tip: Repeat the taupe once outside the shower, in the room’s painted band above the tile or a towel tone, so the accent wall reads as part of the room’s plan. Common mistake: An accent in a different pattern, a busy mosaic or bold geometric, inside an otherwise serene shower. The spa feeling comes from tone, not pattern; pattern in a wet glass box reads as noise at close range.
16. Match Every Fitting to One Gold, Including the Small Ones
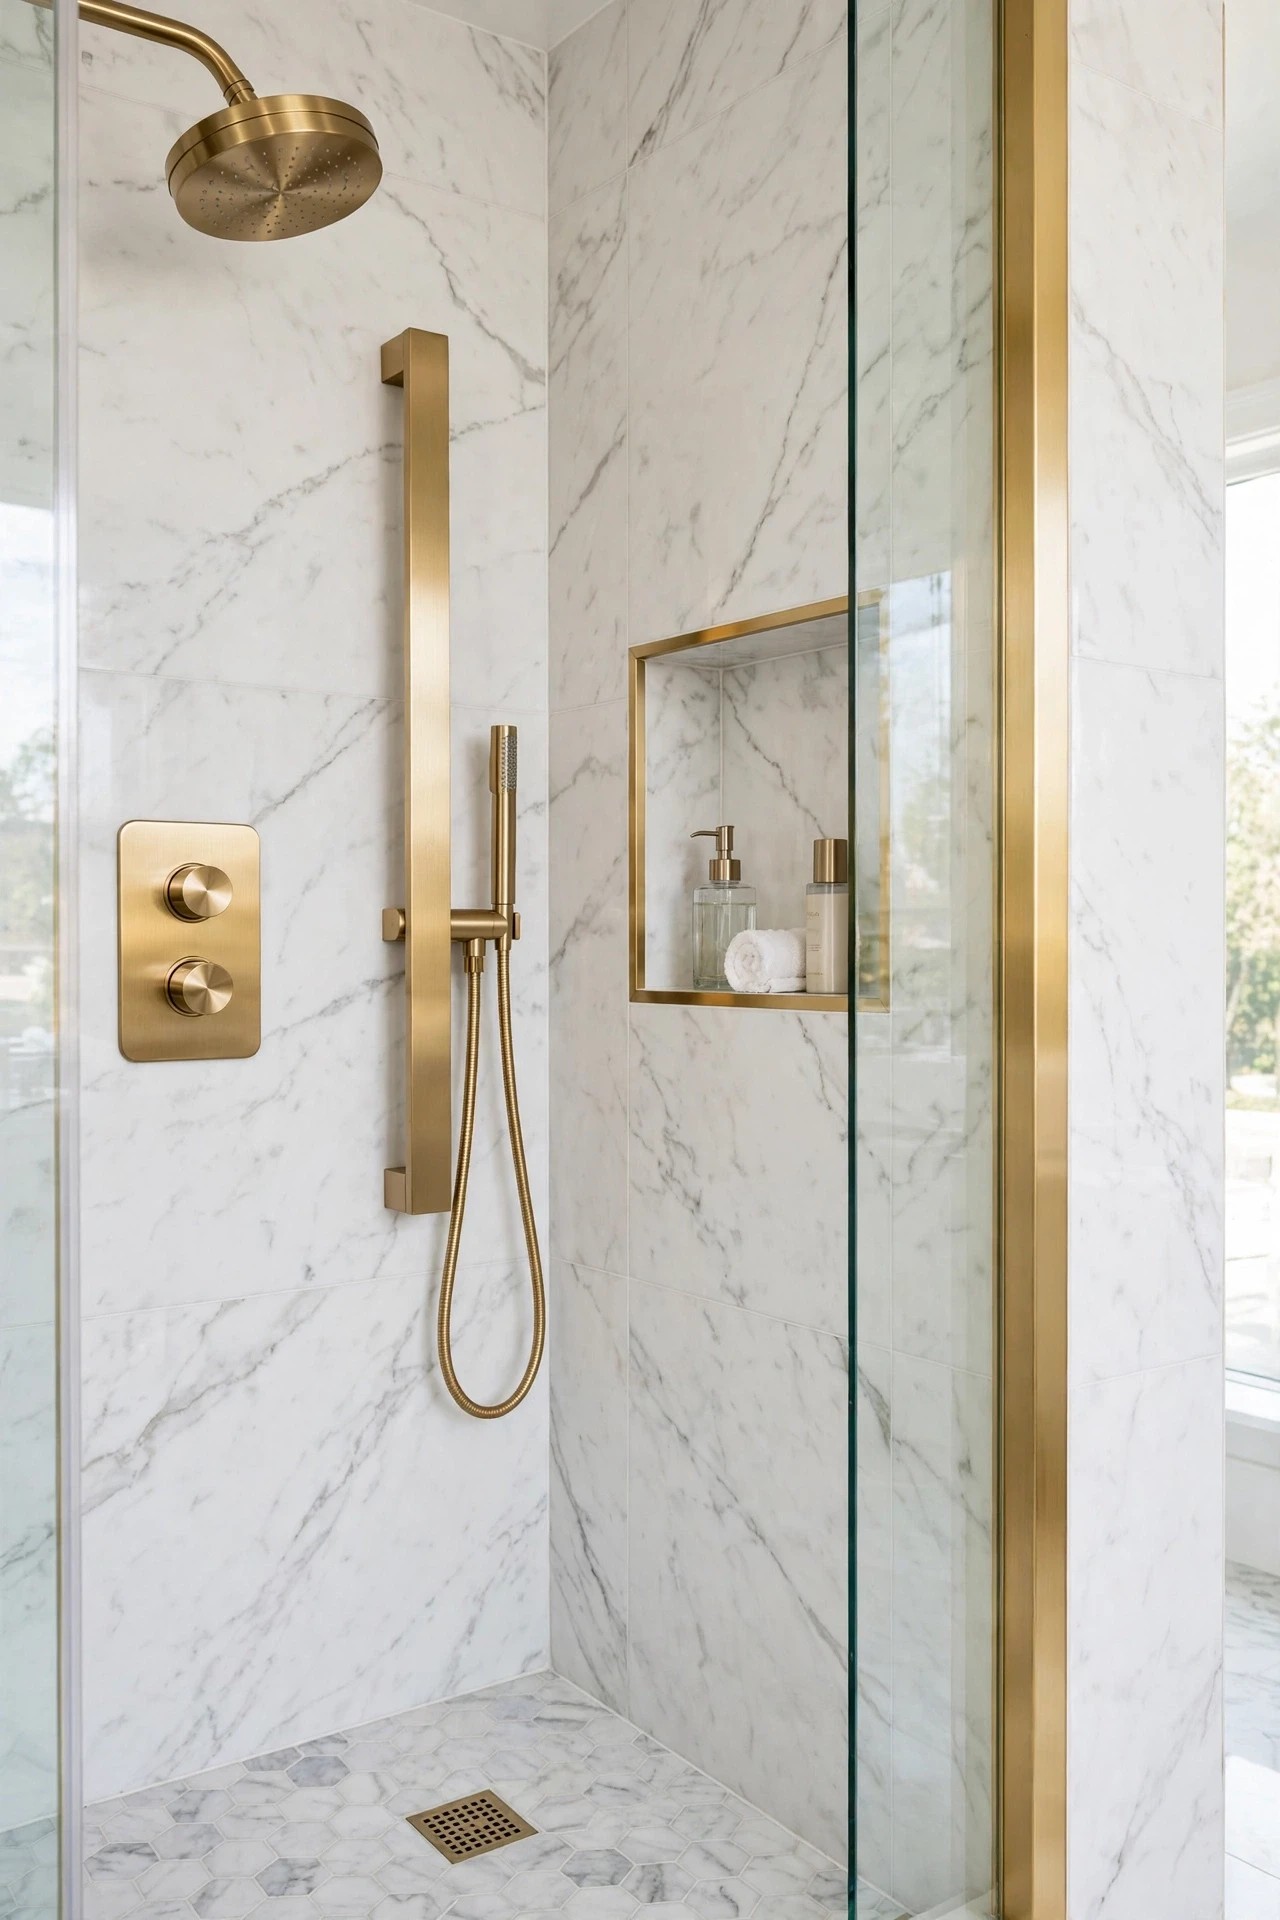
A shower collects metal in more places than any other part of the bathroom: the head, the handheld, the slide bar, the control, the drain, the niche trim, the glass hinges, the bench fixings if they show. Bought across years and shops, they drift into three golds and a chrome. Matched, they become one of the strongest spa signals there is, because the eye reads a single metal family as a room that was planned.
The practical route is sequencing, not a single splurge. The big fittings, head, control, and handheld, set the finish; then every small piece follows it, including the ones people forget: the drain cover, the niche edging, the glass hardware, the grab bars from Idea 8. Brushed finishes forgive water spots better than polished in a wet room, which is a daily mercy as well as a style choice.
How to do it: Keep one physical sample of your chosen gold, a handle or trim piece, and match every later purchase against it in daylight, since gold tones differ widely between makers. Replace small chrome pieces first; they are the cheapest and their mismatch is the most visible against a strong gold family. Pro Tip: Photograph the shower in daylight once everything matches; the camera will find the one remaining odd finish your eye has stopped seeing. Common mistake: Gold fittings with a chrome drain left because it is “only the floor.” The drain sits in the middle of the room’s main view, directly under the falling water; there is no more visible spot in the shower.
17. Keep the Glass Clear With a Daily Squeegee and One Scent
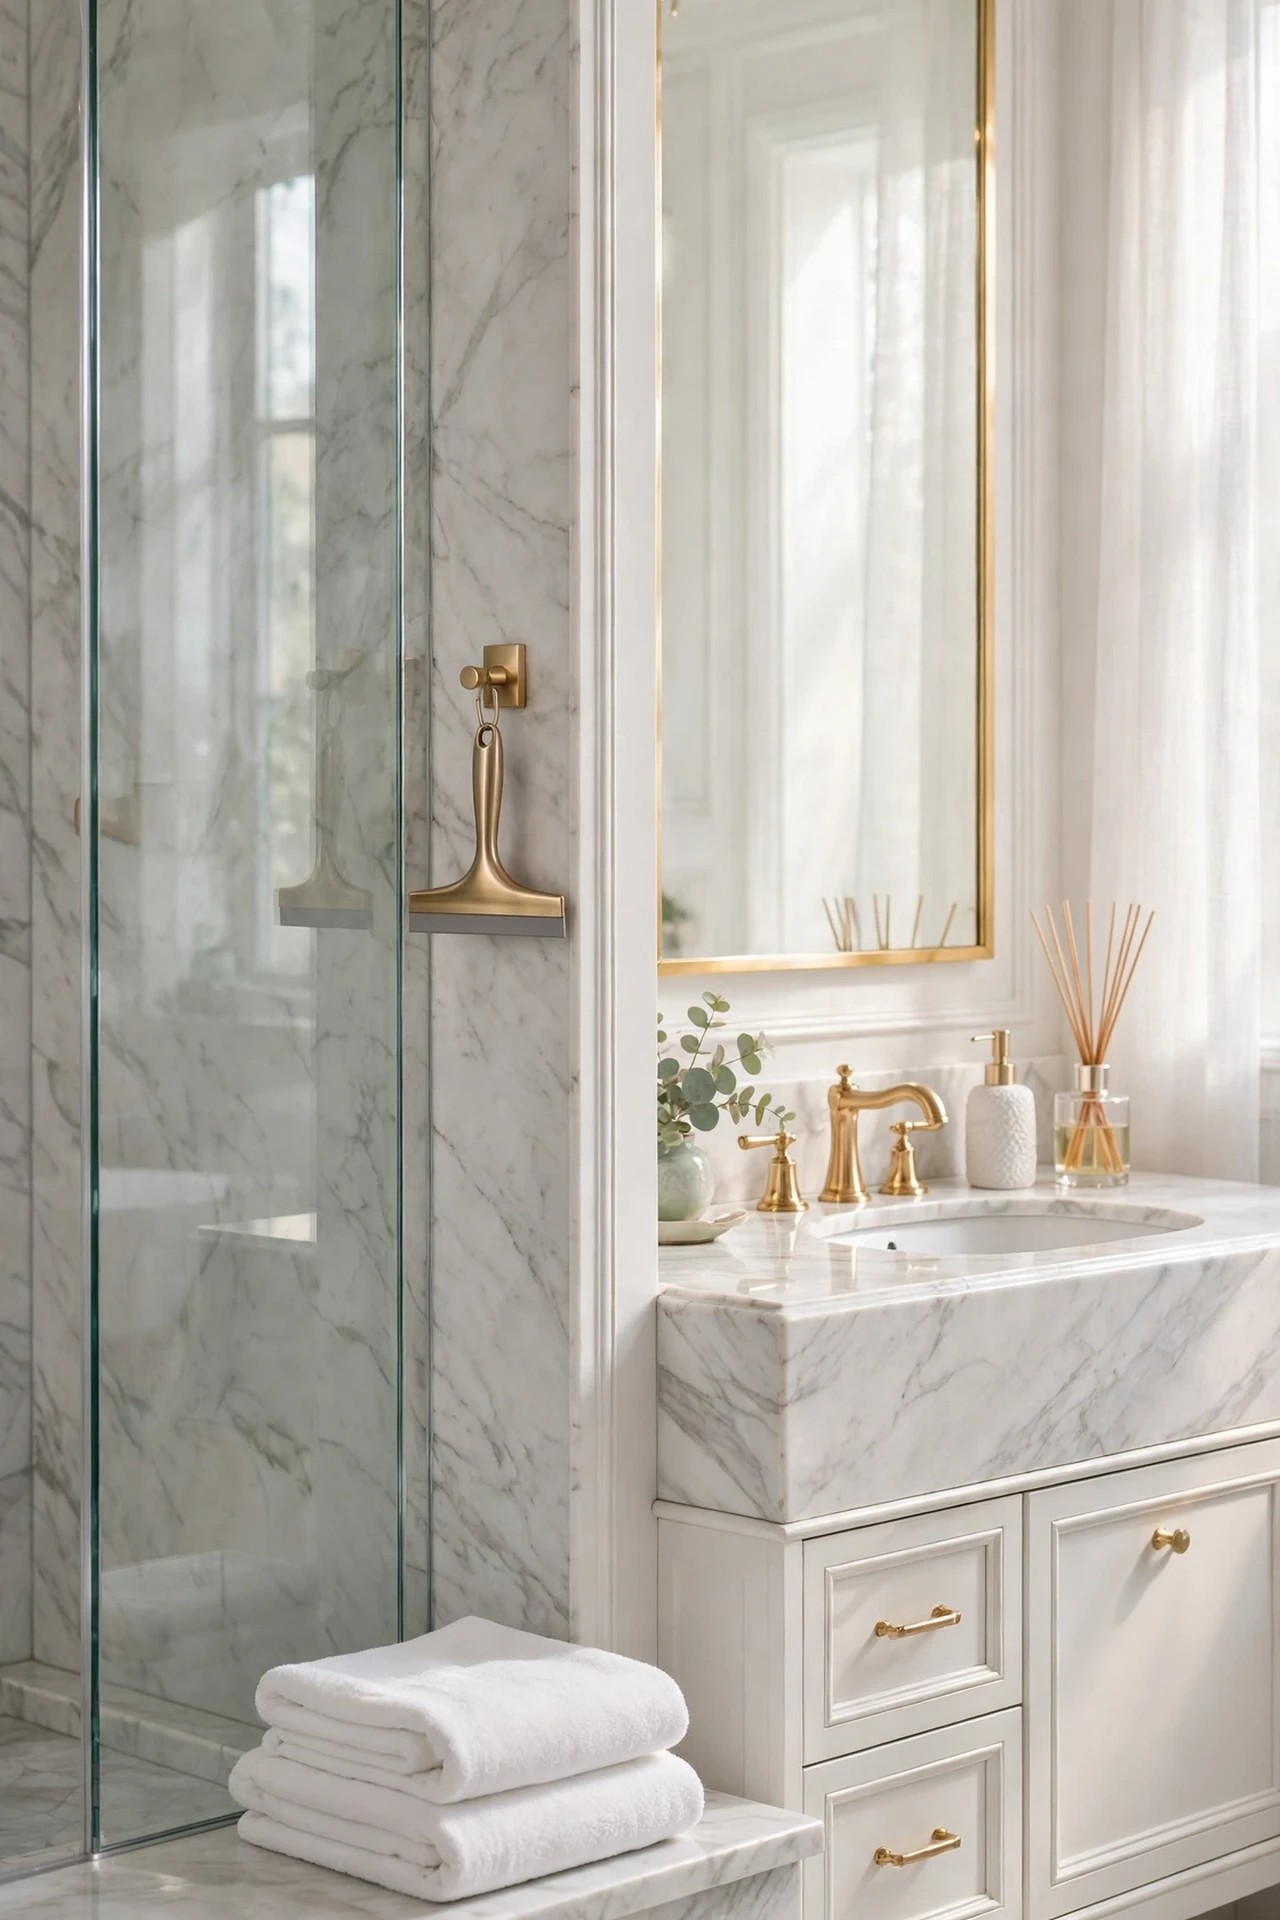
The final idea is a habit, not a fitting, and it is the one every hotel housekeeper would name first. Clear glass is the shower’s largest surface, and its sparkle is half the spa feeling. Water left to dry on glass leaves its minerals behind daily, and within a month the clearest panel turns to fog no matter how beautiful the room behind it. Thirty seconds with a squeegee after the last shower of the morning stops the film before it starts.
Pair the glass habit with the room’s agreement on scent. A walk in shower carries scent honestly, steam lifts whatever the room holds, so keep the bathroom to one gentle scent, the diffuser on the vanity or the eucalyptus note from the wider collection, and let the shower itself smell only of warm water and clean tile. Agreement, in glass and in scent, is what makes the room feel maintained by a hotel rather than visited by its owners.
How to do it: Hang a small squeegee on a hook at the glass’s edge, in the room’s gold, so using it costs no extra steps. Run it top to bottom on the inside of the panel and door as the last act of the morning shower, and leave the door ajar afterward so the room’s air can dry the tile. Once a week, wipe the glass with your usual glass cleaner while you clean the vanity mirror, one cloth, two surfaces. Pro Tip: The squeegee habit also keeps the floor’s grout younger, because water pushed to the drain is water not sitting in the grout lines. Common mistake: Waiting for visible buildup and then attacking it with harsh cleaners. Mineral film removed daily takes seconds; removed monthly it takes chemicals, effort, and sometimes the glass coating with it.
Quick Reference Table
| Idea | What It Adds | Key Rule |
|---|---|---|
| Curbless entry | A step-free, spa-style arrival | Slope and waterproofing by professionals |
| One tile everywhere | A designed, larger-feeling room | Same batch, walls large format |
| Slip-rated floor tile | Footing you can trust | Small, matte, rated for wet floors |
| Built-in bench | A place to sit and rest | Part of the waterproofed structure |
| Recessed niche | Bottles living in the wall | Waterproofed, shelf sloped forward |
| Rainfall plus handheld | Ritual and practicality together | Handheld on a slide bar, bench in reach |
| Gold framed glass | The shower tied to the room | Measured after tile, fitted professionally |
| Matching grab bars | Safety that looks like styling | Into studs or blocking, rated fixings |
| Wet-rated warm light | Glow instead of shadow | Rated fittings, electrician installed |
| Linear drain | A calm one-plane floor | Flow first, looks second |
| Low foot ledge | Comfort for shaving and washing | Fixed and supported, never suction |
| Heated towel rail | The warm towel moment | Outside the wet zone, powered safely |
| Fluted privacy band | Comfort without losing light | Texture in the glass, not a film |
| Slat mat | Warmth underfoot at the entry | Lifted weekly so the floor dries |
| Taupe accent wall | Depth at the end of the shower | Same tile family, test it wet |
| One gold everywhere | A planned, unified room | Match small pieces to one sample |
| Squeegee habit, one scent | Sparkle that lasts | Thirty seconds daily, scent singular |
The Hotel Spa Shower Checklist
- Entry is curbless, with slope and membrane done professionally
- Wall tile is one family, from one batch, large format
- Shower floor tile is small, matte, and slip-rated for wet floors
- Bench is built in, waterproofed, and slightly sloped
- Niche is part of the waterproofing, shelf tipped forward
- Rainfall head and handheld both fitted, handheld on a slide bar
- Glass was measured after tiling and installed by a specialist
- Grab bars match the towel bars and fix into structure
- Shower light is wet-rated, warm white, and on its own switch
- Linear drain lifts open for cleaning and flows freely
- Foot ledge is fixed, supported, and in slip-rated tile
- Towel rail sits outside the wet zone, safely powered
- Privacy band is texture in the glass, not an applied film
- Slat mat is lifted weekly and the tile beneath cleaned
- Accent wall was tested wet and matches the tile family
- Every metal, down to the drain, is the same brushed gold
- A squeegee hangs at the glass and the room holds one scent
Frequently Asked Questions
Can I turn my existing shower into a walk in shower myself?
The styling layers, yes; the structure, no, and the difference matters. Decanting bottles, matching metals where they swap simply, a slat mat, warm bulbs in rated fittings, and the squeegee habit are all home jobs. But a walk in shower’s safety lives in its hidden build: the floor slope, the waterproof membrane, the drain, and the glass fixings. Converting a curbed or tub shower means rebuilding those layers, and that work belongs to a bathroom contractor and tiler. A beautiful surface over failed waterproofing is the most expensive shower there is, because it has to be torn out to be fixed.
How do I keep a curbless shower from flooding the bathroom?
A properly built curbless shower does not rely on luck: the floor slopes gently and continuously to the drain across the whole shower zone, the waterproof membrane runs beneath it and up the walls, and the drain is sized to move water as fast as the shower delivers it. Keep the drain clear, choose a shower head flow your drain honestly handles, and size the shower generously so spray lands inside the sloped zone. If water regularly escapes a curbless shower, the fault is in the slope or the drainage, and it is a builder conversation, not a towel problem.
What tile is safest on a walk in shower floor?
Small, matte tiles made and rated for shower floors. Their size lets them follow the slope to the drain, and their many grout lines break the water film under your feet, which is where grip comes from. Glossy and polished finishes, and large tiles that bridge the slope and create lips and puddles, are the ones to avoid underfoot. Whatever you choose, ask the supplier to state its wet slip suitability plainly, and test a sample with wet feet before the floor is laid.
Where should grab bars go in a walk in shower?
At the two moments balance changes: vertically at the entry where you step in, and horizontally or angled near the bench and controls where you stand, sit, and rise. The position matters less than the fixing; bars must anchor into studs or solid blocking with rated hardware, never into tile over hollow board alone. If the walls are already tiled, a specialist can locate structure or use anchors made for the purpose. And never let anyone treat a towel bar as a grab bar; it is not built or fixed for body weight.
Conclusion
A walk in shower feels like a hotel spa when its pleasures and its safety are the same list: a step-free entry over a floor you can trust, a bench and a ledge built into the walls, bottles living in a waterproofed niche, warm wet-rated light, gold that matches from the rainfall head down to the drain, and glass kept clear by thirty seconds of daily care. Get the hidden build done properly by the people whose trade it is, and the visible layers will reward you every single morning. Start with the plan, not the tile, and the shower will feel calm long after the renovation dust is forgotten.