
15 Kitchen Ideas for a Warmer, Better Working Kitchen
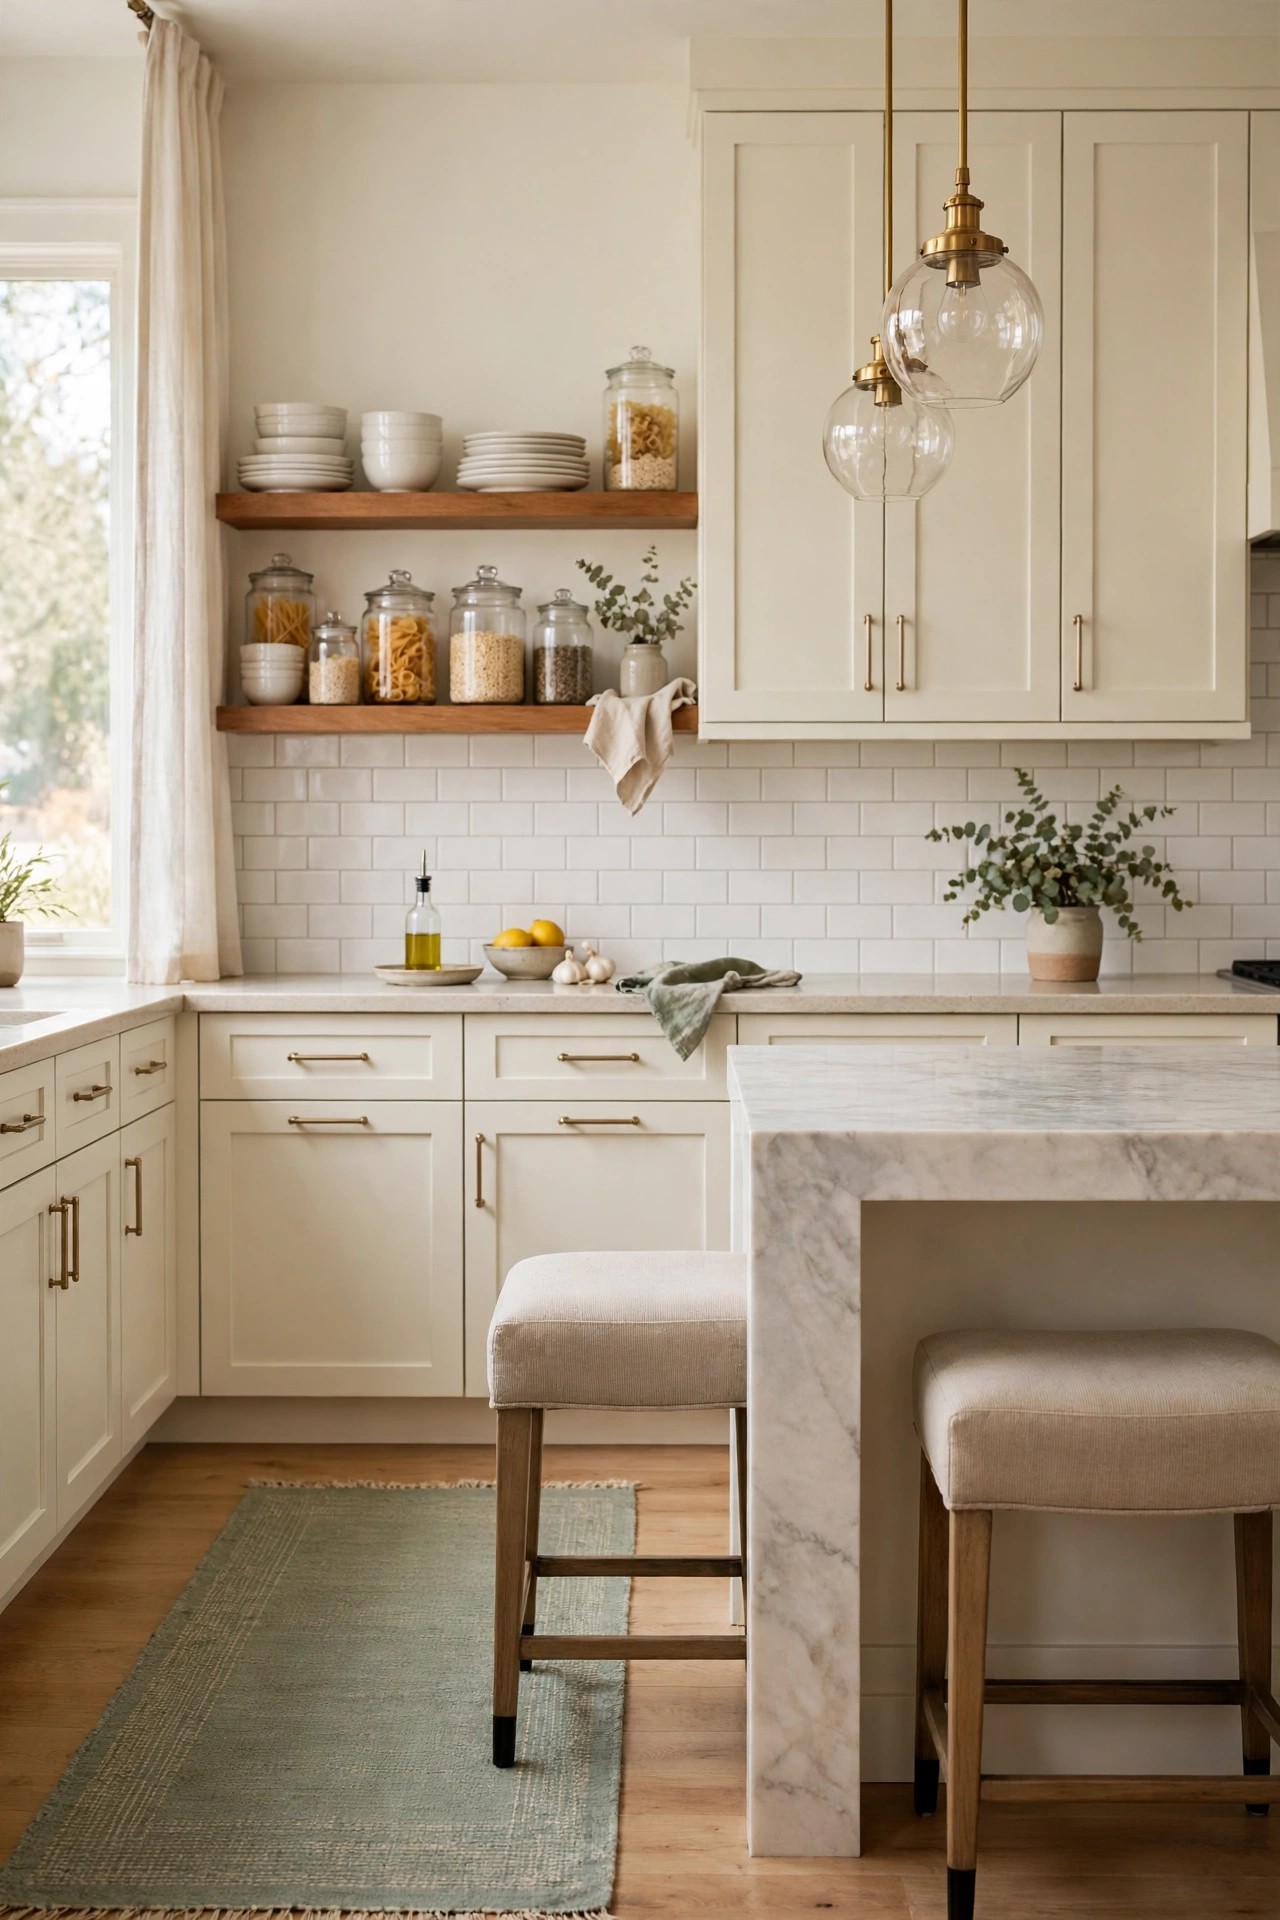
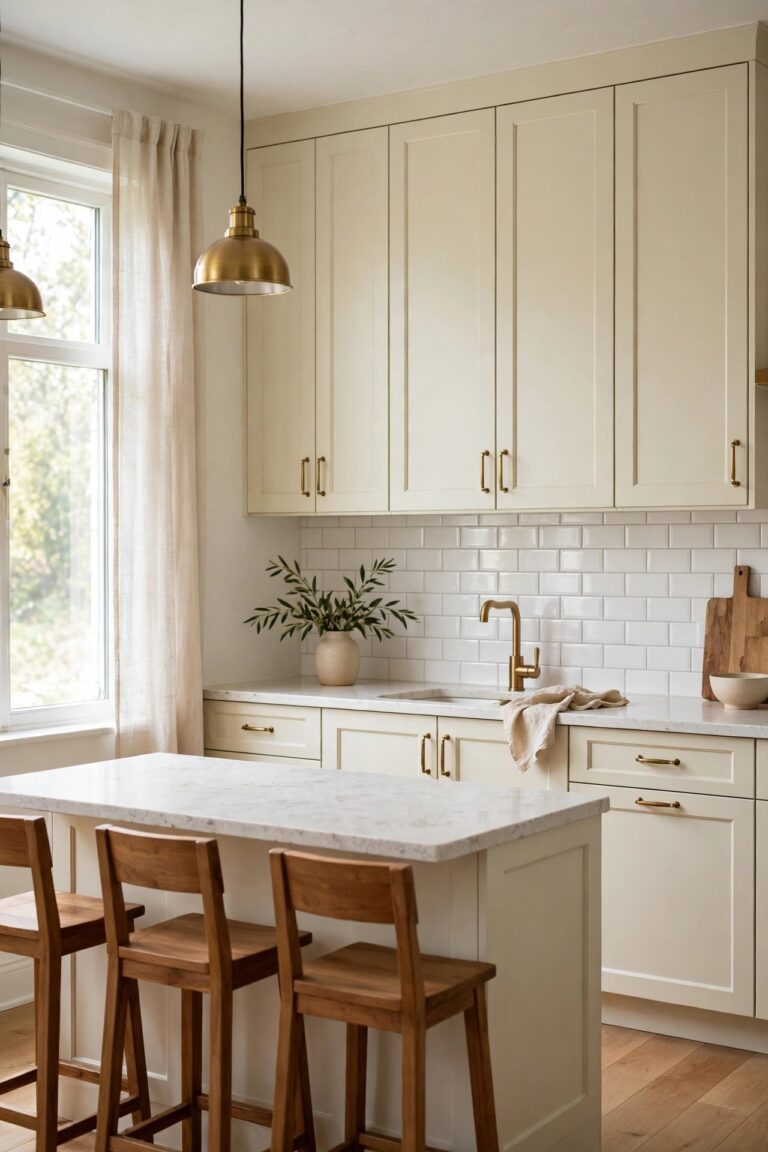
Most kitchens do not need a full remodel to feel better. They need one clear colour plan, light where hands actually work, and storage that uses the spaces most people ignore, like cabinet doors and the wall above the counter. This collection of kitchen ideas spans modern, farmhouse, minimalist, luxury, cottage and transitional looks, in sizes from a small apartment galley to a large family room. Every idea lists what you need, simple steps, an honest cost estimate and a renter note. Work through the whole room in one order, surfaces first, then storage, then finishing pieces.
1. Paint the Cabinets One Soft Warm Colour
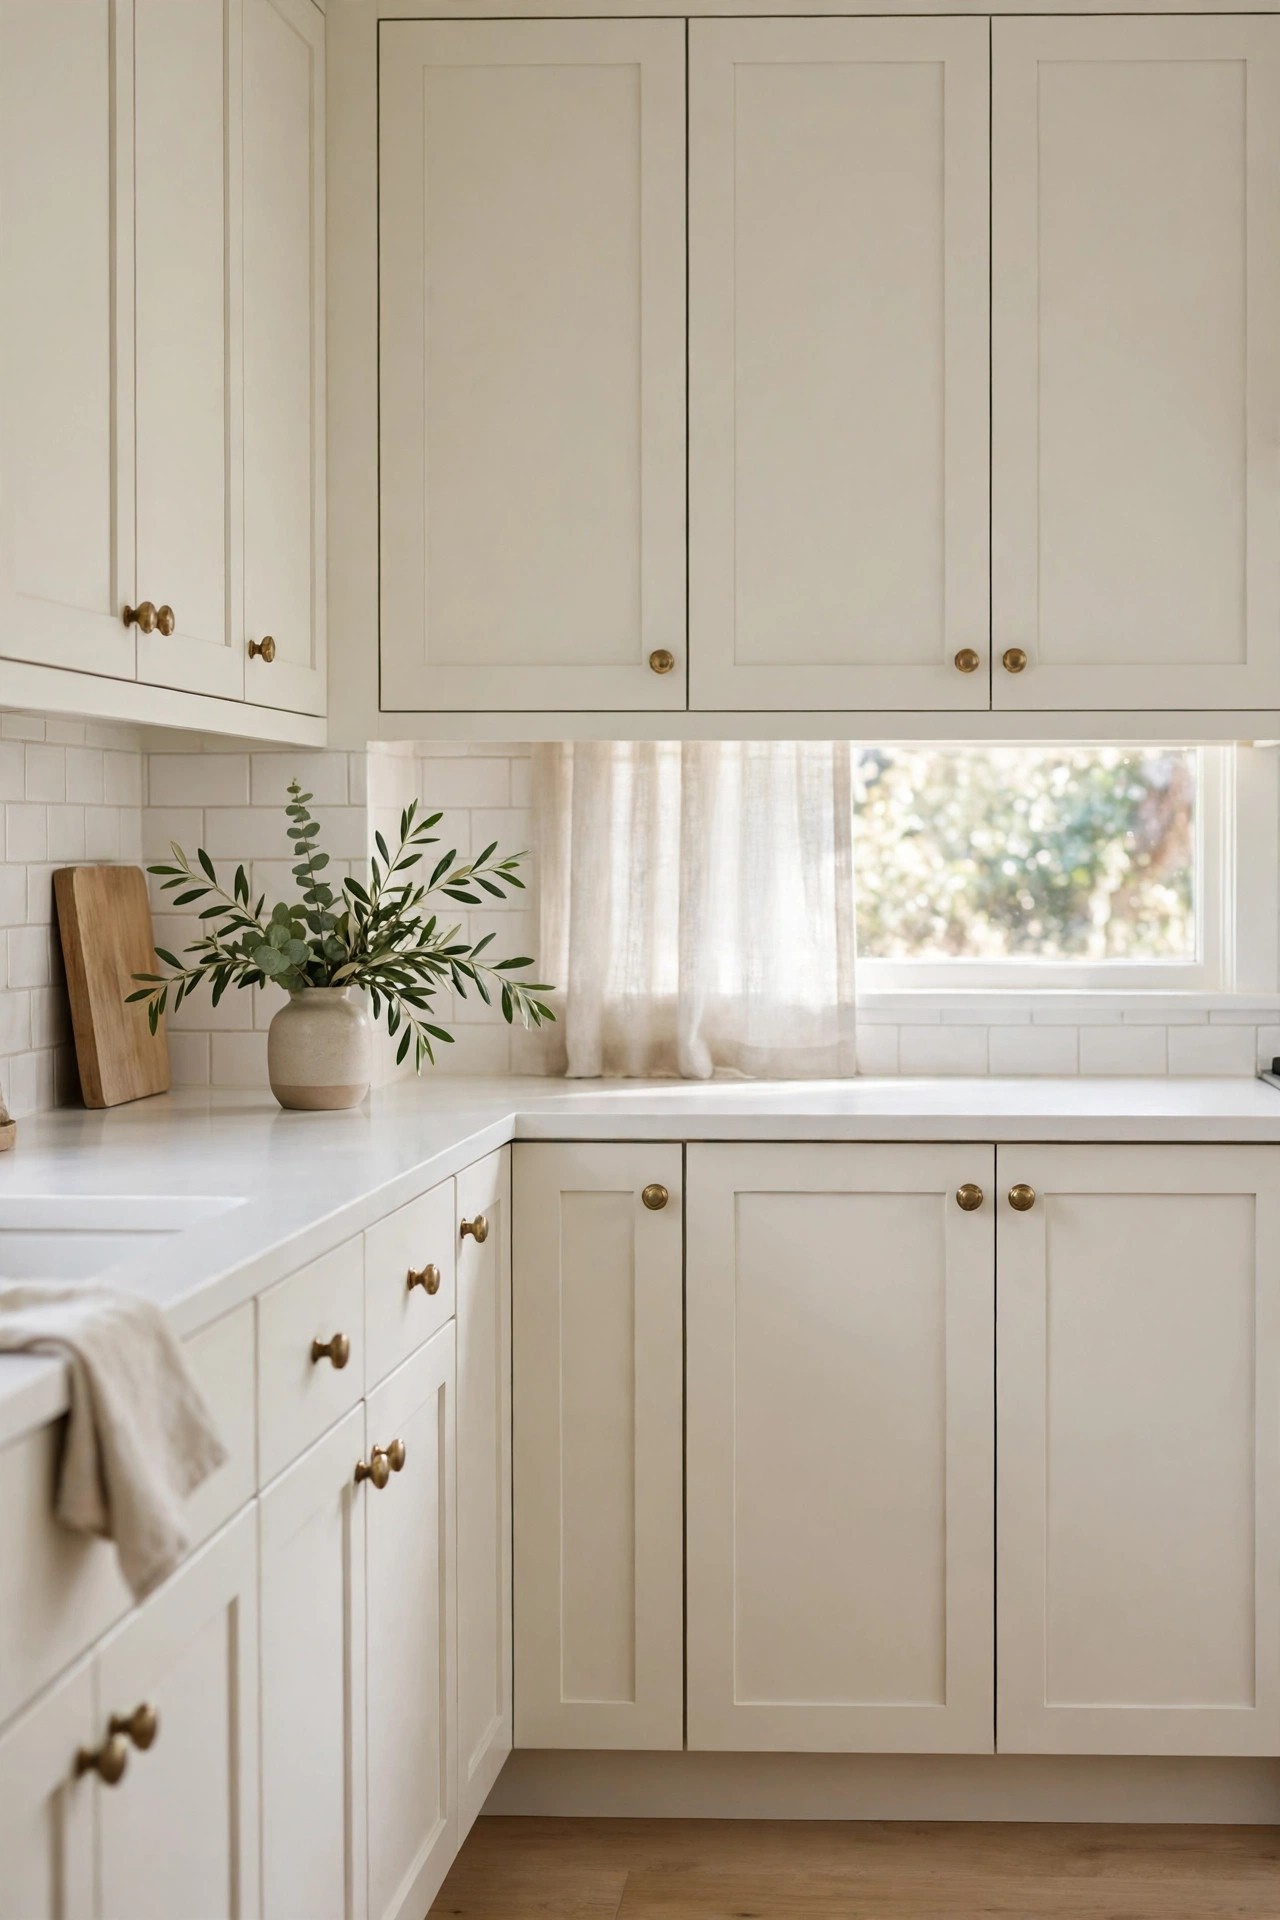
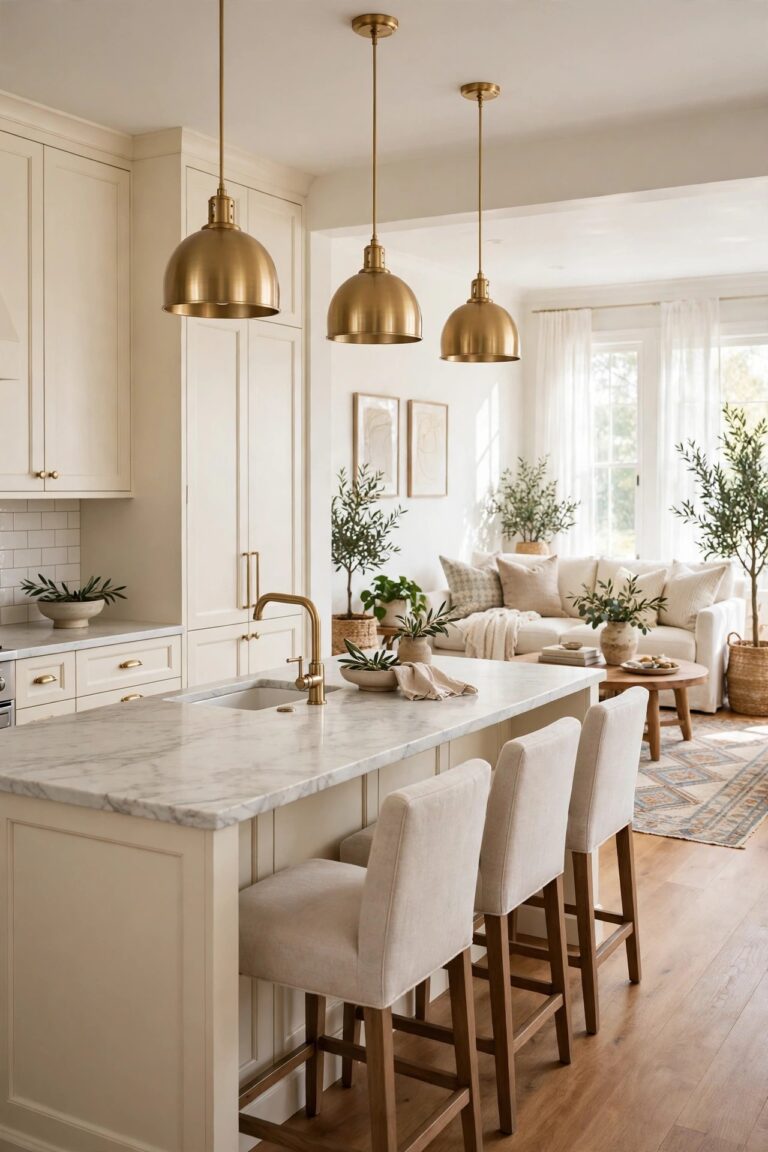
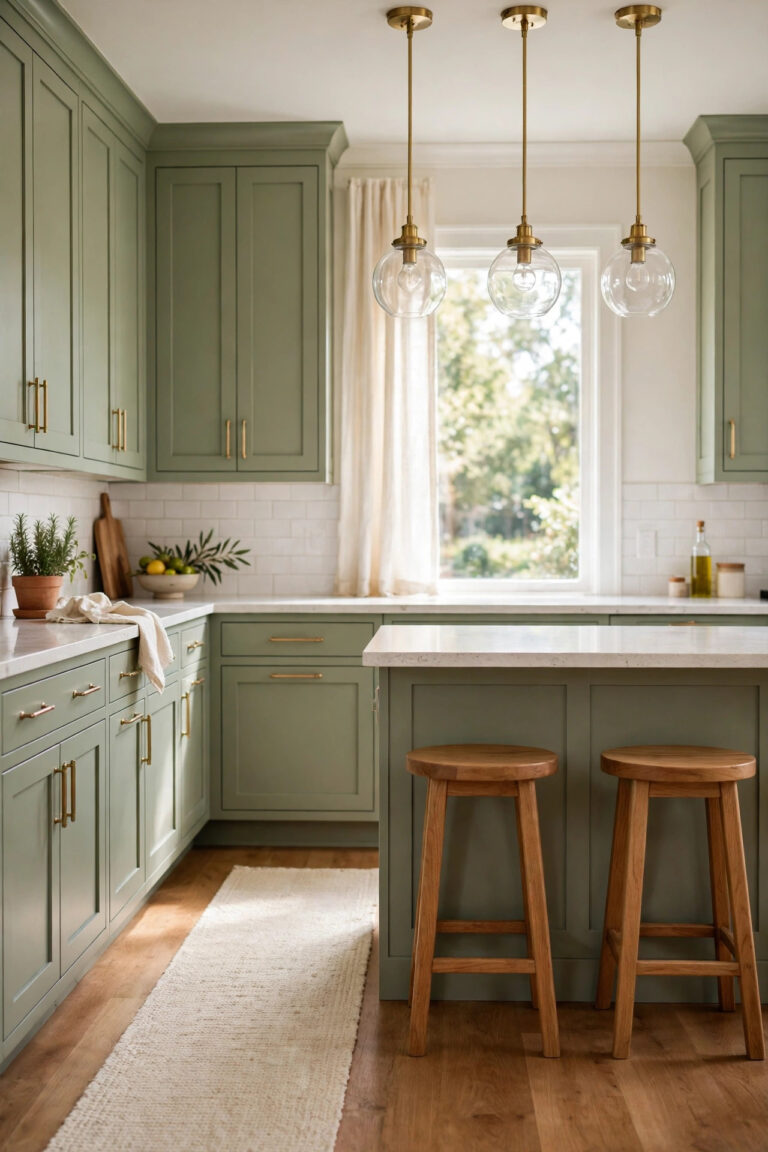
Description: Cabinet doors cover most of what you see in a kitchen, so their colour sets the mood of the whole room. One soft warm off-white across every door and drawer front calms a mix of old finishes and makes brass, wood and stone look richer beside it. Paint is also the cheapest way to cover dated orange wood. The trade-off is drying time: doors need days, not hours, before they can take daily knocks without marking.
Best For: Kitchens with sound cabinets in a dated wood finish or two mismatched colours.
Not Ideal For: Cabinets with peeling laminate or water damage at the sink base; repair or replace those doors first.
Estimated Cost: $90-$170 (estimate) for paint and supplies for an average kitchen.
Budget Note: One gallon usually covers an average kitchen with two coats, so the brushes, tape and cleaner are the rest of the bill.
Renter Friendly: No
Renter Note: Painting cabinets changes the landlord’s property, so only do this with written permission; renters are better served by ideas 2, 4, 8 and 12 in this list.
What You Need
All-in-one cabinet paint in a warm off-white, degreasing cleaner, painter’s tape, small foam rollers and an angled brush, drop cloths, screwdriver for removing doors.
Product recommendation (partially verified): Heirloom Traditions ALL-IN-ONE Paint, Linen (off-white), 1 gallon
Why it fits: The listing describes a combined primer, paint and top coat formula that needs no sanding on most sound surfaces, which suits a cabinet project where doors are in good shape but the colour is dated.
Retailer/product page: https://www.amazon.com/dp/B0BBWMV3XC
How To Do It
Empty the cabinets, remove doors and hardware, and label each door and its hinges with tape.
Wash every surface with degreaser, rinse, and let everything dry fully; kitchen grease is the main reason cabinet paint peels.
Tape the walls, floor edges and insides of the cabinet boxes.
Roll two thin coats on doors laid flat, letting each coat dry as the tin directs, then refit doors and hardware once fully cured.
Pro Tip
Paint one spare door or the inside of a rarely used door first and live with it for two days; warm off-whites shift a lot between morning and evening light.
2. Swap the Cabinet Hardware for Brushed Brass Pulls
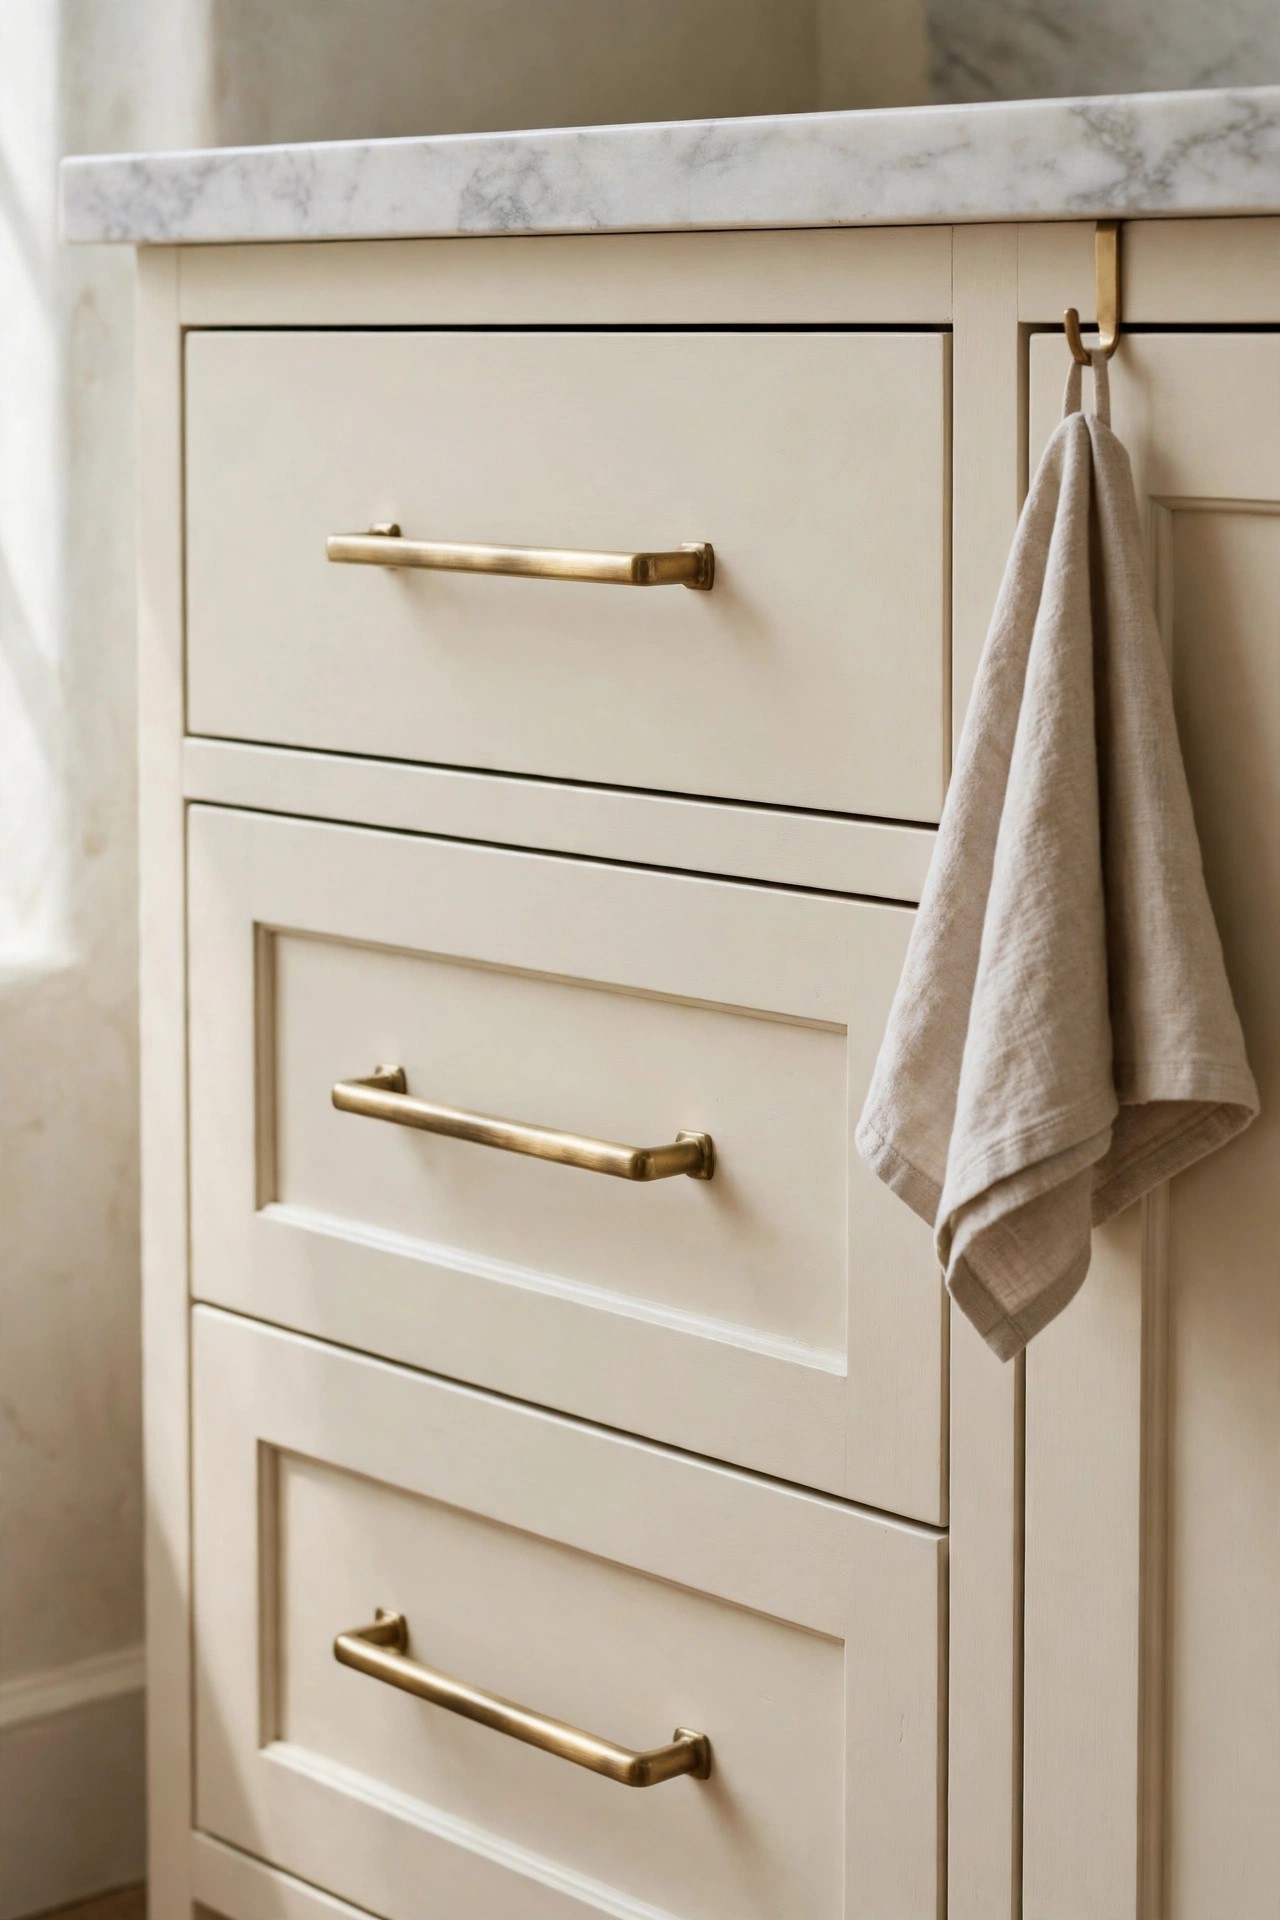
Description: Old chrome knobs and worn nickel handles date a kitchen faster than the cabinets themselves. A full set of brushed brass bar pulls gives every door the same warm finish, and the long shape is easier to grip with wet or floury hands. Because the swap uses the holes already drilled for most bar pulls, it is one of the few upgrades that finishes in an afternoon and reverses in minutes.
Best For: Any kitchen where the cabinets are fine but the metal finishes are mixed or dated.
Not Ideal For: Doors with single centre knobs where a bar pull would need two new holes you cannot patch later.
Estimated Cost: $25-$70 (estimate), depending on how many doors and drawers the kitchen has.
Budget Note: Count every door and drawer before ordering, because running one pull short means a second delivery wait, not extra cost per piece.
Renter Friendly: With Conditions
Renter Note: Swap only where the new pulls reuse the existing hole spacing, and keep every old knob and screw in a labelled bag to refit before you move out.
What You Need
Brushed brass bar pulls in one hole spacing, screwdriver, tape measure, a labelled bag for the old hardware.
Product recommendation (partially verified): Cosmas 161-128BAB Brushed Antique Brass Cabinet Bar Pull, 10 pack, 5 inch (128 mm) hole centres
Why it fits: The 5 inch hole spacing matches a common existing drilling pattern, the brushed antique brass finish suits the warm palette used through this list, and the 10 pack covers a small to medium kitchen in one order.
Retailer/product page: https://www.amazon.com/dp/B07CP1CCQ9
How To Do It
Measure the distance between the screw holes on one existing pull and check it against the new pulls before opening every pack.
Unscrew one old pull and fit one new pull to confirm the screws and spacing.
Work around the room door by door, bagging each old pull with its screws.
Snug each screw firmly by hand; over-tightening can crack older drawer fronts.
Pro Tip
Fit pulls on drawers and knobs on doors only if the finishes match exactly; mixing two brass tones side by side reads as a mistake, not a mix.
3. Add a Peel and Stick Subway Tile Backsplash
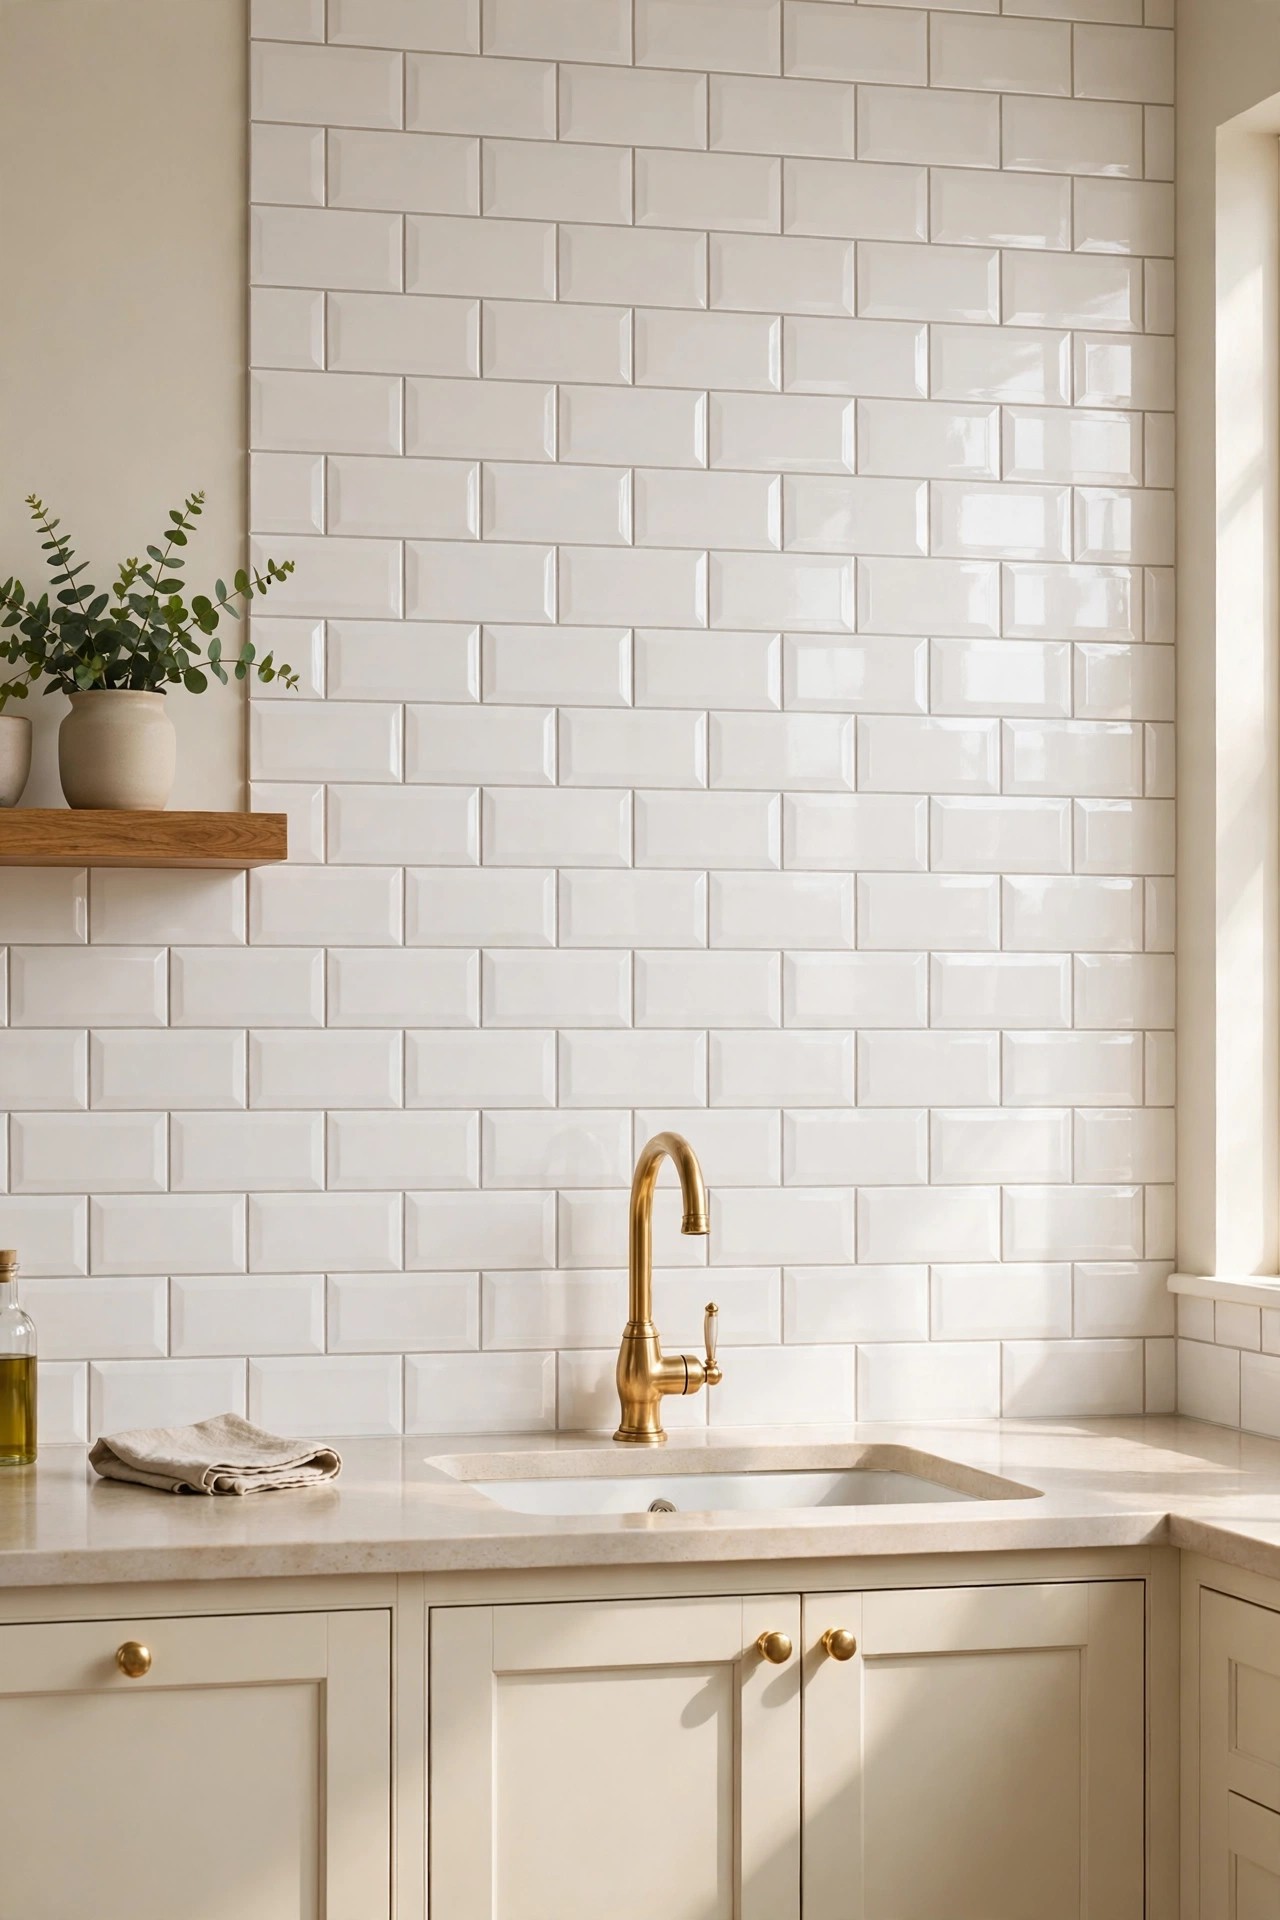
Description: A bare painted wall behind the stove and sink splashes, stains and makes the kitchen look unfinished. Peel and stick subway tile sheets give you the grout lines and gloss of real tile without mixing mortar or hiring a tiler, and the classic white brick pattern suits farmhouse, cottage and modern rooms alike. Sheets cut with a utility knife around outlets. The limit is heat: follow the maker’s clearance guidance behind burners.
Best For: Renters and owners with a smooth, clean wall and no backsplash at all.
Not Ideal For: Rough, damp or heavily textured walls, where the adhesive cannot grip evenly.
Estimated Cost: $50-$120 (estimate) for a typical backsplash area, usually two to three packs plus cutting tools.
Budget Note: Measure the wall and divide by the coverage per pack before ordering; returns of opened packs are the usual wasted cost here.
Renter Friendly: With Conditions
Renter Note: Test one sheet in a hidden corner for a week first; most sheets peel away cleanly, but removal can lift weak paint, so keep the test honest.
What You Need
Peel and stick subway tile sheets, utility knife and metal ruler, level, degreasing cleaner, a cloth for pressing sheets flat.
Product recommendation (partially verified): Art3d Peel and Stick Backsplash for Kitchen, White Subway, pack of 10 sheets, 12 x 12 inch
Why it fits: Each pack covers about 9 square feet, the thicker sheet design hides minor wall flaws better than thin vinyl, and the white subway pattern matches the cream and brass palette of this collection.
Retailer/product page: https://www.amazon.com/dp/B08PP2NZMD
How To Do It
Wash the wall with degreaser and let it dry completely; adhesive fails on greasy or damp paint.
Mark a level starting line above the counter and plan cuts around outlets before peeling anything.
Peel, place and press each sheet firmly from the centre outward, butting the grout lines together.
Keep sheets off any area the maker lists as too close to direct burner heat, and finish that strip in a heat-safe material instead.
Pro Tip
Start at the most visible corner and work toward the least seen one, so any slightly uneven final cuts land where nobody looks.
4. Fit Under Cabinet LED Lighting
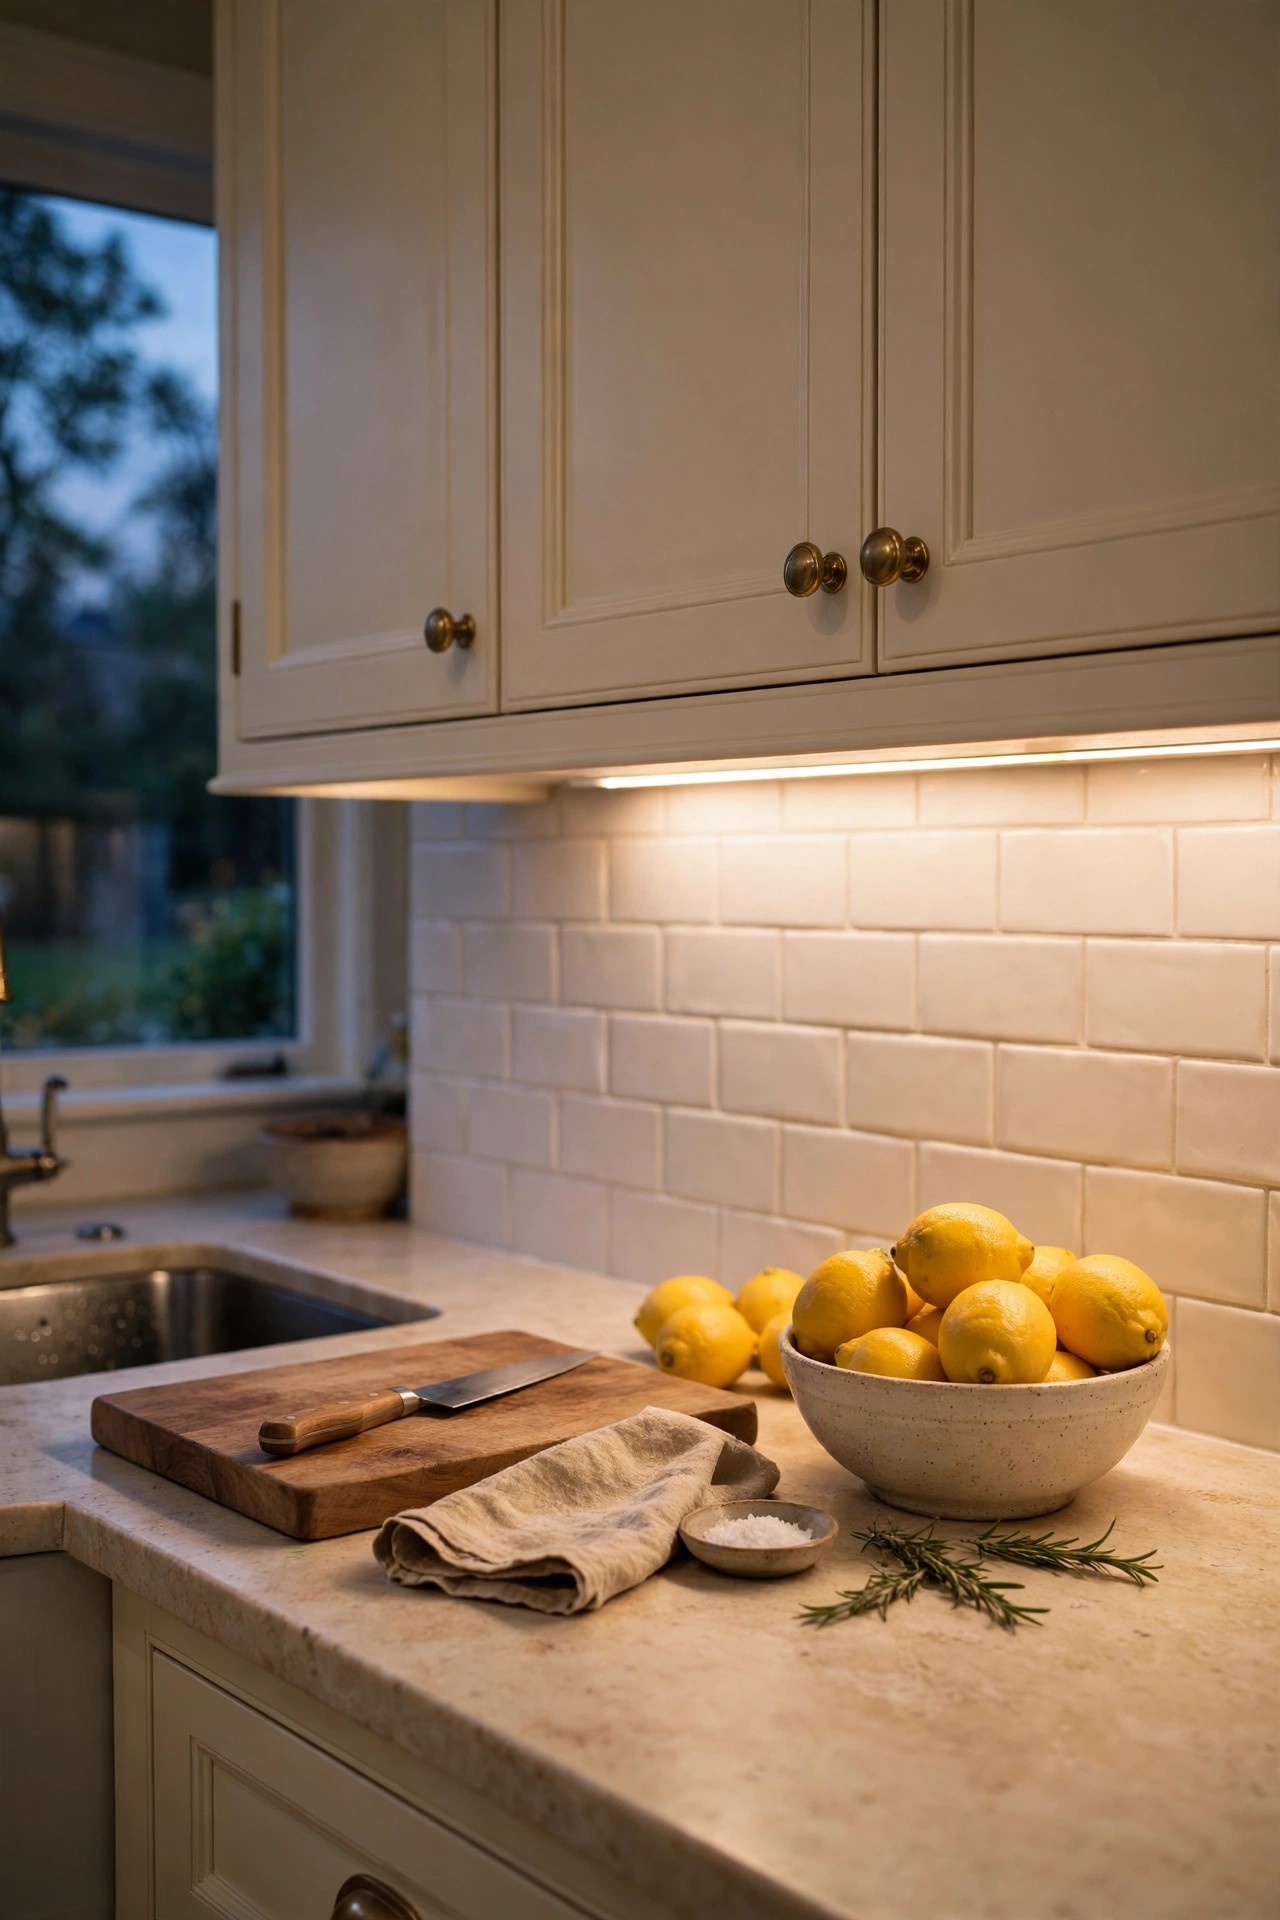
Description: Most kitchens rely on one ceiling light, which puts your own shadow exactly where you chop and read recipes. Slim LED bars fixed under the upper cabinets throw light straight onto the counter, so prep work gets easier and the room looks warmer in the evening. A plug-in kit with linked bars and a remote avoids new wiring entirely. Choose a natural white tone around 4000K; colder light makes food look grey.
Best For: Kitchens with dark counters, one weak ceiling light, or heavy evening use.
Not Ideal For: Cabinets with no nearby outlet and no tidy route for the cable.
Estimated Cost: $35-$70 (estimate) for a multi-bar plug-in kit.
Budget Note: One kit with linked bars costs less than separate battery lights for every cabinet, and there are no batteries to replace.
Renter Friendly: Yes
Renter Note: The bars mount with clips or adhesive pads and the kit plugs into an outlet, so nothing is wired in; use removable adhesive strips if you are worried about marks on cabinet paint.
What You Need
Plug-in LED bar kit with linking cables and a remote, removable adhesive strips or mounting clips, tape measure, a spare outlet near the cabinets.
Product recommendation (verified): WOBANE Under Cabinet Lighting Kit, 6 LED bars, 24W adapter, RF remote, 4000K natural white
Why it fits: Six 20 inch bars link into one run under a full row of cabinets, the 4000K tone suits food prep, and the remote dims the light for evening use; the kit ships from Amazon and is sold by Wobane.
Retailer/product page: https://www.amazon.com/dp/B0B2JLHJGX
How To Do It
Measure the underside run of the upper cabinets and plan which outlet the adapter will use.
Hold the bars in place with removable strips first and check the light spread at night.
Fix the bars near the front edge of the cabinet underside so the light falls on the work zone, not the backsplash.
Route the cable flat along the cabinet underside, keep the adapter clear of the sink splash zone, and set the remote brightness.
Pro Tip
Mount the bars two inches back from the cabinet front edge if your counters are glossy; the reflection line disappears and the light still reaches the boards.
5. Hang Warm Wood Open Shelves
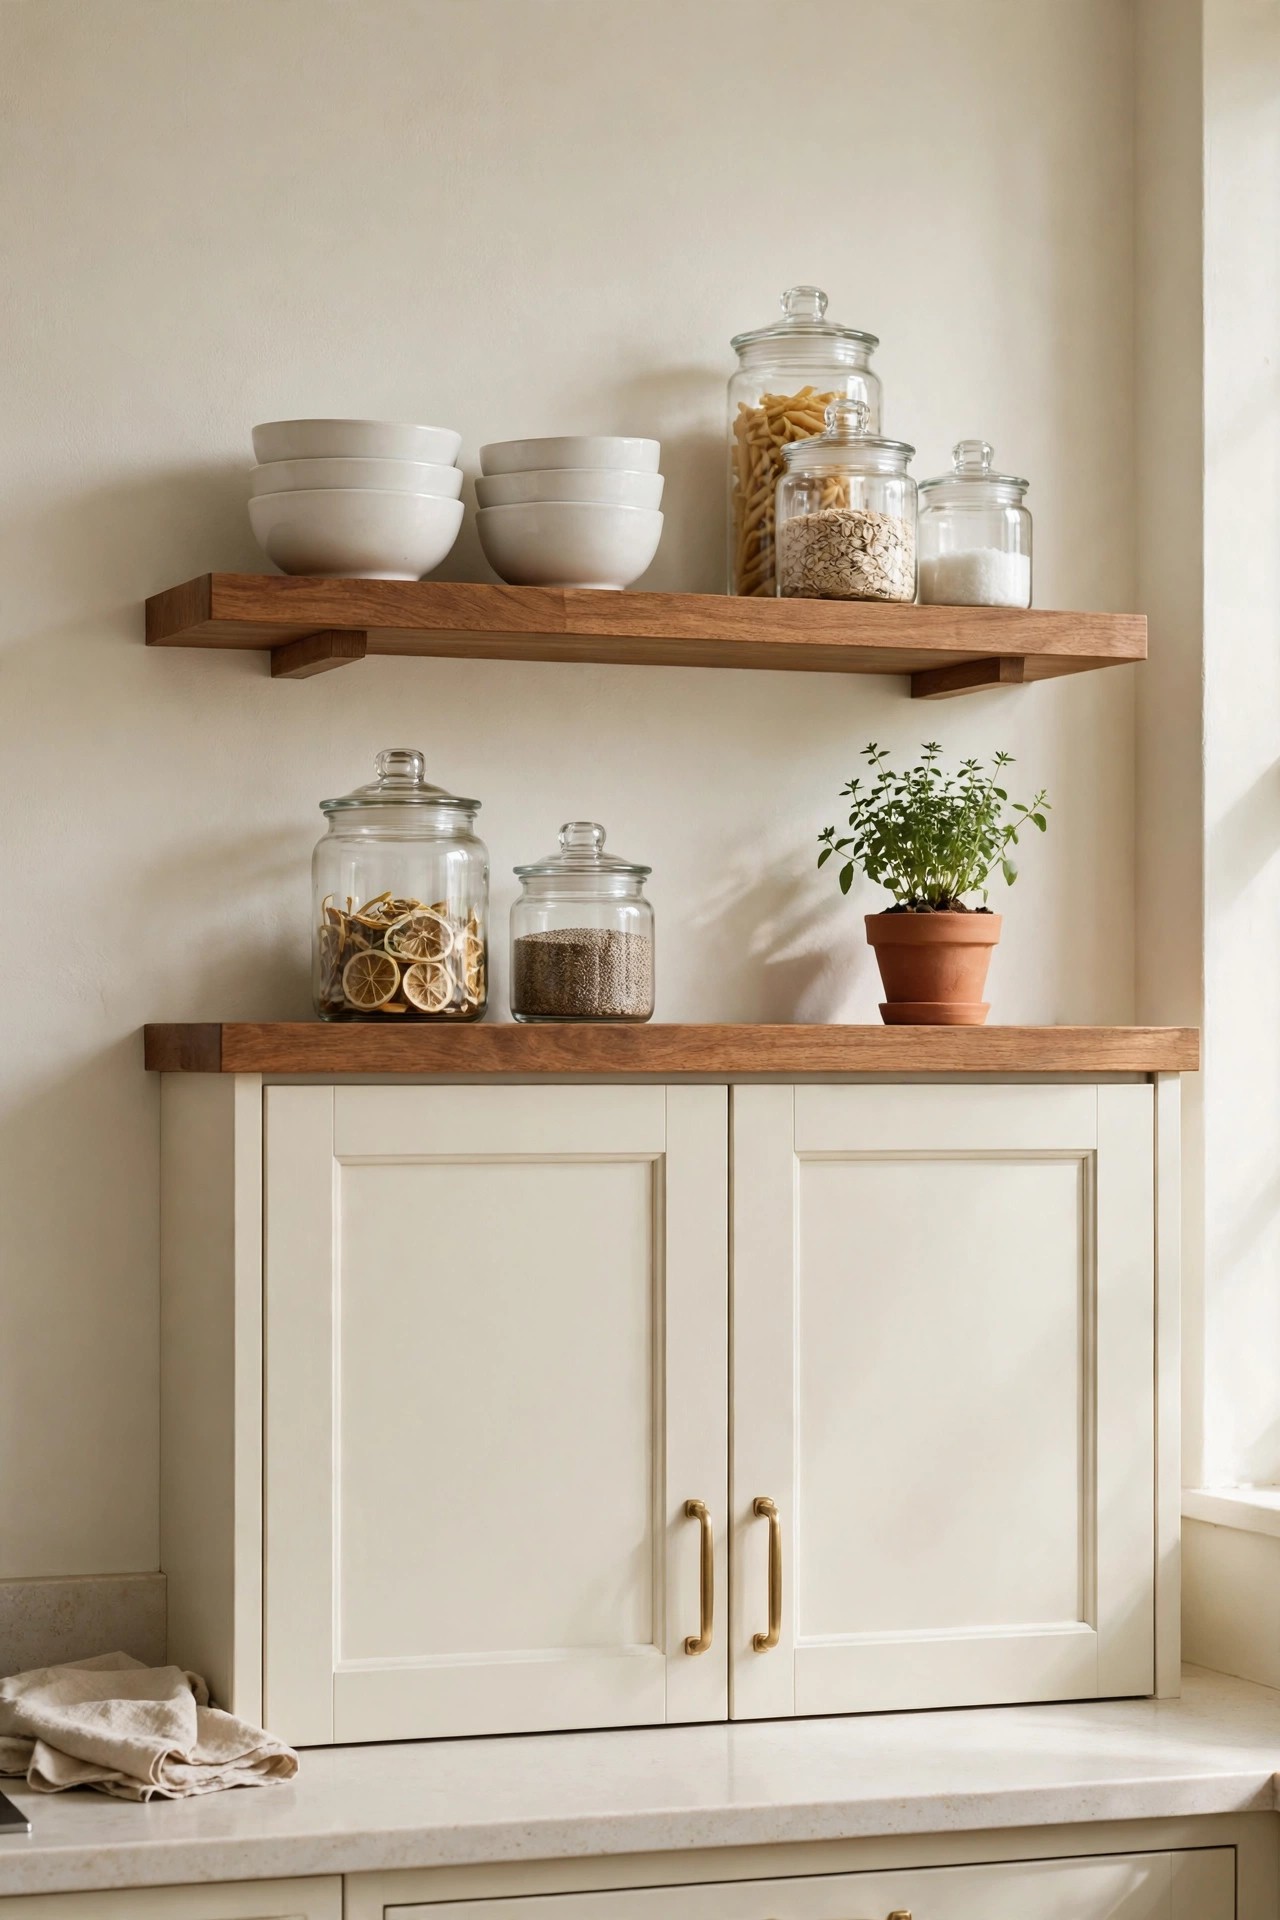
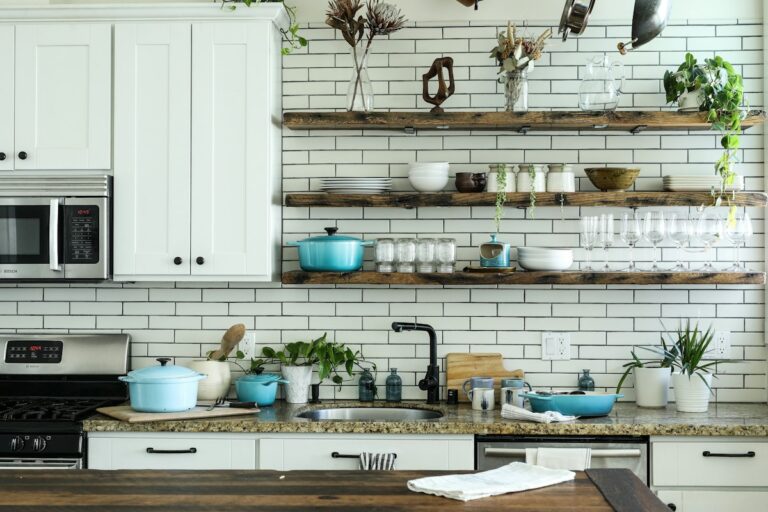
Description: One run of open shelves in warm wood breaks up a long wall of cabinet doors and puts everyday bowls and glasses within reach. The look suits farmhouse, cottage and transitional kitchens, and it costs far less than one extra wall cabinet. The honest trade-off is dust and discipline: shelves only stay calm when they hold a small set of things you use daily, in one or two colours, rather than everything you own.
Best For: Kitchens with one blank wall run and daily dishes that earn open display.
Not Ideal For: Homes beside a busy road or with very greasy cooking, where open dishes need washing before every use.
Estimated Cost: $40-$80 (estimate) for a set of two shelves with hidden brackets.
Budget Note: Two shelves styled with dishes you already own beat four shelves bought empty and filled with decor later.
Renter Friendly: No
Renter Note: The brackets screw into studs or solid anchors, so get permission first; without it, style the same grouping on the counter instead and skip the drilling.
What You Need
Two floating shelves with hidden brackets, wall anchors rated for the load, stud finder, level, drill, everyday bowls, glasses and jars for styling.
Product recommendation (partially verified): BAYKA Floating Shelves, set of 2, 22.5 inch, Rustic Brown, hidden brackets
Why it fits: The 22.5 inch length suits the wall run above a standard counter, the rustic brown wood tone matches the warm palette, and the listing gives a 22 lb capacity per shelf, enough for everyday dishes when the weight is spread.
Retailer/product page: https://www.amazon.com/dp/B0BZH955XN
How To Do It
Plan the shelf heights so the lower shelf clears counter appliances by at least 18 inches.
Find studs where you can, and mark bracket positions with a level line.
Fit brackets with anchors rated above the shelf load, checking for pipes and wires first.
Slide the shelves on, then style with the heaviest items low and close to the wall.
Pro Tip
Keep one hand’s width of empty space at each shelf end; shelves styled edge to edge look crowded even when the items are pretty.
6. Roll In a Bamboo Cart as a Small Island
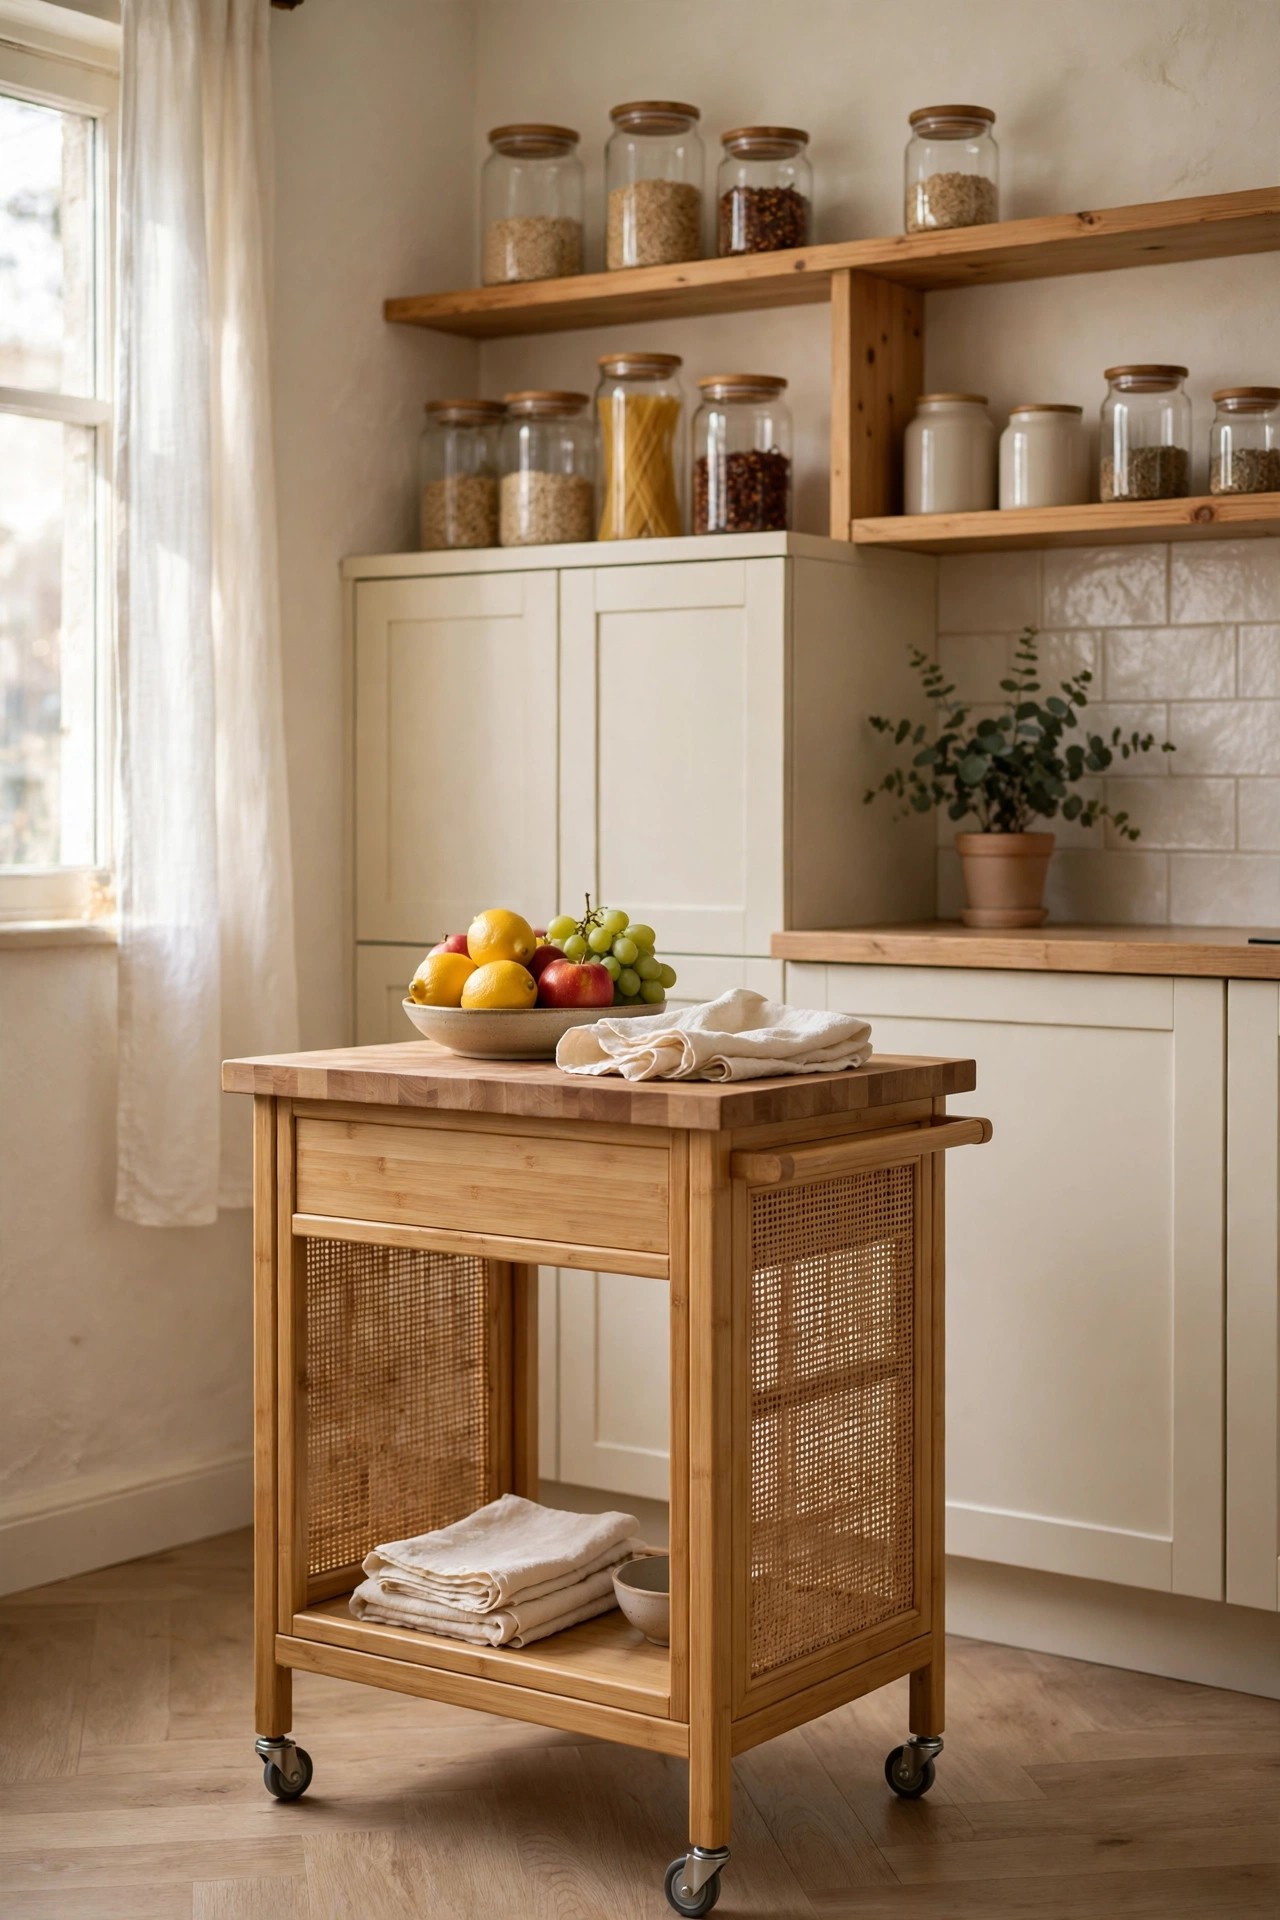
Description: A small kitchen with no island still needs a landing place between the stove, sink and fridge. A rolling bamboo cart gives you a worktop, open shelves for jars and boards, and wheels, so it parks against a wall when you need floor space. The light bamboo tone keeps a small room feeling open, and the open shelves suit baskets and large items that waste cabinet space. Lock the casters before chopping.
Best For: Small kitchens and rentals with an awkward gap between counter runs.
Not Ideal For: Kitchens where the walkway is narrower than about 36 inches once the cart is in place.
Estimated Cost: $80-$150 (estimate) for a bamboo cart with shelves and casters.
Budget Note: One cart replaces a prep table, a shelf unit and a trolley, which is where the saving sits.
Renter Friendly: Yes
Renter Note: It stands on wheels and needs no fixing at all, so it moves out with you and leaves no marks.
What You Need
Rolling bamboo cart with lockable casters, baskets or jars for the shelves, a folded towel for the handle or side rail.
Product recommendation (partially verified): SILKYDRY Kitchen Island Cart, bamboo, 32.5 x 21.5 x 35.5 inch
Why it fits: The footprint is sized for small kitchens, two of the casters lock for safe chopping, and the listing gives a 110 lb capacity across the open shelves and top.
Retailer/product page: https://www.amazon.com/dp/B0CTHLVDJK
How To Do It
Measure the gap where the cart will park, and check the walkway stays clear on both sides.
Build the cart on a flat floor and tighten every bolt before loading it.
Park it, lock both locking casters, and test the top with a firm push before using it for prep.
Load heavy jars on the lowest shelf so the cart stays steady when it rolls.
Pro Tip
Keep the top clear except for one bowl or board; a cart that becomes a dumping surface stops being useful as an island within a week.
7. Mount a Wall Rail for Pans and Utensils
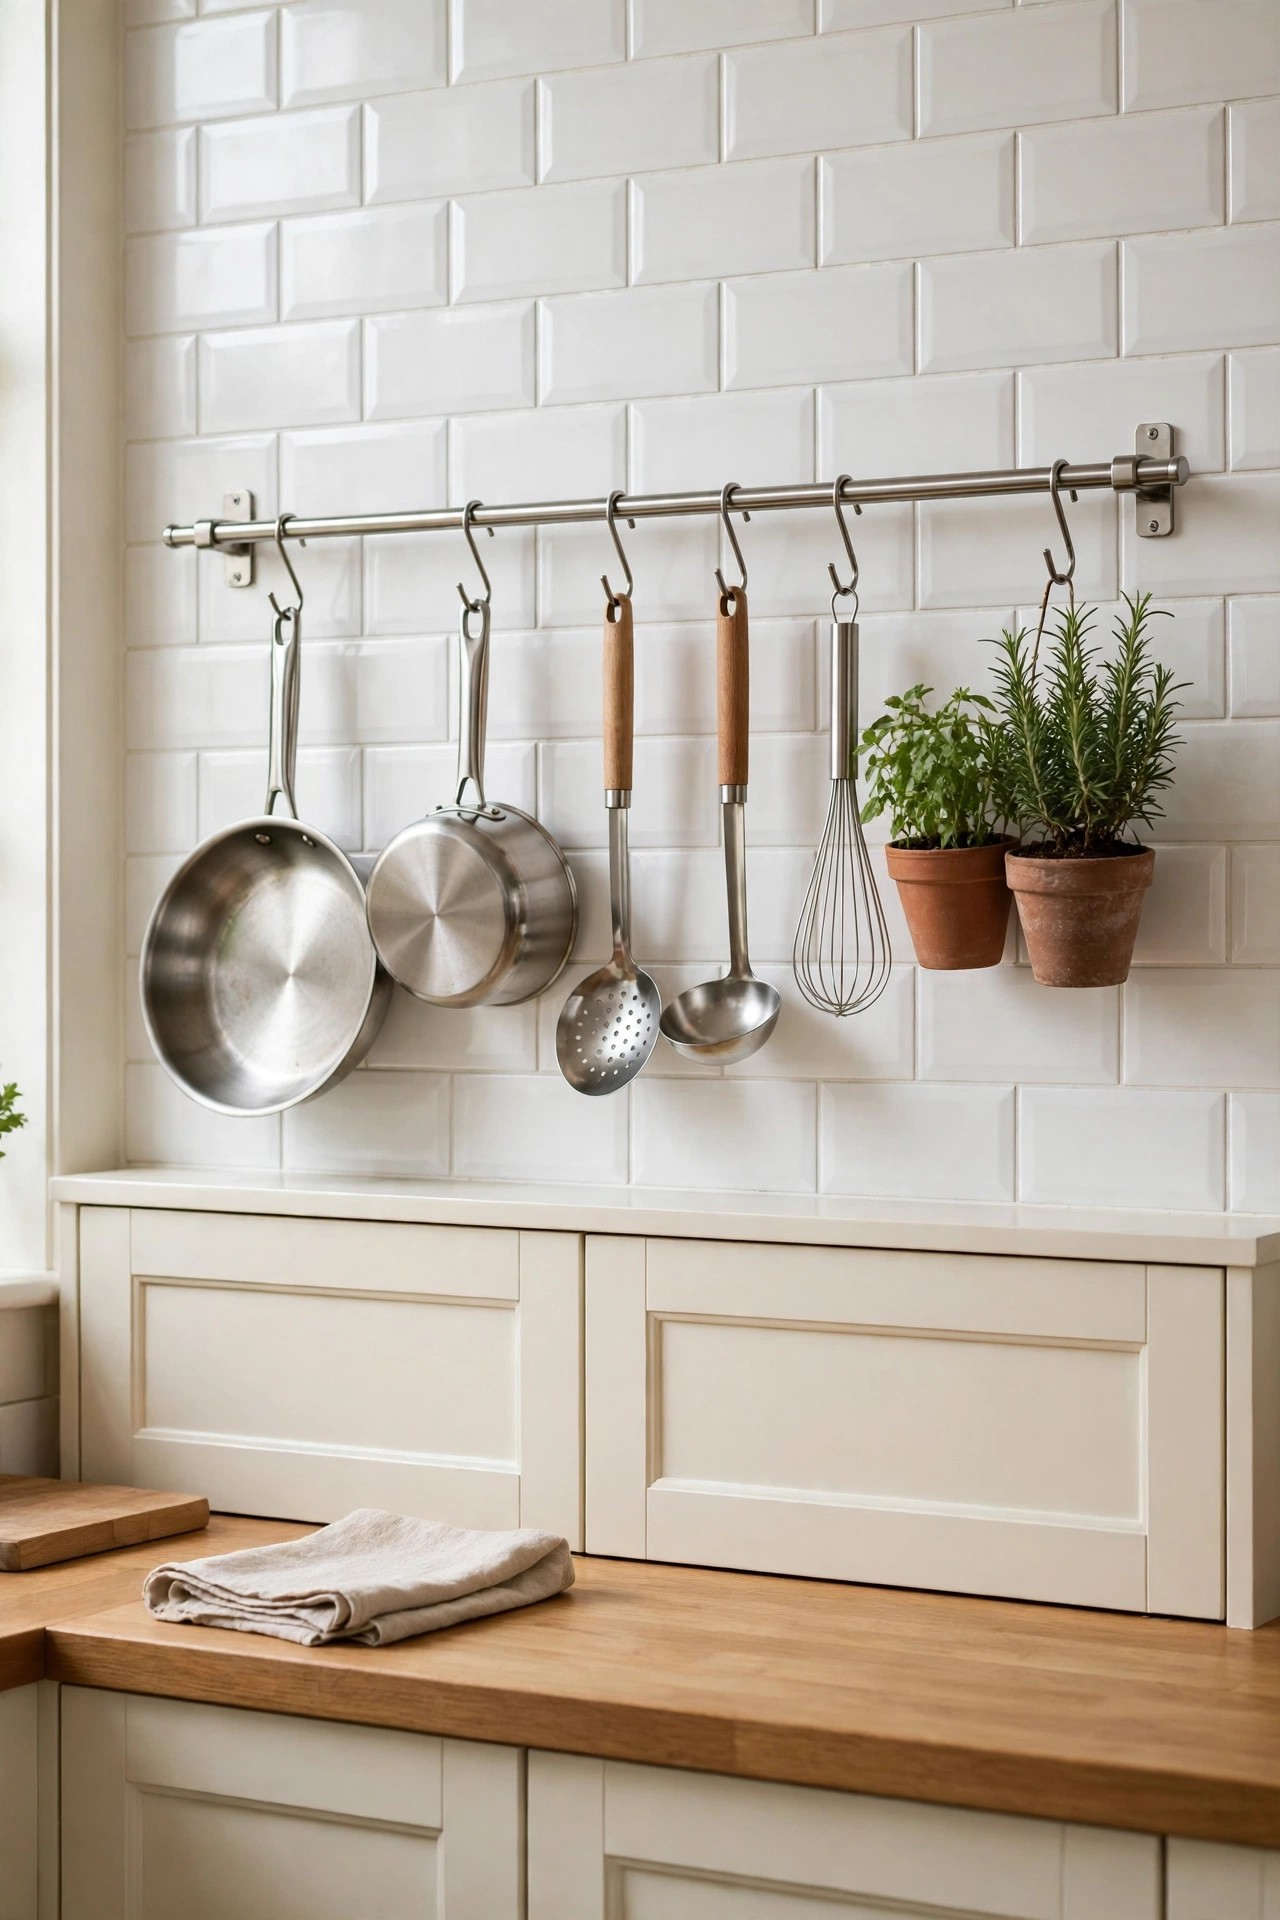
Description: Deep drawers swallow pans and utensils, and digging for a ladle mid-cooking is a daily annoyance. A stainless rail on the wall beside the stove keeps the tools you use every day in one visible row, hooks sliding to suit each item. It is a working, slightly industrial note that balances soft cottage and farmhouse schemes. The rail only earns its wall if everything on it is used weekly; rarely used tools just gather grease there.
Best For: Cooks with one shallow drawer and a clear wall section near the stove.
Not Ideal For: Walls in the direct splatter zone of a gas hob with no easy-clean surface behind the rail.
Estimated Cost: $25-$50 (estimate) for a rail with hooks and one container.
Budget Note: Start with one rail and five hooks; extra containers are the cost that creeps, and most kitchens never fill them.
Renter Friendly: No
Renter Note: The rail screws into the wall and the screws are sold separately, so it needs landlord permission; a tension rod between two cabinets is the no-drill stand-in.
What You Need
Stainless steel rail about 56 cm, five S hooks, one hanging container, screws and anchors suited to your wall, drill and level.
Product recommendation (partially verified): IKEA KUNGSFORS rail with 5 hooks and 1 container, stainless steel, 56 cm rail
Why it fits: The set combines the rail, hooks and a container for herbs or cutlery in one system, and the stainless finish sits well beside appliances; IKEA notes the rail must be anchored securely and screws are bought separately.
Retailer/product page: https://www.ikea.com/no/en/p/kungsfors-rail-with-5-hooks-and-1-container-stainless-steel-s79308172/
How To Do It
Choose a wall section at comfortable reach from the stove but outside the direct splatter line.
Mark a level line and find studs or fit anchors rated for the weight of full pans.
Fix the rail, checking for pipes and wires before drilling.
Hang the heaviest pan first and test the rail with a firm downward pull before adding the rest.
Pro Tip
Hang tools in the order you use them, from the stove outward; after a week your hand goes to the right hook without looking.
8. Lay a Washable Vintage Style Runner
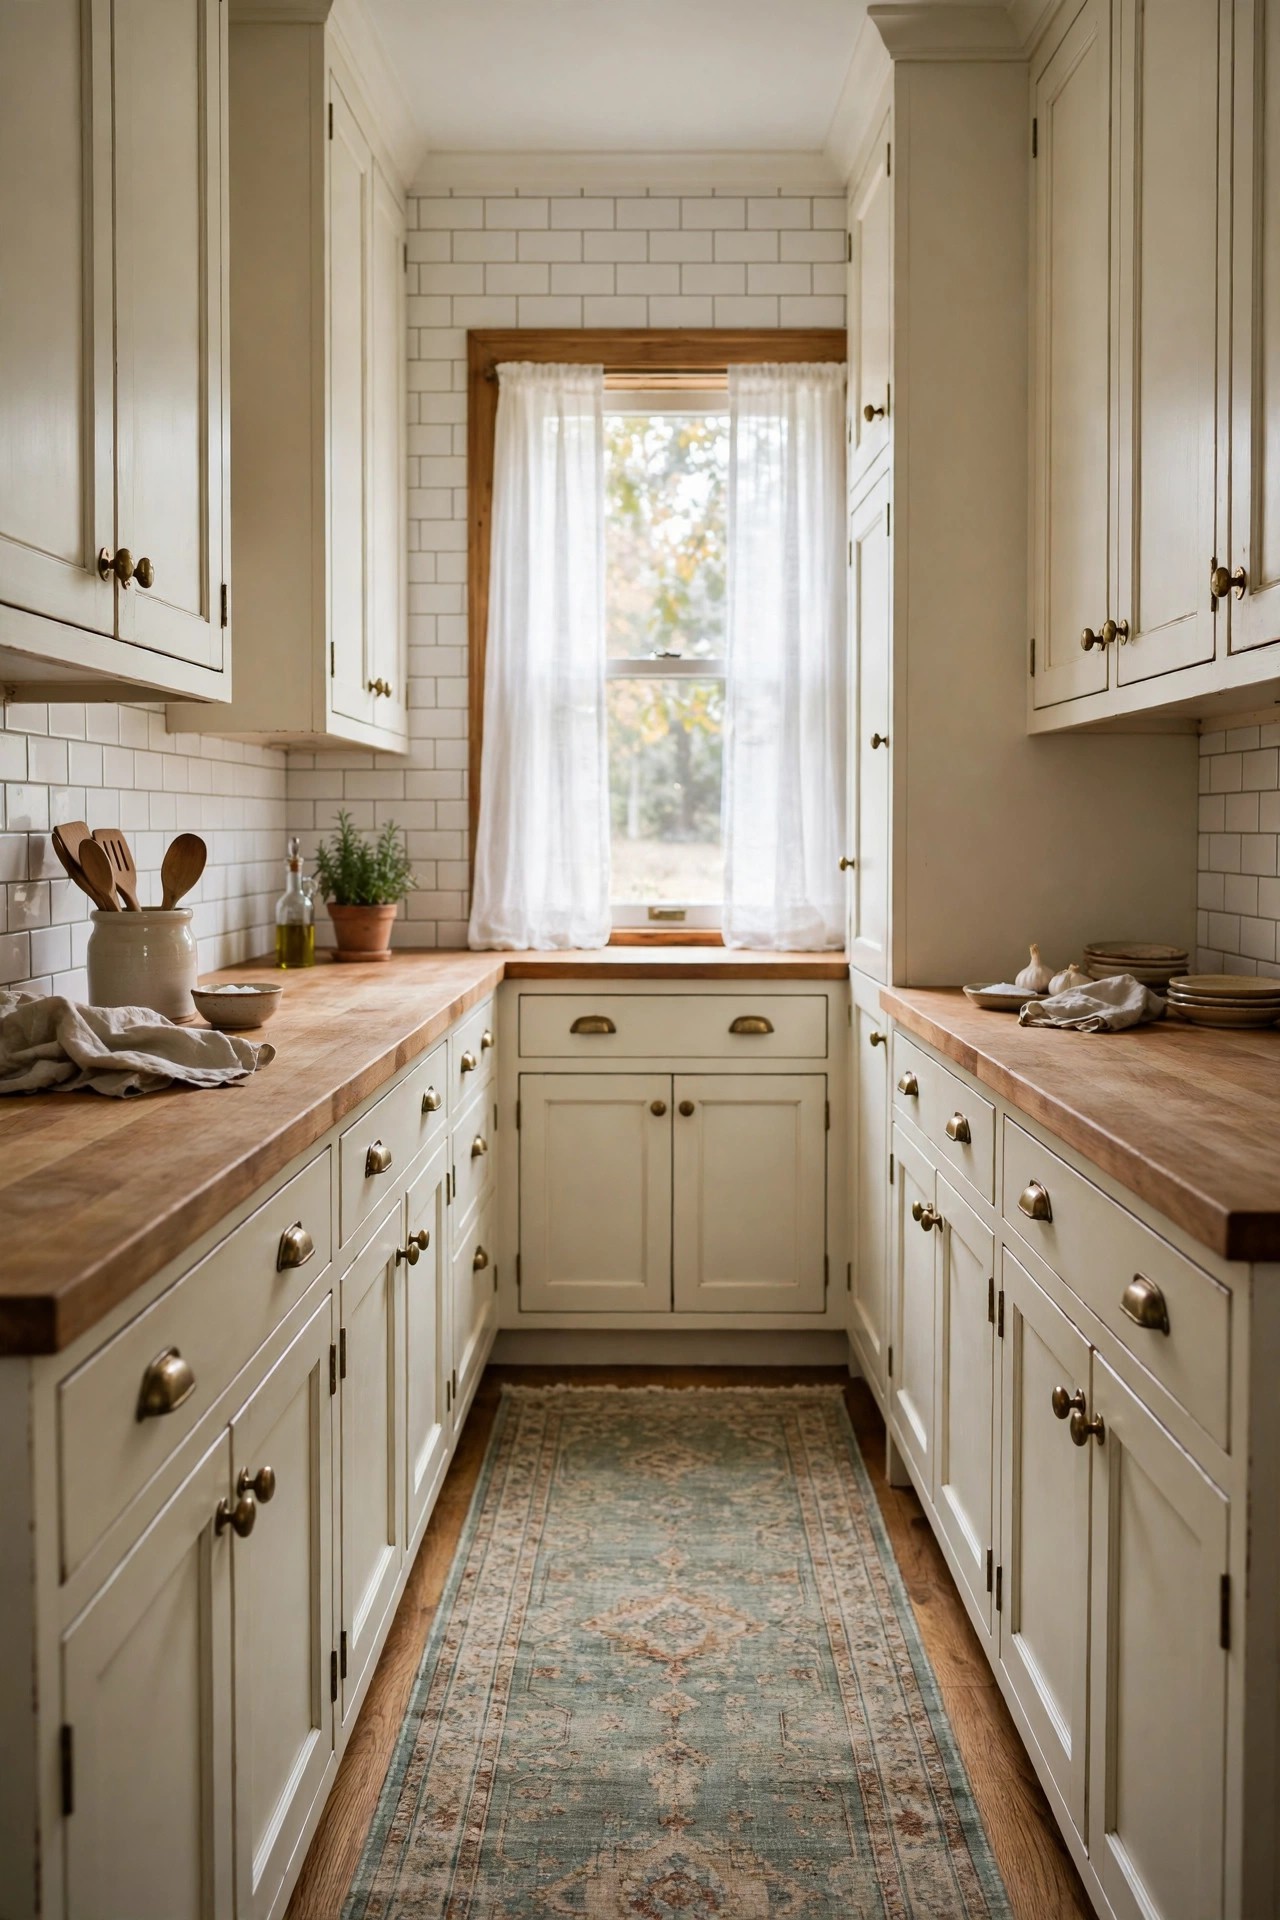
Description: Kitchen floors are hard, cold and usually the plainest surface in the room. A long runner in a faded vintage pattern softens the galley, warms the palette and catches the drips along the sink and stove line. The washable two-piece kind matters here: the top layer lifts off its pad and goes in the machine, so a tomato sauce spill is a wash cycle, not a ruined rug. Choose muted colours that forgive marks between washes.
Best For: Galley kitchens and long sink runs with hard floors.
Not Ideal For: Doorways where a raised rug edge would catch a swinging door or trip a child gate.
Estimated Cost: $120-$220 (estimate) for a 2.5 x 7 ft runner with its pad.
Budget Note: The pad is part of the system, not an extra; buying the rug layer alone to save money leaves you with a slipping, curling runner.
Renter Friendly: Yes
Renter Note: It lies loose on its pad with no adhesive, so it lifts out for washing and leaves the floor untouched.
What You Need
Washable runner with its non-slip pad, tape measure, scissors only if the maker allows trimming (most do not).
Product recommendation (partially verified): Ruggable Washable Vintage Runner Rug, Sarrah Sage, 2.5 x 7 ft, with Cushioned Pad
Why it fits: The two-piece system pairs a machine washable vintage floral top in sage, coral and stone blue with a cushioned non-slip pad, sized for a standard galley run.
Retailer/product page: https://www.amazon.com/dp/B0BGX5KSFF
How To Do It
Measure the run between the sink and stove line, leaving a small margin at each end.
Lay the pad flat first and smooth out every crease.
Roll the rug layer out over the pad, aligning the edges so the pad does not peek out.
Walk the full length to seat it, and check door swings clear the pile.
Pro Tip
Pick the runner colour from the softest tone already in the room, here sage from tiles or plants; a runner that introduces a brand new colour always looks separate.
9. Fit a Brushed Brass Bridge Faucet
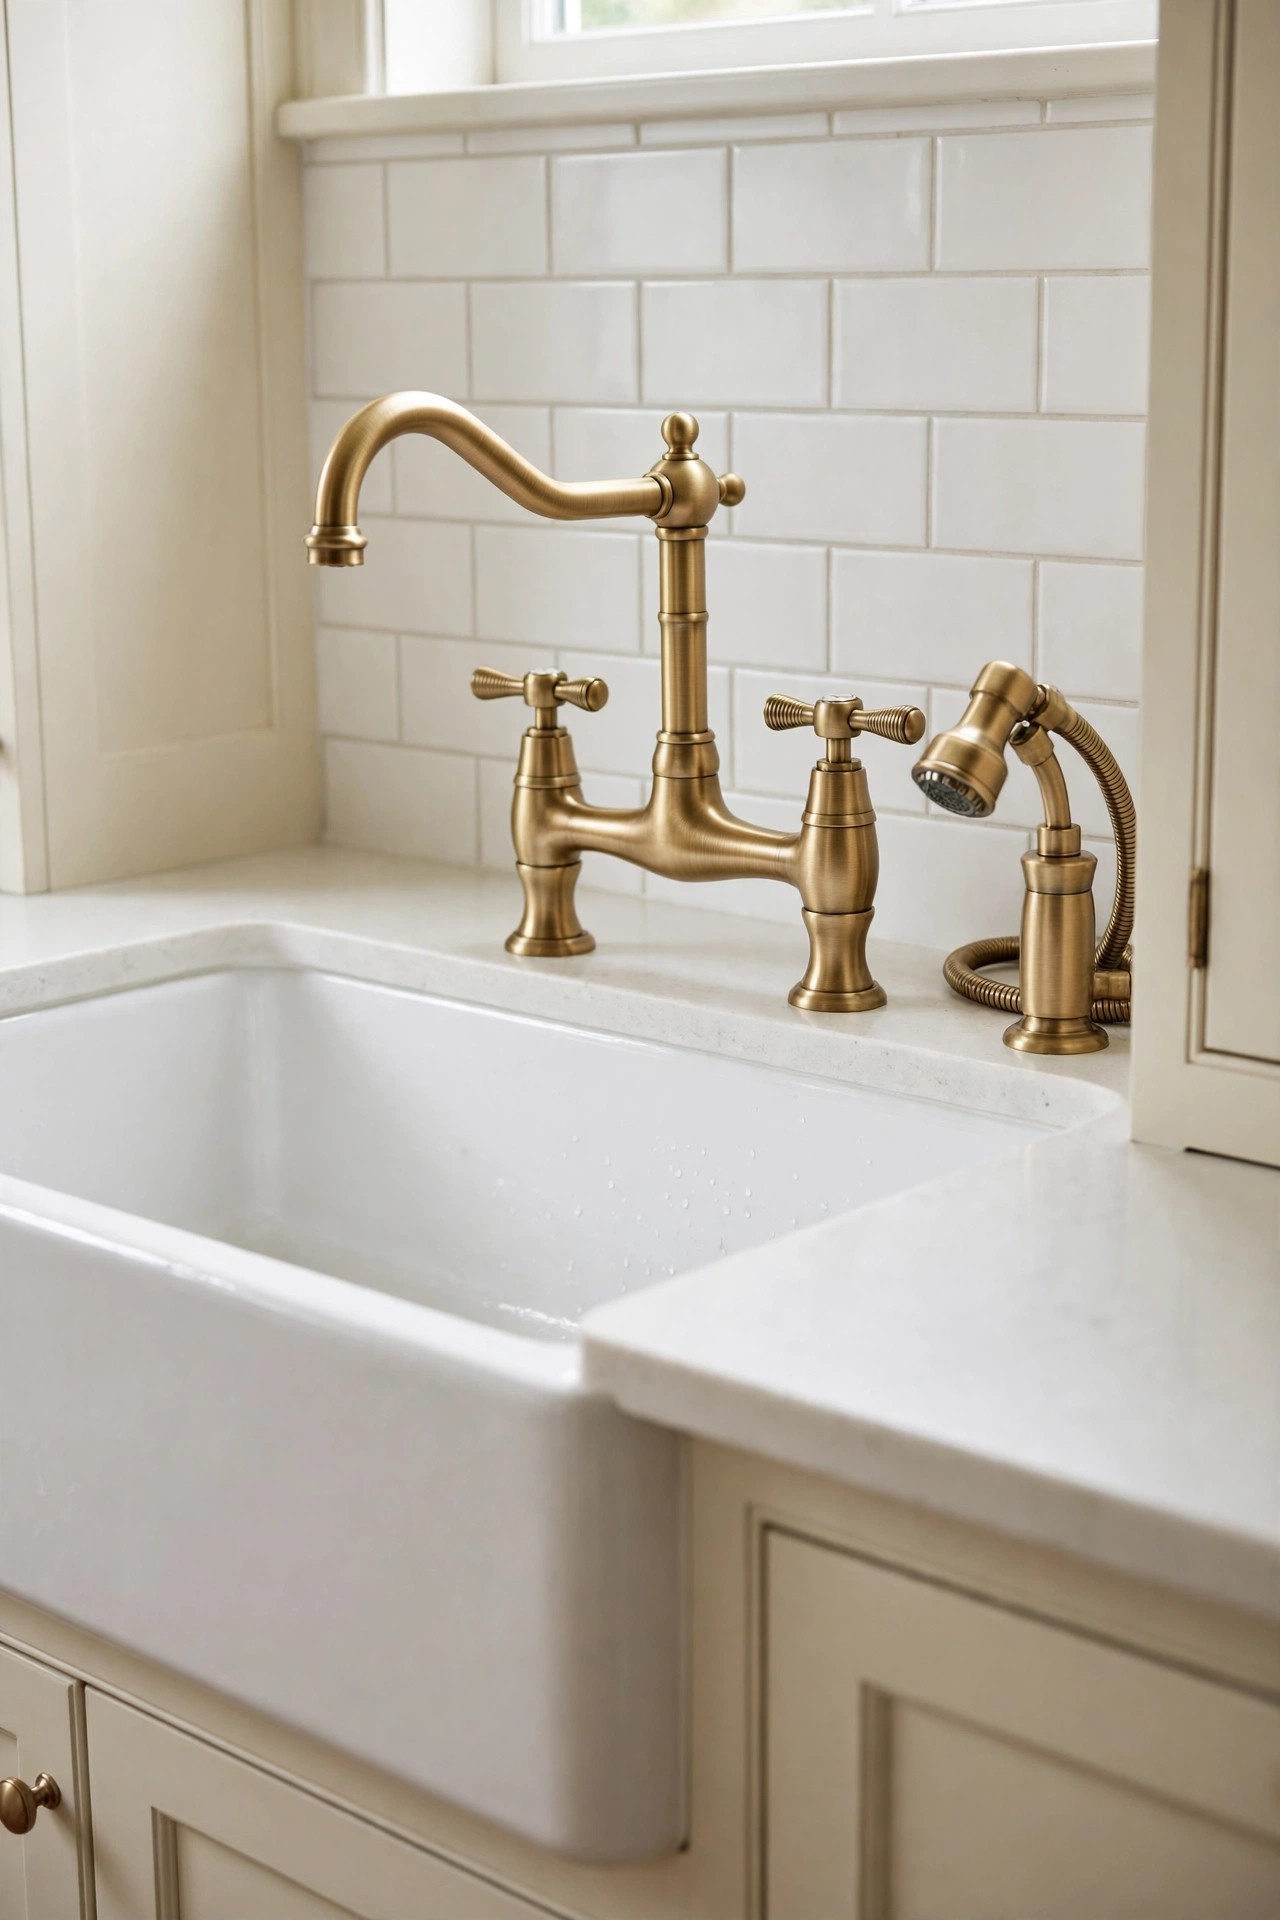
Description: The faucet is the one fitting you touch all day, and a bridge design in brushed brass gives a plain sink the feel of a traditional luxury kitchen. Two separate handles and an exposed bridge pipe suit farmhouse and transitional schemes, and solid brass bodies outlast coated plastic fittings. This is the priciest idea in the list and the least reversible, so it belongs in homes you plan to stay in, with the hole pattern checked twice before ordering.
Best For: Owners with a deck-mounted sink and a farmhouse or transitional scheme.
Not Ideal For: Sinks with a single centre hole and no room to drill, or any rental.
Estimated Cost: $180-$350 (estimate) for the faucet itself; a plumber, if you hire one, is extra.
Budget Note: One solid brass faucet kept for fifteen years costs less per year than two cheap coated ones replaced as the finish peels.
Renter Friendly: No
Renter Note: A faucet swap is a plumbing change and needs the landlord’s written agreement; most renters should put this budget into ideas 2 and 10 instead.
What You Need
Bridge faucet in brushed brass with a side sprayer, plumber’s tape, adjustable wrench, basin wrench, bucket and towels for the water left in the lines.
Product recommendation (partially verified): Kingston Brass KS3277ALBS Restoration Bridge Kitchen Faucet with Side Sprayer, Brushed Brass
Why it fits: Solid brass construction with a ceramic disc cartridge, a 360 degree swivel spout and a matching brass sprayer; the listing gives an 11.06 inch spout height and 1.8 GPM flow rate, which suits a deep farmhouse sink.
Retailer/product page: https://www.amazon.com/dp/B07FCW4QRQ
How To Do It
Count and measure your sink or counter holes first; this model needs a four hole deck layout including the sprayer.
Turn off the water supply valves under the sink and open the old faucet to drain pressure.
Remove the old faucet, clean the deck, and set the new bridge with fresh seals.
Connect the lines, turn the water back on slowly, and check every joint for leaks over a full day of use; if supply lines or shut-off valves look corroded, have a plumber do the swap instead.
Pro Tip
Photograph the plumbing under your sink before ordering; showing that photo to the seller or plumber confirms the connections faster than any measurement.
10. Hang Clear Glass Globe Pendants in Brass
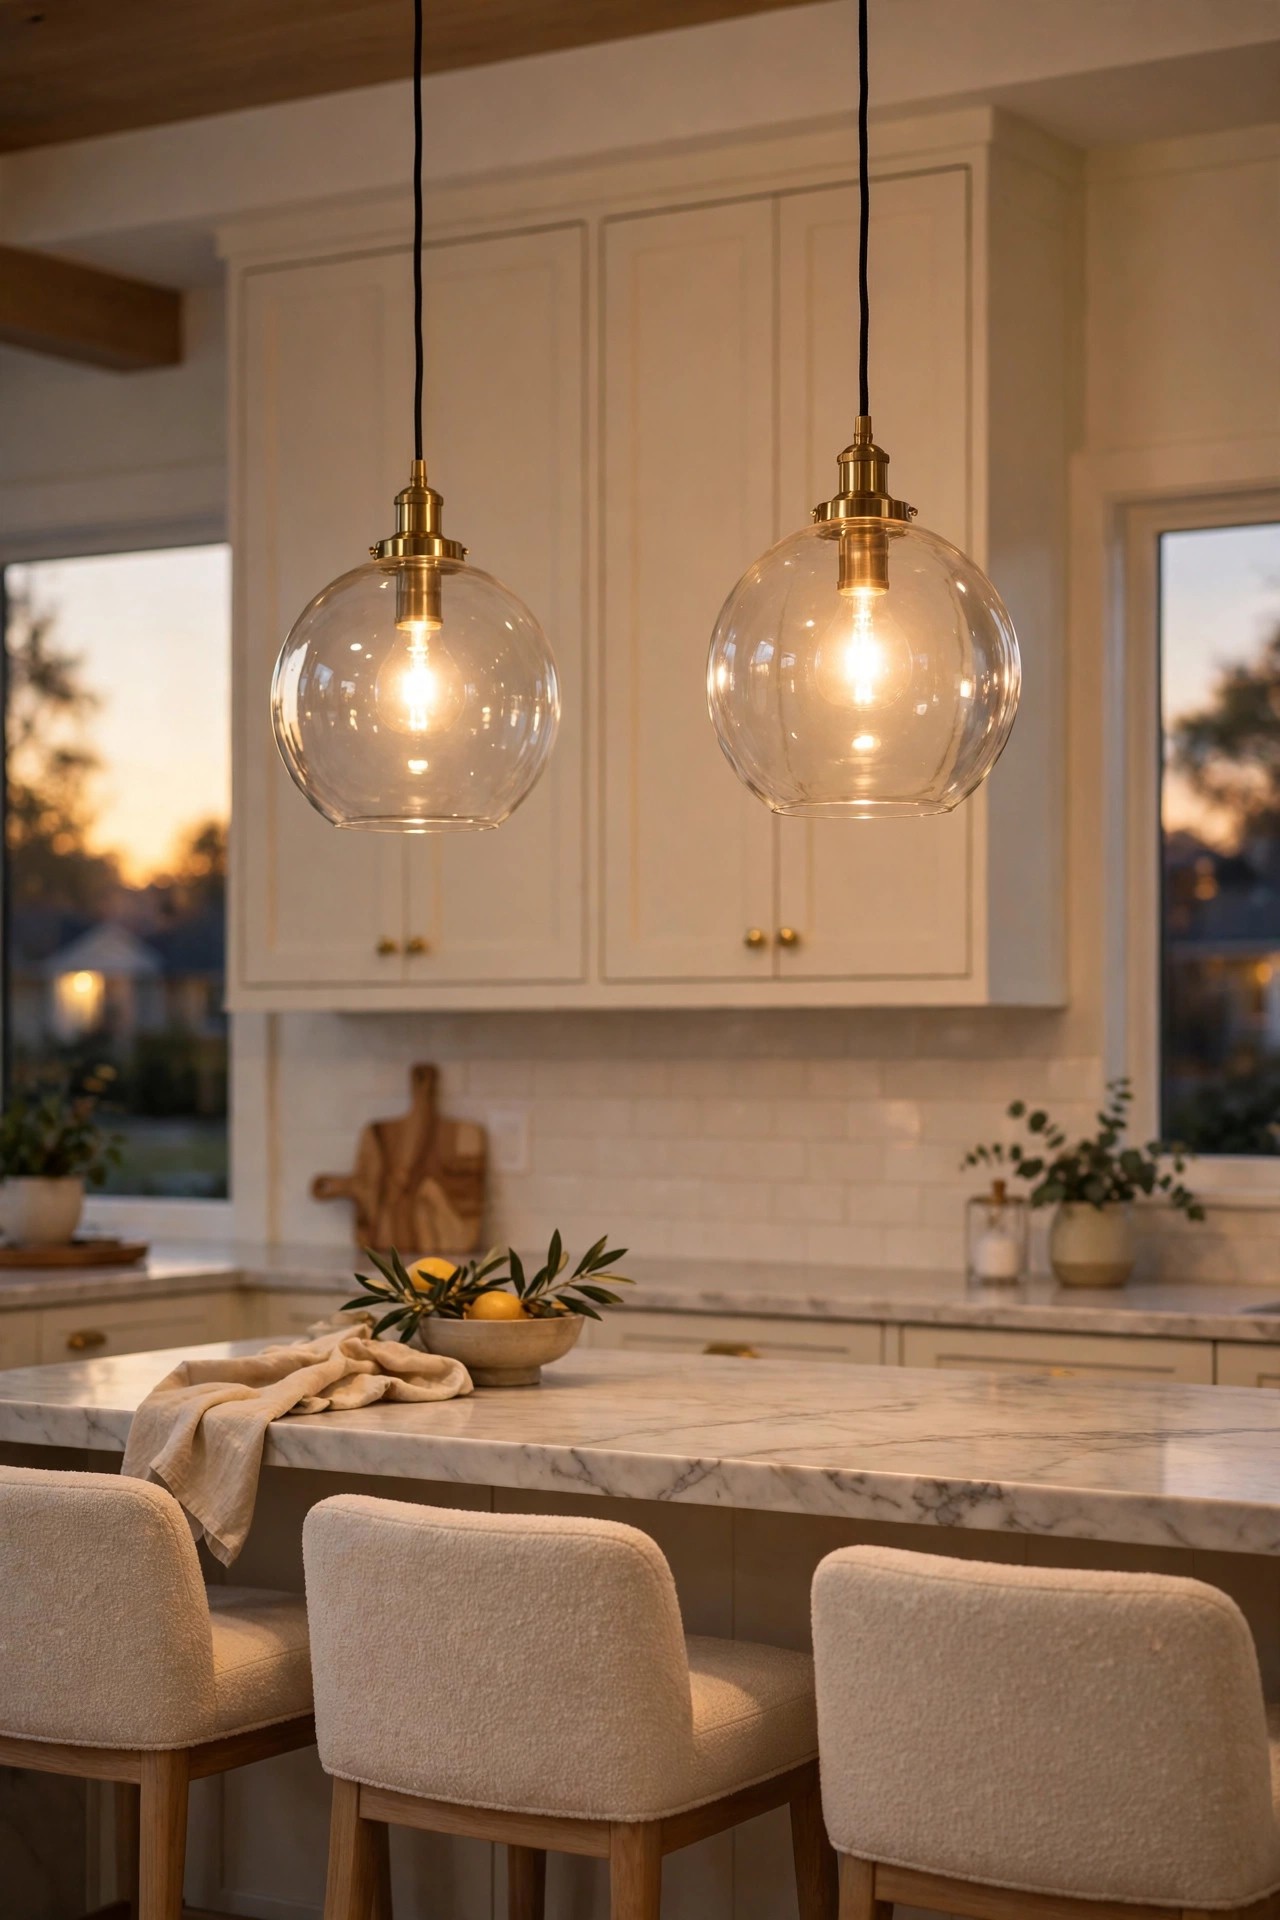
Description: Builders fit one flat ceiling light and leave islands and tables in gloom. A pair of clear glass globes with brass hardware gives the island its own pool of light and a finished focal point, while the clear glass keeps sight lines open in a small room. Globe shapes suit modern, transitional and mid-century schemes. Bulbs are not included with most pendants, so budget for warm white LED bulbs and check the maximum wattage on the label.
Best For: Islands, peninsulas and dining tables inside an open plan kitchen.
Not Ideal For: Very low ceilings where a hanging globe would sit below eye level over the walkway.
Estimated Cost: $60-$120 (estimate) for a pair of pendants plus bulbs; an electrician, if needed, is extra.
Budget Note: A matched pair in one box costs less than two singles, and it guarantees the glass and brass tones match.
Renter Friendly: With Conditions
Renter Note: Hardwired swaps need landlord permission and the old fitting kept safe to refit; treat this as an owner’s idea unless your lease clearly allows fixture changes.
What You Need
Pair of glass globe pendants, warm white LED bulbs within the rated wattage, ladder, voltage tester.
Product recommendation (verified): CASAMOTION Pendant Lights Kitchen Island 2 Pack, Clear Glass Organic Globe, Brass Gold, 8 inch
Why it fits: Two 8 inch clear glass globes with brass gold hardware and adjustable cords, sized for an island or table; the listing confirms bulbs are not included, and the set ships from Amazon, sold by TY HOME.
Retailer/product page: https://www.amazon.com/dp/B09ZV21LXD
How To Do It
Turn off power at the breaker and confirm the circuit is dead with a voltage tester; hardwired lighting is a job for a qualified electrician if you are not trained for it.
Remove the old fitting and note which wire goes where before disconnecting anything.
Fit the canopy, set both cords so the globe bottoms hang about 30 to 36 inches above the island surface, and level the pair.
Fit warm white LED bulbs within the rated wattage, restore power, and check both lights from the doorway for even height.
Pro Tip
Hang pendants in odd visual weight: two larger globes read calmer than three small ones over most islands, and they are easier to keep at one height.
11. Hang a Linen Cafe Curtain and Grow Herbs on the Sill
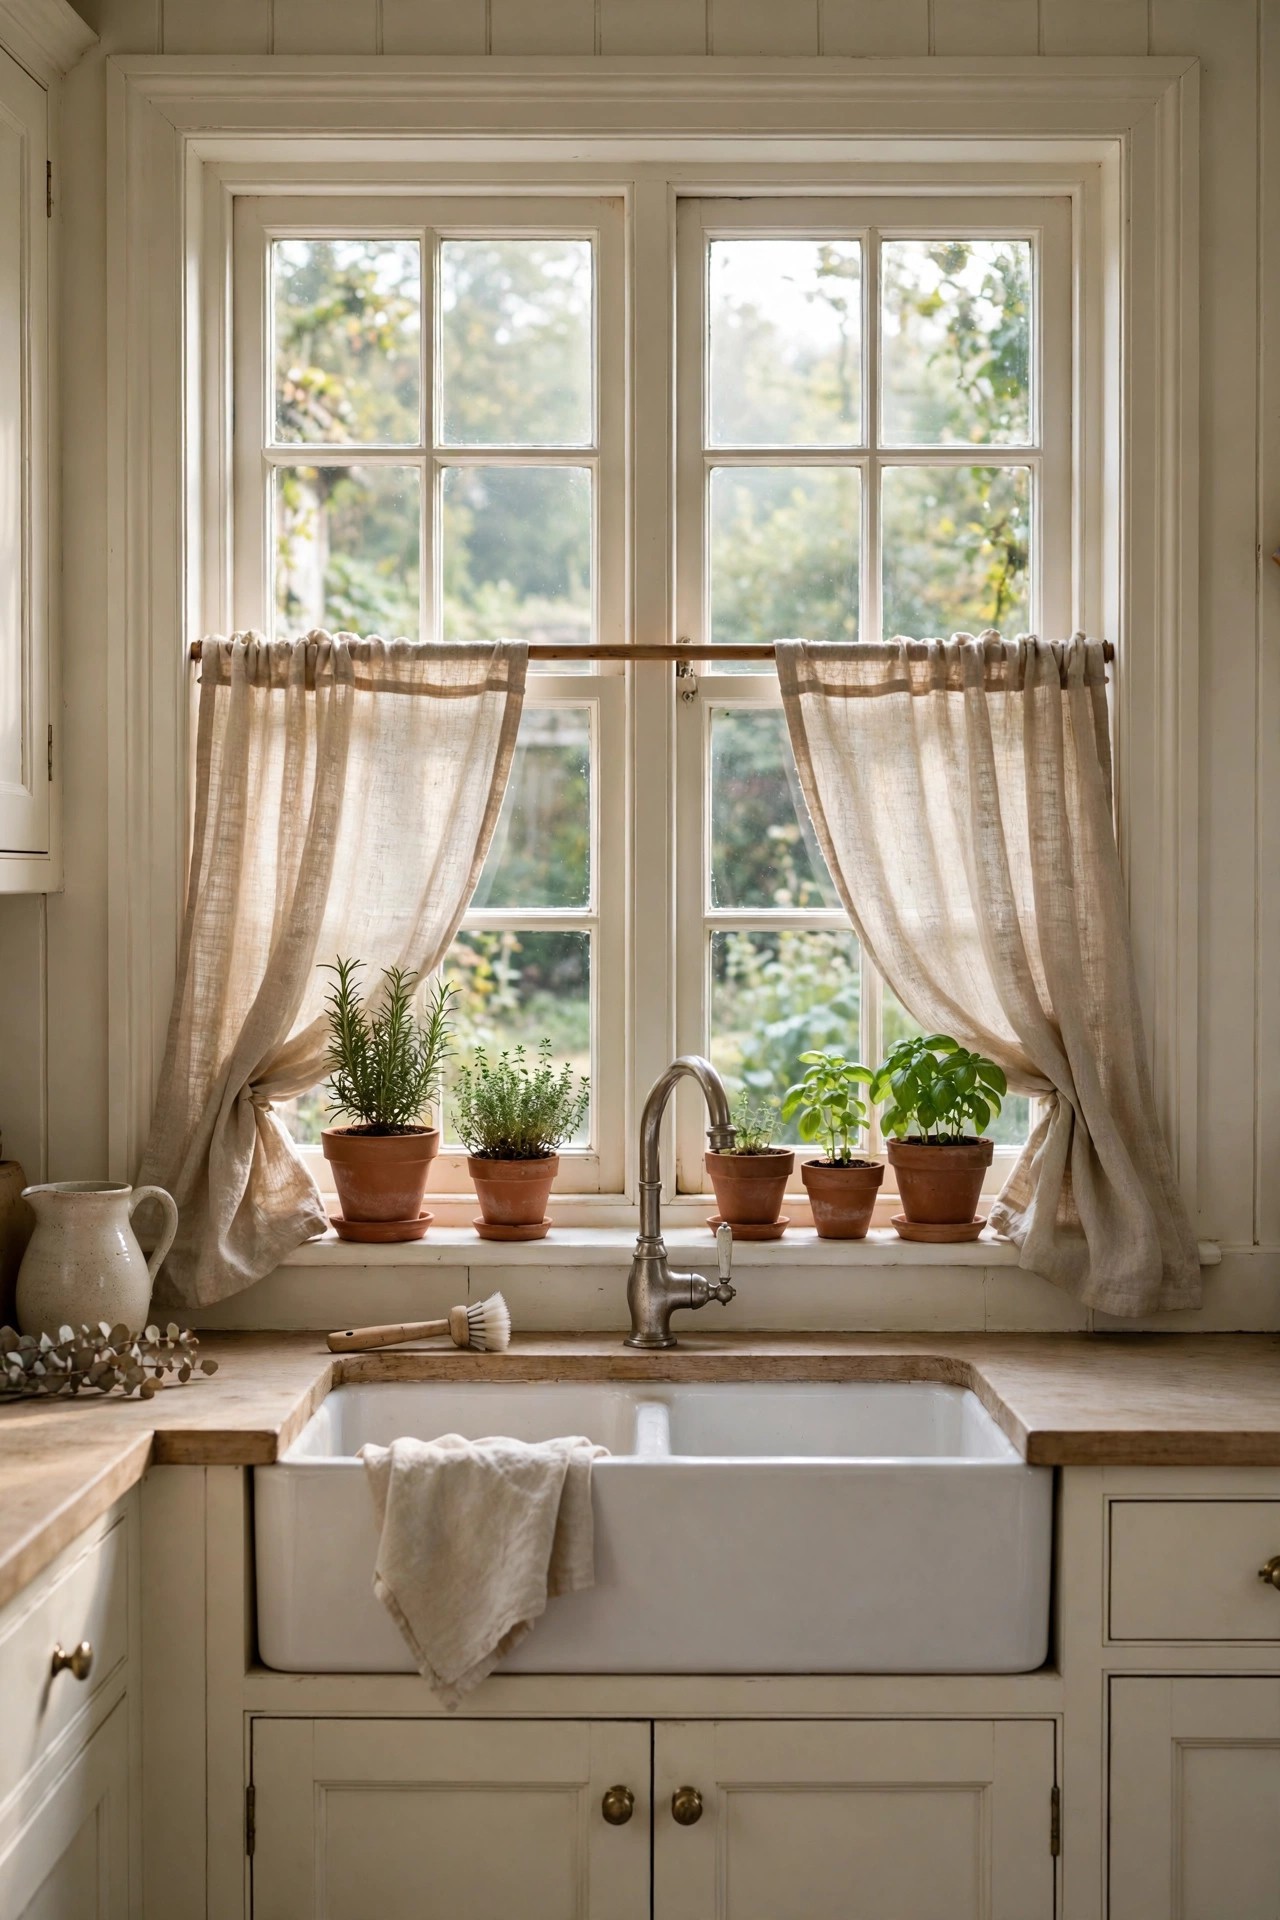
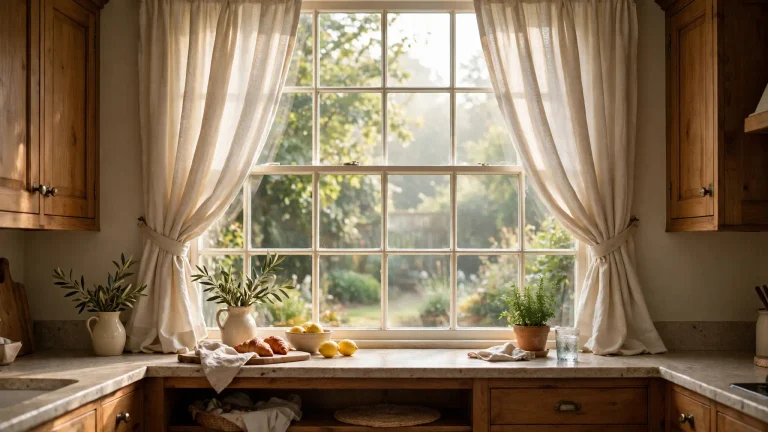
Description: A bare window over the sink is a missed chance, because it is the view you face most in the kitchen. A short linen cafe curtain covers the lower half for privacy, keeps the top half open for light, and adds the soft texture a cottage kitchen needs. Add two or three small herb pots on the sill and the window starts working for you. Keep the fabric a few inches from the faucet swing and out of the splash line.
Best For: Ground floor and overlooked kitchens with a window over the sink.
Not Ideal For: Windows directly above a gas hob, where loose fabric near heat is unsafe.
Estimated Cost: $15-$35 (estimate) for a two panel curtain and a tension rod.
Budget Note: Herbs you already grow from seed cost almost nothing; the curtain and rod are the whole spend.
Renter Friendly: Yes
Renter Note: A spring tension rod holds the curtain with no screws and no holes, and the whole window dressing packs away in minutes.
What You Need
Two linen cafe curtain panels at 24 inch length, spring tension rod sized to the window, two or three small pots with drainage and a tray, potting mix and herb plants or seeds.
Product recommendation (partially verified): jinchan Floral Kitchen Curtains, 24 Inch Linen Tier Curtains, 2 panels, black botanical print on beige
Why it fits: Each panel measures 26 x 24 inches with a 3 inch pole pocket that slides onto a tension rod, the linen blend filters light without darkening the sink area, and the beige ground suits the cream palette.
Retailer/product page: https://www.amazon.com/dp/B0F4JHP7TX
How To Do It
Measure the inside width of the window frame and choose a tension rod to match.
Slide both panels onto the rod and fix the rod at the height that covers the lower half of the glass.
Set the herb pots on a tray on the sill to catch drips and protect the paint.
Turn the pots a quarter turn every few days so the herbs grow evenly toward the light.
Pro Tip
Choose herbs you actually cook with and keep it to three pots; a crowded sill blocks the light the curtain is meant to filter.
12. Line Up Matching Glass Canisters
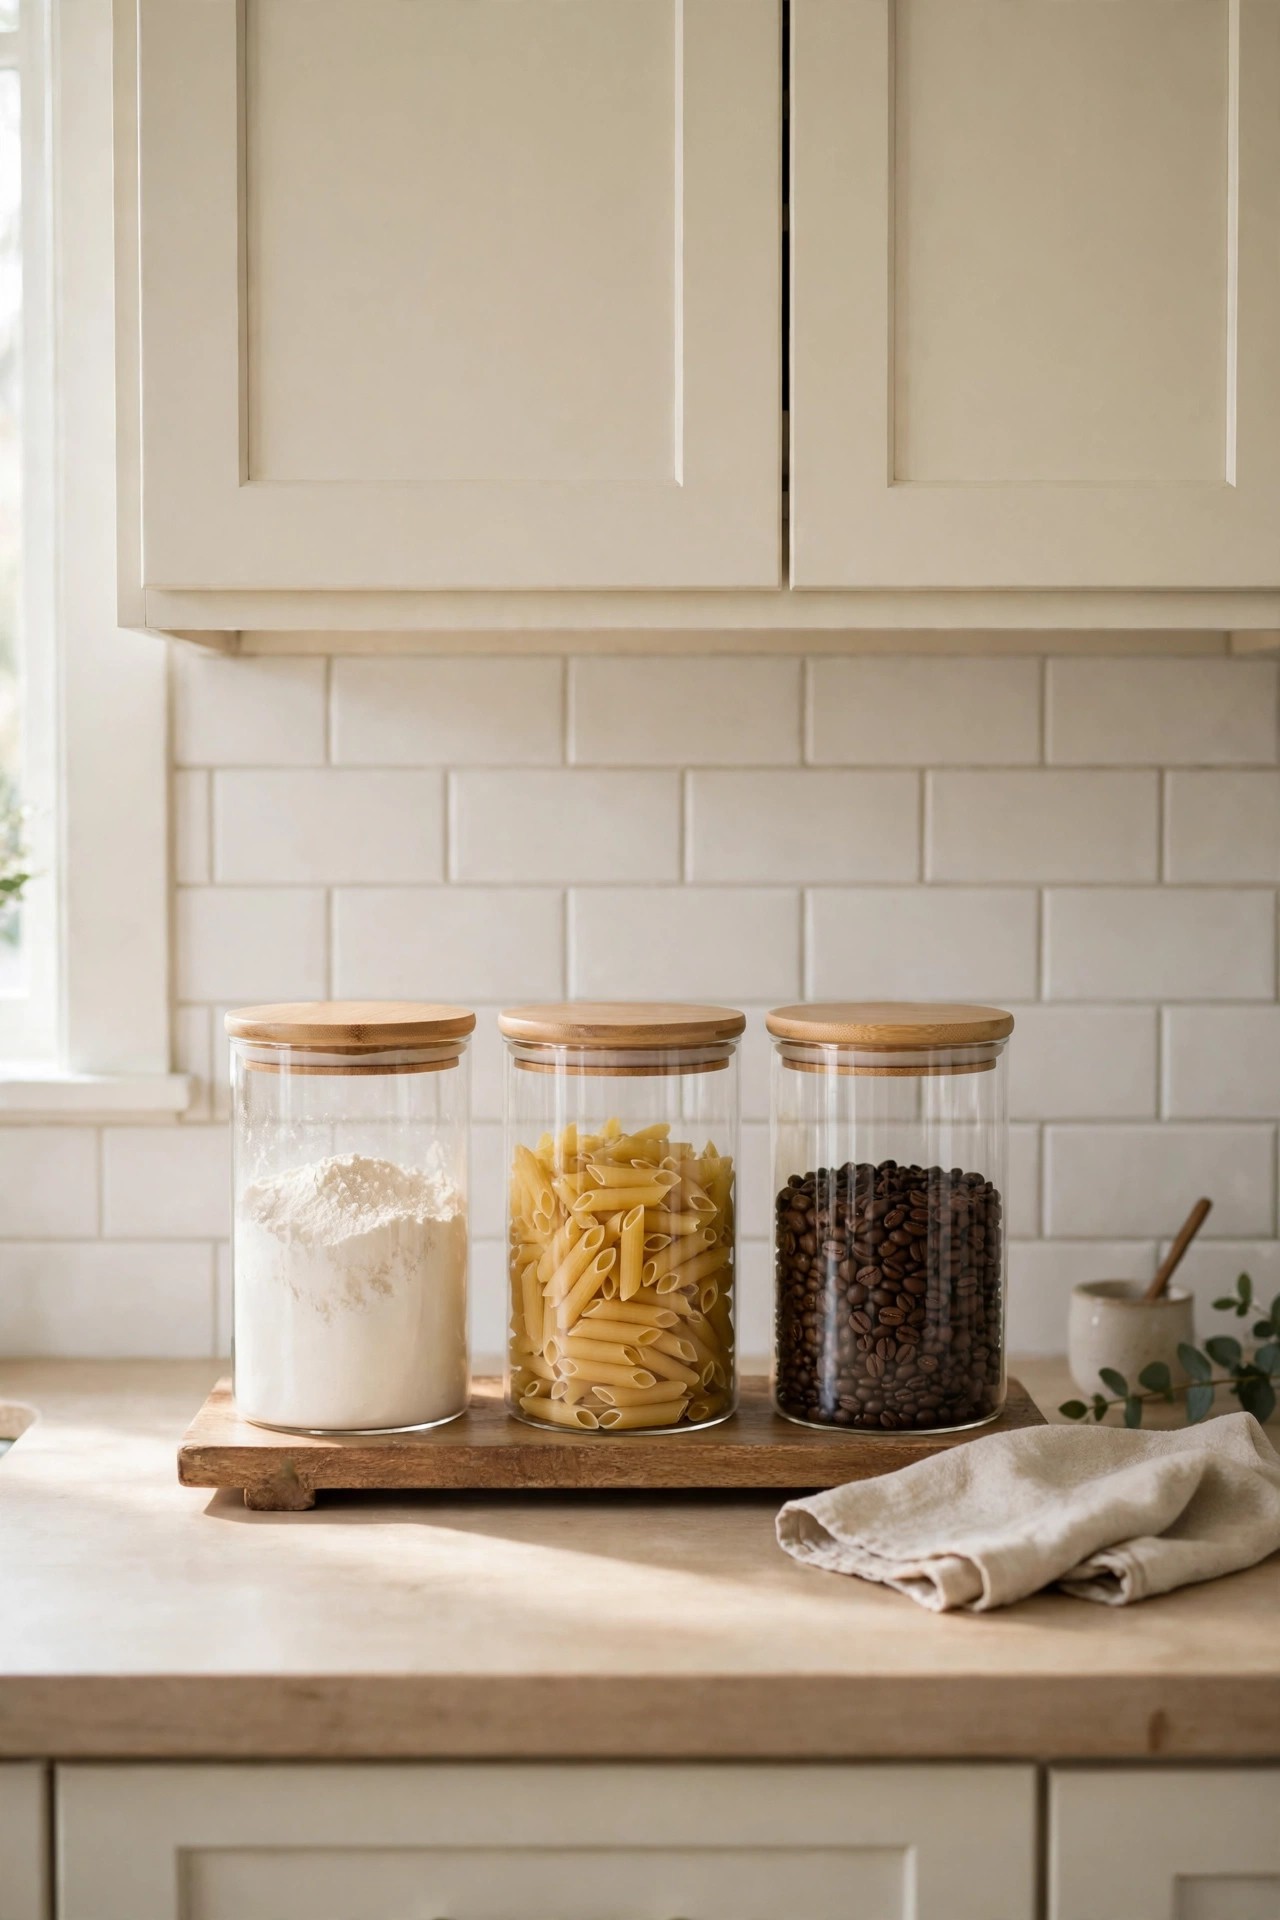
Description: Half-open bags and boxes in five different designs make counters look messy even in a clean kitchen. Decanting flour, sugar, coffee, tea and pasta into one set of clear glass canisters with bamboo lids gives the counter a single calm rhythm, and you see at a glance what is running low. Square jars sit flush against the backsplash and waste no space. Keep the set to everyday staples; the rest belongs in a cupboard.
Best For: Counters with visible dry goods clutter and a minimalist or modern scheme.
Not Ideal For: Homes with toddlers who pull items off counters; glass belongs inside a latched cupboard there.
Estimated Cost: $30-$55 (estimate) for a set of five jars.
Budget Note: One five piece set covers the daily staples; a second set for baking supplies can wait until the first proves itself.
Renter Friendly: Yes
Renter Note: The jars sit loose on the counter or a shelf and move out with you; nothing is fixed or marked.
What You Need
Set of five glass canisters with airtight lids, a funnel, a tray or board to group them, dry goods to decant.
Product recommendation (partially verified): GENICOOK Airtight Glass Storage Canisters, Set of 5, Borosilicate Glass with Bamboo Lids
Why it fits: Five graduated sizes (46, 30.4, 22, 22 and 13.5 oz) cover flour down to tea, the silicone ringed bamboo lids seal air out, and the square shape lines up neatly on a counter or shelf.
Retailer/product page: https://www.amazon.com/dp/B0GTQHHWTB
How To Do It
Wash and dry the jars fully before filling; any moisture sealed inside shortens the life of dry goods.
Decant with a funnel and leave an inch of headroom so the lids seal cleanly.
Set the jars on a tray against the backsplash, tallest at the back.
Keep glass jars back from the counter edge and out of the path of falling pan handles.
Pro Tip
Put the expiry date of each food on a small sticker on the jar base when you decant; the system stays honest without labels on show.
13. Use the Space Inside the Cabinet Doors
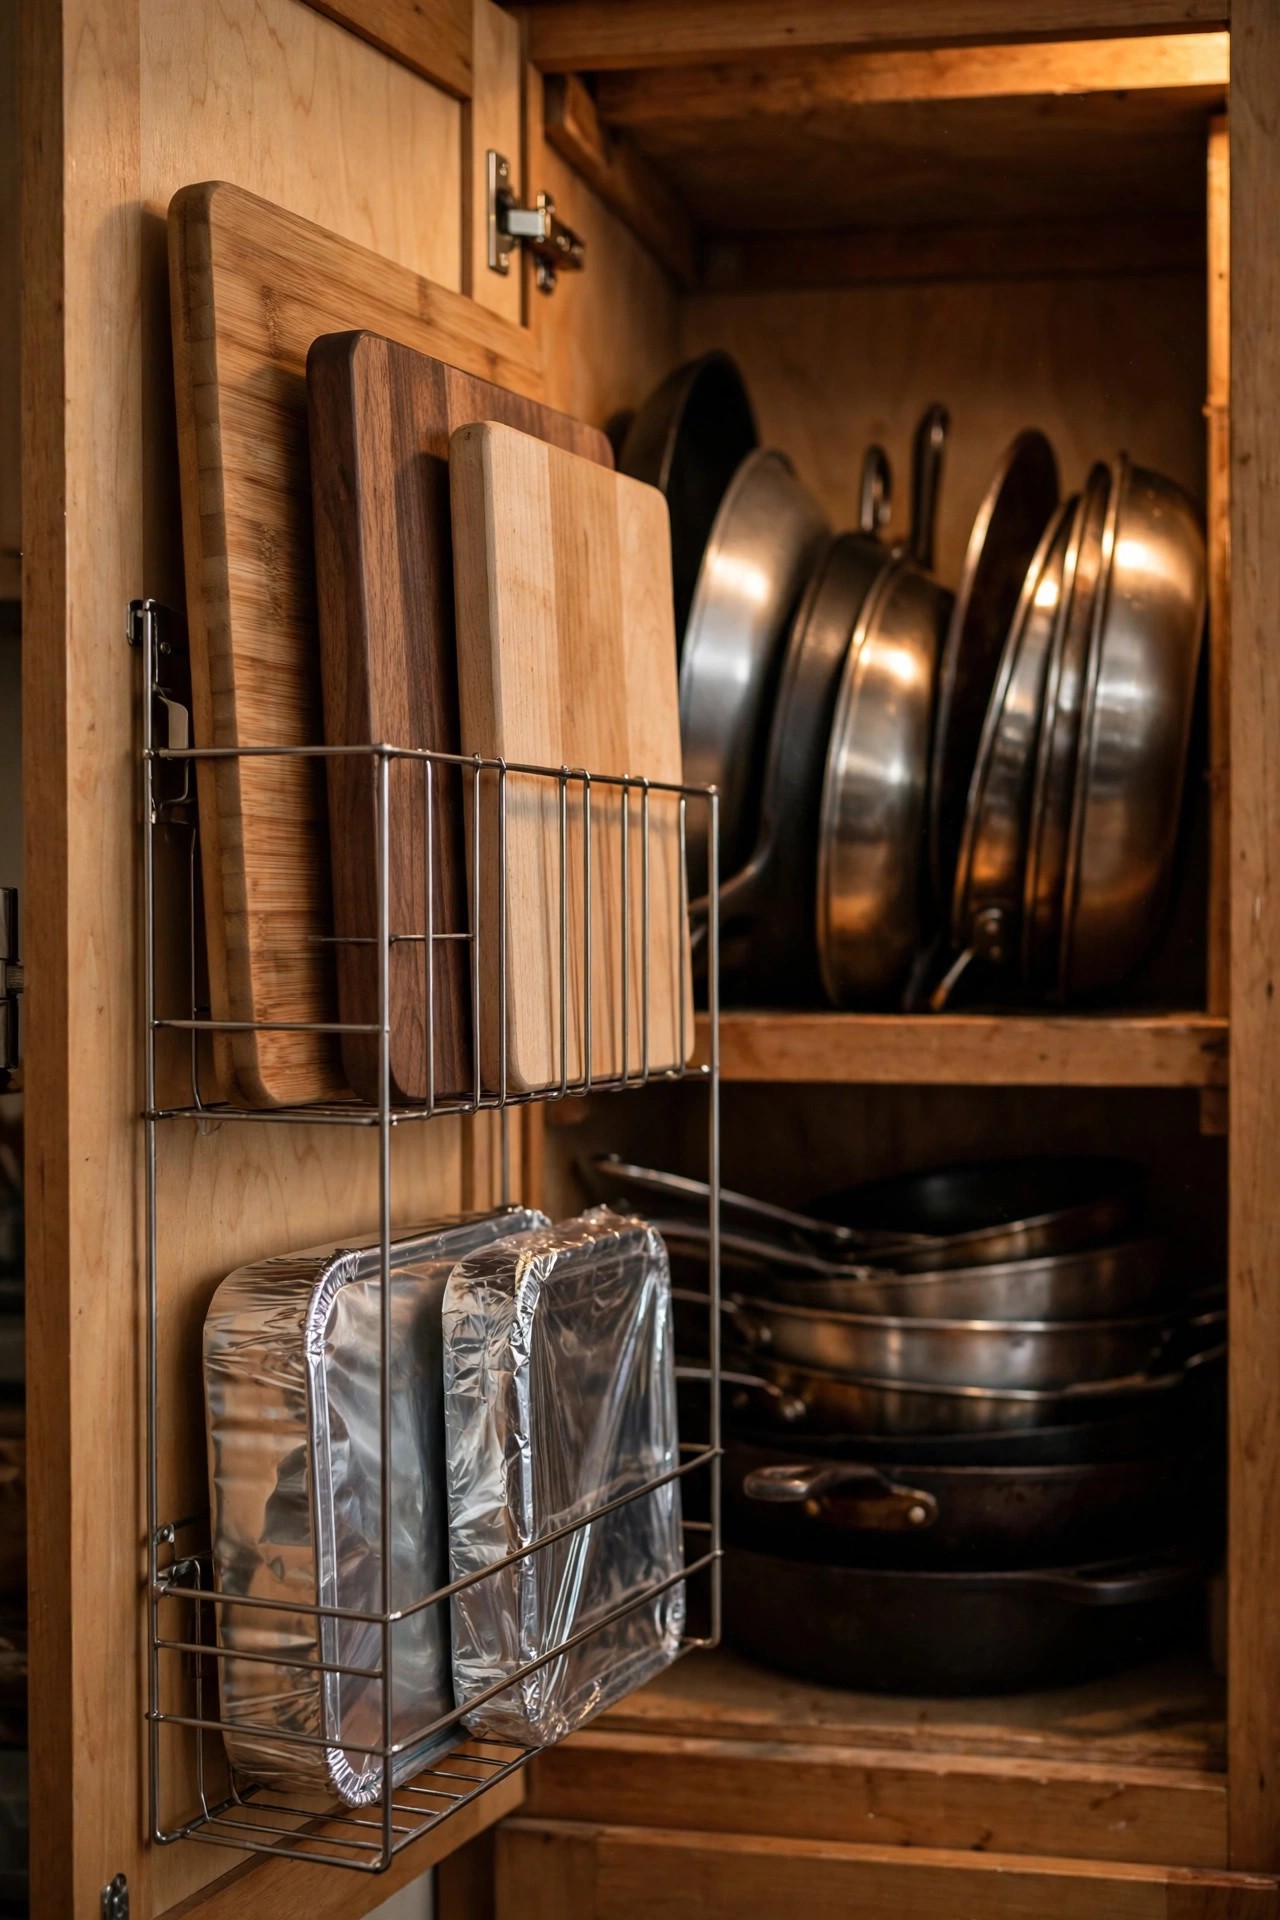
Description: Cutting boards, foil boxes and tray lids are flat, awkward and always at the bottom of a pile. A slim steel rack hooked over the inside of a cabinet door holds them upright in space that is otherwise wasted, right beside the counter where you use them. The hooks need no screws in hook-on mode, and the rack lifts off in seconds. Check the door still closes fully with your thickest board inside before loading it up.
Best For: Small kitchens short on drawers, and anyone tired of stacked boards.
Not Ideal For: Very narrow doors, or cabinets where stored pans already reach the door face.
Estimated Cost: $20-$35 (estimate) for a two pack of door racks.
Budget Note: A two pack covers the board door and the wrap door in one order, which is usually all a kitchen needs.
Renter Friendly: Yes
Renter Note: Used in hook-on mode the racks need no screws and leave no marks; add felt pads where the hooks touch the door face if your doors are painted.
What You Need
Two over-door cabinet racks, felt pads, tape measure, your thickest cutting board for a test fit.
Product recommendation (verified): Simple Houseware Over the Cabinet Door Organizer Holder, 2 pack, Silver
Why it fits: The pack gives two sizes (13.5 inch and 12.5 inch wide, both 18.5 inch tall) for boards, wraps and lids, hooks over the door or screw mounts if preferred, and ships from Amazon, sold by EPFamily Direct.
Retailer/product page: https://www.amazon.com/dp/B081K9BSTB
How To Do It
Measure the inside width of the door and check the rack depth against what is stored behind it.
Hook the rack over the top of the door and add felt pads at the contact points.
Load your thickest board first and close the door slowly to confirm clearance.
Fill the second rack with wrap and foil boxes on the neighbouring door.
Pro Tip
Store boards with the used side facing the door; the clean face stays clean, and boards dry faster upright than stacked flat.
14. Pull Up Upholstered Counter Stools
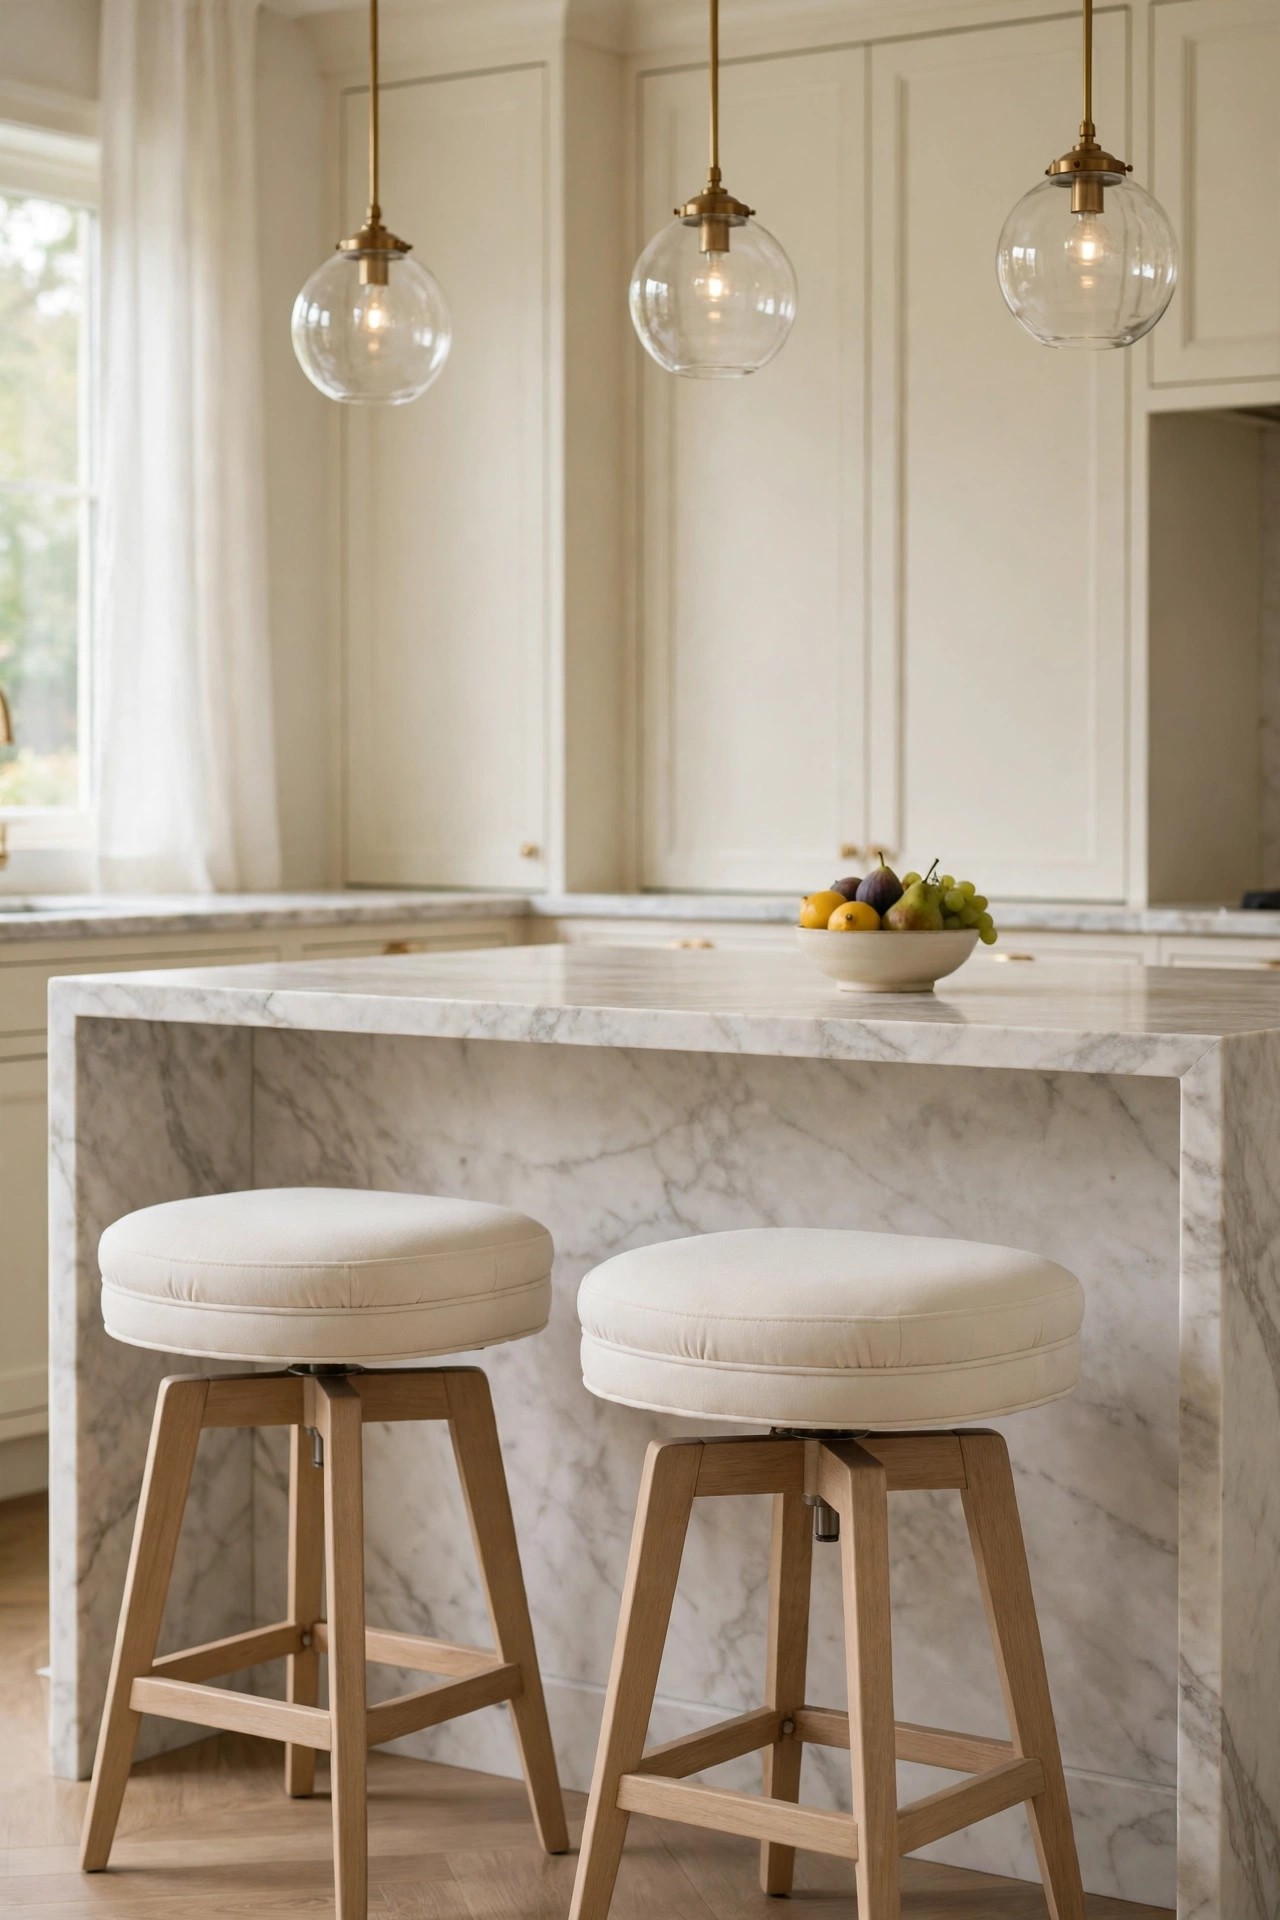
Description: Hard backless stools are why nobody lingers at the island. Upholstered counter stools with a back and a soft ivory fabric seat turn the island into a real place to sit, for breakfast, homework and talking to the cook. Ivory keeps the palette light and suits luxury, transitional and modern rooms. Measure before you buy: a 24 inch seat suits a standard 36 inch counter, and a swivel base helps in tight walkways.
Best For: Islands and peninsulas used for eating, working or gathering.
Not Ideal For: Very busy family kitchens where pale fabric would face daily spills from small children.
Estimated Cost: $110-$190 (estimate) for a set of two stools.
Budget Note: Two comfortable stools get used daily; four hard ones get avoided, so comfort per seat is the real saving.
Renter Friendly: Yes
Renter Note: Freestanding furniture with no fixing at all; felt pads under the legs protect rented floors.
What You Need
Two counter stools at the right seat height, felt floor pads, tape measure, fabric protector spray if the maker allows it.
Product recommendation (partially verified): KISLOT 24 Inch Counter Height Swivel Bar Stools, Set of 2, Ivory fabric, solid wood legs
Why it fits: The 24 inch seat height suits standard 36 inch counters, the ivory linen seat and wood legs match the warm palette, and the swivel seat helps guests slide in without dragging the legs.
Retailer/product page: https://www.amazon.com/dp/B0FX3NSSBJ
How To Do It
Measure your counter height and confirm a 24 inch seat leaves about 12 inches of leg room.
Build both stools on a soft surface and tighten every bolt in the maker’s order.
Add felt pads to the legs before the stools touch the floor.
Space the stools about 24 inches apart, centre to centre, so elbows have room.
Pro Tip
Swivel stools and small children are a wobbly mix; if toddlers climb, choose fixed stools now and swivel later.
15. Build a Small Coffee Station in One Corner
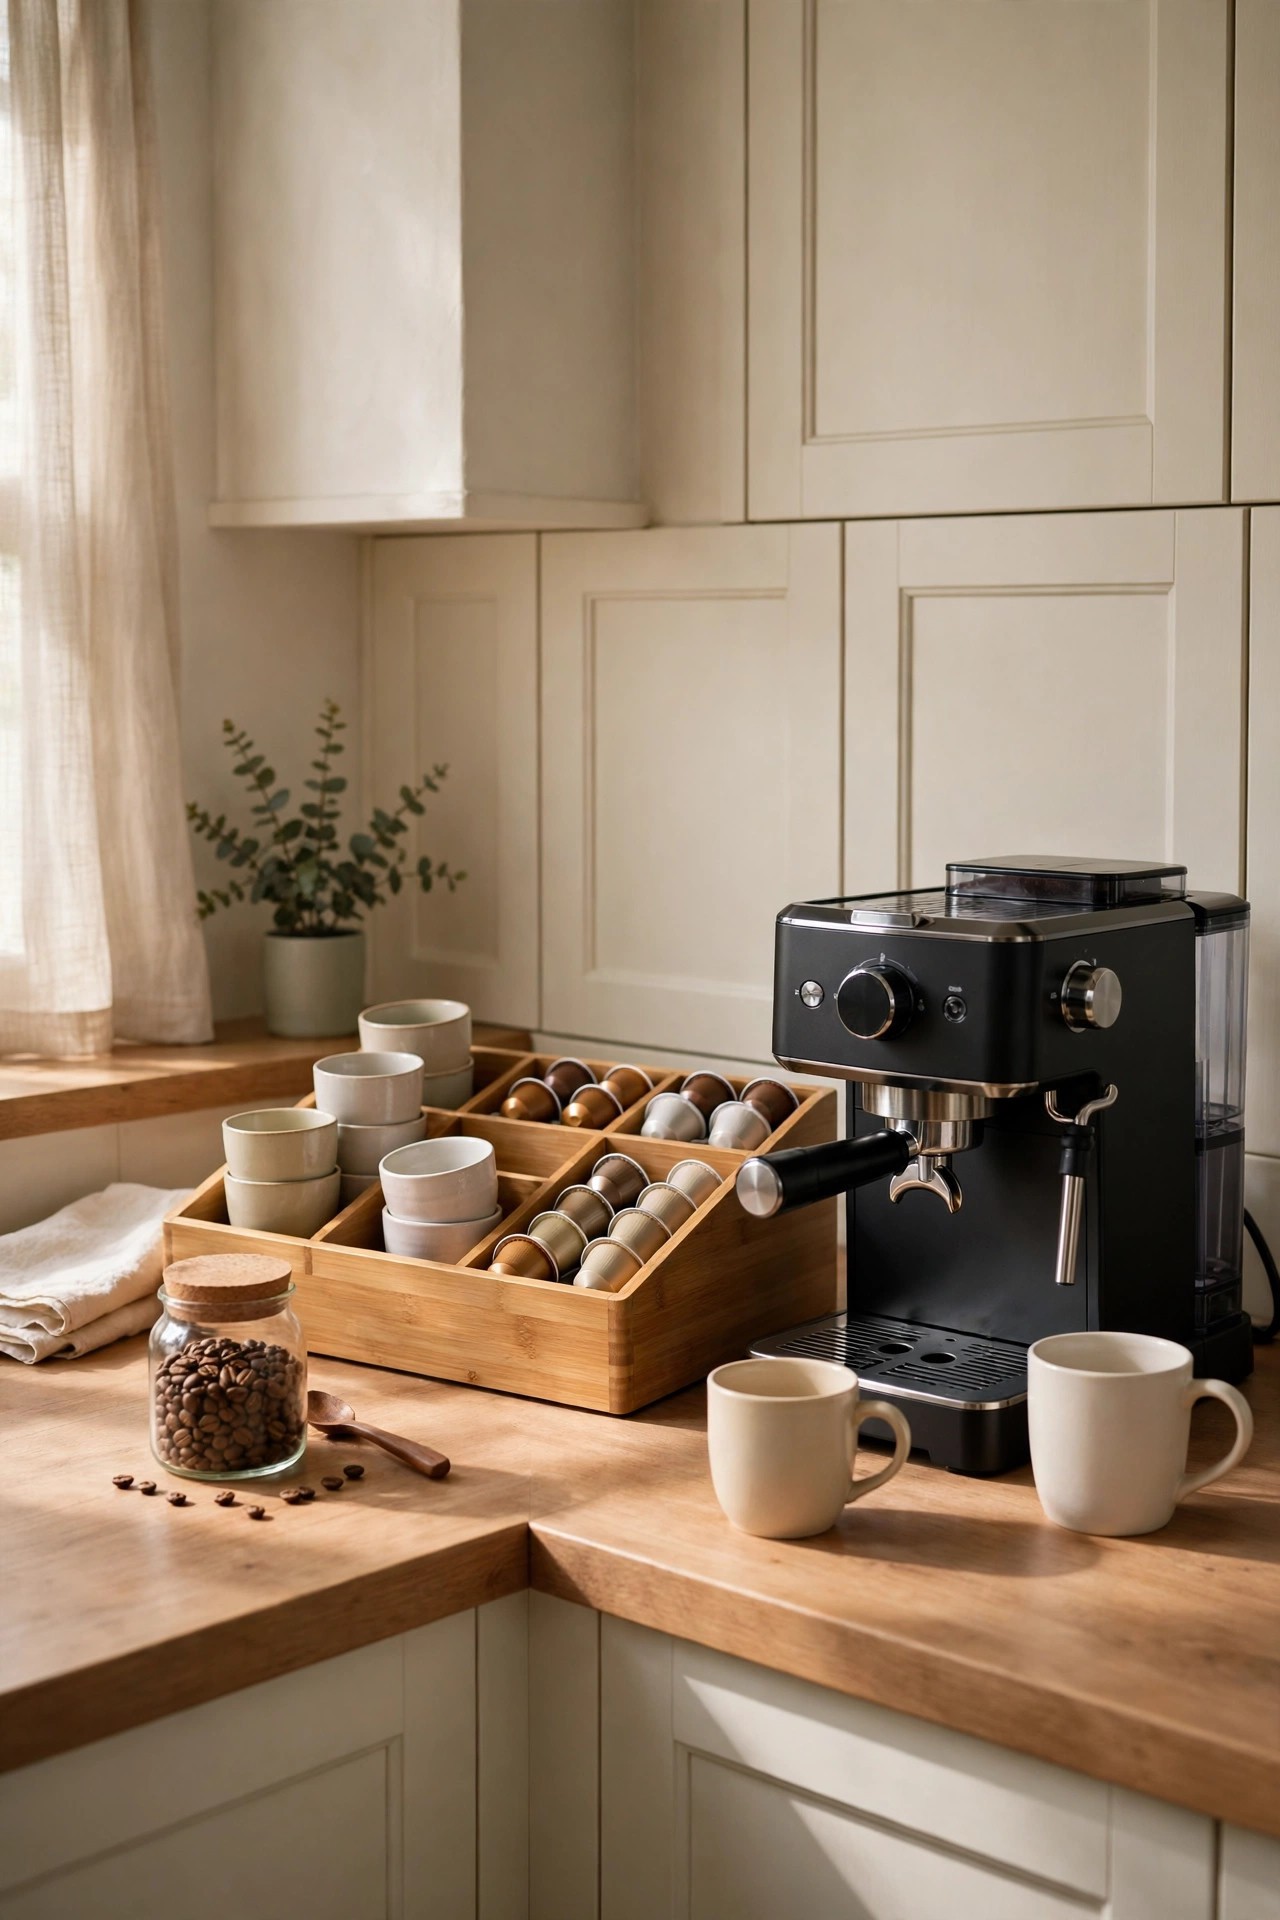
Description: Coffee gear spreads: machine on one counter, pods in a drawer, mugs in a cupboard, sugar somewhere else. Gathering it into one corner station with a compartment organizer keeps the morning routine in arm’s reach and frees the rest of the counter. Bamboo keeps the station warm against cream cabinets, and a small tray under the machine catches drips. Keep the whole station clear of the sink splash zone and the stove.
Best For: Daily coffee or tea drinkers with one spare counter corner.
Not Ideal For: Kitchens where the only free corner sits between the sink and the stove, inside both splash zones.
Estimated Cost: $35-$60 (estimate) for the organizer, excluding the machine and mugs you already own.
Budget Note: The organizer is the only purchase; machines, mugs and jars come from what the kitchen already has.
Renter Friendly: Yes
Renter Note: Everything stands loose on the counter and packs into one box when you move.
What You Need
Countertop compartment organizer, coffee machine, mugs, pods or beans, a small tray for drips, a short power lead route to an outlet.
Product recommendation (partially verified): Mind Reader Cup and Condiment Station, Bamboo, 11 compartments
Why it fits: Eleven compartments hold cups, lids, pods, tea and stirrers in one 18.125 x 9.5 inch footprint, the bamboo finish suits the warm palette, and rubber grips keep the station steady on the counter.
Retailer/product page: https://www.amazon.com/dp/B079KDN8CM
How To Do It
Choose a corner near an outlet but clear of the sink splash zone, and wipe it dry.
Set the machine on its tray first, then place the organizer beside it.
Load the compartments by routine order: cups, pods or beans, tea, sugar, stirrers.
Keep machine cords short, dry and clear of the sink, and refill the station once a week so it never spreads.
Pro Tip
Limit the station to a tray’s width of counter; if a new item does not fit the footprint, something old leaves, which is what keeps the corner tidy.
Practical Tips for Kitchen Ideas
Set one metal and one wood for the whole room, then repeat them. Ideas 2, 5, 9 and 10 work together because brushed brass and warm wood appear in each; mixing a third metal is what makes kitchens look unsettled.
Do surfaces before storage before styling. Paint (idea 1), tile (idea 3) and lighting (idea 4) change how every later purchase looks, so storage and decor bought first often end up the wrong colour.
Measure the three numbers that cause most returns: pull hole spacing, counter height for stools, and the walkway width before any island cart. Five minutes with a tape prevents most kitchen mistakes.
Small apartments gain the most from vertical and hidden space: the rail (idea 7), the door racks (idea 13) and the cart (idea 6) add storage without touching the floor plan.
Keep one clear landing zone beside the stove and one beside the sink. Every organisation system in this list fails if hot pans and washing up have nowhere safe to land.
Frequently Asked Questions
Which kitchen idea makes the biggest difference for the least money?
The hardware swap in idea 2. A full set of matching brass pulls costs less than a family takeaway in many kitchens, fits in an afternoon, and changes every door and drawer you touch. Paint (idea 1) changes more, but it takes days and suits owners, not renters.
How can I update a rental kitchen without drilling or painting?
Use ideas 2, 4, 8, 11, 12, 13 and 15: hardware that reuses old holes, plug-in lighting, a washable runner, a tension rod curtain, canisters, hook-on door racks and a countertop station. None of them marks a wall, and all of them pack up when you move. The same no-drill thinking applies in the bathroom, as these bathroom decor ideas show.
What order should I do these ideas in?
Surfaces first (paint, backsplash, lighting), storage second (shelves, rail, door racks, cart), and finishing pieces last (faucet, pendants, stools, station), because each stage sets the colours and sizes the next stage must match.
How do I choose between open shelves and closed cabinets?
Open shelves suit a short list of daily dishes you are happy to dust and wash; closed cabinets suit everything else. Most kitchens work best with one short run of shelves for daily pieces and doors for the rest, which is the balance idea 5 is built around.
What colours work with brass hardware?
Warm off-whites, cream, sage green and warm wood all sit well with brushed brass, and that is the palette used across this list. Cool greys and bright white can fight the warmth of brass; if your kitchen is already cool toned, test one pull against a door before ordering the full set.
Conclusion
A better kitchen rarely comes from one large purchase. It comes from a calm colour on the cabinets, the same warm metal repeated, light where you work, and storage that uses doors, walls and corners you already own. If the budget allows only one move this month, start with the hardware swap or the under cabinet lighting from this list, then build outward. The same repeat-one-palette rule calms a bedroom too, as these bedroom ideas show.
7 Comments
Comments are closed.