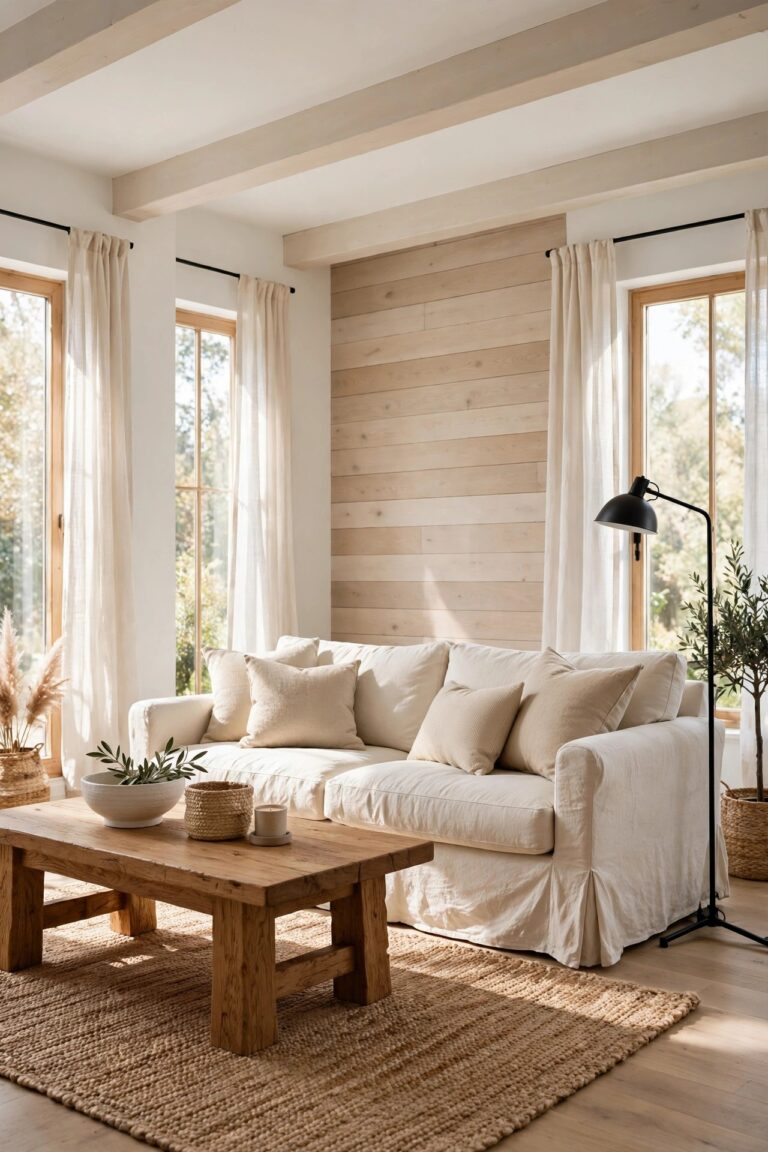
17 Wall Paneling Ideas From Classic Frames to Modern Slats
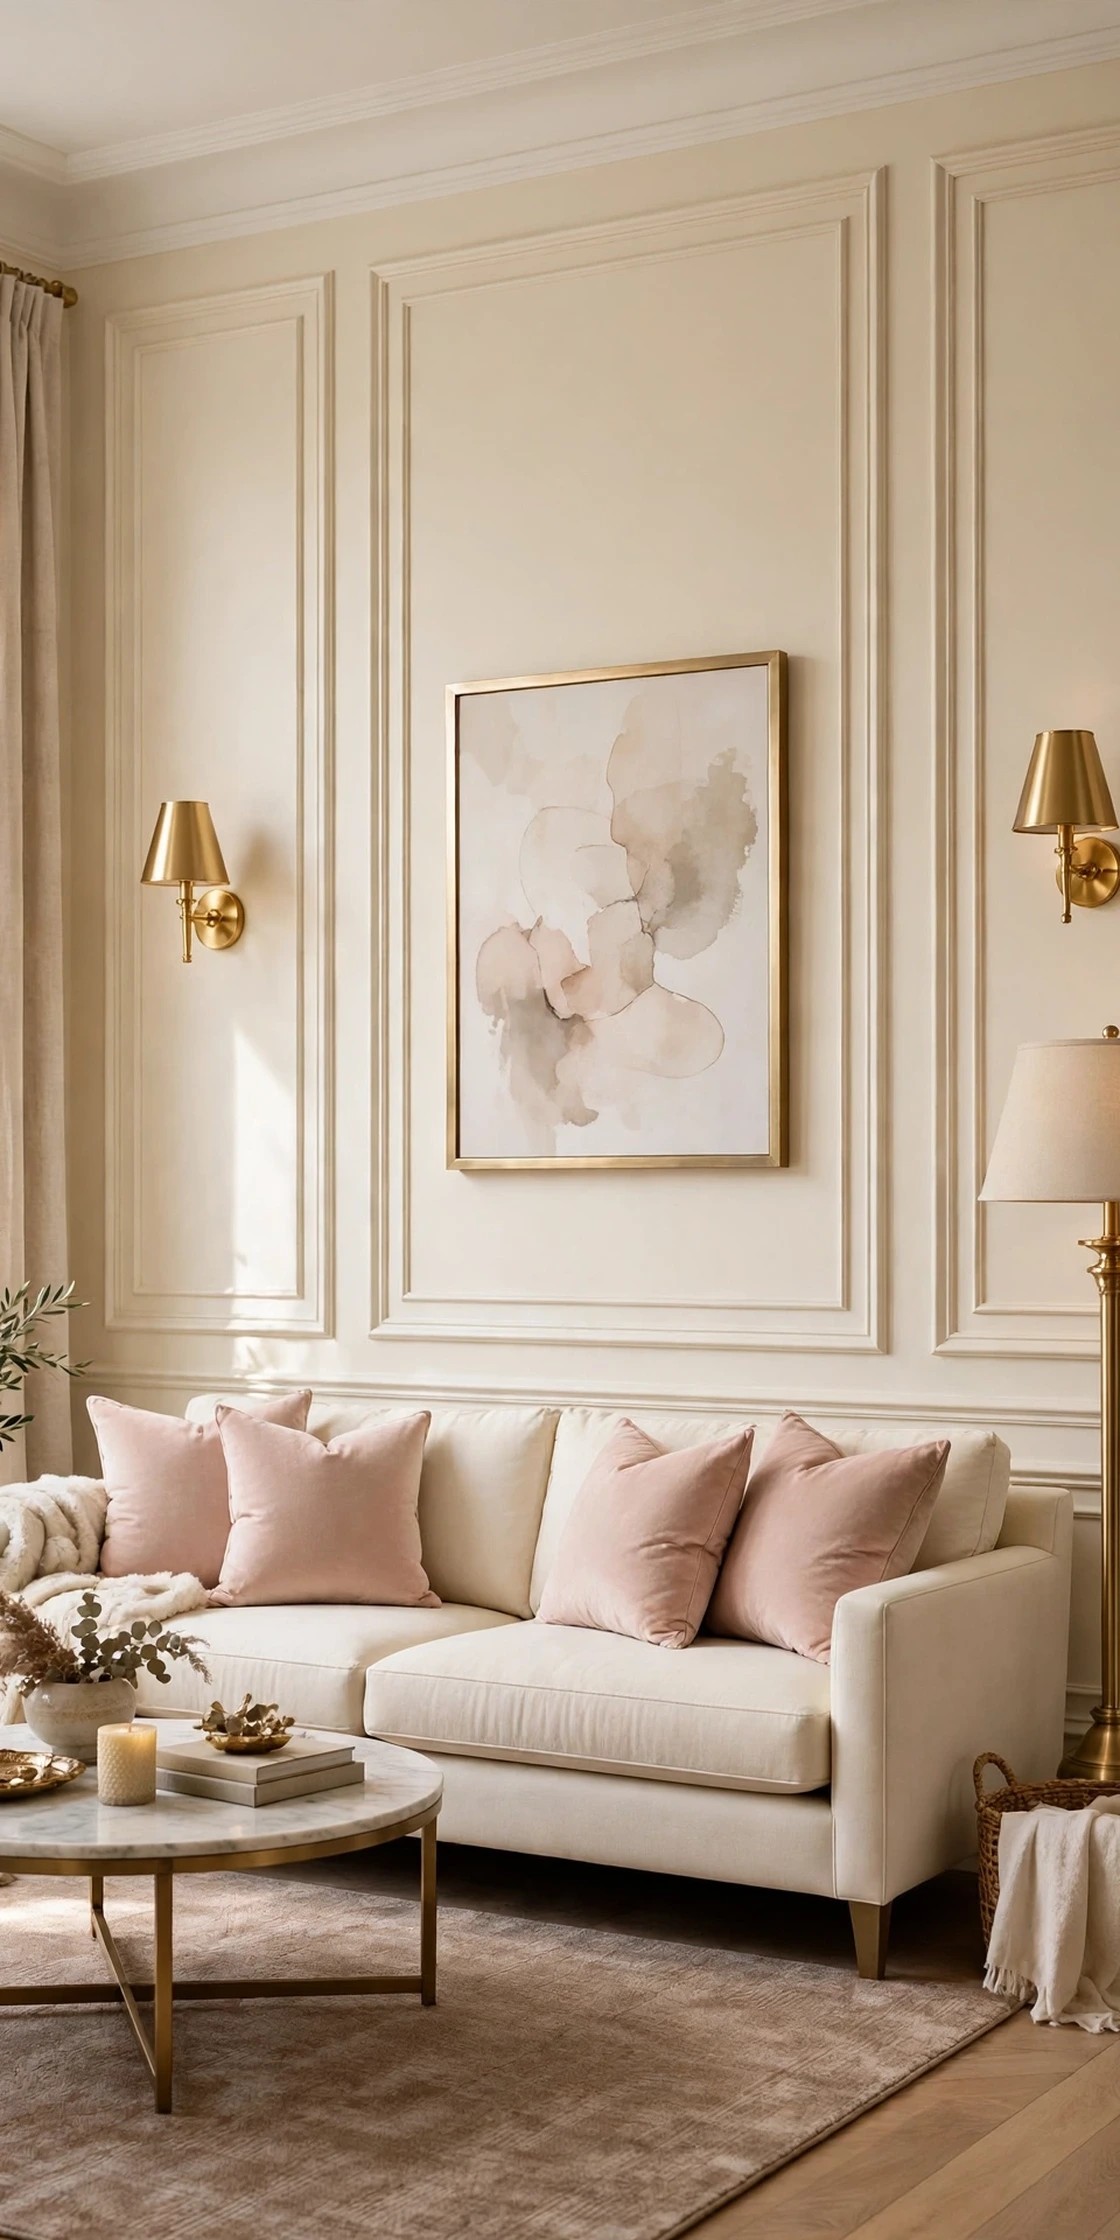
Wainscoting covers the lower part of a wall and stops at a chair rail. Modern wall paneling keeps going. It runs floor to ceiling, wraps a whole room, or takes over one wall in slats, flutes, fabric, or felt, and it changes the architecture of a plain room more than any piece of furniture can. A flat drywall box becomes a room with rhythm, shadow lines, and a clear style, often with nothing more than trim, boards, or panels and paint.
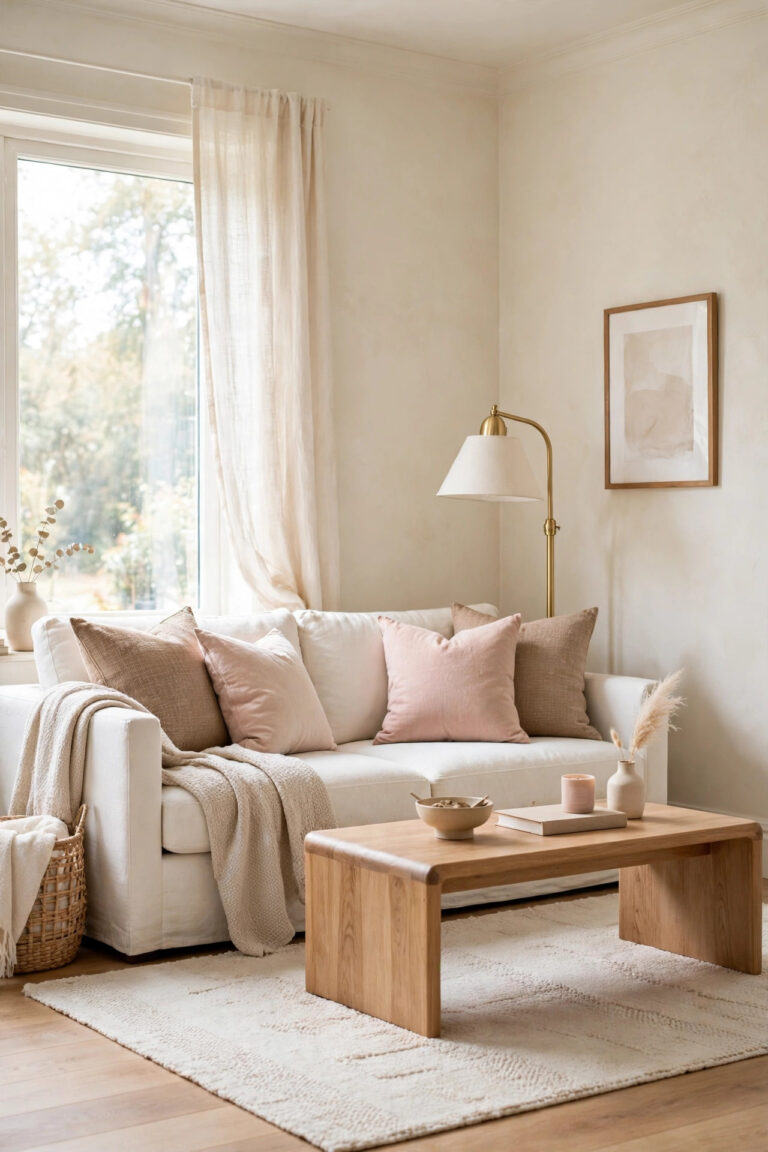
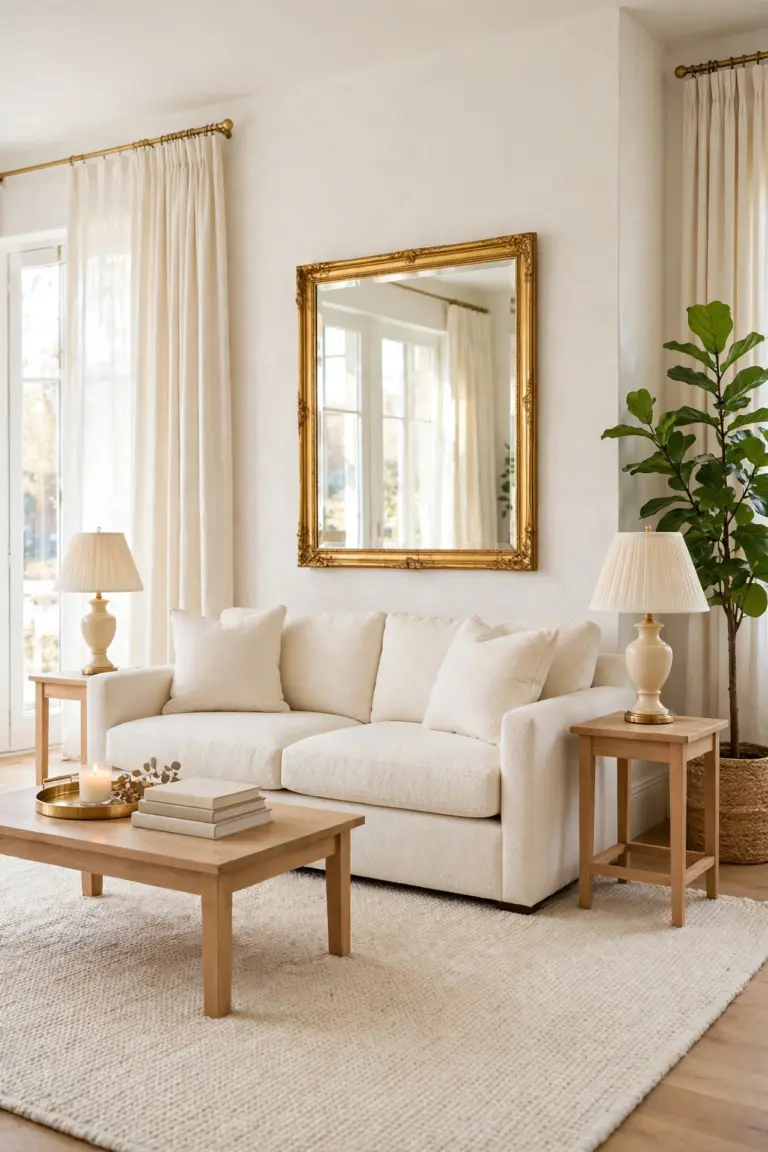
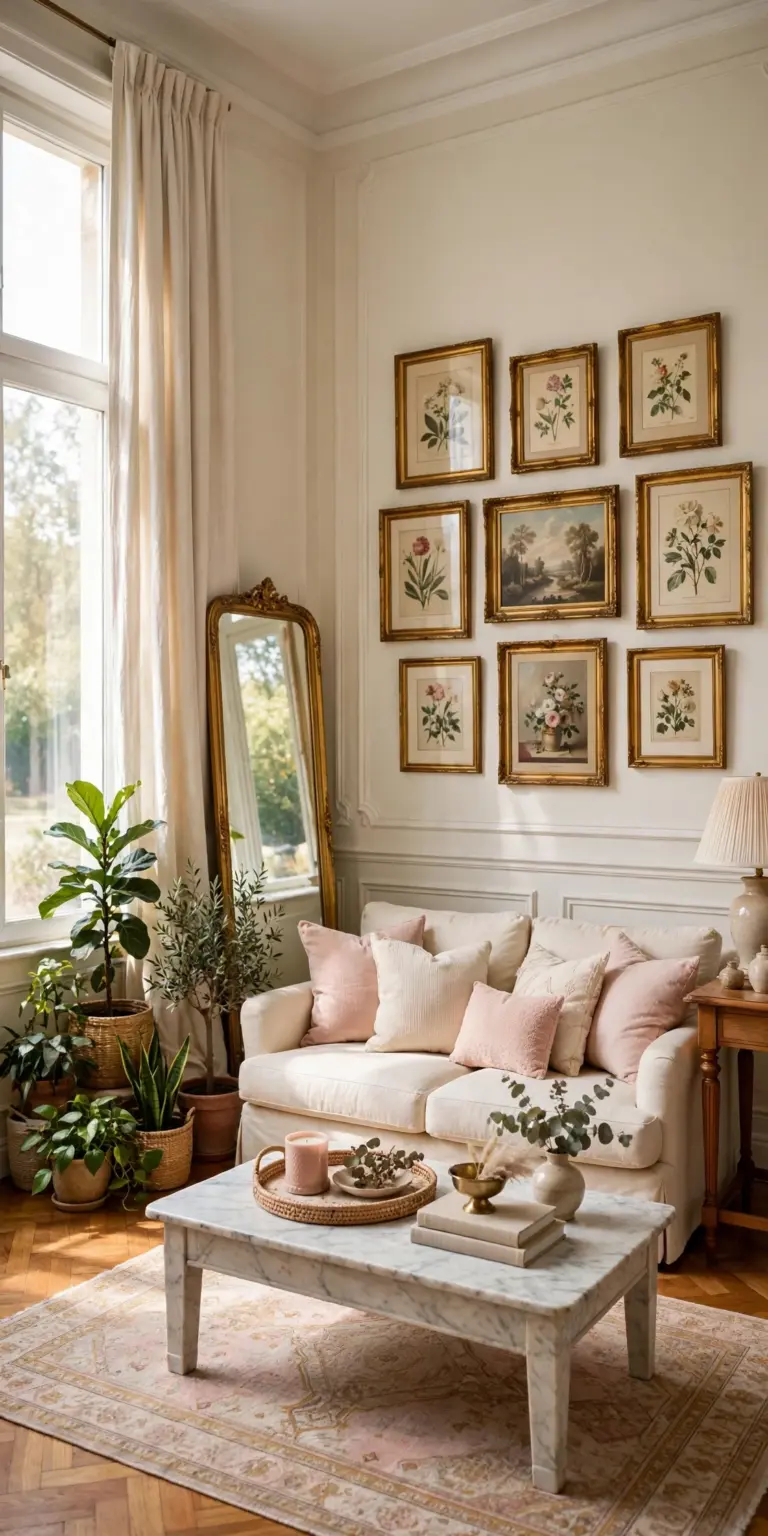
These seventeen wall paneling ideas all restyle the same bright glam living room, cream sofa, warm taupe and cream walls, blush cushions, and brushed gold light, so you can compare classic frames against modern slats honestly. Every idea carries an honest skill level, because paneling ranges from an afternoon of peel and stick to work that genuinely belongs to a carpenter, and pretending otherwise is how walls get ruined.
1. Run Picture Frame Molding From Floor to Ceiling
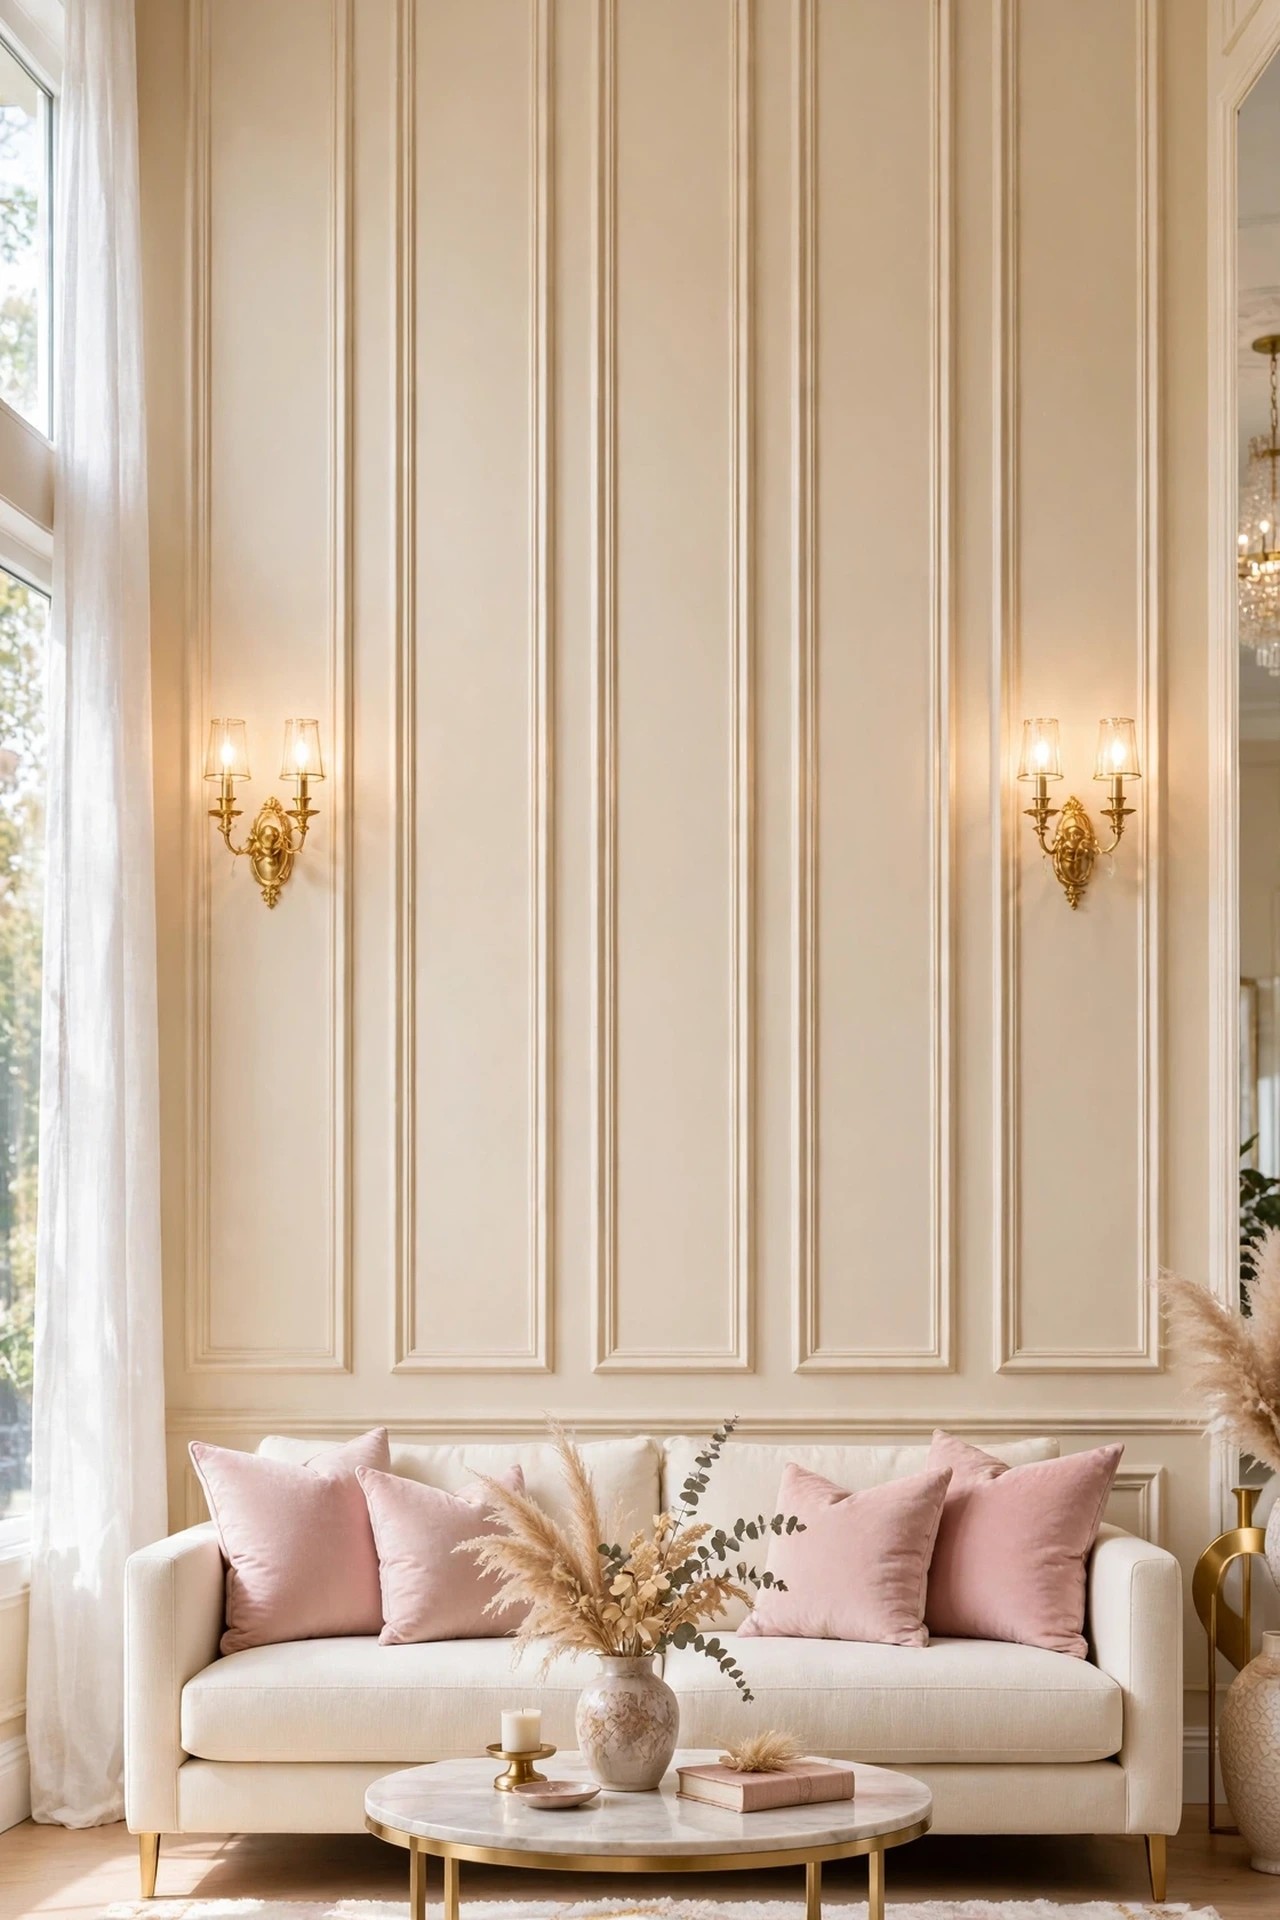
Picture frame molding is the classic panel: thin trim pieces joined into rectangles that sit on the wall like empty picture frames. Run at wainscot height it is traditional. Run from the floor to the ceiling in tall, calm rectangles, it becomes the full-height treatment that makes plain new-build rooms look like older, grander houses, because the eye reads the tall frames as architecture rather than decoration.
Paint is what makes this idea modern. When trim and wall share one warm cream, the frames read as soft shadow lines instead of busy outlines, and the wall gains depth without gaining pattern. The frames also give the room a built-in layout: the sofa centers on one frame, sconces sit between frames, and art hangs inside a frame instead of floating on a blank wall.
How to do it: Honest skill level: confident beginner. The trim is thin, light, and forgiving, and the tools are a miter saw or miter box, adhesive, a nail gun or fine nails, filler, and caulk. Measure the wall and divide it into equal frames with even gaps at the corners, marking everything in pencil and painter’s tape before cutting. Fix, fill every joint, caulk every edge where trim meets wall, then paint trim and wall in the same color and sheen. Pro Tip: Work out the frame widths on paper from the sofa’s width outward, so the center frame lands exactly behind the sofa. Common mistake: Sizing frames by eye as you go. Unequal frames are invisible on a sketch and glaring on a finished wall; the tape mock-up is the whole secret.
2. Build a Vertical Wood Slat Wall
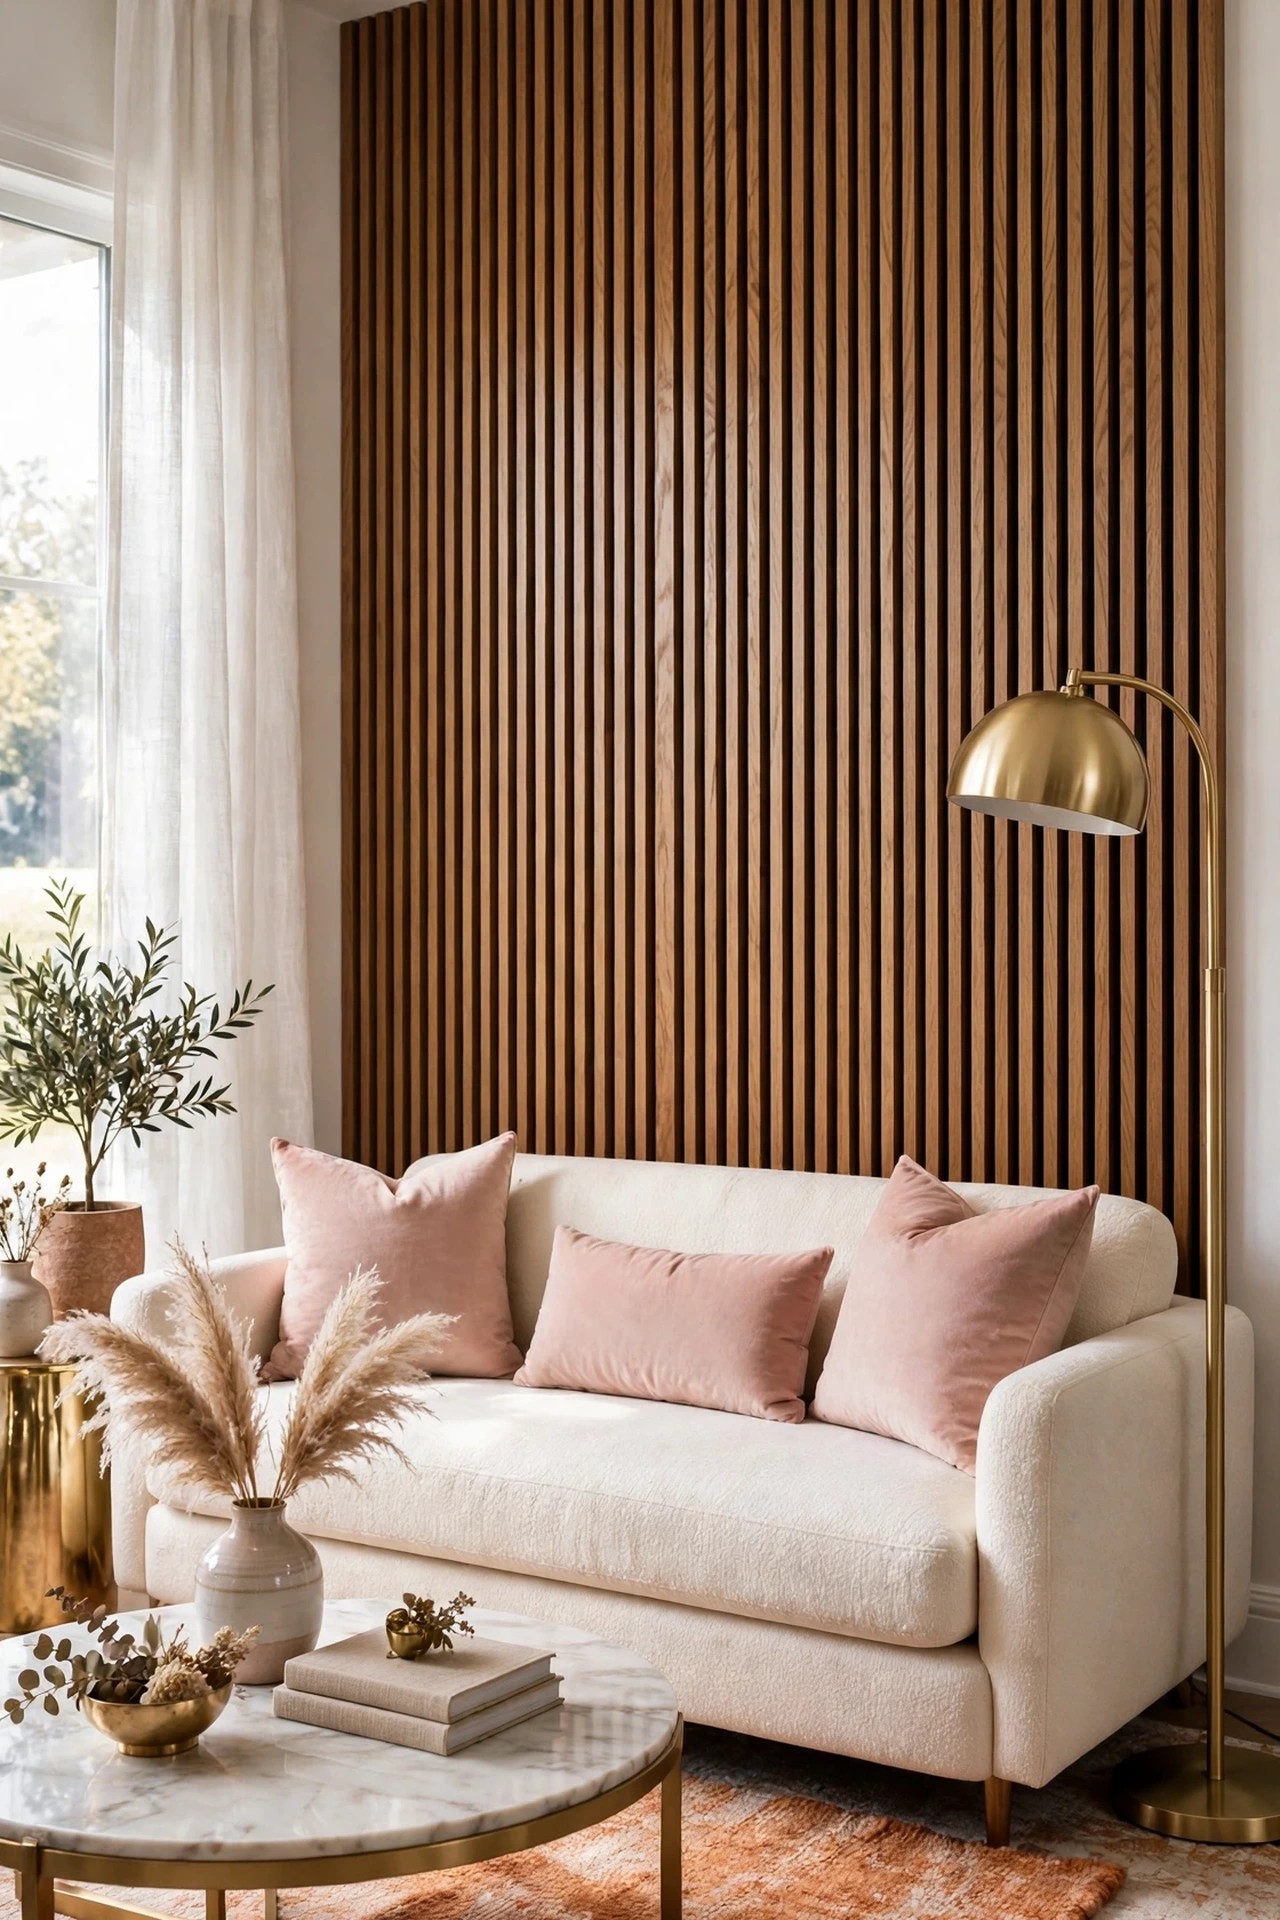
Wood slats are the modern end of paneling: narrow battens fixed vertically with a slim, even gap between each one, usually over a darker backing so the gaps read as shadow. The wall gains texture, warmth, and a strong vertical line that makes ceilings feel taller, and the wood tone warms the cream and taupe palette the way no paint can.
Slats suit the wall behind the sofa or the television because the rhythm is calm enough to sit behind furniture. Keep the wood warm and matte, oak tones rather than orange pine, and let the rest of the room stay quiet; one slatted wall is a statement, two is a sauna.
How to do it: Honest skill level: intermediate. The work itself is simple, cutting and fixing battens, but there are dozens of pieces and every spacing error shows. Paint the wall behind in a deep warm tone first, or fix slats over dark felt or board, then fix each batten plumb with a spacer block so the gaps never wander. Seal or oil the cut ends so the tops do not dry pale. Pro Tip: Buy slats in one batch and lay them out on the floor first, mixing tones along the run so no light or dark patch appears halfway across the wall. Common mistake: Stopping the slats at picture rail height or running them only behind the sofa’s width. Slats need the full wall, floor to ceiling and corner to corner, or they read as an unfinished project.
3. Choose Fluted Panels for Soft Shadow Lines
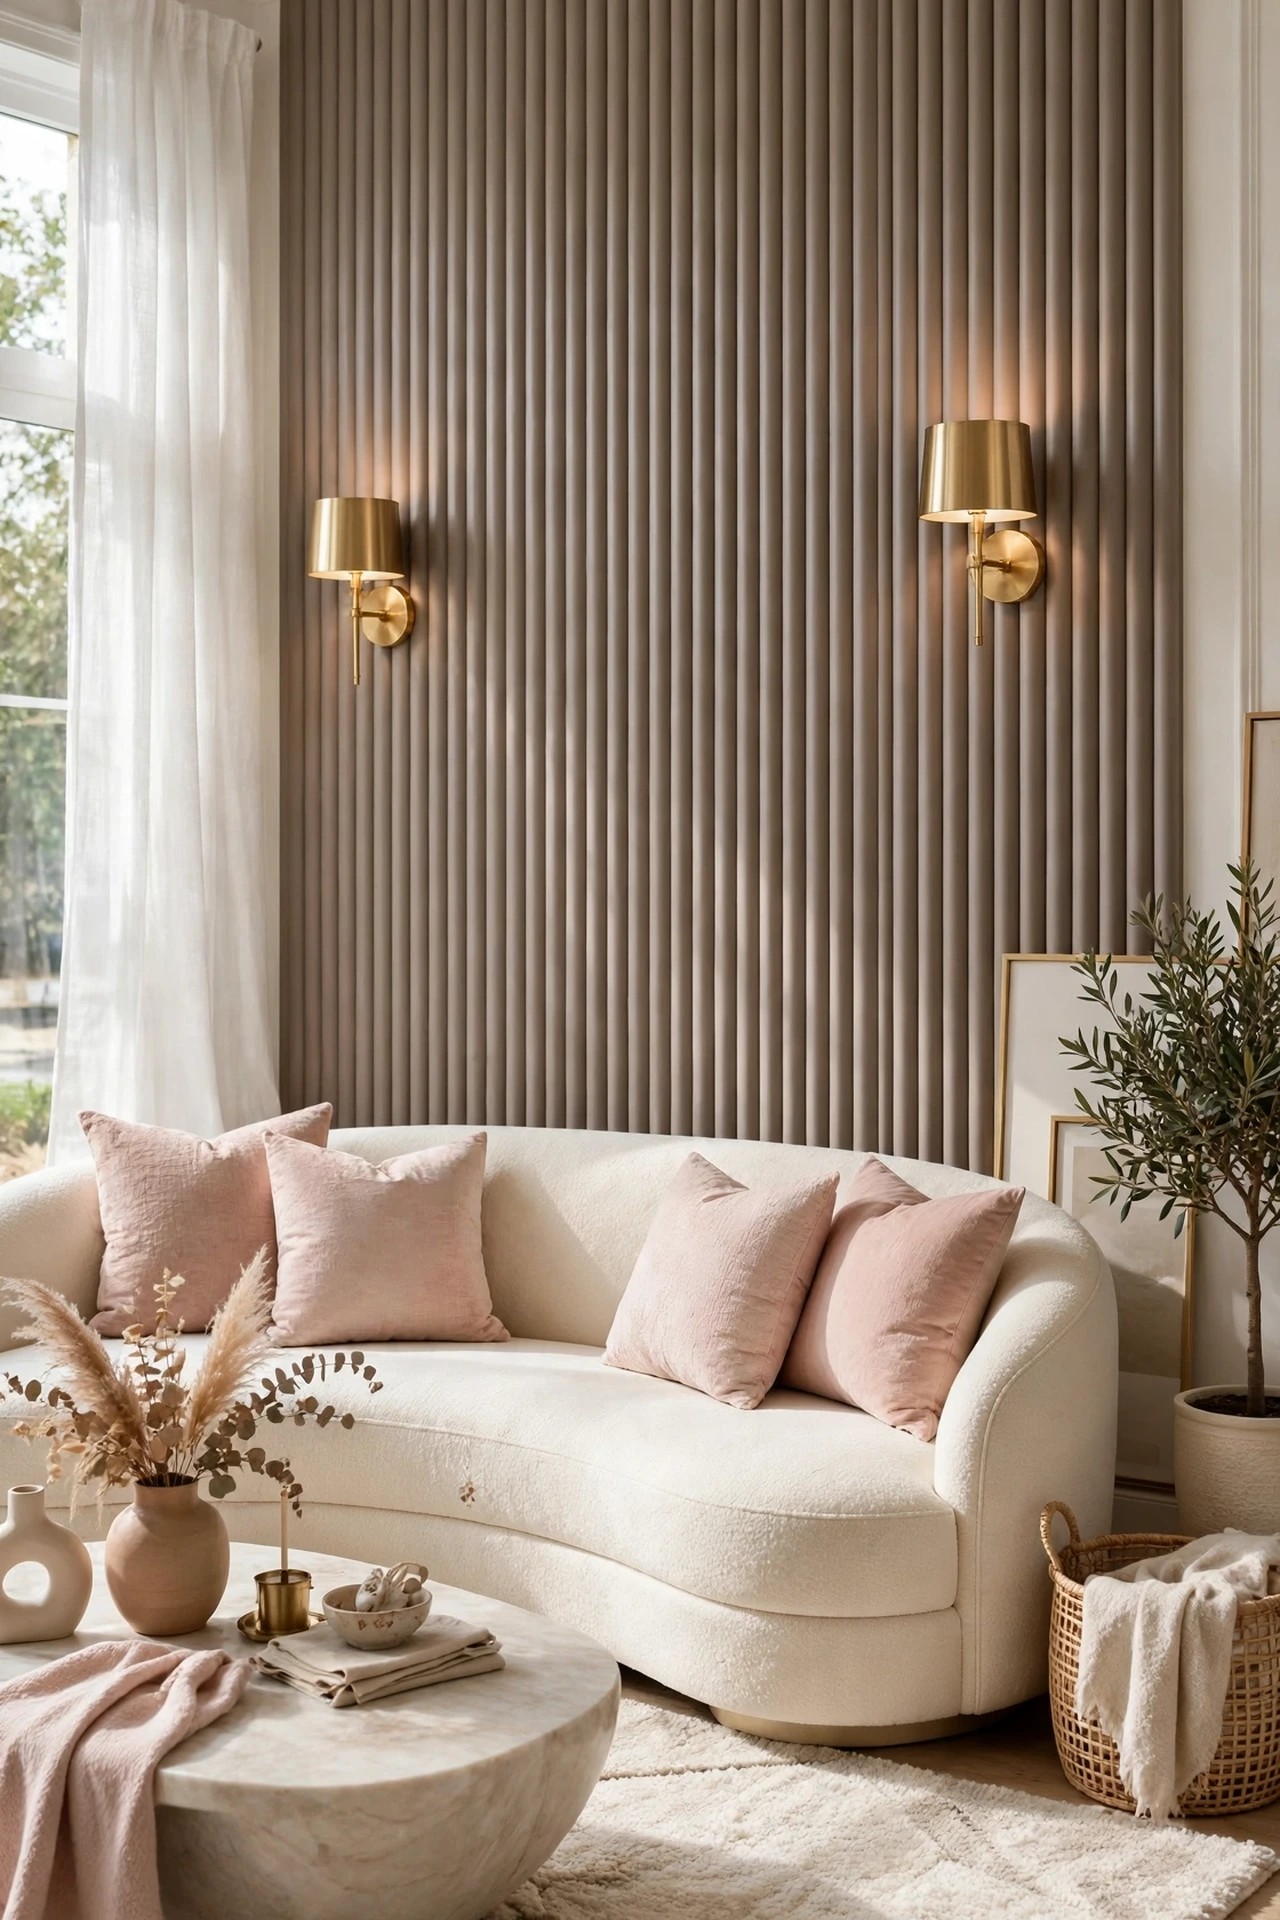
Fluted panels carry a series of rounded vertical grooves, like a column stretched across the wall. Light rakes across the curves and makes moving shadow lines through the day, so the wall has texture you can see from across the room but nothing that clashes with art, cushions, or a busy rug. It is the softest of the modern panel styles and the one that suits this cream, taupe, and blush palette best.
Ready-made fluted panels have made this a realistic home project: the panels join tongue and groove style, fix to the wall, and take paint like any other board. Painted in warm taupe or the same cream as the room, they read as soft architecture; left in a raw wood finish, they lean more modern and spare.
How to do it: Honest skill level: beginner with ready-made panels, intermediate if you plan to router your own, which most people should not. Measure, level the first panel with real care, since every later panel follows it, join and fix the run, then fill and paint so the joints disappear. Run panels the full height of the wall for the calm effect. Pro Tip: Flutes collect dust in the grooves; a soft brush attachment on the vacuum once a month keeps the shadow lines clean instead of grey. Common mistake: Leaving the panel joints unfilled because they looked fine unpainted. Paint settles into every seam and announces it; fill first, then paint.
4. Hang Upholstered Velvet Panels for a Soft Wall
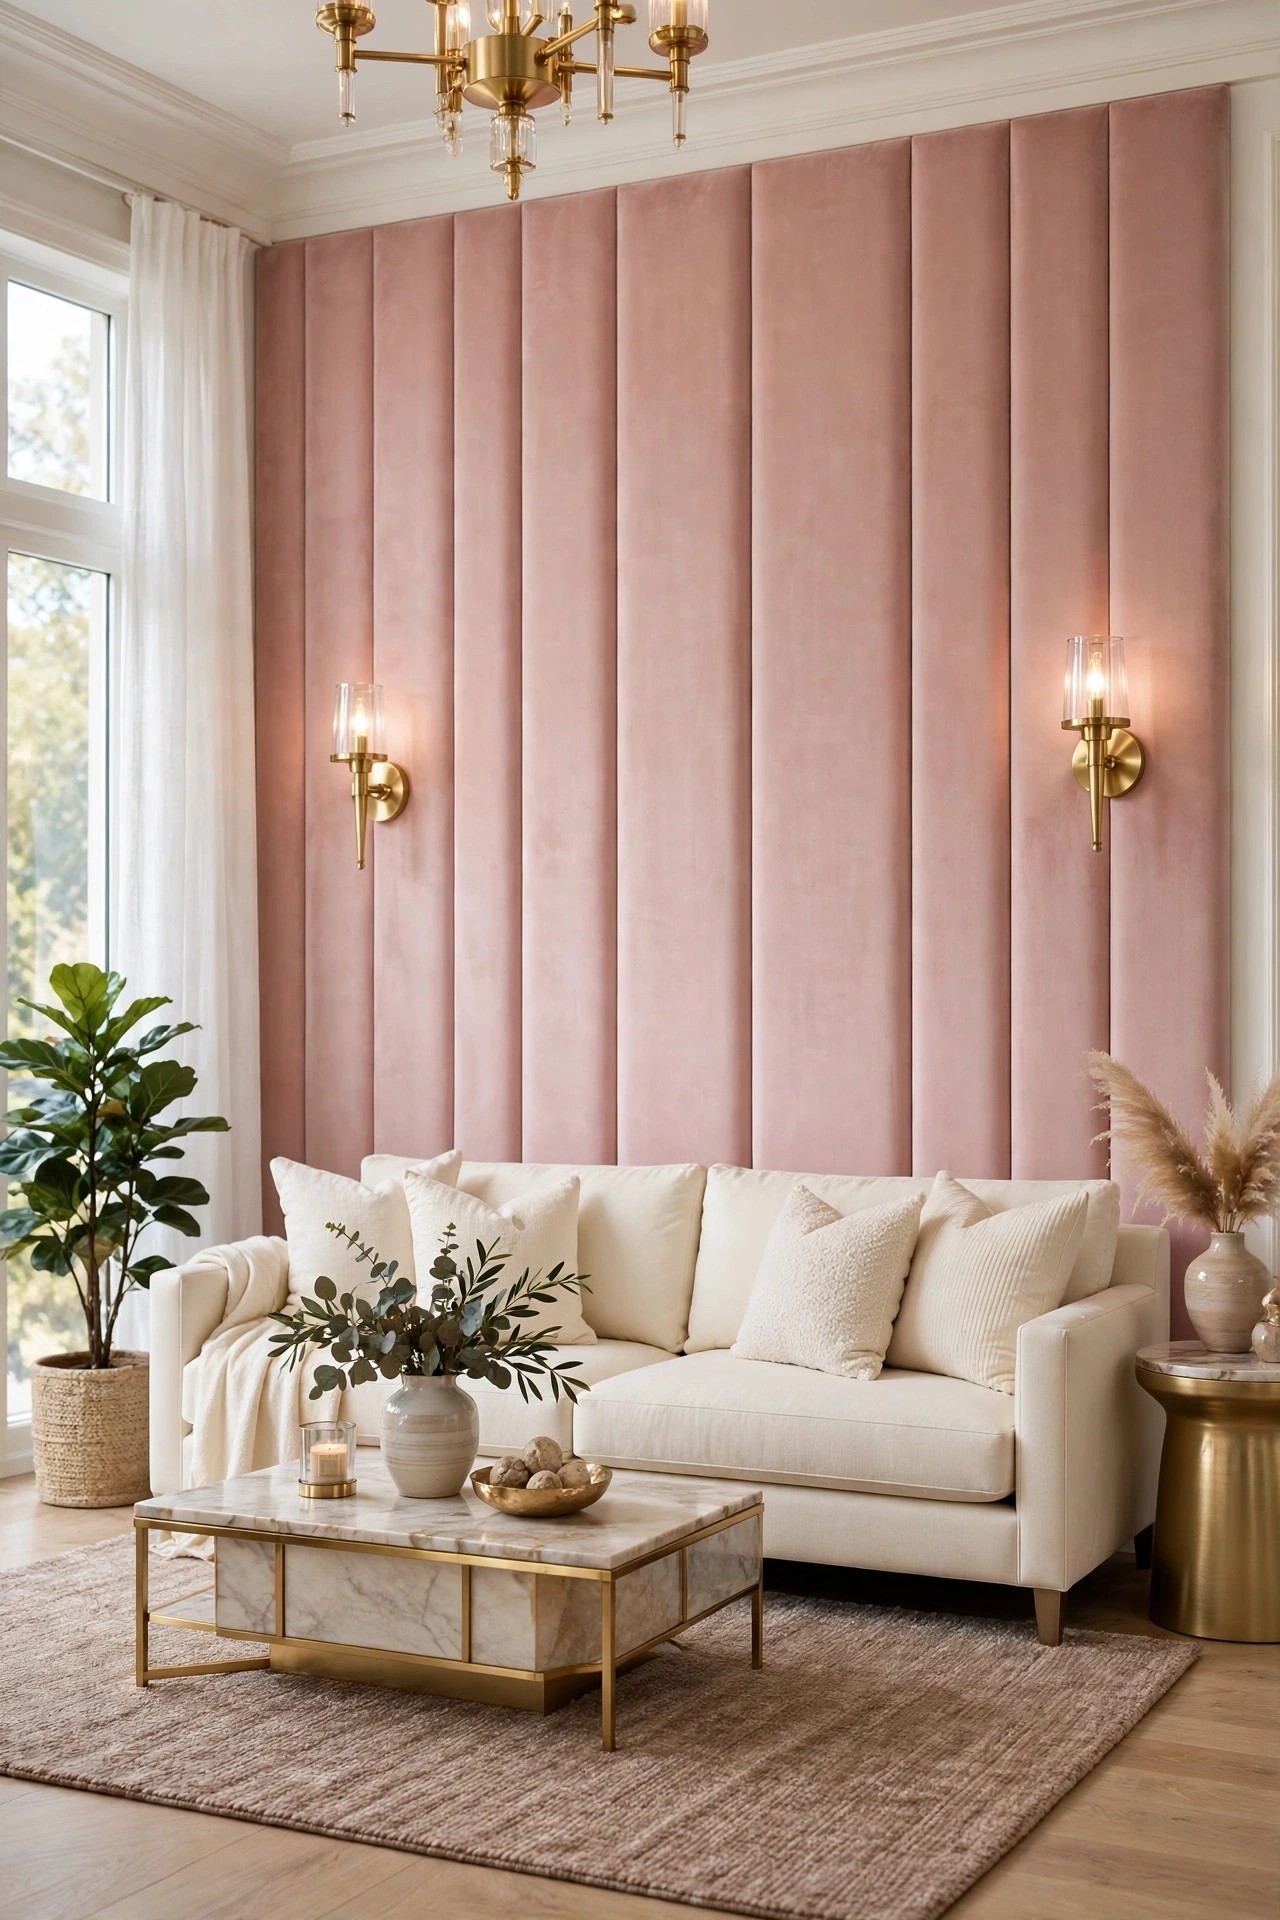
Fabric panels are paneling you can lean on: padded boards wrapped in velvet or linen, hung in a row to make one soft wall. In a living room they belong behind the sofa, where the softness is seen and felt, and in blush or cream velvet they are the most glamorous treatment in this collection, closer to a boutique hotel lounge than to a DIY project.
The padding does quiet work too. A fabric wall softens the sound of a hard room, taking the echo out of spaces with wood floors and big windows. Keep the panels tall and few; three or four wide panels read as luxury, while many narrow ones read as a headboard that escaped the bedroom.
How to do it: Honest skill level: advanced for making your own, beginner for hanging ready-made panels, and ready-made is the sensible route for most rooms. Making them means foam, batting, fabric, and a staple gun over board, with corners that take practice to keep neat. Bought panels hang on cleats or brackets like heavy art. Measure the run, hang the center panel first, and work outward with a slim, even shadow gap. Pro Tip: Choose a performance velvet or a linen-look fabric rated for upholstery, since wall panels behind a sofa get leaned on, brushed, and sat against daily. Common mistake: Foam that is too thick. Deep, puffy panels look like gym mats; a slim pad with a tight wrap is what reads as tailored.
5. Take Board and Batten All the Way Up
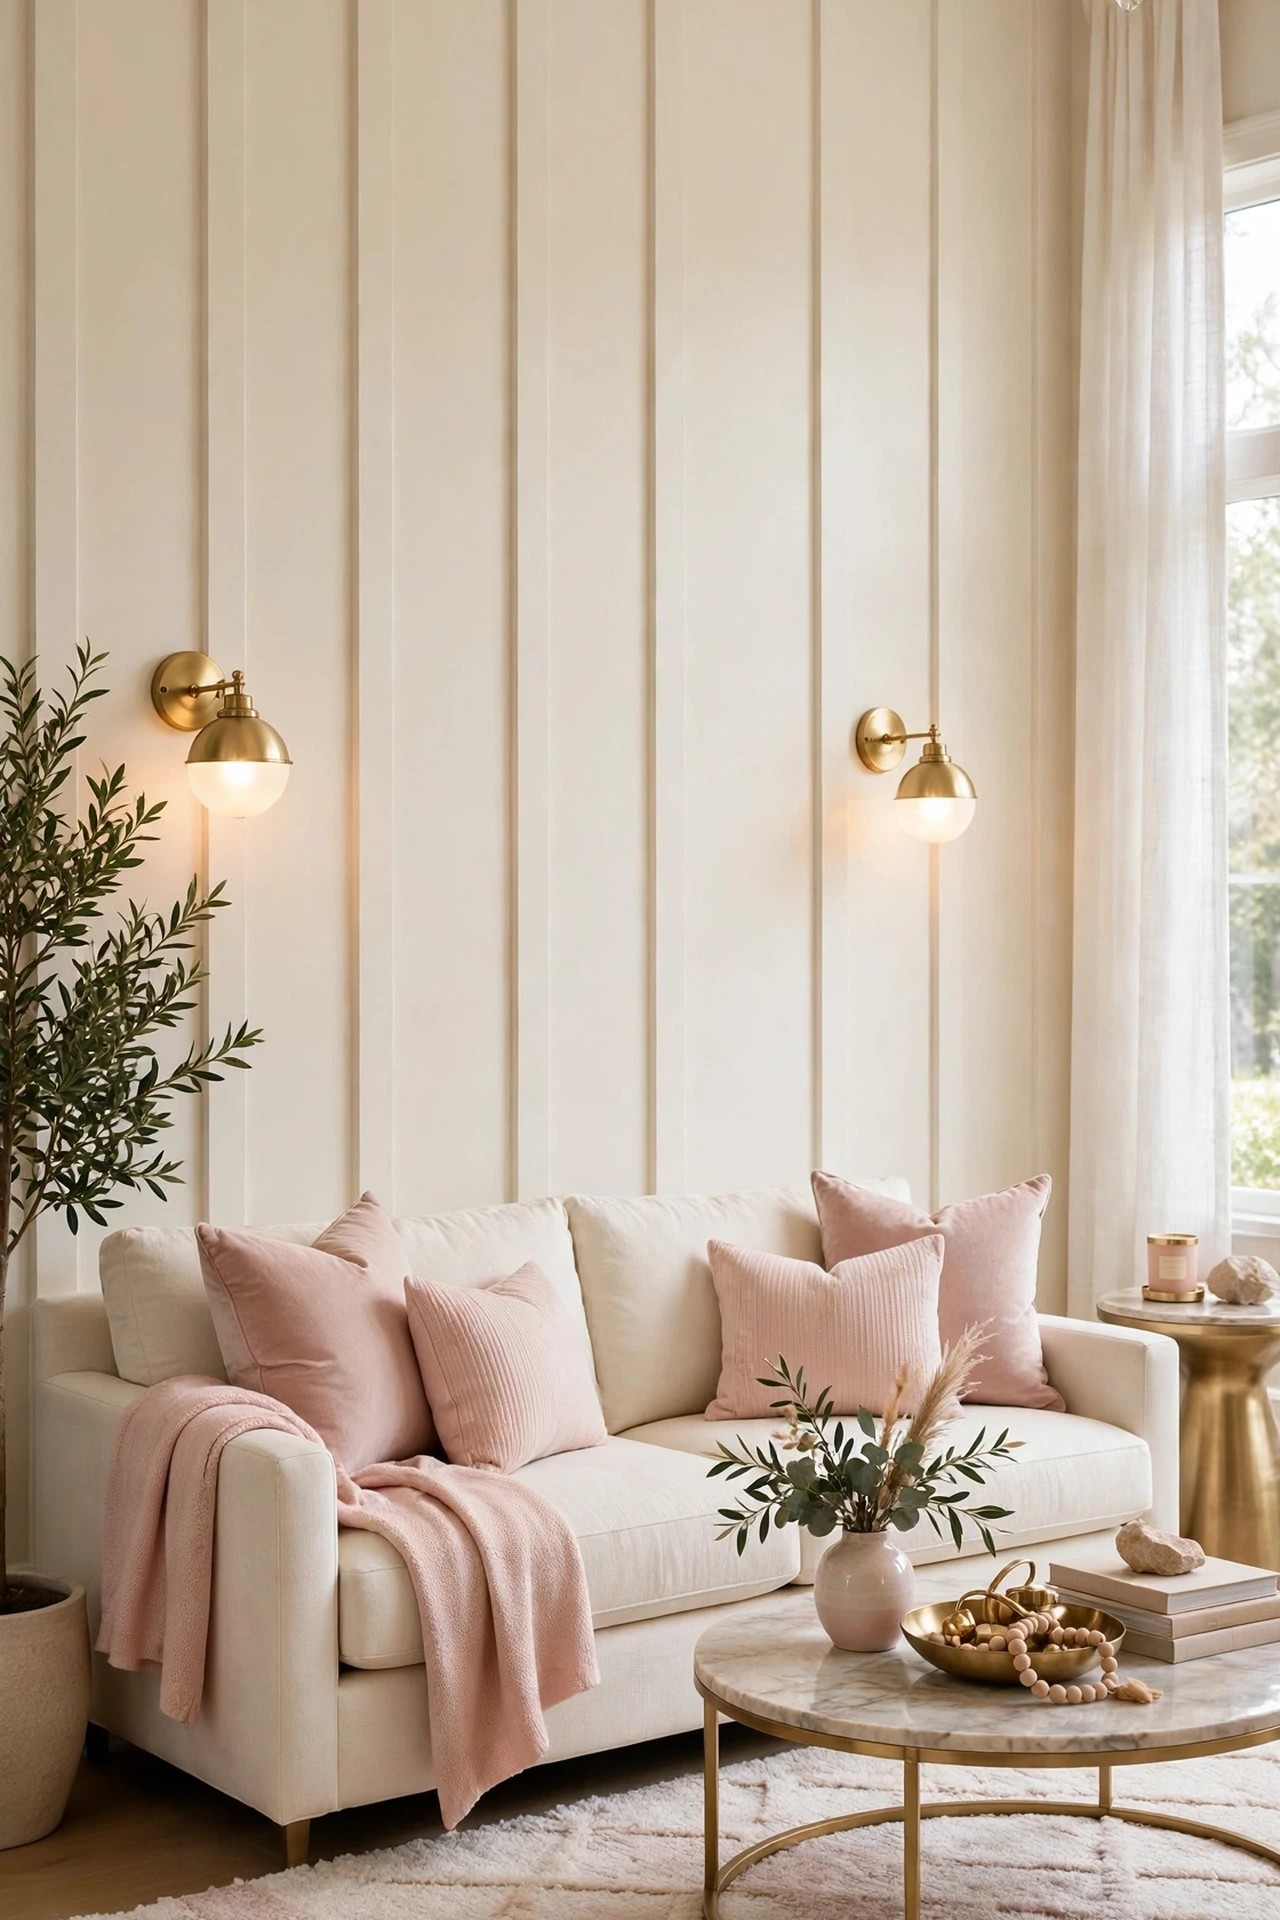
Board and batten is usually a wainscot, wide boards covered by narrower battens along the seams, stopping at a rail. Taken floor to ceiling, it turns into something else: a strong, simple grid of verticals that suits rooms wanting structure without fussiness. Painted all in warm cream it reads tailored; painted in the deep green of Idea 14 it becomes the room’s whole mood.
The full-height version works best on one or two walls rather than everywhere, because the batten rhythm is stronger than picture frame molding. It is also one of the most forgiving panel styles to build, since the battens exist to cover the seams, so your joints are hidden by design.
How to do it: Honest skill level: beginner to intermediate. Fix the wide boards or, on a smooth wall, fix battens directly over painted drywall for a lighter version, then divide the wall into even bays and set a batten at every division. The measuring rule is the whole job: total width divided into equal spaces, calculated on paper first, adjusting the end bays slightly so no batten lands awkwardly against a corner or door trim. Caulk every edge, then paint. Pro Tip: Slightly wider battens and wider spacing look modern; narrow and close together drifts toward farmhouse. Common mistake: Spacing battens at a fixed measurement and letting the last bay come out a different width. The odd bay is all anyone will see.
6. Lay Out Shaker-Style Recessed Panels
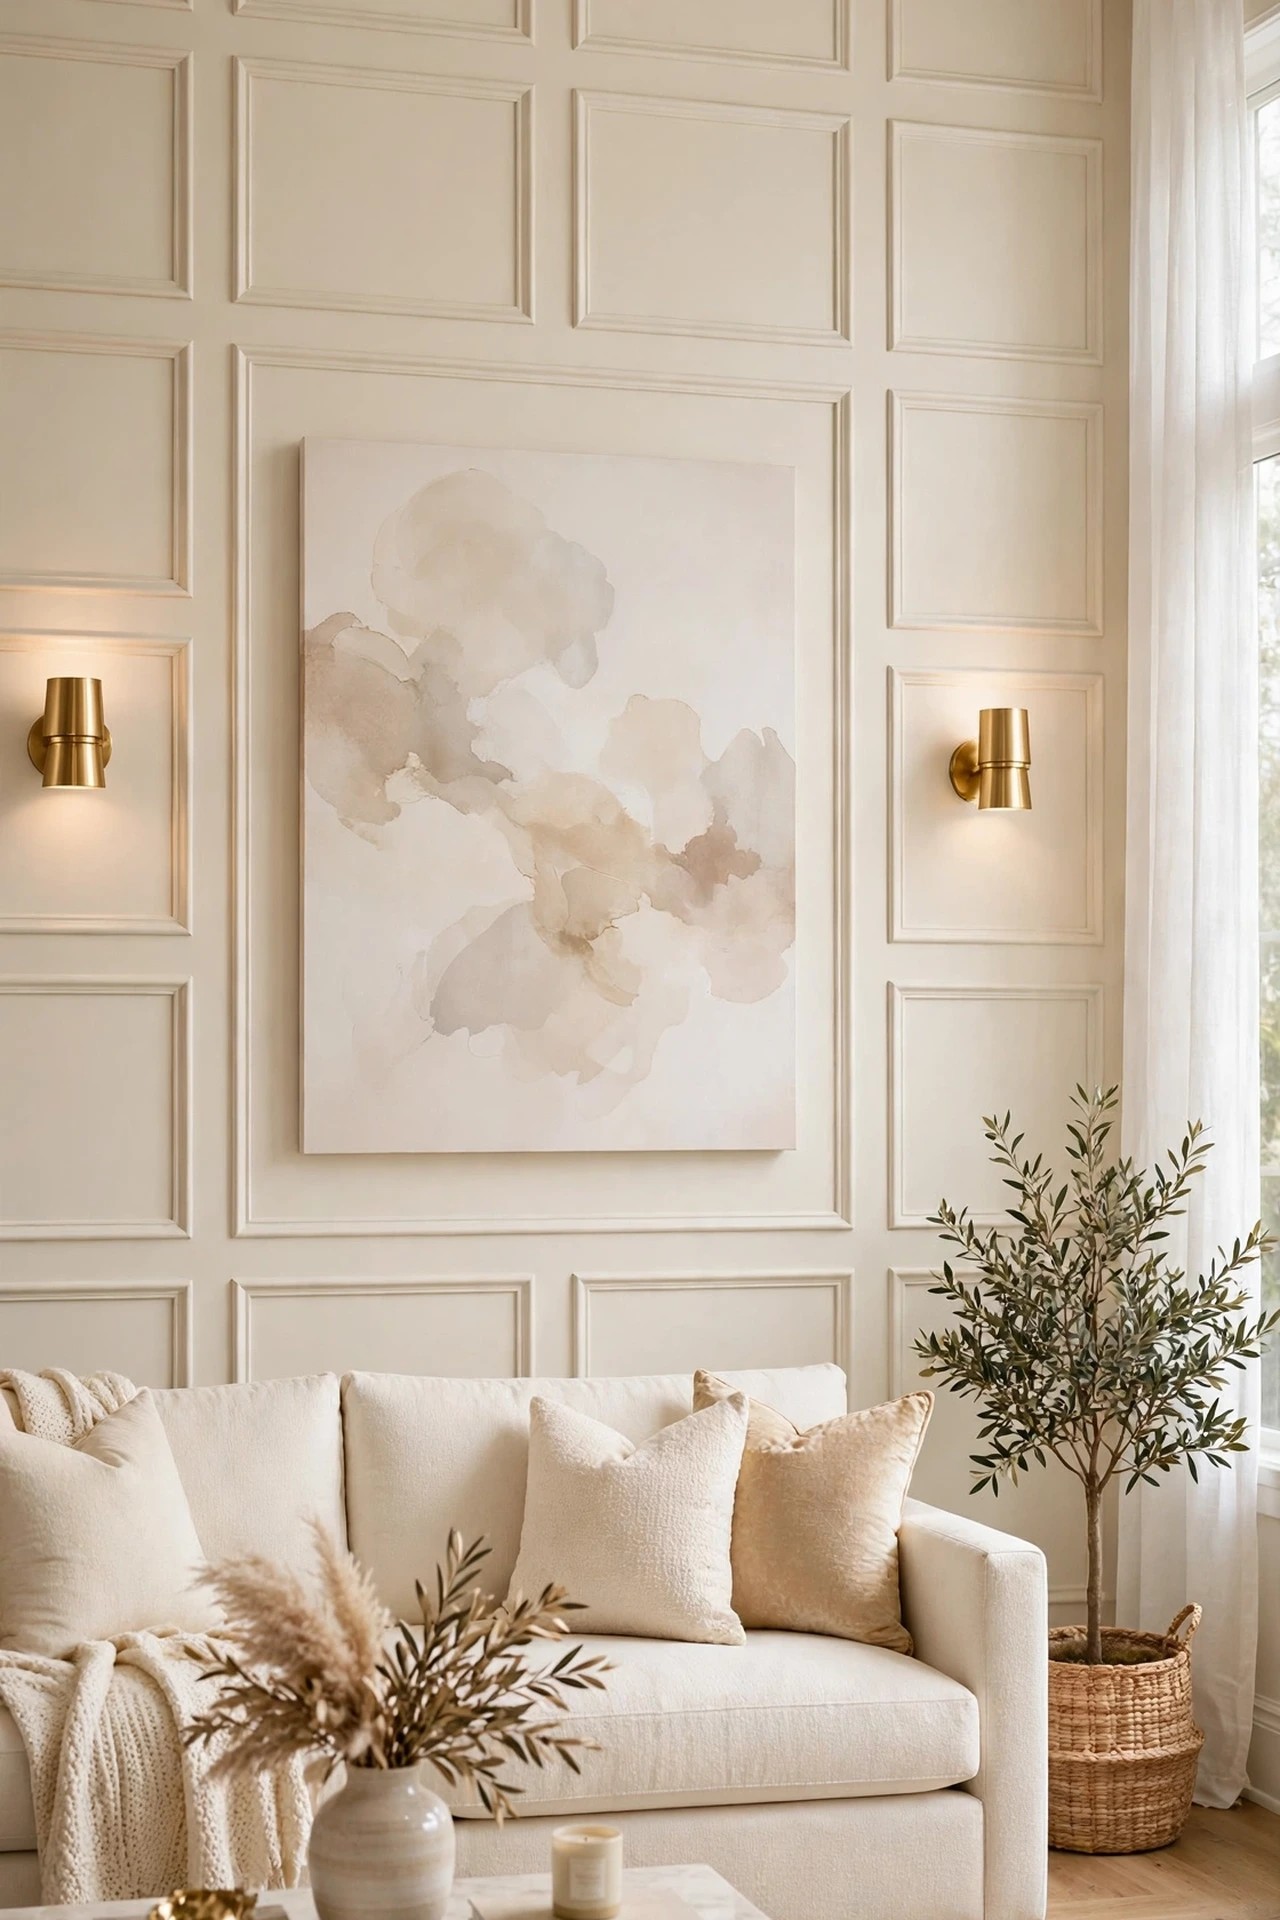
Shaker paneling is the flat, tailored cousin of picture frame molding: instead of a raised rectangular frame, the wall is divided into calm recessed squares and rectangles with flat, wide trim, echoing Shaker cabinet doors. The lines are broader and quieter than classic molding, which makes this the version that suits modern furniture, low sofas, and rooms that found picture frames too formal.
Because the trim is flat and wide, the panels hold paint beautifully and give a satisfying shadow at every edge. Run them full height in a grid of large squares for a contemporary feel, and let one square hold the room’s single large artwork.
How to do it: Honest skill level: intermediate. The materials are simple flat boards, but there is more trim, more corners, and more miters than picture frame molding, and every one must be square. Tape the full grid on the wall first and live with it for a day, checking the squares against the sofa, doors, and windows. Fix the horizontal rails first, level and continuous, then the verticals between them. Pro Tip: Match the panel trim width to the room’s other flat trim, like the door architraves, so the wall looks built with the house rather than added to it. Common mistake: Squares that almost align with a door frame or window edge. Near misses look like errors; either align exactly or separate clearly.
7. Run Vertical Tongue and Groove for a Soft Cottage Line
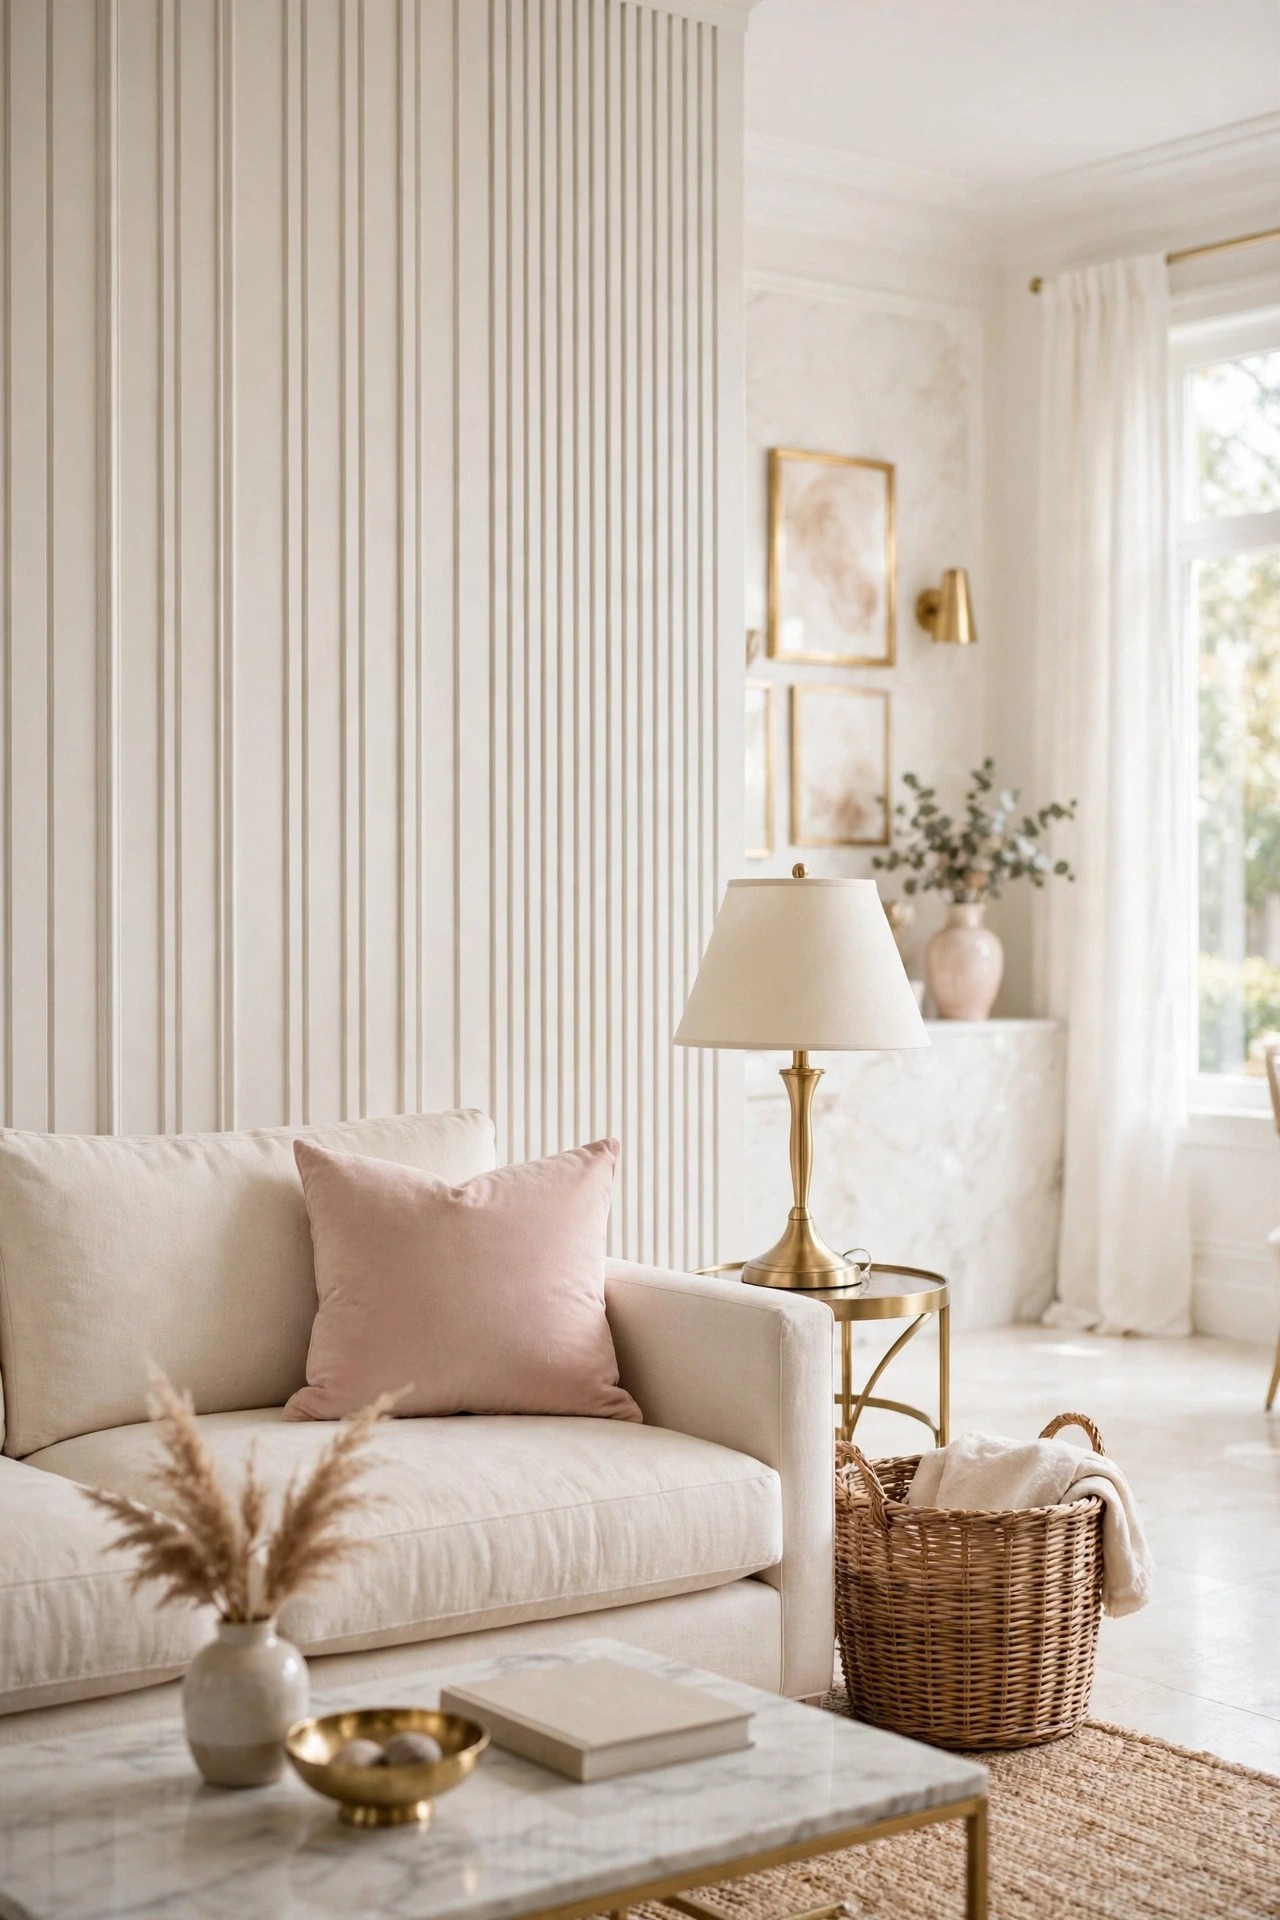
Tongue and groove boards lock edge to edge into one continuous surface with a fine line at every joint. Run vertically and painted warm white or cream, the wall becomes softly ribbed, a texture between flat paint and slats, and the room gains the calm of a coastal or cottage interior without any of the themed decor that usually comes with it.
This is the paneling to choose when the room needs warmth more than drama. The fine vertical lines suit walls with doors and windows, because boards cut around openings easily, and the surface takes knocks better than drywall, which matters in family rooms.
How to do it: Honest skill level: beginner to intermediate. Boards fix through the tongue so fasteners hide, and cuts are straight. Let the boards rest in the room for a few days before fixing so the wood settles to the room’s conditions, keep a small expansion gap at the edges hidden by trim, and paint with a paint suited to wood that can move slightly. Pro Tip: Prime the tongues before assembly on painted work; when boards shrink a fraction in dry weather, an unpainted tongue shows as a pale line in every joint. Common mistake: Fixing boards tight against both walls with no room to move. Wood that cannot expand will push, bow, or crack its paint.
8. Use Shiplap, But Keep the Lines Tight and Painted
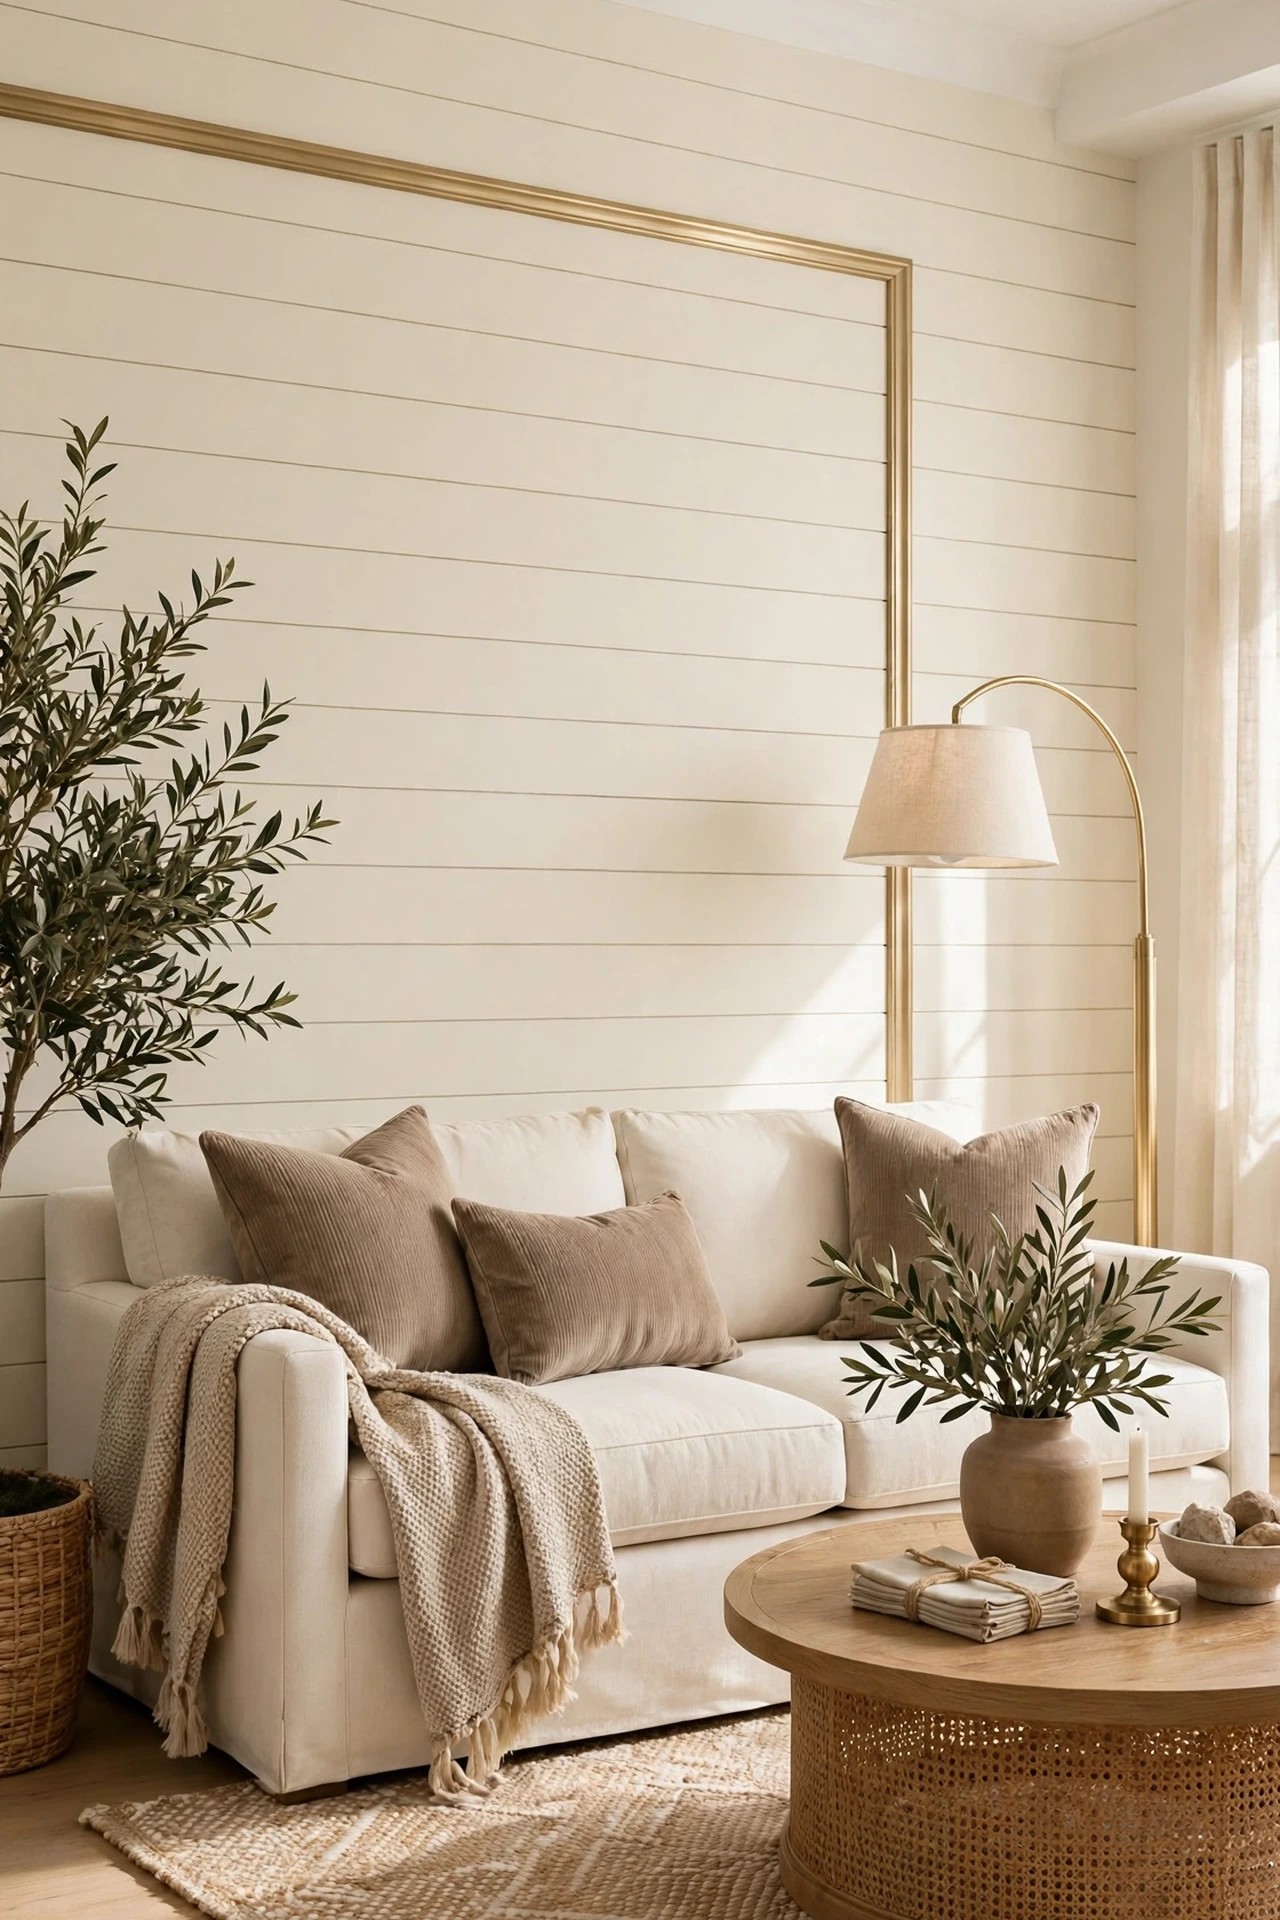
Shiplap boards overlap on a stepped joint, which leaves a distinct shadow gap between boards. That gap is the whole look, and it is also where shiplap goes wrong: wide, dark, rustic gaps pull a room toward a farmhouse theme. Run with tight joints and painted in the room’s own cream, the same boards become a clean, lined surface that works in a glam room.
Direction changes the mood. Horizontal boards widen a wall visually; vertical boards, less common and more modern, lift it. Either way, one wall is enough, and the furniture in front should stay plain so the lines do the talking.
How to do it: Honest skill level: beginner. Shiplap boards are wide, cover ground fast, and fix simply, which makes this one of the fastest full walls in the collection. Keep the gaps consistent with the board’s own joint rather than spacing them by hand, start from the most visible edge, and check level every few boards. Paint after fixing so the paint bridges into the joints evenly. Pro Tip: A satin or eggshell finish keeps the lines readable; flat paint can make shiplap look dusty, and gloss makes every joint shout. Common mistake: Staining shiplap a rustic grey-brown in a cream room. The color, not the board, is what dates it; painted in the palette, it stays current.
9. Draw Modern Geometric Panels in Trim
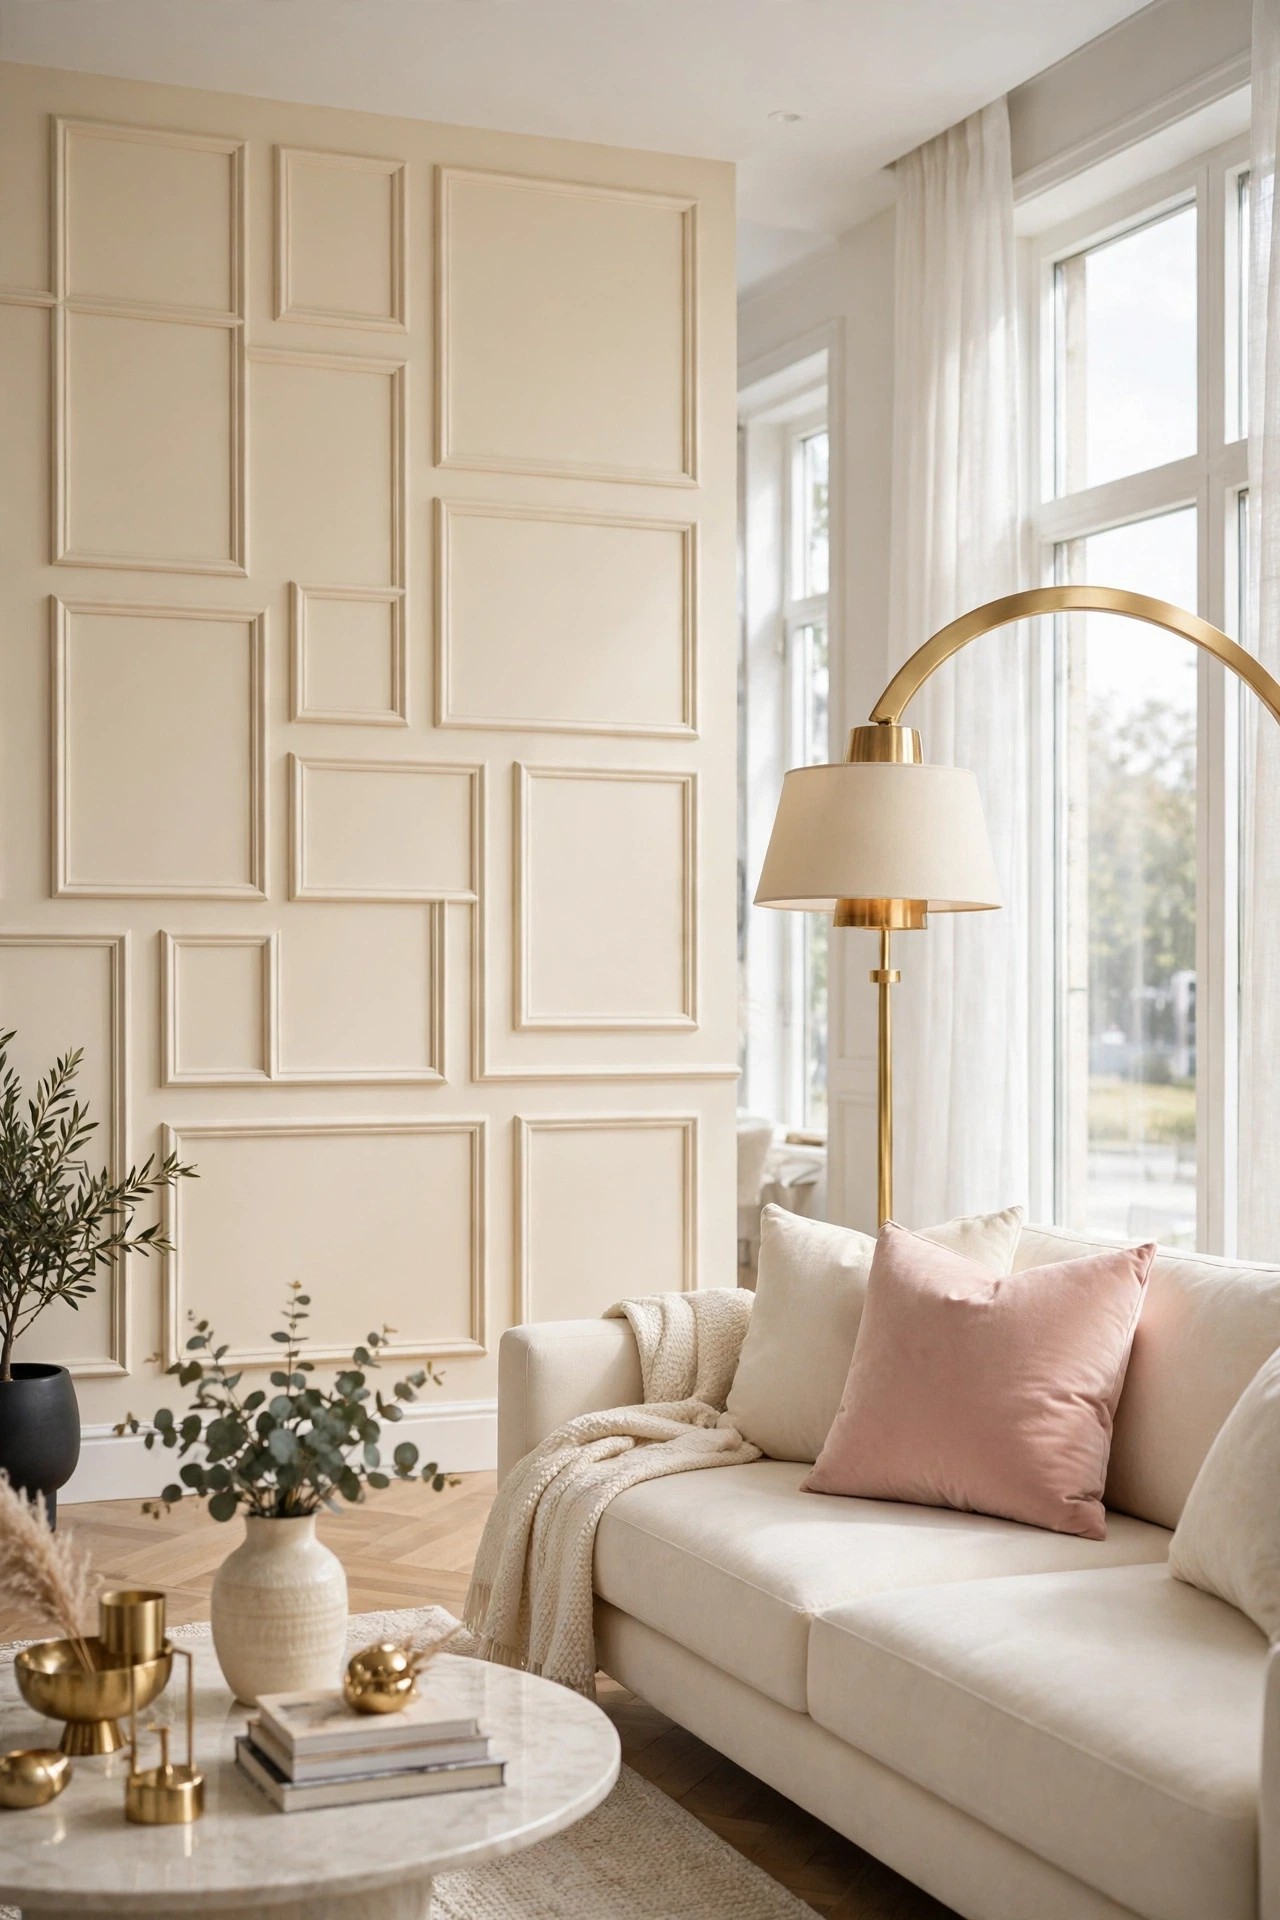
Classic paneling is symmetrical. Geometric paneling breaks the grid on purpose: rectangles of different sizes, a diagonal run, or frames that step around a doorway, all built from the same thin trim as Idea 1. Painted one color, the wall stays calm while the layout gives it a modern, gallery energy that suits low furniture and simple art.
This is the most design-led idea in the collection and the one most dependent on planning. A geometric layout that works on paper can still fail on the real wall if it collides with a socket, a door swing, or the exact width of the sofa, so the design phase is not optional decoration, it is the project.
How to do it: Honest skill level: intermediate. The cutting and fixing are the same as picture frame molding, but the layout math and the number of angles raise the difficulty. Draw the wall to scale, then tape every line on the wall at full size and live with the tape for at least a day, moving furniture back into place to judge it. Only when the taped version works should any trim be cut. Pro Tip: Keep at least one strong horizontal or vertical line running through the design to anchor it; pure randomness reads as a mistake, while one clear axis makes the rest look intentional. Common mistake: Copying a geometric wall from a photograph of a much larger room. Compressed into a smaller wall, busy geometry shrinks the room; scale the design down in complexity, not just in size.
10. Cover One Wall in Marble-Look Sheet Panels
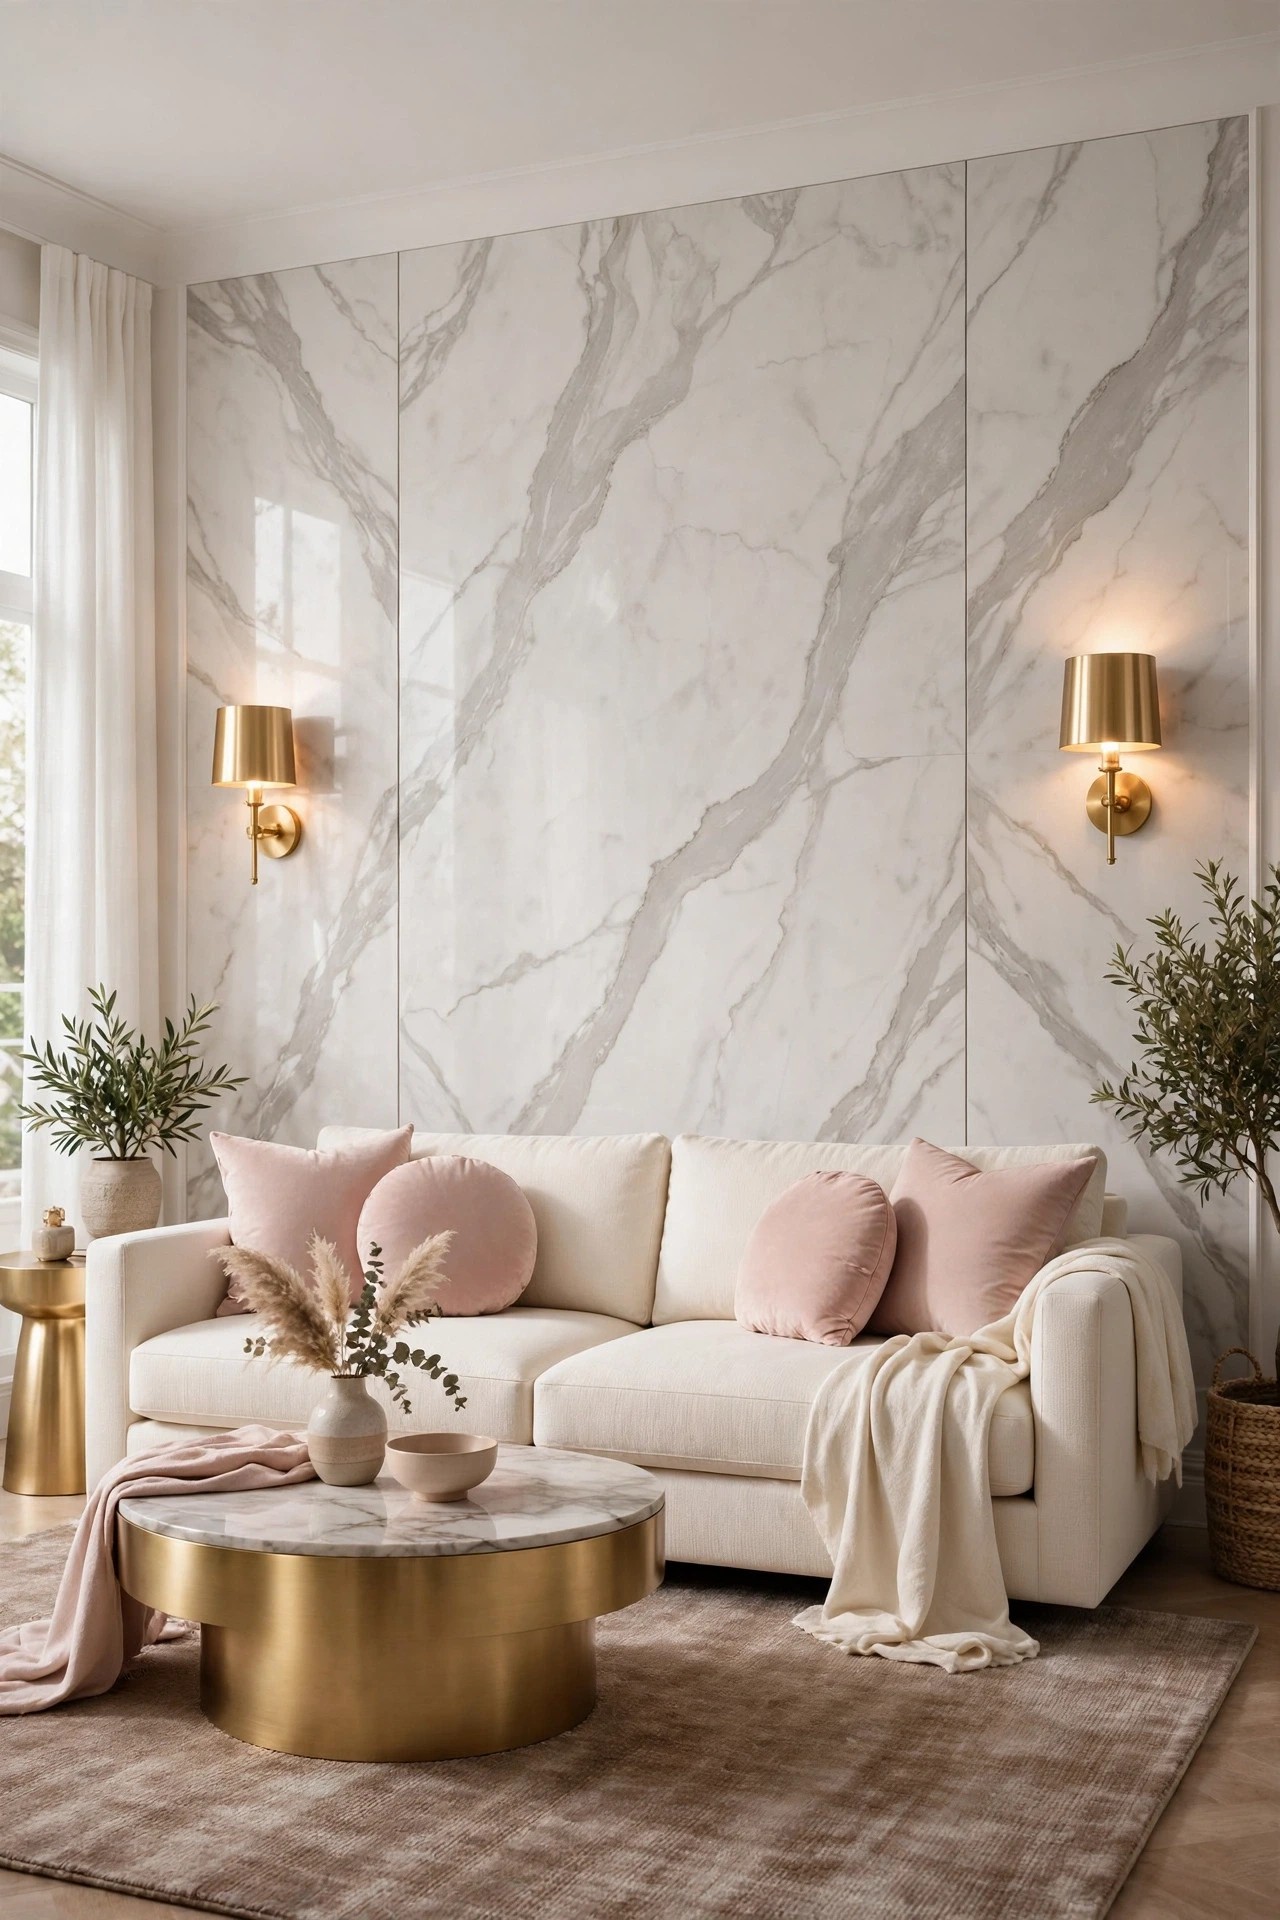
Large sheet panels in a marble look give the wall the presence of stone without stone’s weight, cost, or installation demands. The sheets are typically lightweight boards with a printed or textured stone finish, fixed flat to the wall in a few large pieces, so a whole wall changes in a day. In this palette the right sheet is soft and matte, white with gentle grey or gold veining that picks up the brushed gold fittings.
Quality varies widely in this category, and the wall will be looked at closely and in daylight, so the finish has to survive scrutiny at sofa distance. A matte, softly veined sheet reads as stone; a glossy sheet with a repeated printed pattern reads as a photograph of stone, which is a different and cheaper thing.
How to do it: Honest skill level: intermediate for lightweight sheets, professional for real stone or heavy porcelain slabs, which need proper fixing and should not be a first project. Measure so sheet joints land in the least visible places, ideally behind furniture, and use the maker’s recommended adhesive and joint treatment. Check each sheet in the room’s real light before fixing anything permanently. Pro Tip: Order a sample and tape it to the wall for a full day and evening; veining that looks soft in a showroom can turn stark under warm home lighting. Common mistake: Pattern repeats lining up obviously across sheets. Rotate or offset sheets where the maker allows, and place the busiest veining low, behind the sofa, where it is partly hidden.
11. Frame Grasscloth Inside Trim Panels
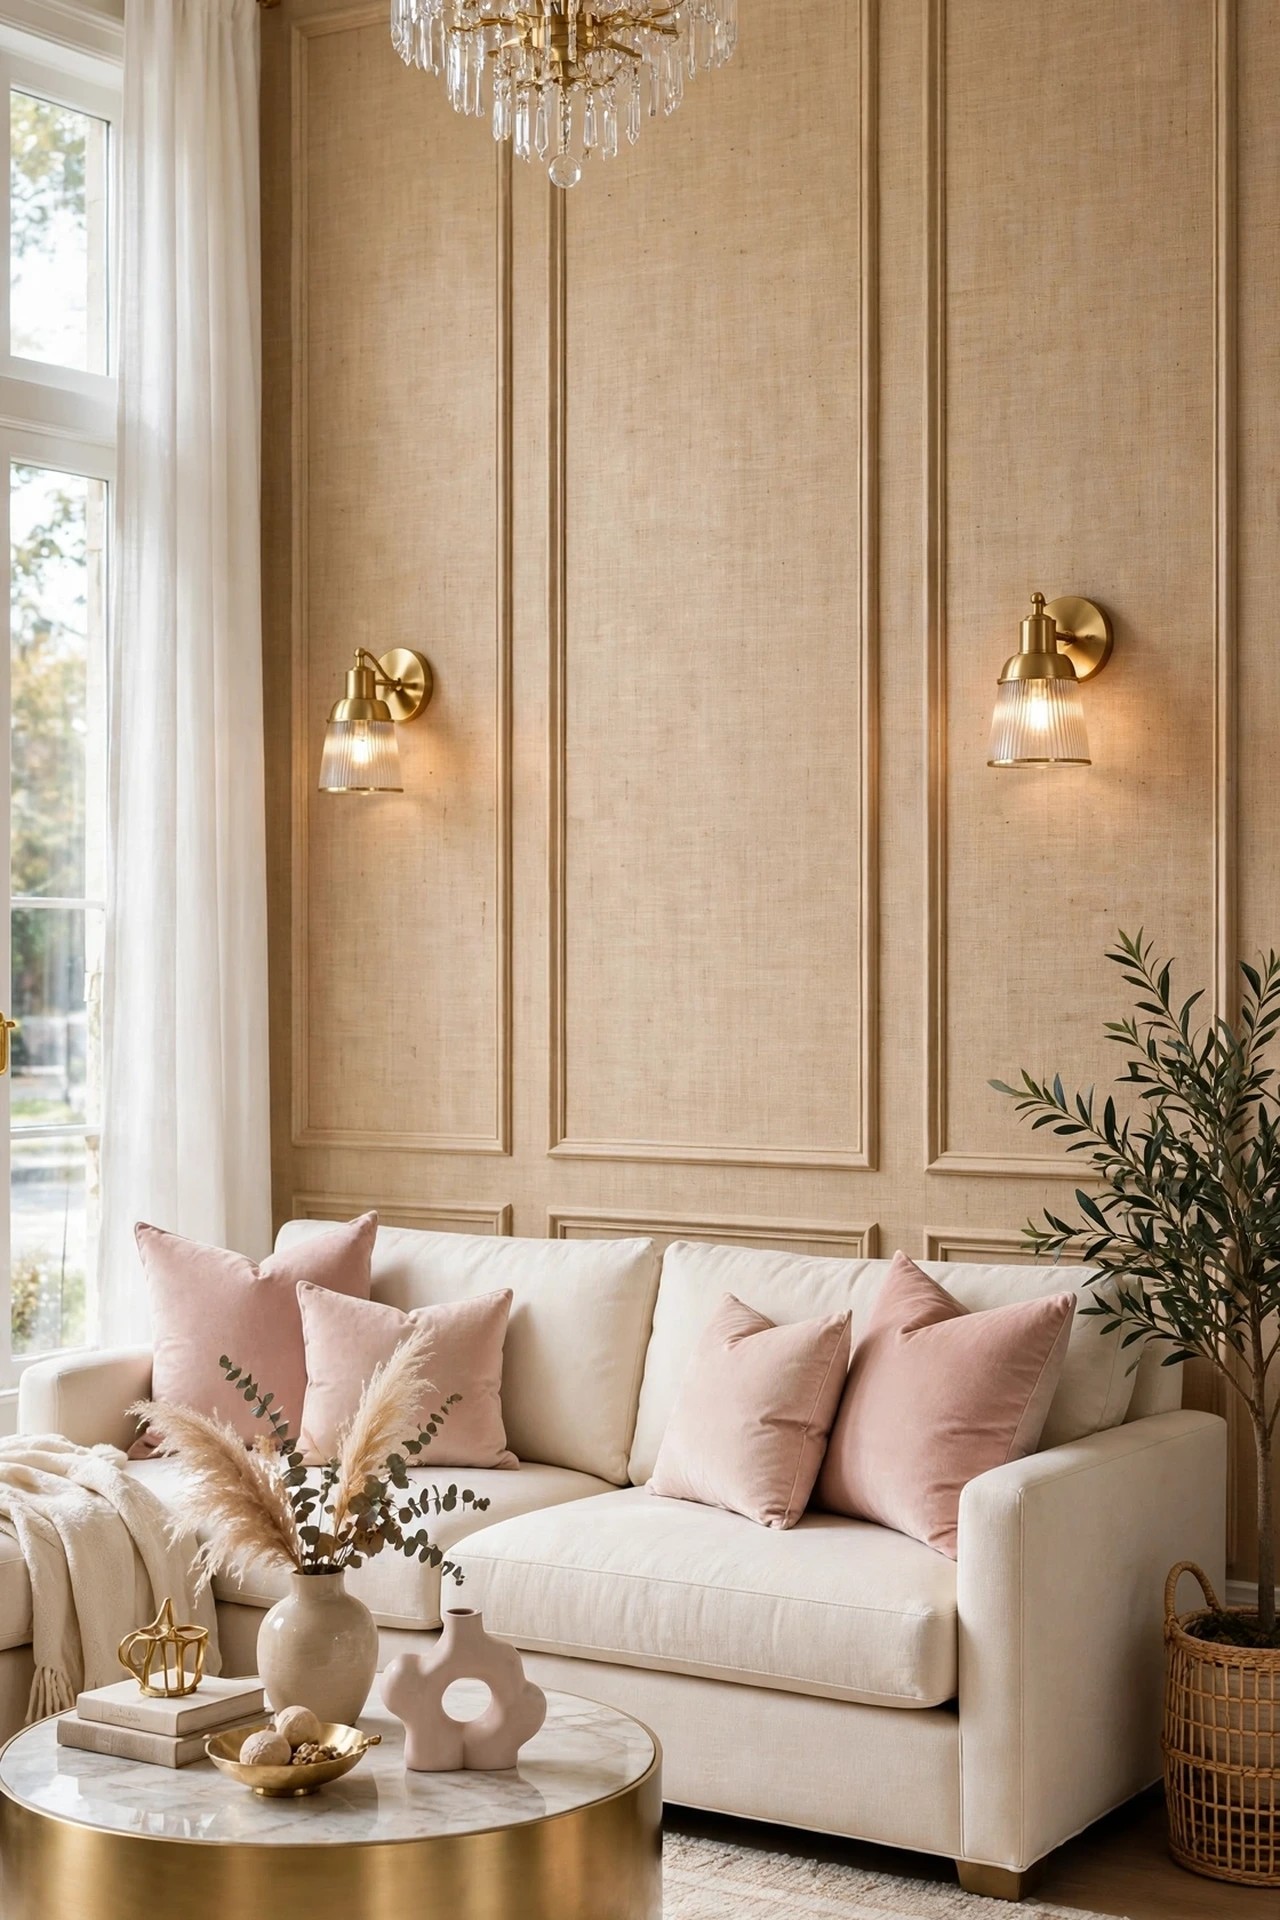
This idea pairs two treatments: the trim frames of Idea 1, with the inside of each frame lined in grasscloth or another natural textured wallcovering. The wall gains two layers of interest, the shadow lines of the frames and the woven texture inside them, while the color stays inside the warm beige and cream family. It is the most tailored, editorial look in the collection.
Grasscloth suits panel insets because its natural seams and slight color variation, which can look untidy across a whole wall, become a feature inside a frame, like fabric inside a picture mount. The trim edge also protects the paper’s edges from knocks and peeling.
How to do it: Honest skill level: beginner to intermediate. The trim work is the standard frame method, and papering inside a rectangle is the simplest wallpapering there is, with straight edges to cut against. Fix and paint the frames first, then paper the insets, or paper the whole wall and fix frames over it if the paper is plain enough at the edges. Keep paper seams centered in each frame so they look placed. Pro Tip: Grasscloth cannot be wiped like vinyl and drinks up moisture, so keep it to living rooms and bedrooms, never behind a kitchen splash zone or in a steamy bathroom. Common mistake: Trying to hide grasscloth seams entirely. The seams are part of the material’s handmade character; centered and even, they look intentional, while a badly matched join in a corner looks like an error.
12. Soften the Room With Acoustic Felt Panels
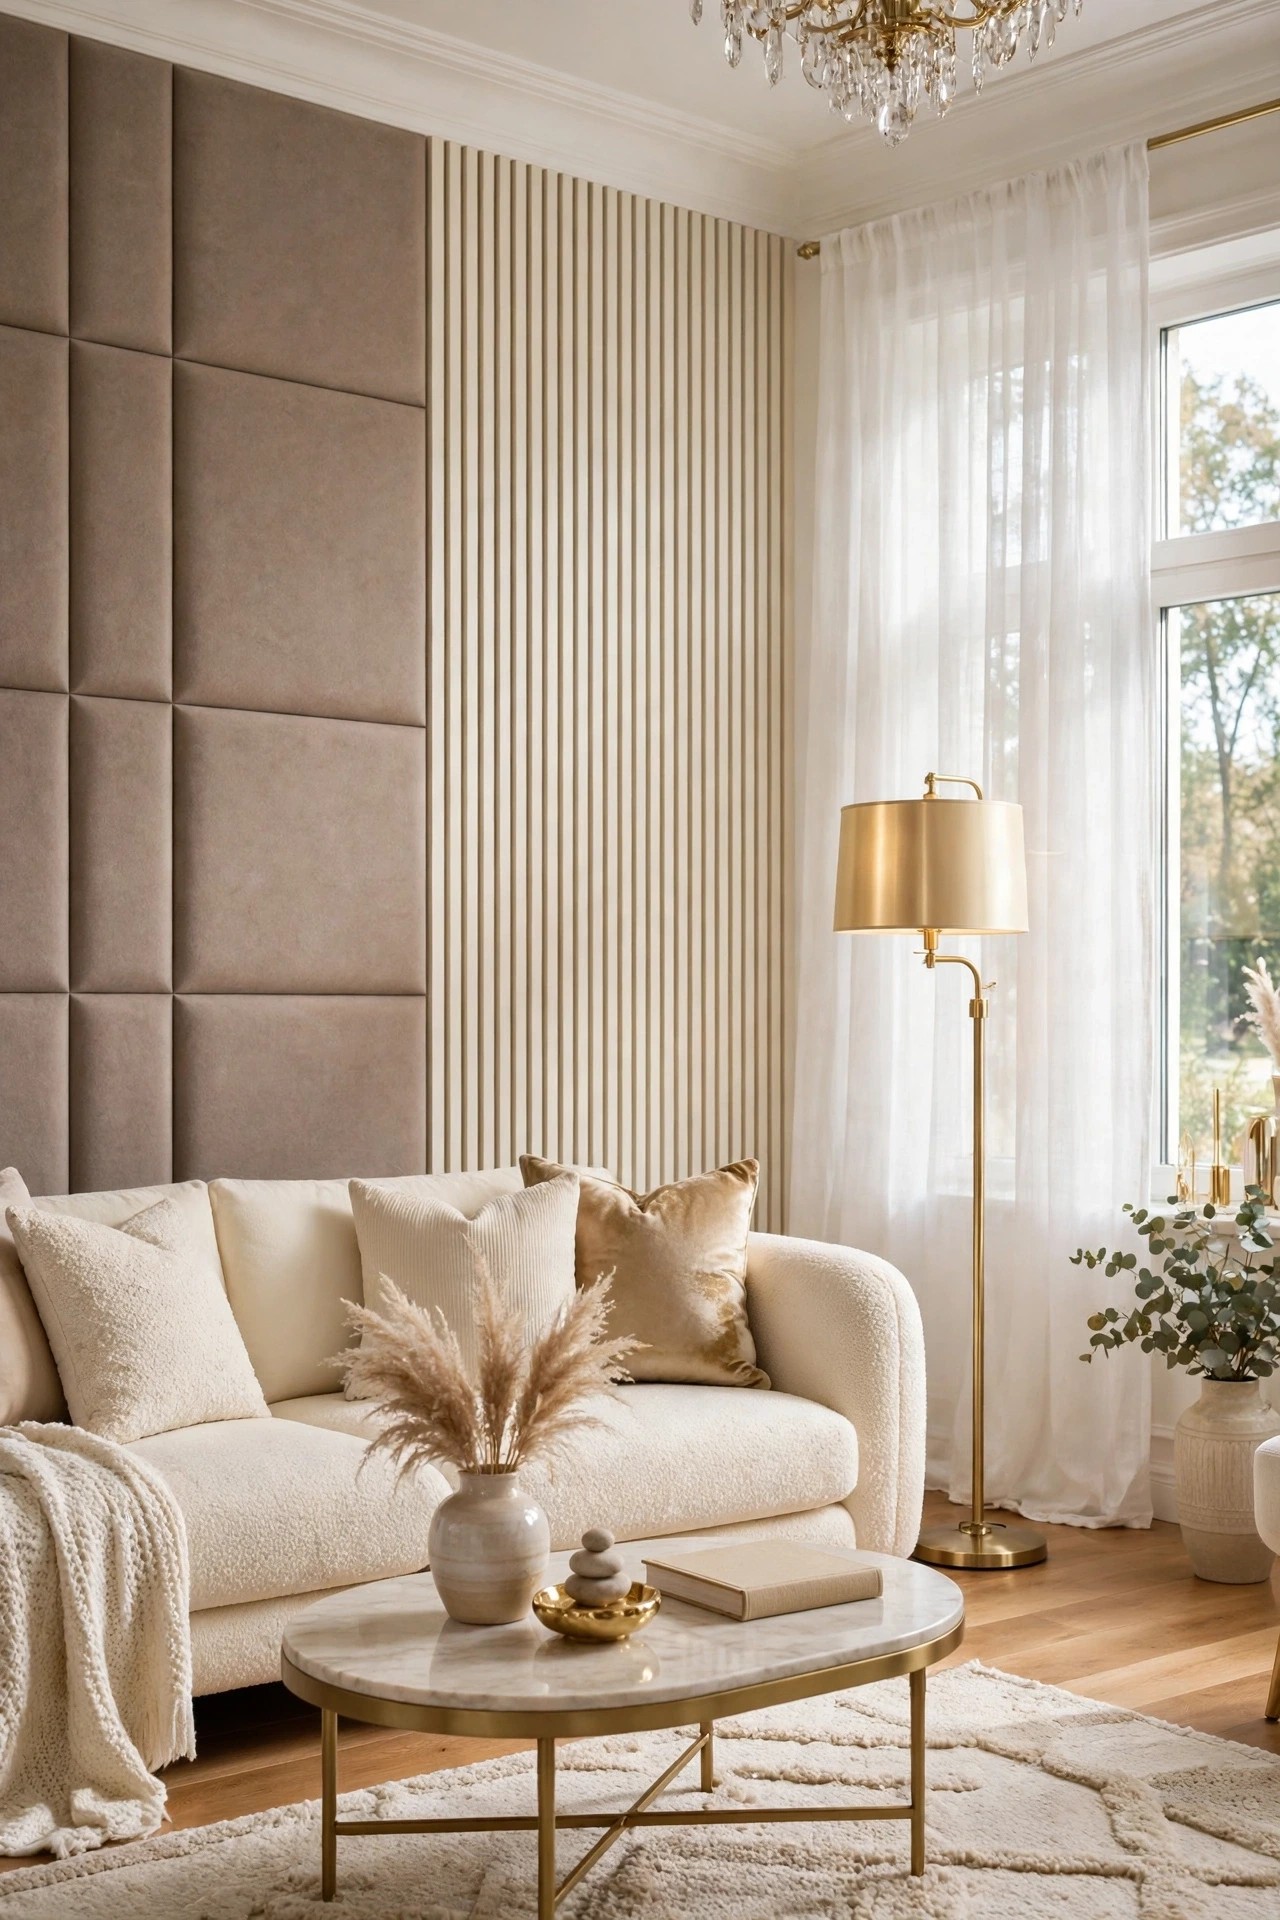
Some living rooms look right and sound wrong: wood floors, large windows, and plain walls bounce every conversation and television line around the room. Acoustic felt panels fix the paneling and the echo at once. They come as slats on a felt backing or as tiles, in soft colors like warm taupe, cream, sand, and blush that sit comfortably in this palette.
The honest framing matters: these panels soften and absorb some sound inside the room, which makes the space feel calmer, but they are not soundproofing and will not stop noise passing to neighbors. Judged as texture plus echo control, they earn their wall.
How to do it: Honest skill level: beginner. Most systems fix with screws through the backing, adhesive strips rated for the panel’s weight, or simple clips, and cuts are made with a sharp utility knife. Cover the wall behind the seating area or the wall opposite the television for the best effect, work out the layout so cut edges land at the least visible side, and follow the maker’s guidance near heat sources. Pro Tip: One wall of felt plus the rug and curtains you already own usually tames a room; test with one wall before ordering more. Common mistake: Expecting silence. Readers who buy felt panels to block a neighbor’s television will be disappointed; buy them to calm your own room’s echo.
13. Set Mirrored Panels Inside Classic Frames
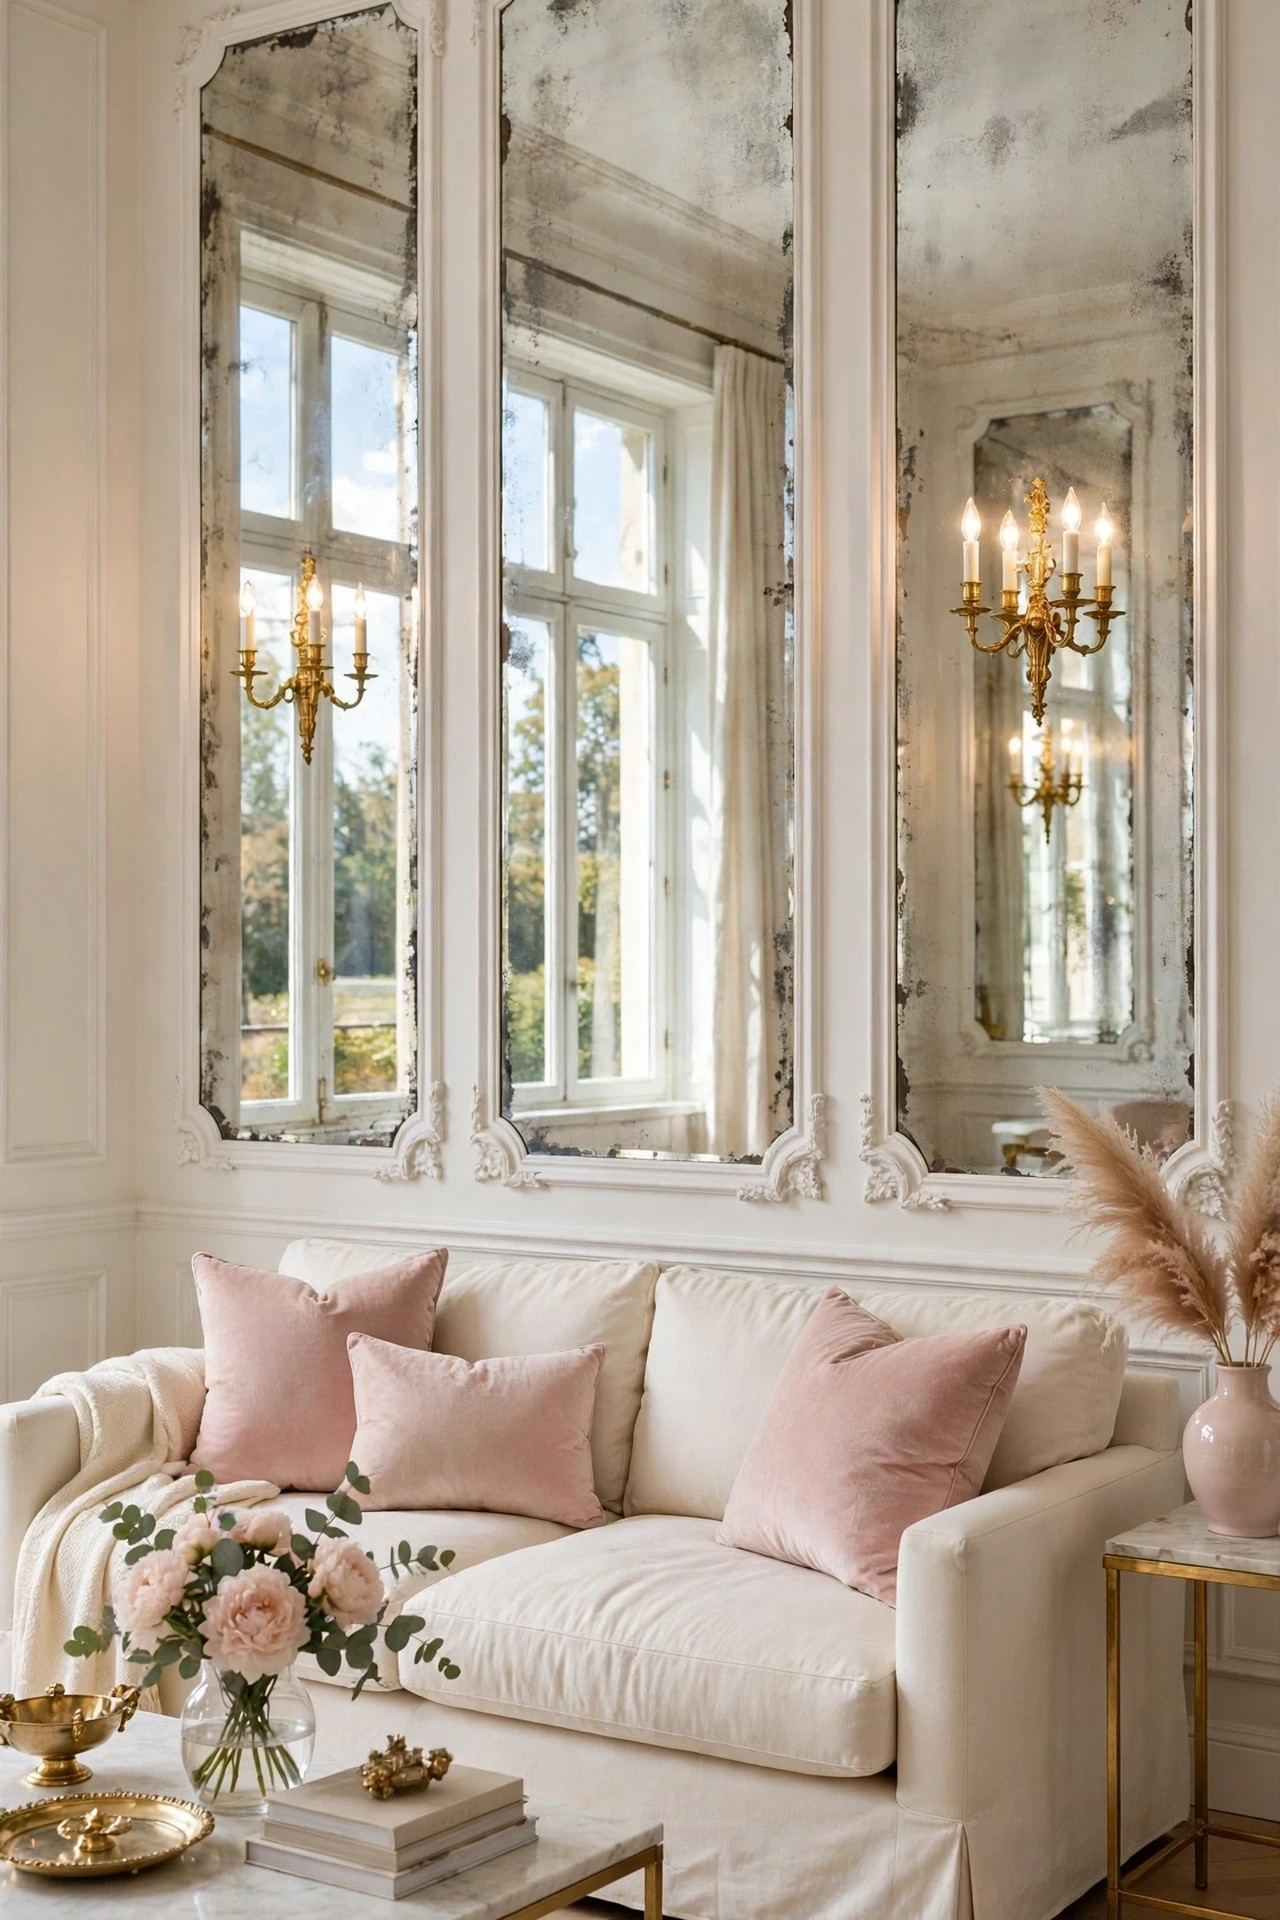
Mirrored panels are the grand hotel version of wall paneling: molding frames, but instead of paint or paper inside each frame, there is mirror, plain or softly antiqued. The wall stops being a surface and becomes light, doubling windows, sconces, and the room itself. In a glam living room this is the single most luxurious treatment in the collection.
It is also the least forgiving. Mirror reflects whatever faces it, in perfect detail, all day. Facing a window and a styled sofa, it is magic; facing a cluttered corner or a television, it doubles the problem. Antiqued mirror is the softer choice, since its gentle mottling blurs reflections and hides smudges that plain mirror announces.
How to do it: Honest skill level: professional. Mirror must be measured, cut, edged, and fixed with the correct mirror adhesive and mechanical support, and large pieces are heavy and fragile; this is a glazier’s job, and the trim frames can be built by the same carpenter logic as Idea 1 around the glazier’s measurements. Plan what the mirror will reflect before committing, using a cheap mirror tile held in place to test the view. Pro Tip: Light the mirrored wall with sconces mounted on or beside it; the doubled glow is the effect everyone is actually buying. Common mistake: Plain, flawless mirror in a family living room. Every fingerprint and toy mark shows twice; antiqued or smoked finishes are the livable versions.
14. Paint Panels in Deep Forest Green With Cream
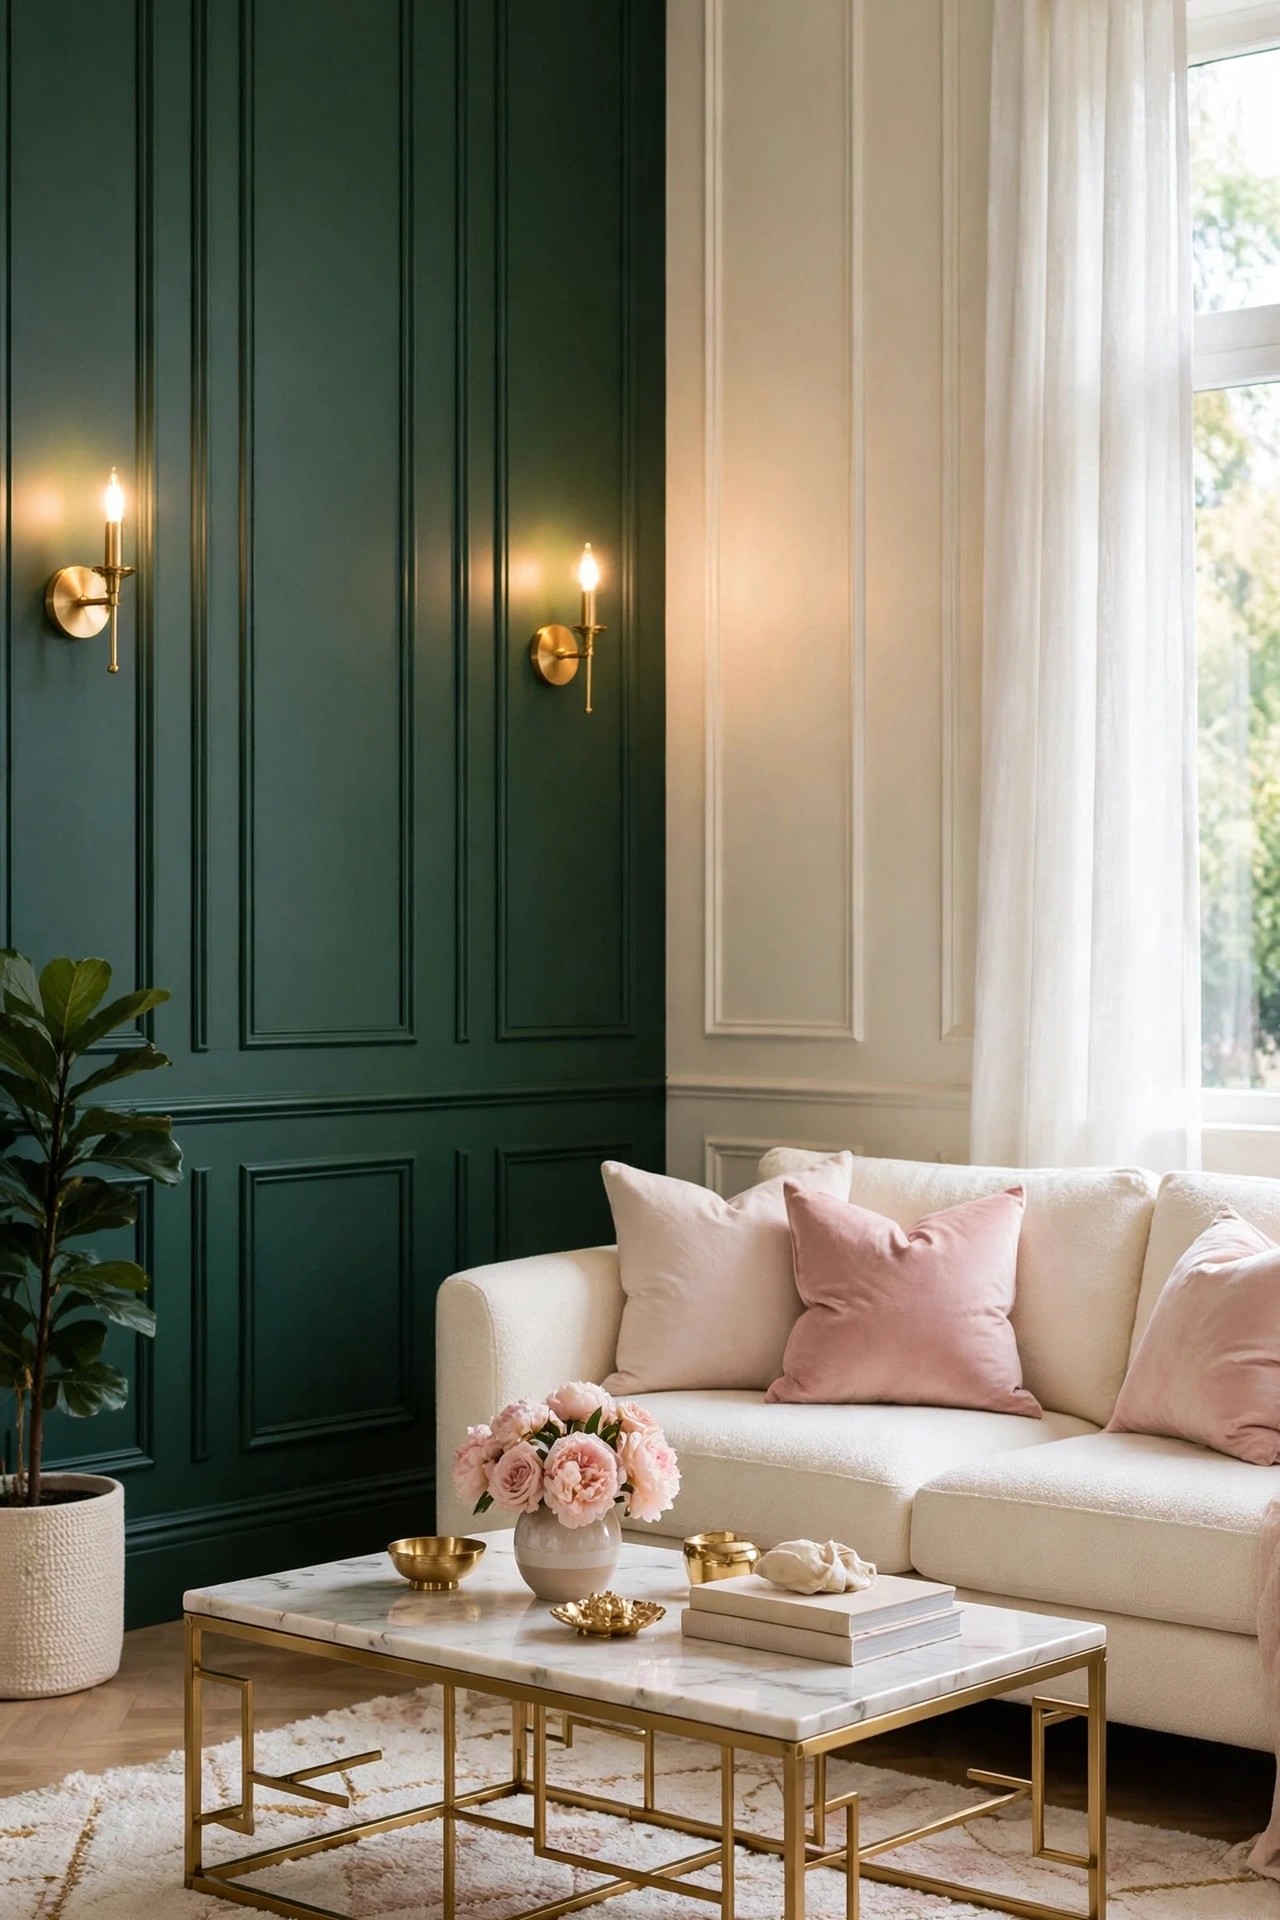
Every idea so far works in cream and taupe, but paneling is also the safest way to bring in a deep color, because the frames give the color structure. Deep forest green, the GlamNStyle brand green, across a paneled wall reads rich and calm rather than dark and flat, since every frame edge catches a line of light and shadow. The cream sofa and blush cushions keep the room bright against it.
The two-tone version is the most flexible: the paneled wall in deep green, the remaining walls in warm cream. If the green ever feels too much, it is one wall to repaint, and the paneling itself stays. Keep the sheen low; deep colors show every flaw under gloss.
How to do it: Honest skill level: beginner once the paneling exists, since this is a painting project; the paneling underneath follows whichever earlier idea built it. Deep colors need a properly primed surface and usually more coats than cream, so test the exact green on one frame first and judge it in evening light, when the room will mostly be used. Paint the frames and the insets in the same color and finish so the wall reads as one carved piece. Pro Tip: Warm the green with the lighting: warm white bulbs and brushed gold sconces keep forest green rich, while cool daylight bulbs push it toward teal. Common mistake: A glossy finish on deep paneled walls. Gloss shows every brush mark and every uneven joint; eggshell or satin hides a multitude and suits the color.
15. Panel the Fireplace Wall as One Composition
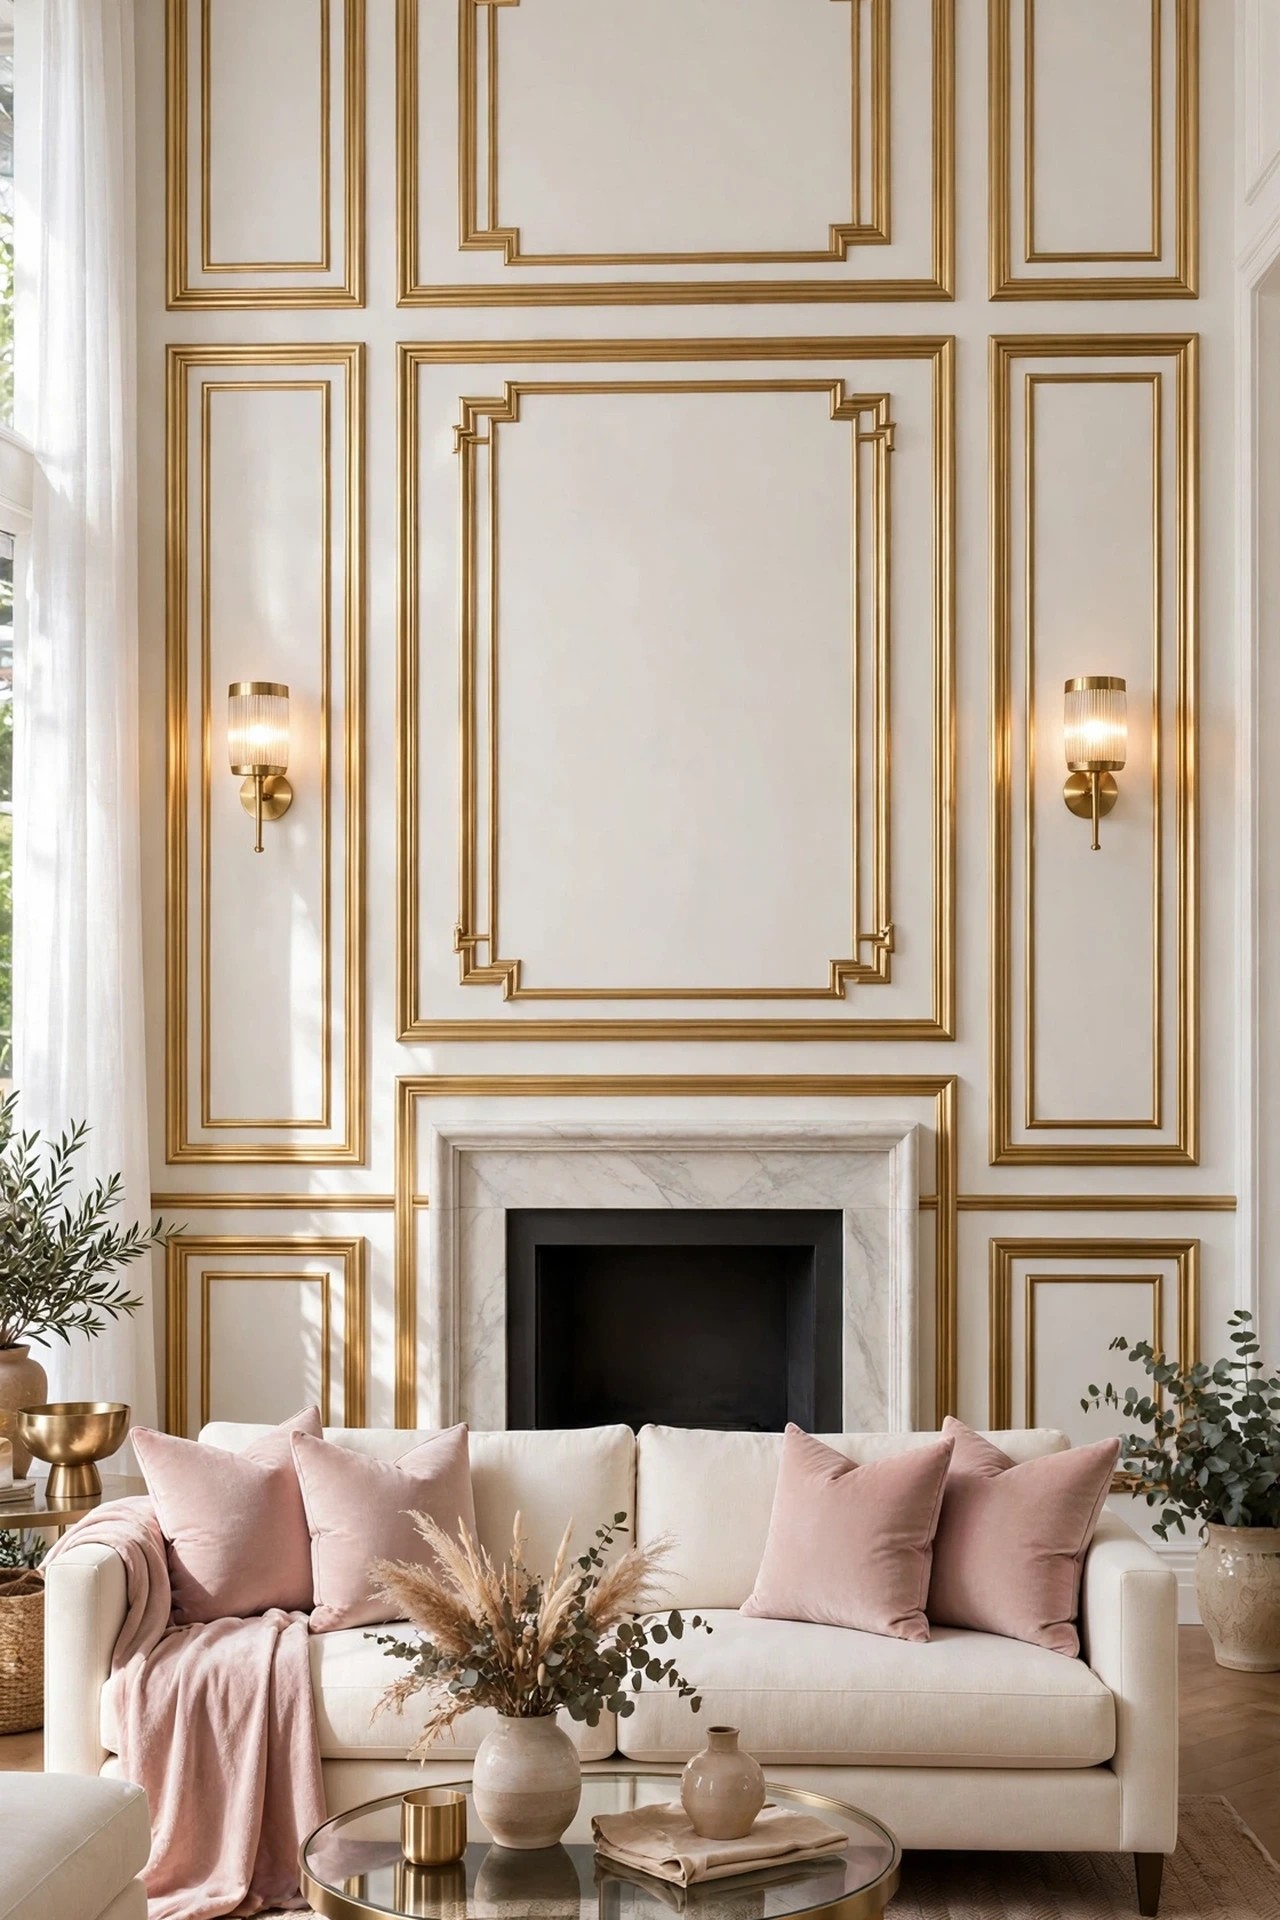
Many living rooms panel one wall and leave the fireplace wall as a plain chimney breast with a mantel floating on it, so the room has two competing focal points. Paneling the fireplace wall as one composition settles it: frames or slats run across the breast and the alcoves beside it, the firebox sits inside the design, and the whole wall becomes the single, deliberate center of the room.
Plan the layout around the firebox rather than centering the grid on the wall and letting the opening land where it lands. Alcove panels can be narrower versions of the breast panels, and the mantel shelf can double as the horizontal rail that ties the design together.
How to do it: Honest skill level: intermediate, with one firm safety rule. Only use materials and clearances that suit a working fireplace: keep combustible trim at the distances your local building rules and the fireplace maker require from the firebox opening, use non-combustible material close to the opening where rules call for it, and if you are unsure, have a professional check the plan before anything is fixed. For a decorative or electric fireplace, follow the unit maker’s clearances just as carefully. Pro Tip: Paneling the alcoves a step simpler than the breast, plain insets beside detailed frames, keeps the fireplace itself as the star. Common mistake: Trim run too close to the firebox for the sake of a tidy line. No layout is worth a scorched or unsafe surround; adjust the design, never the clearance.
16. Carry the Paneling Onto the Ceiling
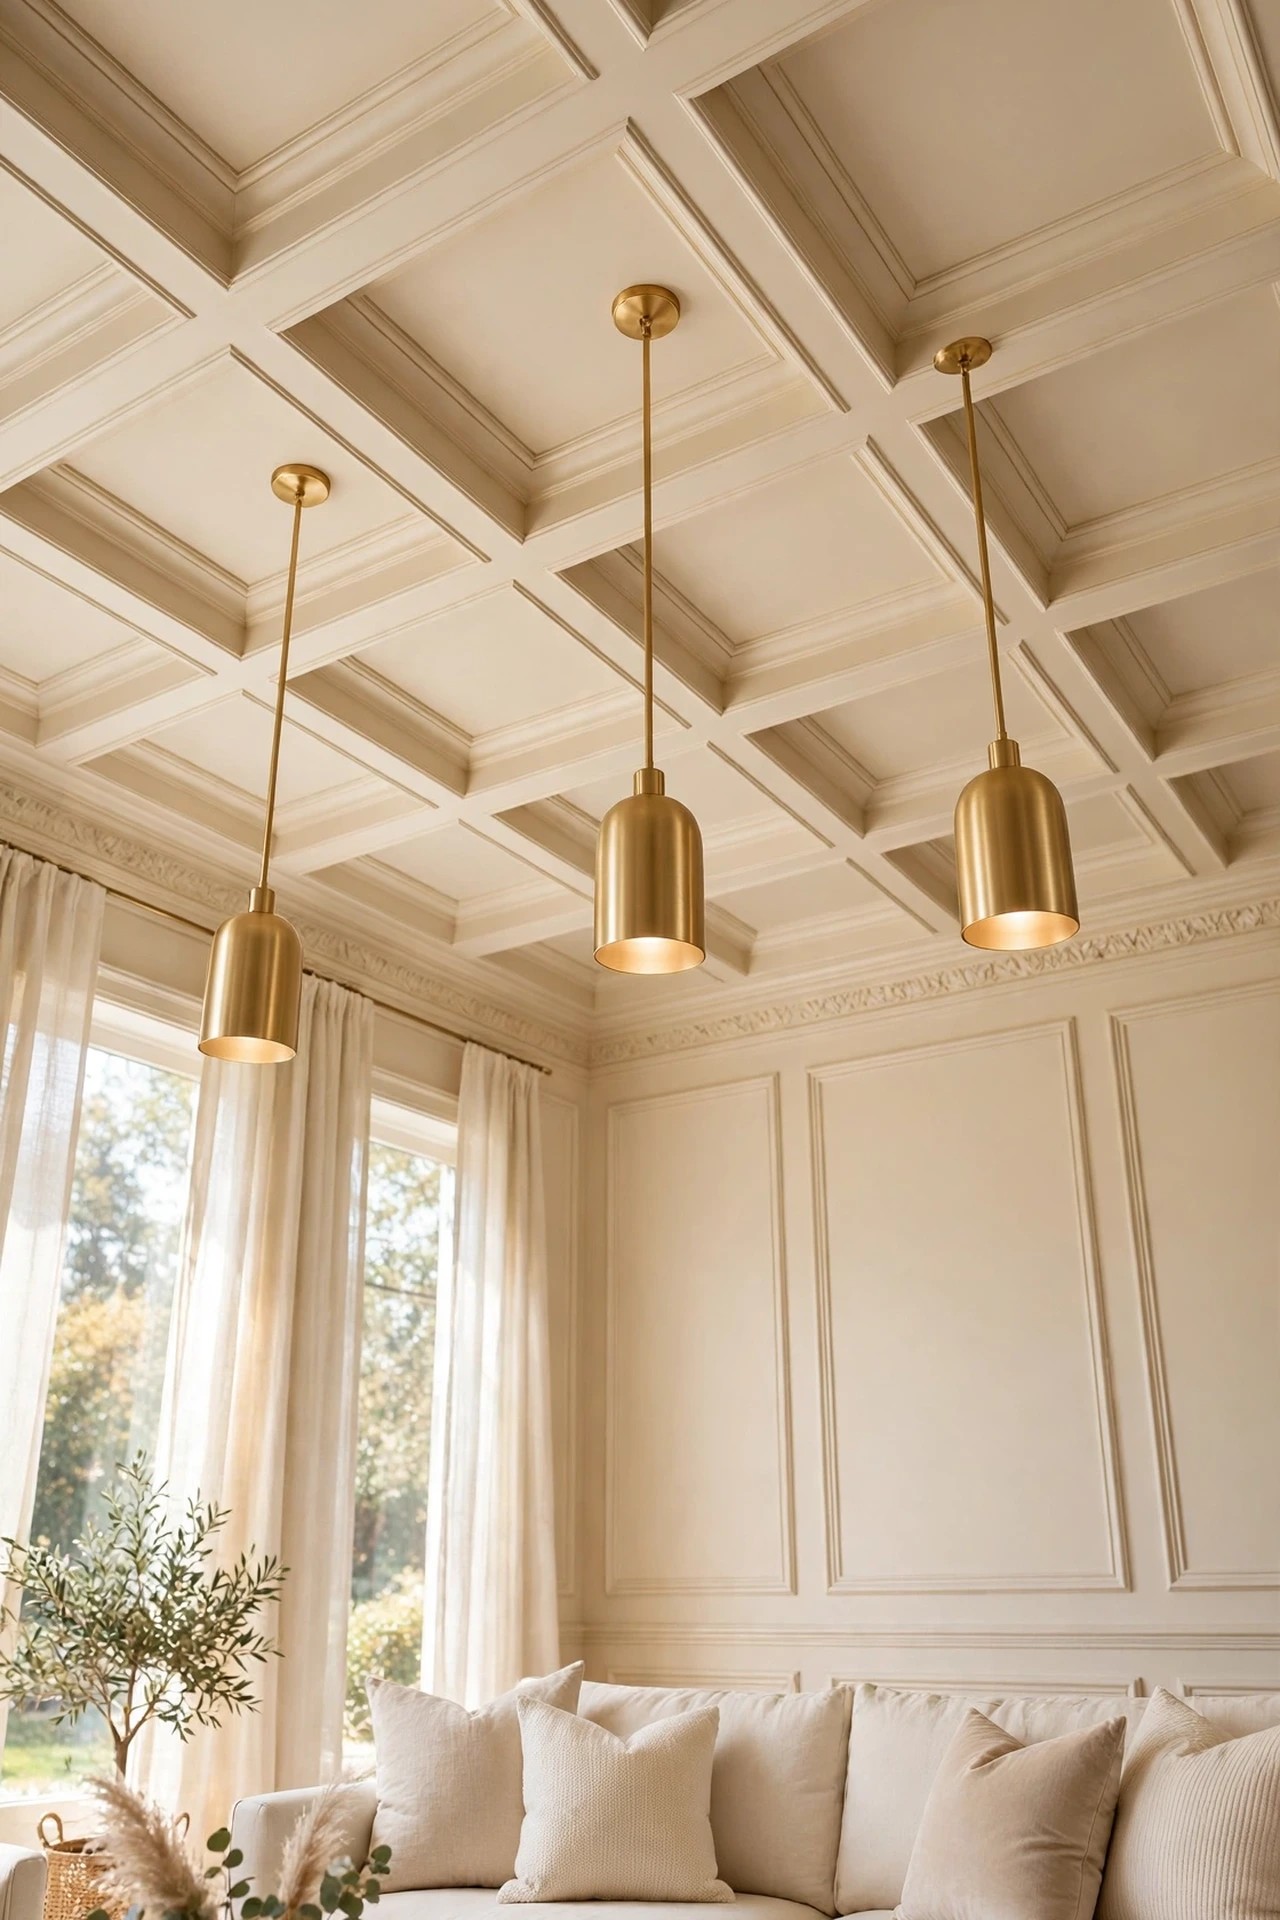
Paneling does not have to stop at the top of the wall. A shallow grid of trim on the ceiling, a simplified coffered effect built from flat boards rather than deep beams, gives tall rooms a finished fifth wall and gives the pendant lights a pattern to hang inside. It pairs naturally with the classic frame walls of Ideas 1 and 6.
Scale is the discipline here. The treatment belongs in rooms with reasonable ceiling height and works best kept shallow and painted the same cream as the ceiling, so it reads as soft shadow geometry rather than heavy beams pressing down. In a low room, skip this idea entirely and let the walls carry the paneling.
How to do it: Honest skill level: advanced, and often professional. Overhead work is slow, every fixing must find the ceiling joists or a proper fixing system rated for overhead loads, and long boards need two pairs of hands and scaffolding or a proper platform rather than a chair. Lay the grid out to suit the room’s light fittings first, so pendants land inside squares rather than crossing trim lines. Pro Tip: Paint everything, including the inside faces of the trim, before fixing where possible; painting a ceiling grid in place is the slowest painting there is. Common mistake: Deep, dark beams in an average-height room, copied from a photograph of a house with much taller ceilings. Shallow and same-color is the version that flatters ordinary rooms.
17. Try Peel-and-Stick Panels Before Committing
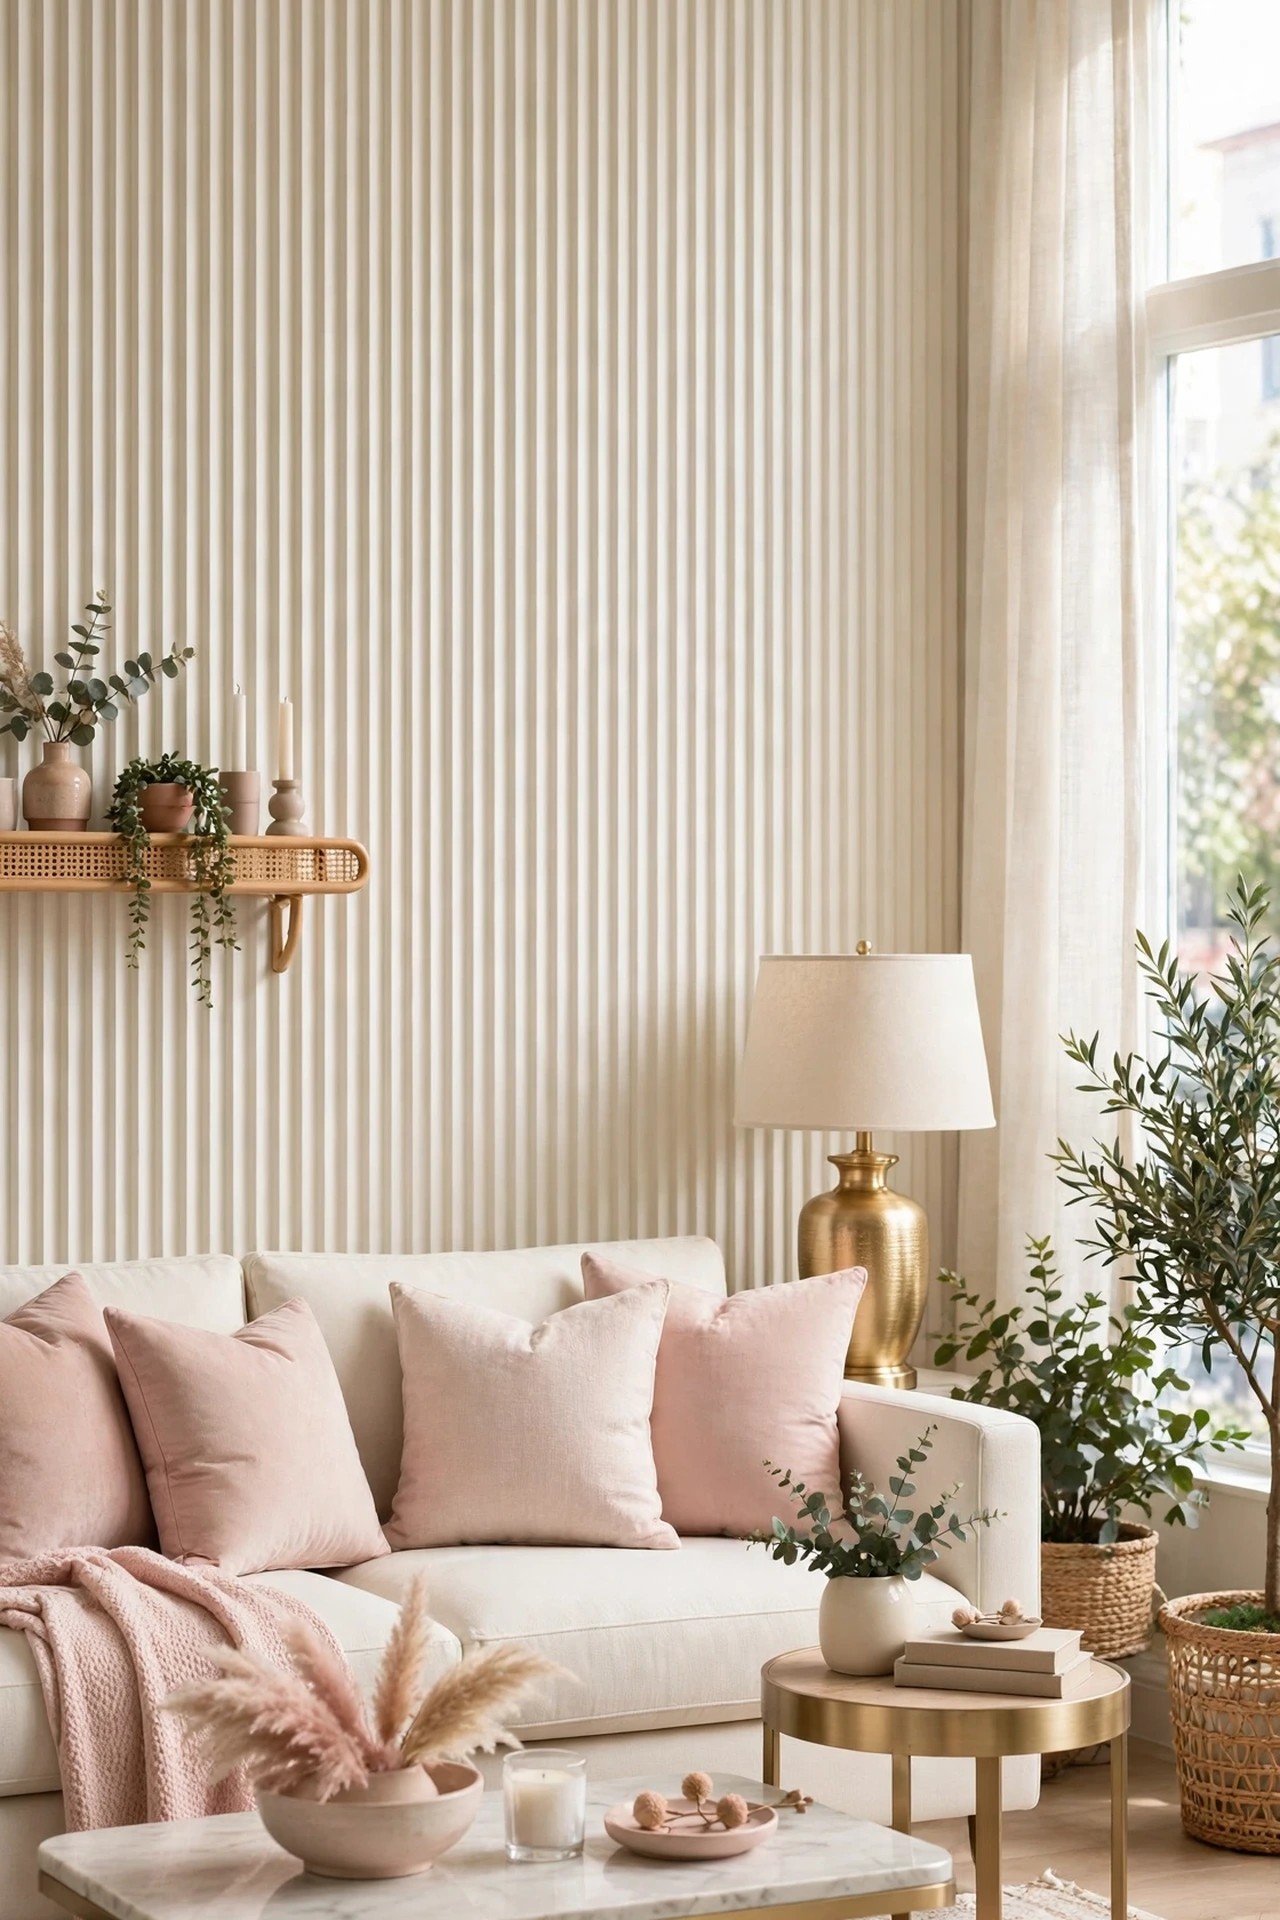
Renters, and owners who are not yet sure, can test the paneled look with peel-and-stick panels: lightweight tiles, often fluted, slatted, or softly three-dimensional, that fix with their own adhesive backing and cover a wall in an afternoon. In cream, taupe, or a wood tone, they imitate Ideas 2 and 3 closely enough to judge whether real paneling deserves the investment.
Honesty about limits belongs in this idea. Peel-and-stick products vary in how cleanly they remove, they dislike textured walls and steamy rooms, and leases differ. They are a rehearsal, not the performance, and should be tested and costed as such.
How to do it: Honest skill level: beginner. Start with one panel in an unseen corner and leave it a full week, then remove it to check the paint beneath before ordering for a whole wall. Clean and fully dry the wall first, work from a level line, and keep seams aligned, since the grid shows every drift. Check your lease and, for a full wall, ask the landlord; many prefer removable decor to painted walls anyway. Pro Tip: Use the rehearsal properly: live with the test wall through daylight and lamplight, then decide on real paneling with evidence instead of hope. Common mistake: Covering a damp, textured, or freshly painted wall and expecting a clean removal later. Adhesive failures and paint damage almost always trace back to the wall’s condition on day one.
Quick Reference Table
| Idea | What It Adds | Honest Skill Level |
|---|---|---|
| Full-height picture frame molding | Classic architecture, a built-in layout | Confident beginner |
| Vertical wood slat wall | Warmth, texture, height | Intermediate |
| Fluted panels | Soft moving shadow lines | Beginner with ready-made panels |
| Upholstered velvet panels | Softness, glamour, quieter sound | Advanced to make, beginner to hang bought |
| Full-height board and batten | Strong simple structure | Beginner to intermediate |
| Shaker recessed panels | Tailored, modern calm | Intermediate |
| Vertical tongue and groove | Soft cottage ribbing | Beginner to intermediate |
| Shiplap, tight and painted | Clean lined surface | Beginner |
| Geometric trim panels | Modern gallery energy | Intermediate |
| Marble-look sheet panels | Stone presence, fast change | Intermediate, pro for real stone |
| Framed grasscloth panels | Woven texture, tailored finish | Beginner to intermediate |
| Acoustic felt panels | Texture plus a calmer echo | Beginner |
| Mirrored panels | Doubled light, hotel luxury | Professional |
| Deep forest green panels | Rich color with structure | Beginner to paint |
| Paneled fireplace wall | One settled focal point | Intermediate, clearances checked |
| Paneled ceiling | A finished fifth wall | Advanced or professional |
| Peel-and-stick panels | A renter-friendly rehearsal | Beginner |
The Finished Paneling Checklist
- The style is chosen for the room, not copied from a taller or larger room
- The layout is drawn to scale before anything is cut
- The full design is taped on the wall and lived with for a day
- Frames and bays are divided equally, with end spaces adjusted, never left odd
- Sockets, switches, doors, and windows are planned into the layout
- Every joint is filled and every edge caulked before painting
- Trim and wall share one color and sheen, or the contrast is deliberate
- Fireplace clearances and material rules are checked before fixing
- Ceiling work is fixed into joists or a rated overhead system
- Mirror and heavy panels are installed by a professional
- Renter products are test-peeled in a hidden corner first
- Deep colors are tested on one frame in evening light
- The skill level of the chosen idea honestly matches the household
Frequently Asked Questions
What is the difference between wall paneling and wainscoting?
Wainscoting is one specific kind of paneling: it covers the lower part of the wall, usually the bottom third or half, and traditionally protects the wall from chairs and scuffs. Wall paneling is the wider family. It includes wainscoting, but also full-height frames, slats, flutes, fabric, and felt that treat the whole wall. If a treatment runs floor to ceiling or covers one full wall, paneling is the right word for it.
Which wall paneling is easiest for a beginner?
Picture frame molding with thin trim, shiplap, board and batten over a smooth wall, ready-made fluted panels, acoustic felt, and peel-and-stick tiles are all realistic first projects, because the materials are light, the cuts are straight or few, and mistakes can be filled and painted away. Mirrored panels, real stone sheets, and ceiling grids are the ones to hand to professionals.
Can wall paneling work in a small living room?
Yes, and full-height paneling often helps a small room, because the vertical lines draw the eye up and make the ceiling feel higher. The rules are to paint trim and wall the same color so the wall does not chop into pieces, keep the panels simple, and panel one or two walls rather than every surface. Busy geometric layouts and deep colors are the versions to use with care in a small space.
Should paneling be painted the same color as the wall?
The same color in the same sheen is the calm, modern default, and it is what makes trim read as architecture instead of decoration. A contrast works when it is the whole point, like the deep forest green paneled wall with cream walls around it. What rarely works is a slight difference, trim a shade lighter than the wall, which just looks like a paint mismatch.
Do paneled walls need special care?
Most painted paneling is cared for like any painted wall: dust with a soft brush or vacuum attachment, especially in flutes and grooves, and wipe marks with a barely damp cloth. Fabric and grasscloth panels cannot be wet-cleaned, so they belong away from splash zones and sticky hands. Keep the leftover paint labeled by room; panel edges and corners are where small touch-ups will be needed first.
Conclusion
Wall paneling is the rare decorating change that alters the room itself rather than the things in it. Full-height frames give a plain room architecture, slats and flutes give it texture and shadow, fabric and felt give it softness and quiet, and a deep green paneled wall gives the whole palette a rich anchor. The secret is not the style you pick; it is the honest match between the idea, the room, and the hands doing the work. Tape the layout first, respect the skill level each treatment really needs, and let one well-planned wall change how the entire living room feels.