
15 Wainscoting Ideas That Make Plain Walls Look Finished
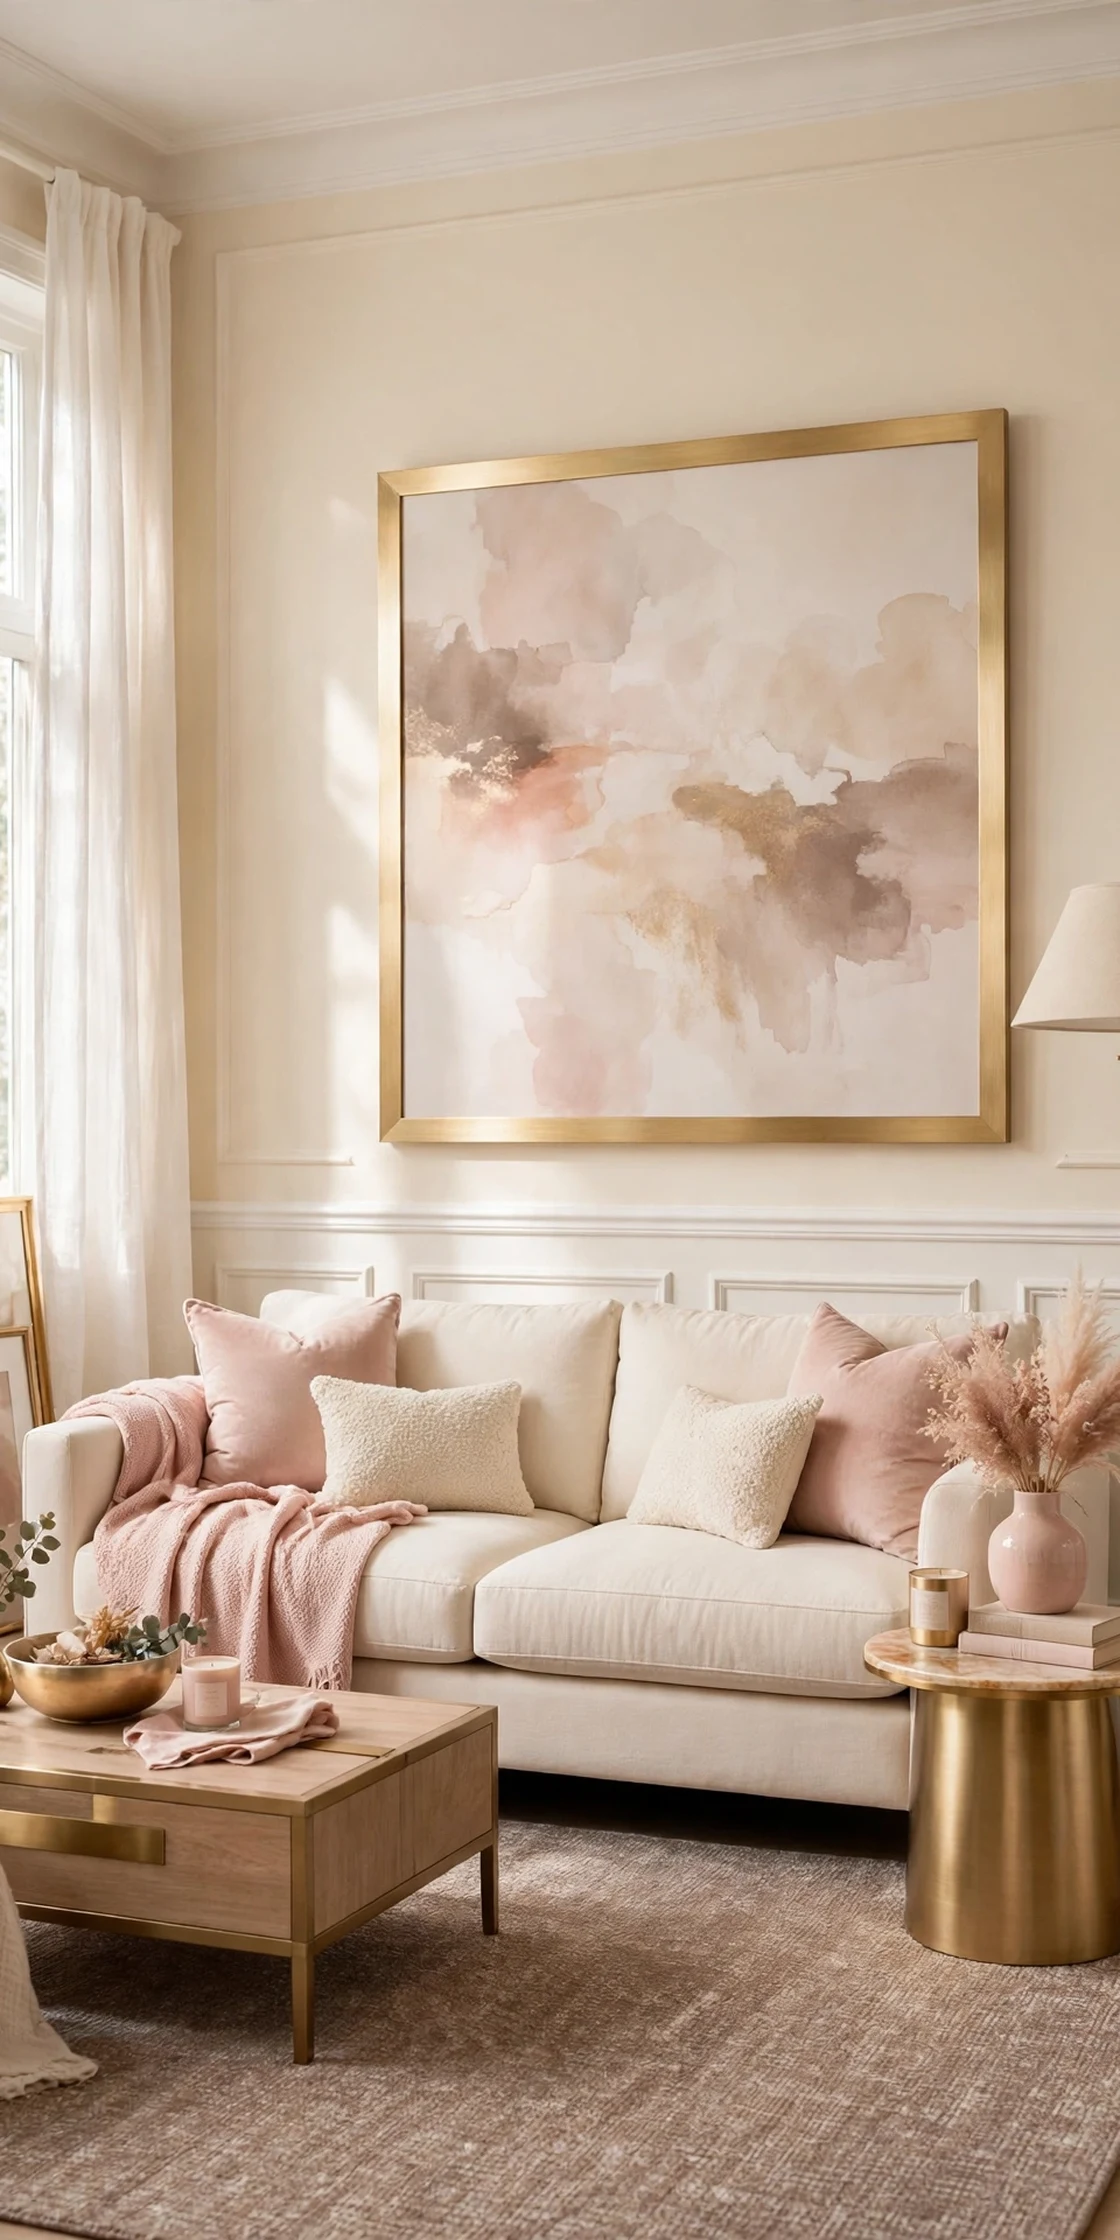
A plain wall is not a bad wall; it is an unfinished sentence. Wainscoting, the paneling that covers the lower part of a wall, or the molding frames that imitate it, gives that sentence its ending: a baseboard with something to meet, a chair rail with a reason to exist, and a room that looks built rather than merely painted. It is one of the oldest tricks in decorating because it works in almost every style, from classic to modern glam.
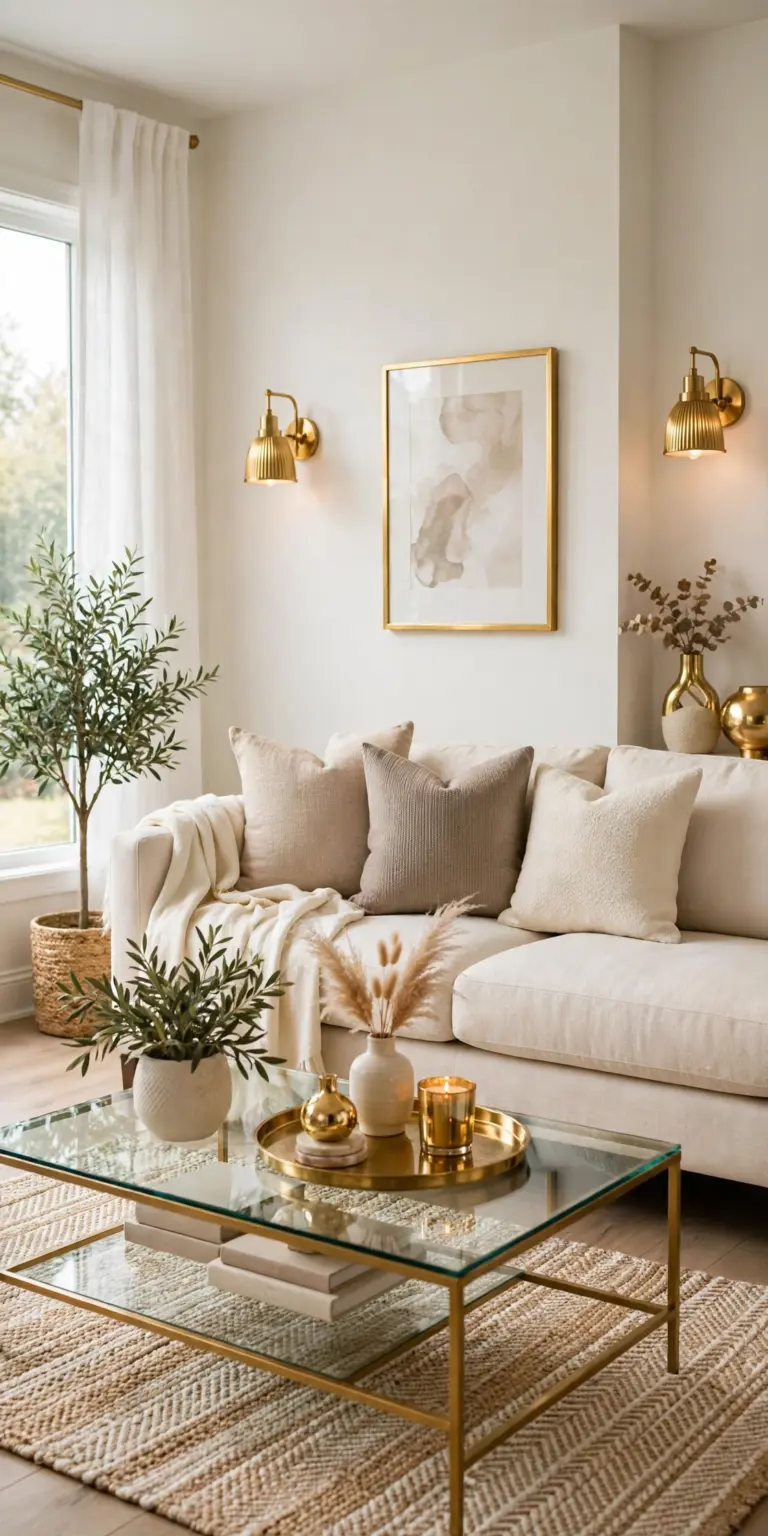
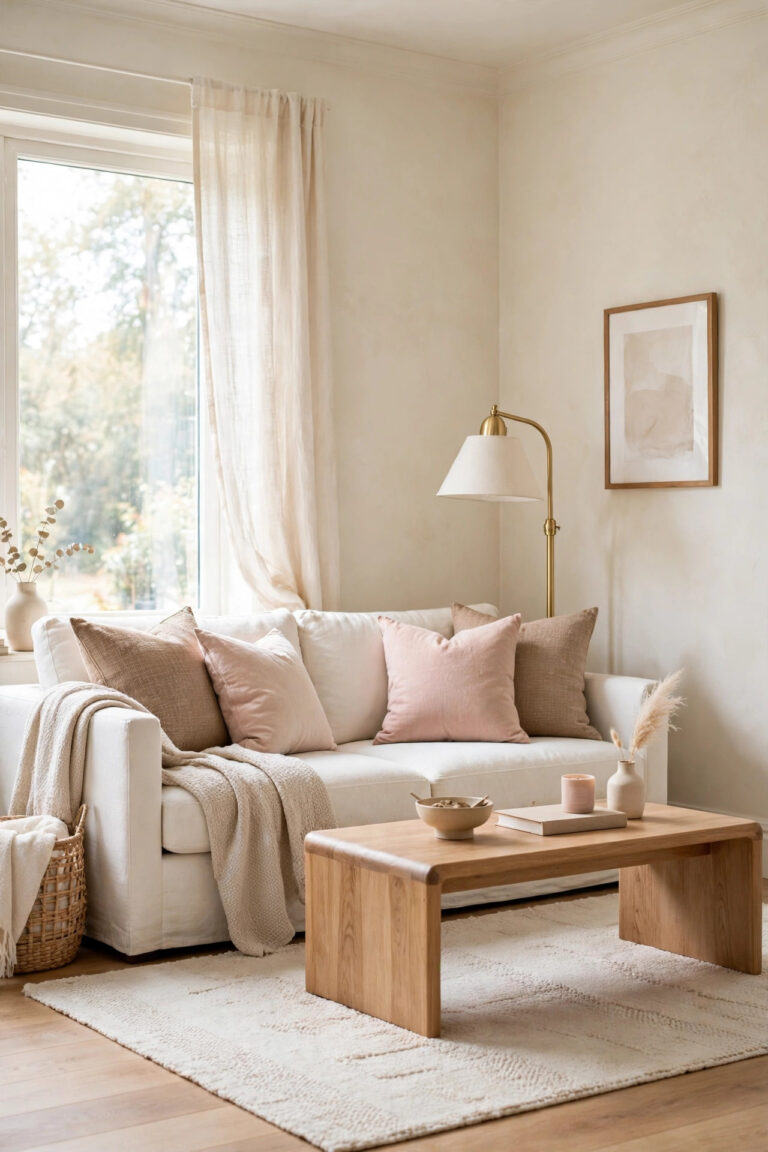
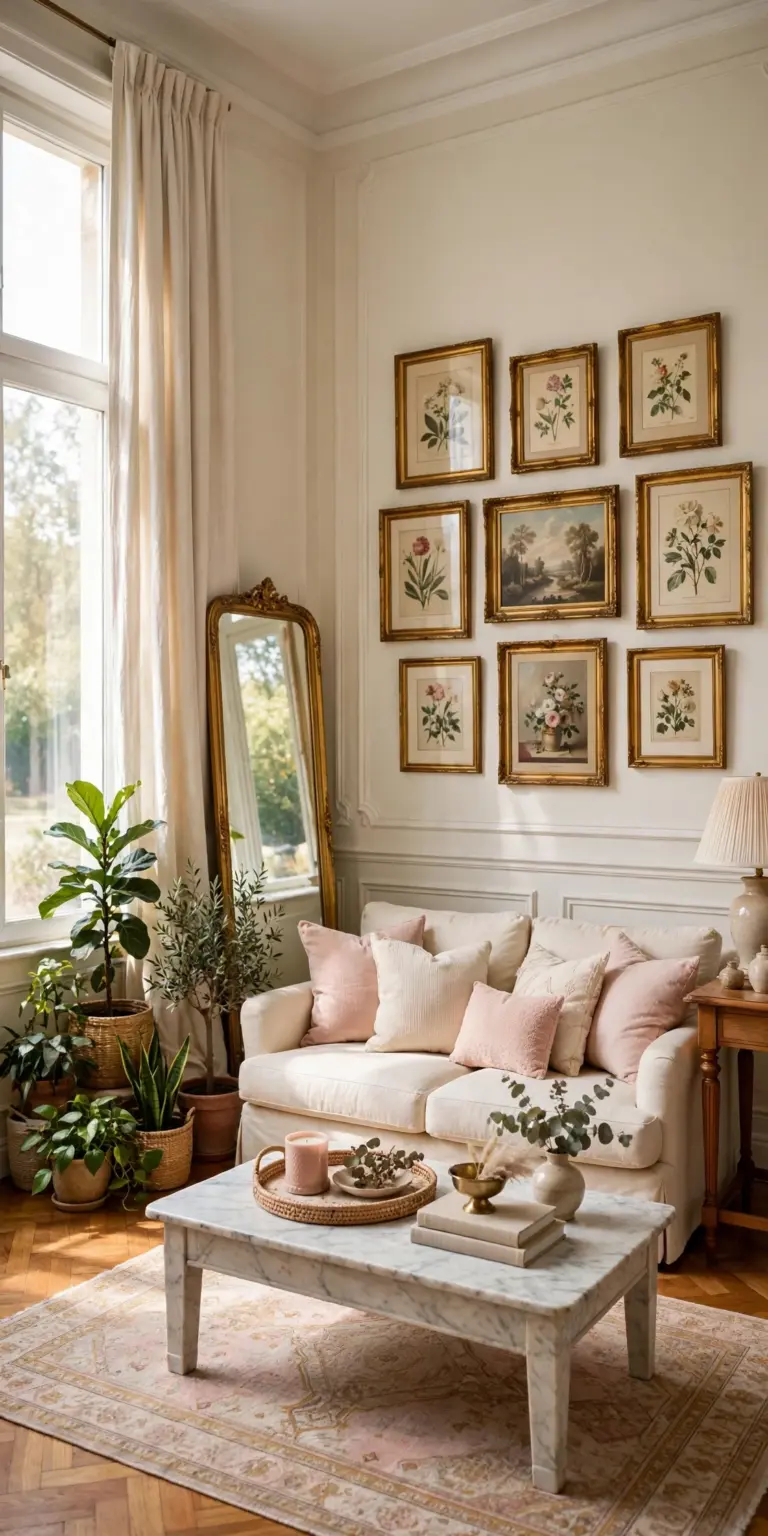
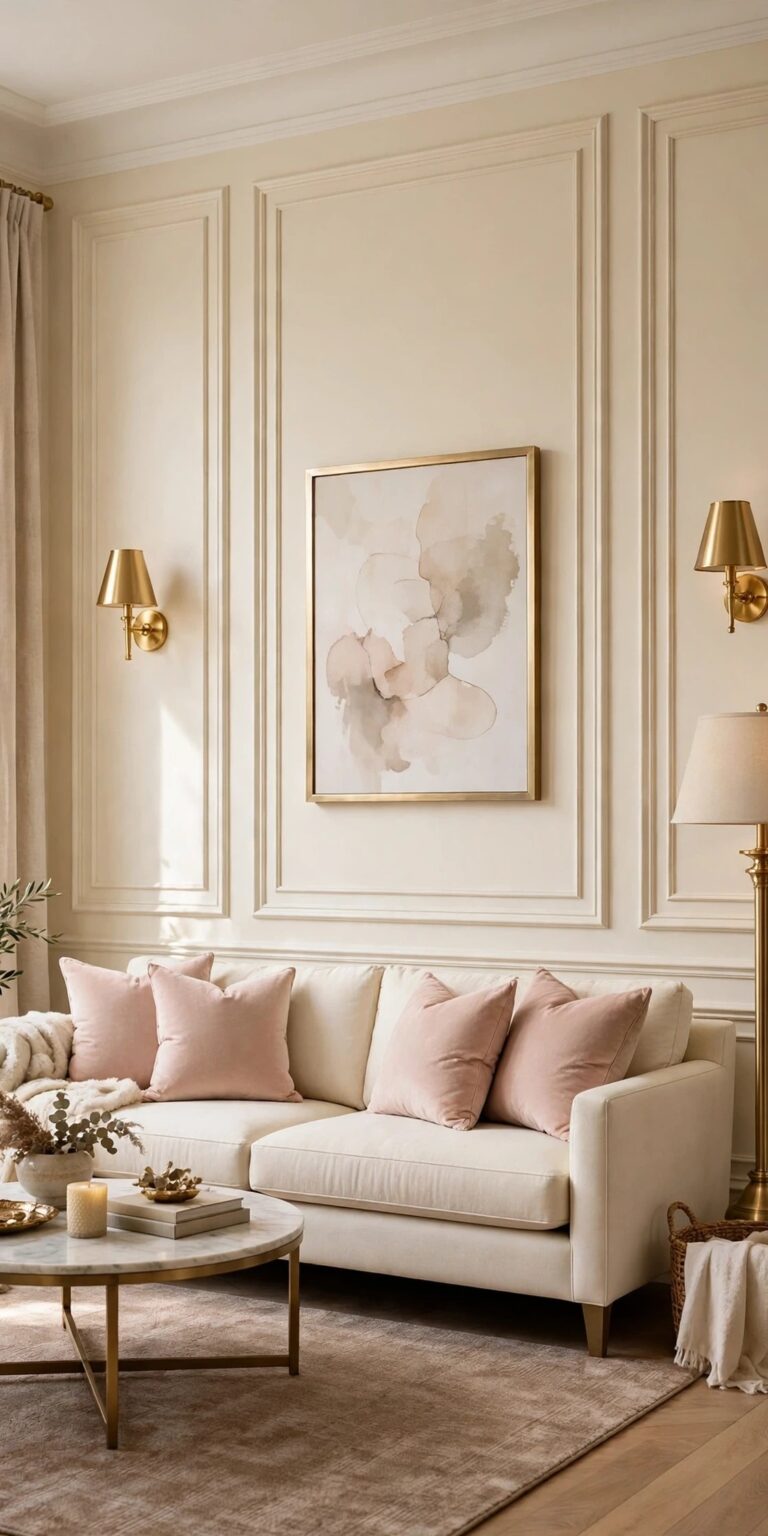
These fifteen wainscoting ideas all live in the same bright glam living room, cream walls, a cream sofa, a warm taupe rug, and brushed gold accents, so you can compare the styles honestly. Each idea also tells you the truth about the work involved: which styles a careful beginner can genuinely do, and which ones are worth paying a carpenter for. Choose by your skill and your patience, not just by the photograph.
1. Classic Picture-Frame Molding
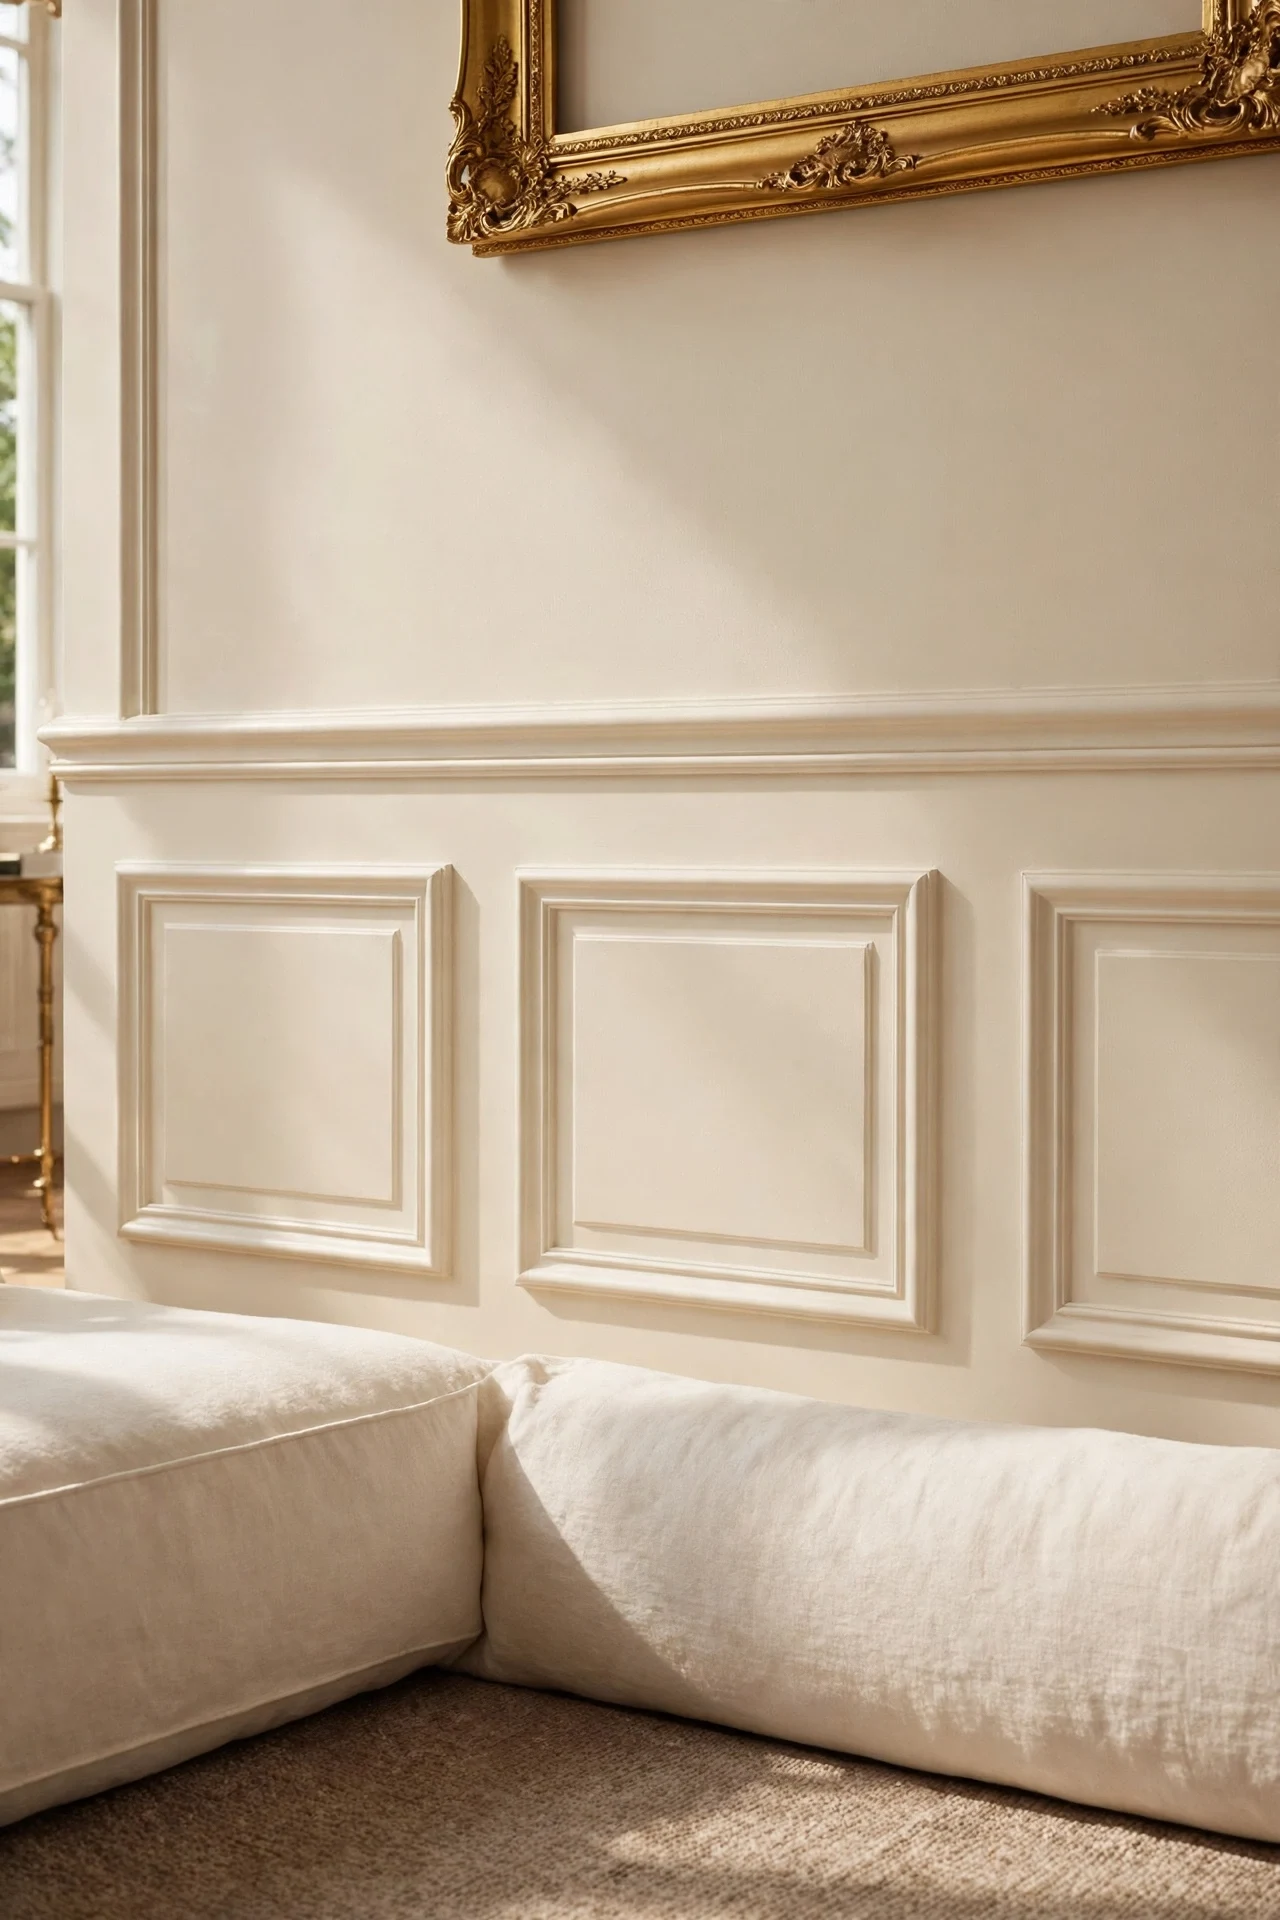
Picture-frame molding is the wainscoting most glam rooms actually wear: slim trim pieces applied flat to the wall in rectangles, topped with a chair rail, creating the look of panels without any panel at all. It is light, it is elegant, and because the wall itself shows inside the frames, it suits rooms where real raised panels would feel too heavy or too traditional.
This is also the most honest beginner project on the list. The work is measuring, cutting trim at 45-degree angles, gluing and pinning it to the wall, then caulking and painting. A miter saw helps, but the cuts are small and forgiving, and mistakes cost one short piece of trim, not a sheet of anything.
How to do it: Plan the boxes on paper first, using one consistent margin: the same gap between baseboard and box bottom, box top and chair rail, and between boxes, all the way around the room. Lay out full-size with painter’s tape and live with the tape for a day before cutting anything. Cut, glue, and pin each frame, then caulk every seam; the caulk, not the cutting, is what makes it look built-in. Skill honesty: genuinely DIY-friendly for a careful beginner with a weekend to give it. Pro Tip: Paint the molding and the wall inside the frames the same color and finish; the shadows do the decorating. Common mistake: Boxes sized differently on every wall because they were fitted to the wall length. Keep the margins constant and let the box widths vary slightly instead; the eye checks margins, not widths.
2. Traditional Raised Panel Wainscoting
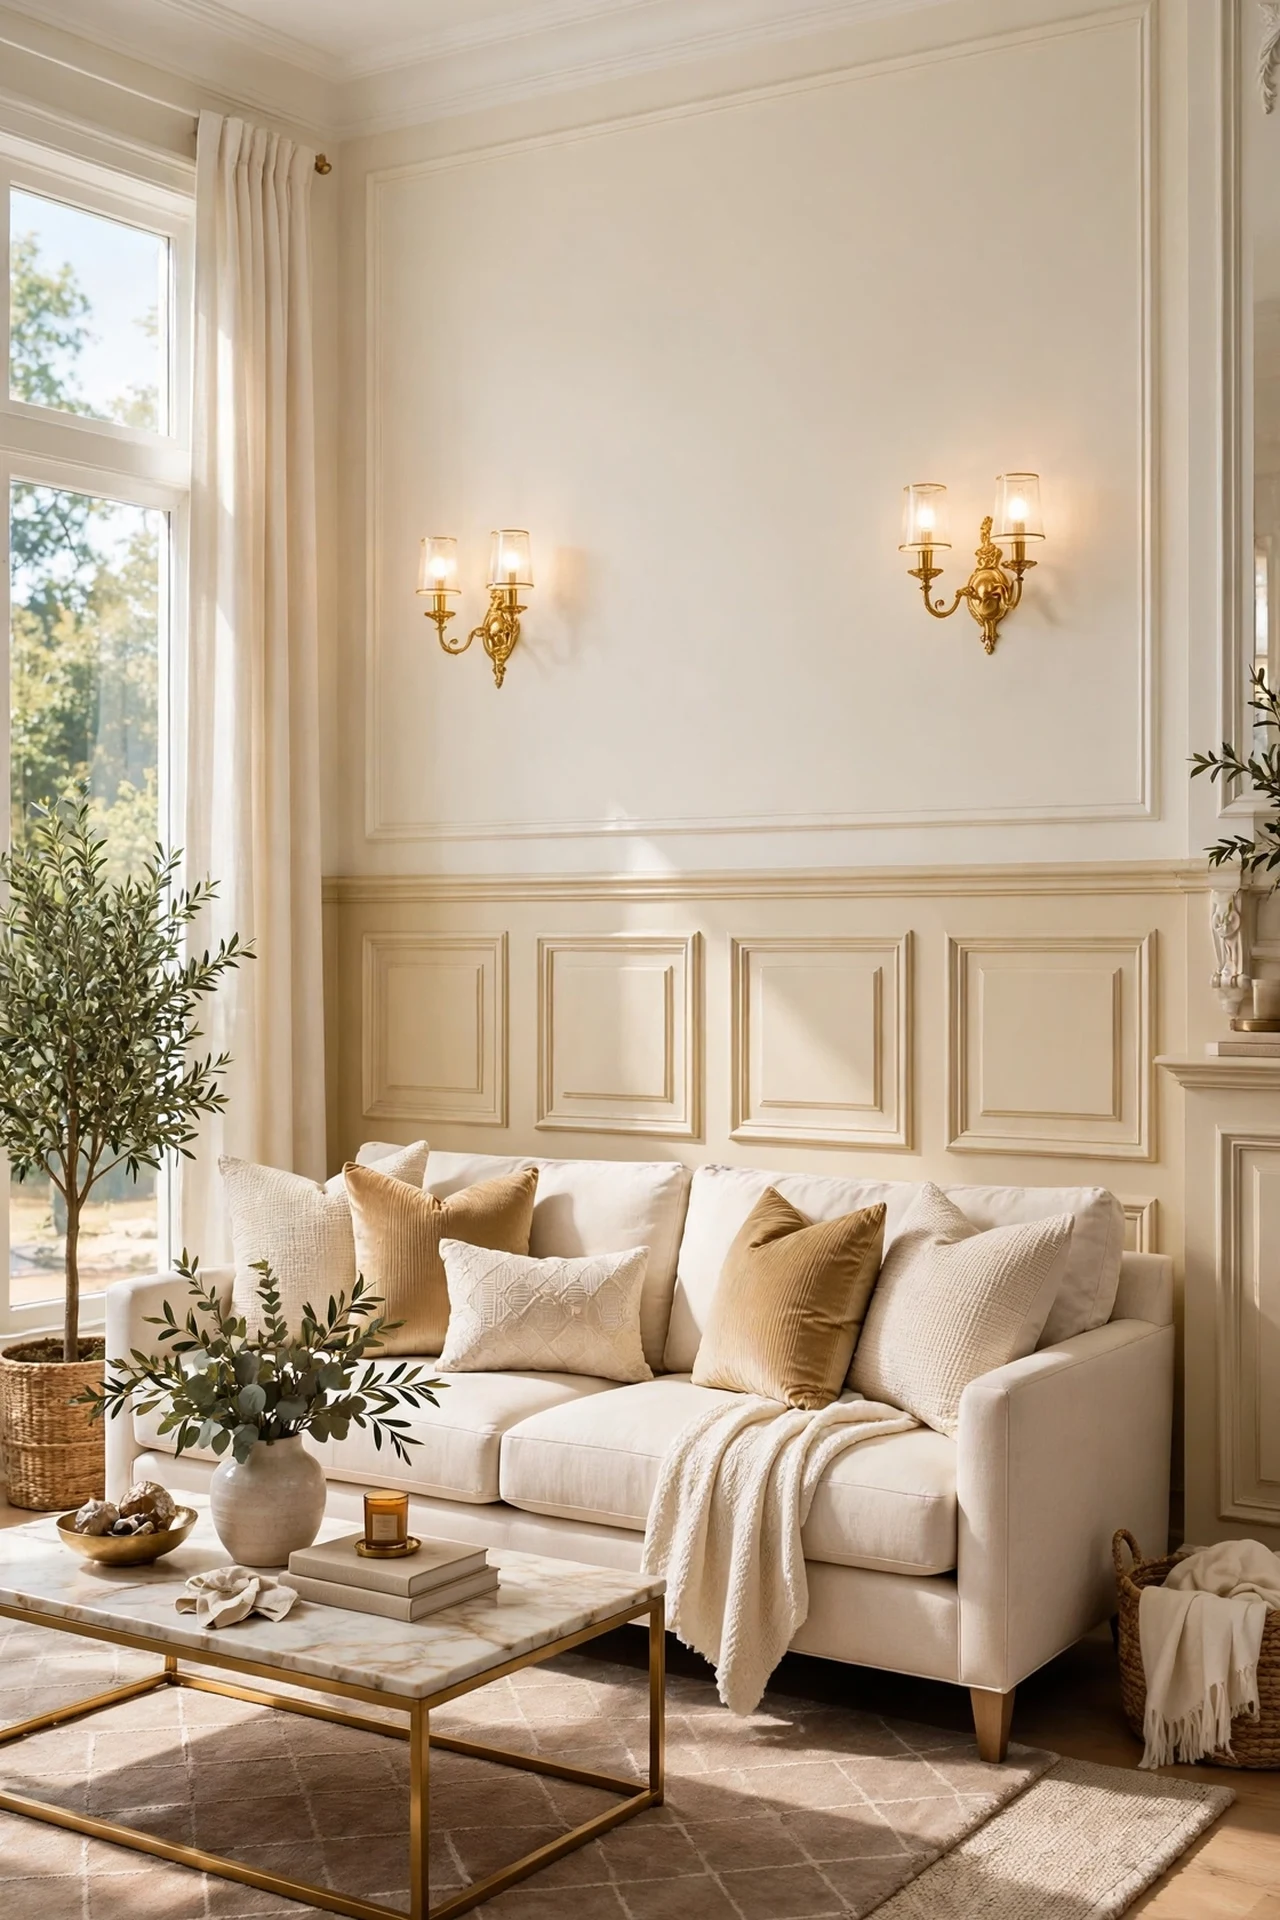
Raised panel is the formal original: solid panels whose centers are milled higher than their edges, set into stiles and rails like cabinet doors stood upright. It has real depth, real shadow, and real weight, and in a dining room or a grand entry it still has no equal. In a living room it reads as architecture, not decoration.
It is also, honestly, a carpenter’s job. The panels are made with shapers or router tables, the joinery must be exact, and walls that are not flat, which is most walls, need skilled fitting. A determined woodworker can do it, but for most people this is the one style to buy rather than build, and to budget as furniture, not as a weekend project.
How to do it: If you hire it out, ask for a sample panel first and agree the panel proportion on one wall before the room is committed. If you love the look at a lower cost, flat recessed panels in Idea 3 give nine tenths of the presence with a fraction of the milling. Keep furniture a few inches off the panels so the shadow lines stay visible. Skill honesty: professional work; do not let a video convince you otherwise. Pro Tip: Raised panels earn their keep most in rooms with high ceilings and long walls, where their formality has space to breathe. Common mistake: Raised panels in a small, low room. The depth that looks grand in a big room just looks busy in a small one.
3. Flat Recessed Panels in the Shaker Style
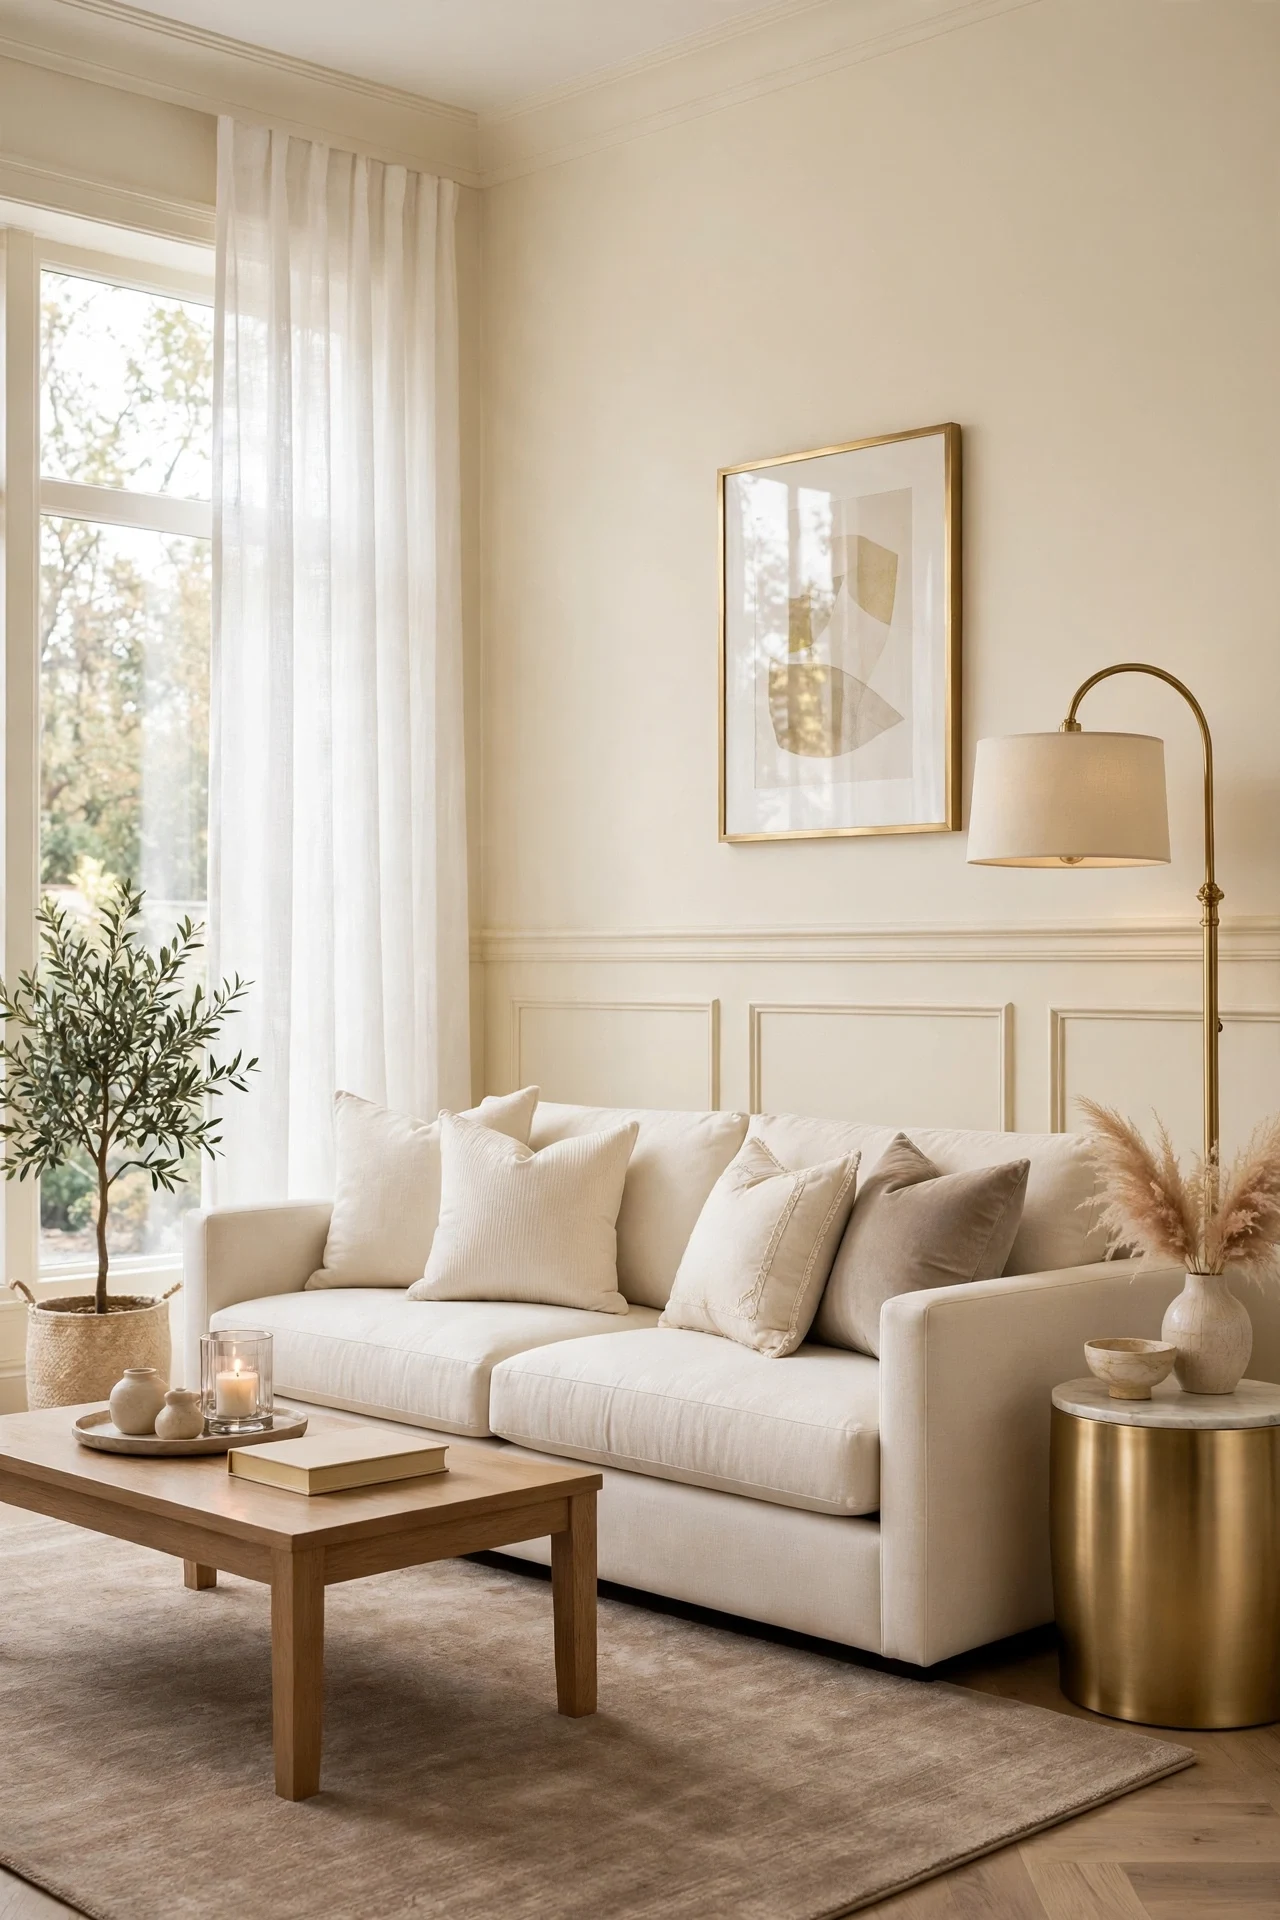
The recessed panel is raised panel’s calmer sibling: the panel sits flat or slightly below the frame of stiles and rails around it, with no bevel and no ornament. It suits the glam palette beautifully because it reads as tailored rather than traditional, and it pairs as happily with a modern sofa as with a classic one.
The construction is simpler than it looks. Many versions are built from flat sheet material applied to the wall with trim framing each panel, rather than true joined frames, which puts this style within reach of an intermediate DIYer who can measure carefully and cut straight. The miters and joins still show every error, so patience is the real tool required.
How to do it: Work out the panel rhythm first: panels of similar width marching around the room, adjusted at corners so no wall ends with an awkward sliver. Build one full panel section and check it against the wall before batch-cutting the rest. Fill, sand, and caulk every joint before paint; recessed panels show gaps cruelly under raking light. Skill honesty: intermediate DIY, or a carpenter for a flawless finish in a formal room. Pro Tip: A slightly wider top rail gives the panels a ledge line that catches light and makes flat panels look deeper than they are. Common mistake: Panels that ignore the room’s openings, landing half on a door casing. Plan the layout from the room’s fixed points, doors, corners, fireplace, and let the panels fit between them.
4. Beadboard Wainscoting
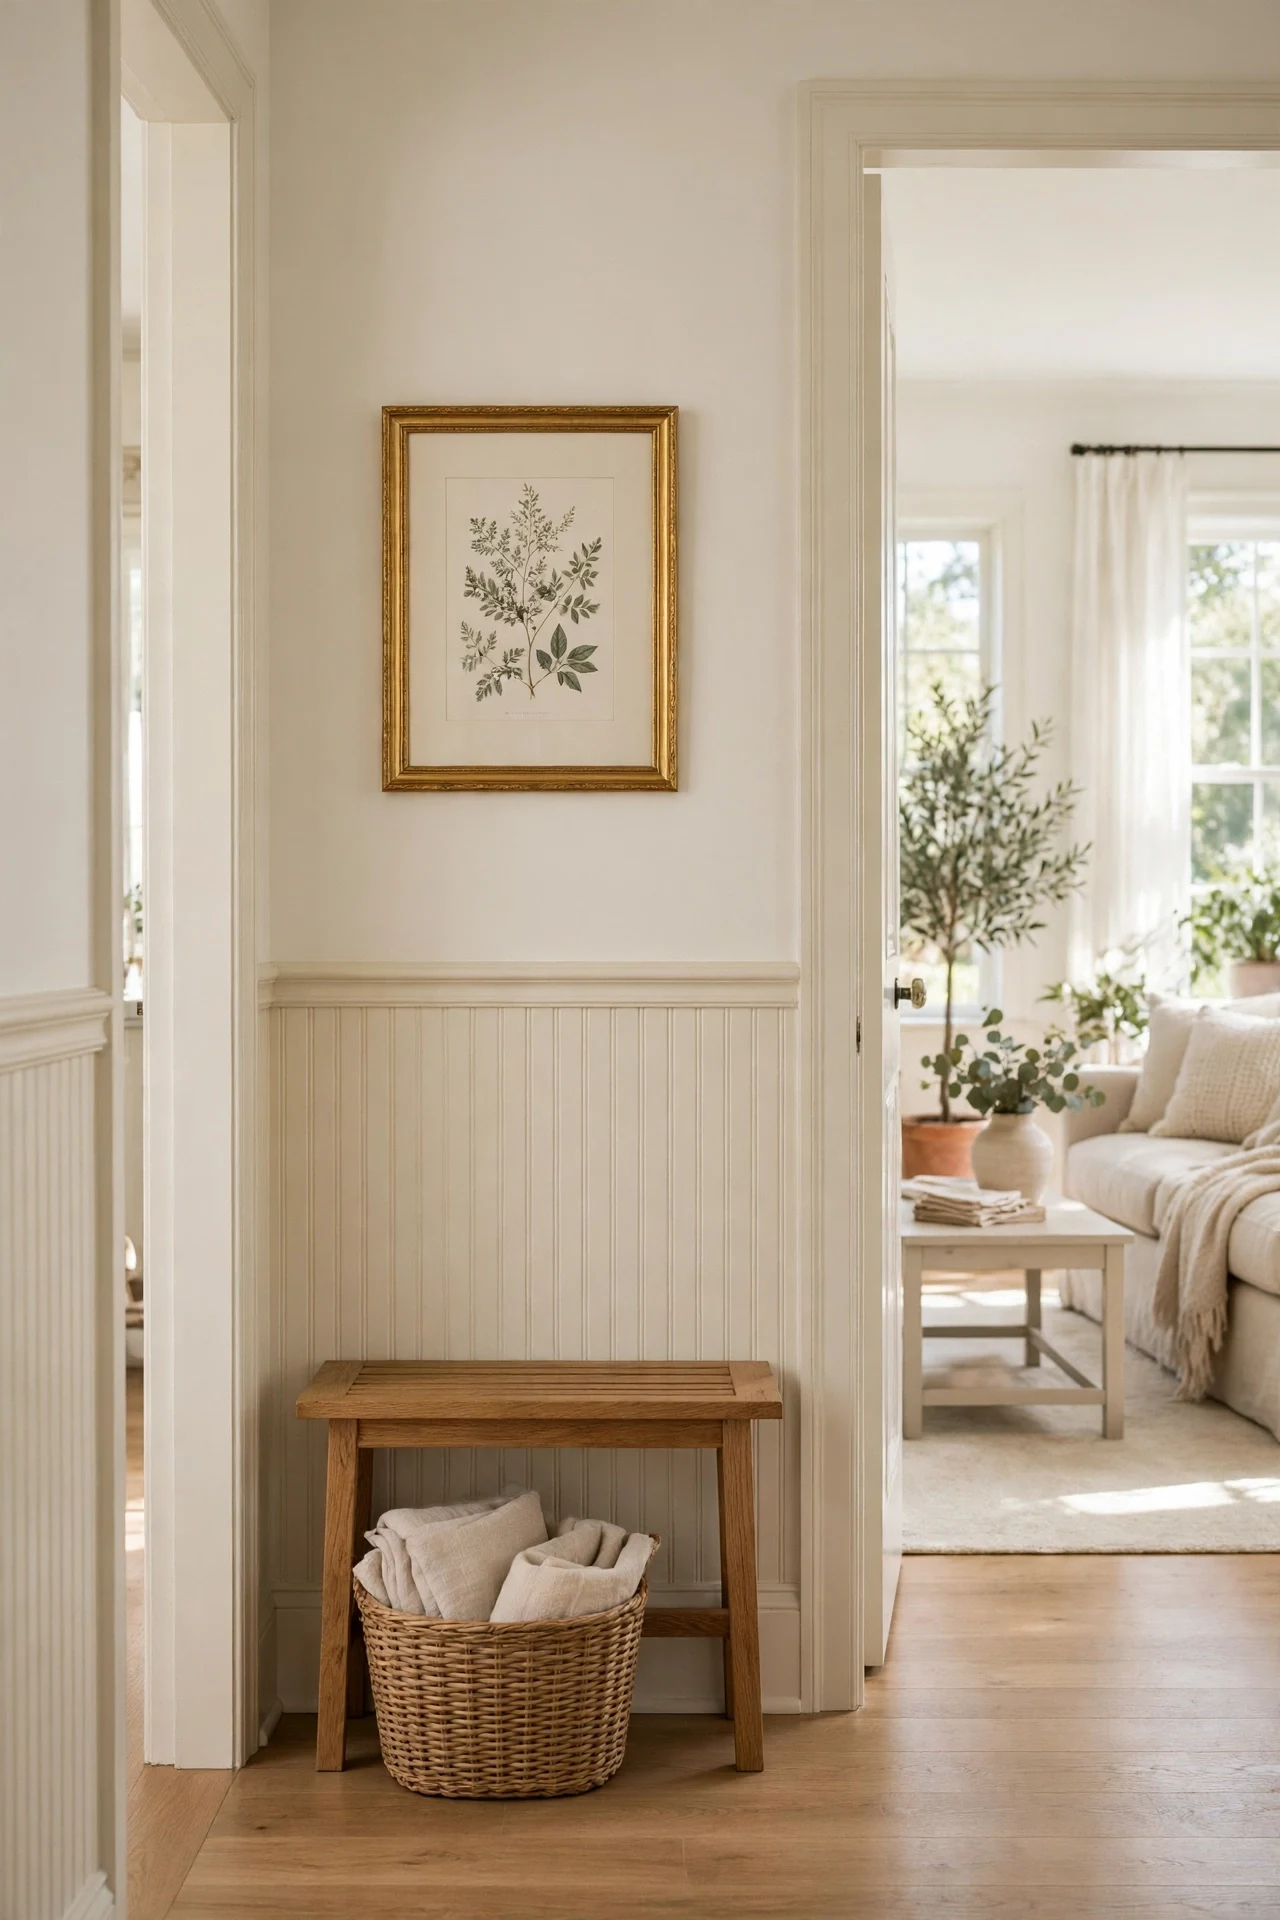
Beadboard is a sheet material milled with a repeating vertical groove and a small rounded bead beside it, and it brings a softer, more cottage-leaning texture than any panel style. In the glam palette it works best in the supporting rooms, hallways, entryways, bathrooms, and kitchens, where its informality feels like a deliberate change of pace from the living room’s tailoring.
Beadboard is also genuinely DIY-friendly because it arrives as sheets: measure, cut to height, glue and nail, cap with a chair rail, and the wall is done. The grooves hide minor wall unevenness that flat panels would advertise, which makes it the forgiving choice for older houses.
How to do it: Buy sheets tall enough to cut to your wainscot height so you are not piecing horizontal seams. Cut openings for outlets carefully and box them out with extenders so covers sit flush. Run a bead of caulk along the top edge before the chair rail goes on, and paint with a finish that can be wiped, since the grooves collect dust. Skill honesty: beginner-friendly; the main skill is careful measuring around outlets. Pro Tip: Beadboard run horizontally is a mistake; the grooves are designed to draw the eye up, and sideways they just look wrong. Common mistake: Using beadboard in a formal dining room because it was easy. Match the style to the room’s formality; ease is not the only criterion.
5. Board and Batten
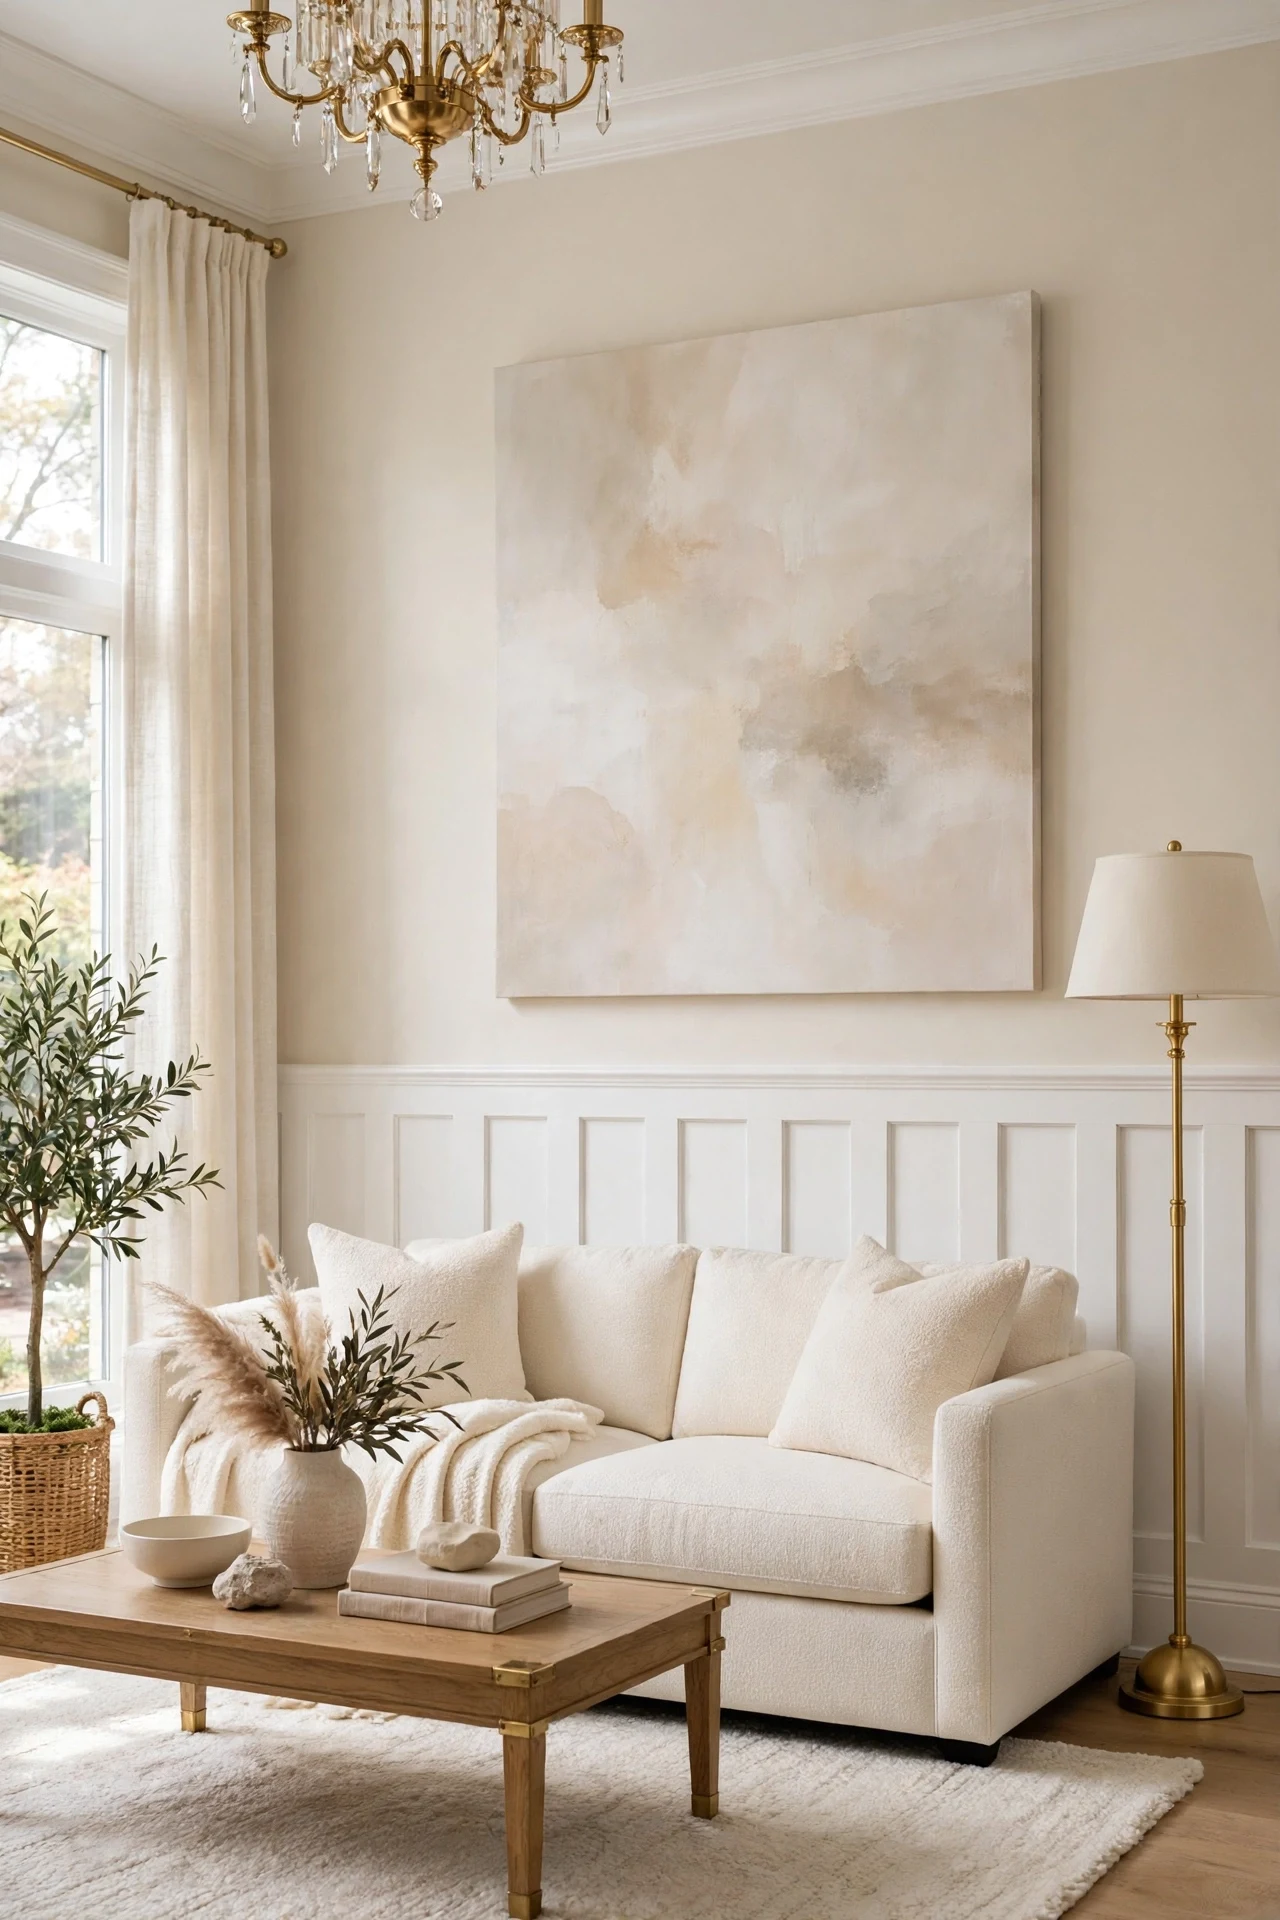
Board and batten is the most graphic of the classic styles: wide vertical boards, or a flat wall treated as the board, crossed by narrower strips, the battens, at regular intervals. The strong vertical rhythm makes ceilings feel taller, which is why it has become the modern farmhouse and transitional favorite, and in cream it sits comfortably under glam furniture.
For DIYers this is the friendliest of the frame styles because every cut is a straight 90-degree cut. There are no miters to get wrong; the battens butt into the top and bottom rails squarely. The work is mostly measuring the spacing so the battens divide each wall evenly and miss the outlets.
How to do it: Decide the batten spacing from the wall, not from a fixed number: divide each wall into equal bays so the rhythm is even, and keep the spacing in a similar range from wall to wall. Attach a top rail and bottom rail or use the baseboard as the base, then fix battens between them, gluing and nailing into studs where you can. Caulk the long seams where batten meets wall; those shadow gaps are where homemade versions give themselves away. Skill honesty: beginner to intermediate DIY; very achievable with straight cuts and patience. Pro Tip: Paint everything, battens and wall between, one color, so it reads as paneling rather than stripes. Common mistake: Battens spaced by a rigid measurement that lands one directly over an outlet or leaves a tiny sliver bay at the corner. Even bays first, tape measure second.
6. Take the Paneling Tall: Two-Thirds and Full Height
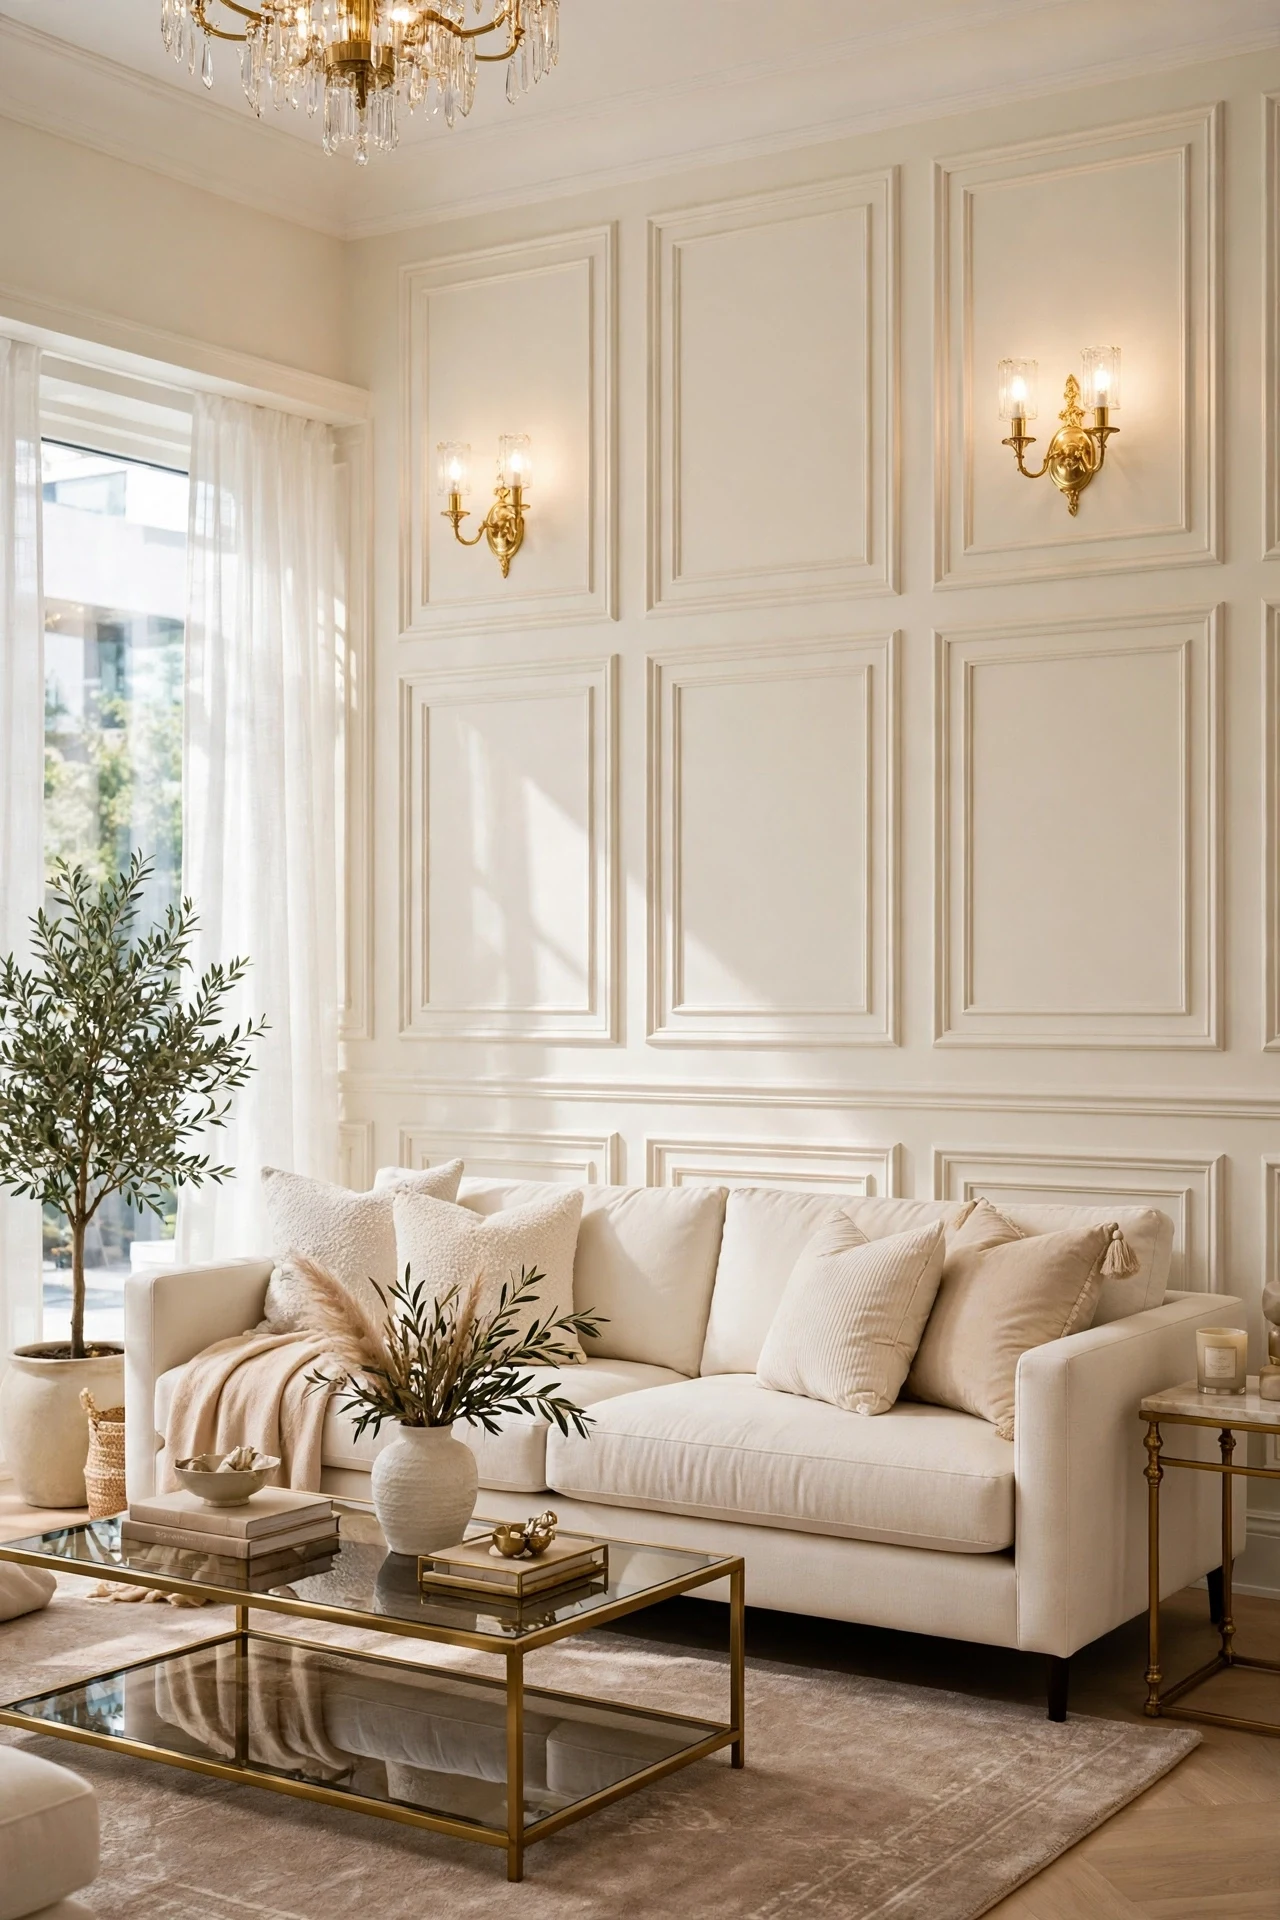
Wainscoting does not have to stop at chair height. Carried to two thirds of the wall, or all the way to the ceiling in stacked molding frames, paneling becomes the room’s whole architecture. Tall paneling suits rooms with high ceilings that feel bare in the upper half, and dining rooms, where the formality of a fully paneled wall is the entire point.
Height changes the proportions, so the common guide is to keep a clear relationship: paneling that ends around two thirds up leaves a band of plain wall that acts like a frieze, while full-height framing should use slimmer molding so the wall does not feel like a grid closing in. In a low room, tall paneling in the same color as the wall adds interest without lowering the ceiling the way a contrasting color would.
How to do it: Use the picture-frame method of Idea 1 for the tall version; it gives the look without the weight or the carpentry. Plan the stacked rows so the horizontal rail between them lands at a consistent height on every wall. Keep art and sconces centered inside the upper frames, not hung across the molding lines. Skill honesty: DIY-friendly in molding form; true full-height wood paneling is carpenter work. Pro Tip: In a tall room, paint the paneling one shade deeper than the upper wall to ground the room gently. Common mistake: Full-height paneling plus a busy wallpaper or heavy curtains. Tall walls are already dressed; keep everything else quieter.
7. Shiplap as the Lower Wall
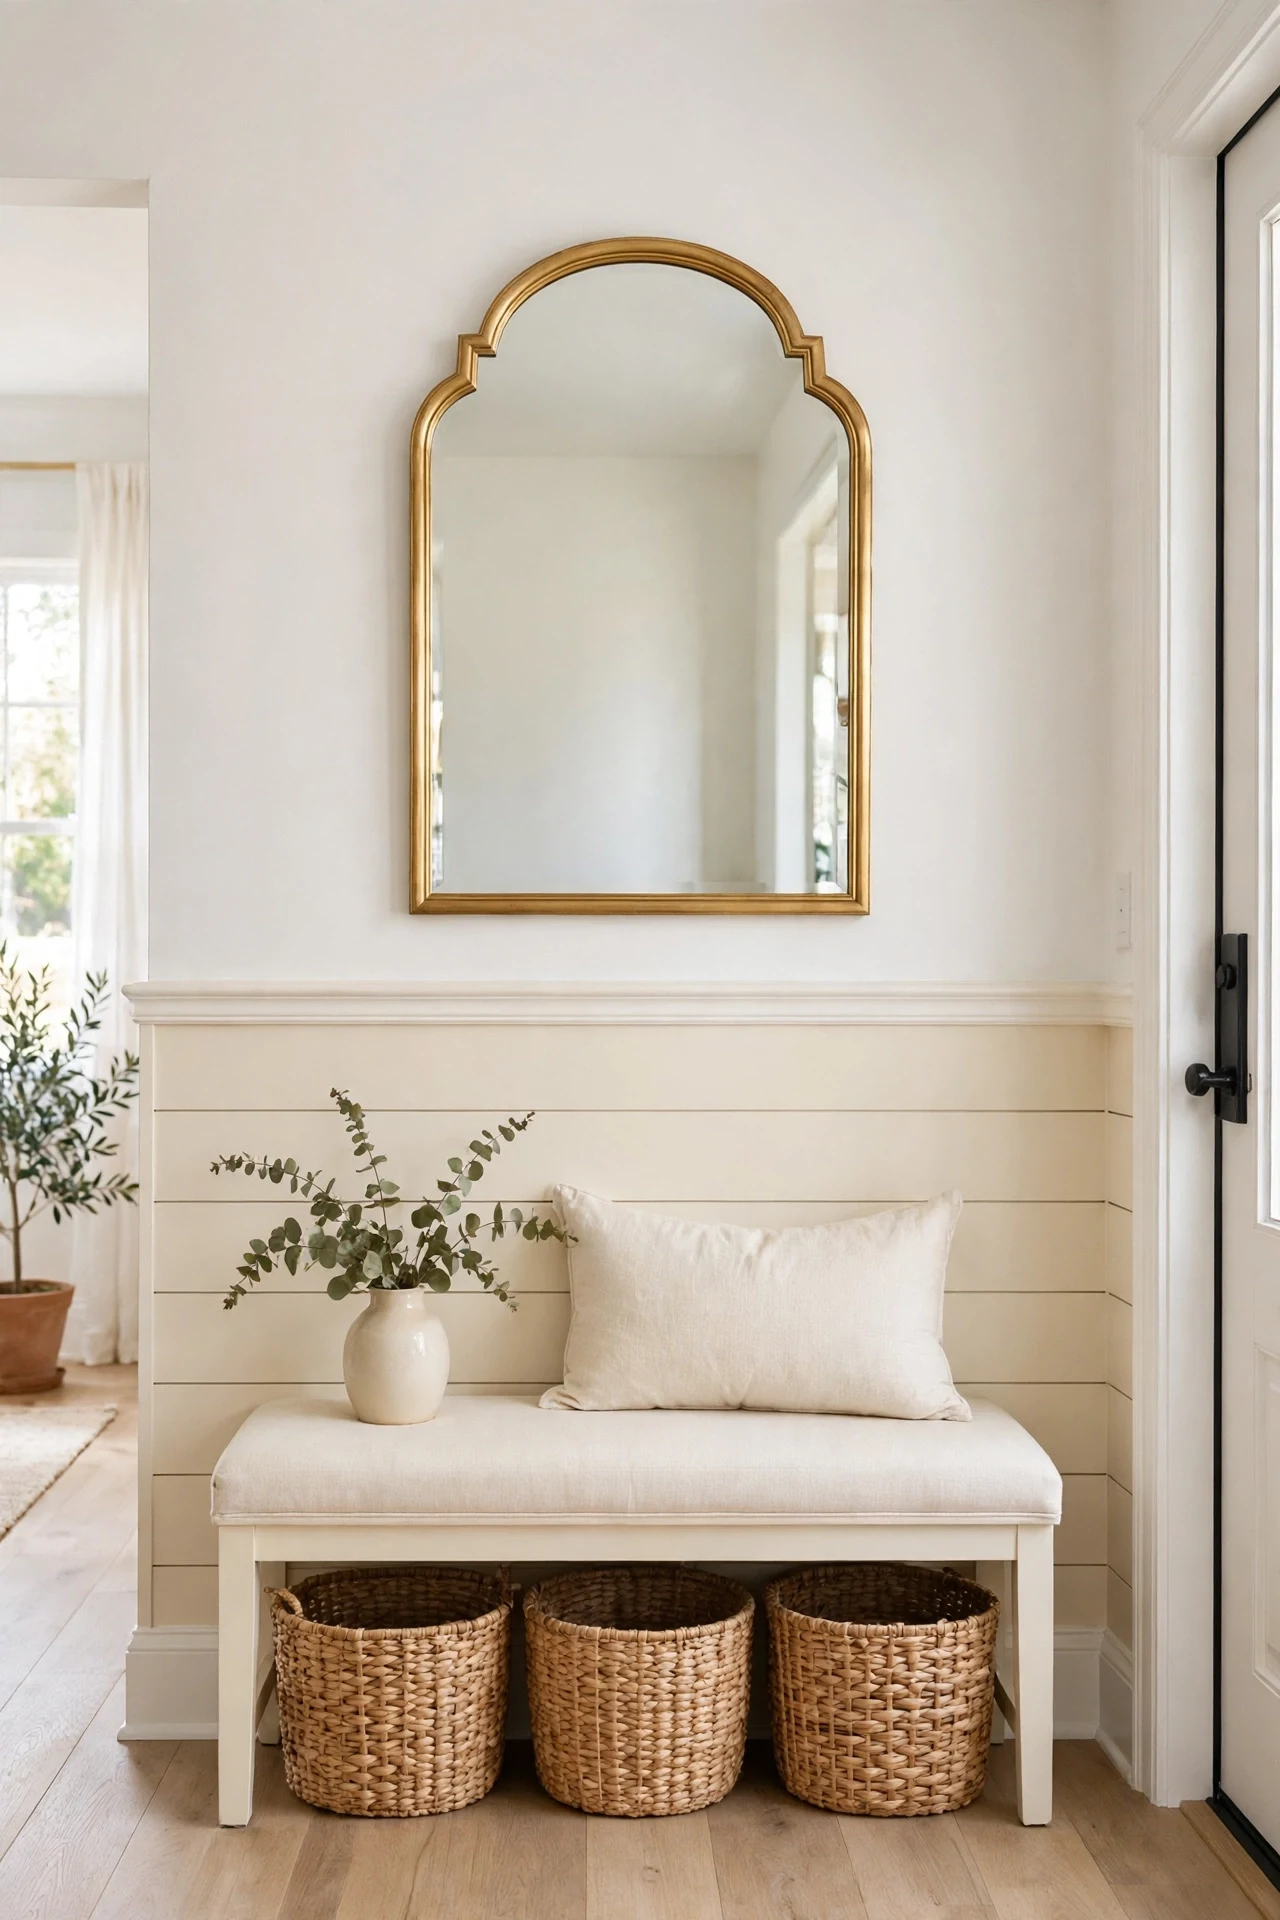
Shiplap, boards with overlapping edges that leave a crisp shadow gap between them, is usually run across a whole wall, but as wainscoting it behaves better: the horizontal lines give a room width and a relaxed, coastal-farmhouse ease, and the chair rail cap keeps it looking finished rather than cropped.
Run as a lower wall, shiplap is a manageable DIY project. The boards are straight cuts, the gaps are built into the board edges, and small imperfections disappear into the shadow lines. It suits entryways, kitchens, and casual living rooms; in a very formal room it can feel underdressed, so match it to the room’s mood.
How to do it: Start at the baseboard with a level first board, because every board above copies its line. Keep the shadow gap consistent by using the board’s own overlap rather than spacing by eye. Cap the top with a chair rail or a simple ledge trim so objects and hands meet a finished edge. Skill honesty: beginner to intermediate DIY. Pro Tip: Paint shiplap in a wipeable finish and keep a soft brush for the gaps; those shadow lines are dust collectors. Common mistake: Shiplap in a bathroom’s wet zone without the right material and sealing. Standard boards swell with moisture; use materials rated for damp rooms near showers and tubs.
8. The Shelf-Cap Wainscot: a Plate Rail Finish
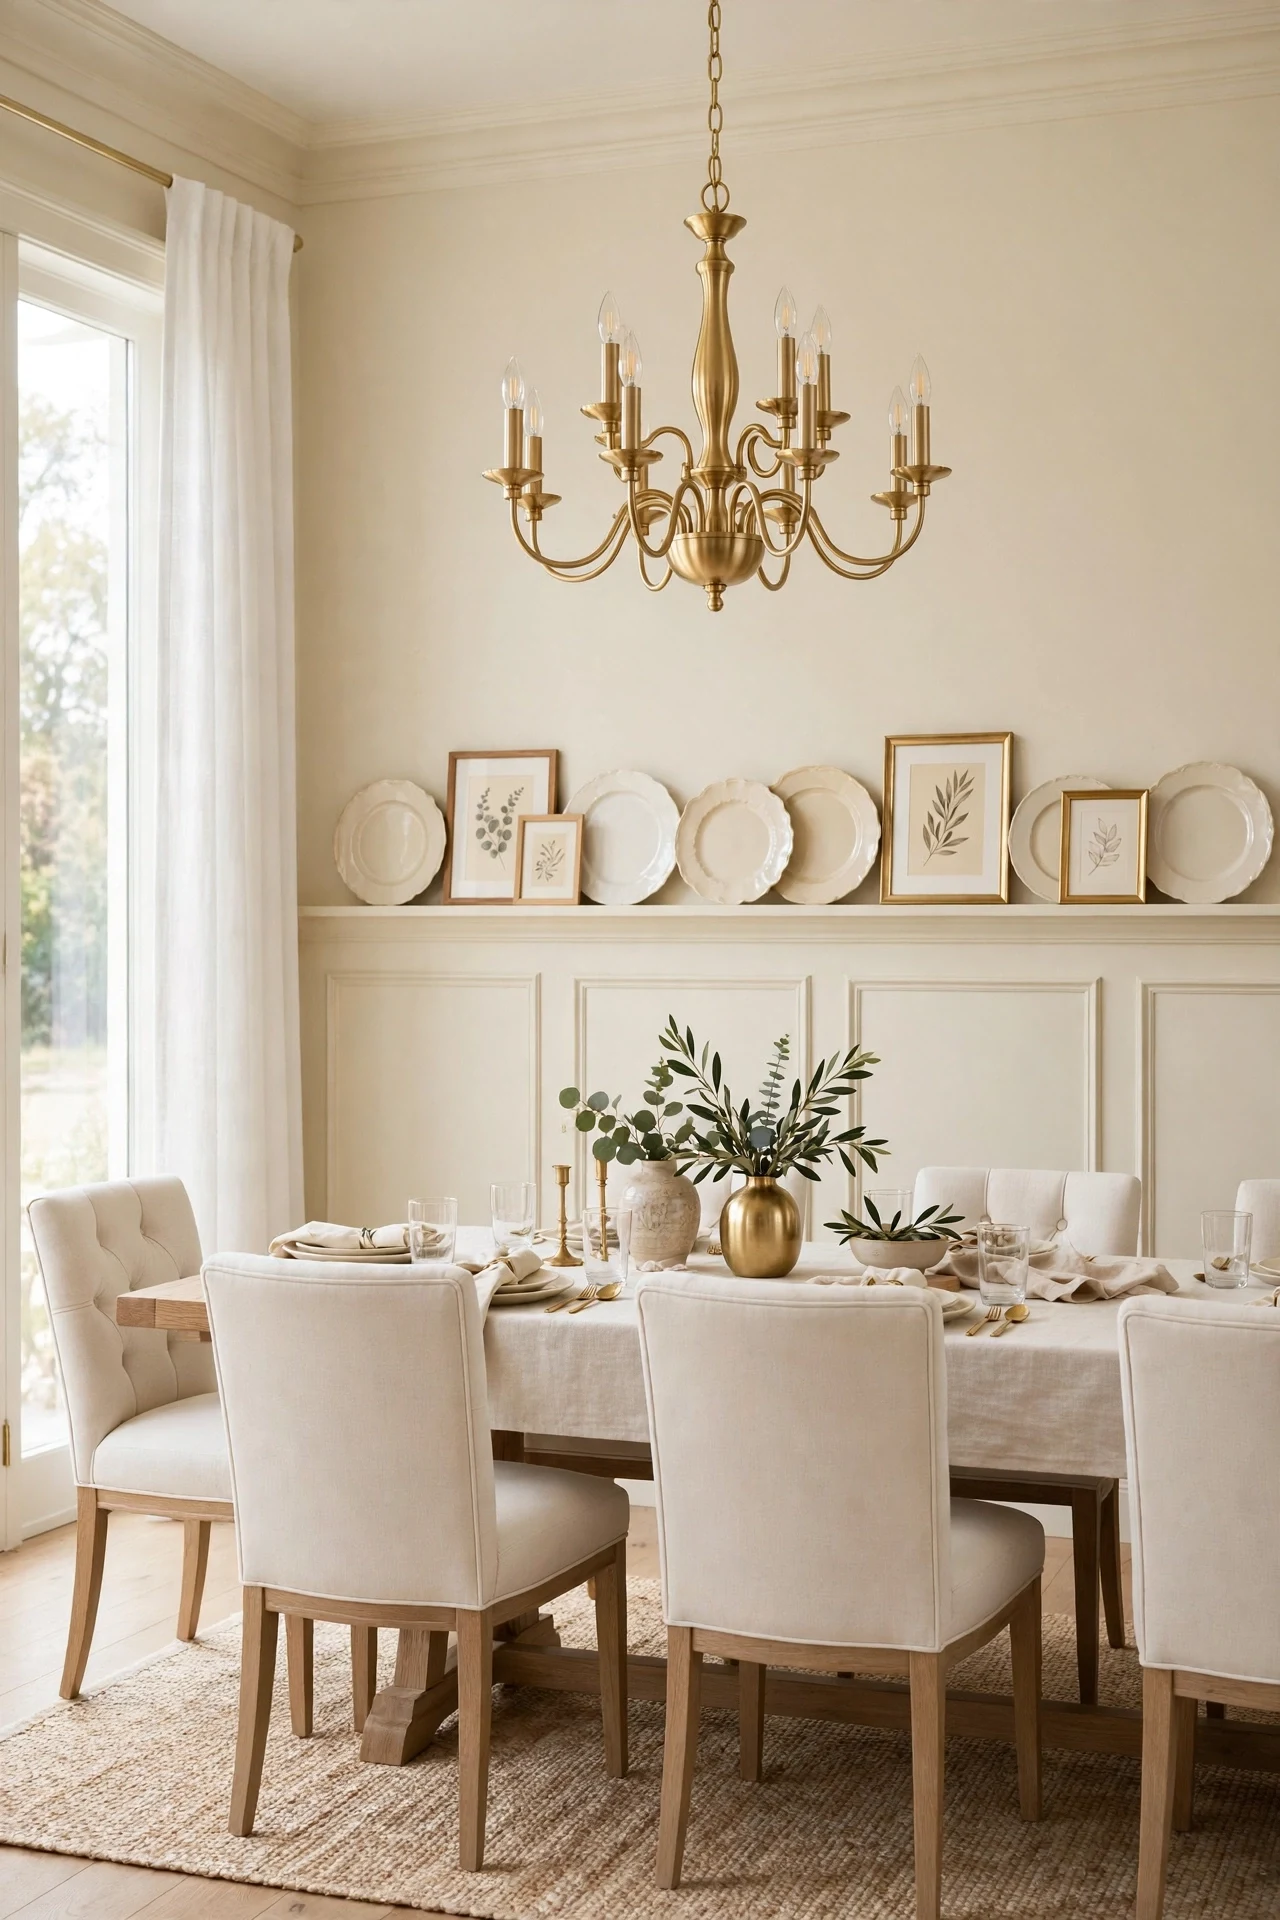
Most chair rails are a thin line. A shelf cap is a decision: a deeper ledge, wide enough to hold plates, small prints, or a leaning row of art, running along the top of the wainscoting. It turns the top edge of the paneling into the room’s display line, which is a gift in dining rooms and hallways that have no other shelf.
The ledge needs a small lip or a groove to be honest display space, the traditional plate groove keeps plates from sliding, and leaning art needs the wall behind it. Keep the display to one family of objects in one palette, or the ledge becomes a clutter shelf at eye level.
How to do it: Build the cap from a flat board wider than the wainscot’s thickness, fixed firmly into the wall framing, because a loaded shelf is heavy. Add a thin lip strip at the front edge if plates will lean there. Style it sparely: plates in one color family, or prints in matching frames, with gaps left empty on purpose. Skill honesty: the paneling below can be any DIY style from this list; the shelf cap itself needs confident fixing, intermediate DIY or a carpenter if the wall is long. Pro Tip: A plate rail is the one place a room’s good dishes can live as decor, which frees a cabinet and dresses a wall at the same time. Common mistake: Loading the ledge with many small mixed objects. At eye height, quantity reads as clutter faster than anywhere else in the room.
9. Wainscoting Up the Staircase
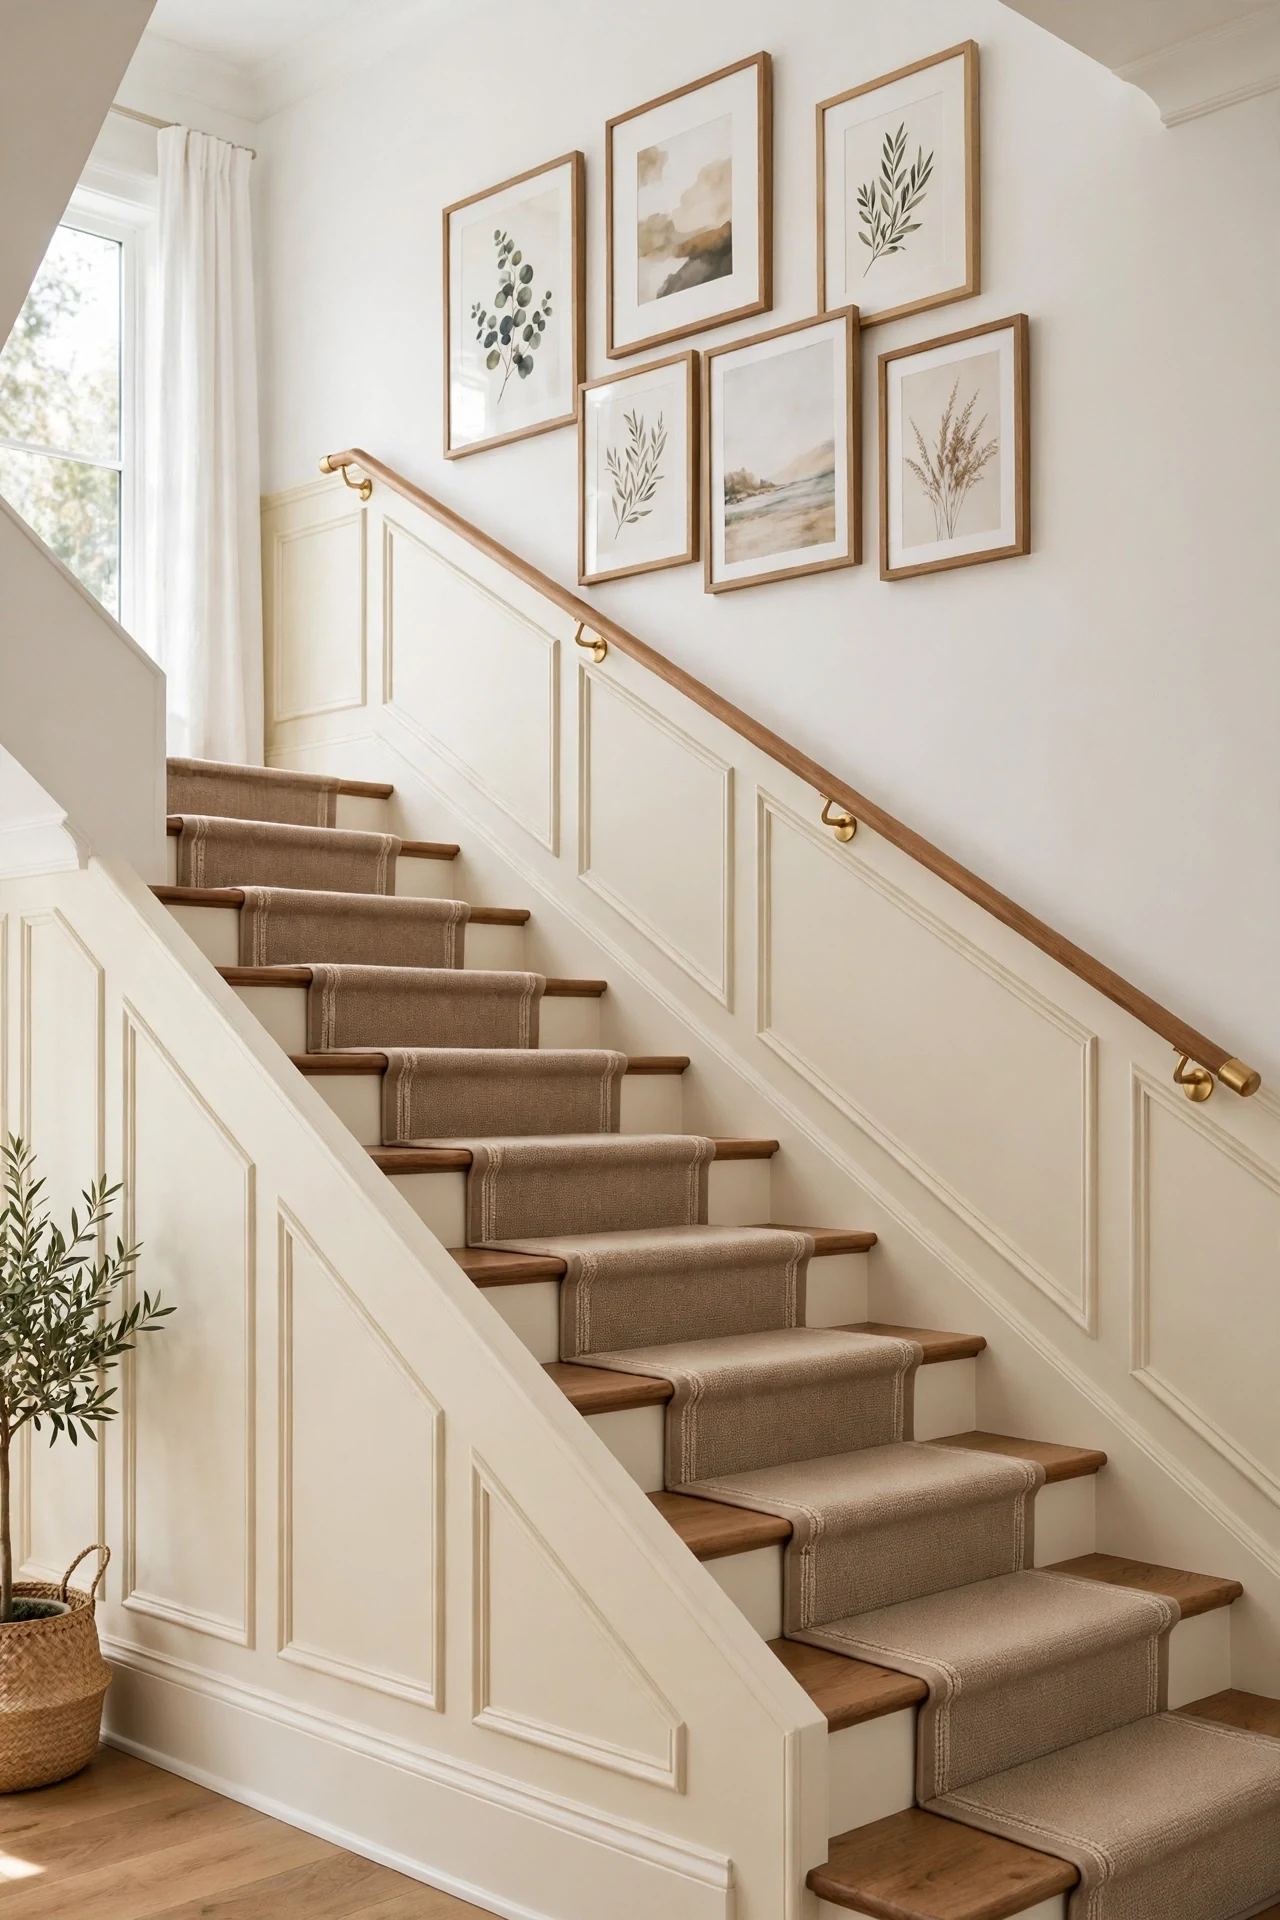
A staircase wall is the biggest blank wall in many houses, and wainscoting is its classic answer. Panels that follow the slope turn a pass-through slope into architecture, protect the wall where hands and shoulders brush it daily, and give a gallery of prints above it a grounded base to sit on.
It is also the hardest layout in this list, honestly stated. The panels are parallelograms, not rectangles; the angles must match the stair’s slope, and the spacing must be worked out along the rake of the stairs rather than the level floor. Professionals use story poles and angle finders for a reason.
How to do it: If you DIY, use the picture-frame method and lay out every frame full-size in painter’s tape on the slope first, stepping back from the hall to judge it. Keep the gap between the handrail and the panel tops consistent, since that diagonal margin is what the eye checks. If the staircase turns or has winders, that is the point to hire it out. Skill honesty: a straight run is advanced DIY; a turning stair is a carpenter’s job. Pro Tip: Continue the same wainscot height from the hall into the stair’s starting panel so the two runs join as one system. Common mistake: Level rectangular panels on a sloped wall, chopped by the slope. Panels must follow the rake; anything else looks like a mistake, not a style.
10. Paint It Two Tones: Color Below, Calm Above
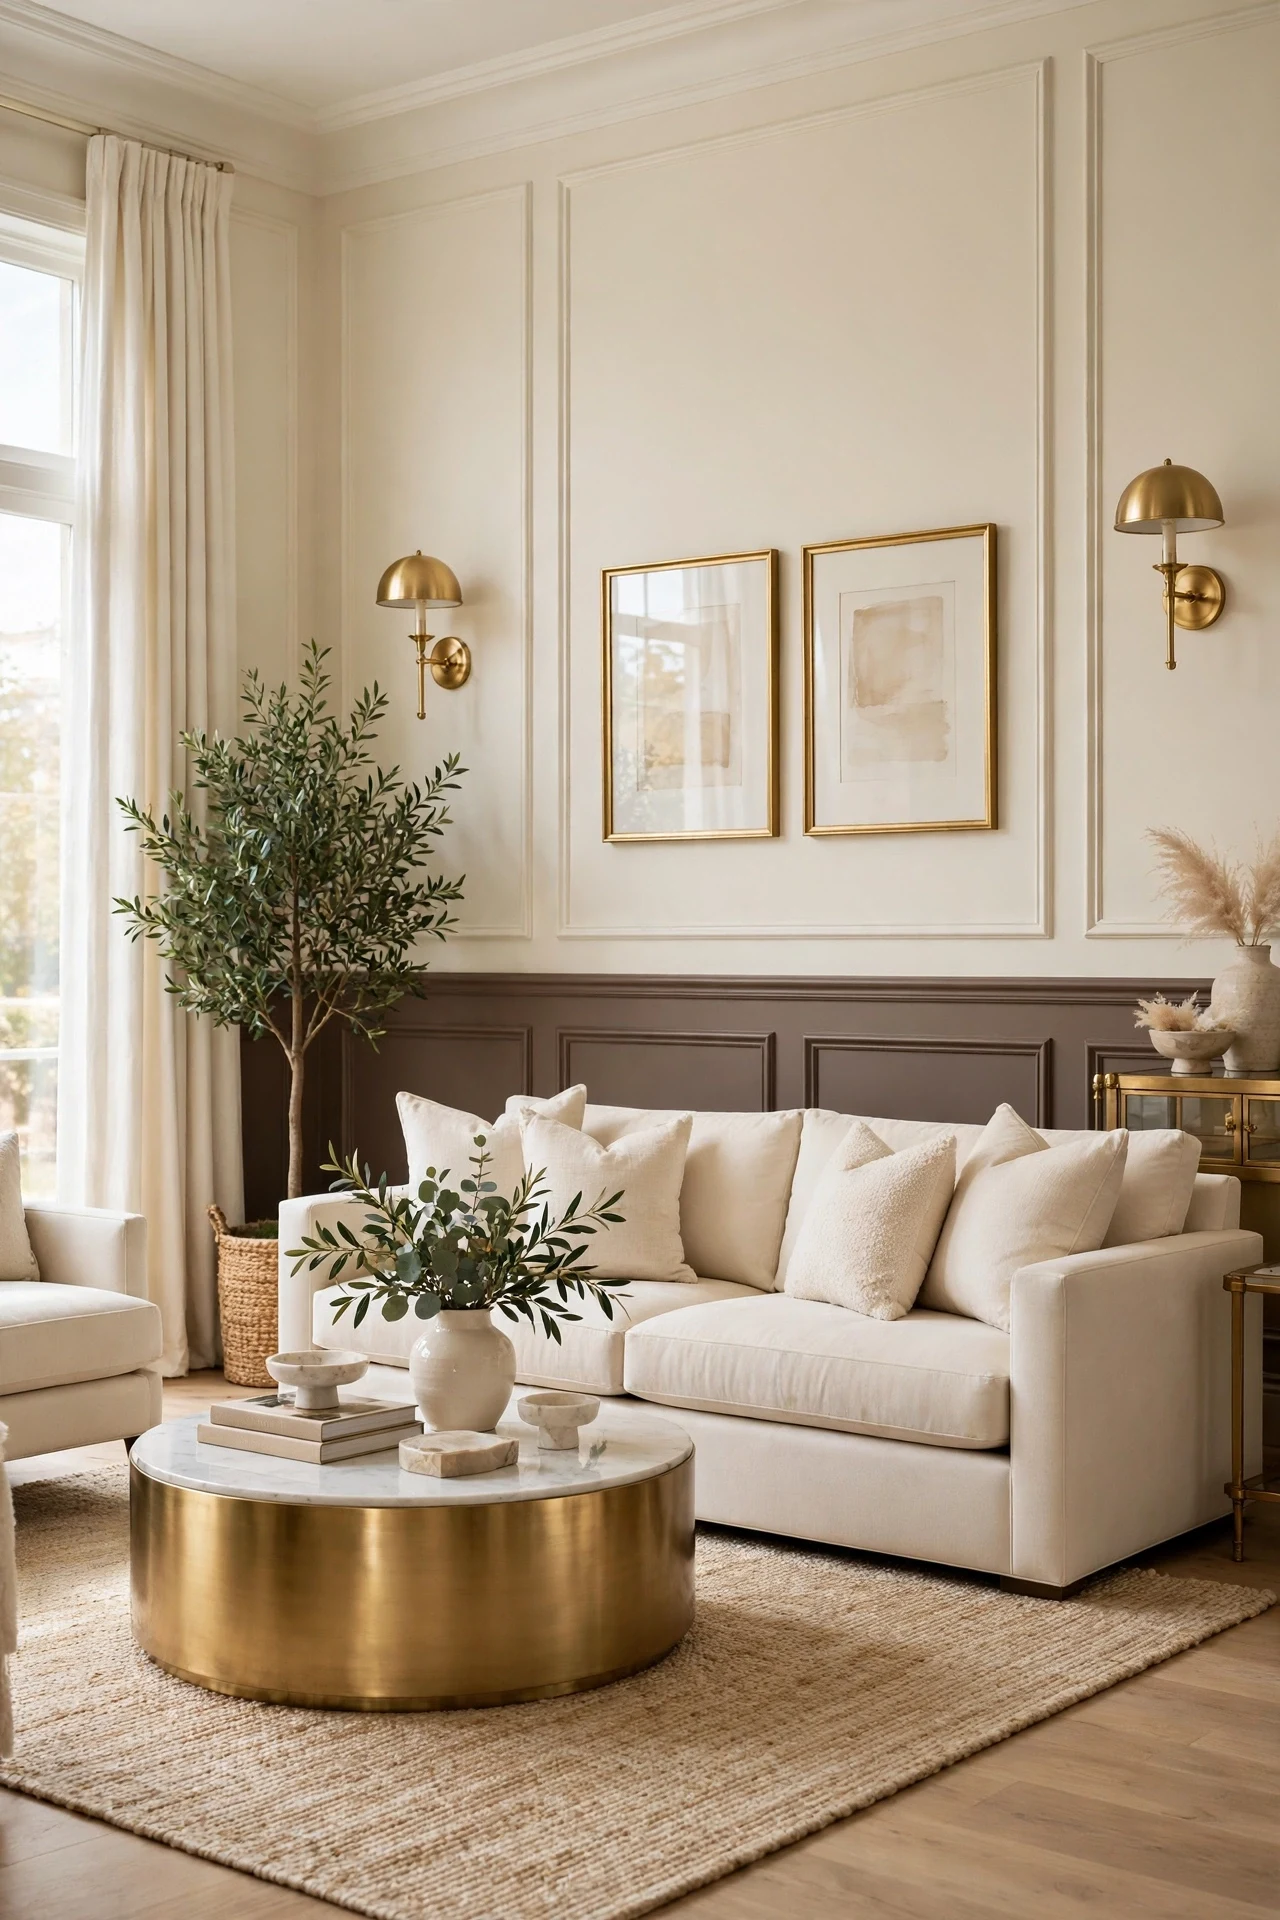
Wainscoting gives a room a built-in place to stop one color and start another, and that line is a decorating tool in itself. Color below and cream above grounds a room, makes pale furniture glow against the deeper tone, and hides the scuffs and marks that lower walls collect in a way all-cream walls never can.
The glam version keeps the lower color inside the warm family: warm taupe, soft sage, deep forest, or a muddy blush, always with cream above so the room stays bright. The chair rail is the border guard; above it, calm, below it, character. A subtler version paints the wainscot just one or two shades deeper than the wall for definition without drama.
How to do it: Treat this as a styling layer over any style in this list; the paneling must be installed and finished first, then painted. Use a more durable, wipeable finish below the rail than above it, since the lower wall takes the knocks. Test the lower color at floor level in evening light, where it will look deepest, before committing. Skill honesty: painting is beginner work; the skill is in the choosing, not the brushing. Pro Tip: Carry the lower color onto the baseboard and chair rail so the whole lower architecture reads as one piece. Common mistake: A lower color with a cool undertone under a warm cream wall. The two halves of the wall will argue all day; sample them together, on the same wall, before painting.
11. Wallpaper Above, Wainscoting Below
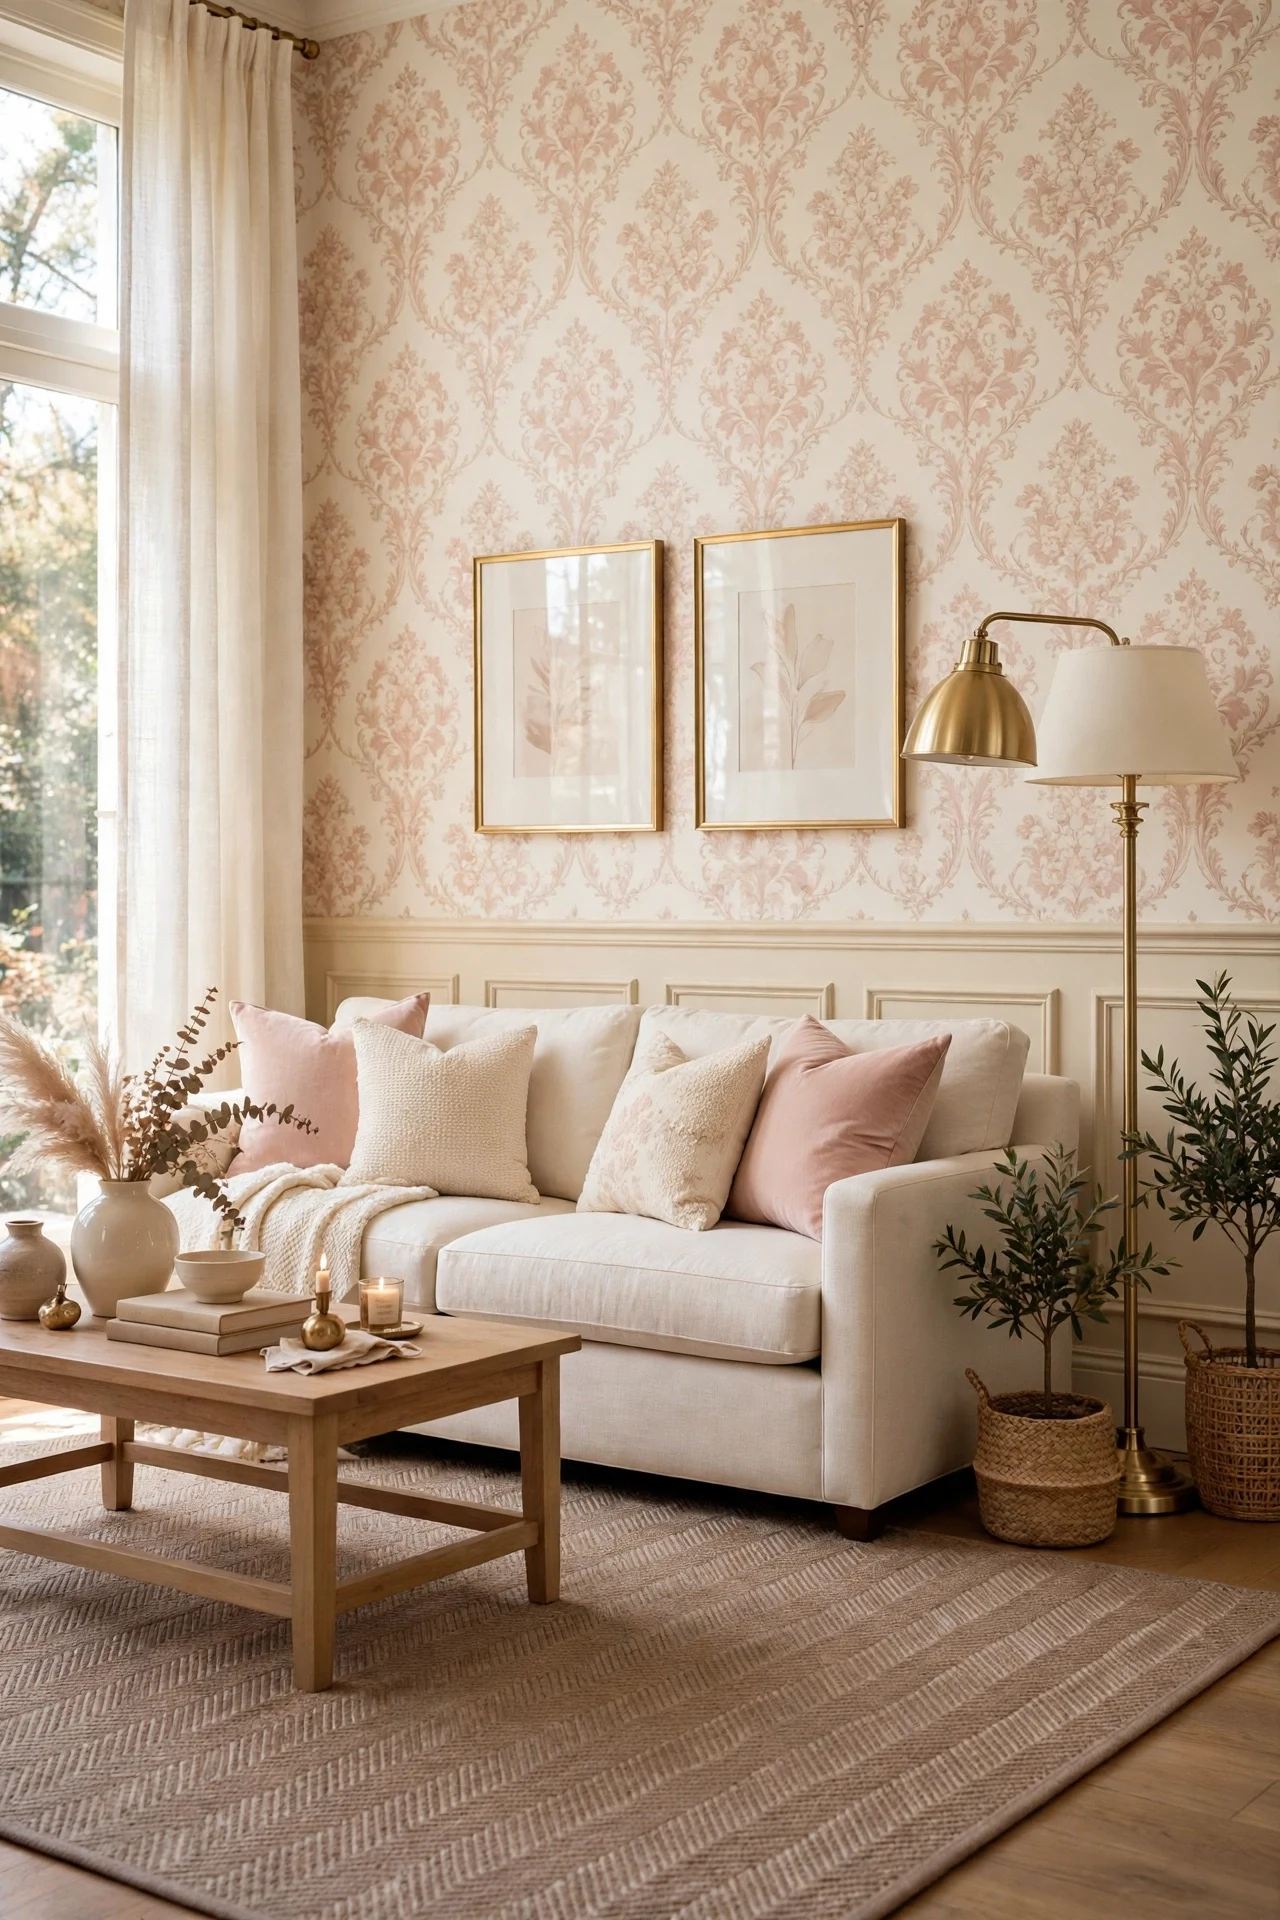
This is the oldest partnership in the decorated room: pattern above, paneling below. The wainscoting protects the wall where chairs, hands, and vacuum cleaners strike it, and the wallpaper gets to be as romantic as it likes in the safe zone above the rail. Each half makes the other look more deliberate.
The pairing also solves a budget and courage problem: wallpaper only above the rail uses roughly half the paper, and if you tire of the pattern, half a wall is a weekend’s change. Choose the paper’s ground color to live with the wainscot’s cream, and let the paneling stay plain so the pattern has a quiet base to stand on.
How to do it: Install and paint the wainscoting first, then paper down to the chair rail; the rail covers the paper’s bottom edge and forgives a less-than-perfect cut. If you are new to wallpaper, a paste-the-wall paper above a rail is one of the gentlest first projects, since the runs are short. Keep furniture patterns quiet in a papered room. Skill honesty: the wainscot can be any DIY style here; papering short drops is beginner to intermediate. Pro Tip: A paper with a cream ground and a soft blush or taupe pattern keeps the glam palette intact while still reading as pattern from across the room. Common mistake: Pattern above and pattern below, beadboard’s grooves against a busy paper. One of the two halves must be the quiet one.
12. Wainscoting in the Entryway and Hall
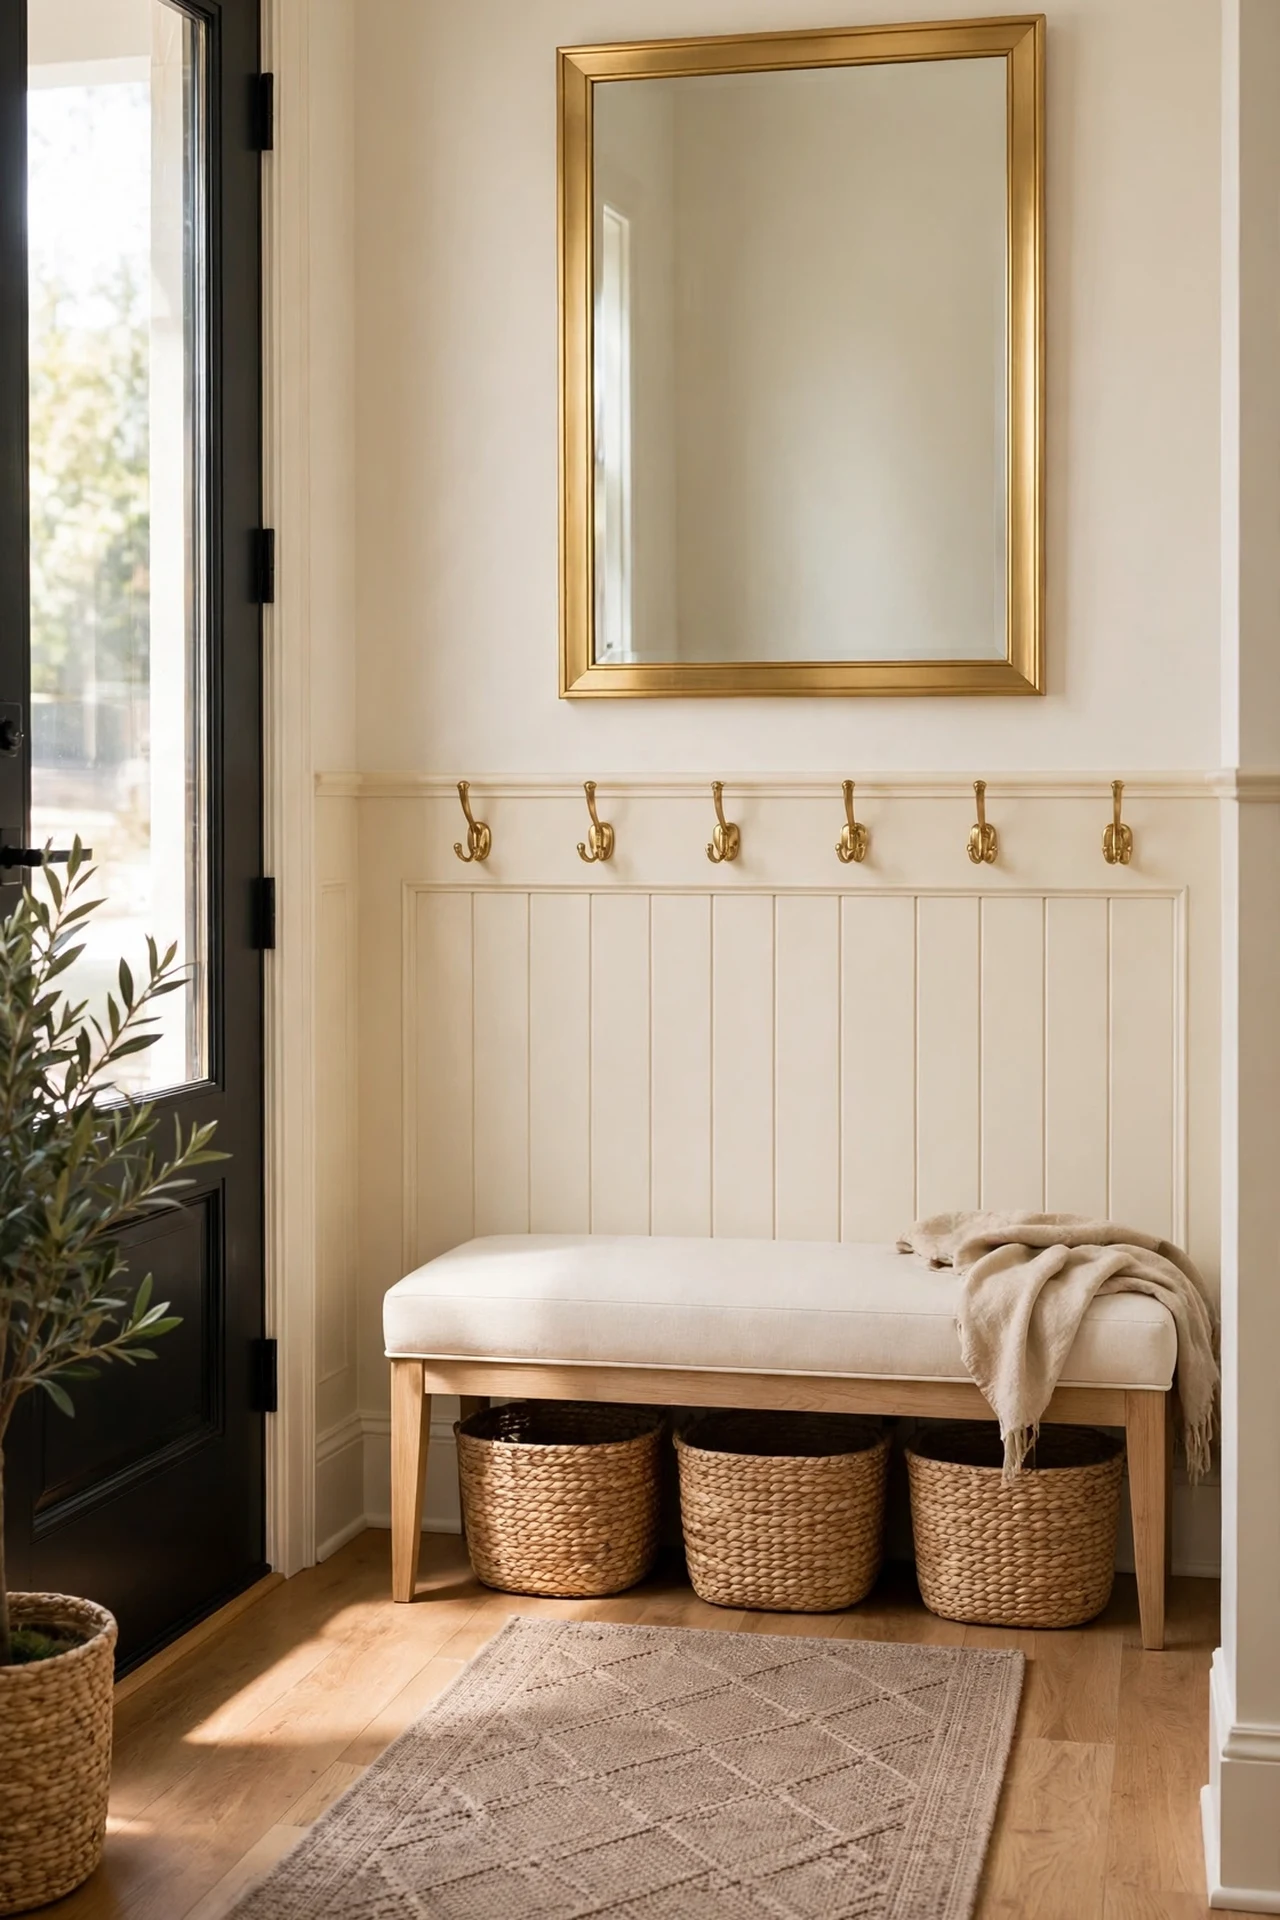
The entryway is where wainscoting stops being decoration and starts being armor. This is the wall that takes bags, keys, shoulders, dogs, and weather, and a paneled lower half in a wipeable finish absorbs all of it while looking like the most considered wall in the house. Add hooks above the rail and the entry gains its whole system in one wall.
Halls benefit for a different reason: they are long, narrow, and usually art-starved. A wainscot run gives a hall rhythm and proportion, breaking the tunnel effect, and it carries the eye from room to room so the whole floor feels designed as one piece.
How to do it: Choose a hard-wearing style here, board and batten or beadboard, and a satin or semi-gloss finish that scrubs clean. Set the hooks into the rail or into studs above it, never into bare plasterboard where a loaded hook will tear out. Continue the same height and style from the entry into the hall so the system reads as one decision. Skill honesty: beginner to intermediate DIY, and one of the highest-reward places to start. Pro Tip: Paint the entry wainscot one shade deeper than the living room’s; entries take more wear and the deeper tone hides it between cleanings. Common mistake: Stopping the wainscoting at the hall’s first doorway. Runs that stop and start look accidental; carry it through and let door casings interrupt it naturally.
13. The Renter’s Route: Peel-and-Stick and Kit Molding
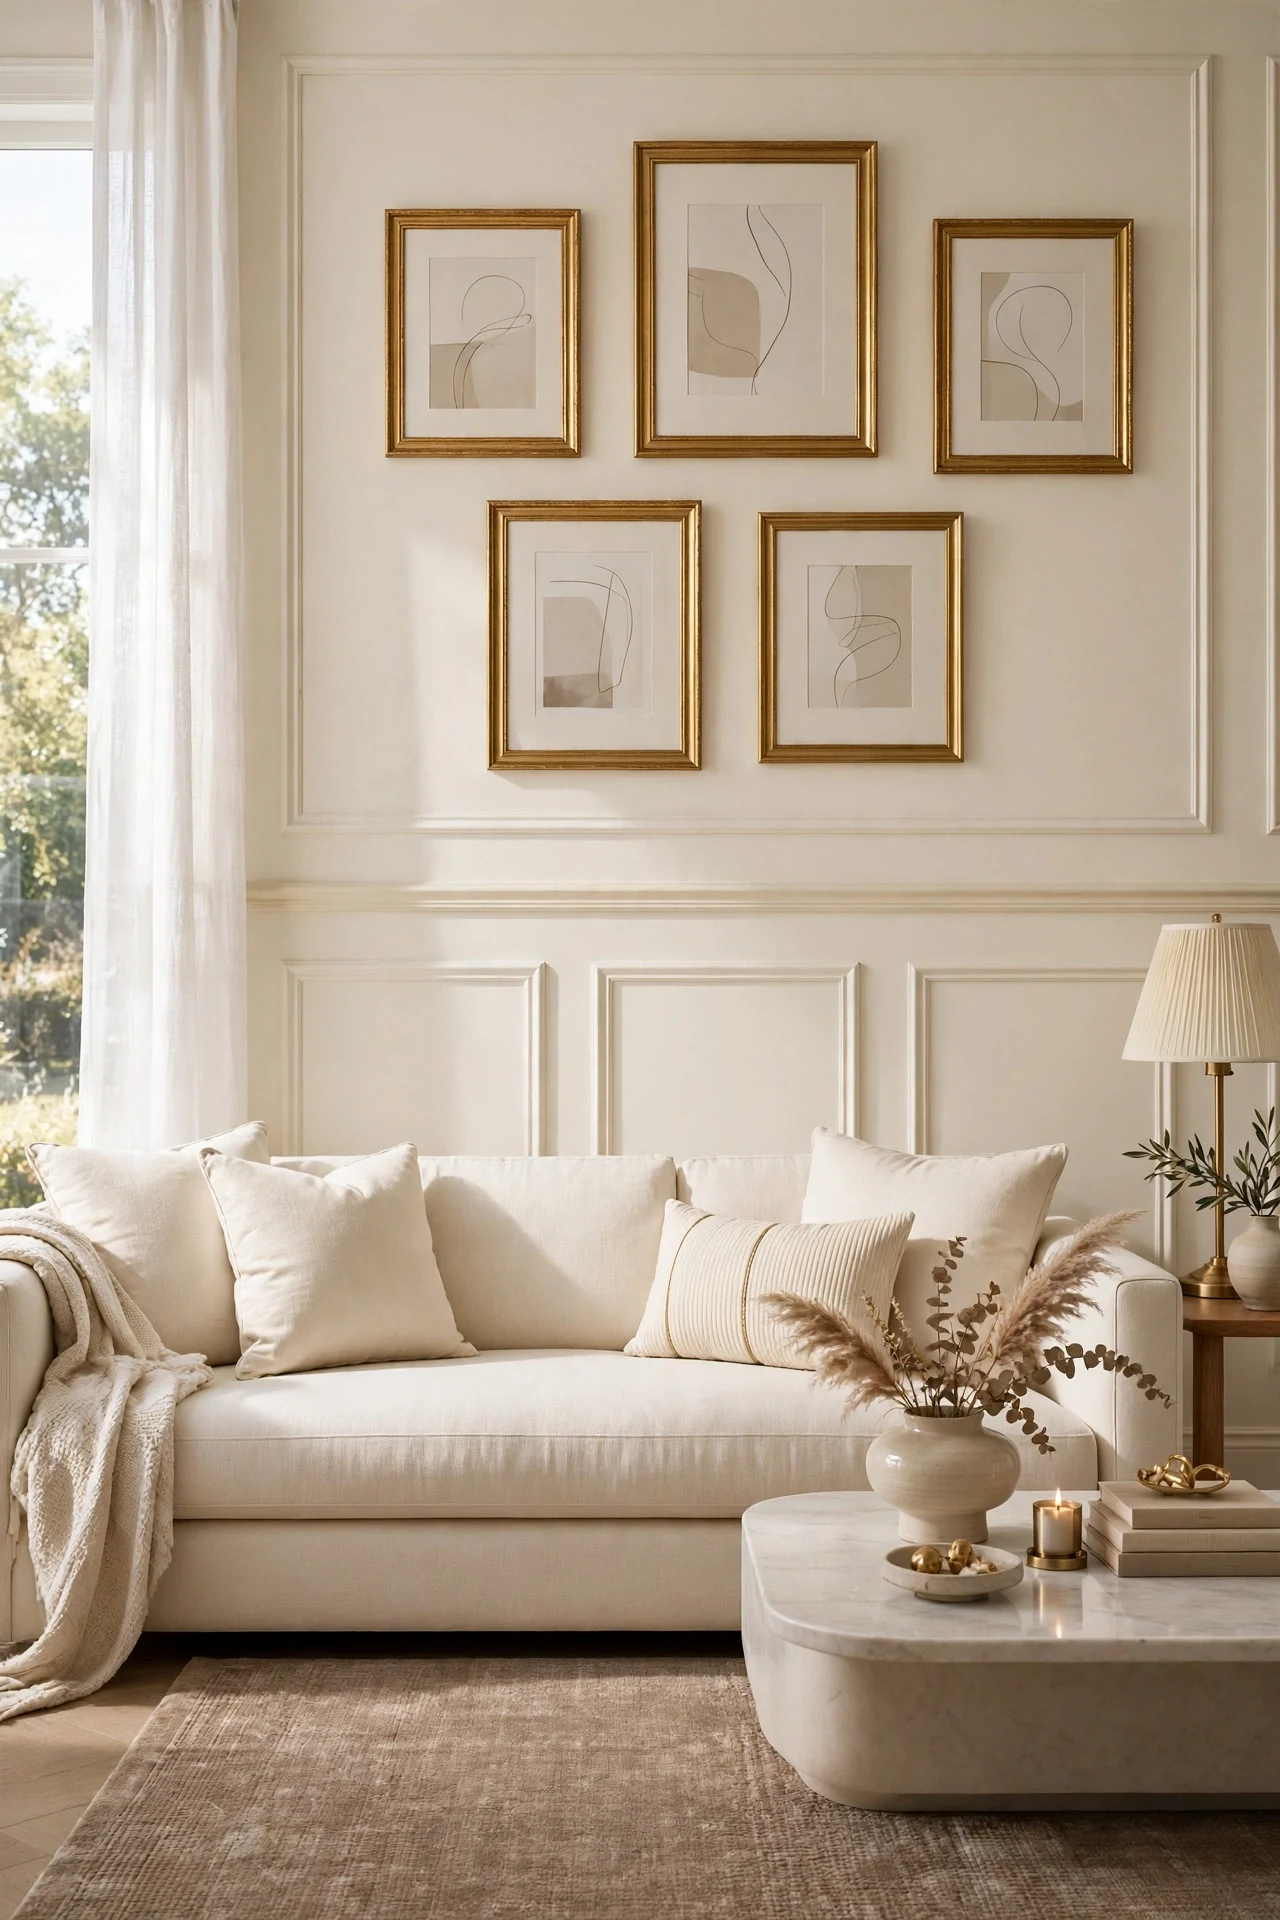
Renters are not locked out of this look. Pre-cut molding kits, self-adhesive trim, and picture-frame panels fixed with removable strips can give a wall the full paneled read with no nails, no glue on the wall, and an exit plan. The honest limit: it is a surface effect, lighter and less shadowed than real paneling, and it fools the eye at room distance rather than at touching distance.
The other honest limit is removal. Adhesives vary, and some “removable” products still lift paint, so test one frame in an unseen corner and check your lease before a whole wall goes up. Where the lease allows a few nail holes but not construction, standard picture-frame molding pinned with fine nails is often the better renter route, since pin holes fill in minutes at move-out.
How to do it: Use the same layout discipline as Idea 1, constant margins, tape first, live with it a day. Buy the kit or trim for one wall and finish it completely before ordering for the room; the effect either convinces you or it does not. Paint the frames to match the wall exactly, since a tonal match hides the thinness of the material. Skill honesty: the most beginner-friendly route on the list, with patience standing in for tools. Pro Tip: Removable-strip frames work best with the lightest trim you can find; heavy molding on strips is a falling hazard, not a decorating idea. Common mistake: Expecting kit molding to survive a steamy bathroom. Adhesives and humidity are enemies; keep the renter route in dry rooms.
14. Wainscot One Wall Only: the Accent Approach
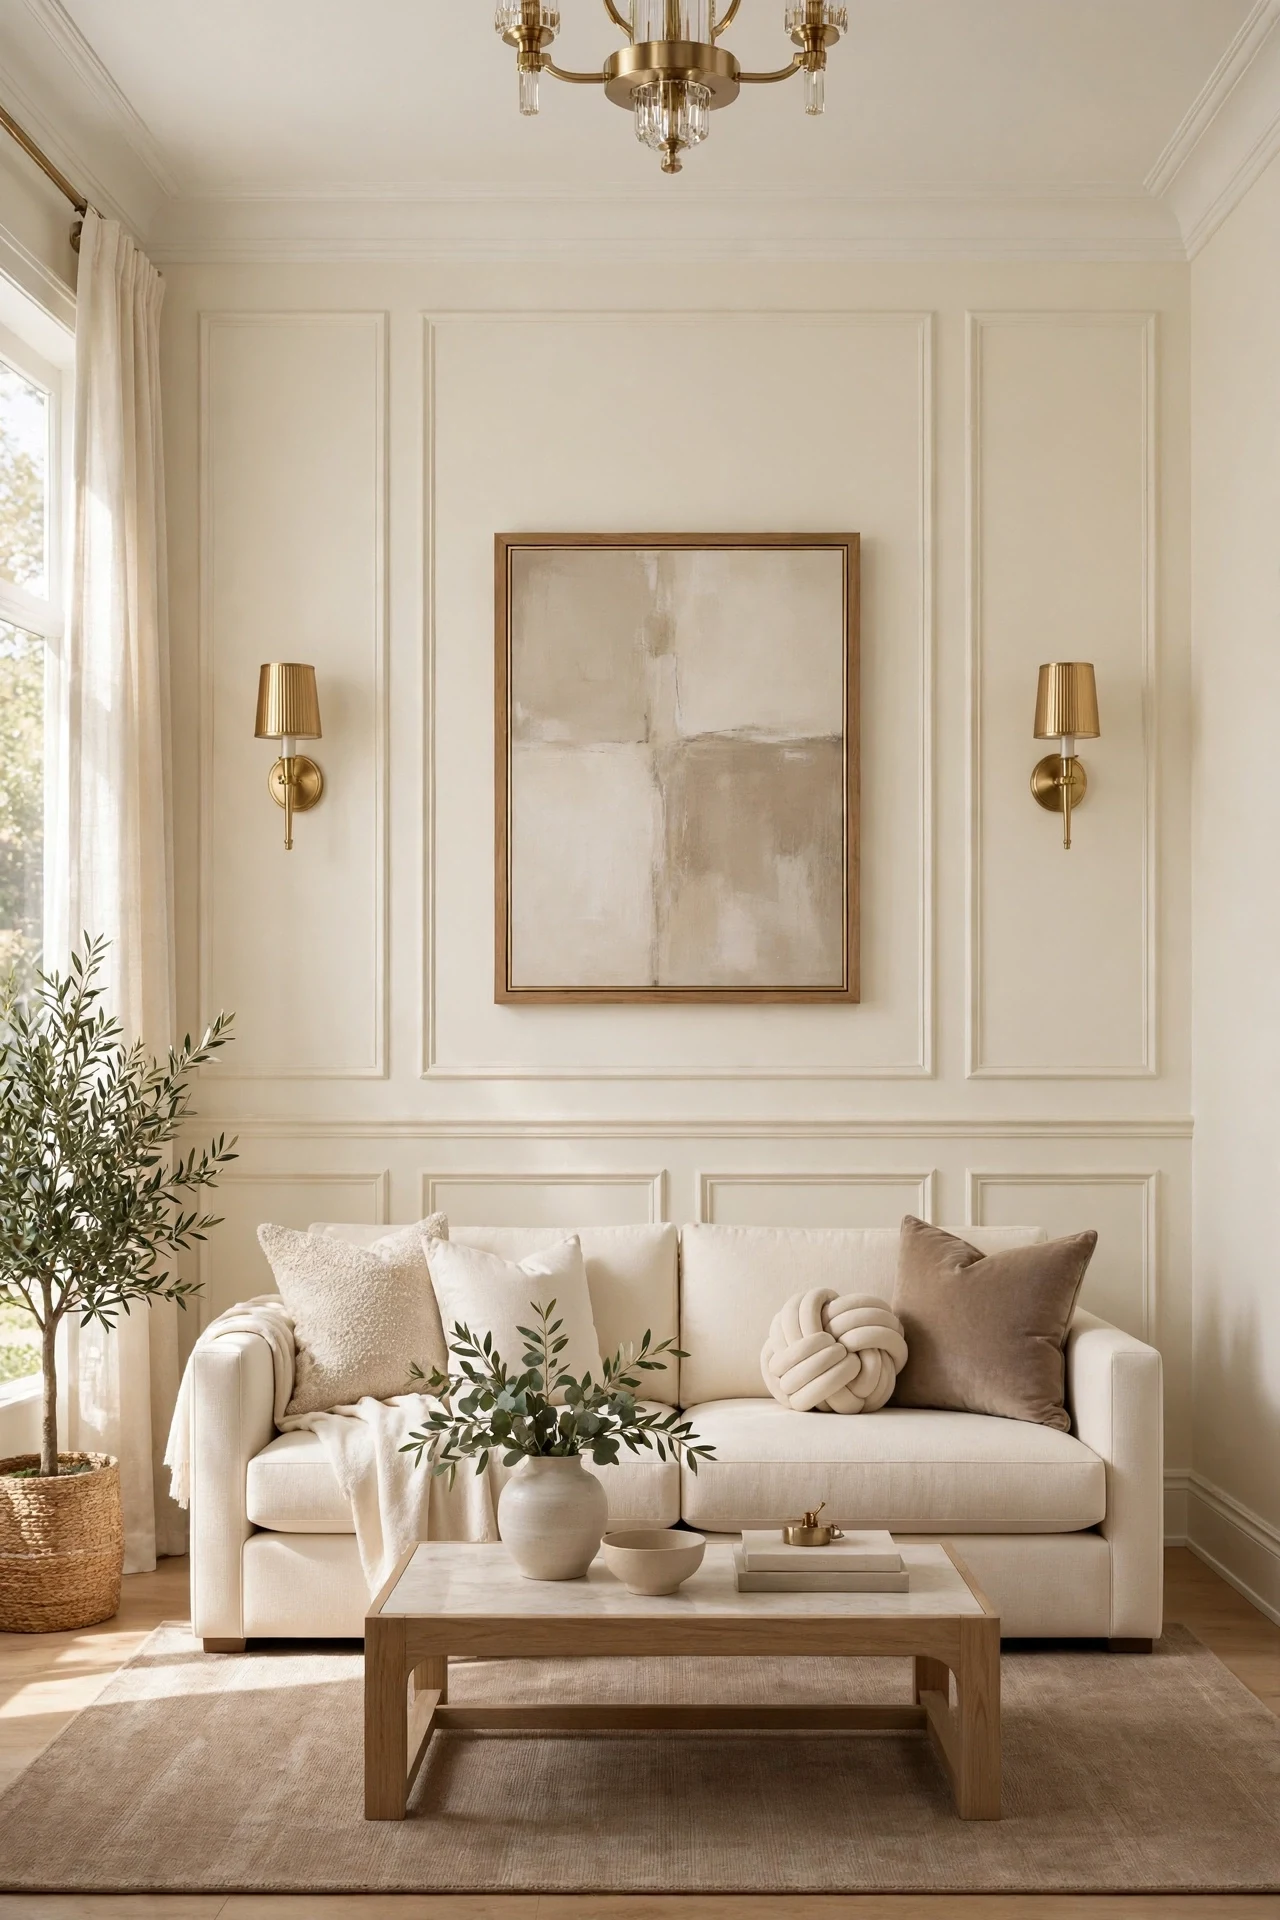
A full room of paneling is a commitment of money, time, and style; one wall is a decision you can make this weekend. The wall behind the sofa, the dining wall, or the wall the bed stands against takes the paneling, and the other walls stay plain, which gives the room a clear focal wall and keeps the cost and the formality in proportion.
The accent approach also suits rooms where a full run is impossible, walls broken by many doors, radiators, or built-ins. One clean, fully paneled wall looks intentional; a run chopped into fragments by obstacles looks like a project that ran out of material.
How to do it: Choose the wall the furniture already points at, and panel it completely, corner to corner, so it reads as a designed wall rather than a sample. Keep the plain walls in the same color family so the accent is the paneling’s texture, not a color clash. Hang the room’s main art or sconces on the paneled wall to complete the composition. Skill honesty: pick your style from the list by the same rules; one wall of raised panel is still a carpenter, one wall of picture-frame is still a beginner’s weekend. Pro Tip: If you love the result, the accent wall becomes phase one; the style, height, and paint are already decided when you extend it later. Common mistake: Paneling the wall behind the television and the sofa wall and the dining wall in different styles as separate accents. One accent wall is a focal point; three is a theme park.
15. The Finish Is the Difference: Caulk, Fill, and Paint
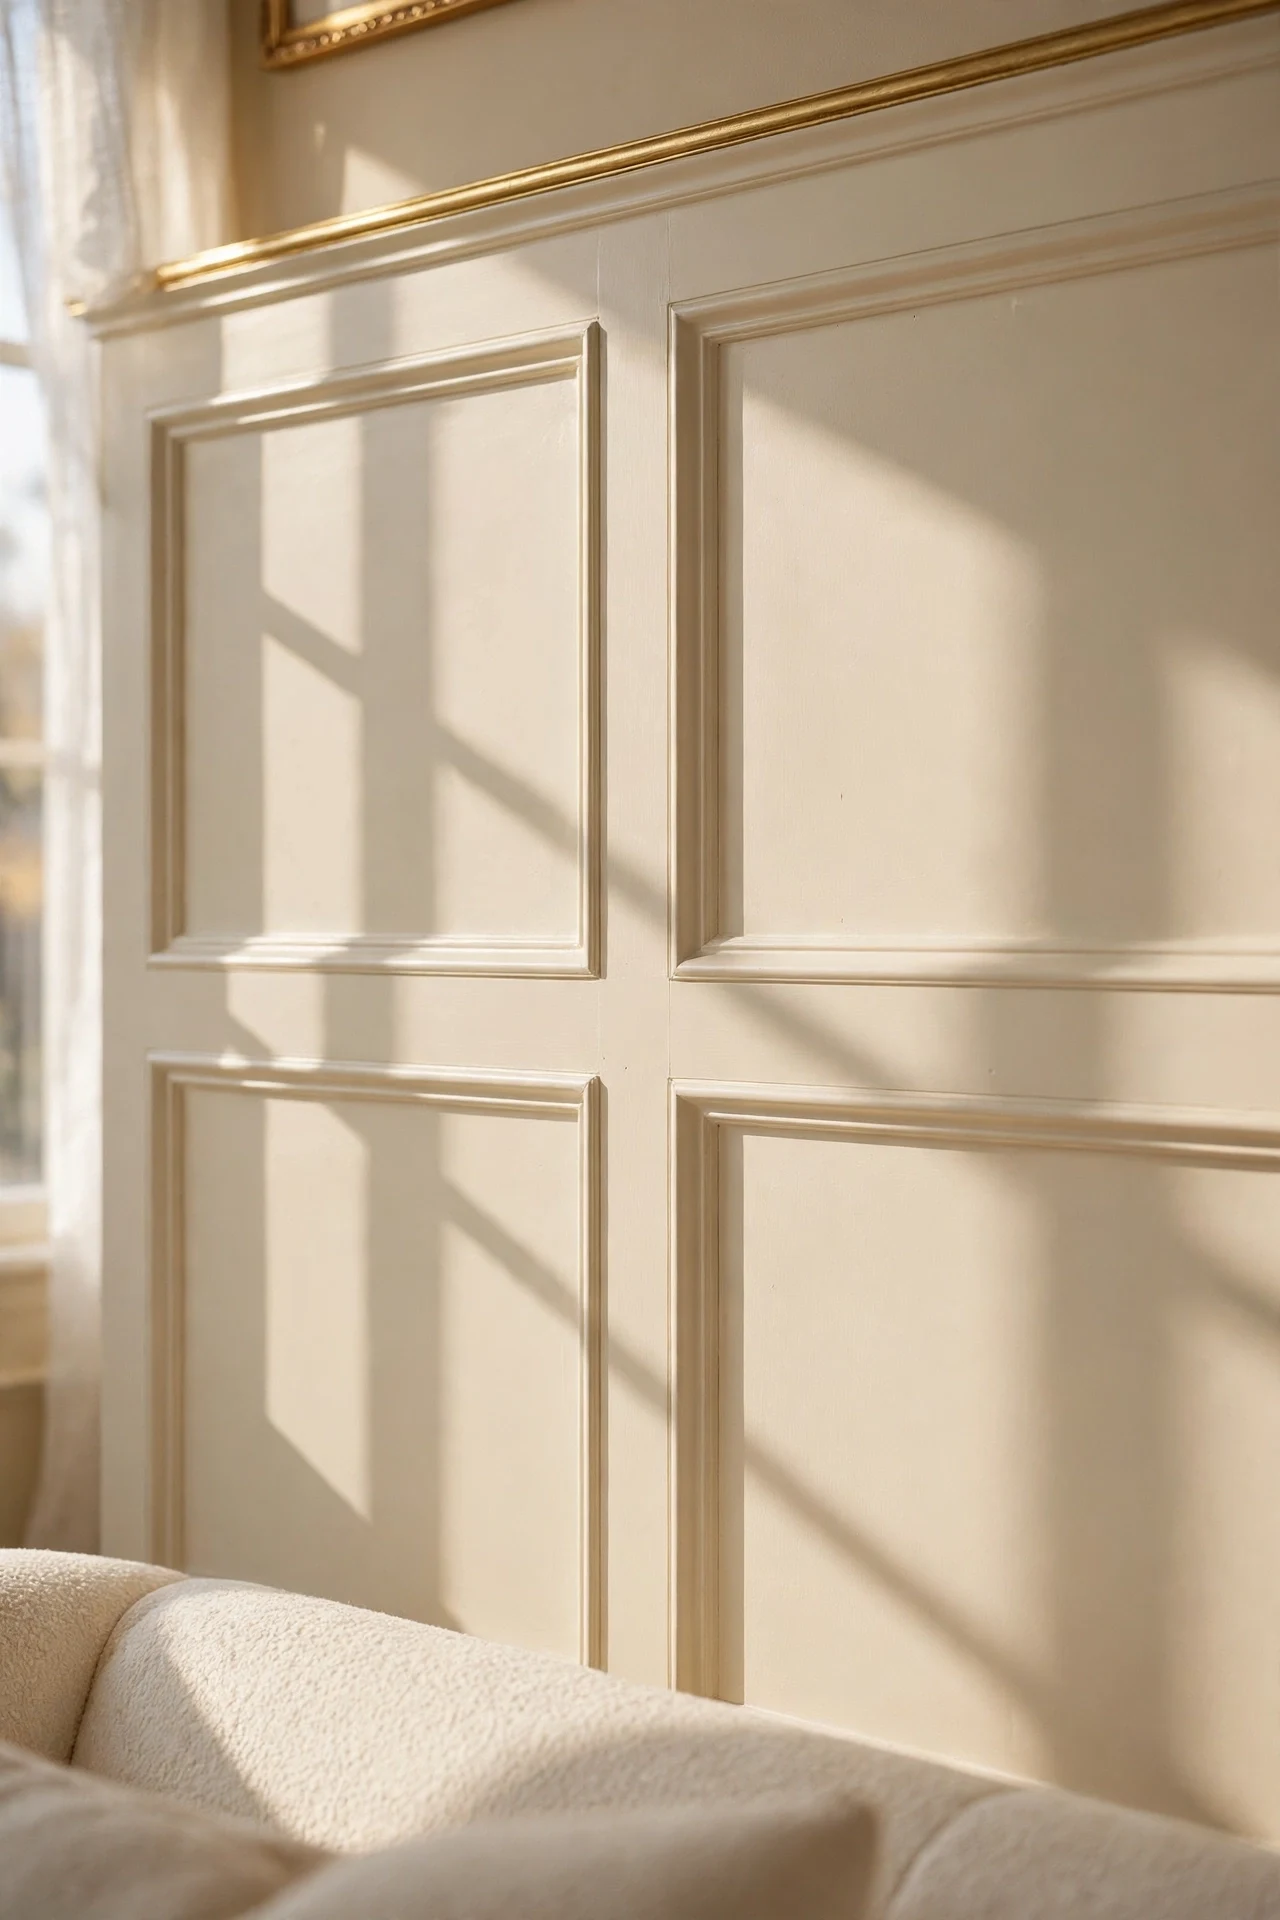
Every style on this list succeeds or fails at the same place: the last ten percent of the work. Two rooms can have identical paneling, and the one that looks built-in is the one where every seam was caulked, every nail hole filled and sanded, and the paint went on in a finish chosen on purpose. Raw gaps and shiny filler spots are what separate carpentry from furniture.
Paint finish is a real decision. The wainscot takes knocks, chair backs, and cleaning, so it earns a more durable and slightly glossier finish than the wall above it; a satin on the paneling under an eggshell or matte wall is the classic pairing, and the tiny sheen difference quietly separates the architecture from the wall. All one color, with the separation done by sheen and shadow, is the most glam version of all.
How to do it: After installation, run a thin bead of paintable caulk along every seam where trim meets wall, smooth it with a damp finger, and let it dry fully. Fill nail holes, sand flush when dry, and spot-prime filler so it does not flash through the paint. Paint the trim work with a brush, not a roller, working the paint into the panel details, and allow two thin coats rather than one thick one. Skill honesty: this is beginner work that requires only patience, and skipping it is the most common way good paneling ends up looking homemade. Pro Tip: Check your caulk lines in raking light from a window or a lamp held low; gaps invisible at noon announce themselves at sunset. Common mistake: Painting first and caulking later with unpaintable filler showing through. The order is fixed: install, caulk, fill, sand, prime, paint.
Quick Reference Table
| Idea | The Look | Honest Skill Level |
|---|---|---|
| Picture-frame molding | Slim frames, tailored | Beginner DIY |
| Raised panel | Formal, deep shadow | Carpenter |
| Shaker recessed panel | Flat, tailored panels | Intermediate DIY |
| Beadboard | Soft vertical grooves | Beginner DIY |
| Board and batten | Graphic vertical rhythm | Beginner to intermediate |
| Tall paneling | Architecture to the ceiling | DIY in molding form |
| Shiplap lower wall | Relaxed horizontal lines | Beginner to intermediate |
| Shelf-cap plate rail | A display ledge | Intermediate fixing |
| Staircase wainscoting | Panels on the slope | Advanced DIY or carpenter |
| Two-tone paint | Color below, calm above | Beginner painting |
| Wallpaper above | Pattern over paneling | Beginner to intermediate |
| Entryway and hall | Armor with hooks | Beginner to intermediate |
| Renter kits | Panels with an exit plan | Most beginner-friendly |
| One accent wall | A single focal wall | Depends on the style |
| Finish details | Caulk, fill, satin paint | Beginner, needs patience |
The Finished Wall Checklist
- Style chosen for the room’s formality, not just its photo
- Skill level checked honestly before buying materials
- Wainscot height planned as a share of the wall, not a guess
- Layout taped full-size and lived with for a day
- Margins kept constant on every wall
- Panels planned around doors, corners, and fixed points
- Battens and panels land clear of outlets, or outlets boxed out
- Chair rail or cap gives the top a finished edge
- One paint color, with sheen doing the separating
- Wainscot in a wipeable, more durable finish than the wall
- Every seam caulked, every nail hole filled and sanded
- Finish checked in raking light before calling it done
- Wet rooms given moisture-rated materials only
- Renters: lease checked and one test frame removed cleanly
Frequently Asked Questions
How high should wainscoting be?
The common guide is a share of the wall rather than a fixed number: around one third of the wall’s height is the classic chair-rail proportion, and up to two thirds suits tall rooms and dining rooms, as in Idea 6. In general terms, let the room decide: low ceilings want the lower third, high ceilings can carry more. Whatever height you choose, keep it identical on every wall of the room, because a wandering rail line is the first thing the eye catches.
Can I install wainscoting myself?
For several styles, yes. Picture-frame molding, beadboard, board and batten, shiplap, and renter kits are all realistic beginner to intermediate projects built from straight or simple angled cuts, sheets, and patience. Recessed panels and staircase runs are intermediate to advanced. True raised panel work, with milled solid panels and exact joinery, is the one style to hand to a carpenter without embarrassment; it is furniture making stood on end.
Does wainscoting work in a small room?
Yes, and it can help one. Panels give a small room proportion and a finished feeling that plain walls lack, and keeping the wainscot and wall in one color stops it from visually chopping the room in half. Choose the lighter styles, picture-frame molding, flat recessed panels, or beadboard, and skip heavy raised panels, whose depth eats space a small room cannot spare.
What paint finish is best for wainscoting?
A wipeable satin is the workhorse: durable enough for the knocks and cleaning the lower wall receives, with just enough sheen to separate the paneling from a matte or eggshell wall above it. Use the same color on both and let the sheen and the panel shadows do the work, or take the lower half one or two shades deeper, as in Idea 10, for a grounded two-tone.
Conclusion
Wainscoting finishes a wall the way a frame finishes a picture: the wall was never wrong, it was only missing its edges. Pick the style that matches your room’s formality and your honest skill level, lay it out with constant margins, and spend your patience on the caulk, filler, and paint where the built-in look is actually made. A beginner with picture-frame molding and a careful finish will out-decorate a rushed job in any style on this list.
One Comment
Comments are closed.