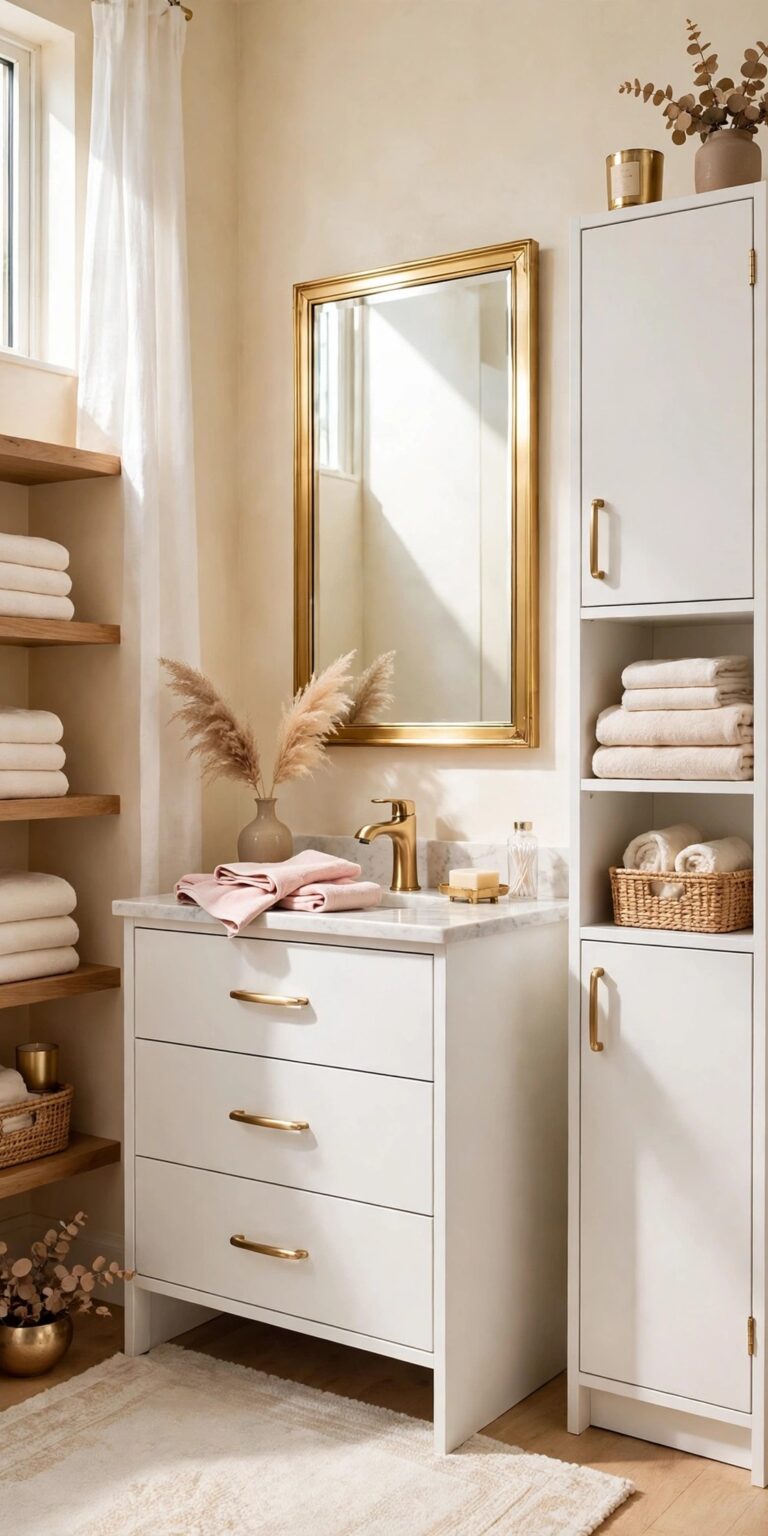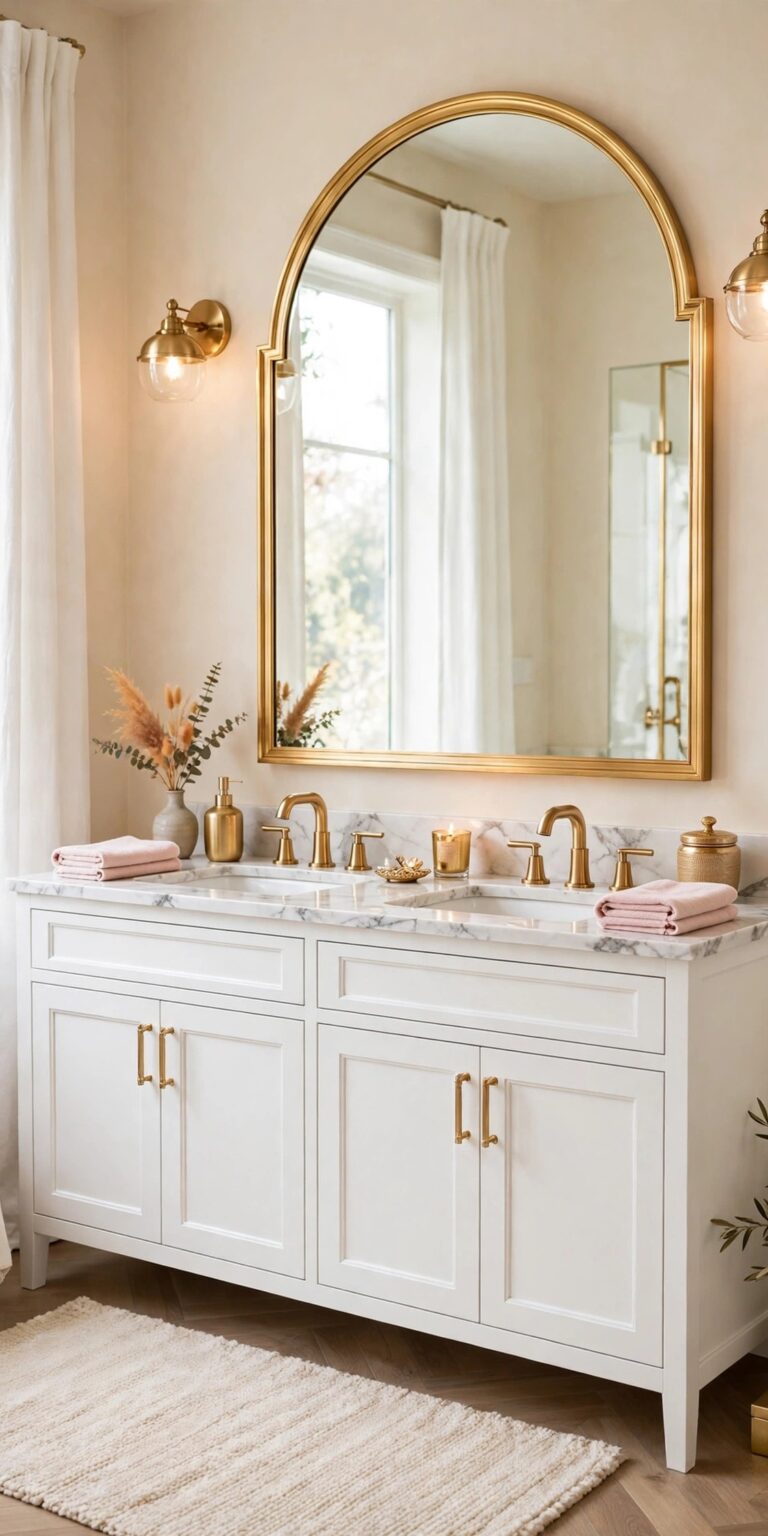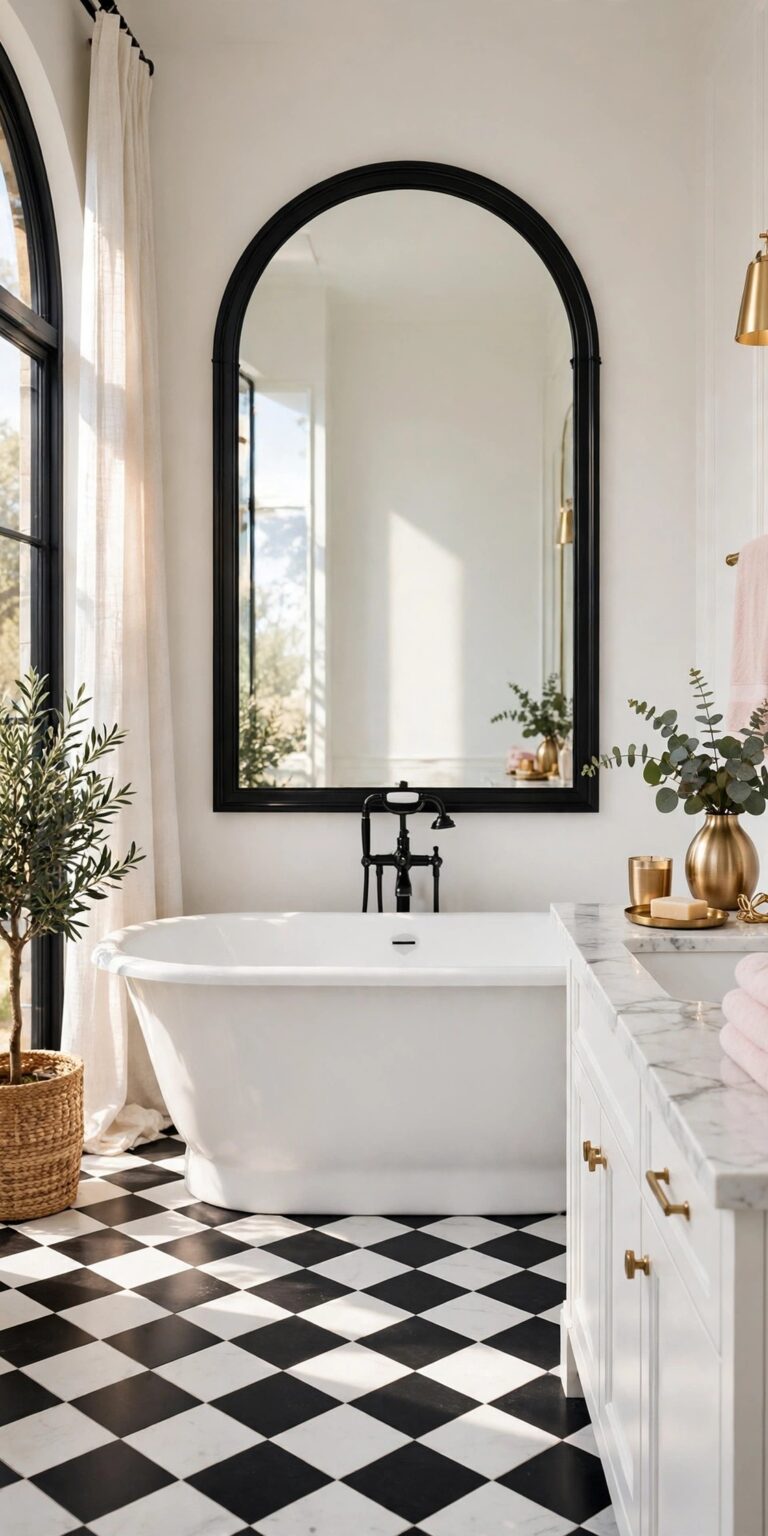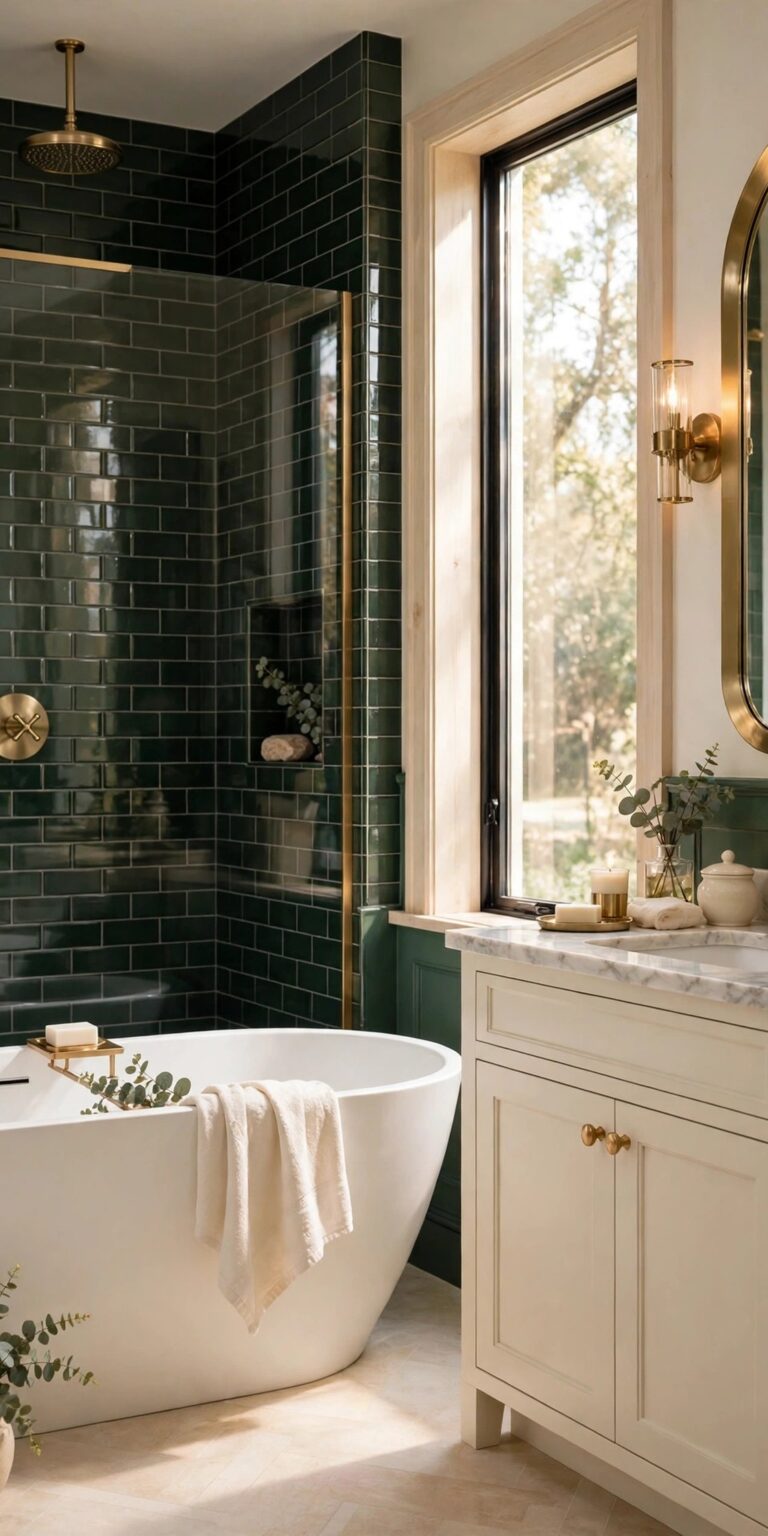
15 Rustic Bathroom Ideas for a Bright Glam Look
15 Rustic Bathroom Ideas for a Bright Glam Look
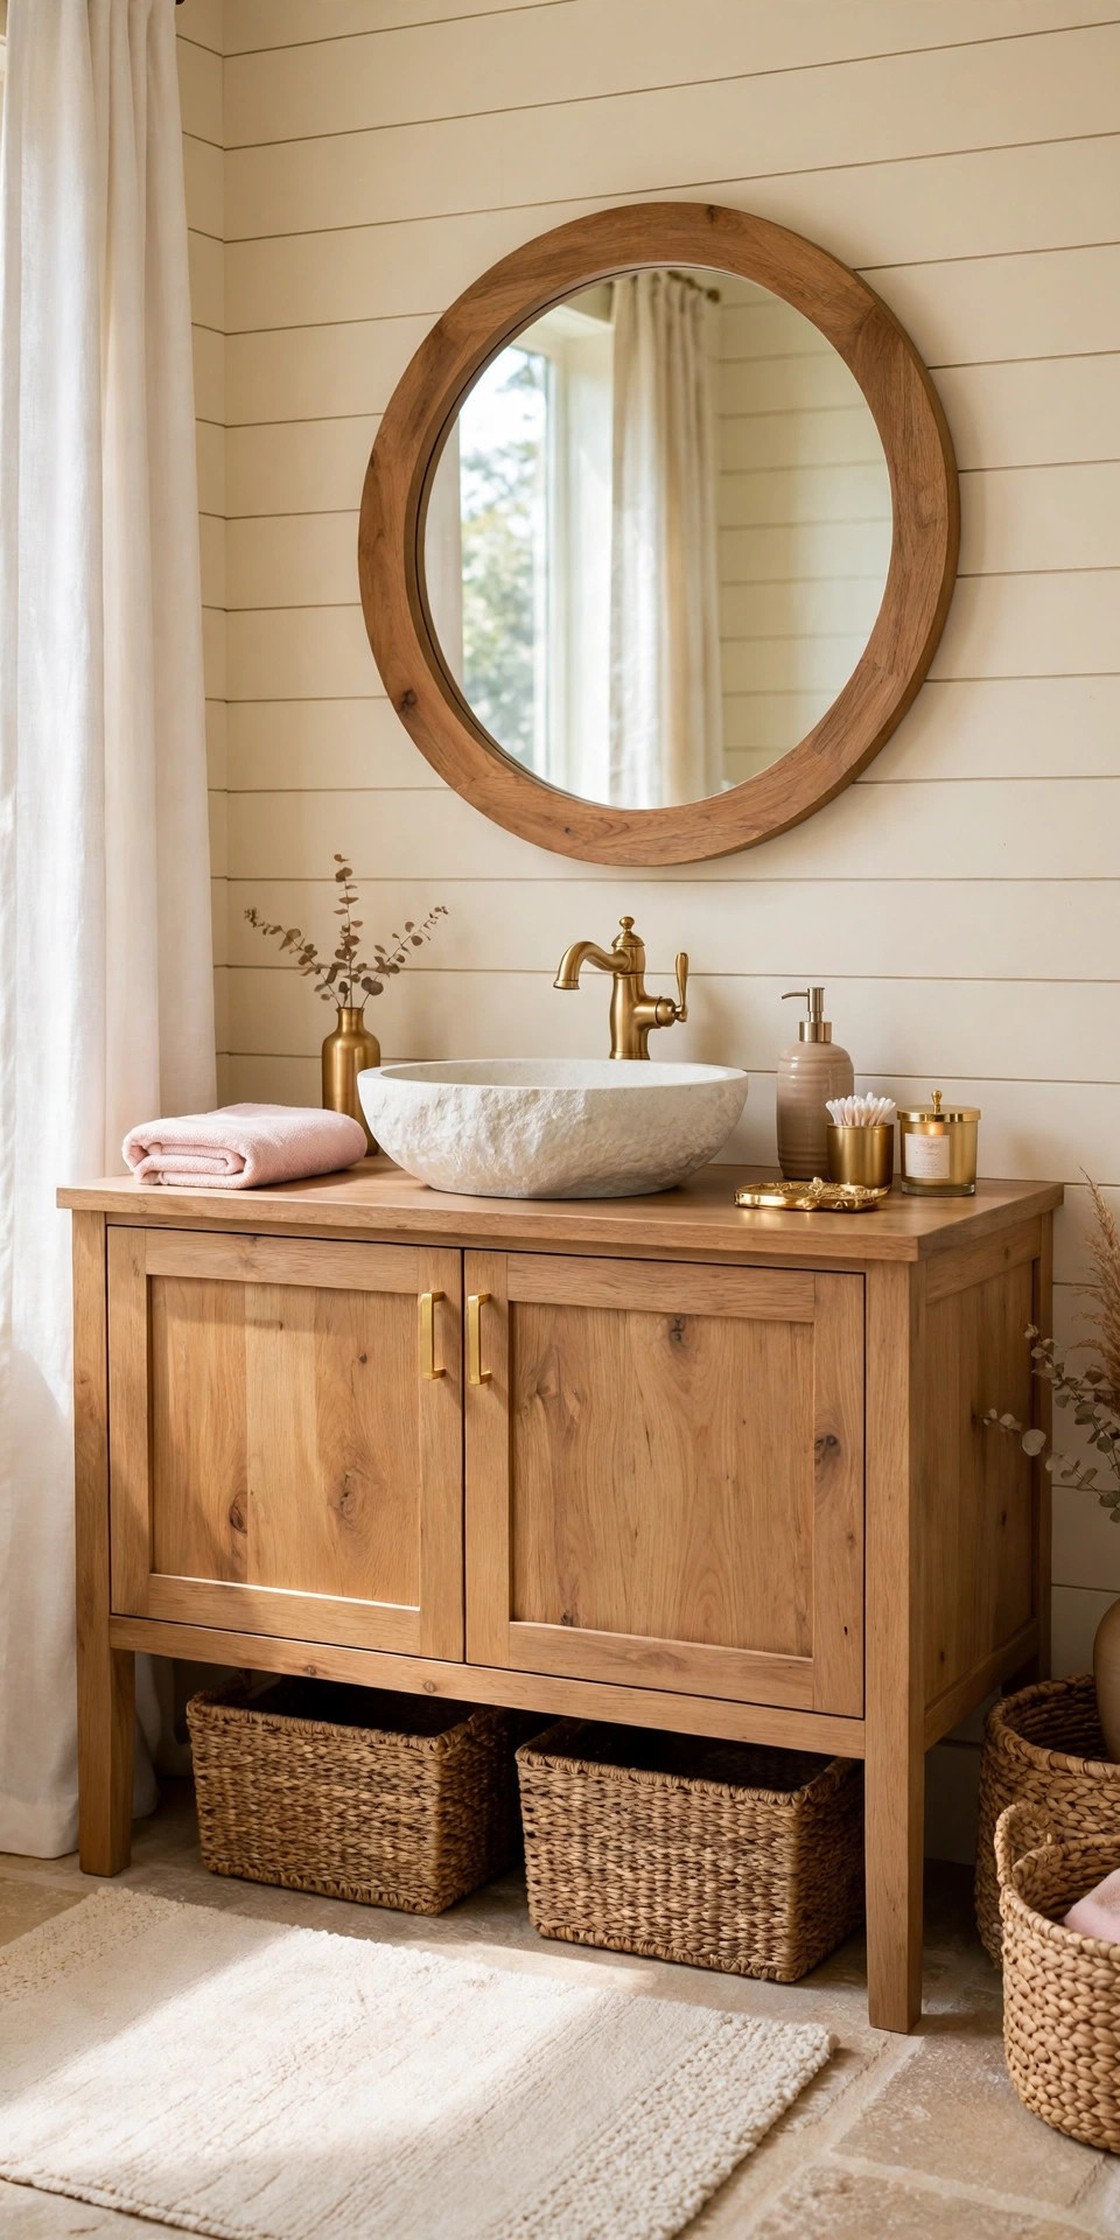
A rustic bathroom ideas search usually starts with one worry: rustic can turn dark, heavy and cabin-like very fast, and a small bathroom has no room for that. The fix is to keep the rustic notes warm and the room itself bright. These rustic bathroom ideas use pale wood, natural texture and vintage touches on a cream base, with warm taupe, soft blush and brushed gold doing the glam work, so the room reads cosy and natural without ever reading dark. Work through the list in order, because the early ideas set the wood and the walls, and the later ones add the storage, the plants and the soft finishing layers. If you are still planning the room around its big pieces, our bathroom decor shows how the vanity, the mirror and the small styling pieces work together first
Disclosure: This article may contain affiliate links. If you buy through a link on this page, GlamNStyle may earn a small commission at no extra cost to you. Product links in this article are plain links; each one is checked on the retailer’s own page before it is added.
1. Start with a Warm Wood Vanity
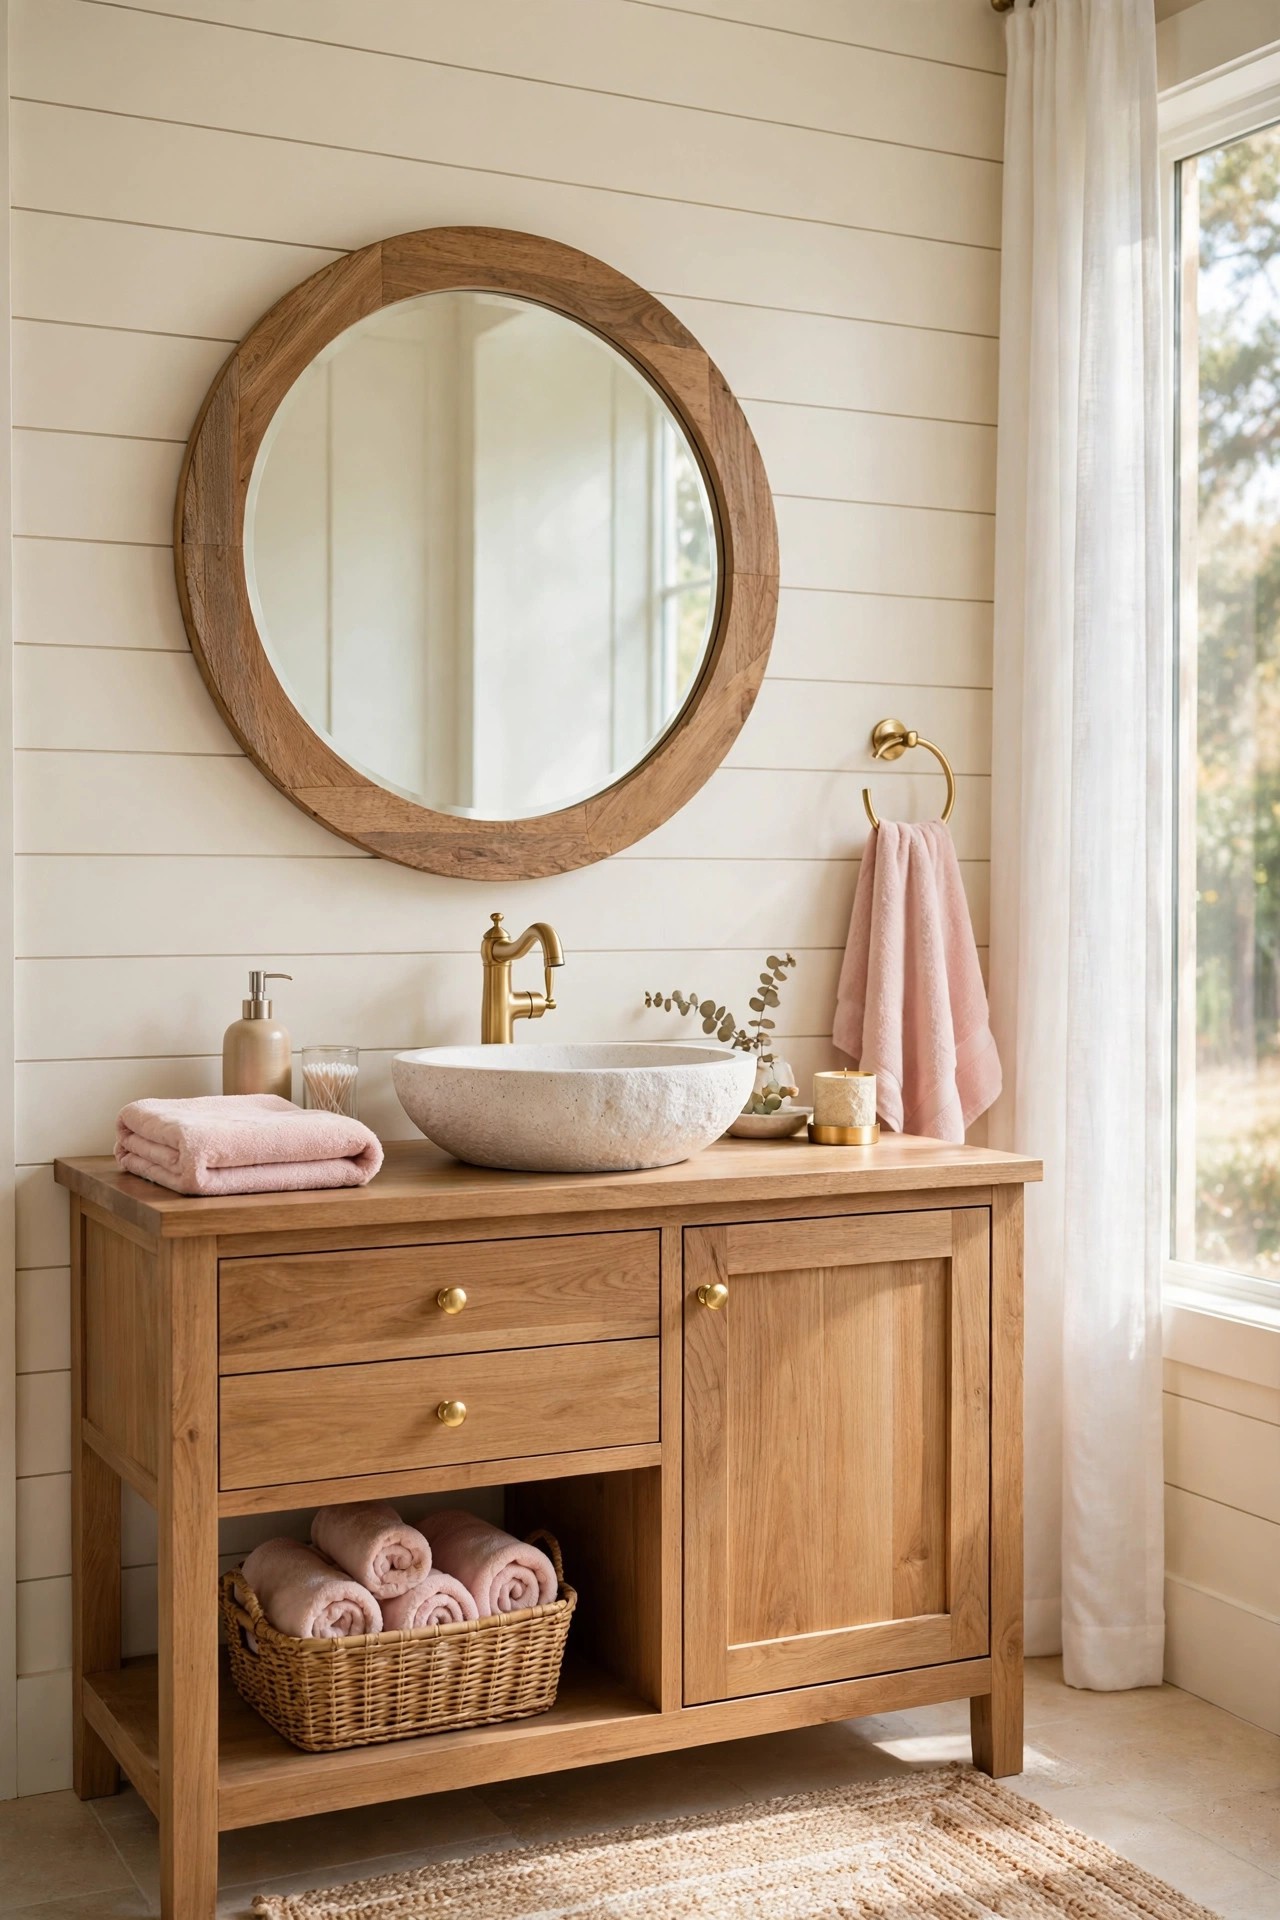
A warm wood vanity is the piece that makes a rustic bathroom feel rustic, and the wood tone is the decision that keeps it bright. Choose a pale or mid-tone oak, ash or pine with a clear grain, never a dark stain, and pair it with a pale stone or white ceramic sink so the contrast stays soft. A simple flat-front cabinet with visible grain reads modern rustic, while a panelled front with a shaped apron reads vintage farmhouse, and either one works if the wood stays light. Seal the wood well on every side, because a bathroom vanity meets water daily and unsealed grain darkens and lifts. This is the anchor piece of the room, and our bathroom vanity designs show the sizes, tops and mirror pairings that work around a wood cabinet
Best For: Bathrooms that feel cold and white, and anyone who wants warmth without adding a paint color.
Not Ideal For: Bathrooms where the floor is already a strong dark wood; two dark woods can fight, so a pale wood vanity against a pale floor is the calmer version there.
Estimated Cost: $700-$2,400 (estimate) for a warm wood vanity with a stone or ceramic sink and gold faucet.
Budget Note: The wood finish is the spend; a good pale wood veneer gives the same warmth for less than solid oak and seals more easily.
Renter Friendly: No
Renter Note: Fixed plumbing; renters can borrow the warm wood note with a wood tray, a wood stool and woven baskets instead.
What You Need
Warm wood vanity cabinet in pale or mid-tone oak, pale stone or white ceramic vessel sink, brushed gold faucet, wood sealant for every exposed edge.
Product type to look for: A cabinet with a sealed, water-resistant finish on all sides, because a bathroom vanity meets splashes on the front and the top every day.
How To Do It
- Hold a wood sample against the floor and the wall in daylight, and pick the pale wood that stays warm beside both.
- Set the cabinet level and fix it to the wall, following the maker instructions.
- Seat the sink, seal the edges, and fit the faucet, checking the stream lands inside the bowl.
- Style with cream towels and one blush hand towel, and check the wood reads warm, not dark, from the doorway.
Pro Tip
Match the wood tone to the floor’s warm family, not to the towels. Wood that echoes the floor makes the room feel built, while wood chosen against the towels alone can clash with the floorboards.
2. Add Shiplap Walls in Warm White
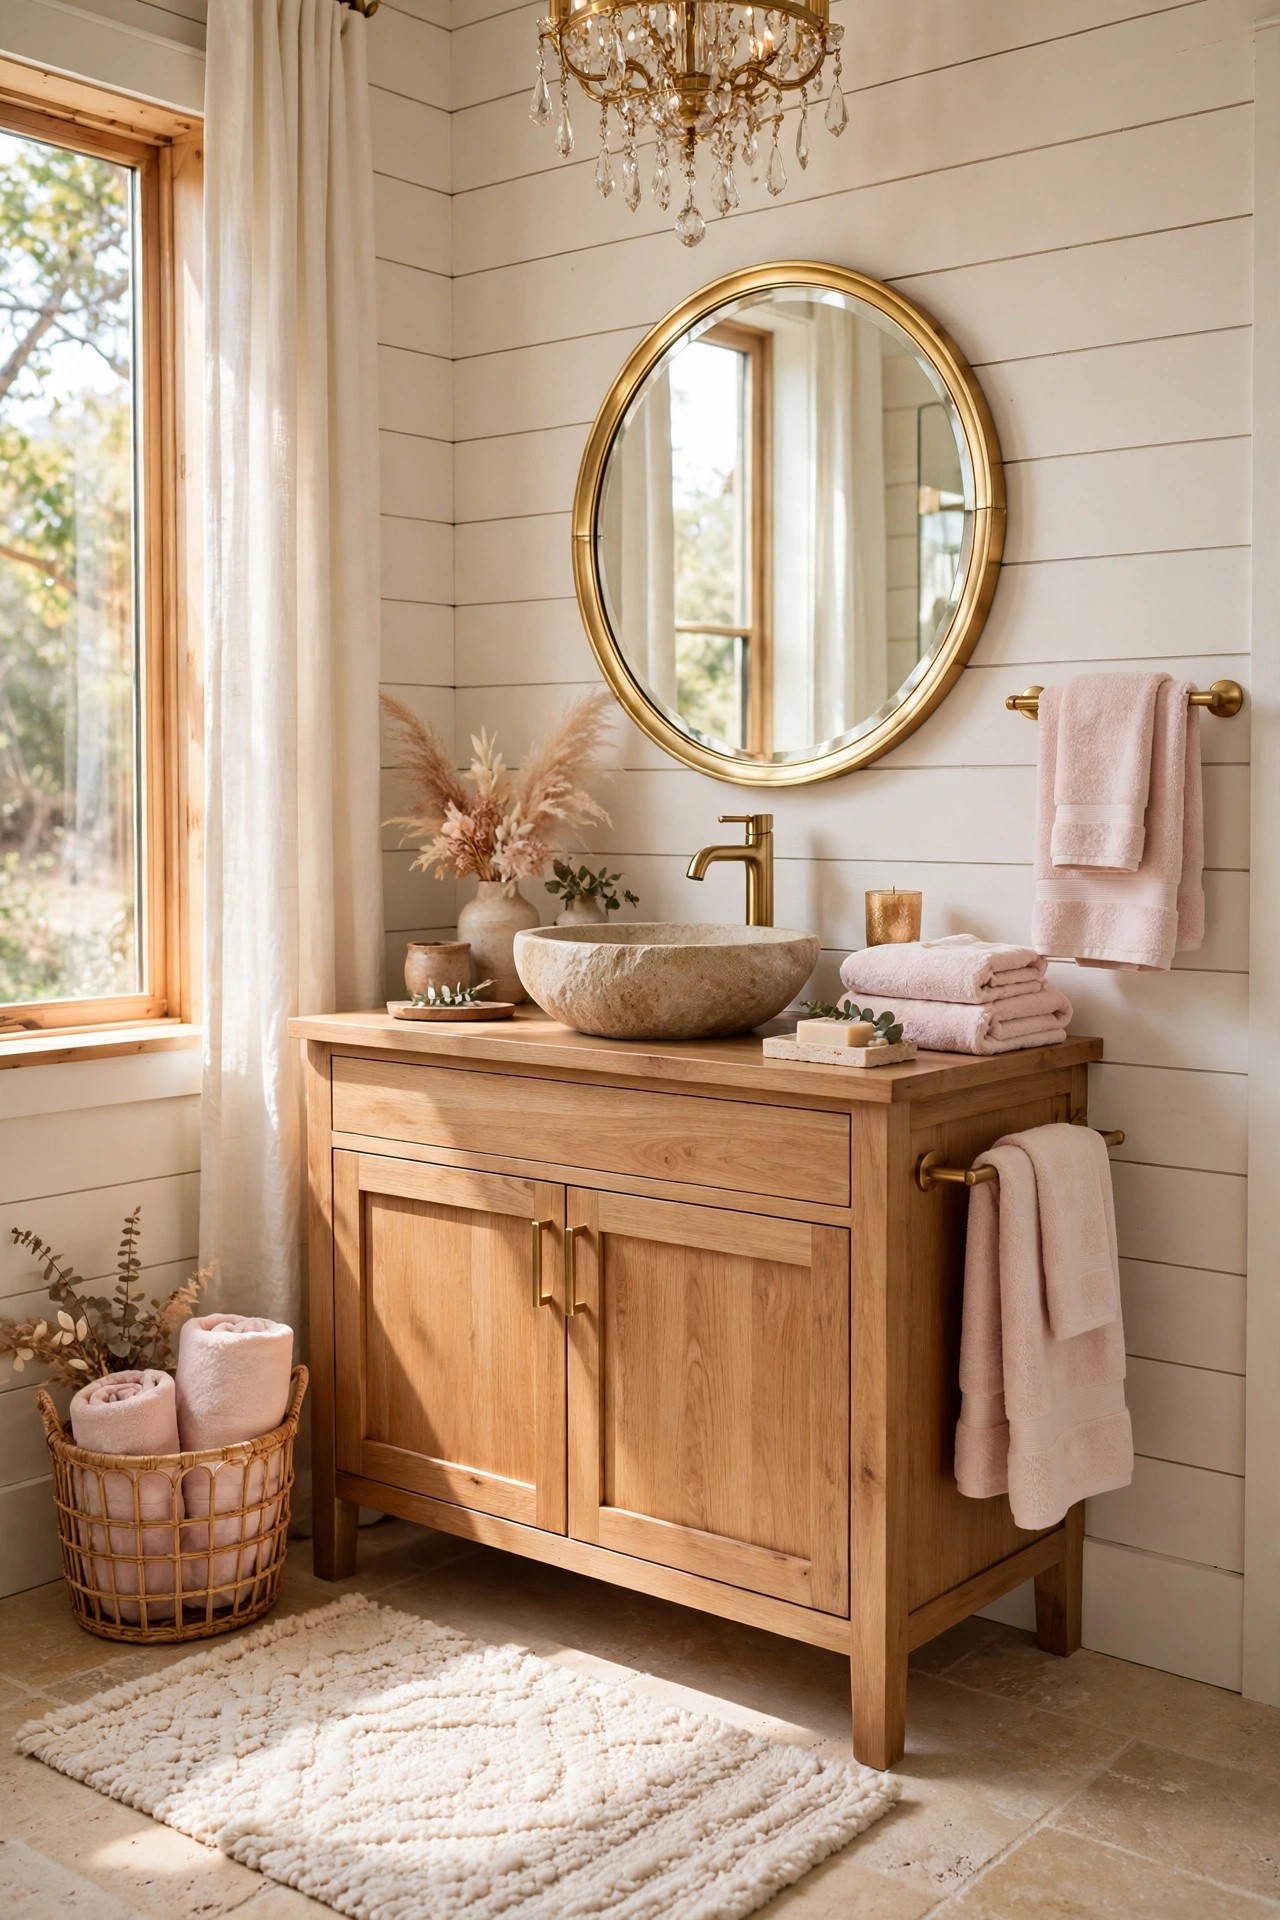
Shiplap is the fastest way to give a bathroom a rustic wall without adding a dark color. Narrow horizontal boards in warm white, painted with a washable bathroom paint, add texture and a farmhouse line to the room while reflecting the same light as a plain white wall. Use it on one feature wall, usually the vanity wall, rather than all four walls, because full shiplap in a small room can feel busy. Keep the boards narrow, around four inches, so the lines stay fine and calm. Seal the paint well and keep a gap behind the boards ventilated, since a bathroom wall meets steam daily.
Best For: Plain white bathrooms that feel flat, and anyone who wants texture without a tile job.
Not Ideal For: Bathrooms with no extractor fan, where boards stay damp; a tiled feature wall is the honest version there.
Estimated Cost: $200-$700 (estimate) for shiplap boards and bathroom paint on one feature wall.
Budget Note: The paint is a small spend with a large effect; sample two warm whites on the boards before buying the full cans.
Renter Friendly: No
Renter Note: Fixed boards are a landlord decision; peel-and-stick shiplap panels are the renter version, fitted only where the lease allows.
What You Need
Shiplap boards in a narrow width, washable bathroom paint in warm white, primer suited to the boards, fine sandpaper, painter’s tape, fixings rated for the wall.
Product type to look for: A washable low-sheen paint made for bathrooms, because a shiplap wall beside a sink takes splashes, steam and daily wiping.
How To Do It
- Measure the feature wall and cut the boards to fit, leaving a small gap at the floor and ceiling.
- Prime the boards, then paint two thin coats, letting each coat dry fully before the next.
- Fit the boards level from the bottom up, fixing into studs or rated anchors.
- Seal the edges and check the boards in daylight before styling the wall.
Pro Tip
Run the shiplap horizontally, not vertically. Horizontal boards widen a narrow bathroom, while vertical boards make a low ceiling feel lower.
3. Set a Stone Vessel Sink on a Wood Top
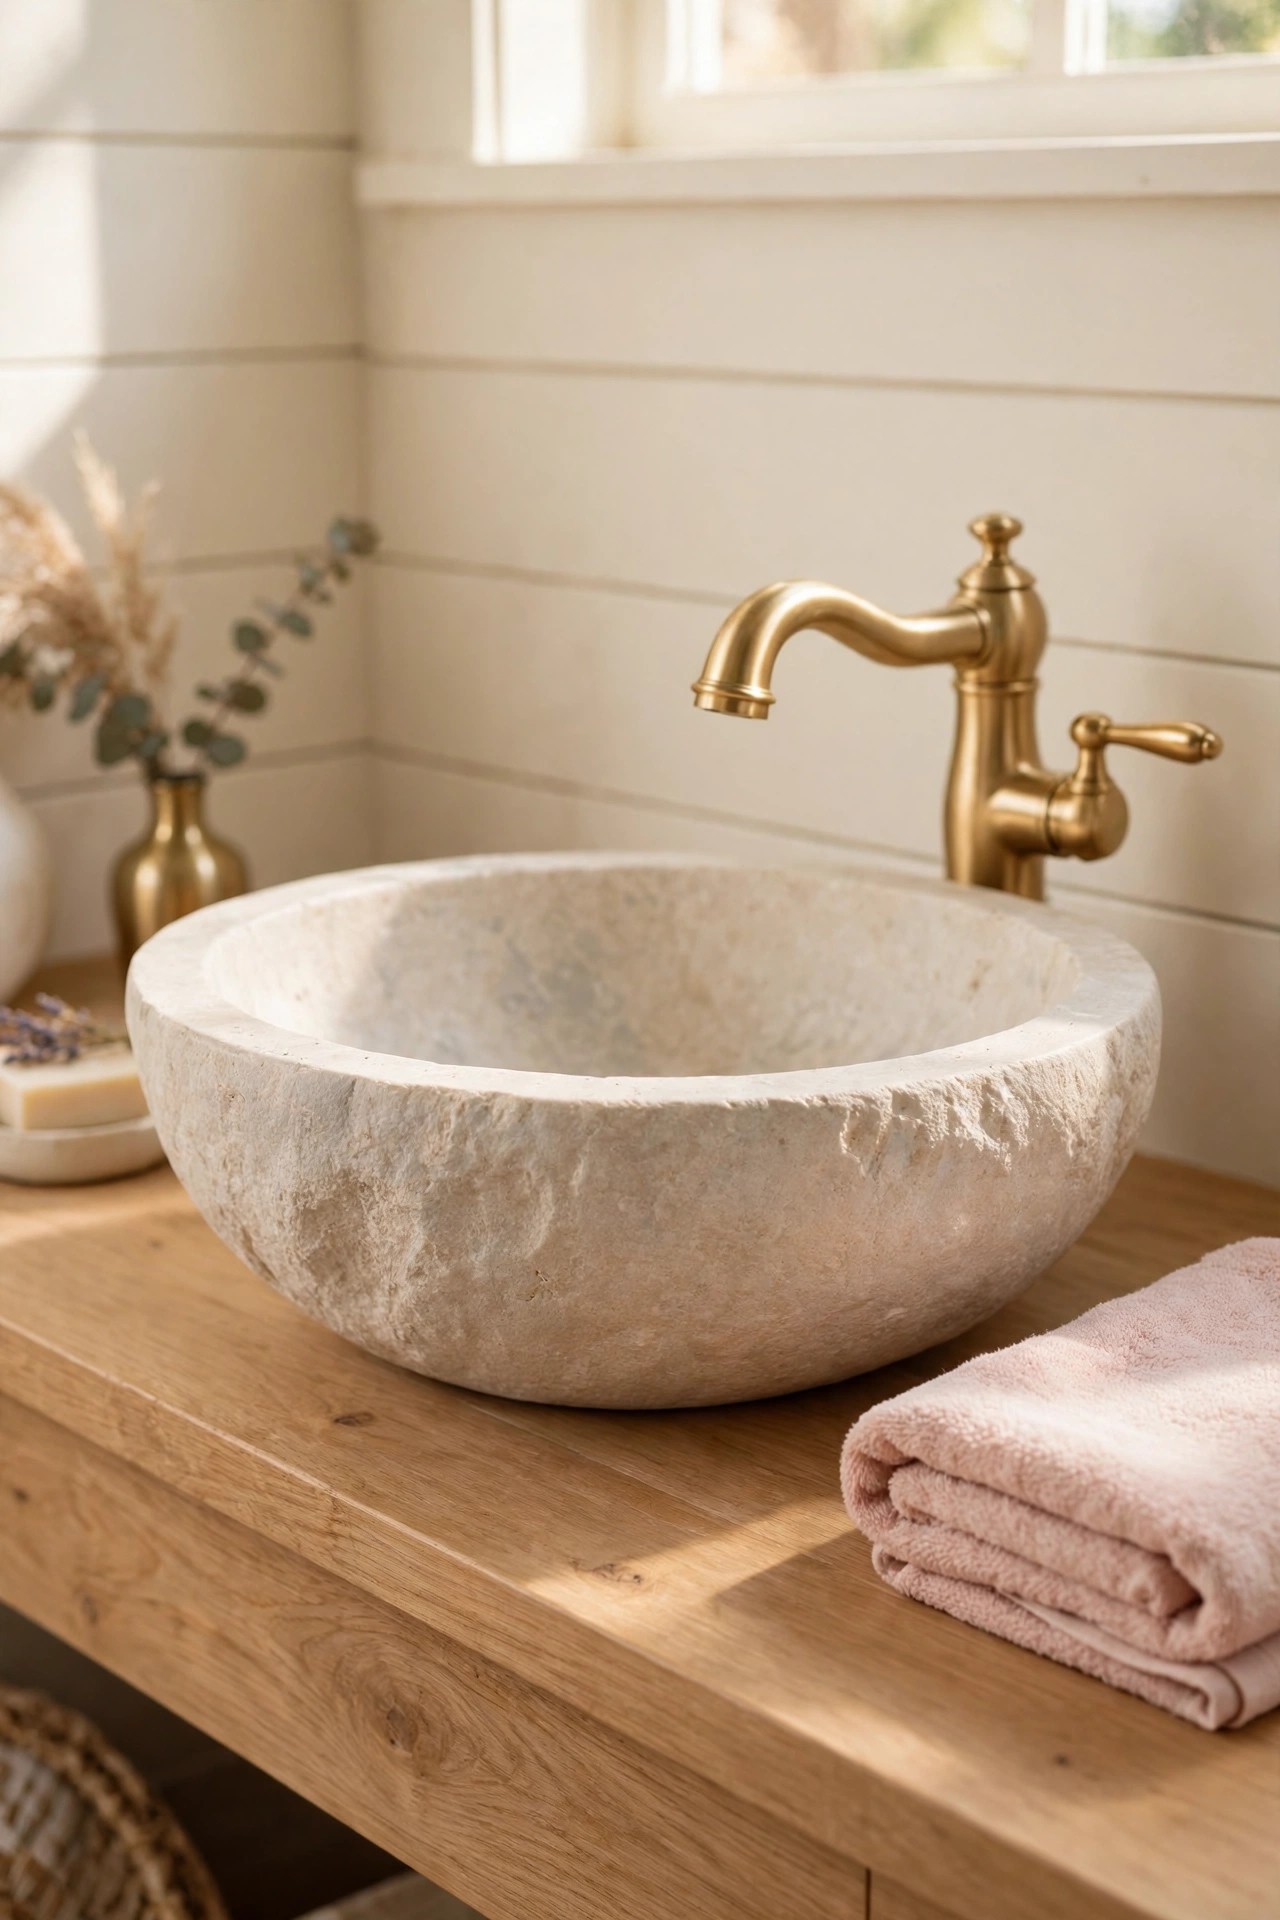
A stone vessel sink sits on the counter like a carved bowl, and that natural stone is what makes a rustic vanity feel crafted rather than bought. Choose a pale stone, travertine, marble or a light river stone finish, with a gentle curve and a flat base that sits steady, and set it on a warm wood top so the pale stone and the warm grain do the contrast together. Set the faucet tall enough to clear the rim by a hand’s width, because a short faucet over a tall vessel splashes every time it is used. Seal the wood top on every side, including the cutouts, since standing water is the enemy of a wood counter.
Best For: Bathrooms that need a natural centrepiece without repainting, and anyone who loves the look of carved stone.
Not Ideal For: Homes with small children who splash hard; a stone rim is one more edge to wipe, so an undermount sink is the calmer version there.
Estimated Cost: $400-$1,400 (estimate) for a stone vessel sink, wood top and tall gold faucet.
Budget Note: The stone vessel is the visible spend; a good sealed wood top costs less than a stone top of the same size.
Renter Friendly: No
Renter Note: Fixed plumbing; a stone soap dish and a wood tray borrow the look on an existing counter.
What You Need
Pale stone vessel sink, warm wood vanity top, tall brushed gold faucet, waterproof sealant for the wood cutouts.
Product type to look for: A vessel with a flat, stable base and a sealed stone surface that wipes clean, because a wobbling bowl is a leak waiting to happen.
How To Do It
- Check the faucet height against the vessel rim and choose a tall faucet with a hand’s width of clearance.
- Seal the wood top on every cut edge before the sink is set.
- Seat the vessel level, centre it on its drain, and seal the base ring.
- Fit the tall faucet behind the vessel and test for splashing at full flow.
Pro Tip
Keep the vessel pale and plain. A dark or heavily patterned stone fights the wood grain and the gold faucet, while a pale plain bowl lets the wood and the metal do the work.
4. Hang a Round Wood Framed Mirror
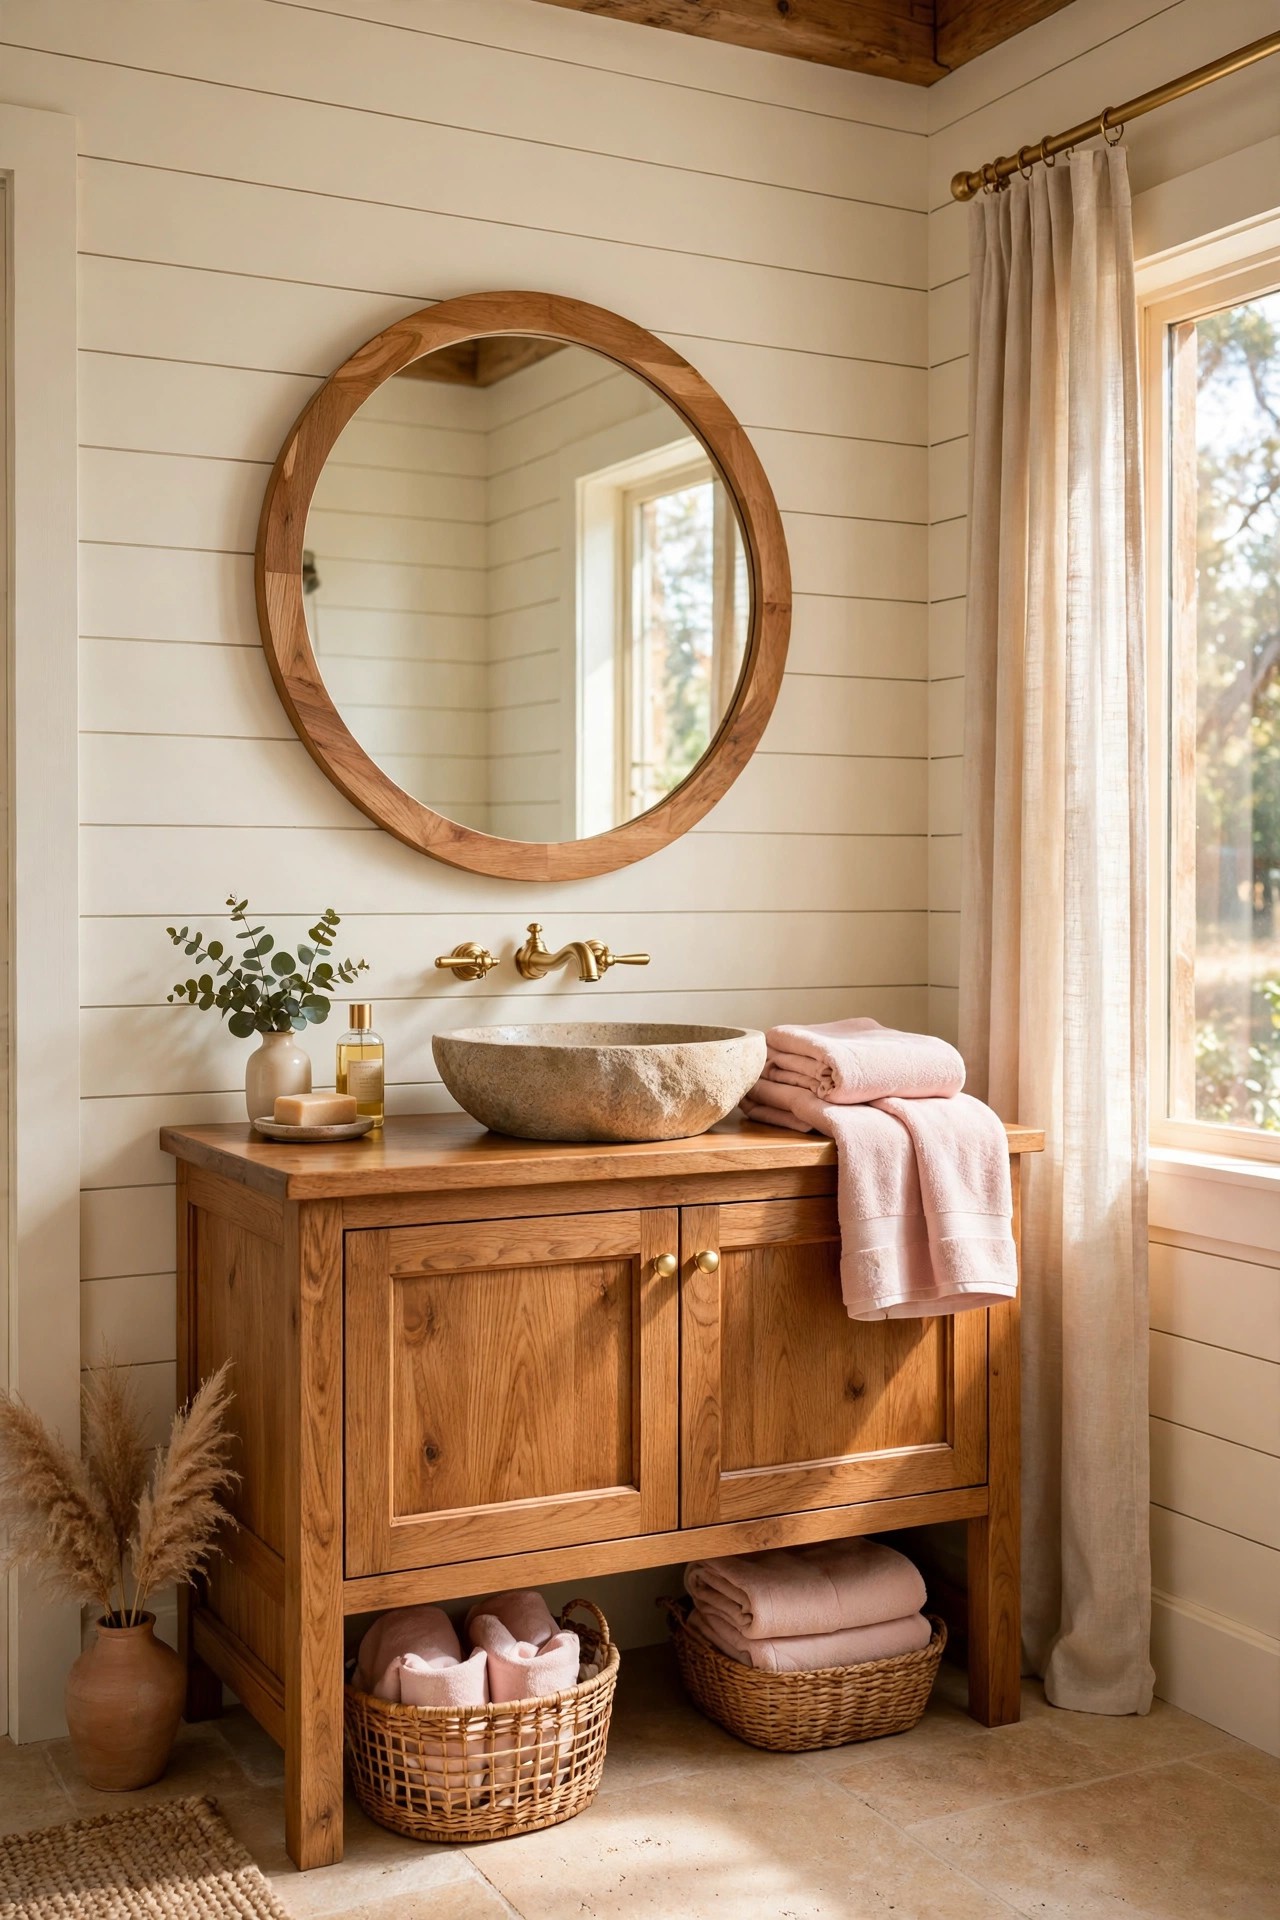
A round mirror in a warm wood frame is the soft shape a straight rustic vanity needs. The circle breaks the row of straight lines, cabinet, counter and shiplap, and the wood frame repeats the vanity wood so the mirror reads as part of the vanity rather than a picture hung above it. Choose a mirror nearly as wide as the vanity, and hang its centre at eye height for the tallest user, so nobody has to stoop. Fix it properly, since a large mirror is heavy, so the fixing goes into studs or rated anchors, and the bottom edge should sit a hand’s width above the backsplash. Our bathroom mirror ideas show the round, arched and rectangular shapes that suit a wood vanity
Best For: Straight, boxy vanities that need softening, and tall walls above the vanity that feel empty.
Not Ideal For: Very low ceilings where a large round mirror crowds the light fitting; a smaller round mirror is the softer shape there.
Estimated Cost: $100-$400 (estimate) for a large round mirror in a warm wood frame.
Budget Note: The frame finish is the spend; a slim wood frame costs far less than a thick carved one and reads calmer above a vanity.
Renter Friendly: With Conditions
Renter Note: A heavy mirror needs fixings the lease allows; a lighter round mirror on a rated hook is the renter version, weighed first.
What You Need
Large round mirror in a warm wood frame, heavy duty mirror fixings rated for its weight, level, pencil for marking.
Product type to look for: Fixings rated well above the mirror weight, because a bathroom mirror hangs above a hard counter and a sink.
How To Do It
- Measure the vanity width and choose a mirror a little narrower than the vanity, centred on it.
- Mark the centre at eye height for the tallest user and check the mark from the doorway.
- Fit the fixings into studs or rated anchors, following the maker instructions.
- Hang the mirror, check it is level, and leave a hand’s width between its bottom edge and the backsplash.
Pro Tip
Keep the mirror frame in the same wood family as the vanity. A frame in a second wood tone splits the room’s wood story in half at the exact place the eye looks every morning.
5. Lay Warm Wood-Look Floor Tiles
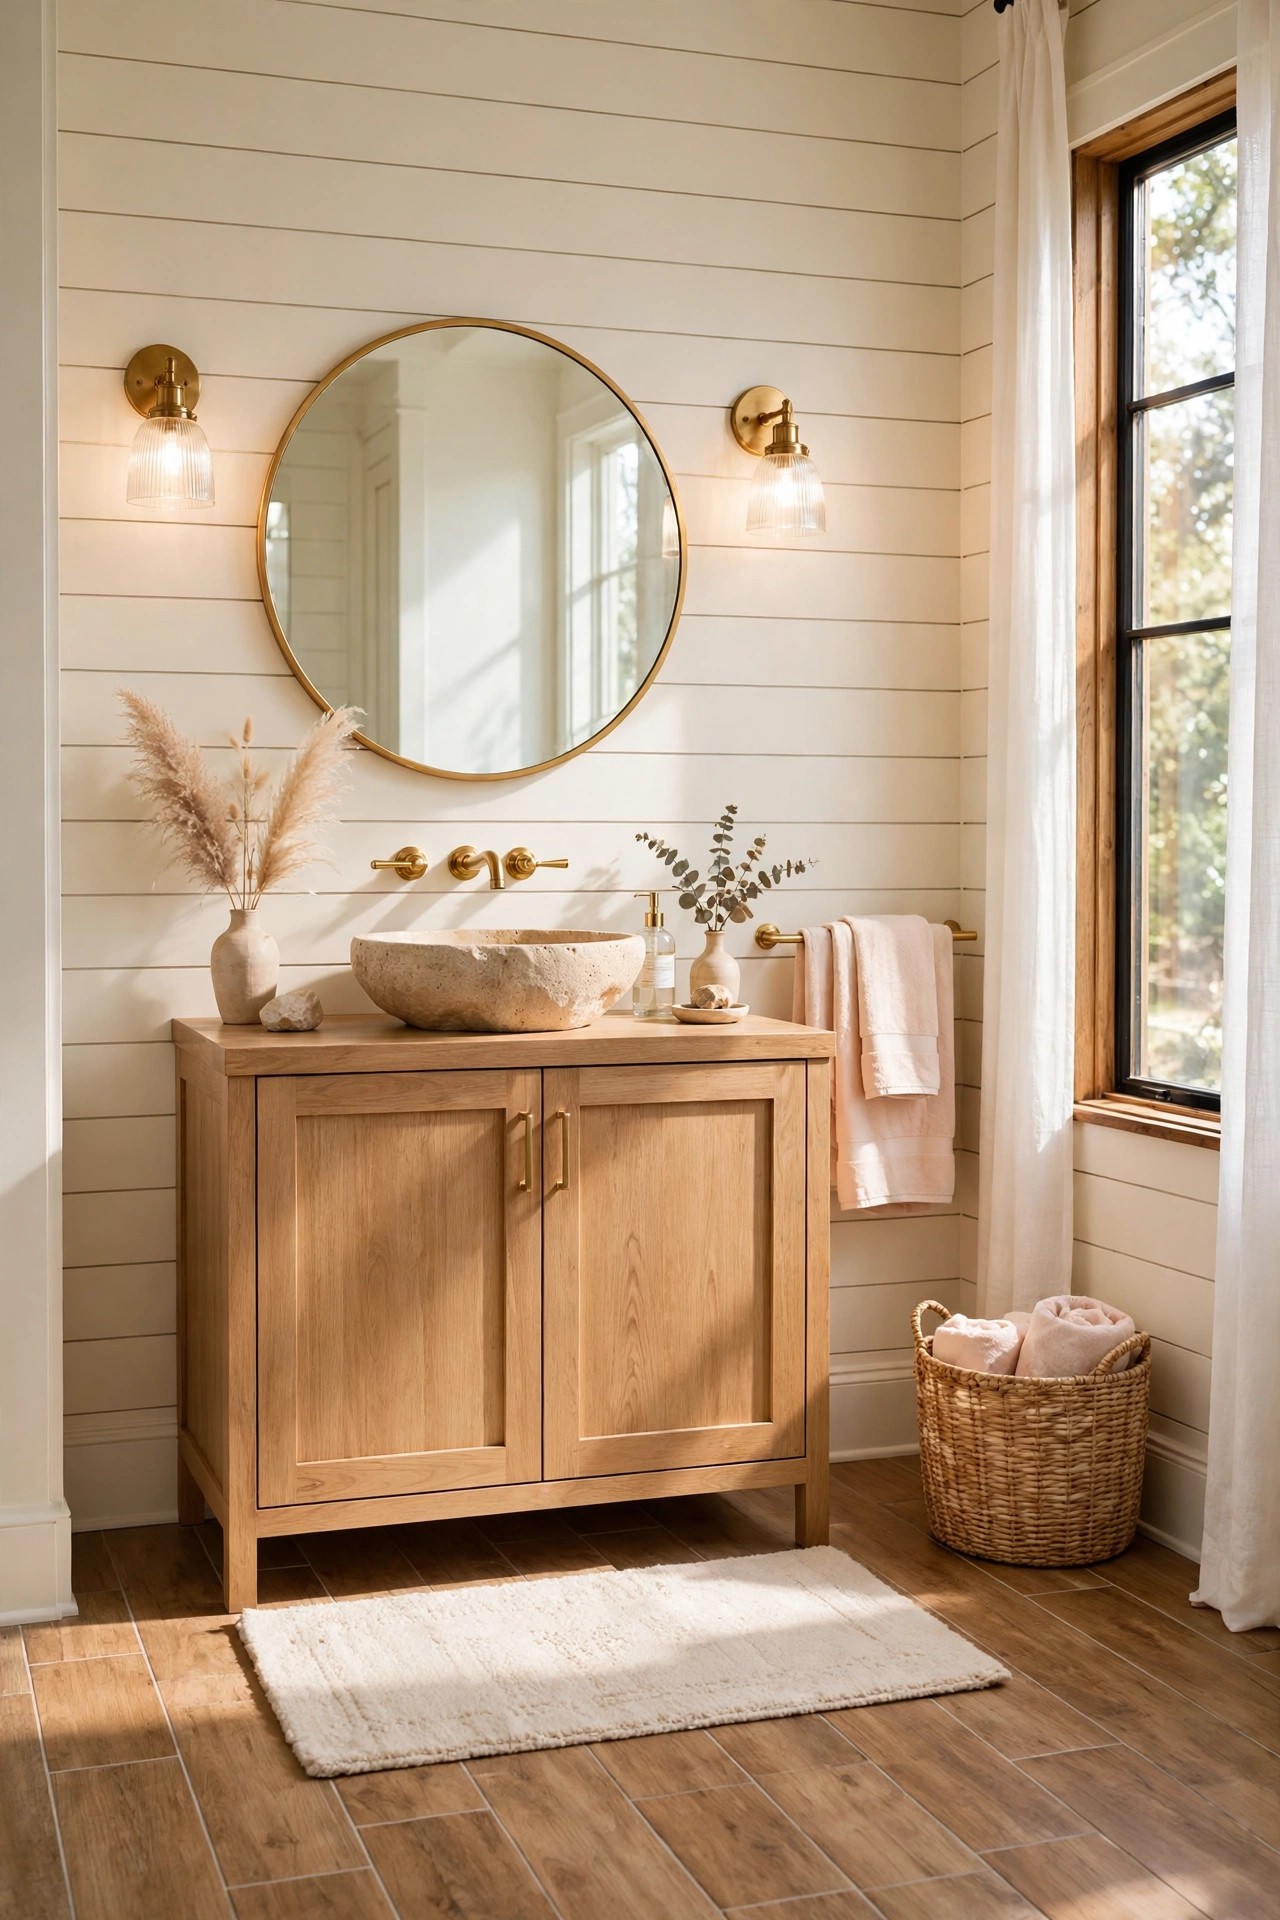
Wood-look floor tiles give a rustic bathroom the warmth of wood planks with the water resistance a bathroom actually needs. Long planks in a pale warm oak tone, laid in a straight or herringbone pattern, make the floor read as wood while shrugging off splashes, steam and daily mopping. Choose a pale tone that matches the vanity wood family, so the floor and the vanity echo each other instead of fighting. Keep the grout close in color to the tiles, so the floor reads as planks rather than a grid. This is a bigger job than styling, so it suits a bathroom that is already being retiled.
Best For: Bathrooms being retiled anyway, and anyone who loves wood floors but needs a waterproof surface.
Not Ideal For: Bathrooms on a tight budget or a short timeline; a pale washable rug over the existing floor is the honest version there.
Estimated Cost: $600-$2,000 (estimate) for wood-look floor tiles, adhesive and grout in a small bathroom.
Budget Note: The tiles are the spend; a pale tone in a standard plank size costs far less than a wide plank or a herringbone layout.
Renter Friendly: No
Renter Note: Floor tiles are a landlord decision; a warm wood-tone washable rug borrows the look without touching the floor.
What You Need
Wood-look floor tiles in a pale warm oak tone, tile adhesive, grout close in color to the tiles, tile spacers, sealant for the edges.
Product type to look for: Porcelain tiles rated for bathroom floors, with a slip-resistant finish, because a bathroom floor is wet underfoot every day.
How To Do It
- Hold a tile sample against the vanity wood in daylight and pick the tone that stays warm beside it.
- Dry lay the planks first and plan the cuts, so no narrow sliver lands at the doorway.
- Lay the tiles level with even grout lines, following the maker instructions for the adhesive.
- Grout, seal the edges, and let the floor cure fully before the rug goes down.
Pro Tip
Lay the planks running away from the door, not across it. Planks that run into the room make a small bathroom feel longer, while planks across the doorway cut it in half.
6. Add Open Wood Shelving
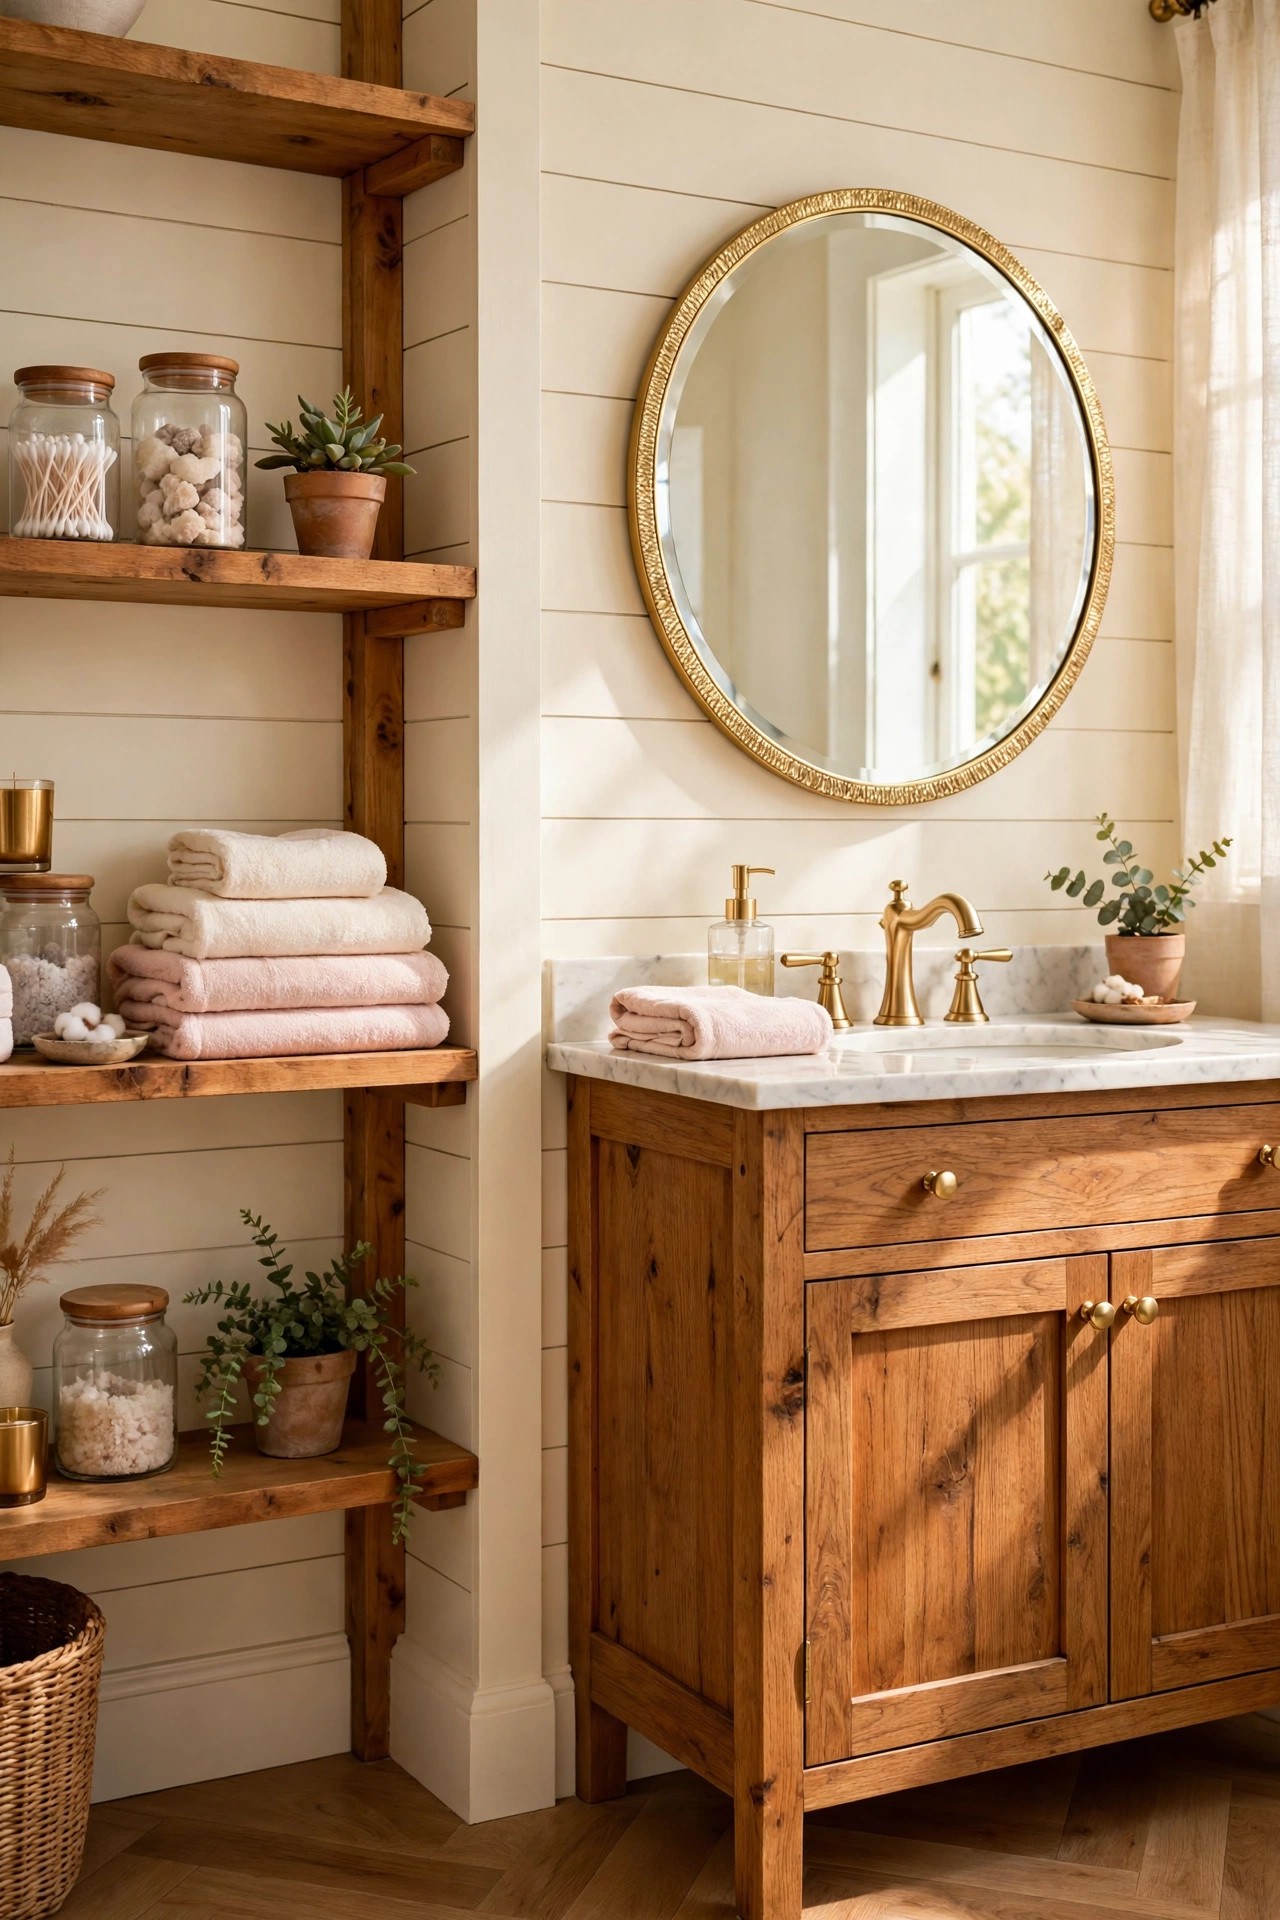
Open shelving in warm wood puts the daily pieces where they are used, and it stops the vanity drawers from becoming a dark cupboard of forgotten bottles. Two or three shelves in the same pale wood as the vanity, holding folded cream towels, a small plant and two glass jars, give the wall a calm, useful layer with a rustic grain. Keep the shelves shallow, so they hold a folded towel and a jar without jutting into the walkway, and fix them into studs or rated anchors, because a shelf of towels and jars is heavier than it looks. Style them lightly: one stack of towels, one jar, one small plant per shelf, and leave breathing space between the groups.
Best For: Bathrooms where the vanity drawers are always full, and anyone who likes their towels and jars in reach.
Not Ideal For: Very humid bathrooms with no fan, where open towels stay damp; closed storage is the honest version there.
Estimated Cost: $80-$300 (estimate) for two or three open wood shelves with brackets.
Budget Note: The brackets are the lasting spend; simple wood shelves in a warm finish cost little and can be cut to fit the wall.
Renter Friendly: With Conditions
Renter Note: Shelves need fixings the lease allows; a freestanding ladder shelf beside the vanity is the renter version.
What You Need
Two or three warm wood shelves, brackets rated for the loaded weight, folded cream and blush towels, two glass jars, one small plant.
Product type to look for: Brackets rated well above the shelf load, because a shelf of jars and folded towels is heavier than it looks.
How To Do It
- Measure the wall beside the vanity and choose shelves that leave a clear walkway.
- Fit the brackets level into studs or rated anchors, following the maker instructions.
- Set the shelves and load the heaviest pieces, jars and folded towels, on the lowest shelf.
- Style the top shelf lightest, one plant and one jar, and step back to check the groups breathe.
Pro Tip
Keep one shelf for display only, the plant and one jar. A shelf that holds only useful pieces fills up in a week, while one calm display shelf keeps the whole wall looking styled.
7. Repeat Brushed Gold on Wood and Faucets
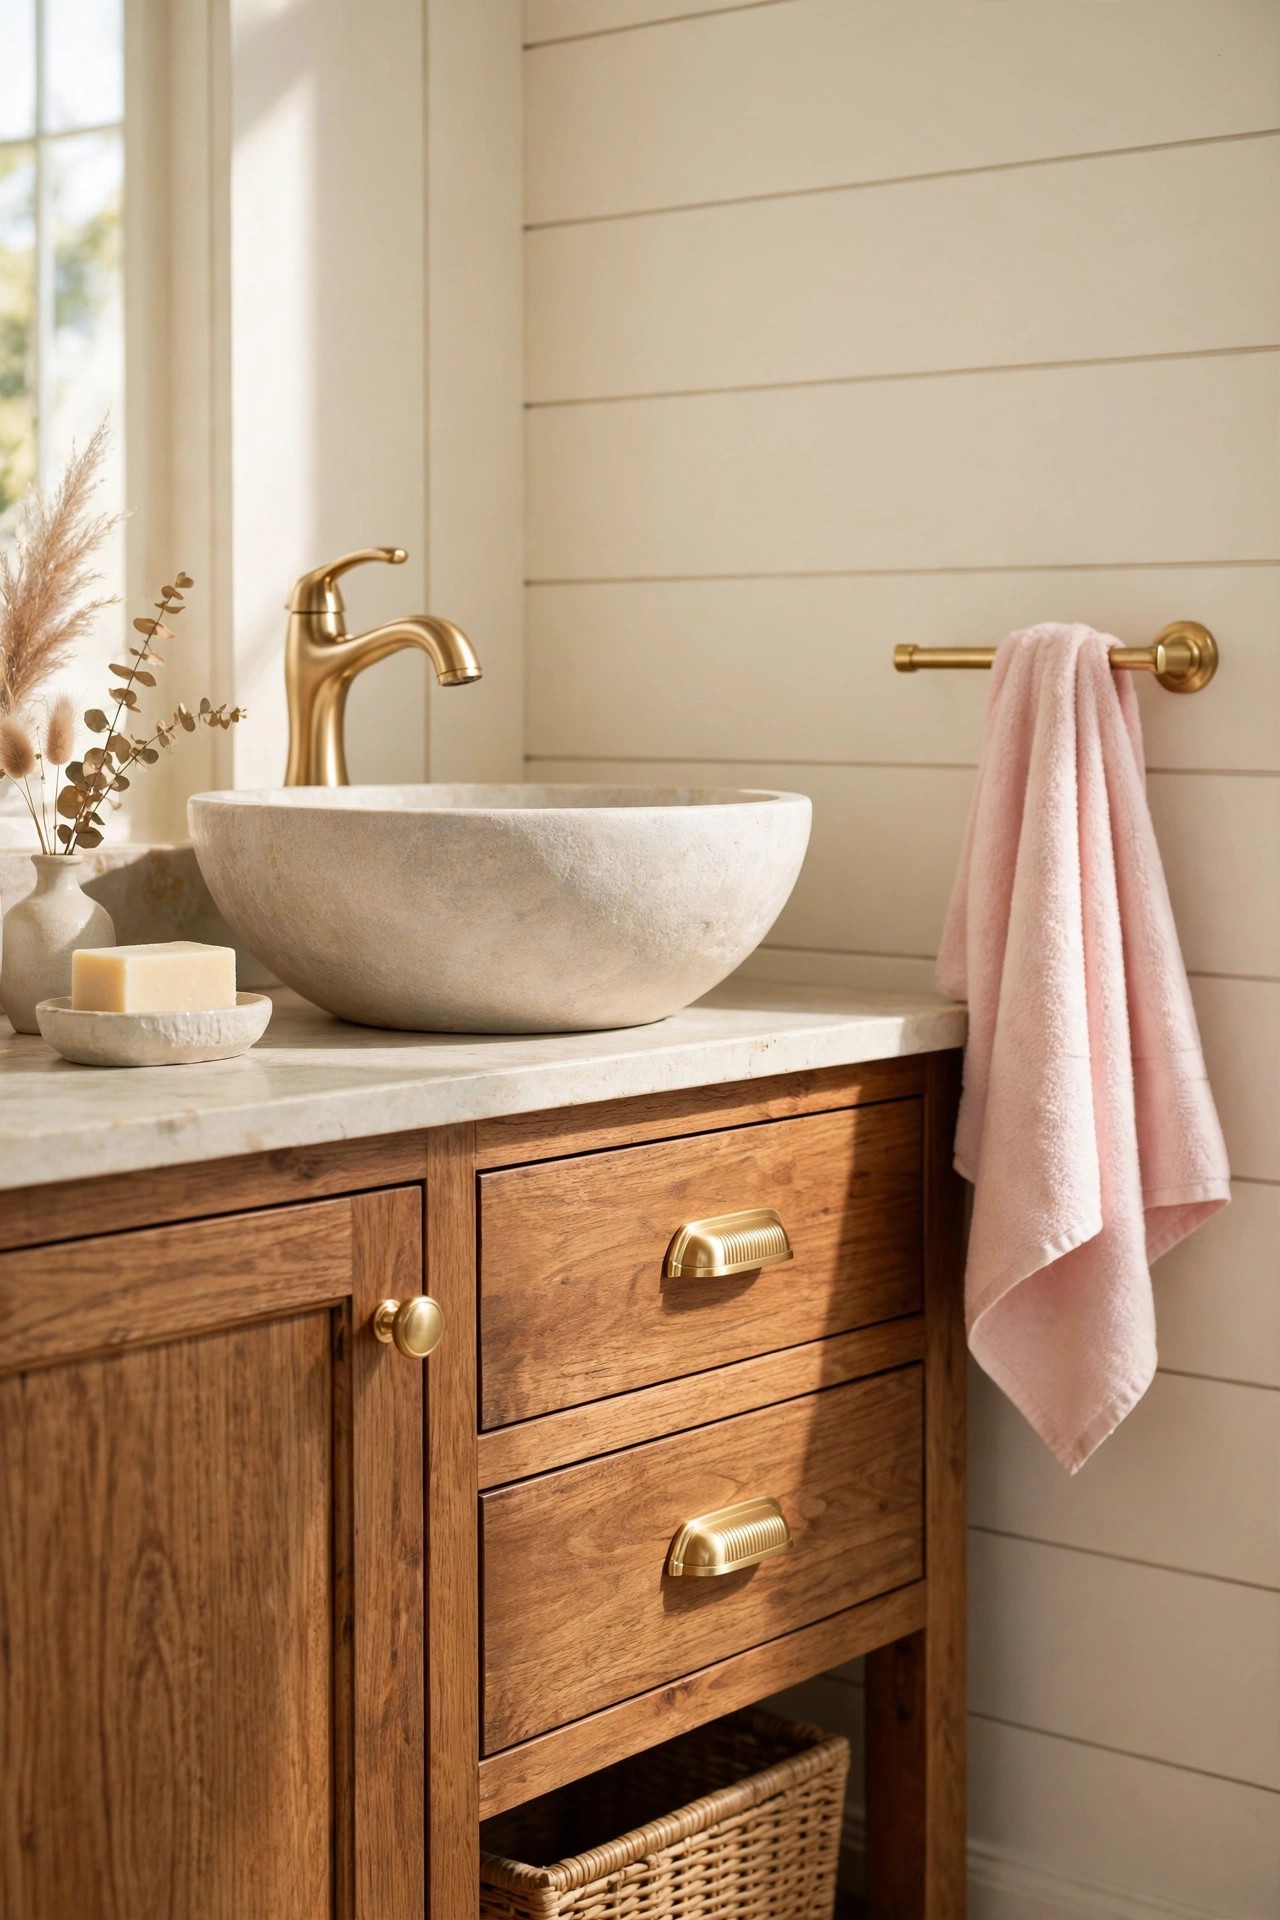
Brushed gold is the metal that flatters warm wood. One gold faucet alone looks like a spare part, so repeat the same brushed gold in three places: the faucet, the cabinet knobs and drawer pulls, and the towel ring or mirror edge. That triangle of gold is what turns a plain wood vanity into a glam rustic vanity, because the eye keeps meeting the same warm metal as it moves around the room. Keep the gold brushed or satin, never polished to a mirror shine, because a soft gold sits calmly beside wood while a shiny one sparkles and fights it. Match the tone across the pieces as closely as you can; golds vary, and two different yellows side by side read as a mistake.
Best For: Wood vanities that look plain rather than glam, and anyone updating a vanity without replacing it.
Not Ideal For: Bathrooms already committed to chrome or matte black throughout; one metal per room keeps the story clear.
Estimated Cost: $150-$500 (estimate) for a brushed gold faucet and a set of gold knobs and pulls.
Budget Note: The faucet is the spend; knobs and pulls in a matching brushed gold are cheap and can arrive one drawer at a time.
Renter Friendly: With Conditions
Renter Note: Knobs and pulls swap back easily if the originals are kept; faucets need the landlord’s word, so check first.
What You Need
Brushed gold faucet, matching gold knobs and drawer pulls, gold towel ring, screwdriver and a small parts tray.
Product type to look for: One consistent brushed gold tone across faucet and hardware, checked side by side in daylight before buying the third piece.
How To Do It
- Start with the faucet and live with its gold tone for a week.
- Swap the knobs and pulls for the matching gold, keeping the originals in a labelled bag.
- Add the gold towel ring at the same height as the vanity top, within easy reach of the sink.
- Step back and check the three golds read as one family in daylight; swap the odd one out if not.
Pro Tip
Keep gold at three heights only: low on the pulls, middle on the faucet, high on the mirror edge or towel ring. Gold scattered at every height stops reading as a plan and starts reading as clutter.
8. Bring In a Vintage Wooden Ladder for Towels
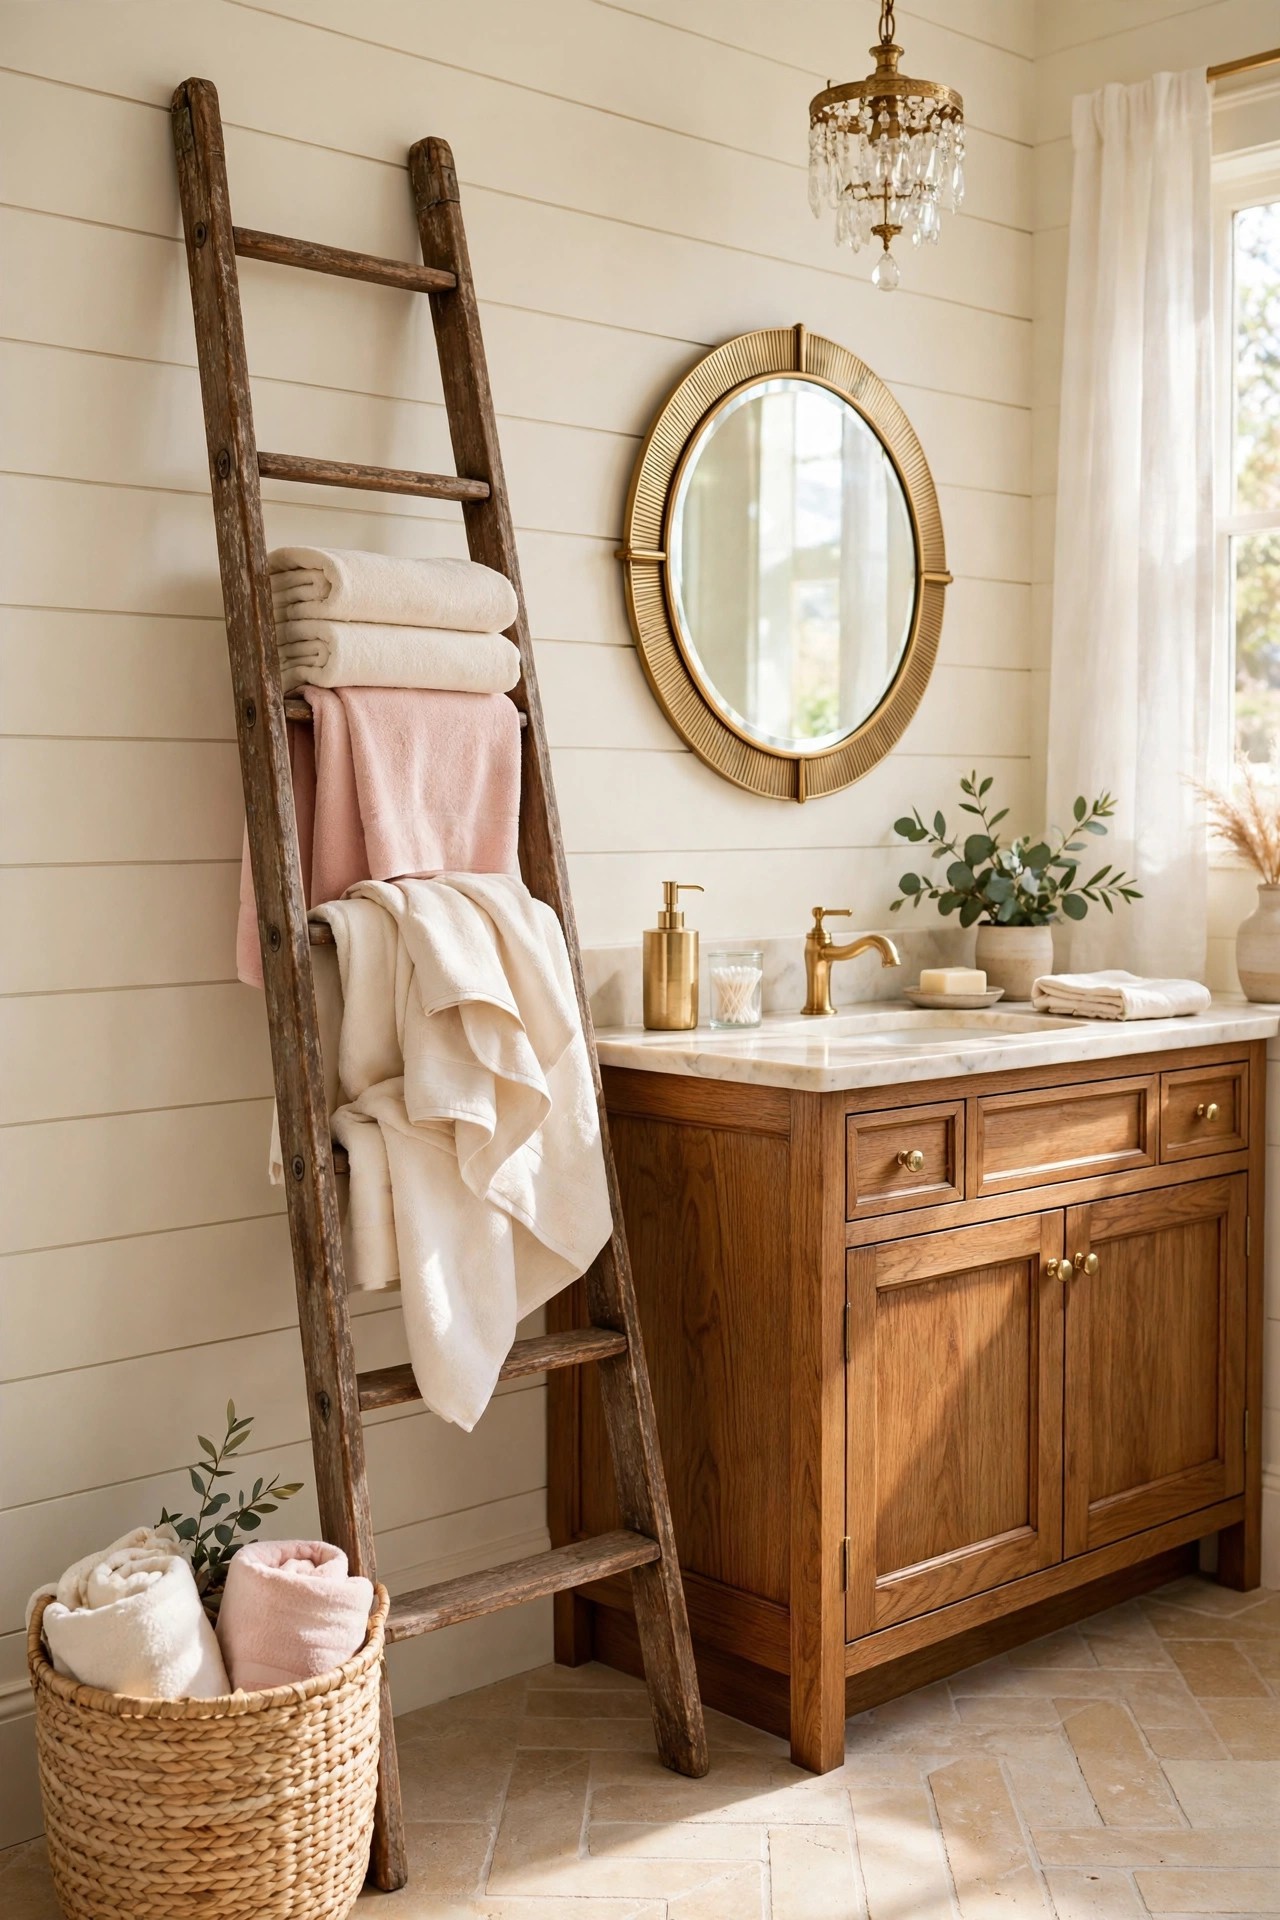
A vintage wooden ladder leaning against the wall is the most rustic towel storage there is, and it needs no fixings at all. An old ladder in pale or mid-tone wood, sanded smooth and sealed, holds folded towels across its rungs and gives the room a tall, useful piece with real history in its grain. Choose a ladder tall enough for three towel rungs and narrow enough to fit the spare wall, and fix its top to the wall with a small hook or strap so it cannot slip, especially in a house with children. Keep the towels folded, not hung over the rungs in a heap, so the ladder reads styled rather than cluttered.
Best For: Bathrooms with one spare wall, and anyone who wants rustic character without drilling a shelf.
Not Ideal For: Very small bathrooms where a leaning ladder blocks the walkway; a wall-mounted towel ring is the honest version there.
Estimated Cost: $60-$250 (estimate) for a vintage wooden ladder, sanding and sealing supplies, or a new ladder in a rustic finish.
Budget Note: The ladder itself is the spend; a second-hand ladder sanded and sealed costs little and looks more honestly vintage than a new one.
Renter Friendly: Yes
Renter Note: Freestanding with a small wall hook for safety; the ladder moves out without a trace.
What You Need
Vintage wooden ladder in pale or mid-tone wood, fine sandpaper, clear wood sealant, small wall hook or strap, folded cream and blush towels.
Product type to look for: A ladder with sturdy rungs and sound joints, sanded smooth and sealed, because a towel ladder is touched and leaned on every day.
How To Do It
- Measure the spare wall and choose a ladder tall enough for three towel rungs that fits the space.
- Sand the ladder smooth, wipe it clean, and seal every surface so steam cannot raise the grain.
- Lean the ladder at a safe angle and fix its top to the wall with a small hook or strap.
- Fold the towels neatly across the rungs, heaviest at the bottom, and check the walkway stays clear.
Pro Tip
Keep the top rung for display, one folded blush towel and nothing else. A ladder with one calm rung at the top reads styled, while a ladder loaded to the top reads like a drying rack.
9. Open Up a Walk-In Shower with Natural Stone
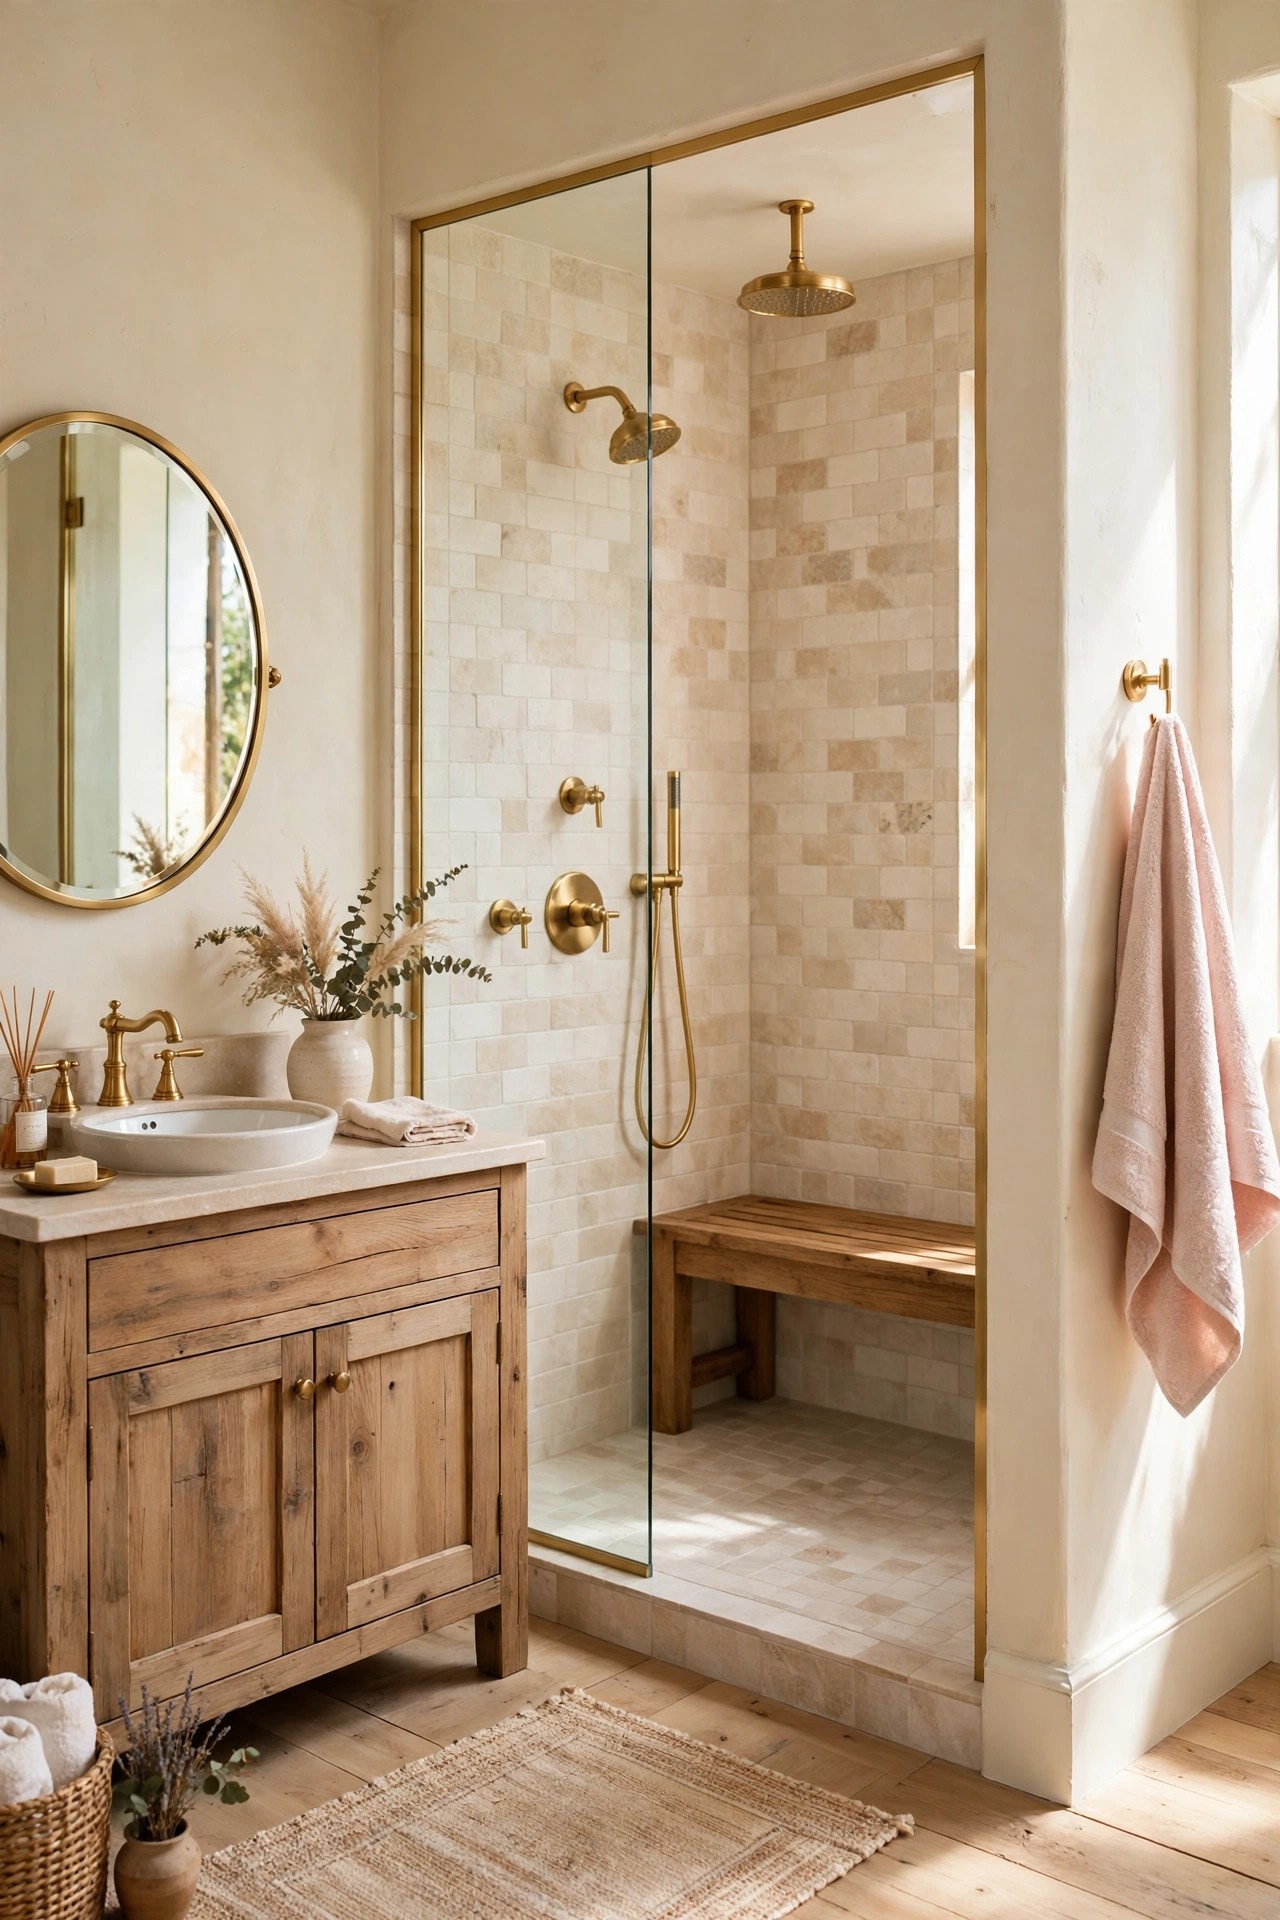
A walk-in shower in pale natural stone is the rustic answer to a dark tiled shower box. Large stone-look tiles in cream or warm sand, a frameless glass panel, brushed gold fittings and a small warm wood bench inside keep the shower bright and open while the stone gives it the natural texture the rest of the room promises. Keep the shower floor in a smaller stone tile or a pebble mosaic for grip, because a large smooth tile underfoot is a slip risk when wet. Our walk in shower ideas show the layouts, glass choices and bench placements that keep a walk-in shower feeling open
Best For: Bathrooms being retiled or rebuilt, and anyone replacing a dark shower curtain or a cramped shower box.
Not Ideal For: Bathrooms where the plumbing cannot move and the budget cannot stretch; a new curtain in a natural linen look is the honest version there.
Estimated Cost: $2,000-$6,000 (estimate) for a walk-in shower with stone-look tiles, glass panel and gold fittings.
Budget Note: The glass panel and the stone tiles are the spends; a wood bench inside the shower costs little and adds the rustic note.
Renter Friendly: No
Renter Note: A shower rebuild is a landlord decision; renters can borrow the pale stone note with a stone soap dish and a wood bath mat.
What You Need
Pale natural stone-look wall tiles, smaller stone floor tiles for grip, frameless glass panel, brushed gold shower fittings, small warm wood bench, waterproof sealant.
Product type to look for: Tiles rated for wet shower walls and floors, with a slip-resistant floor finish, because a shower floor is wet underfoot every day.
How To Do It
- Plan the shower layout first, glass panel, bench and drain positions, before any tile is ordered.
- Waterproof the shower walls and floor fully, following the maker instructions for the membrane.
- Tile the walls in large pale stone tiles and the floor in smaller tiles for grip, then seal the grout.
- Fit the glass panel and the gold fittings, and place the wood bench where it stays out of the main spray.
Pro Tip
Keep the shower niche in the same pale stone as the walls. A niche in a second tile splits the shower into pieces, while one stone through the whole shower makes it feel built as one room.
10. Style with Woven Baskets for Storage
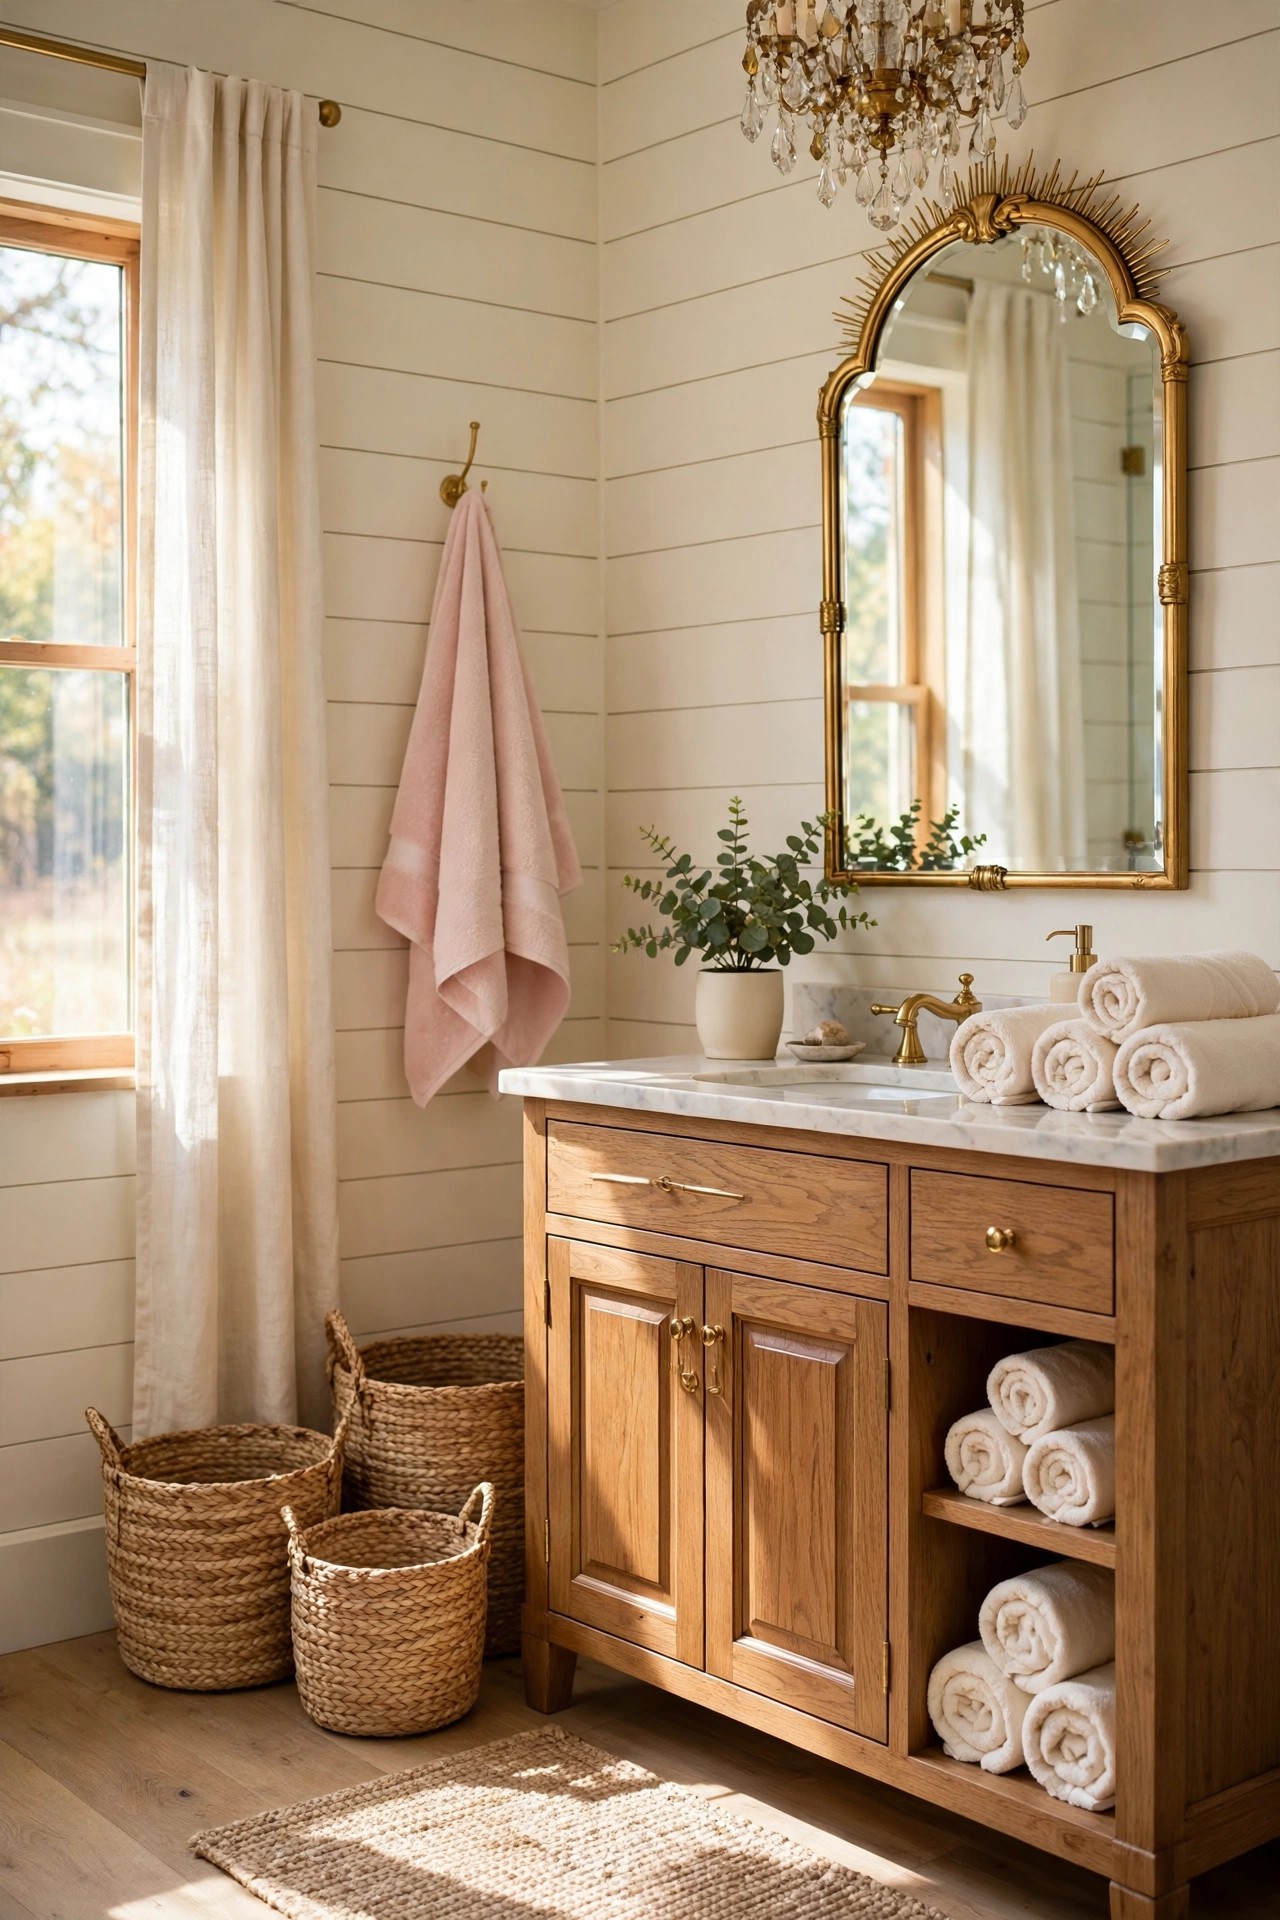
Woven baskets are the soft storage a rustic bathroom needs, and they hide the clutter that open shelves show. Seagrass, rattan or water hyacinth baskets in natural tones hold rolled towels, spare toilet paper and hair tools, and their woven texture is the rustic note that balances the smooth stone and the painted shiplap. Choose baskets with lids for the pieces you never want to see, and open baskets with rolled towels for the pieces that look good on show. Keep the baskets off the floor where water pools, on a shelf, a stool or a low bench, so the weave stays dry.
Best For: Bathrooms with cluttered counters and no linen cupboard, and anyone who wants texture without a building job.
Not Ideal For: Bathrooms where the floor gets soaked daily; baskets on the floor stay damp, so a wall shelf is the safer version there.
Estimated Cost: $40-$150 (estimate) for two or three woven baskets in natural tones.
Budget Note: The baskets are a small spend with a large effect; buy the sizes the shelf or bench actually fits, not a matching set that fits nothing.
Renter Friendly: Yes
Renter Note: Nothing fixed at all; the baskets move out in one box on moving day.
What You Need
Two or three woven baskets in natural seagrass or rattan, rolled cream towels, spare toilet paper, a small plant for the top basket.
Product type to look for: Baskets with tight, even weaving and sturdy handles, because a basket that sheds or sags is a chore, not storage.
How To Do It
- Measure the shelf, stool or bench where the baskets will sit, and buy baskets that fit with a hand’s width to spare.
- Roll the towels tightly and stand them on end in the open basket, so they read as a display.
- Put the hidden pieces, spare paper and hair tools, in the lidded basket on the lowest shelf.
- Step back and check the baskets read as one natural family, not three different weaves fighting.
Pro Tip
Keep one basket empty on purpose. A spare basket absorbs the next purchase without pushing anything onto the vanity counter.
11. Add a Wooden Bath Tray over the Tub
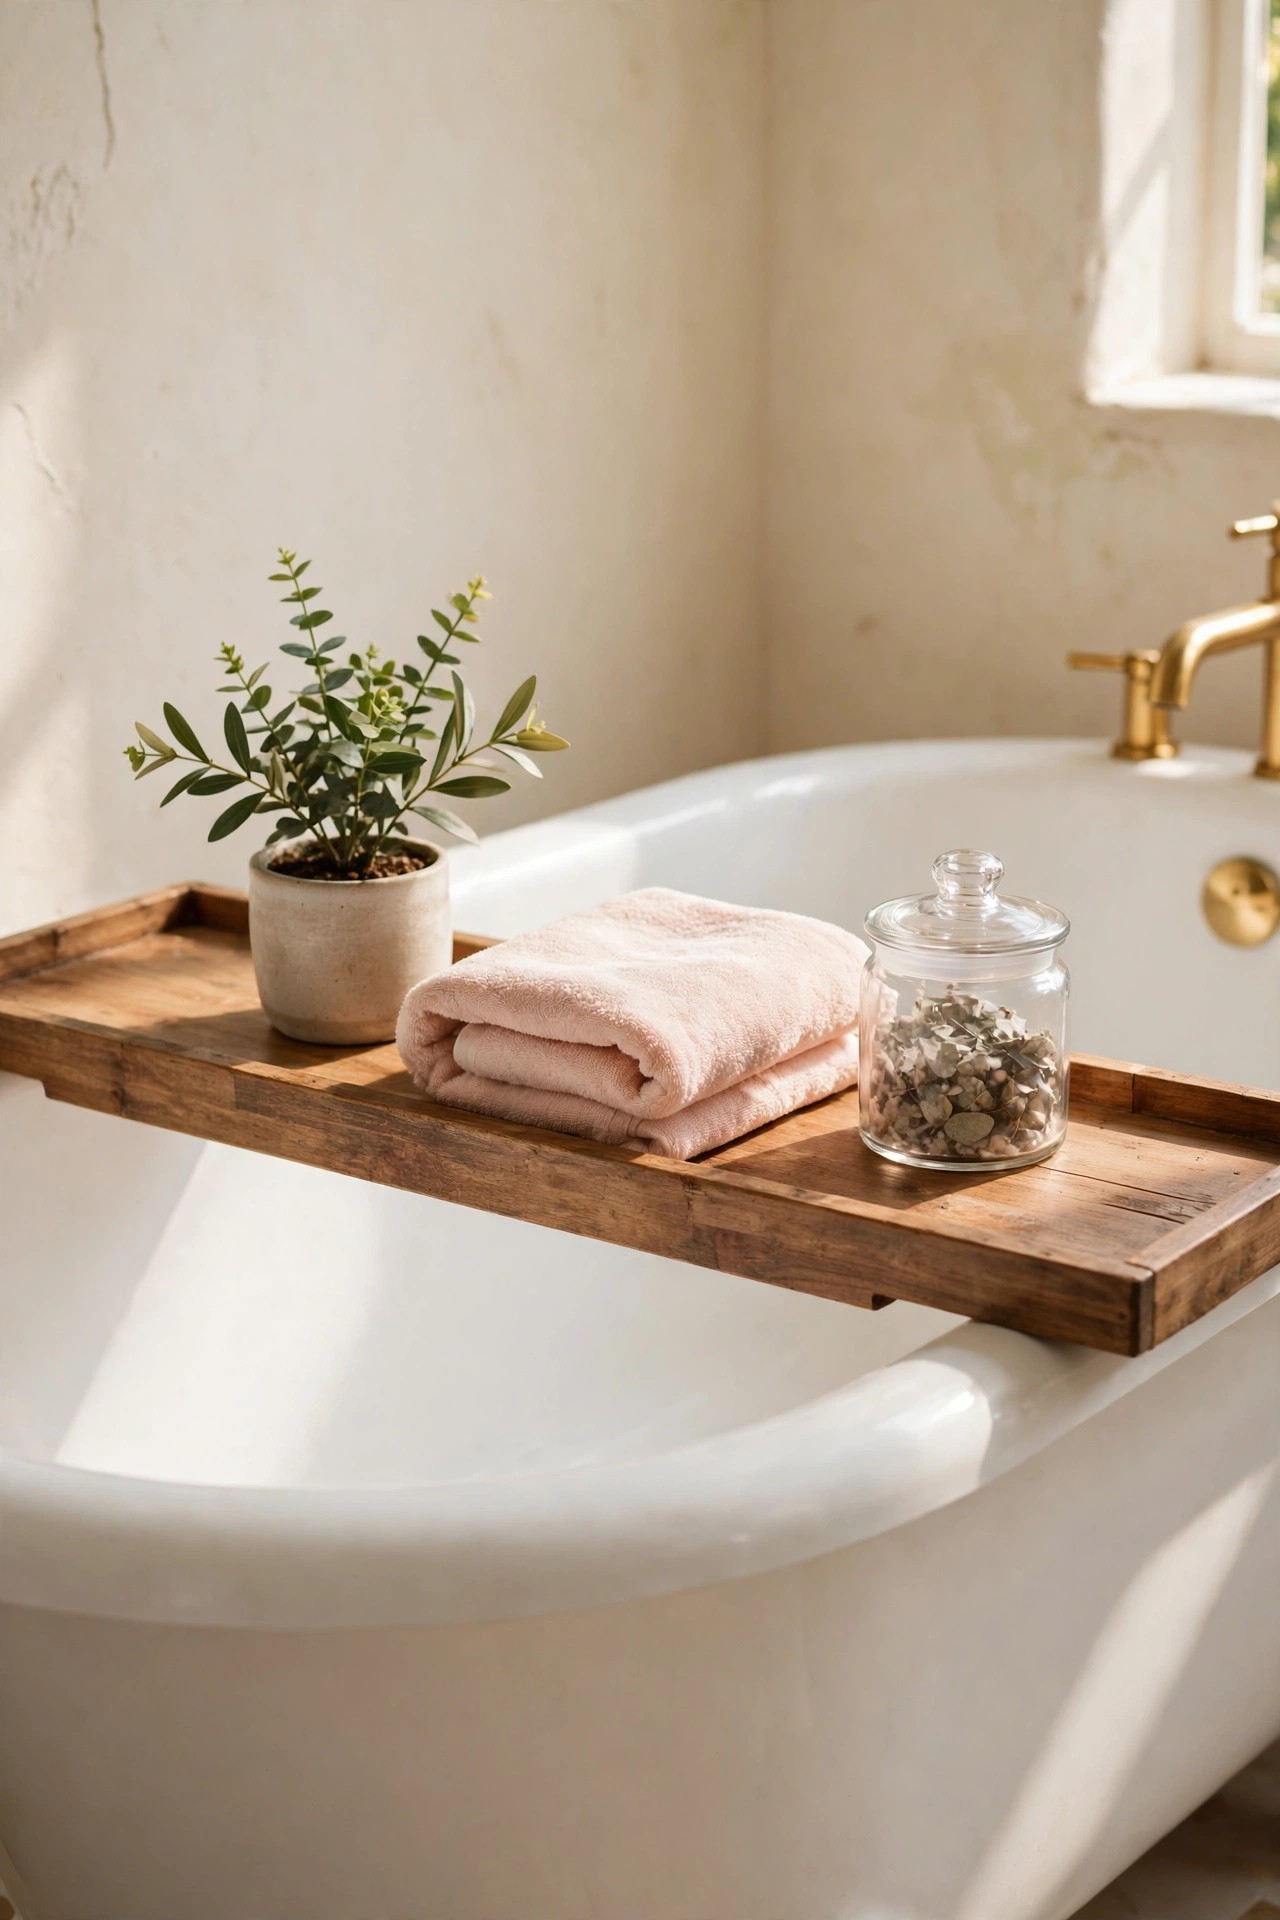
A wooden bath tray turns a plain tub into a spa corner, and it is the smallest wood piece in this list with the largest effect. A tray in pale or mid-tone wood, wide enough to rest across the tub rim with a small lip underneath so it cannot slip, holds a small plant, a folded towel and a glass jar, and gives the bath a proper surface for the first time. Choose a tray with a sealed finish, because it sits over water and steam every time it is used, and keep it sized for what the bath actually holds, so it can stay on the tub between baths without blocking the room.
Best For: Bathrooms with a freestanding or alcove tub, and anyone who wants a spa note without a building job.
Not Ideal For: Bathrooms with a shower only and no tub; the tray has no home there, so a wood stool beside the shower is the honest version.
Estimated Cost: $40-$120 (estimate) for a sealed wood bath tray sized for the tub.
Budget Note: The tray is a small spend; a good sealed tray costs little and lasts years, while an unsealed one warps in a season.
Renter Friendly: Yes
Renter Note: Nothing fixed at all; the tray lifts off the tub and moves out in one box.
What You Need
Wood bath tray in pale or mid-tone wood with a sealed finish, small plant in a cream pot, folded blush towel, small glass jar.
Product type to look for: A tray with a lip underneath that grips the tub rim, because a tray that slides is a plant in the bathwater.
How To Do It
- Measure the tub rim width and choose a tray that rests across it with a small overhang each side.
- Check the tray sits steady and does not rock when a jar is set on it.
- Place the plant, the folded towel and the jar on the tray, and keep the centre clear for a book or a cup.
- Lift the tray off after the bath and let it dry, so the seal lasts.
Pro Tip
Keep the tray to three pieces. A bath tray loaded with six objects is a shelf over water, while three calm pieces make the tub look like a spa.
12. Frame the Room with a Rustic Wood Beam
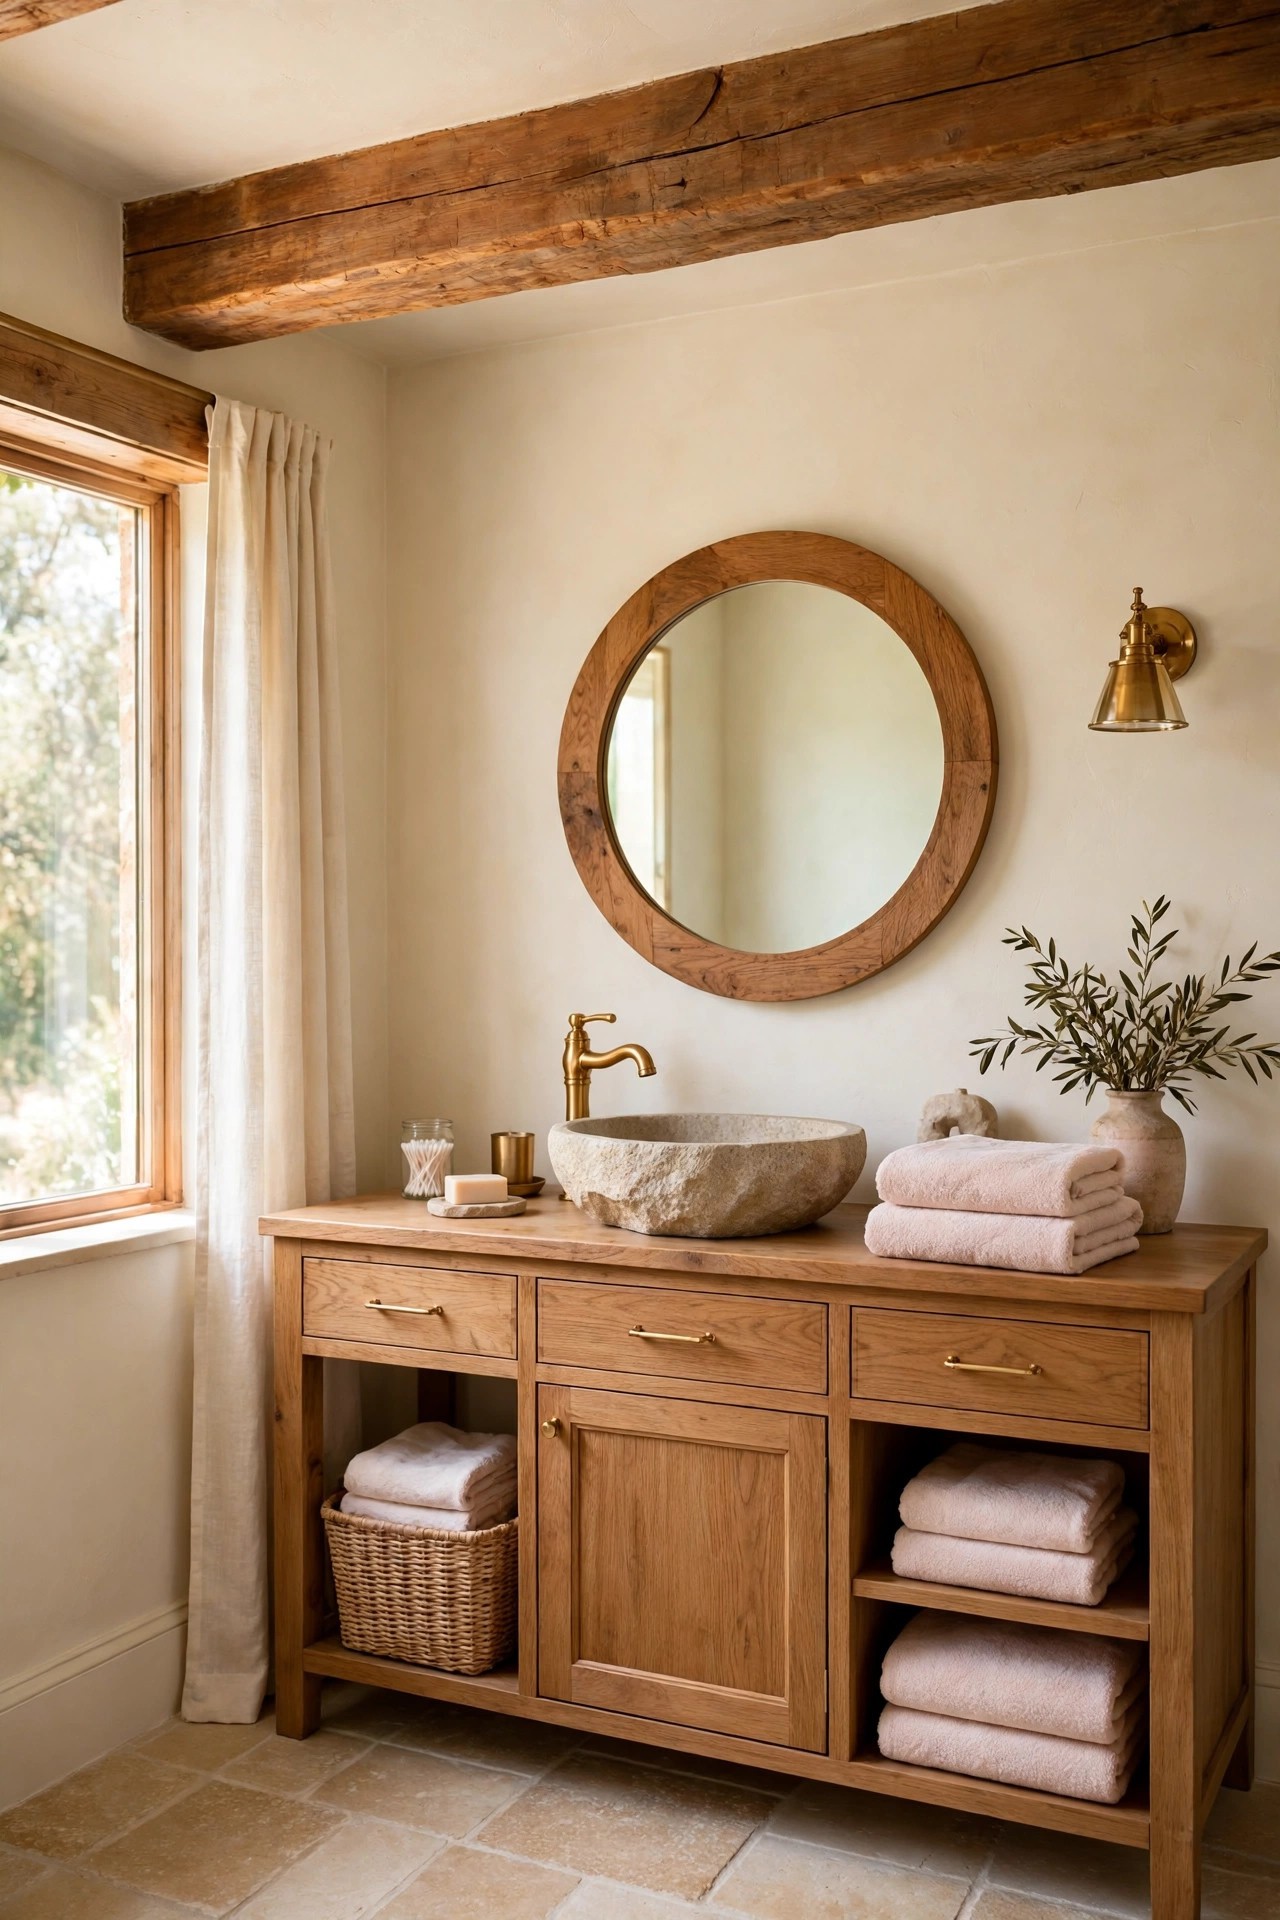
One warm wood beam across the ceiling is the rustic note a bright bathroom can carry without going dark. A single beam in pale or mid-tone wood, running across the room above the vanity or the tub, gives the ceiling a crafted line and echoes the vanity wood below, while the cream walls and the daylight keep the room bright. Choose a lightweight faux beam if the ceiling cannot carry a real one, since a faux beam looks the same from the floor and needs only a simple fixing. Keep it to one beam, because two or three beams in a small bathroom crowd the ceiling and dim the light.
Best For: Bathrooms with a plain white ceiling that feels unfinished, and anyone who wants a rustic line without repainting.
Not Ideal For: Very low ceilings where a beam crowds the light fitting; a wood mirror frame and wood shelves give the same note there.
Estimated Cost: $150-$600 (estimate) for one lightweight faux wood beam with fixings, or more for a real beam fitted by a professional.
Budget Note: The beam is the spend; a faux beam in a pale wood tone costs far less than a real beam and is lighter to fit.
Renter Friendly: No
Renter Note: Ceiling fixings are a landlord decision; a wood framed mirror and wood shelves borrow the beam note without touching the ceiling.
What You Need
One lightweight faux wood beam in pale or mid-tone wood, fixings rated for its weight, level, pencil for marking.
Product type to look for: A beam with a sealed, wipeable finish, because a bathroom ceiling meets steam every day and an unsealed beam darkens.
How To Do It
- Measure the ceiling and choose a beam that runs across the room, not along its longest wall.
- Mark the beam line level and find the ceiling joists for the fixings.
- Fit the beam level, following the maker instructions, and check it does not rock.
- Step back and check the beam reads as one calm line from the doorway, not a heavy bar.
Pro Tip
Match the beam wood to the vanity wood, not to the floor. A beam that echoes the vanity ties the top and the bottom of the room together, while a beam matched to the floor alone can feel separate.
13. Add Greenery and Dried Botanicals
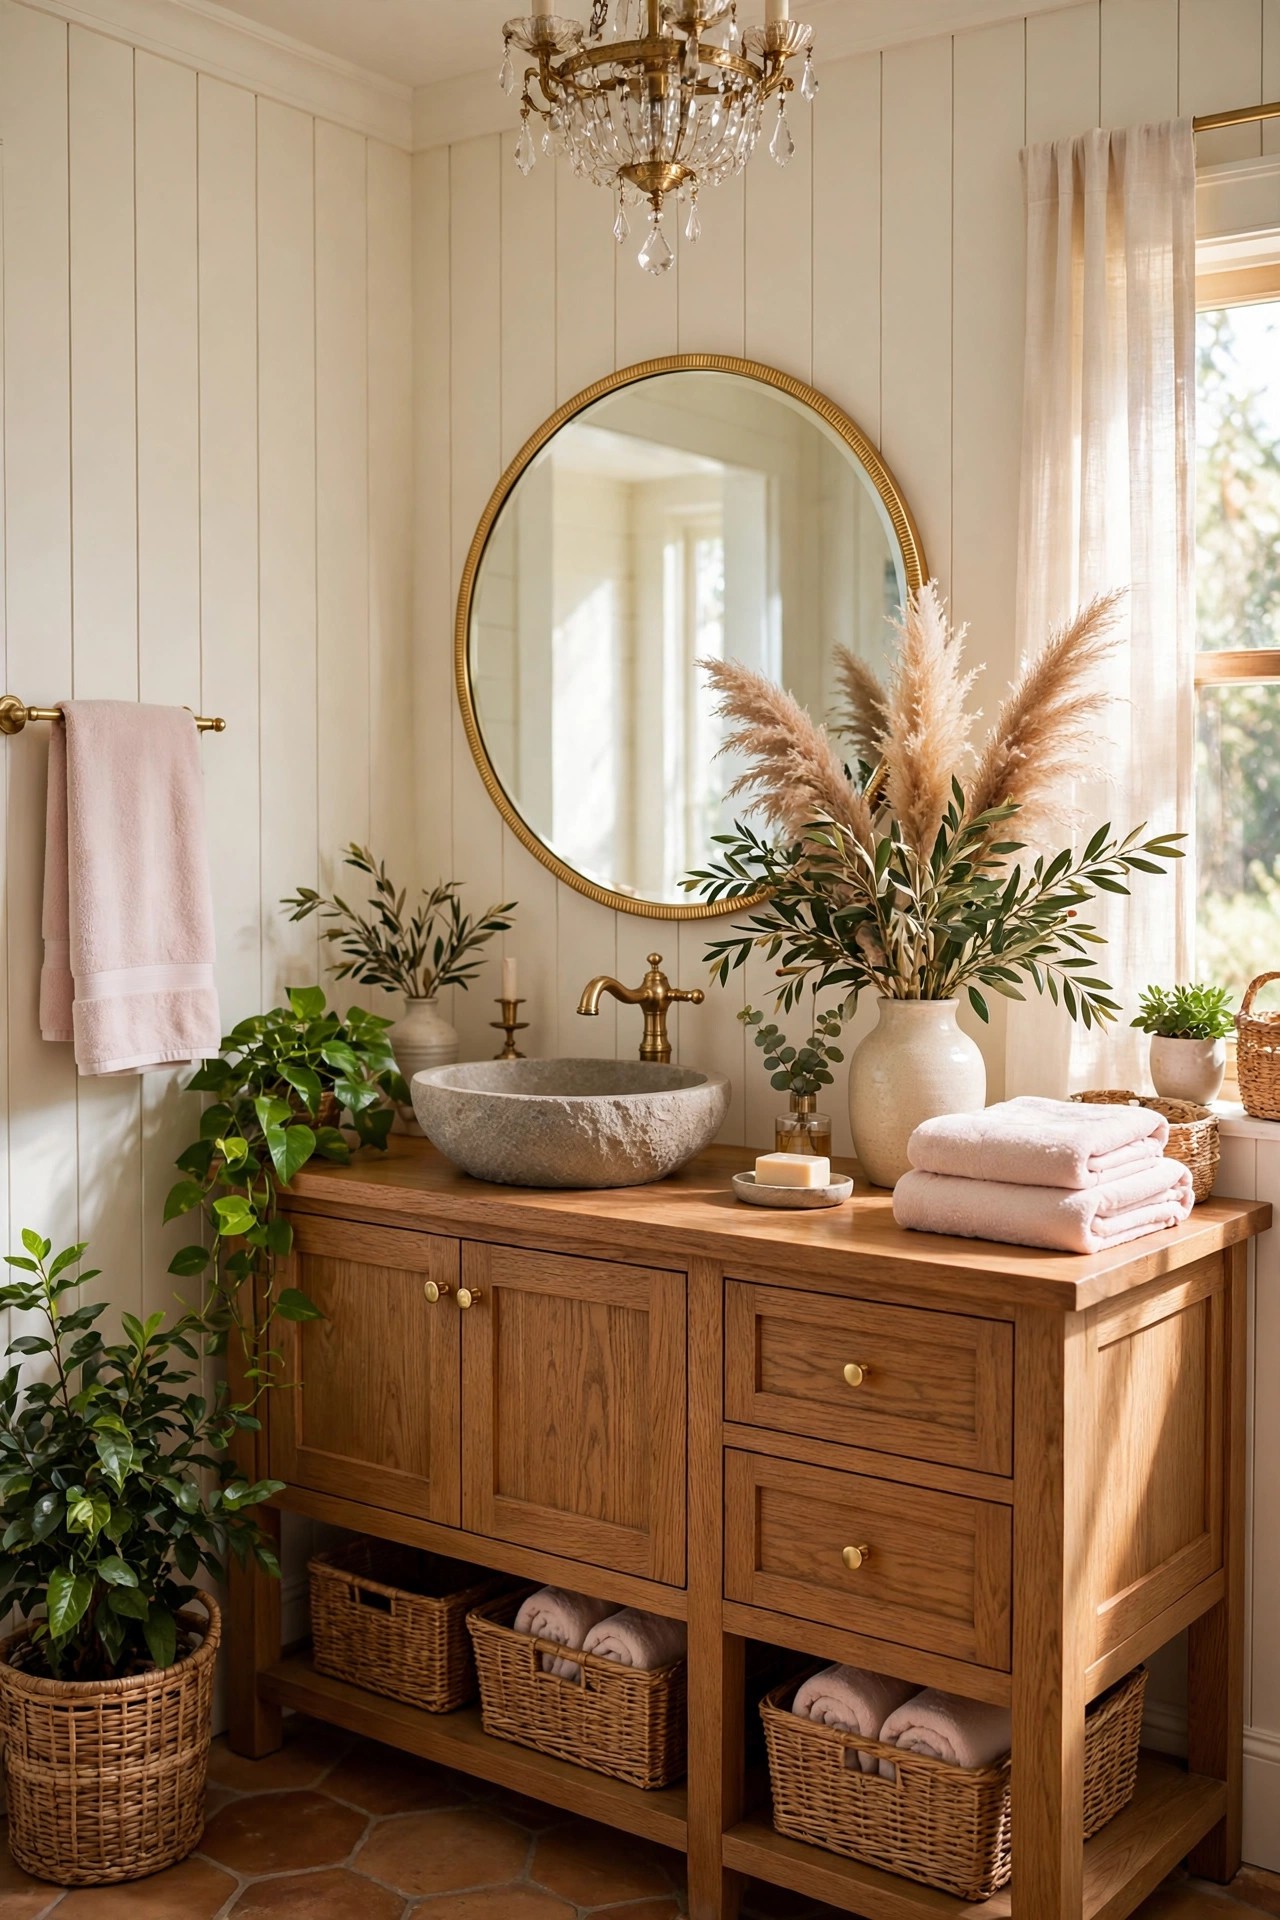
Greenery is the living note a rustic bathroom needs, and dried botanicals are the note that survives the steam. One real plant that loves humidity, a pothos or a fern on the open shelves, plus one tall vase of dried pampas grass or eucalyptus beside the vanity, gives the room a natural layer that no wood or stone can give. Keep the real plant in a cream or gold pot that repeats the room’s palette, and keep the dried stems tall and sparse, so they read as a display rather than a dried bouquet. Change the water for the real plant weekly, and dust the dried stems monthly, because a dusty stem in a bright room shows fast.
Best For: Bathrooms that feel finished but lifeless, and anyone who wants a natural note without a building job.
Not Ideal For: Bathrooms with no natural light at all; dried botanicals alone are the honest version there, since a real plant will not thrive.
Estimated Cost: $30-$120 (estimate) for one humidity-loving plant, a pot, and a vase of dried pampas grass or eucalyptus.
Budget Note: The vase is the lasting spend; a good ceramic vase in cream costs little and holds dried stems for years.
Renter Friendly: Yes
Renter Note: Nothing fixed at all; the plants and the vase move out in one box on moving day.
What You Need
One humidity-loving plant in a cream or gold pot, one tall ceramic vase, dried pampas grass or eucalyptus stems, a small watering can.
Product type to look for: A plant that genuinely tolerates humidity and low light, because a bathroom plant that dies in a month is a chore, not a finish.
How To Do It
- Choose the brightest spot in the bathroom for the real plant, usually the shelf nearest the window.
- Set the plant in its pot and water it lightly, letting the soil dry between waterings.
- Place the tall vase on the floor or the vanity, and arrange the dried stems tall and sparse.
- Check both pieces from the doorway: the green should read as one calm note, not a jungle.
Pro Tip
Keep the dried stems to one vase. Dried botanicals in three places make the room feel like a craft shop, while one tall vase makes them feel chosen.
14. Place a Wooden Bench or Vintage Stool
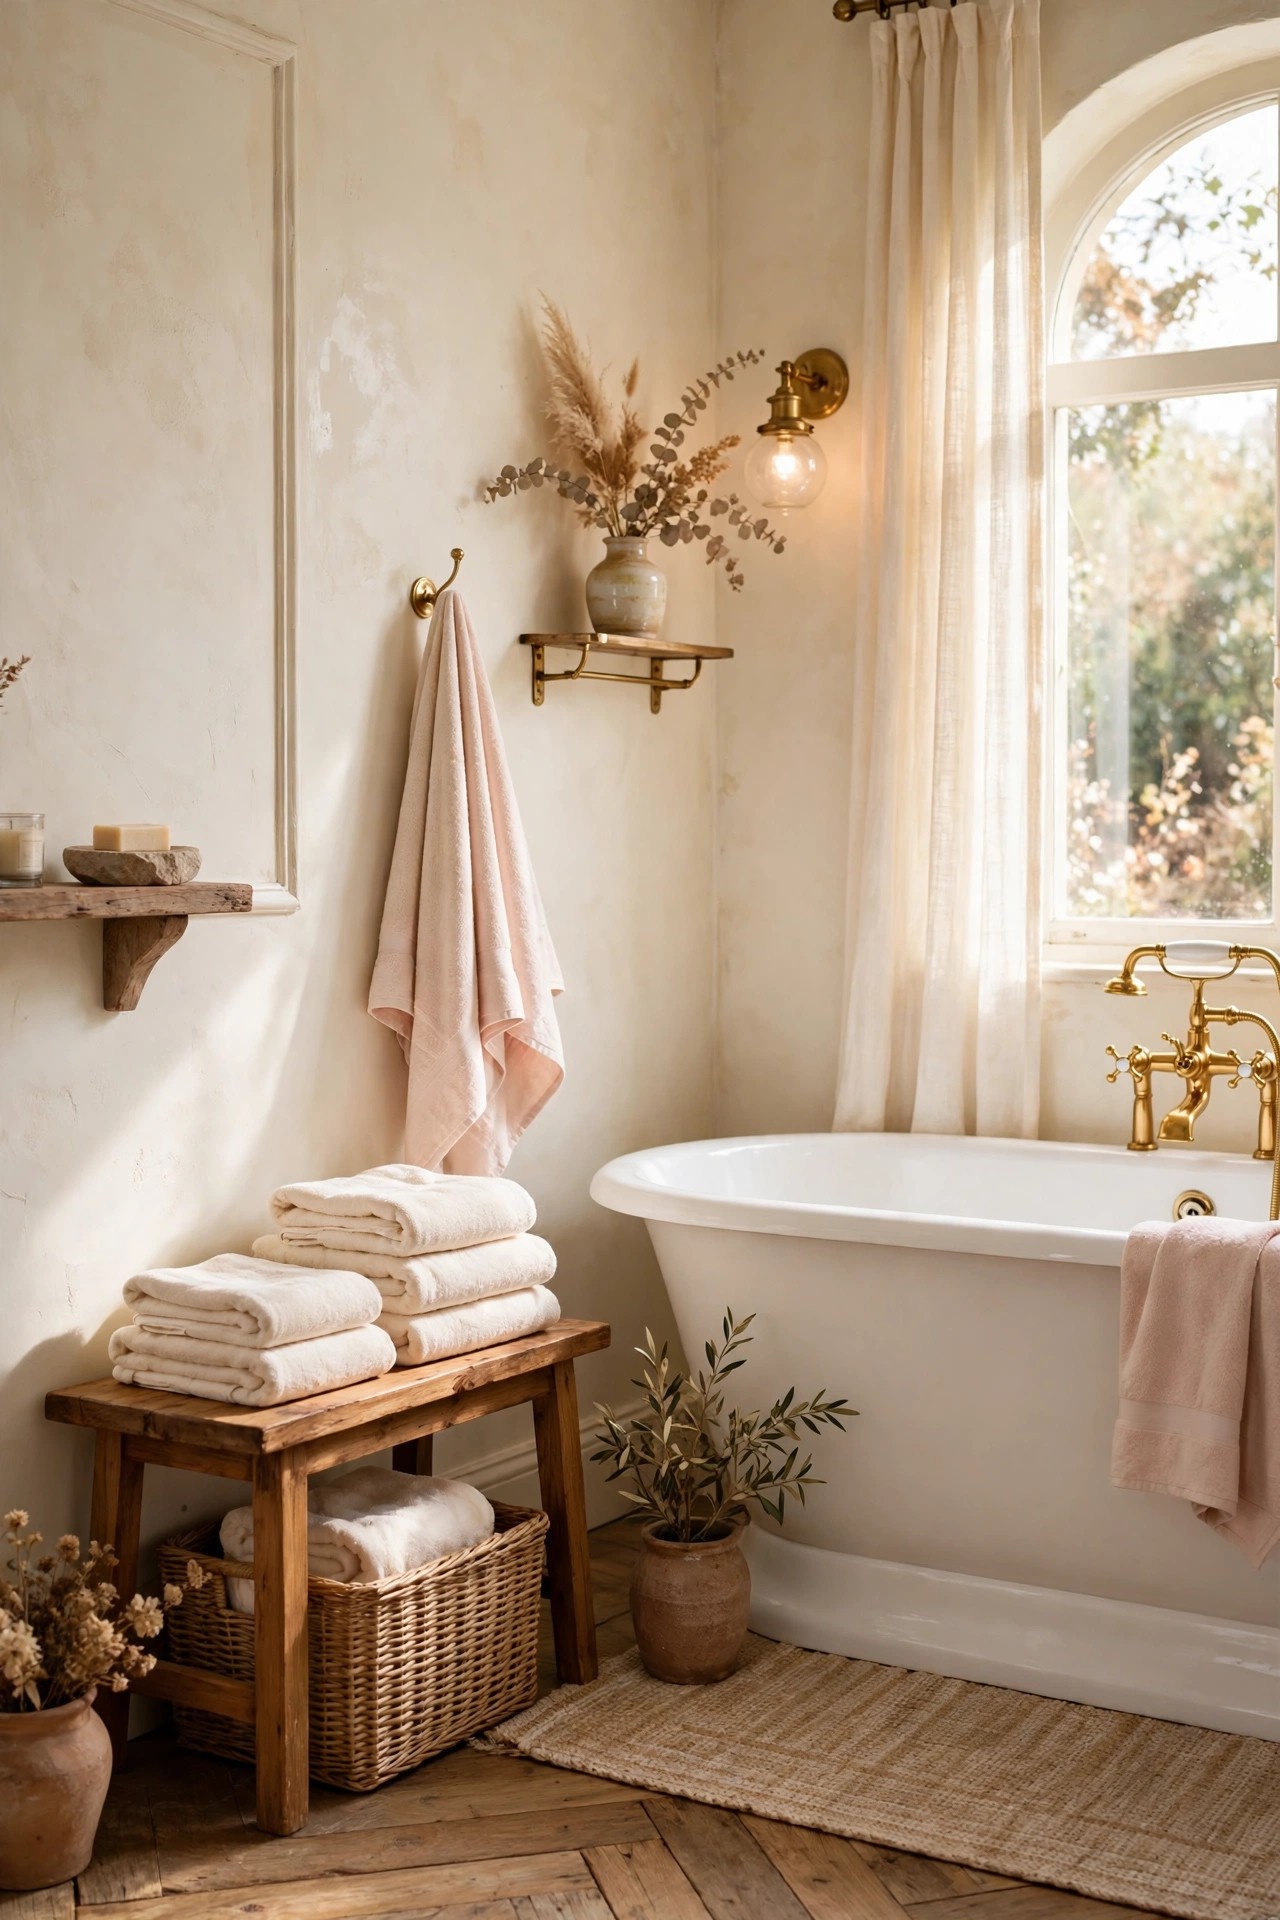
A small wooden bench or a vintage stool is the piece that makes a rustic bathroom feel lived in. A bench in pale wood beside the tub holds folded towels and a book, a stool beside the vanity holds a basket or a plant, and either one gives the room a seat and a surface without adding a cabinet. Choose a bench low enough to sit on comfortably and narrow enough to leave a clear walkway, and seal it well, because it sits close to water and steam. Keep a woven basket underneath the bench for spare towels, so the bench earns its floor space twice.
Best For: Bathrooms with a spare stretch of floor, and anyone who wants a seat for the morning routine.
Not Ideal For: Very small bathrooms where a bench blocks the walkway; a wall hook and a folded towel stack are the honest version there.
Estimated Cost: $80-$300 (estimate) for a small wood bench or a vintage stool with a sealed finish.
Budget Note: The bench is the spend; a second-hand stool sanded and sealed costs little and looks more honestly vintage than a new one.
Renter Friendly: Yes
Renter Note: Freestanding; the bench or stool moves out without a trace.
What You Need
Small wood bench or vintage stool in pale or mid-tone wood, clear wood sealant, folded cream towels, woven basket sized for underneath.
Product type to look for: A bench with a sealed, wipeable finish and sturdy joints, because it is sat on and leaned on near water every day.
How To Do It
- Measure the spare floor space and choose a bench narrow enough to leave a clear walkway.
- Sand the bench smooth if it is second-hand, wipe it clean, and seal every surface.
- Place the bench beside the tub or the vanity and check it does not block the door swing.
- Set the folded towels on top and the basket underneath, and sit on it once to check it is steady.
Pro Tip
Keep the bench top to one stack of towels. A bench that holds a towel stack and nothing else reads calm, while a bench loaded with jars and books reads like a shelf.
15. Finish with Lantern Light and a Natural Tray
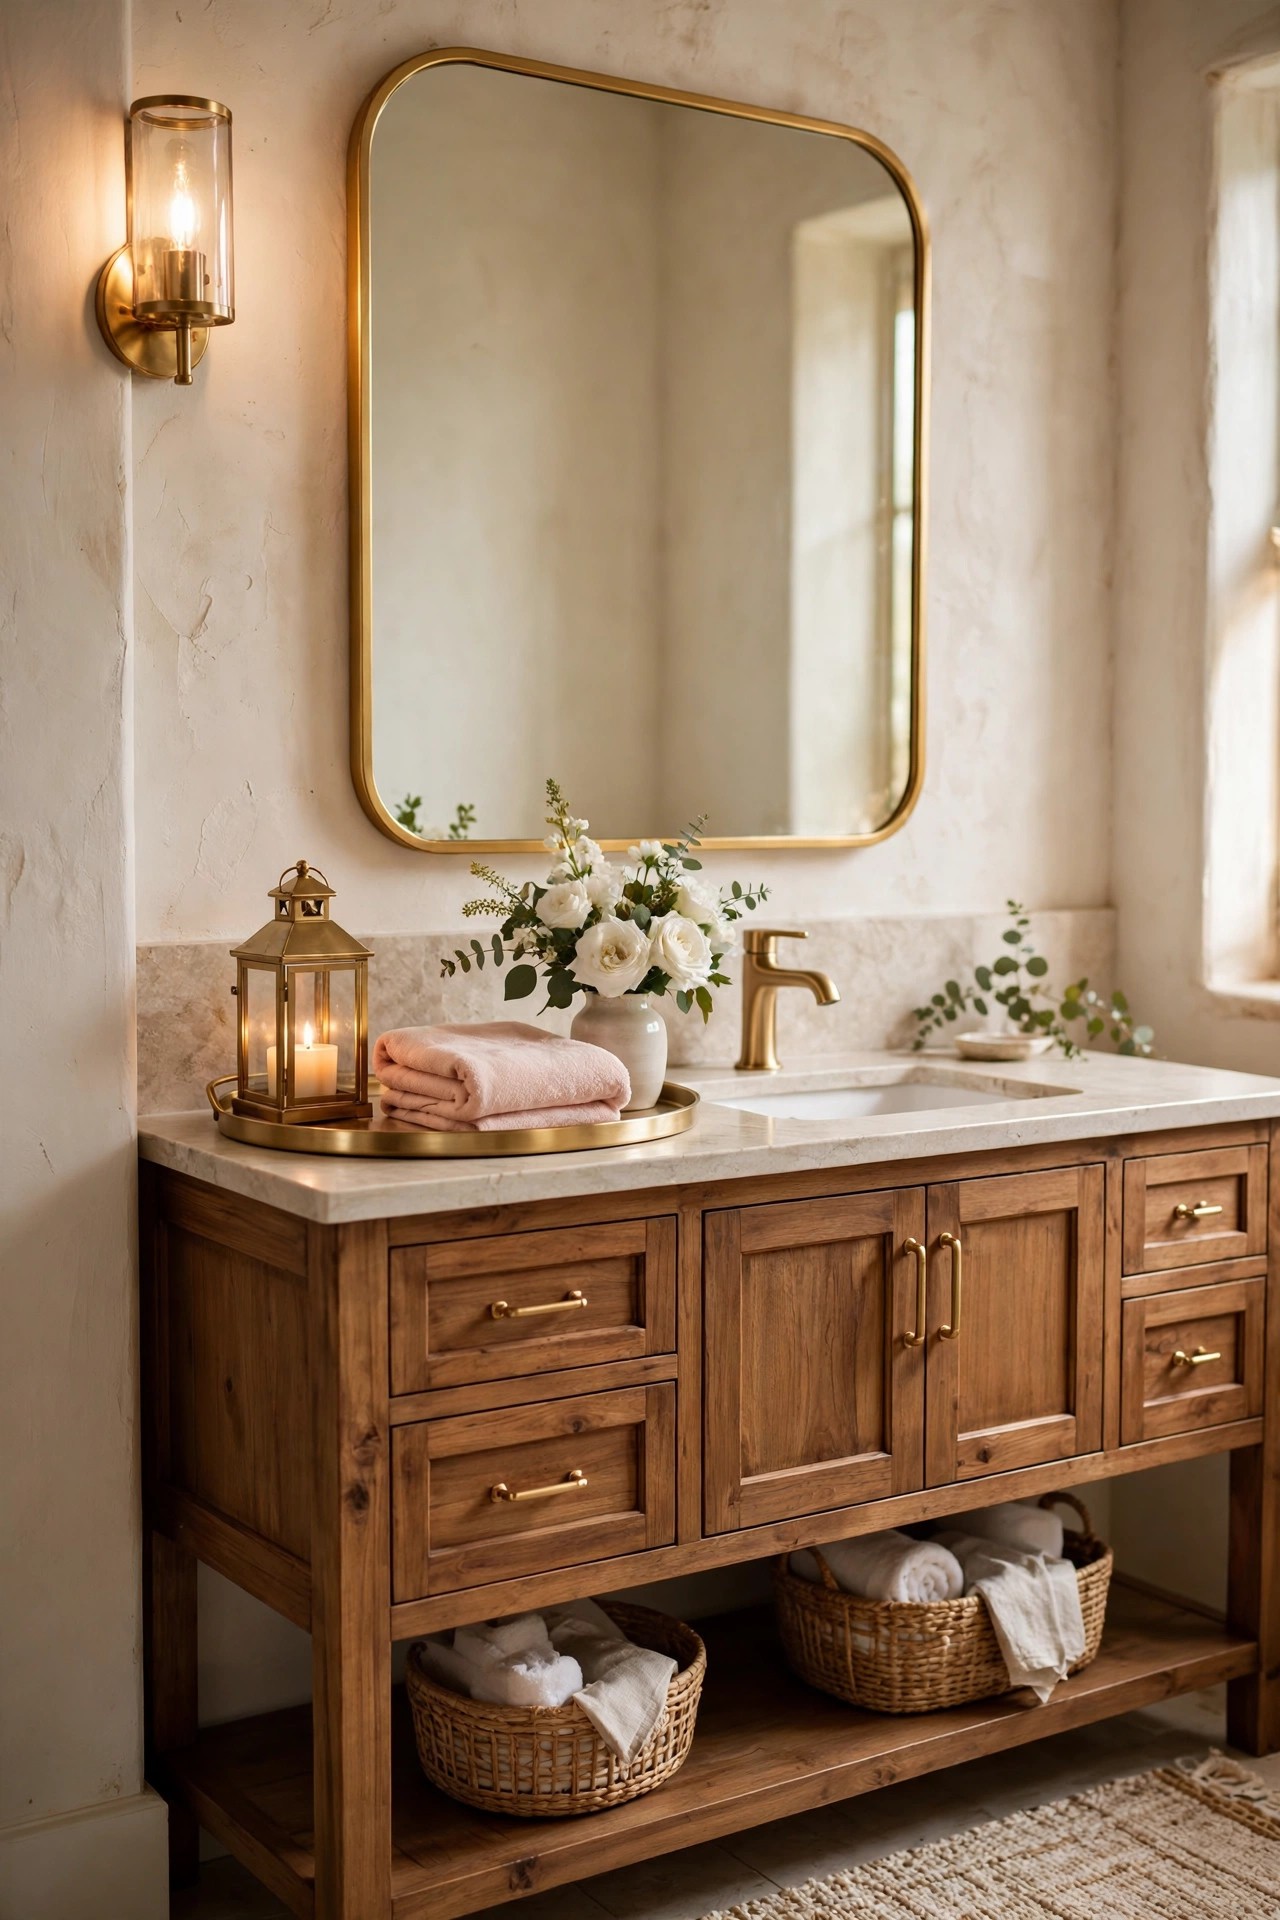
The last idea is the smallest, and it is what makes a rustic bathroom look finished in photos and in person. A gold tray on the vanity, holding one small lantern with a battery candle, a folded blush hand towel and fresh white flowers in a small vase, gathers the daily pieces into one calm group and repeats the gold note at the centre of the room. Use a battery candle, never a real flame, because a bathroom has towels, steam and hard surfaces, and a lantern with a real flame near a towel is a risk. Keep the tray honest, sized for what the room actually uses every day, because a styled tray that has to be emptied before anyone can wash their hands is a display, not a finish.
Best For: Every rustic bathroom, and especially rooms that look fine in daylight and unfinished in photos.
Not Ideal For: No real exception, but keep the tray small on a slim vanity so the wood top from idea 3 still shows.
Estimated Cost: $40-$120 (estimate) for a gold tray, a small lantern with a battery candle, and a vase.
Budget Note: Shop the house first; a tray, a lantern and a vase moved from another room finish the vanity for nothing.
Renter Friendly: Yes
Renter Note: Nothing fixed at all; the whole finish can be packed in one box on moving day.
What You Need
Gold tray sized for the vanity top, small lantern with a battery candle, small vase, fresh white flowers, folded blush hand towel.
Product type to look for: A lantern with a battery candle and a stable base, in the same brushed gold as the faucet, because a lantern that tips is a mess on a wood top.
How To Do It
- Clear the vanity top fully, then place the tray on one third of the top.
- Set the lantern, the folded towel and the vase on the tray, and switch the battery candle on at dusk to check the glow.
- Check the sink is still easy to use without moving the tray.
- Walk to the door and check the vanity as a guest sees it: warm wood leading, gold repeated, surfaces calm.
Pro Tip
Reset the tray every evening for one week. The habit, not the objects, is what keeps a styled finish: tray grouped, towel folded, flowers fresh, top two thirds clear.
Practical Tips for Rustic Bathroom Ideas
Let the wood be the one big note and repeat the calm notes until they look planned. The wood stays pale or mid-tone, never dark, the walls stay warm white, and blush, brushed gold and woven texture do the supporting work, each used at least twice: blush in the towels and one echo, gold in the faucet, the hardware and the tray, wood in the vanity, the shelves and the mirror frame. One note used once looks like an accident; twice or more it looks like a decision. Keep brushed gold as the only metal and match its tone across every piece, because mixed metals scatter the glam note faster than any other mistake in this palette. Seal every wood surface before the bathroom is used, because steam finds unsealed grain in weeks, and judge the room twice before calling it done, once at midday for the true wood tone and once under the evening lantern light, because a wood that glows at noon can turn dark under a cool bulb at night. Start in the order of this list, wood and walls first, and let the storage, the plants and the soft layers arrive slowly; a bathroom built in a weekend usually has one accent too many, and removing a piece is always easier than finding the right one to add.
Frequently Asked Questions
How do I keep a rustic bathroom bright instead of dark?
Keep the wood pale or mid-tone and the walls warm white, and let the rustic notes come from texture, woven baskets, shiplap, stone and visible grain, rather than from dark stain. One dark piece is enough to tip a small bathroom, so check every wood sample in daylight before it goes in.
What wood is best for a rustic bathroom?
Pale oak, ash or pine with a clear grain suits a bright rustic bathroom, because the light tone reflects daylight and stays warm beside cream walls. Whatever the wood, seal it on every side, since a bathroom vanity, shelf or bench meets water and steam daily.
Can a rustic bathroom work in a small space?
Yes, if the big pieces stay slim and pale. A slim wood vanity, one shiplap feature wall, a round wood mirror and woven baskets give the rustic notes without crowding the room, and a small bathroom is the best place for the ladder and basket ideas, which need no fixings.
Are vessel sinks practical for everyday use?
Yes, if the faucet is tall enough to clear the rim by a hand’s width and the vessel sits steady on a sealed top. They splash more than undermount sinks and need a wipe around the base, so families with small children often prefer an undermount sink, while a calm adult bathroom enjoys the vessel look.
What color towels suit a rustic glam bathroom?
Cream towels are the calm base, with one blush hand towel as the soft accent. Keep the towels plain, because a patterned towel fights the wood grain and the stone, while plain cream and blush let the natural materials do the work.
Should the bathroom faucet match the other hardware?
Yes, keep one metal through the whole bathroom. Brushed gold faucets, knobs, towel rings and tray in the same tone read as one decision, while mixed metals split the room at the exact place the eye looks every morning.
Conclusion
A rustic bathroom ideas list works when the wood is given one clear job: the wood leads, and everything else supports. A pale oak vanity with a stone sink keeps the room bright, brushed gold repeated in the faucet, the hardware and the tray gives it the glam note, and woven baskets, shiplap and greenery keep the room feeling natural rather than staged. Start with the wood and the walls, add the mirror and the storage, keep one metal and one soft accent through the whole room, and the smallest room in the house becomes the warmest one.