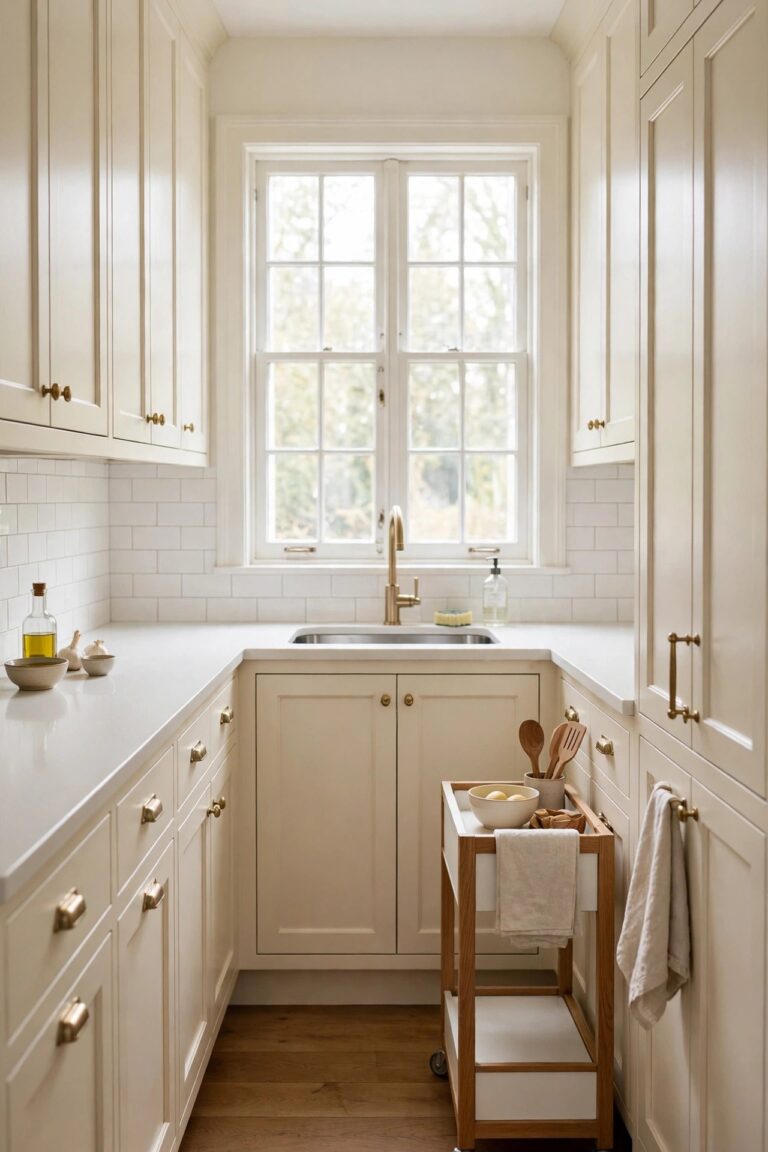
15 Kitchen Remodel Ideas for a Brighter, Calmer Kitchen
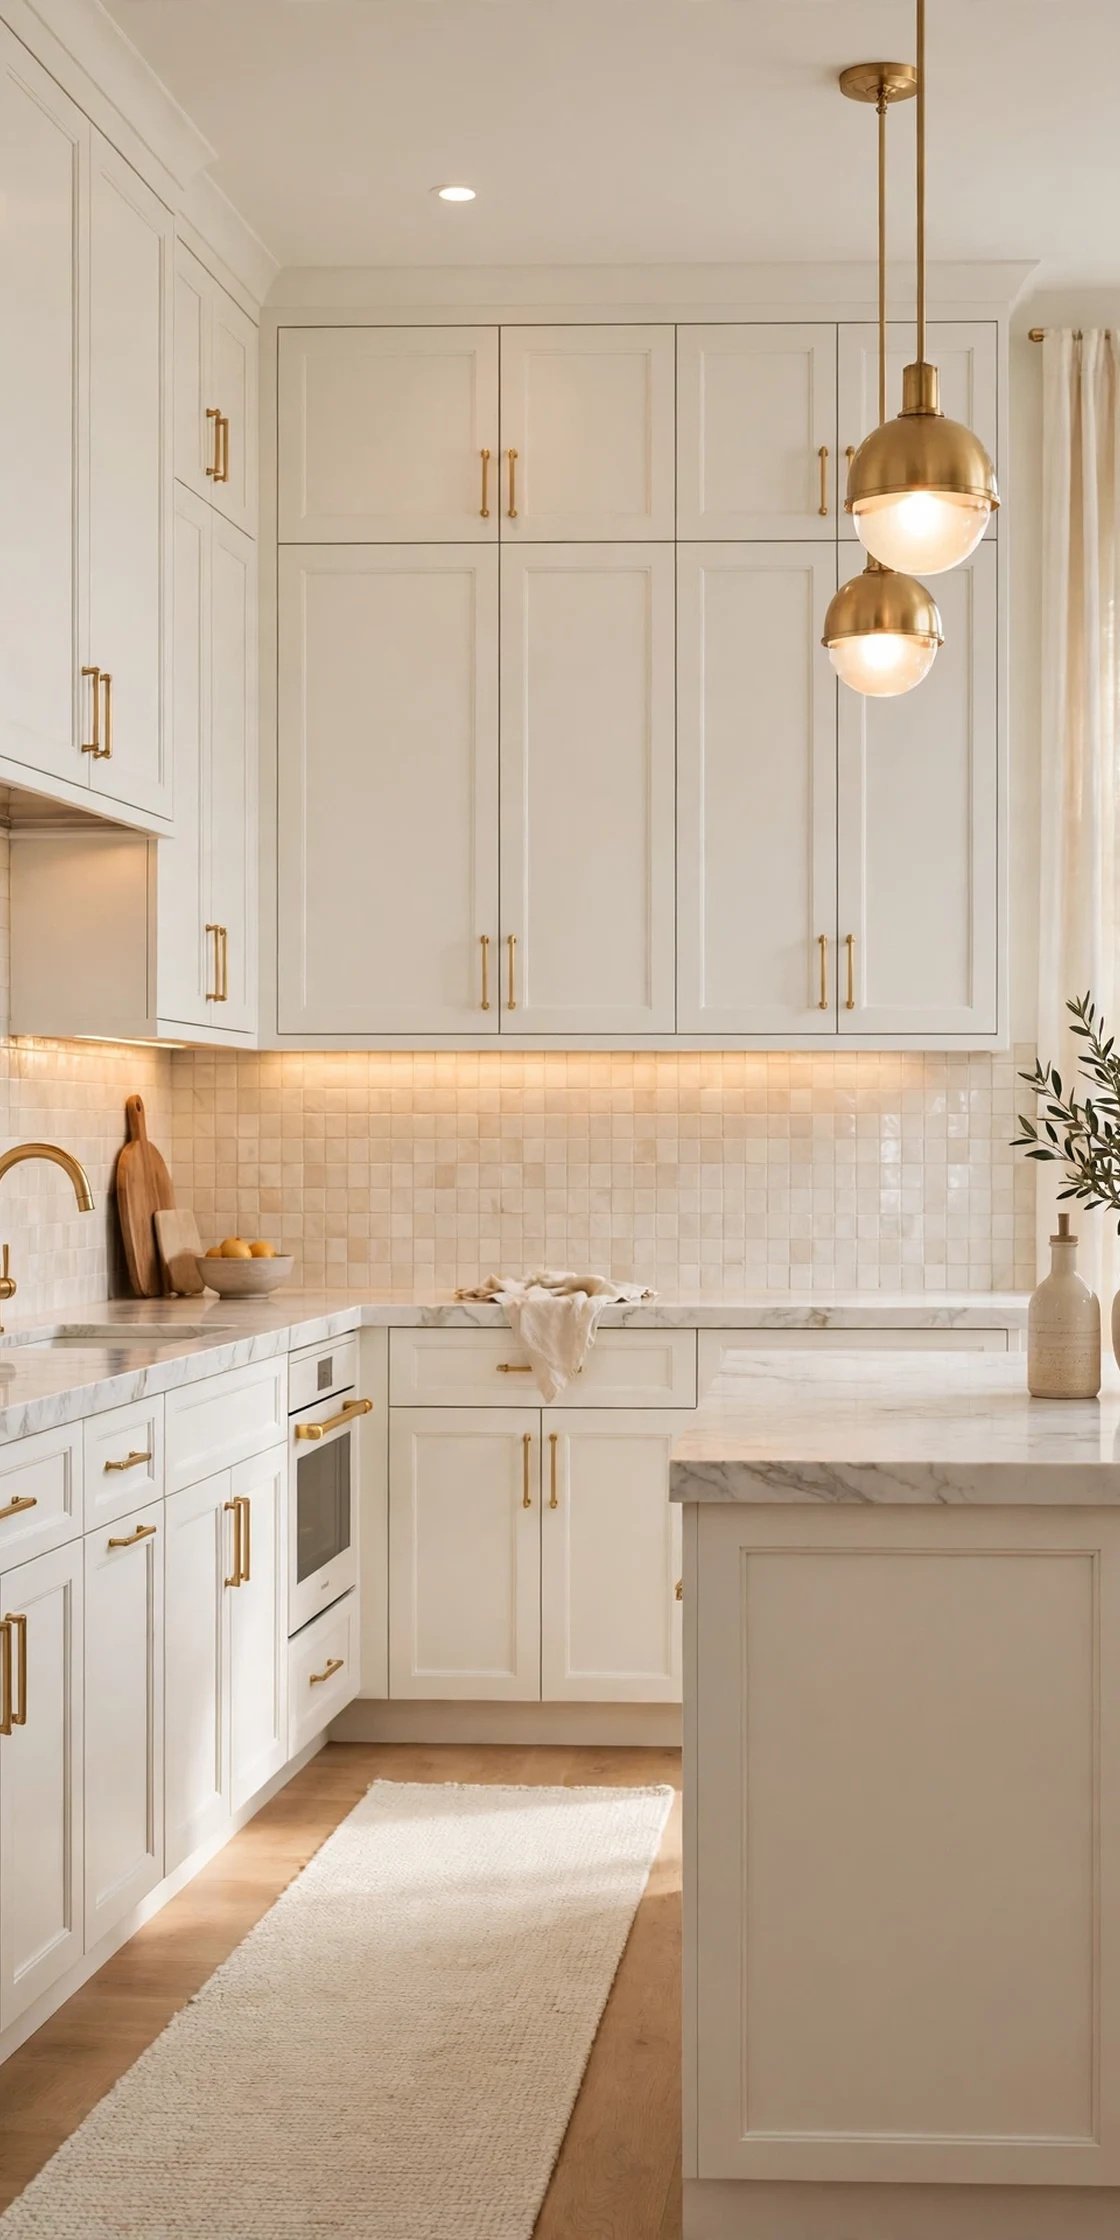
Most old kitchens are not badly built. They are badly finished: orange-toned cabinets, one ceiling light doing all the work, a short backsplash that stops mid-wall, and counters that have collected every small appliance the household owns. A full gut renovation fixes that slowly and expensively, but it is rarely the only route. These kitchen remodel ideas work in the order a smart phased remodel actually happens: surfaces first, then hardware and light, then the bigger swaps, each one costed honestly so you can stop after any phase and still have a kitchen that looks deliberate. Every idea is shown in one bright glam palette, warm white and cream warmed with warm taupe, blush touches and brushed gold, so the phases blend into one room rather than a patchwork. If the whole room is too much at once, start with the layout rules in our kitchen ideas for small spaces guide
Disclosure: This article may contain affiliate links. If you buy through a link on this page, GlamNStyle may earn a small commission at no extra cost to you. Product links in this article are plain links; each one is checked on the retailer’s own page before it is added.
1. Paint the Cabinets Warm White With a Cream Island
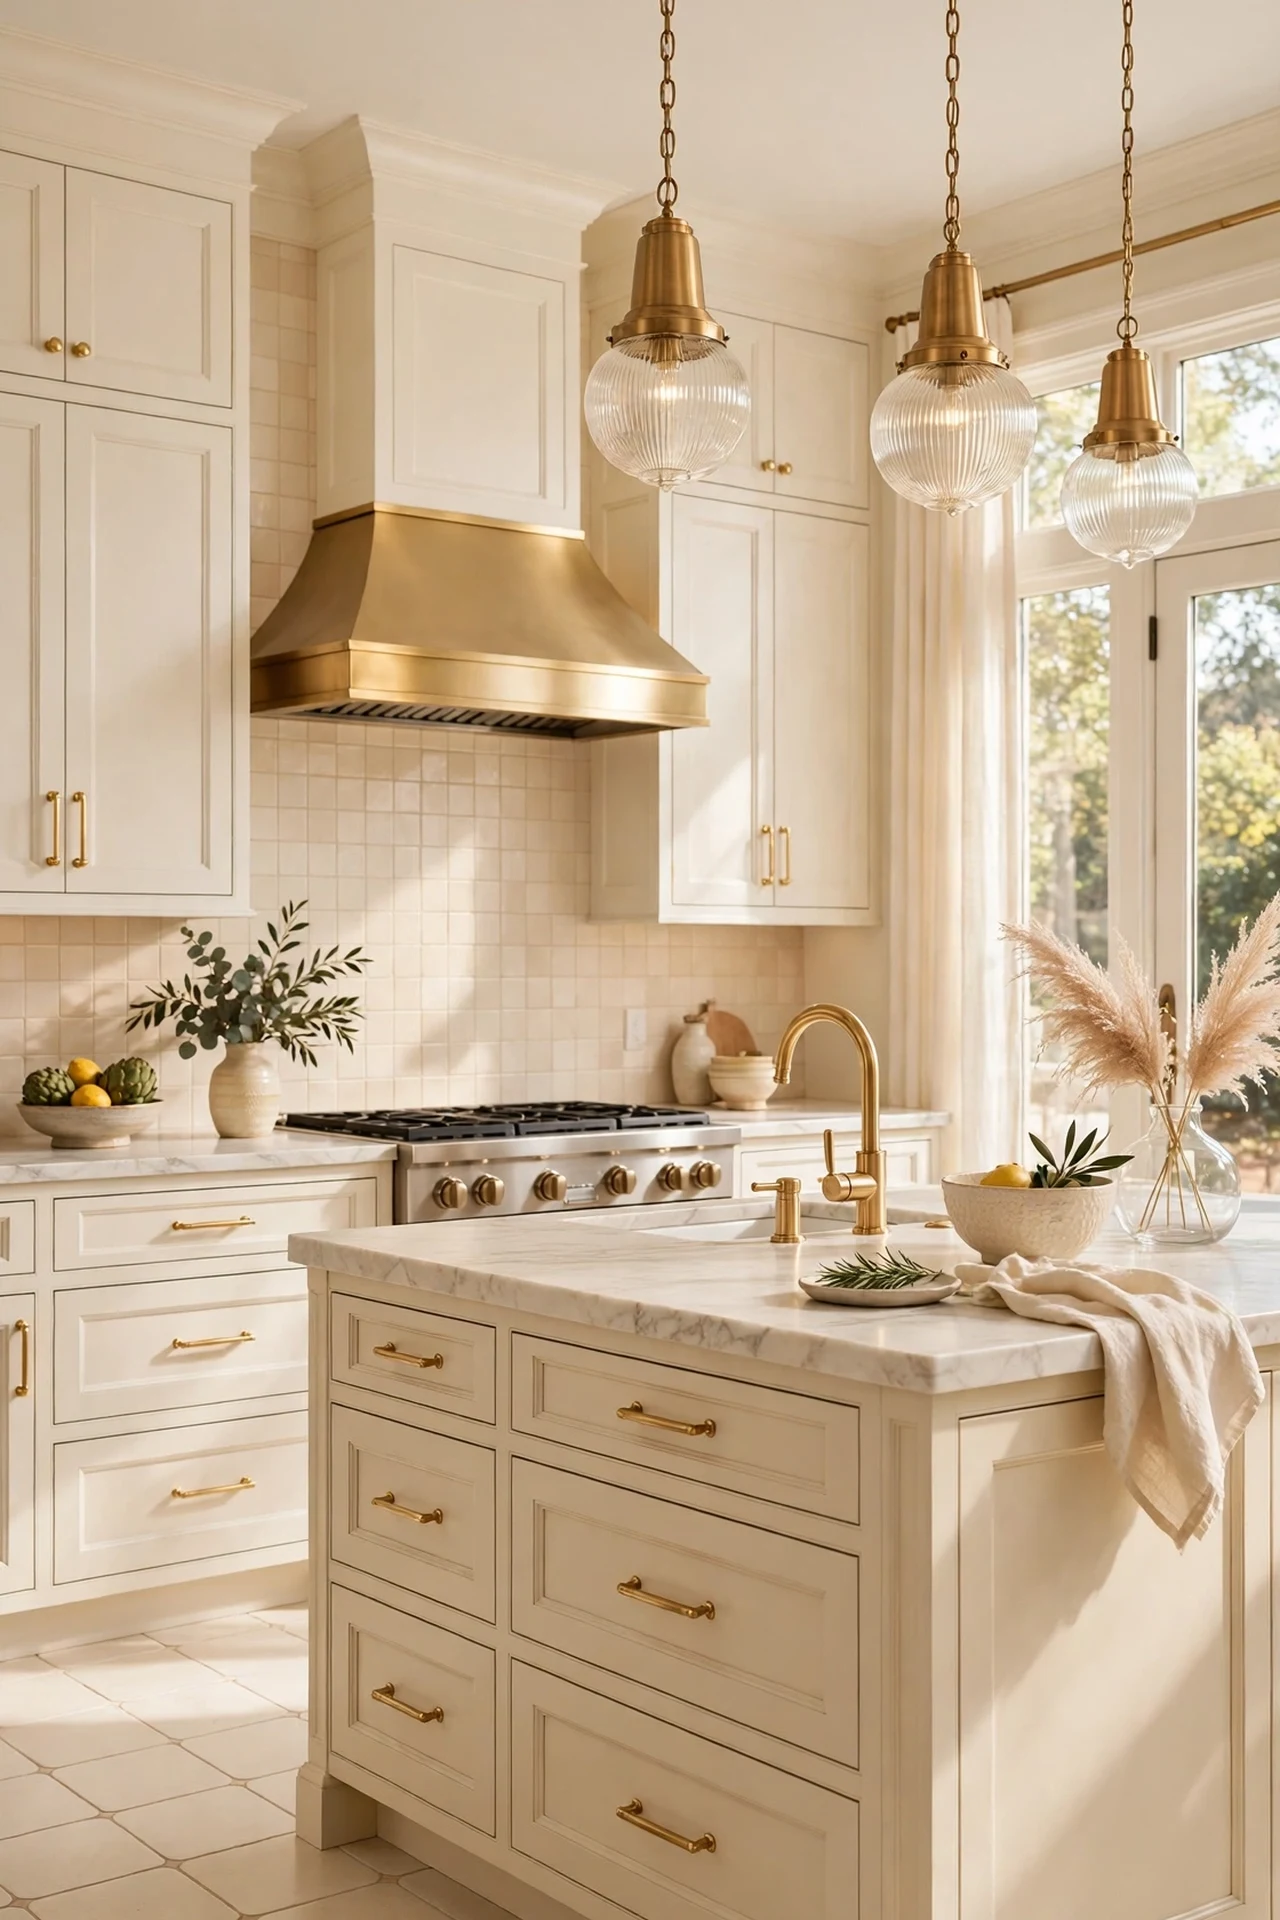
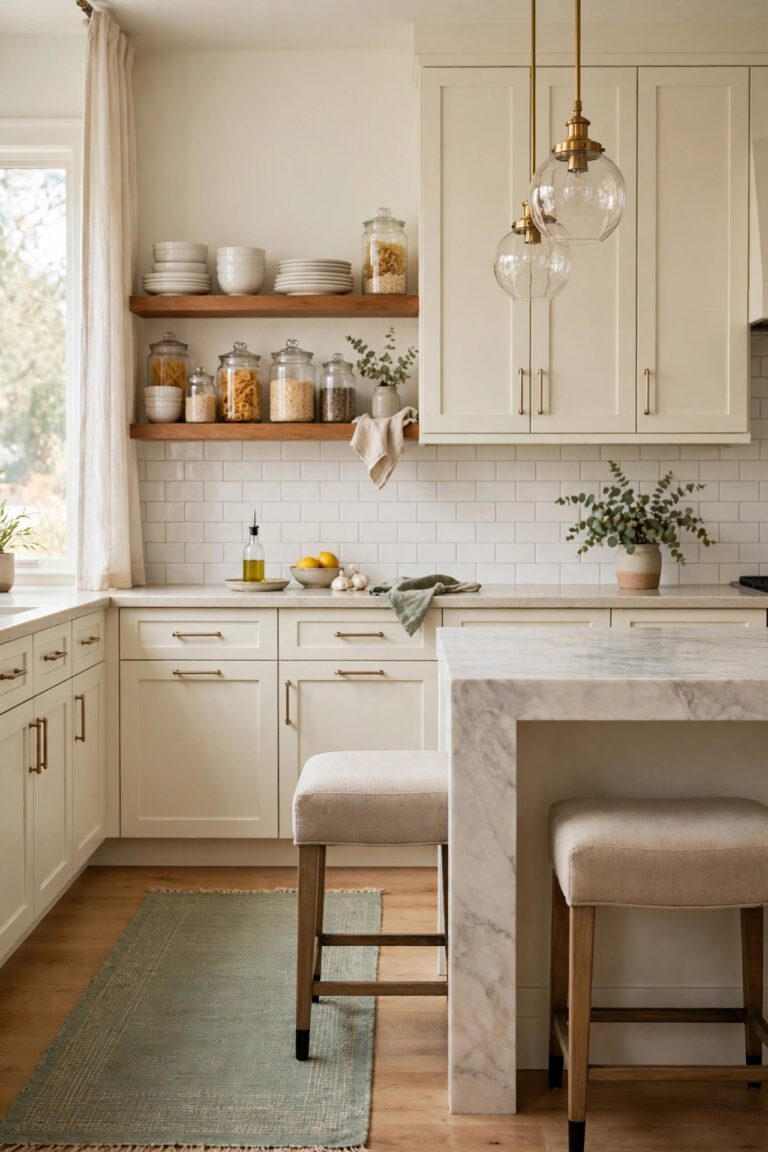
Cabinet colour is the kitchen. When the boxes are sound but the finish is dated, orange or dark, paint does more per dollar than any other single change, because it recolours the largest surface in the room in one move. A warm white on the wall cabinets keeps the room bright without the blue chill of a bright white, and a slightly deeper cream on the island gives the layout a centre instead of one flat wash. Two close tones beat two bold ones here: contrast between uppers and island should whisper, not shout, or the room feels like two kitchens fitted together.
Best For: Sound cabinets with a dated finish, in any size of kitchen.
Not Ideal For: Cabinets with peeling thermofoil or water-swollen boxes; paint cannot repair structure, and those doors need replacing.
Estimated Cost: $300-$900 (estimate) for primer, cabinet paint and supplies for a DIY paint job; professional spraying usually runs several times that.
Budget Note: The paint itself is cheap; the cost is preparation time, and skipping it is what makes painted cabinets fail.
Renter Friendly: No
Renter Note: Painting cabinets is a permanent change and needs the owner’s written permission in a rental.
What You Need
Deglosser or sugar soap, 120 and 220 grit sandpaper, high-adhesion primer, cabinet-grade enamel in warm white and cream, angled brush and small foam rollers, painter’s tape, drop cloths.
Product type to look for: A cabinet and trim enamel labelled for kitchens, in a satin finish; satin hides brush marks better than gloss and wipes cleaner than matte.
How To Do It
- Empty, label and remove every door and drawer front, keeping hinges and screws bagged per door.
- Degrease, sand, wipe down and prime; kitchen grease is the main reason cabinet paint peels.
- Spray or roll two thin coats, sanding lightly between them, and leave doors flat for a full day before hanging.
- Paint the island in the cream tone last, once the wall cabinets are back up and the two-tone balance can be judged.
Pro Tip
Paint one spare door or the inside of a cabinet door first and live with it for two days. Warm whites shift a lot between daylight and evening light, and it is the only cheap moment to change your mind.
2. Swap Every Handle for Brushed Gold Pulls
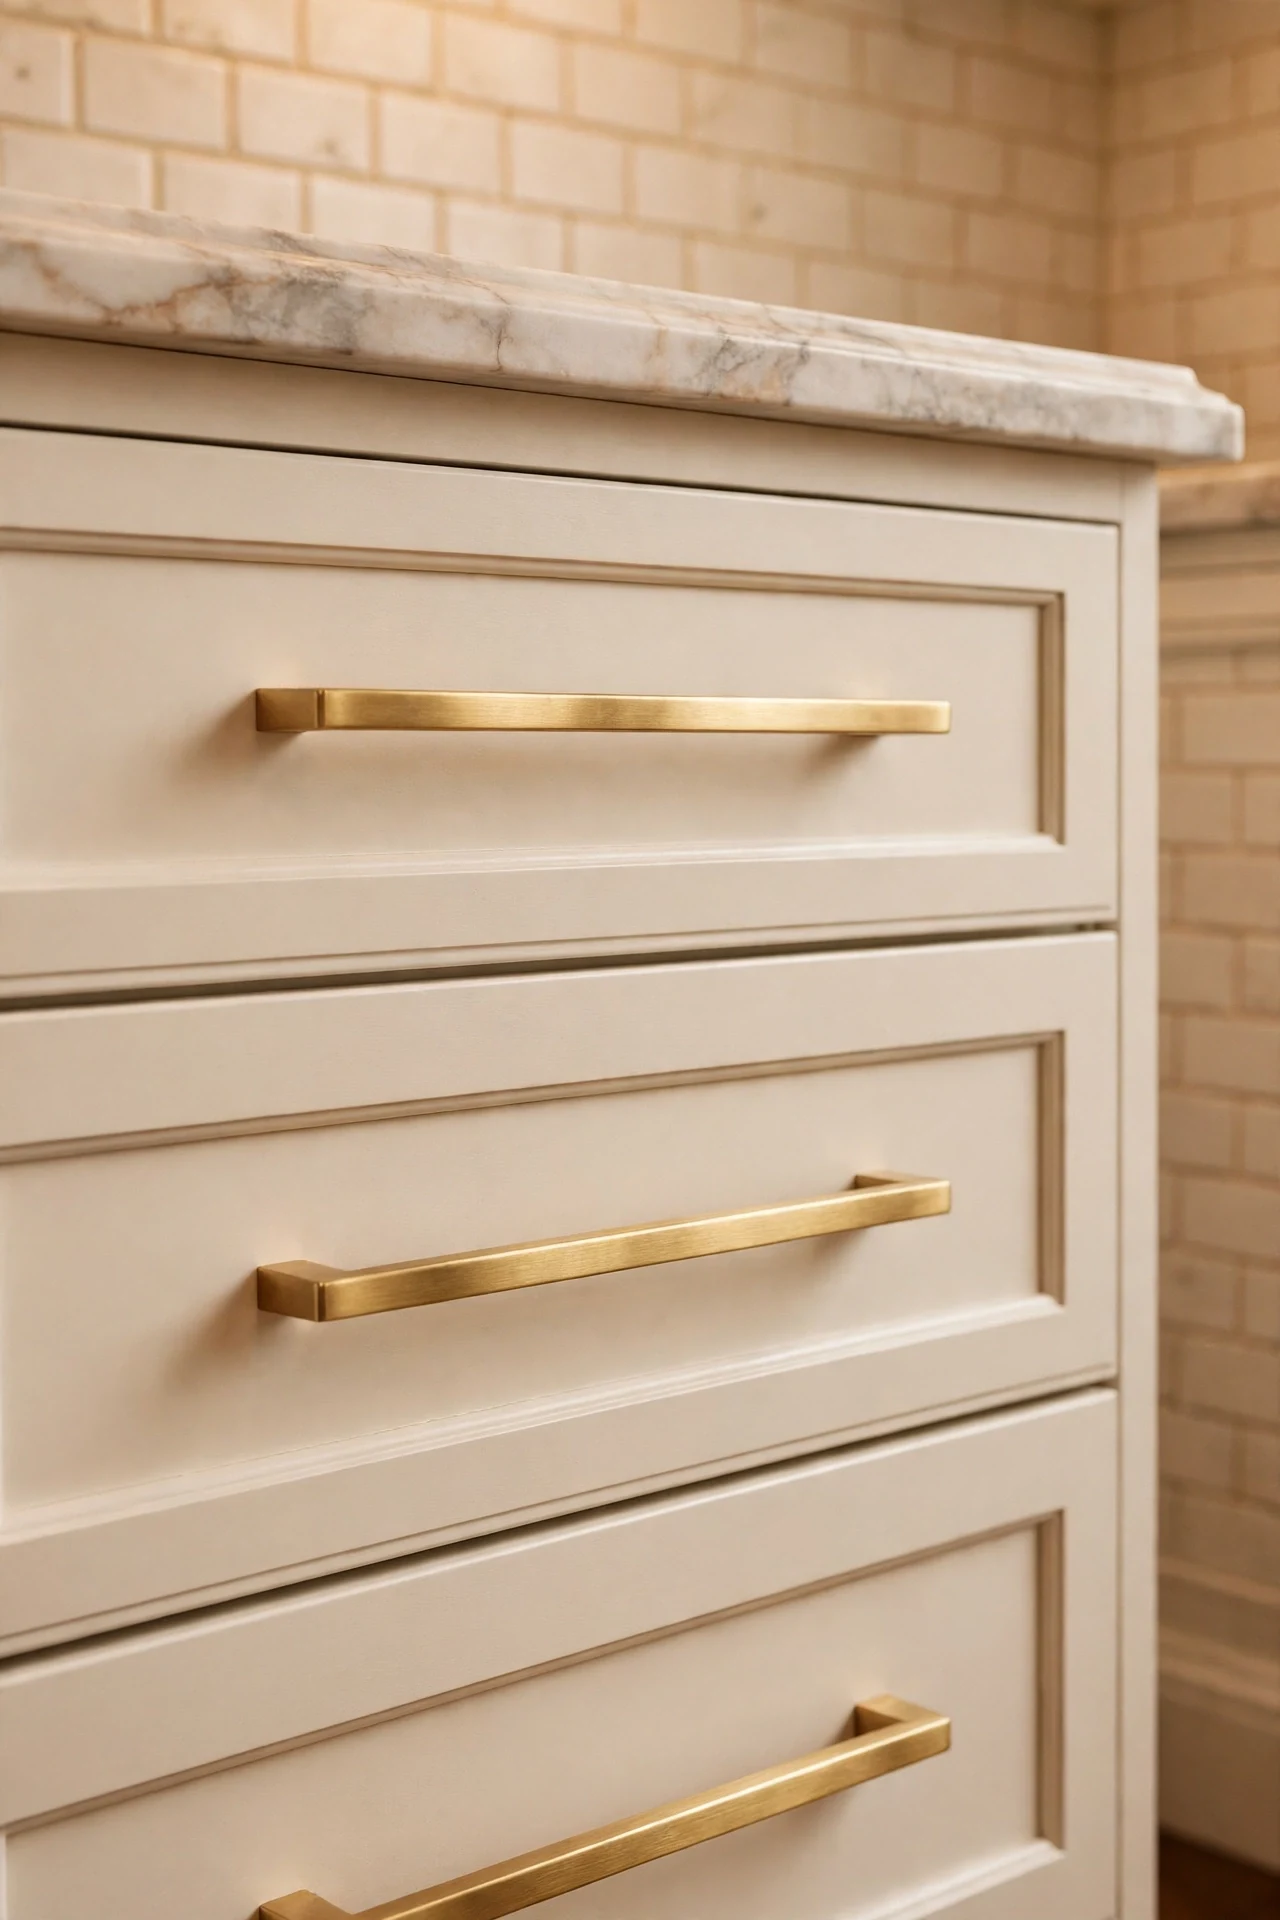
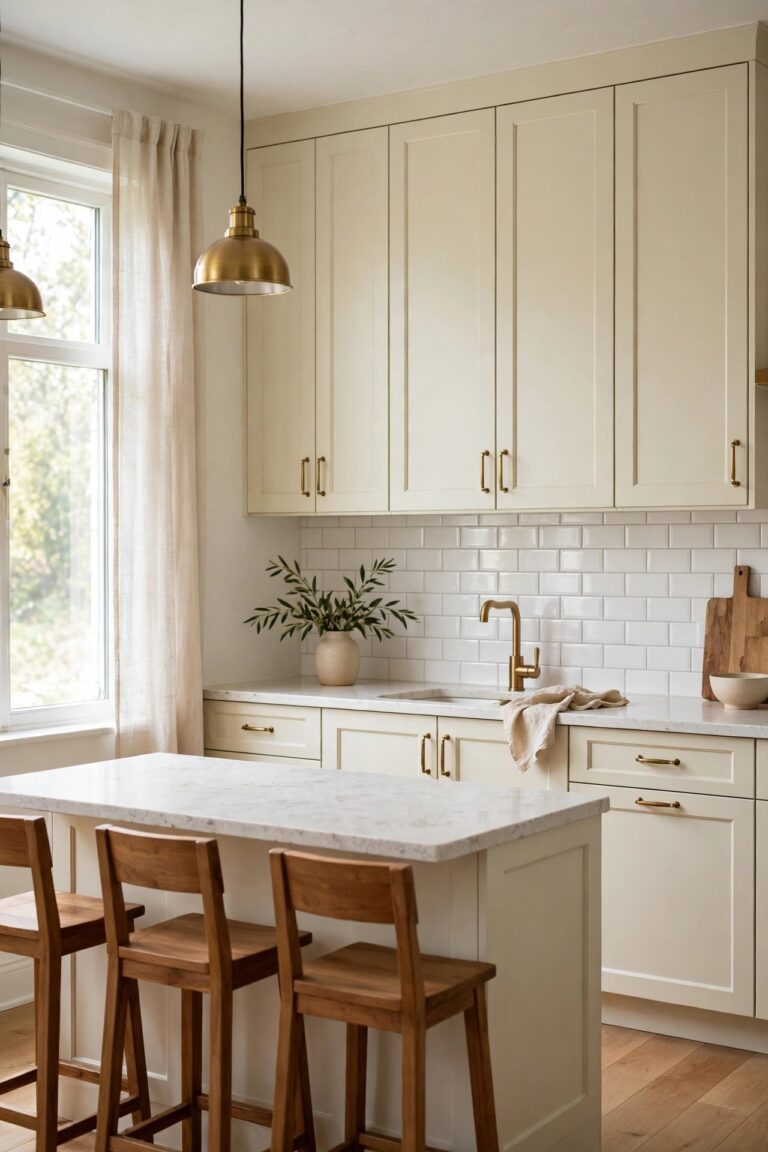
Hardware is the jewellery of a remodel, and it is the fastest idea in this list: an afternoon, one screwdriver, and the cabinets look newly fitted rather than newly painted. Brushed gold works in this palette because it warms the warm white instead of fighting it, and one finish repeated everywhere, drawers, doors, even the bin pull, is what reads as designed. Size is the detail most people get wrong: pulls should be roughly one third the width of the drawer front, which looks generous and modern, where small knobs on wide drawers look lost.
Best For: Any remodel phase, including as the only change this month.
Not Ideal For: Cabinets with unusual vintage hole spacing you cannot match; measure before ordering a full set.
Estimated Cost: $80-$300 (estimate) for a full kitchen set of brushed gold pulls.
Budget Note: Buy the full set from one listing in one order, because gold tones vary between batches and brands.
Renter Friendly: Yes
Renter Note: Pulls swap onto the same holes and the originals can go back on in an hour when you leave; keep them labelled in a bag.
What You Need
Brushed gold bar pulls in two or three lengths matched to drawer widths, a cabinet hardware template jig, screwdriver, tape measure.
Product type to look for: Solid or well-weighted pulls with the finish carried onto the posts as well as the bar; cheap pulls often leave the posts silver, which shows at eye level.
How To Do It
- Measure the hole spacing on drawers and doors, and sort the kitchen into two or three pull lengths.
- Order one sample pull and check its gold tone against your faucet and lighting before buying the set.
- Swap one bank of drawers first to confirm length and feel, then work around the room.
- Tighten from inside with the door supported, so nothing twists in your hand.
Pro Tip
Fit the longest pulls on the widest drawers even if it means three sizes in one kitchen. Matched proportions look custom; matched sizes on different drawers look like a compromise.
3. Run the Backsplash Tile All the Way to the Ceiling
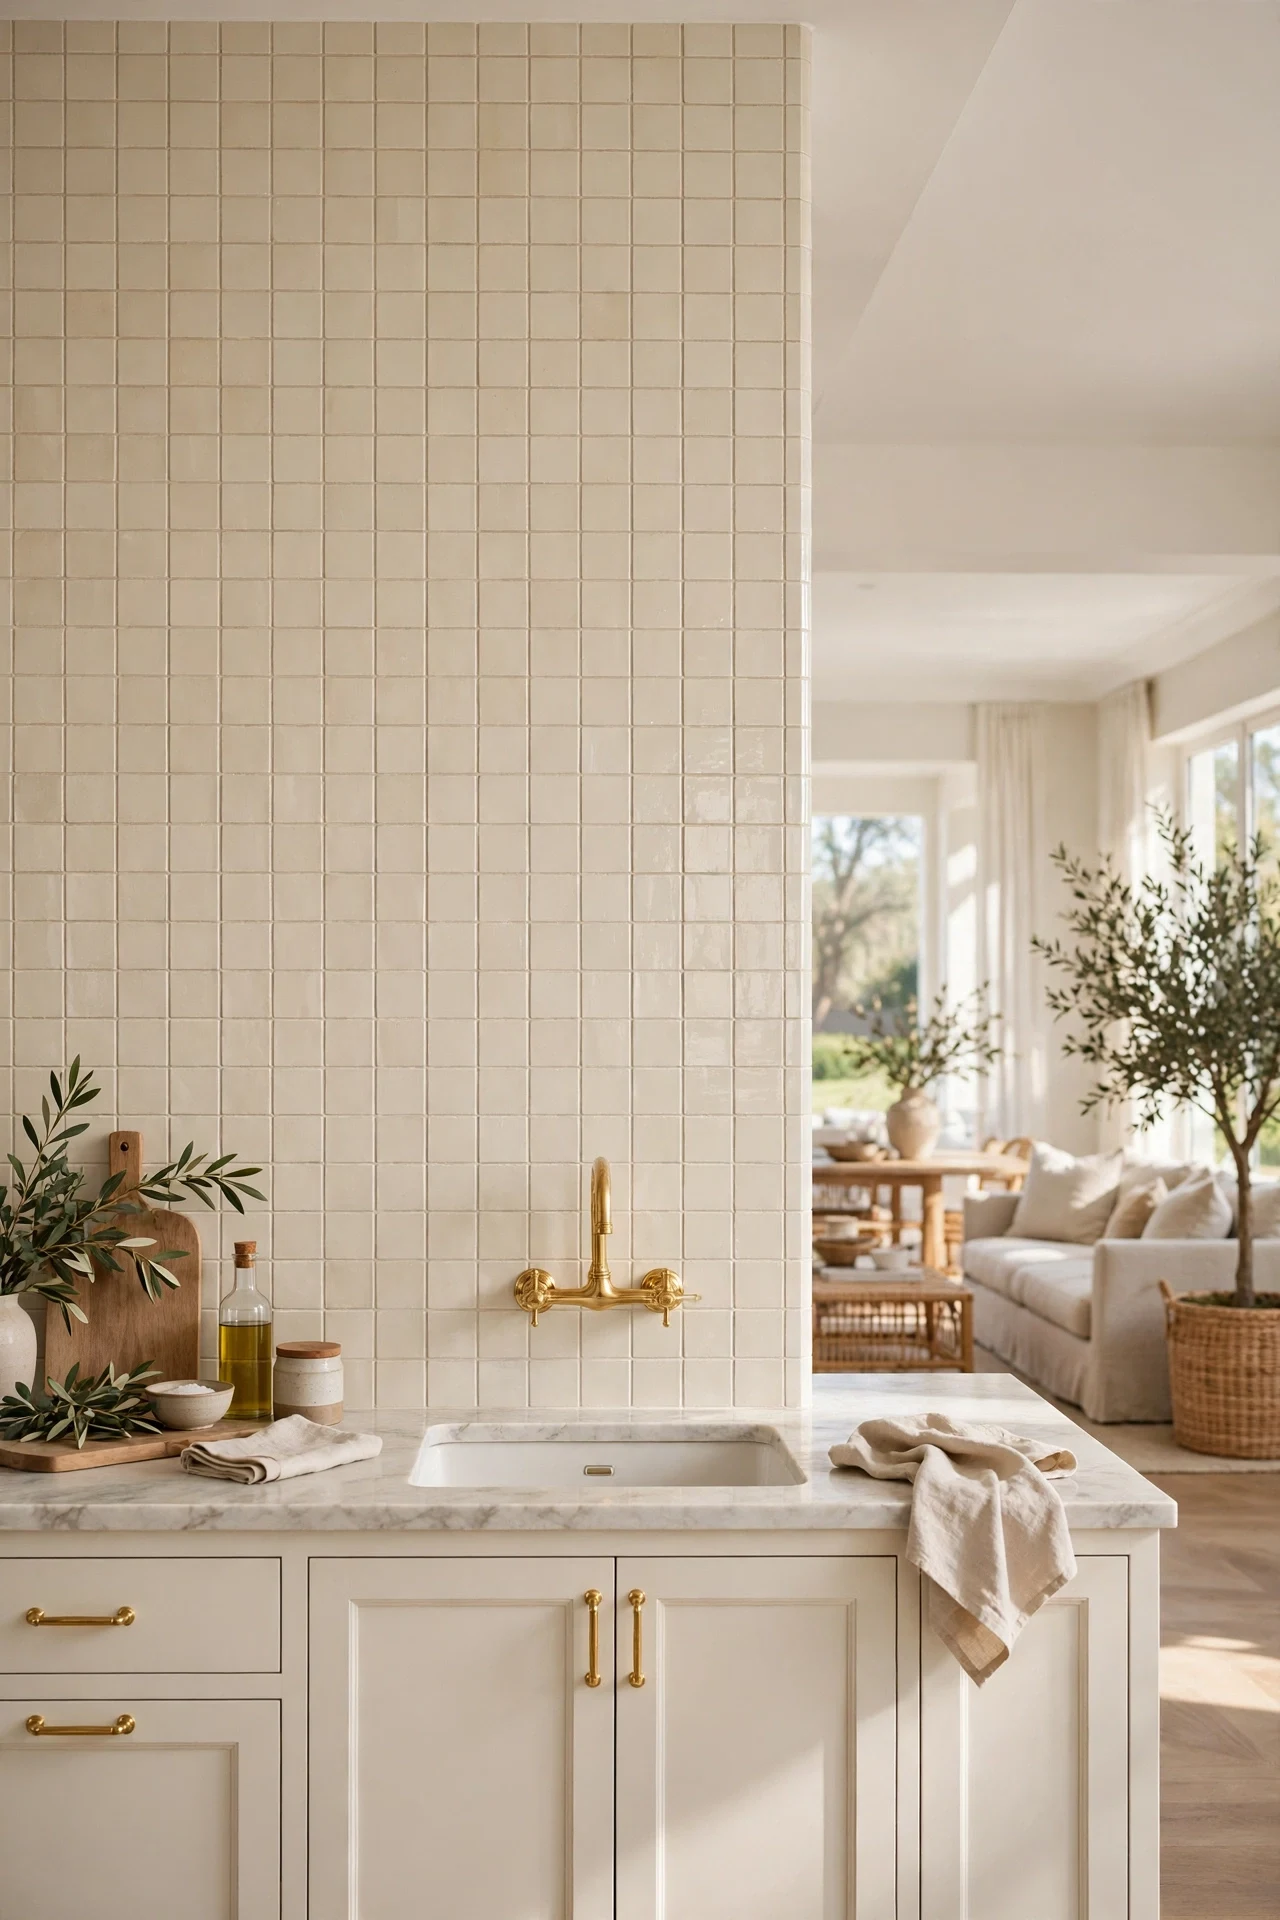
A standard backsplash stops at the underside of the wall cabinets, and on the one wall without uppers, usually behind the sink or the range, it stops at an arbitrary line that makes the room look unfinished. Running tile from the counter to the ceiling on that open wall turns a leftover strip into the feature of the room, and in a cream handmade-look tile the texture does the decorating, so nothing needs to hang there. Full height also solves a practical problem: steam and splashes land on tile that wipes clean instead of on paint that marks.
Best For: Kitchens with one open wall run, especially behind a sink with a window or a range.
Not Ideal For: Walls that are visibly uneven; handmade-look tile forgives a lot, but a bowed wall needs skimming first.
Estimated Cost: $400-$1,200 (estimate) for tile, adhesive, grout and trim for one wall run, DIY fitted.
Budget Note: The tile cost per square foot is modest; the extra height usually adds only a few square feet, so the jump from standard to full height is smaller than expected.
Renter Friendly: No
Renter Note: Tiling is permanent. Renters can copy the look with the peel-and-stick options discussed in the FAQ, knowing they read flatter.
What You Need
Cream ceramic or zellige-look tiles, tile adhesive, grout in a warm white, tile trim for the exposed edges, spacers, level, tile cutter or a hired saw for a day.
Product type to look for: Tiles with a slightly varied glaze and edge, sold as a handmade look; perfect flat tiles at full height can read like a bathroom wall.
How To Do It
- Measure the full wall and order tile with 10 percent extra for cuts and the inevitable breakage.
- Find and mark the level line at counter height; every row above depends on the first one being true.
- Tile upward in sections, checking the vertical lines every few rows against the window or cabinet edge.
- Grout after a full day, and finish exposed edges with trim so the top line under the ceiling looks cut, not torn.
Pro Tip
Take the tile a fraction past the ceiling line and caulk the joint in the ceiling colour. A grout line that stops just short of the ceiling always looks like you ran out.
4. Add Under-Cabinet Lighting and Kill the Shadows
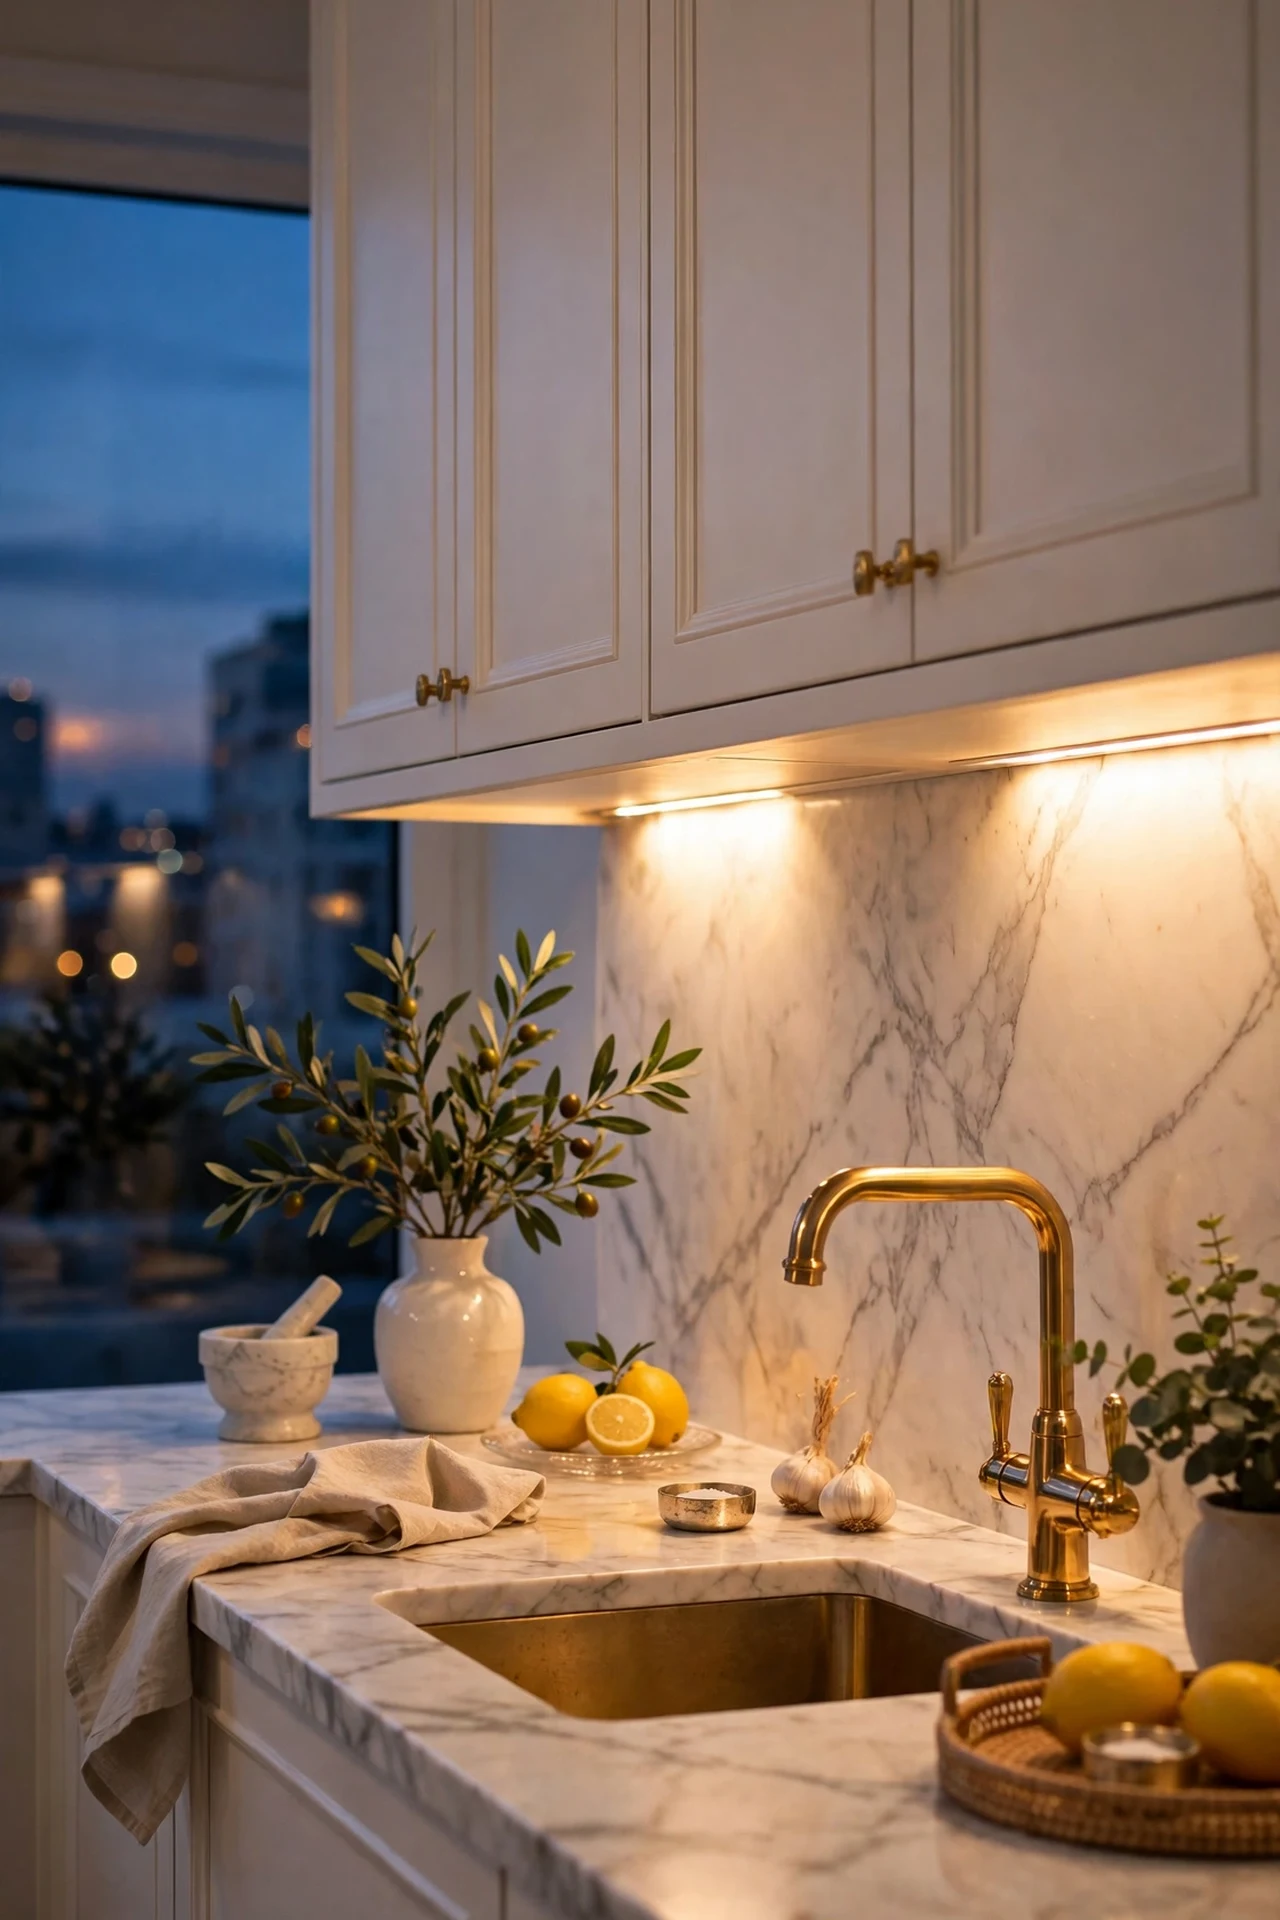
Old kitchens are lit from one ceiling point, which puts your own body between the light and the counter every time you cook. Under-cabinet lighting fixes the working light and, almost as a side effect, makes the whole kitchen look remodelled after dark, because warm light washing down a tile backsplash is the exact glow in every designer photo. LED strips or slim bars fixed at the front underside of the cabinets light the counter, not the underside of the cabinet row, and a warm white temperature keeps it inside the palette. This and idea 12 are a pair: task light low, feature light high.
Best For: Any kitchen where counters sit in shadow, which is most kitchens with a single ceiling light.
Not Ideal For: Cabinets with no pelmet or lip to hide the fitting; add a slim trim strip first or the strip itself becomes the view.
Estimated Cost: $60-$250 (estimate) for LED strips or bars for a standard run of cabinets.
Budget Note: Plug-in strips with a remote dimmer give 90 percent of the effect of hardwired systems for a fraction of the cost and no electrician.
Renter Friendly: With Conditions
Renter Note: Battery or plug-in strips fixed with adhesive pads are fully removable; hardwired versions are a job for the owner and an electrician.
What You Need
LED strip or bar lights in warm white, power supply and dimmer, adhesive pads or mounting clips, tape measure, rubbing alcohol for degreasing the cabinet underside.
Product type to look for: Lights around 2700 to 3000 Kelvin with a high colour rendering rating, so food and gold finishes look warm rather than green.
How To Do It
- Degrease the underside of the cabinets; adhesive fails on kitchen grease within weeks.
- Mount the strip at the front edge of the cabinet underside, angled onto the counter, not at the back wall.
- Run the cable to the nearest socket behind an appliance where possible, and fit the dimmer within reach of the main prep zone.
- Test at night before fixing the last clips; shadows show honestly only in the dark.
Pro Tip
Put the under-cabinet lights and any pendant lights on separate switches. Cooking needs both; evening needs only the low glow, and that one scene is what makes the remodel feel expensive.
5. Open Up One Run of Cabinets as Shelves
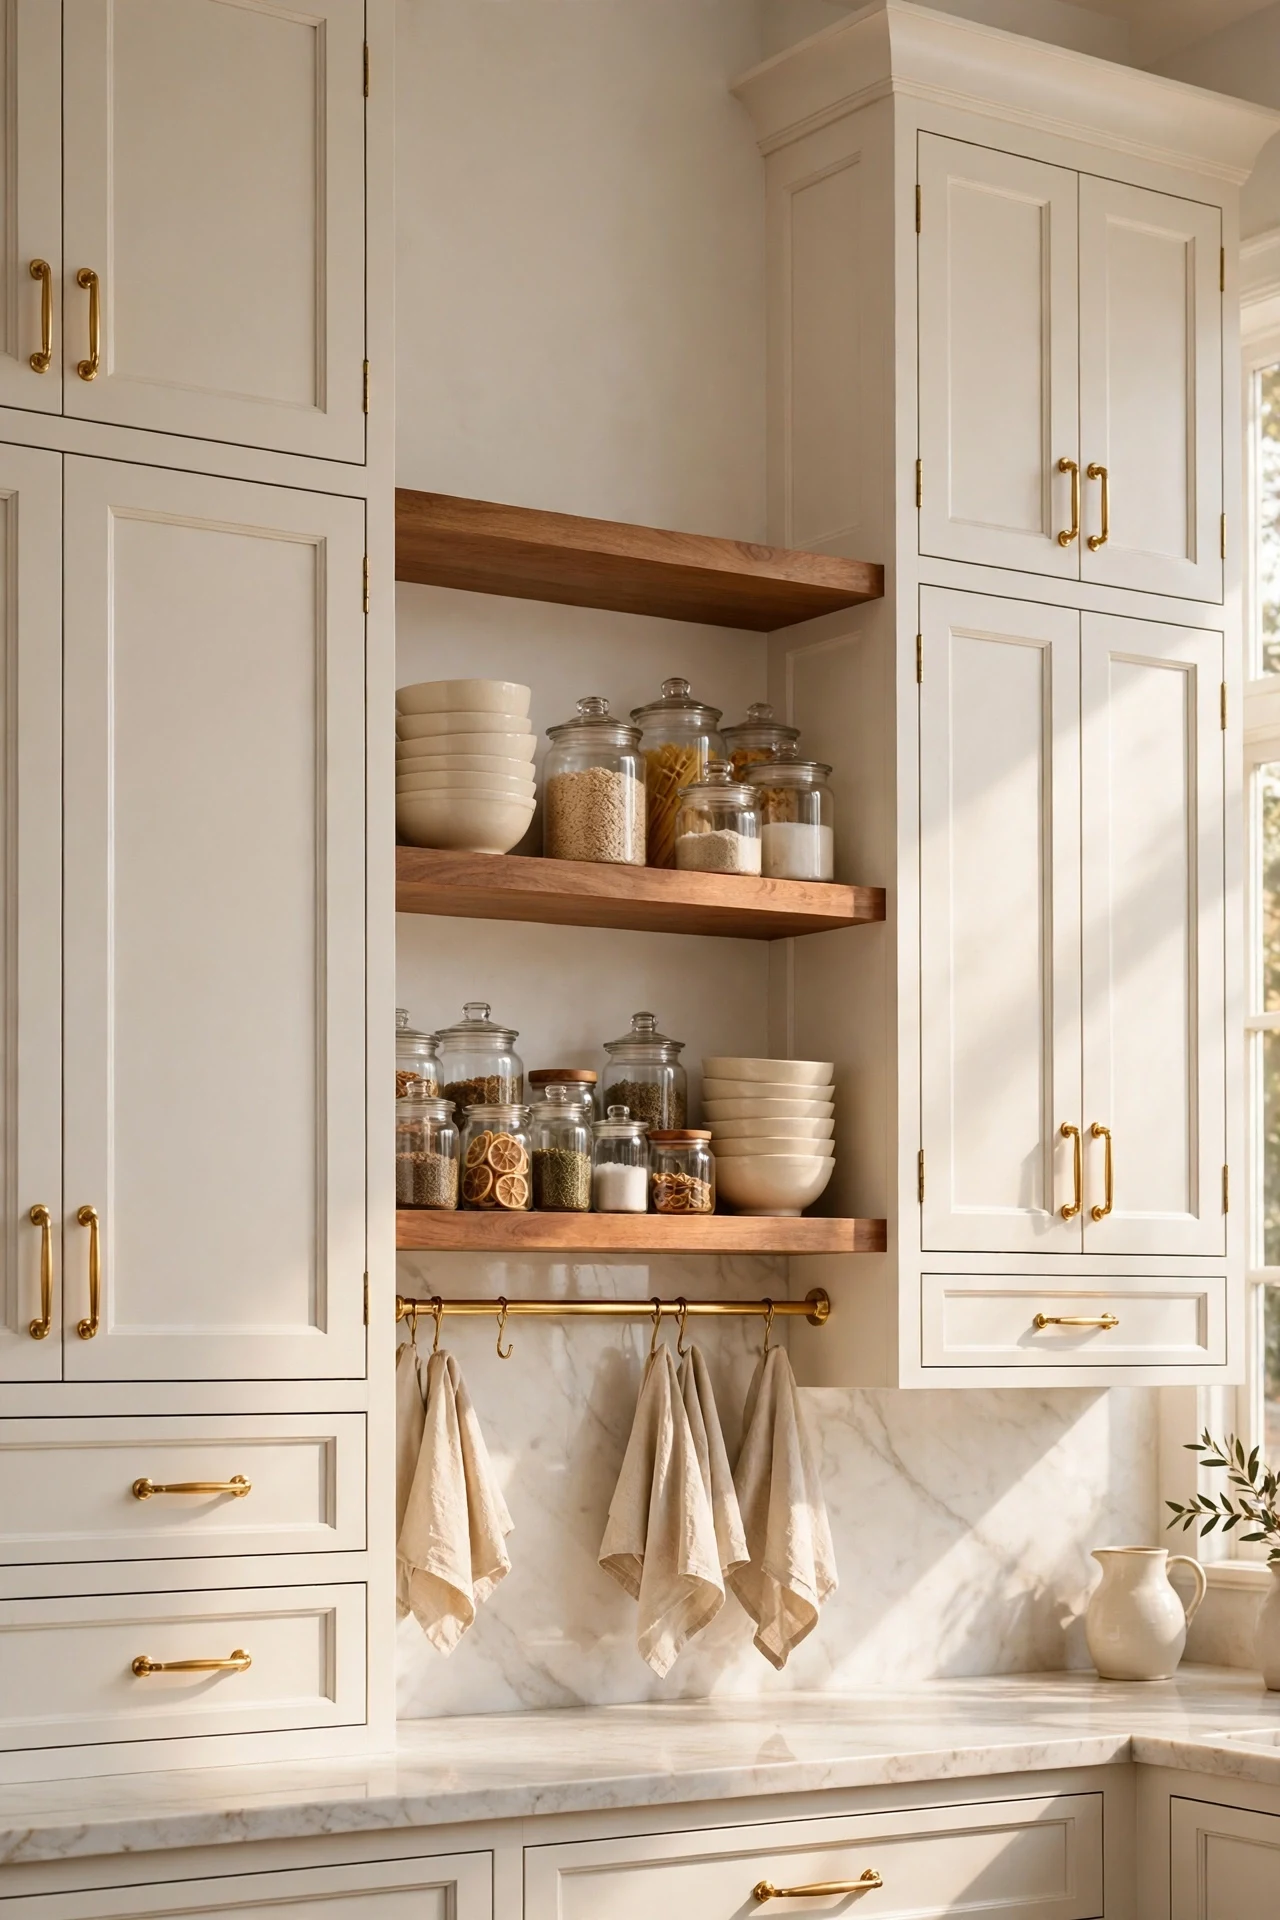
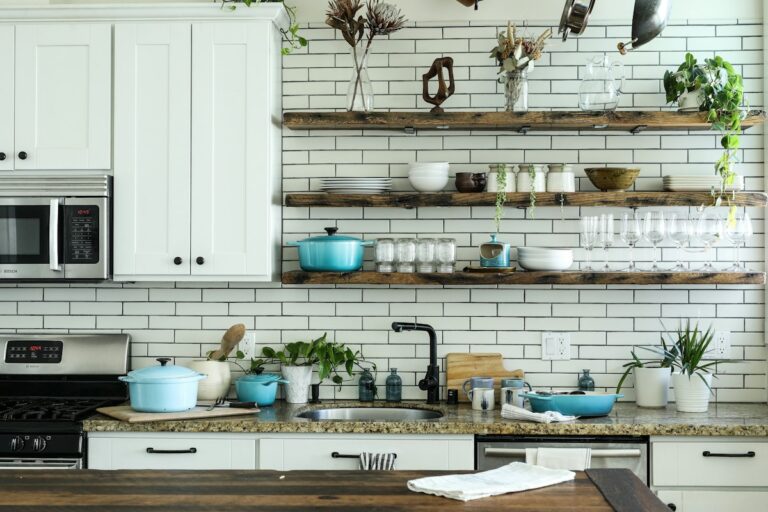
A full wall of upper cabinets can make a small or dark kitchen feel top-heavy. Removing one short run of uppers and fitting two warm wood shelves instead opens the sight line, shows the full-height tile from idea 3 if they share a wall, and gives everyday dishes a place that is faster to use than a cupboard. The discipline is in the editing: shelves hold only what is used daily and washed often, in the room’s own colours, cream, glass, warm wood. Everything dusty or mismatched goes behind the doors that remain.
Best For: Kitchens with more cabinet space than they need on one wall, and daily dishes worth seeing.
Not Ideal For: Keen cooks whose shelves would collect grease near the range; keep shelves on the sink or prep wall, not above the hob.
Estimated Cost: $80-$300 (estimate) for two solid wood shelves and heavy-duty brackets.
Budget Note: Shelves cost a fraction of one replacement cabinet, and the removed cabinet can sometimes be reused in a utility space.
Renter Friendly: No
Renter Note: Removing cabinets is structural and permanent; renters can take the doors off one cabinet for a rental version, keeping the doors and screws safe for refitting.
What You Need
Two warm wood shelves, concealed or black-and-gold brackets rated for the load, stud finder, level, drill, wall plugs rated for your wall type.
Product type to look for: Shelves at least 1.5 inches thick in a warm oak tone; thin shelves sag and look temporary, and the thickness is what reads as furniture.
How To Do It
- Empty and remove the chosen cabinet run, and make good the wall behind it.
- Find the studs and mark one level line for the lower shelf at comfortable reach for the top item.
- Fix brackets into studs wherever possible, hang the shelves, and load the heaviest items first over the brackets.
- Style with daily dishes in the palette only, and leave a third of each shelf empty on purpose.
Pro Tip
Anchor heavy shelves properly and respect the bracket rating; a loaded dinner-service shelf is far heavier than it looks, and the rating is per pair, not per bracket.
6. Fit a Deep Single-Bowl Sink and a High-Arc Gold Faucet
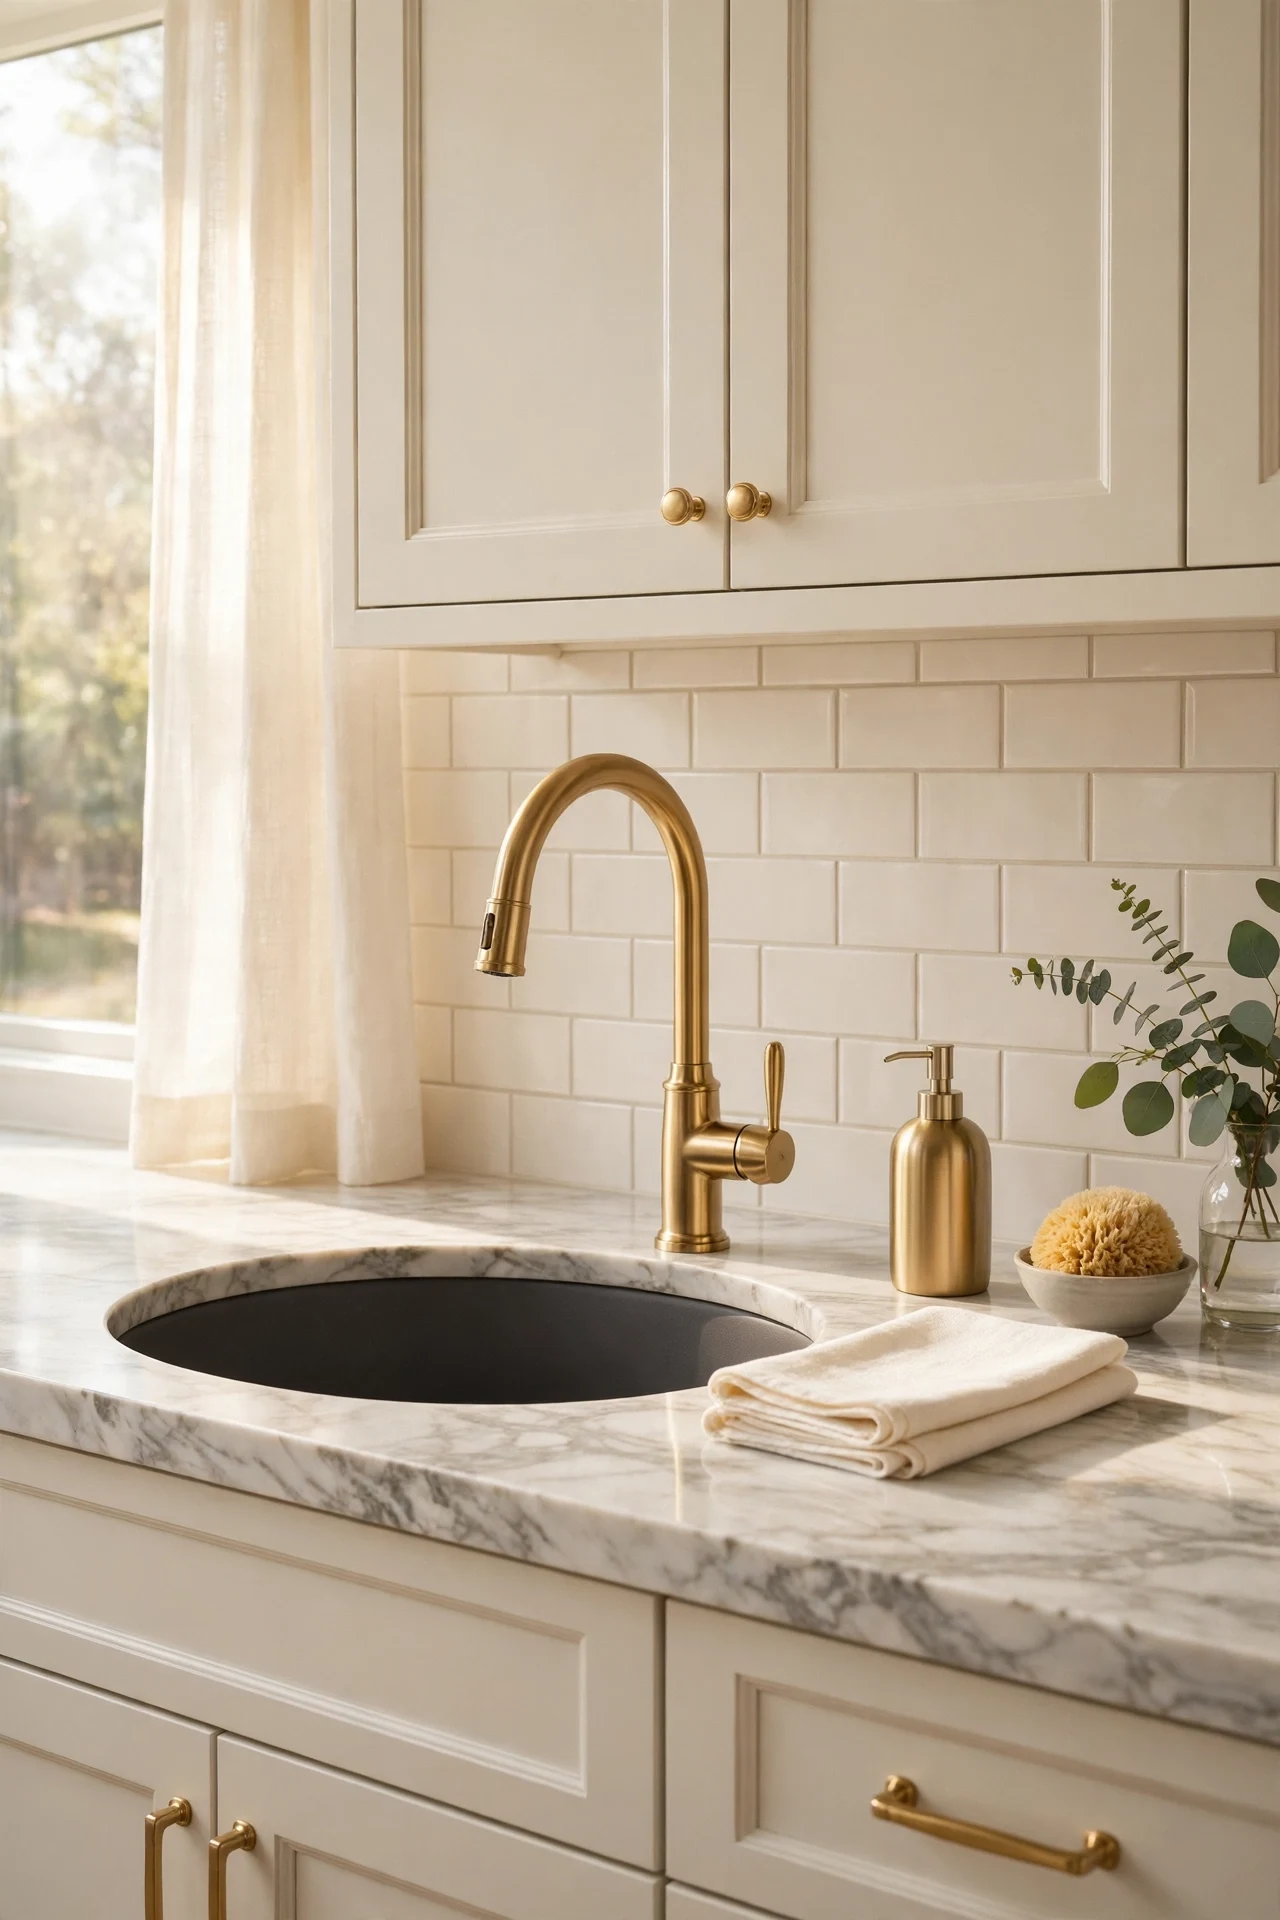
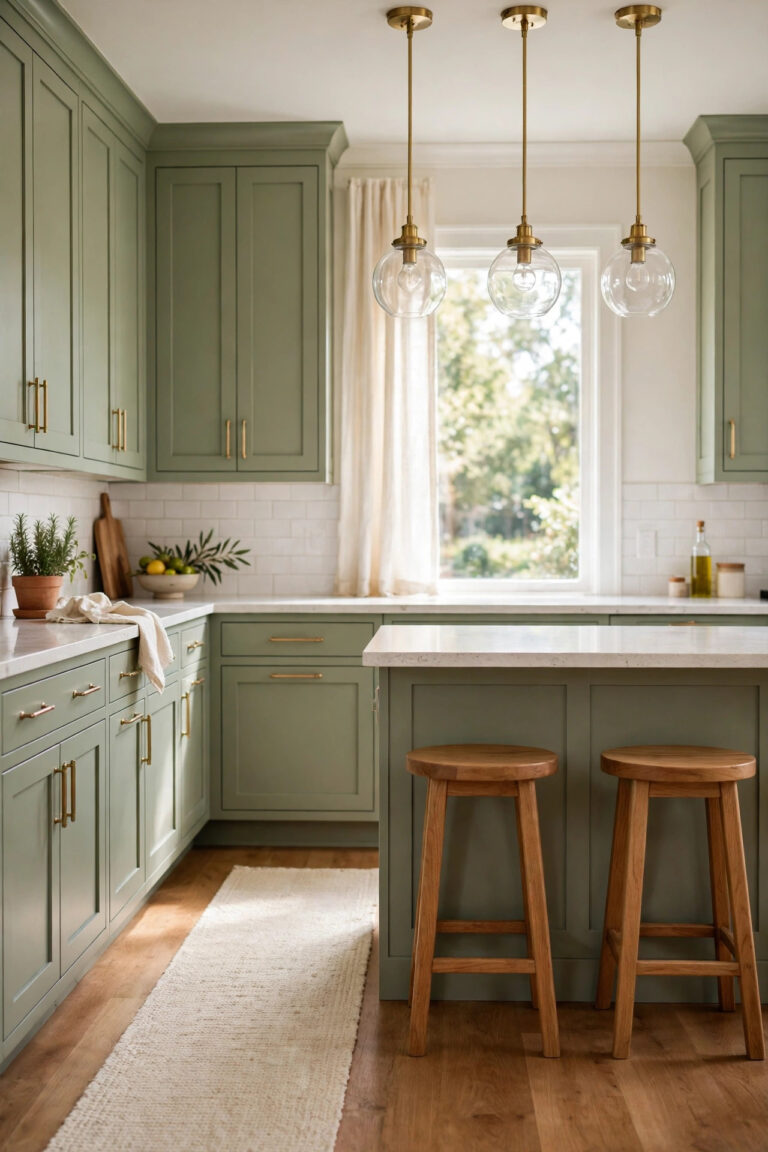
Two small sink bowls fit nothing larger than a dinner plate, and a low chrome faucet dates a kitchen as surely as the cabinet colour. A deep single bowl swallows roasting trays and big pans whole, and a high-arc brushed gold faucet ties the sink to the new hardware in idea 2 so the room’s metals agree. This is a plumber-level swap for most homes: the sink usually means cutting or confirming the counter opening, so it belongs in the phase where counters are touched, or as a planned job on its own with the water off for a few hours, not as a casual Saturday experiment.
Best For: Households that cook with large pans, trays and stockpots.
Not Ideal For: Anyone who regularly hand-washes delicate glassware alongside pans; a single bowl needs a small washing-up tub inside it for that routine.
Estimated Cost: $350-$900 (estimate) for sink and faucet, plus plumbing fitting if hired.
Budget Note: If the counter stays, a top-mount single bowl in the existing cut-out is far cheaper than undermount, which usually waits for new counters.
Renter Friendly: No
Renter Note: This is a permanent plumbing change for owners; renters get most of the visual lift from idea 2’s hardware alone.
What You Need
Deep single-bowl sink matched to your cabinet width, high-arc brushed gold faucet, plumber’s contact details, washing-up tub for inside the bowl.
Product type to look for: A sink at least 9 inches deep with sound-deadening pads, and a faucet with a pull-down spray in the same brushed gold family as your pulls.
How To Do It
- Measure the sink cabinet’s internal width first; the bowl must clear the cabinet walls, not just the counter hole.
- Agree with the plumber whether the existing counter cut-out can be reused before ordering anything.
- Fit the faucet to the sink or counter before the sink is set, while access is still easy.
- Run the taps and check every joint dry with a paper towel before the first real wash.
Pro Tip
Match gold tones at the sink in person if you can. The faucet is the largest gold piece in the room, and a yellow gold faucet beside brushed gold pulls is the mismatch everyone notices.
7. Lay Warm Wood-Look Planks Over the Old Floor
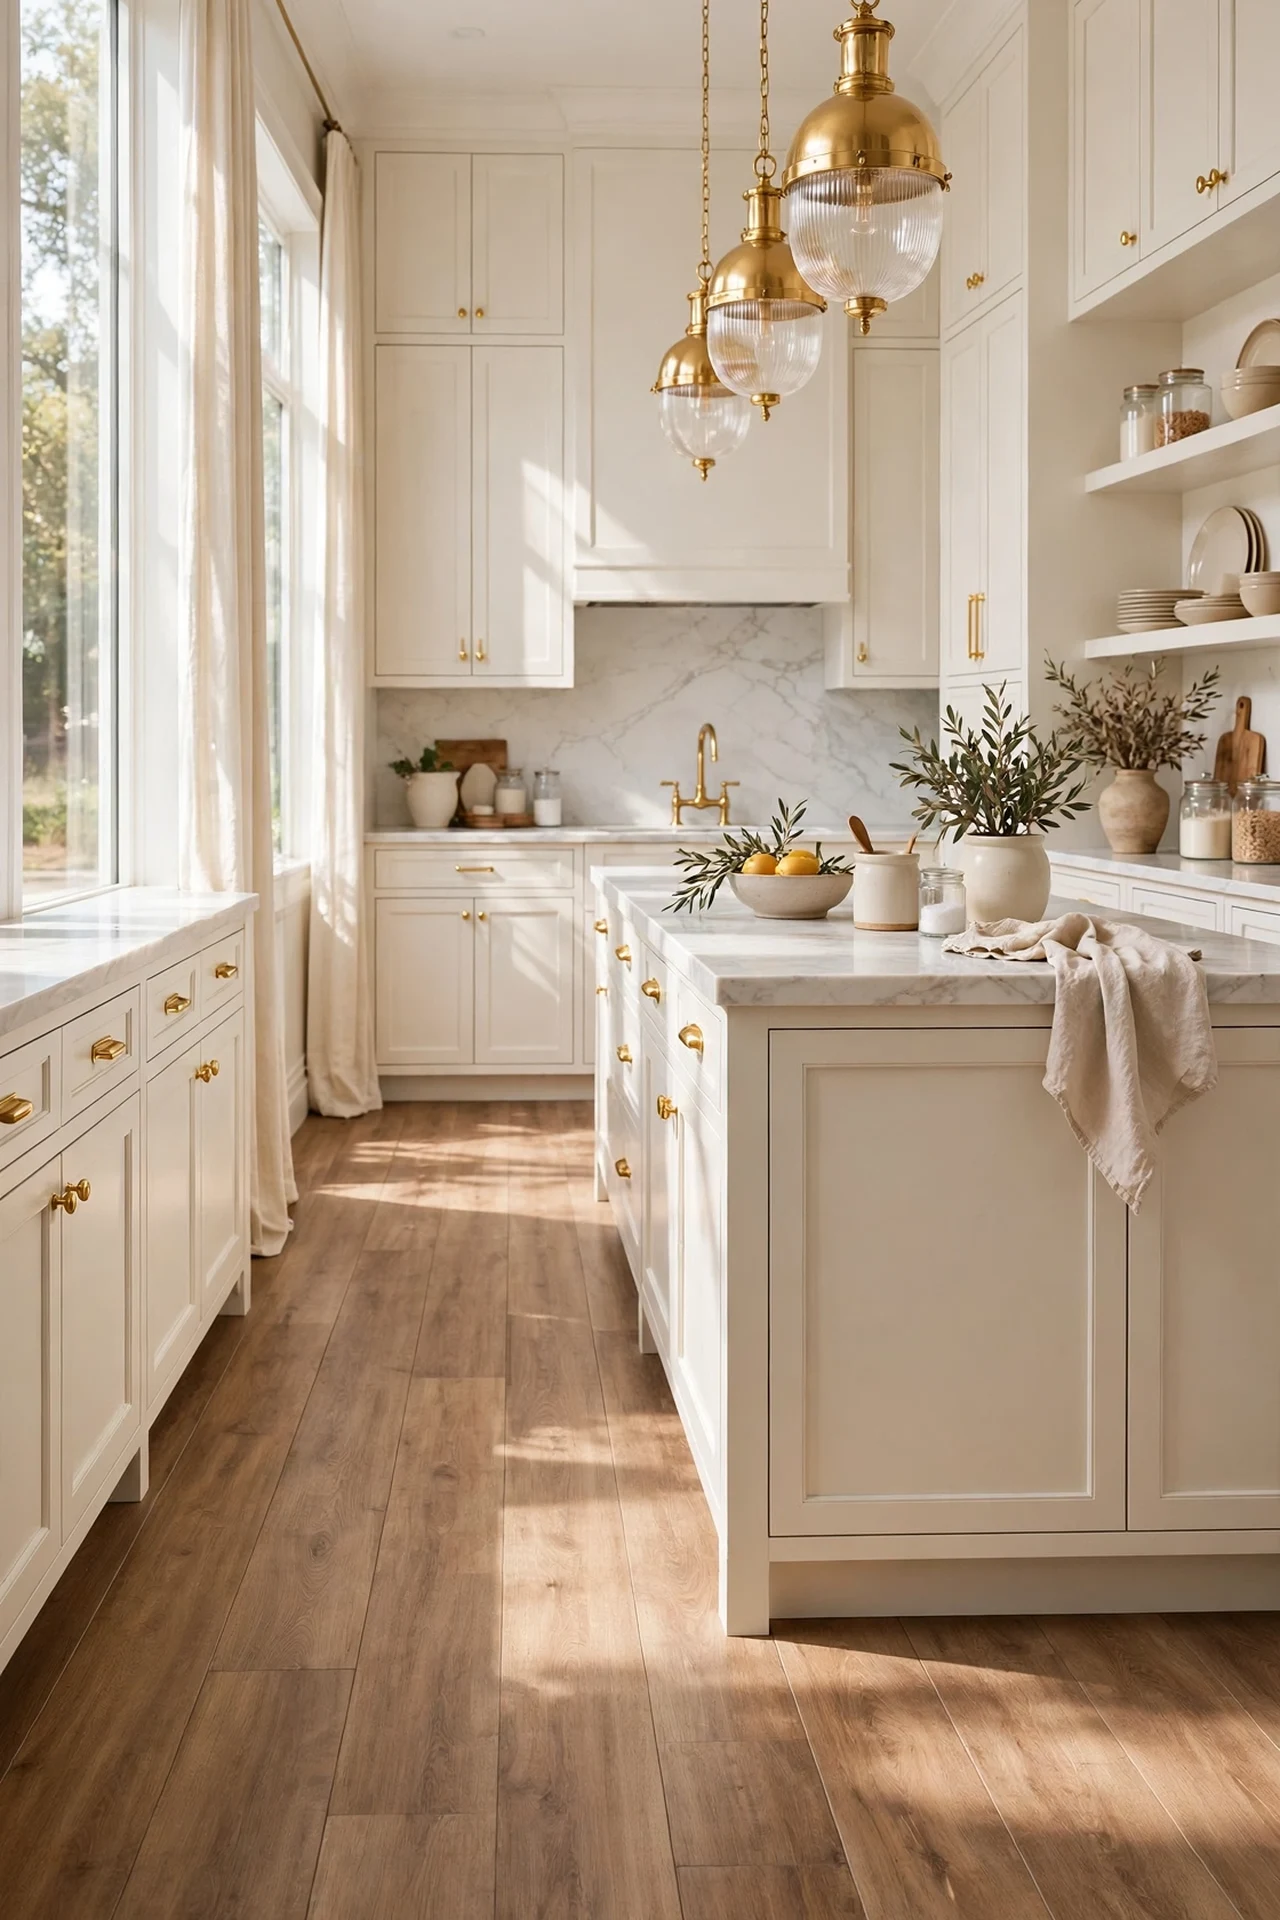
Kitchen floors date a room quietly: grey tiles, yellowed vinyl or a checkerboard that fights the new palette. Luxury vinyl plank in a warm wood tone can often be laid directly over sound existing tile or sheet vinyl, which skips demolition entirely and gives the whole remodel its warm base in a weekend. The direction matters: run planks along the longest line of the room to stretch it, and keep the tone warm mid-oak, because grey-washed floors will fight the cream and gold above them. Door clearances and appliance heights change by the thickness of the plank, so this idea needs measuring before enthusiasm.
Best For: Sound, level existing floors that are ugly but solid.
Not Ideal For: Floors with bounce, water damage or big level changes; overlay flooring hides colour, not problems.
Estimated Cost: $600-$1,800 (estimate) for planks and underlay for a mid-size kitchen, DIY laid.
Budget Note: Skipping demolition and disposal is the saving; spend part of it on a plank with a thick wear layer so the saving does not wear through at the sink.
Renter Friendly: No
Renter Note: A floating click floor is technically removable, but thresholds and trims make it a landlord conversation, not a quiet weekend job.
What You Need
Click-fit luxury vinyl planks in warm oak, underlay if required by the maker, spacers, utility knife and straight edge, new threshold trims.
Product type to look for: Rigid-core waterproof planks rated for kitchens, with a wear layer of at least 0.3mm for a family kitchen, in a warm rather than grey wood tone.
How To Do It
- Check the existing floor is level within the maker’s tolerance and that appliances still fit their gaps with the added thickness.
- Acclimatise the planks in the room for the time the maker states.
- Lay from the longest wall, staggering joints randomly, and leave the stated expansion gap at every wall.
- Finish thresholds last, once every door has been checked for clearance with the new height.
Pro Tip
Open three boxes and mix planks from all of them as you lay. Colour varies slightly per box, and mixing hides it, while laying box by box can leave a visible patch halfway across the room.
8. Add a Slim Island, or a Rolling One
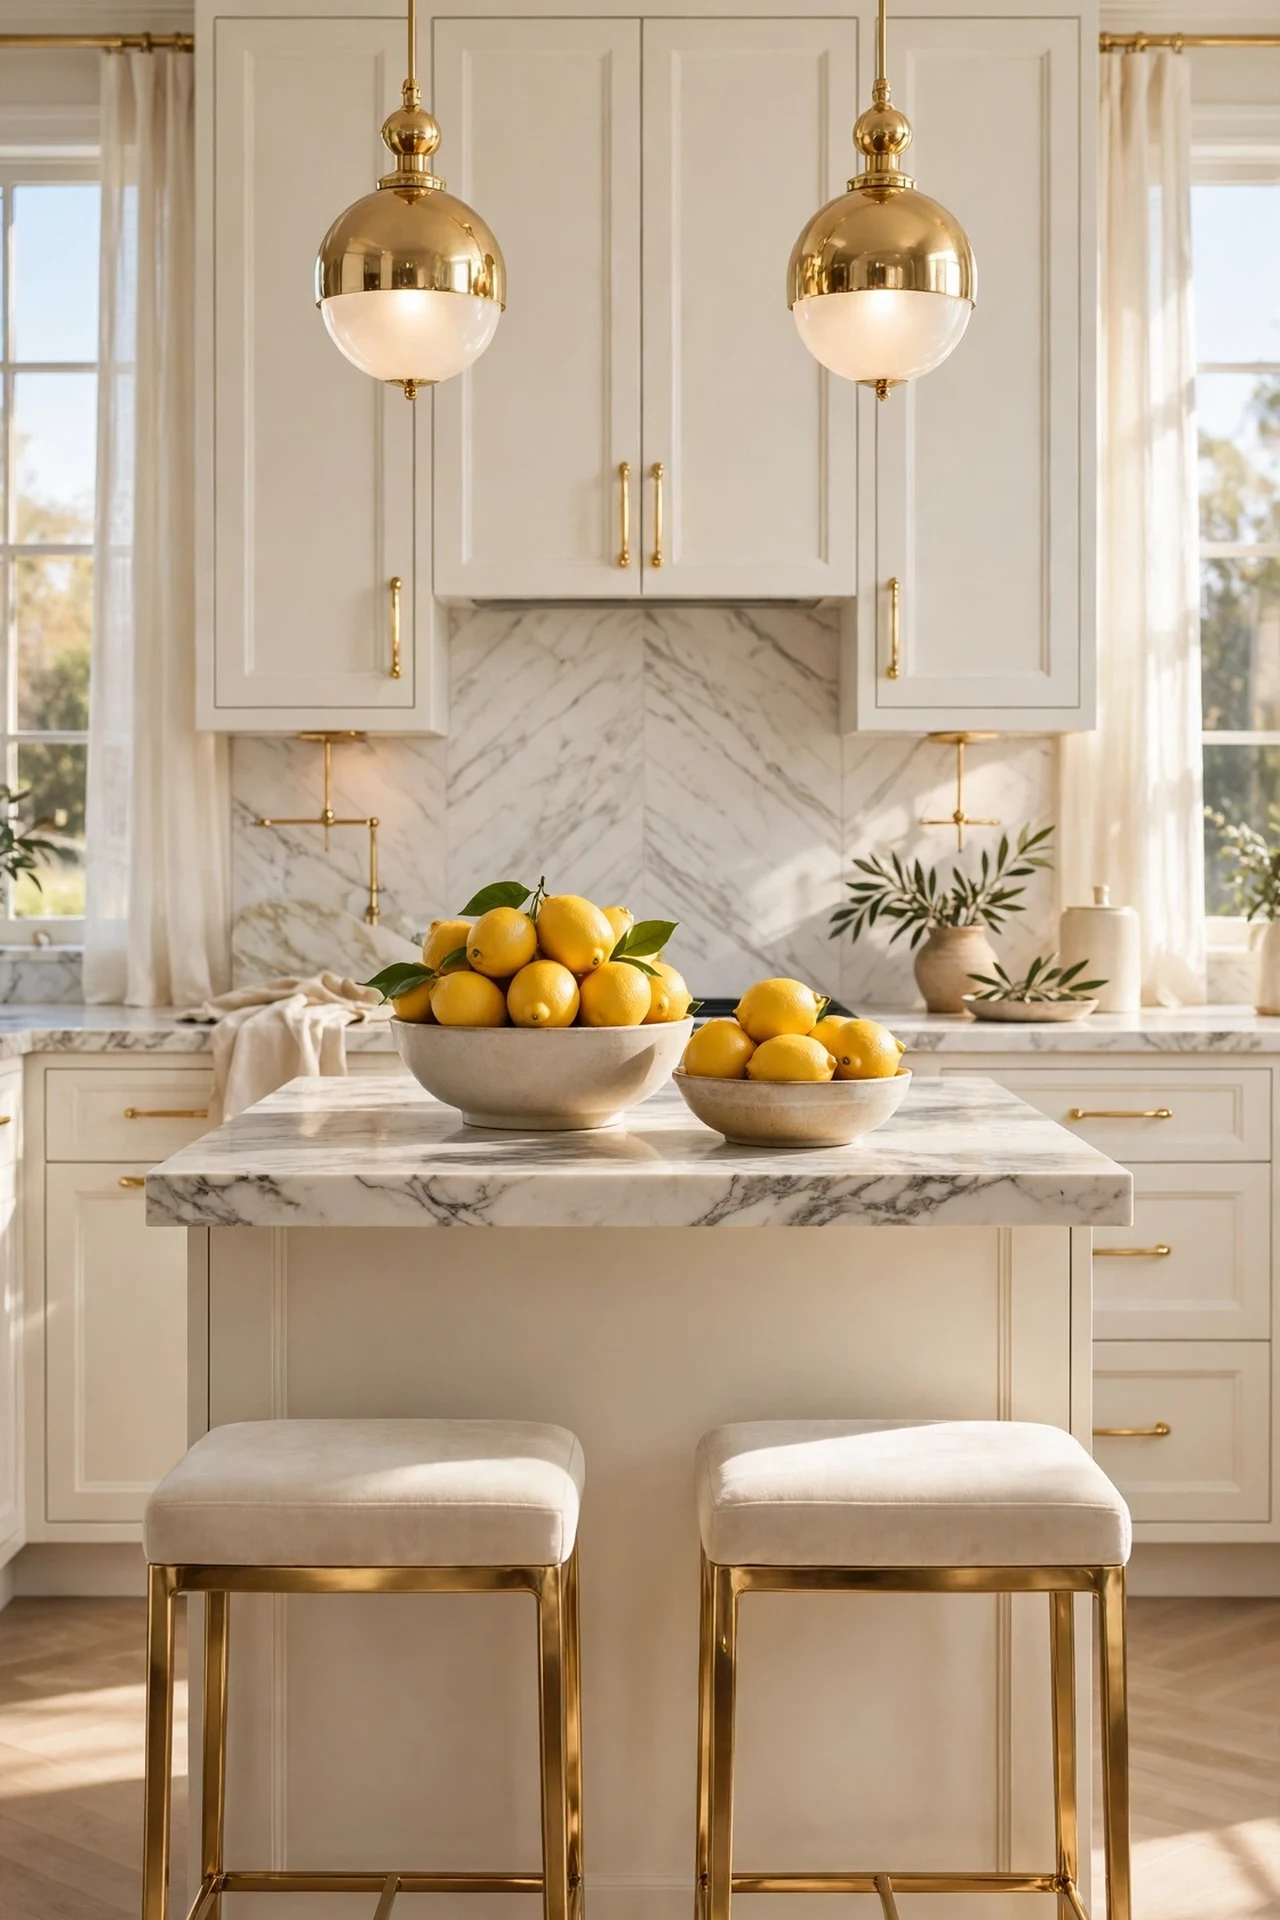
An island changes how a kitchen works, not just how it looks: prep space facing the room, storage on the kitchen side, and two stools that turn cooking into company. In a remodel without layout changes, a slim fixed island works where 36 inches of clear walkway remains on all working sides, and below that clearance a rolling island or butcher-block cart gives the same surface with an exit plan: park it against a wall on the days the room needs to be a thoroughfare. Cream paint and a marble-look top keep either version inside the palette, and two gold stools finish it.
Best For: Kitchens with an empty middle and at least 36 inches of walkway to spare.
Not Ideal For: Galley kitchens and rooms where both doors open through the middle; take the station in idea 9 instead.
Estimated Cost: $400-$1,500 (estimate) for a slim fixed island flat-pack or a quality rolling cart island.
Budget Note: A rolling island is the honest budget version and it leaves with you; a fixed island adds value but adds electrician costs if you want sockets in it.
Renter Friendly: With Conditions
Renter Note: The rolling version is fully renter friendly; a fixed island is a building change and an owner’s project.
What You Need
Slim island unit or rolling butcher-block cart, two stools with gold or warm wood legs, pendant plan from idea 12, tape measure.
Product type to look for: An island no deeper than 24 to 30 inches for a remodel, with drawers on the working side; doors on both sides waste the storage you actually reach for.
How To Do It
- Tape the island footprint on the floor and live with the tape for three full days of cooking before buying.
- Confirm 36 inches minimum between the island and every counter and appliance door swing.
- Assemble in place, level it, and for a fixed island, fix it to the floor as the maker instructs.
- Style the top with one tray only; an island that becomes a shelf has failed at its one job.
Pro Tip
If sockets in a fixed island mean an electrician anyway, put them on the side, not the top. Top sockets collect crumbs and water; side sockets keep the marble-look surface clean and photogenic.
9. Zone One Counter as a Coffee and Breakfast Station
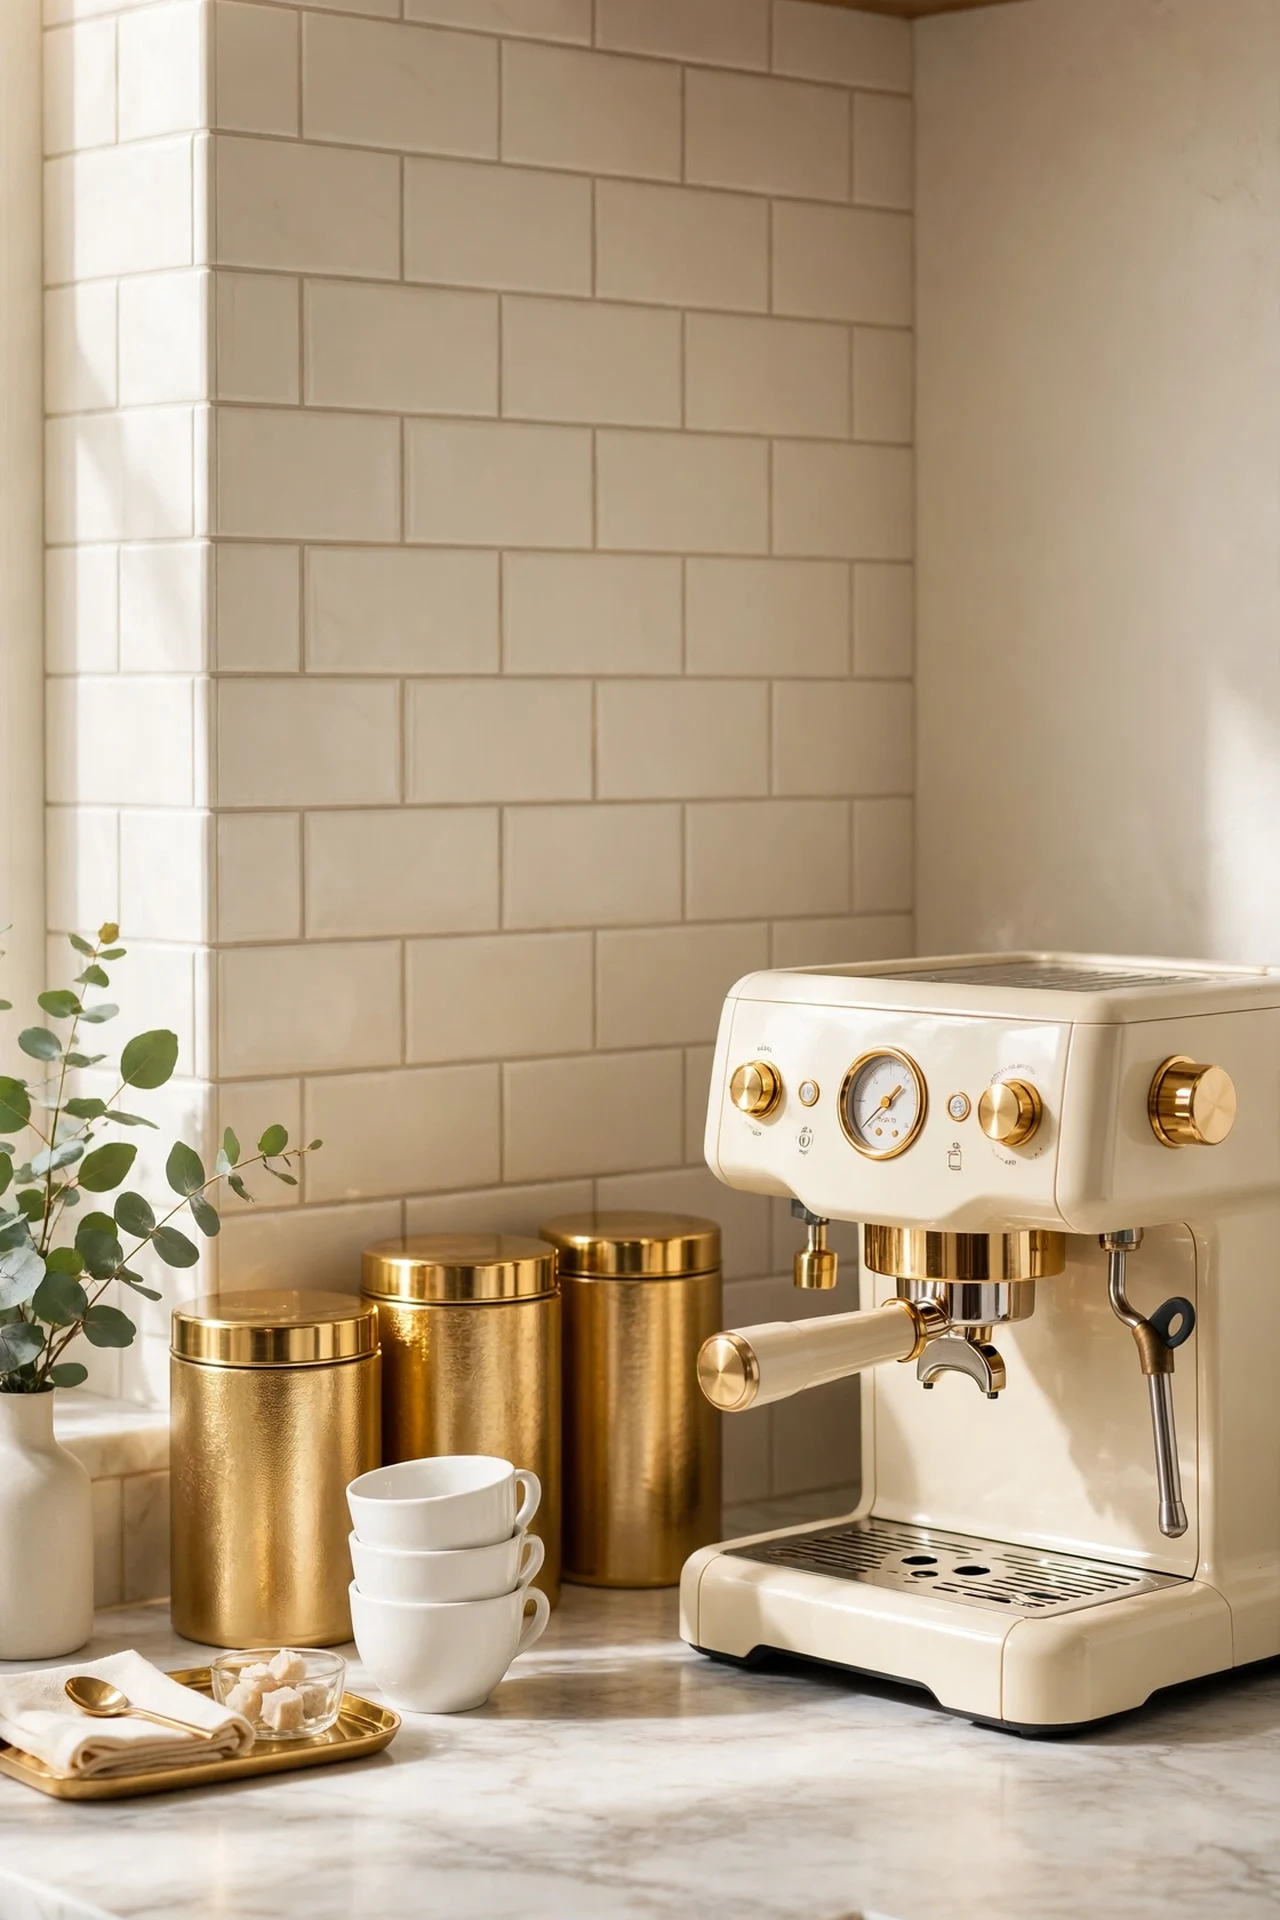
Remodels fail in daily life when every appliance still lives everywhere. Zoning one counter run as the coffee and breakfast station, machine, canisters, cups and the toaster on one tray-lined stretch, gives the kitchen a planned rhythm and clears every other counter by agreement. It needs no building at all: a tray or a slim shelf above for cups, canisters in cream and gold for the dry goods, and the discipline that nothing unrelated parks there. It is the cheapest idea in this list and often the one visitors copy, because a station reads as intention.
Best For: Households with a morning routine and counters that collect clutter.
Not Ideal For: Kitchens with almost no counter; a station still needs about 24 inches, and stealing it from the only prep space backfires.
Estimated Cost: $40-$150 (estimate) for tray, canisters and a small shelf, using appliances you own.
Budget Note: This is a styling-and-sorting spend, not a building spend; the appliances you already own do the work.
Renter Friendly: Yes
Renter Note: Entirely surface-level; use a removable shelf or skip it and keep cups in the cabinet directly above.
What You Need
Large tray, three matching canisters in cream or glass with gold lids, cup hooks or a small shelf, your existing coffee kit and toaster.
Product type to look for: Canisters with airtight seals in one material family; mixed jars make a station look like storage, matching ones make it look styled.
How To Do It
- Choose the counter nearest the water and the mugs’ cabinet, not the prettiest corner.
- Clear it completely, then place only the station items back, on the tray.
- Put daily items at the front, weekly items behind, and nothing else at all.
- Move one appliance that does not belong to the station to a cabinet, and give it a month before deciding it needs counter space back.
Pro Tip
A station works when it is slightly too styled to disturb. The tray edge is the rule: anything that does not fit on or behind it does not live there.
10. Take the Cabinets Up to the Ceiling
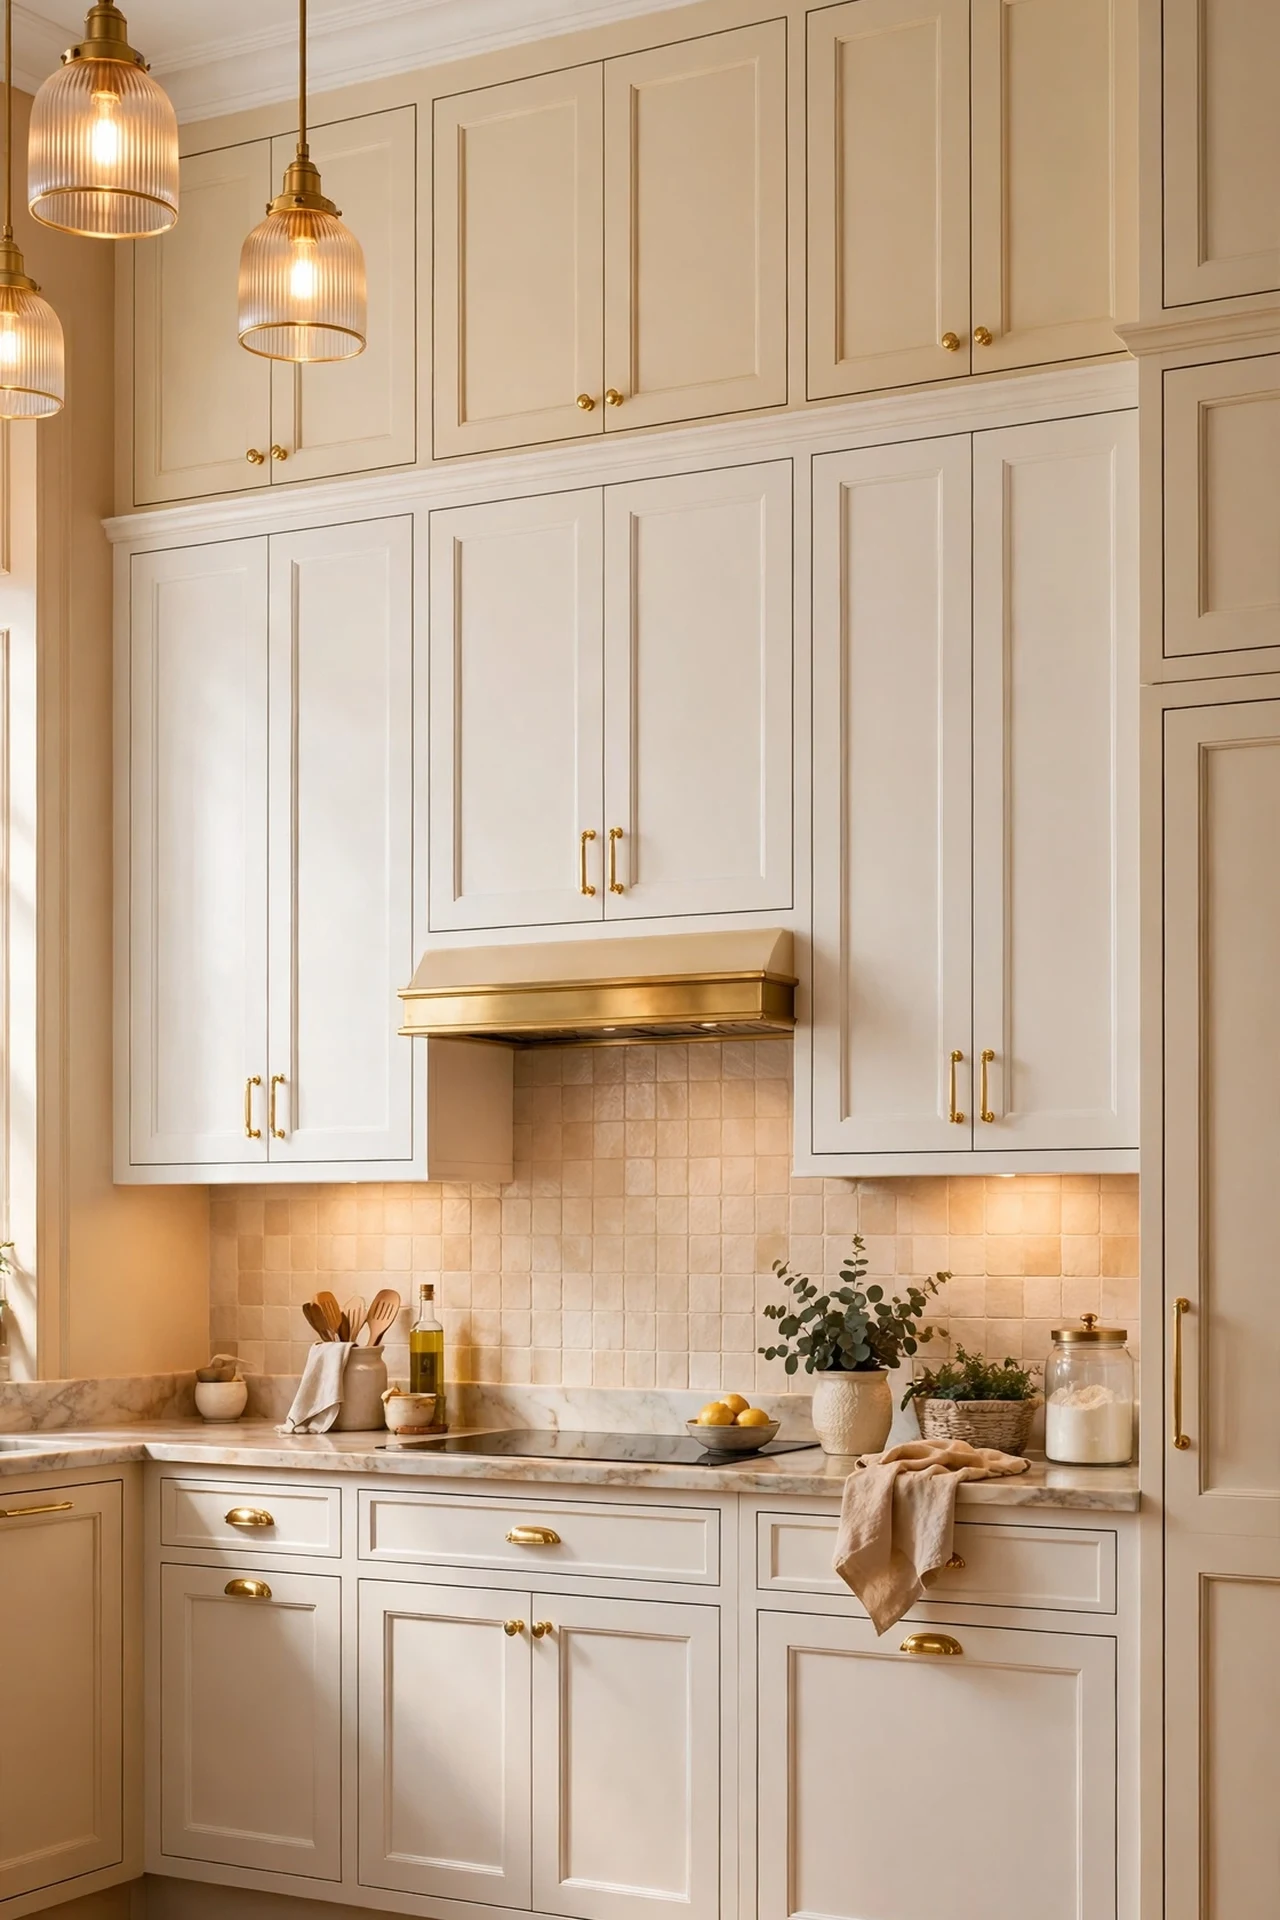
The dusty gap between the top of the cabinets and the ceiling makes every kitchen look like the cabinets were dropped in as an afterthought. Closing that gap, with a second short row of cabinets, a fitted bulkhead, or trim and a pelmet run to the ceiling, makes the cabinetry read as built-in furniture and buys storage for the once-a-year pieces at the same time. The new row should match the paint from idea 1 exactly, and its doors can be plainer than the main row, because at that height detail is lost and calm is what shows.
Best For: Kitchens with 12 or more inches of dead gap above the cabinets.
Not Ideal For: Very high or sloped ceilings, where the extension becomes a building project rather than a finishing one.
Estimated Cost: $500-$1,600 (estimate) for a short second row or a finished bulkhead, depending on run length.
Budget Note: A painted bulkhead with trim is the budget route to the same line; it gives the look without the storage, so choose it only if storage is already enough.
Renter Friendly: No
Renter Note: This is carpentry fixed to walls and ceiling, for owners only.
What You Need
Short upper cabinets or timber and board for a bulkhead, matching cabinet paint, crown or cove trim, ladder, stud finder.
Product type to look for: Plain slab doors for the top row in the same finish family; shaker detail that high up only collects shadow lines.
How To Do It
- Measure the gap at several points; ceilings are rarely level, and the plan has to fit the smallest measurement.
- Decide storage row versus bulkhead based on what would actually live up there, honestly.
- Fit, fill and sand the joins so the whole run reads as one piece of furniture.
- Paint the extension with the cabinets in the same session wherever possible, so the whites match exactly.
Pro Tip
Store by ceremony up there: the good platter, the holiday pieces, the bread maker. If you need a ladder weekly, the wrong things are stored high.
11. Turn a Broom Closet Into a Working Pantry
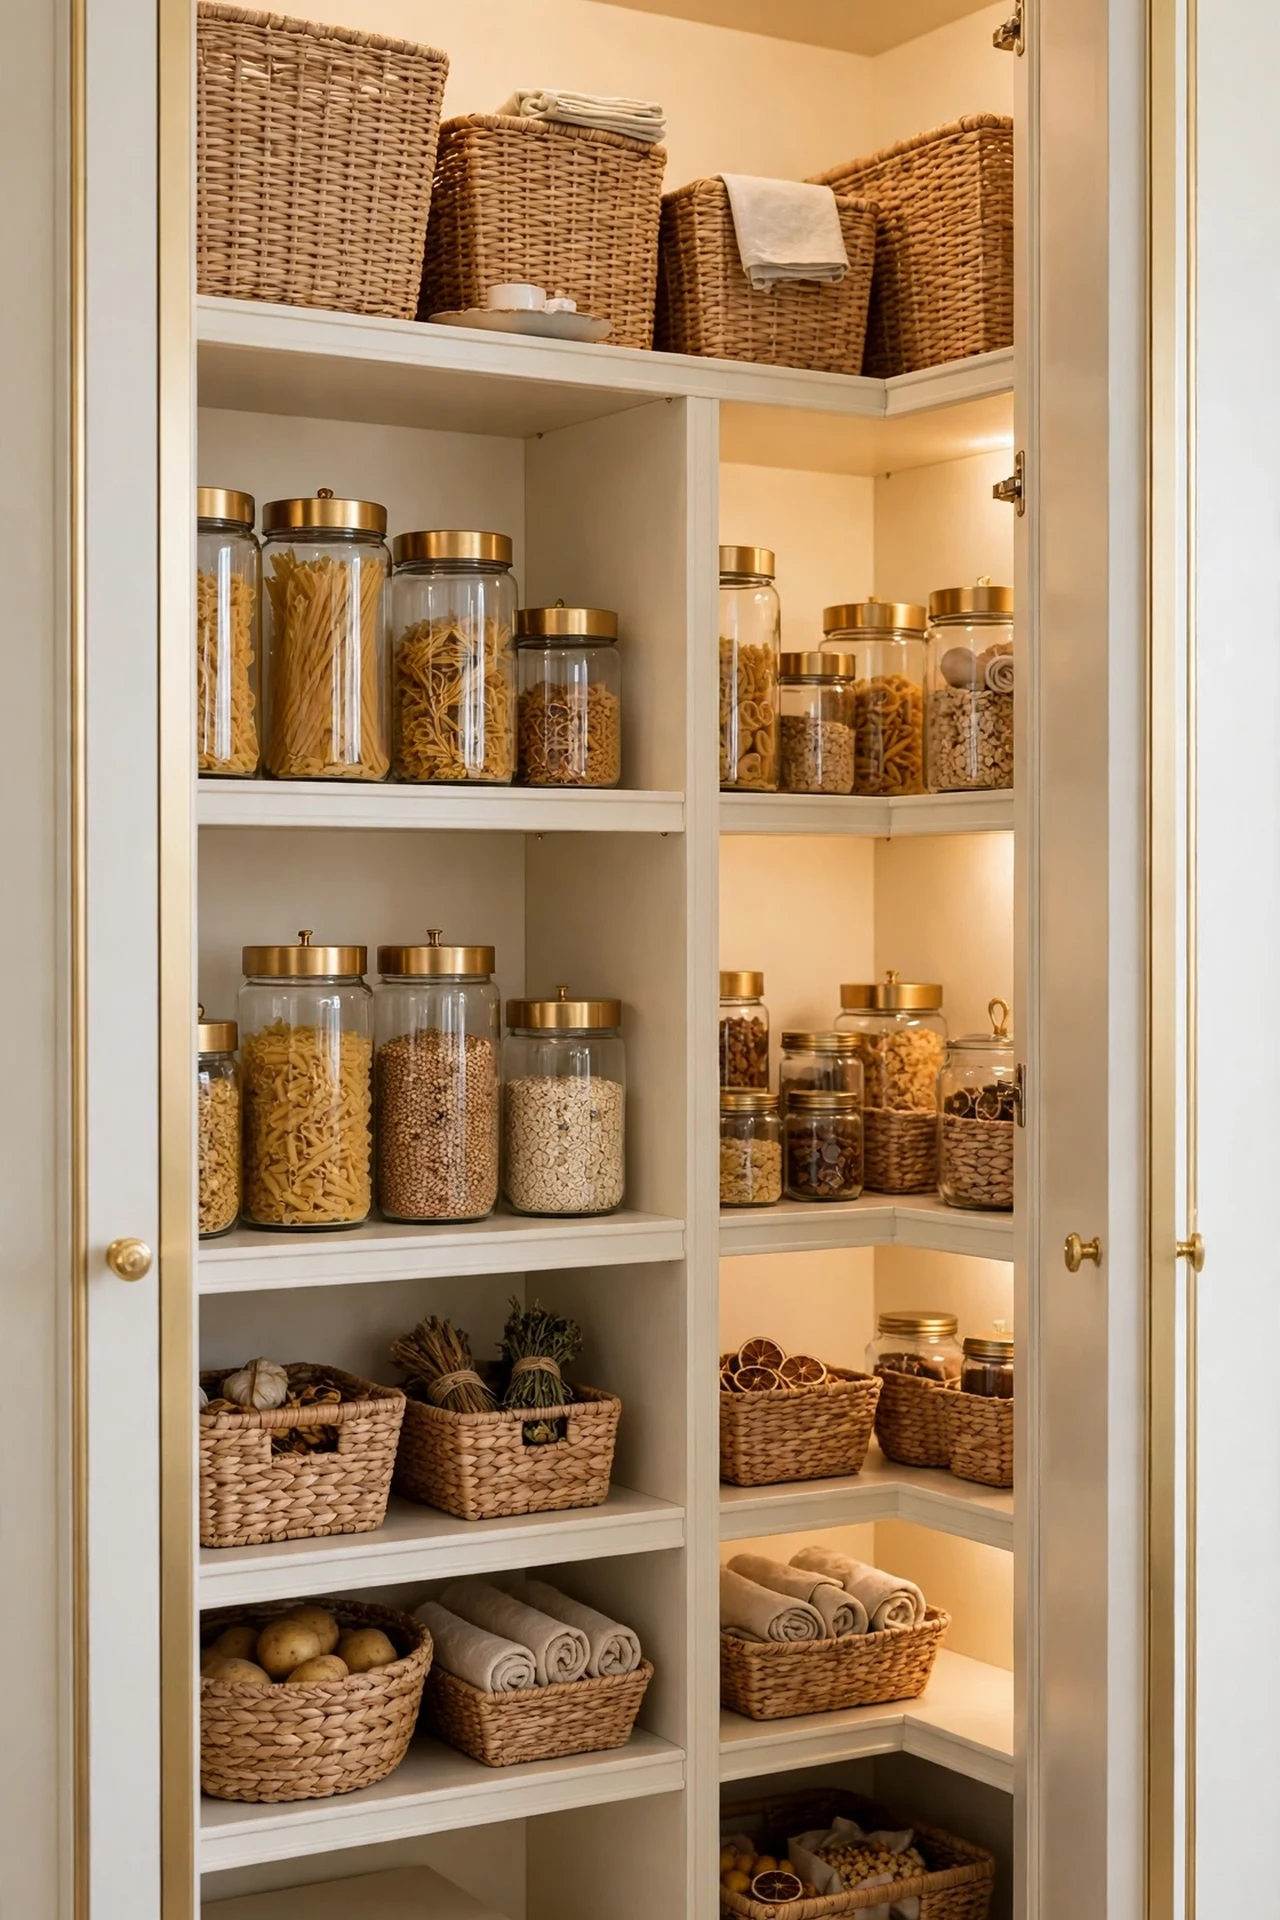
Many kitchens sit next to a closet that holds a mop, a vacuum and wasted cubic feet. Fitted with shelves at the right depths, the same closet becomes a walk-in pantry that empties two kitchen cabinets, and emptied cabinets are what let the visible kitchen stay calm. Shelf depth is the whole design: 10 to 12 inches for jars and cans so nothing hides in a second row, one deeper shelf low down for appliances. Baskets in one material and jars in one family keep it photogenic, because a pantry you can see from the kitchen is part of the room’s decor whether you plan it or not.
Best For: Kitchens beside a hall or broom closet that is mostly air.
Not Ideal For: The home’s only utility closet, if the vacuum and mop genuinely have nowhere else to live.
Estimated Cost: $120-$400 (estimate) for shelving, brackets, baskets and jars.
Budget Note: Plain board shelves on battens cost very little; spend the saving on baskets and jars, which are what you actually see daily.
Renter Friendly: With Conditions
Renter Note: Battens and shelves are screw-fixed; a freestanding shelving unit inside the closet gives renters most of the gain with no holes.
What You Need
Shelf boards or a freestanding shelving unit, battens and brackets, woven baskets, glass jars with lids, a small step for the top shelf.
Product type to look for: Shelving 10 to 12 inches deep for food storage; deeper shelves guarantee a lost second row and expired jars.
How To Do It
- Empty the closet completely and rehome the cleaning kit first, honestly, before shelving anything.
- Plan shelf heights around your tallest items, cereal boxes and oil bottles, with one low deep shelf for appliances.
- Fit shelves from the bottom up, checking each is level before loading.
- Decant the daily dry goods into jars, group baskets by meal, and leave the top shelf for back-stock only.
Pro Tip
Put a small motion-sensor light strip inside the door frame. Pantries fail in the dark corners; light is what turns a closet into a pantry you actually use.
12. Layer the Lighting: Pendants, Ceiling and Task
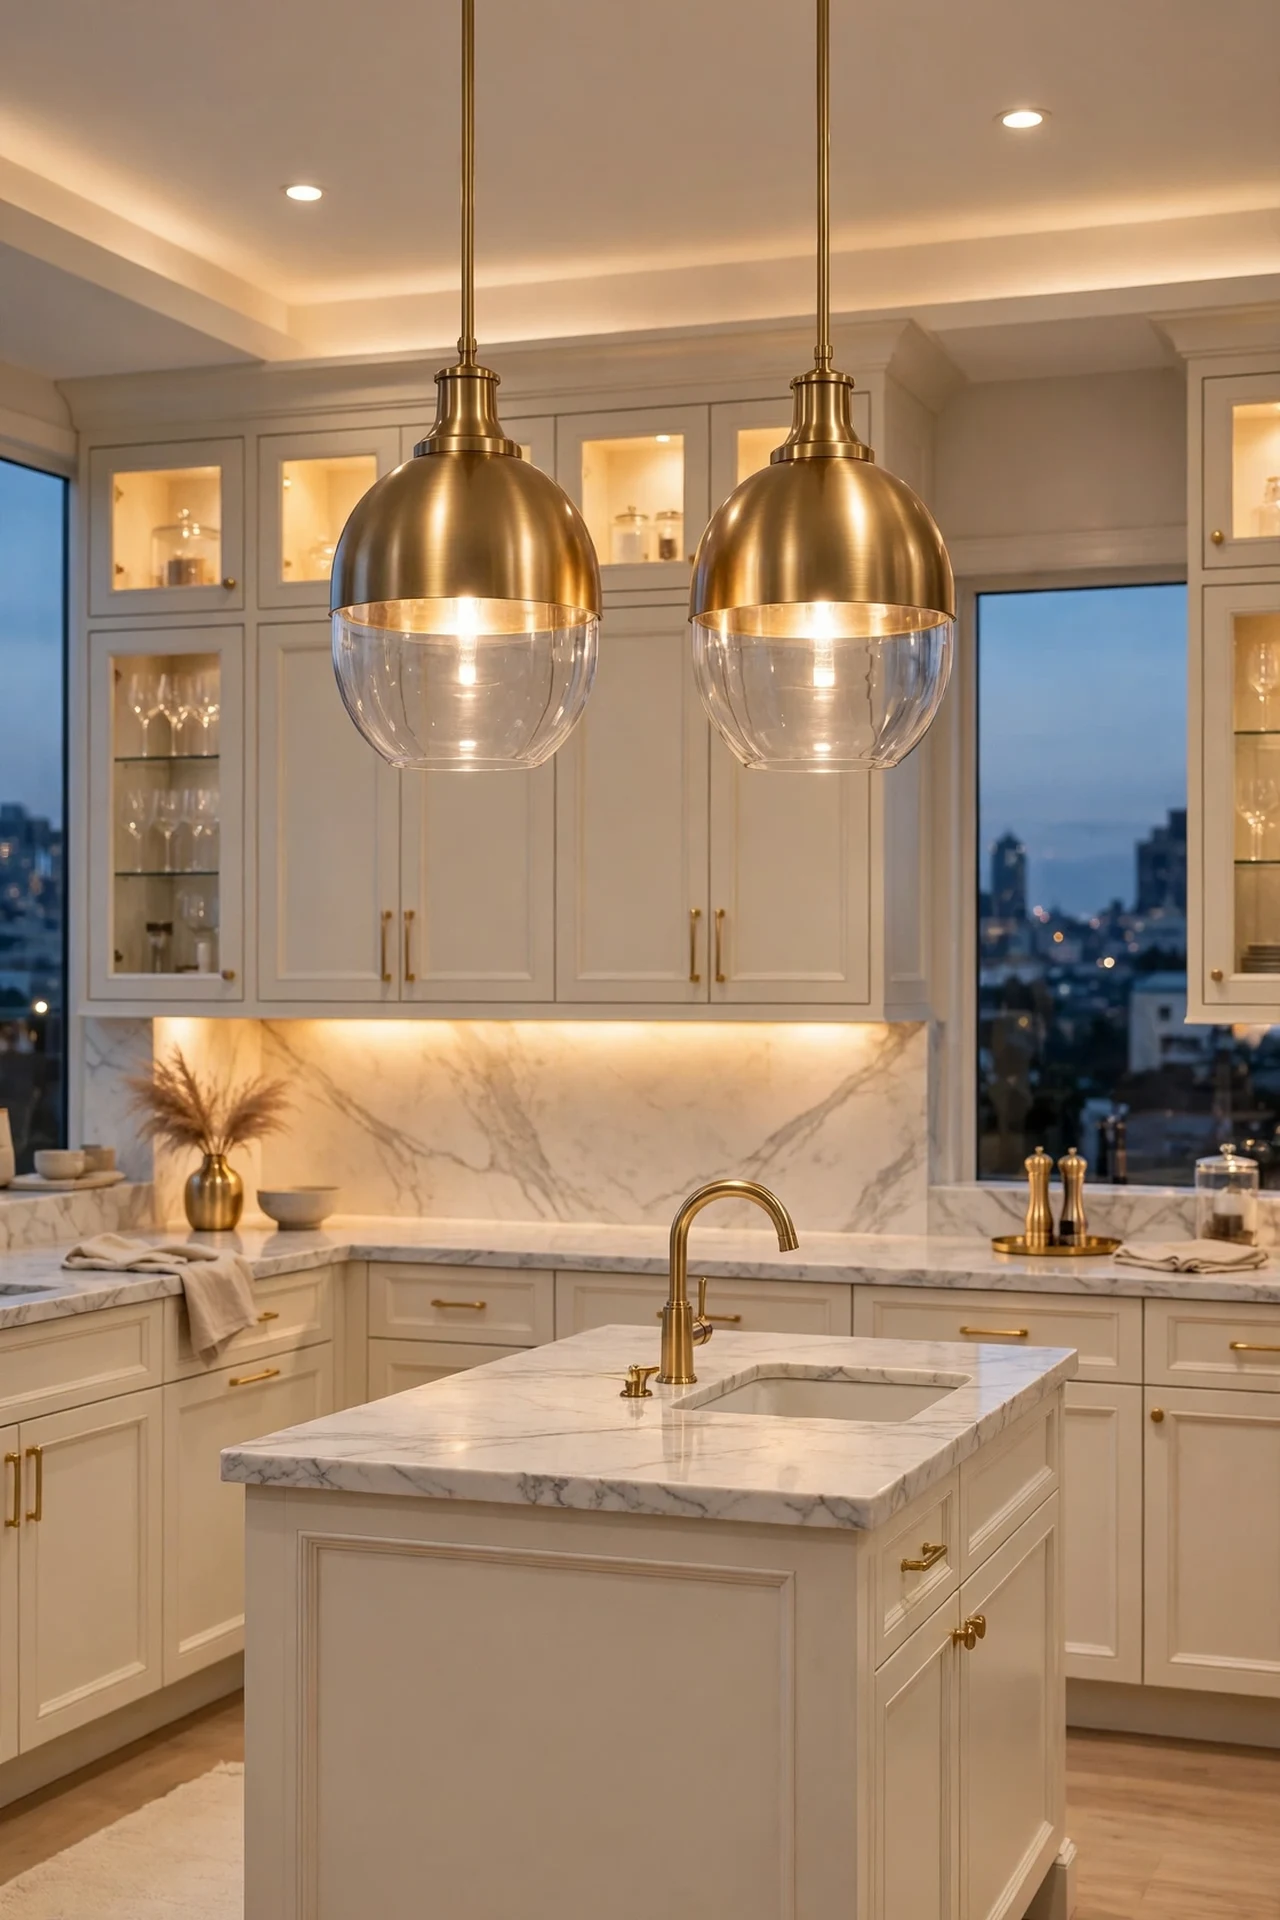
One ceiling light is why remodelled kitchens still photograph badly. Layered lighting is three jobs done by three fittings: a soft ceiling light for the whole room, pendants over the island or table for the feature glow you see in photos, and the under-cabinet task light from idea 4 where the work happens. Gold and glass pendants in odd numbers, two over a short island, three over a long one, carry the glam note overhead. All of it belongs on dimmers, because a kitchen at full brightness at 9pm feels like a shop, and the same room dimmed feels like the remodel cost twice as much.
Best For: Kitchens with an island or dining end, and any kitchen lit by a single fitting.
Not Ideal For: Very low ceilings under pendant height; use flush gold-and-glass fittings in the same style instead of drops.
Estimated Cost: $200-$700 (estimate) for two or three pendants and dimmer switches, plus electrician fitting.
Budget Note: Pendants are a visible spend, so this is the wrong place for the cheapest fitting; save instead by keeping existing ceiling points and choosing pendants that fit them.
Renter Friendly: No
Renter Note: Light fittings and dimmers are electrical work for the owner and a qualified electrician; renters can layer with the plug-in options in idea 4 only.
What You Need
Two or three gold and glass pendants sized to the island, dimmer switches, warm white bulbs matched across all fittings, electrician booking.
Product type to look for: Pendants with the bulb visible through clear or opal glass at roughly a third of the island’s length each, hung so the bottom sits 30 to 36 inches above the counter.
How To Do It
- Mark pendant positions over the island first, evenly spaced, before any ceiling work.
- Have the electrician fit pendants and dimmers in one visit, and put pendants and ceiling light on separate dimmers.
- Match every bulb in the room to the same warm temperature before judging the result.
- Set three scenes, cooking, eating, evening, and label them if the dimmers allow.
Pro Tip
Any electrical work in a kitchen belongs to a qualified electrician, and it is cheaper batched: pendants, dimmers and idea 4’s hardwired option done in one visit cost less than two callouts.
13. Swap Counters in Phases, One Run at a Time
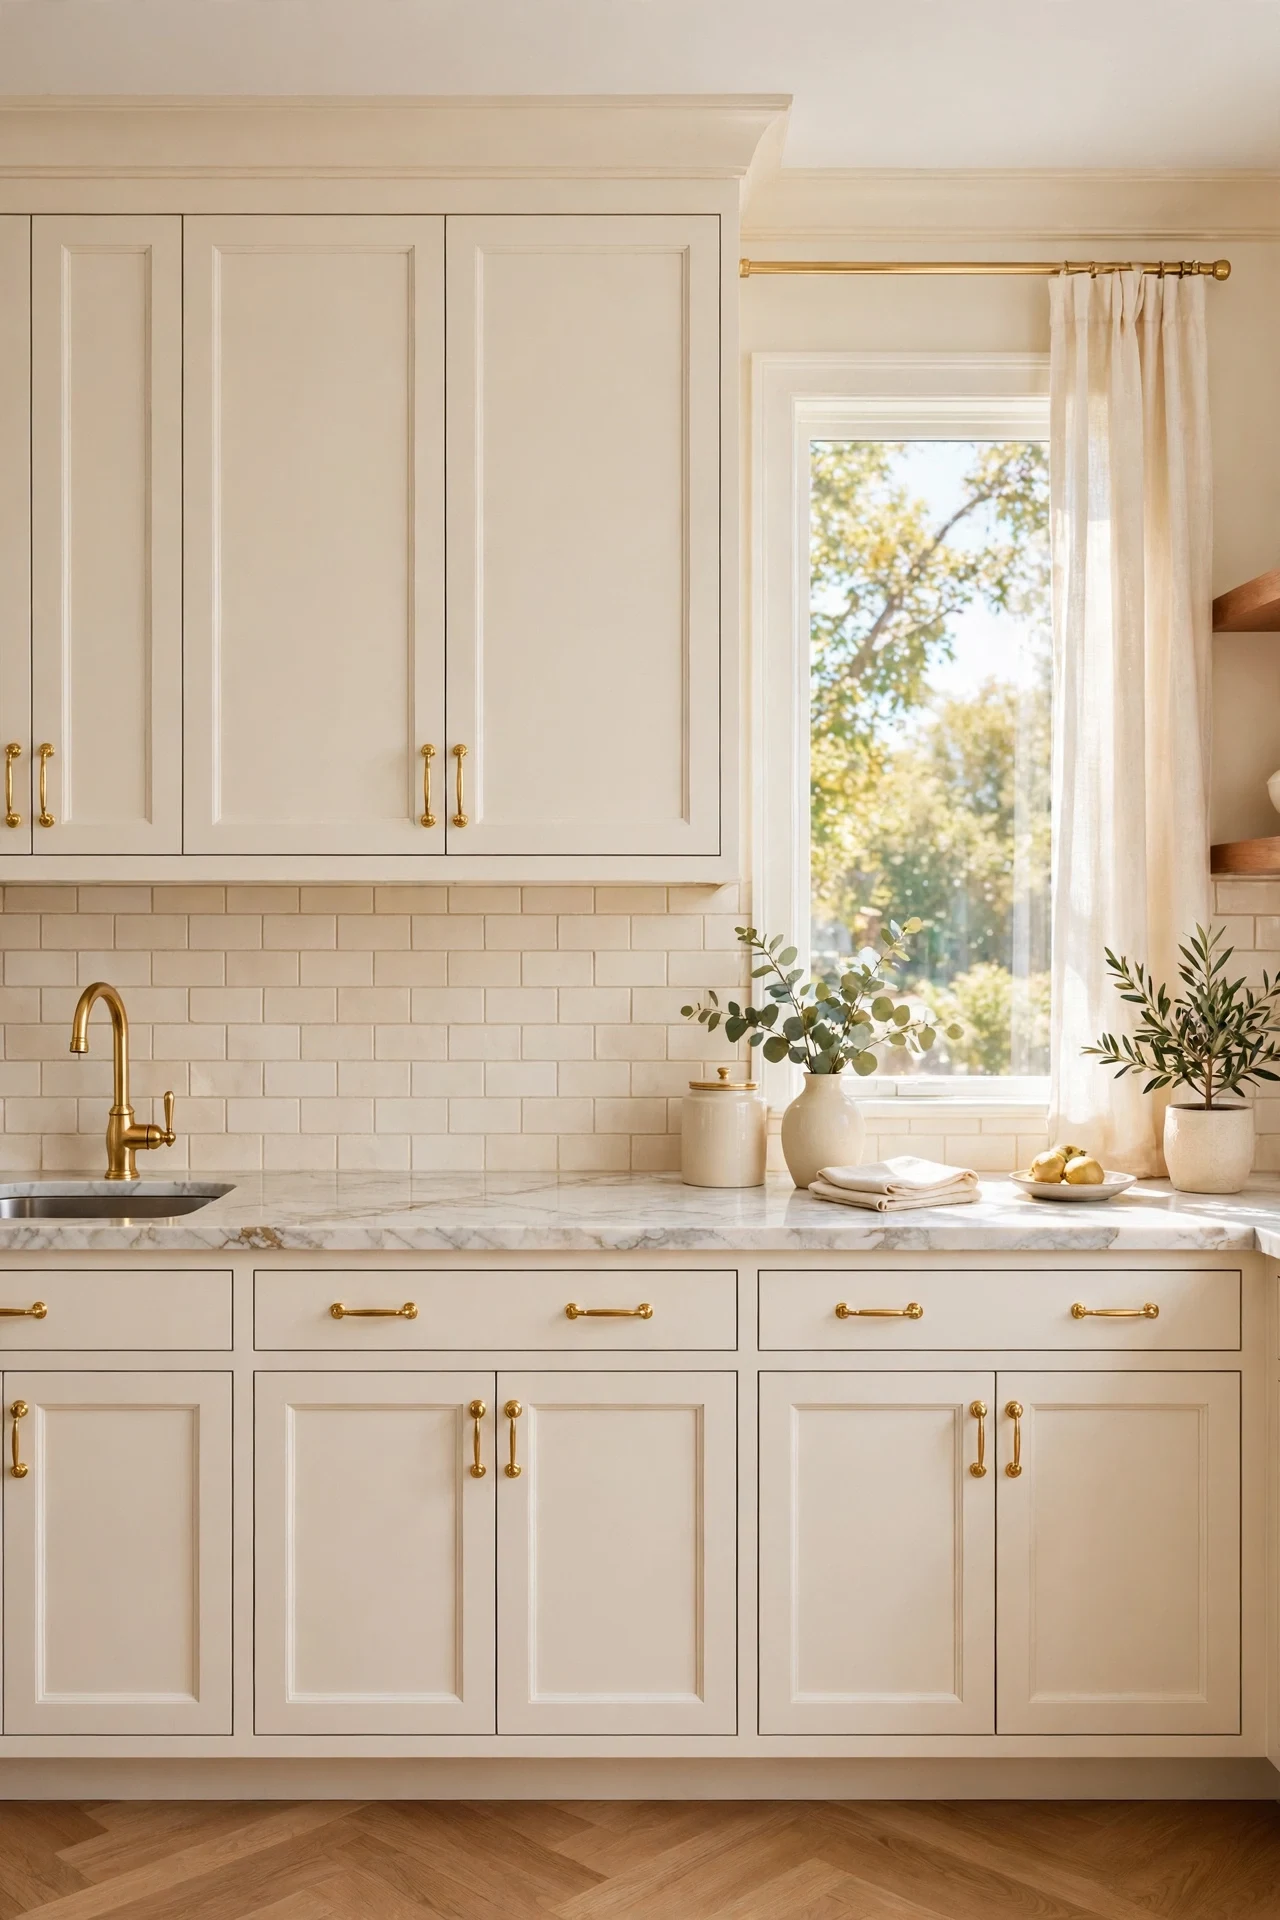
Counters are the biggest single cheque in most remodels, and they frighten people into doing nothing. The phased answer is simple: counters do not have to happen on the same day. Paint, hardware and light first, live with the room, then template and fit the counters as their own project, even one run at a time if the supplier allows. A marble-look quartz keeps the palette bright and needs no sealing, and butcher block on one short run, the baking zone, warms it without the full stone bill. Because idea 6’s sink usually rides on this phase, plan the two together and the kitchen is only out of action once.
Best For: Owners spreading a remodel across two or three budget rounds.
Not Ideal For: Counters that are damaged or water-swollen now; those go first, before paint, because leaks only spread.
Estimated Cost: $1,200-$3,500 (estimate) for marble-look quartz on a mid-size kitchen’s main runs, templated and fitted.
Budget Note: One honest stone-look surface beats thin laminate pretending, and a single material everywhere beats three bargains in three finishes.
Renter Friendly: No
Renter Note: Counter replacement is a permanent owner’s project; renters get a smaller lift from idea 9’s zoning and idea 2’s hardware.
What You Need
Counter material chosen and sampled at home, templating appointment, sink and faucet from idea 6 ready on site for the fitting day.
Product type to look for: A quartz with a soft cream-white base and gentle warm veining; hard grey veining pulls the whole palette cold.
How To Do It
- Finish paint and hardware first, then live with the kitchen for at least two weeks before templating.
- Bring samples home and judge them against your cabinets in your light, morning and evening.
- Book templating with the sink and faucet already chosen, so holes are cut once and correctly.
- Clear the kitchen fully for fitting day and plan one evening of no sink; it is the only genuinely disruptive day of the phased plan.
Pro Tip
Keep one offcut of the counter. It becomes the perfect board beside the hob for hot pans, and it proves the match if a repair is ever needed.
14. Build a Banquette Into the Dead Corner
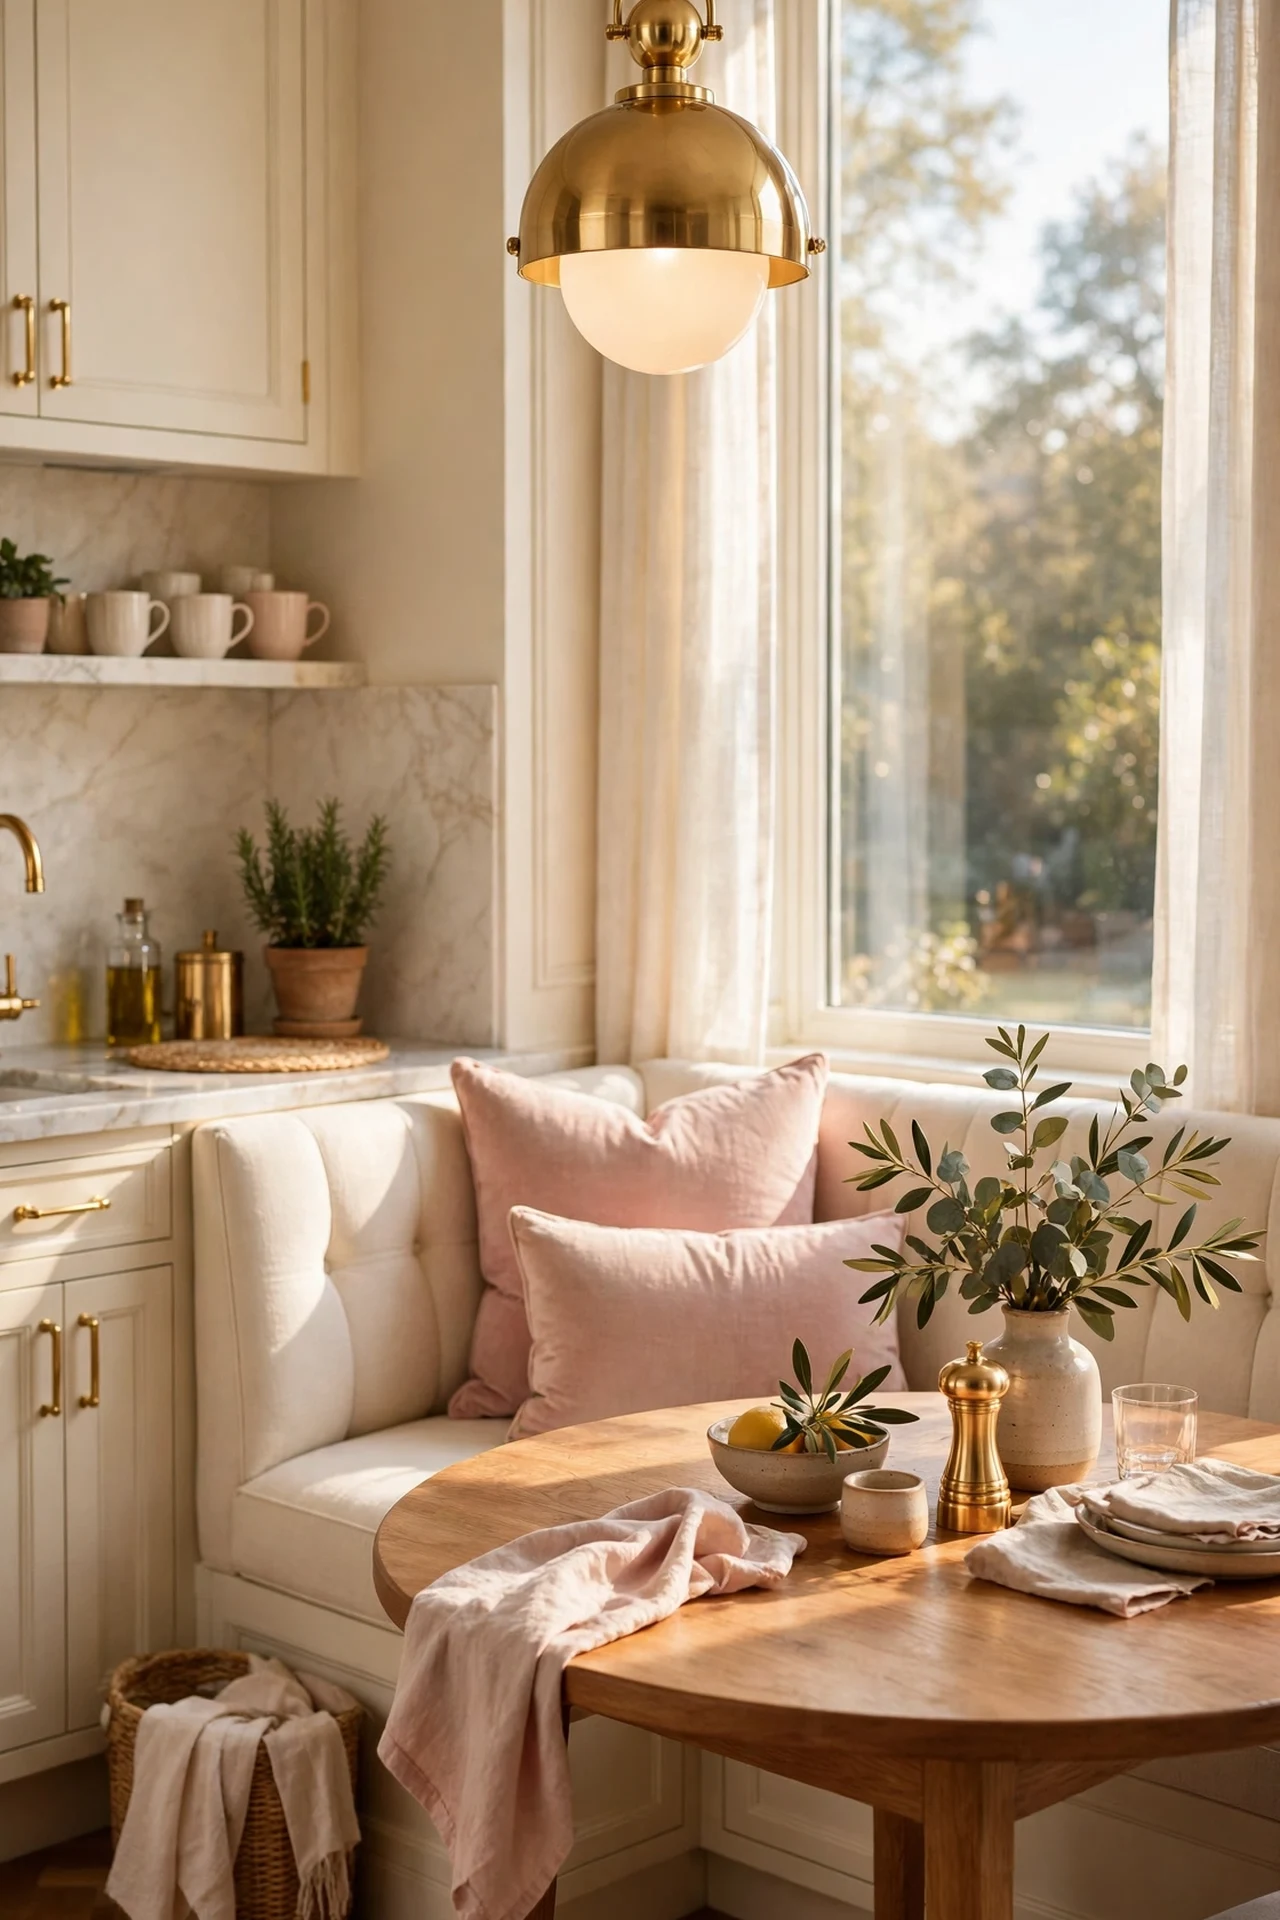
Most kitchens have one corner where nothing works: too small for the table to centre on, too visible to ignore. A built-in banquette, an upholstered bench fixed along the wall with storage inside the seat, turns that corner into the most used seat in the house and seats five where chairs seated three. Cream upholstery keeps it inside the palette, blush cushions do the colour, and the seat boxes hide the table linens and the slow cooker. It is a carpentry idea, not a styling one, and it should be sized to the table you own or the table comes first.
Best For: Kitchen-diners with a dead corner and a family that eats in the kitchen.
Not Ideal For: Rooms where the corner holds a door swing or the radiator; both fight fixed seating.
Estimated Cost: $500-$1,400 (estimate) for a built banquette with storage seats, DIY or local carpenter built.
Budget Note: A flat-pack bench seat with storage, dressed in a made-to-measure cushion, gives most of the effect at half the carpentry bill.
Renter Friendly: No
Renter Note: Fixed joinery is an owner’s project; the flat-pack bench version is the renter-safe approximation and leaves with you.
What You Need
Bench bases with hinged lids or flat-pack storage benches, upholstery foam and cream fabric or ready cushions, blush cushions, table centred to the bench.
Product type to look for: Seat height of 17 to 19 inches including the cushion, the dining chair standard; a banquette built at sofa height makes eating uncomfortable.
How To Do It
- Measure the corner and choose the table size first; the bench is built around it.
- Fix the bases to the wall, level, with the storage lids opening fully without hitting the wall.
- Fit cushions in a wipeable cream fabric, because kitchen seating meets jam and coffee daily.
- Hang the pendant from idea 12 centred on the table, not the room, so the corner reads as a designed zone.
Pro Tip
Hinge the seat lids with a soft-close stay. A lid that slams is a lid nobody opens, and the storage quietly dies.
15. Hide the Small Appliances in an Appliance Garage
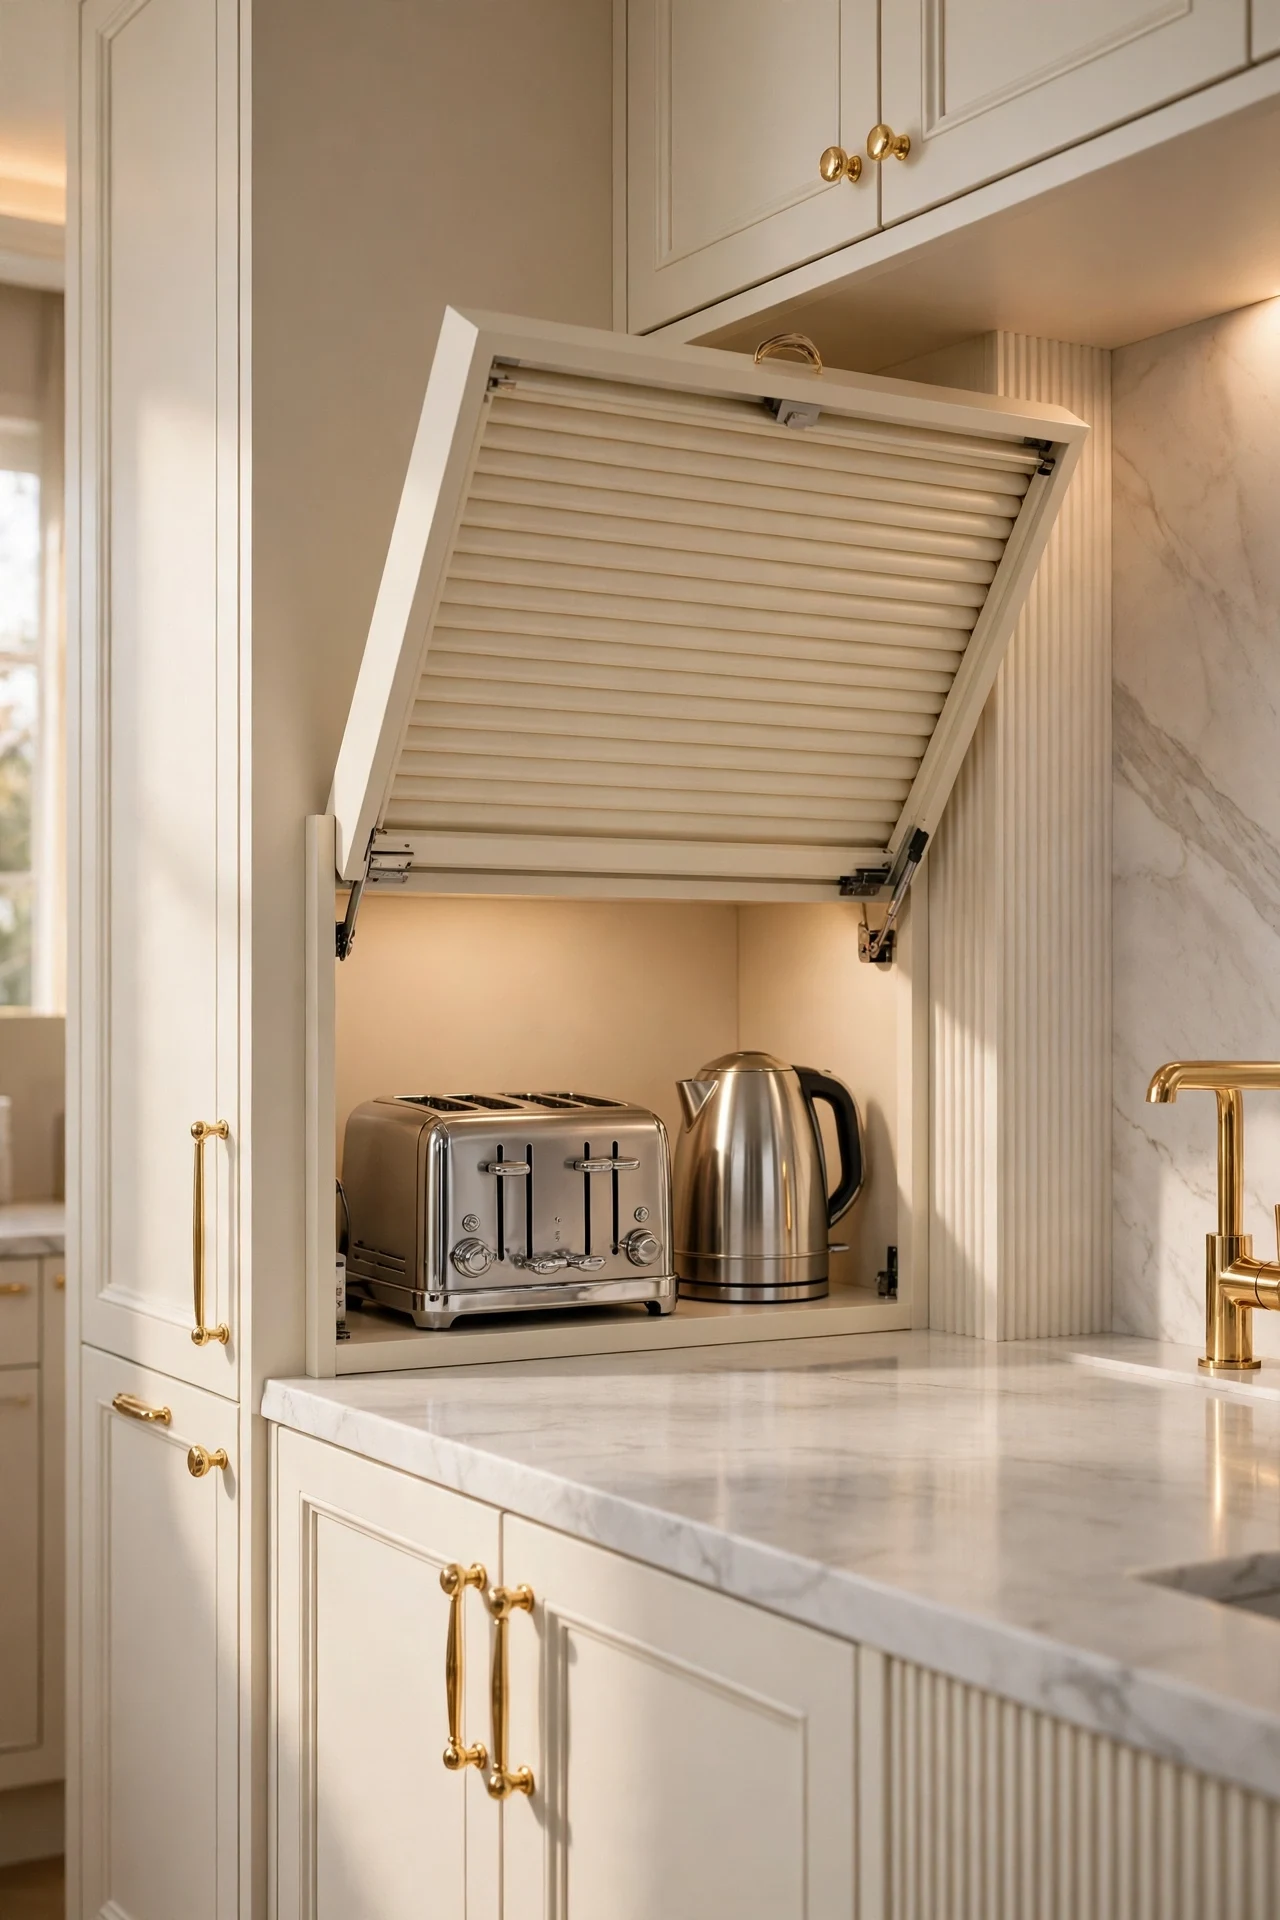
The last thing standing between a remodelled kitchen and its photos is the counter clutter: toaster, kettle, microwave, air fryer, all plugged in and on show. An appliance garage, a countertop cabinet with a lift-up or tambour door fitted into a corner or along one run, hides the daily machines behind one calm front while keeping them plugged in and ready. It is the finishing idea because it protects every other idea in this list: clear counters are what let painted cabinets, new tile and layered light be seen. Keep inside it only what is used daily; weekly machines belong in the pantry from idea 11.
Best For: Finished remodels that still look busy, and small kitchens where every appliance shows.
Not Ideal For: Machines that run hot for long cycles; air fryers and anything that vents steam needs open air while running, so those get used out of the garage, not in it.
Estimated Cost: $150-$600 (estimate) for a countertop appliance garage unit or a carpenter-fitted corner version.
Budget Note: A ready-made countertop unit costs a third of the fitted version and proves the habit before you build it in.
Renter Friendly: Yes
Renter Note: The countertop version simply sits on the counter; only the fitted corner version involves fixings.
What You Need
Appliance garage unit sized to your two most-used machines, a socket inside or directly behind its position, heat sense: never run heat appliances with the door closed.
Product type to look for: A garage with a door that parks fully open, tambour or lift-up, so the counter in front stays usable while the machines are out.
How To Do It
- Choose the corner or run where the machines already live; habits beat ideal positions.
- Confirm a socket reaches inside the garage’s position before ordering the size.
- Set the two daily machines inside, cords tidy, and move everything else to the pantry or a cabinet.
- Give it a month: if the door stays open all day, the position is wrong, so move the garage, not the rule.
Pro Tip
Never close the door on a machine that is still hot, and never run a kettle or air fryer inside the closed garage. Ventilation is the one rule this idea does not bend.
Practical Tips for a Kitchen Remodel
Phase the work in the order this list runs: surfaces, hardware, light, then the big swaps. Each phase is a finished stopping point, so a remodel spread over six months never leaves you living in a building site. Batch every professional visit: the electrician does pendants, dimmers and any hardwired lighting in one call, and the plumber does sink and faucet in one call, because second visits cost like first ones. Match your metals in person, not on screens, because brushed gold varies more between brands than almost any other finish. Measure for delivery and fitting before ordering anything with a template or a truck involved. And keep one small win for the very end, the appliance garage or the coffee station, so the last day of the remodel feels like a reveal rather than a tidy-up.
Frequently Asked Questions
What should I remodel first in an old kitchen?
Paint and hardware. Painted cabinets change the largest surface in the room, and new pulls finish the illusion for very little money. Together they tell you whether the bigger phases, tile, counters, floor, are even needed, and in what order.
How much does a phased kitchen remodel cost?
It depends entirely on where you stop. The surface phase in this list, paint, pulls and lights, can stay in the hundreds to low thousands of dollars as an estimate. Counters, flooring and built-ins are the thousands. Phasing exists so each round is a decision, not a debt.
Can I remodel a kitchen in a rental?
Only the reversible layer: hardware on the same holes, plug-in lighting, appliance zoning, a rolling island and a countertop appliance garage. Paint, tile, counters and fittings belong to the owner. The honest renter version of this list is ideas 2, 4, 8, 9 and 15.
Is peel-and-stick tile a real alternative to a tiled backsplash?
It is a reasonable temporary one. Modern peel-and-stick tiles handle splashes and wipe clean, but they read flatter than real tile, need a smooth wall, and heat limits near a hob vary by product, so check the maker’s guidance. As a renter or a two-year fix they make sense; as a ten-year remodel they do not.
Do I need permits or professionals for a kitchen remodel?
For the cosmetic phases, no: paint, hardware and plug-in lighting are ordinary DIY. Electrical work, plumbing changes and anything structural should be done by qualified professionals, and local rules on permits vary, so check before the fitting stage rather than after it.
Conclusion
You do not need a demolition to get a new kitchen. Paint the cabinets warm white, hang the pulls in brushed gold, run the tile to the ceiling and light the counters properly, and the room most people live in has already changed. Add the floor, the island and the counters when the budget turns come round, in that order, and finish by hiding the machines that make a finished kitchen look busy. Start with phase one this month; the kitchen will tell you honestly what it needs next.