15 Walnut Kitchen Cabinets Ideas for a Warm Glam Kitchen
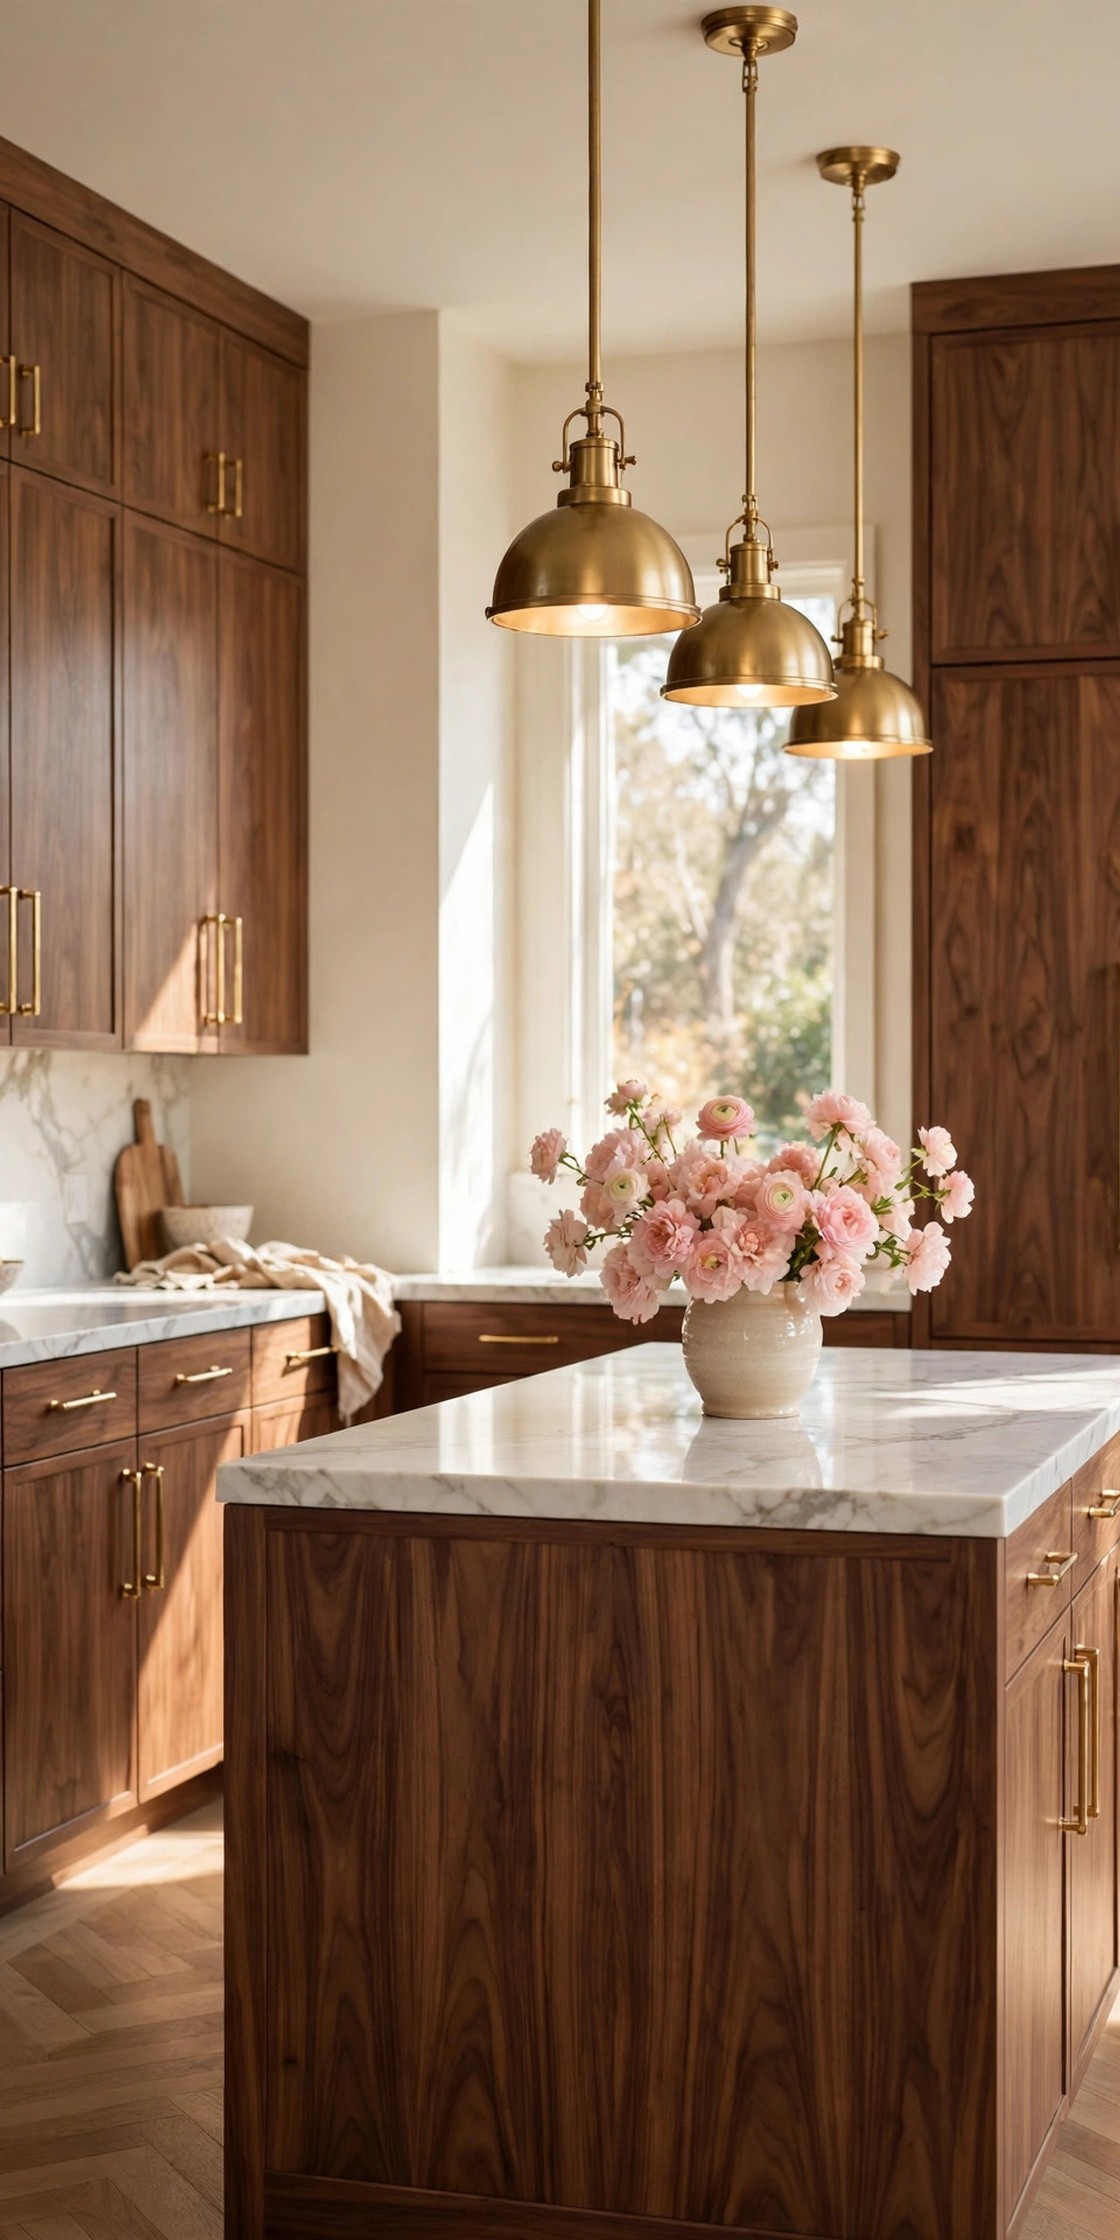
Walnut kitchen cabinets solve the problem every plain white kitchen has: the room works, but nothing in it feels warm. Walnut brings deep brown grain, a soft sheen and a natural luxury that paint cannot copy, and these walnut kitchen cabinets ideas keep it glam rather than heavy, pairing the wood with cream walls, white marble, brushed gold and blush pink touches. Work through the list in order, because the early ideas set the cabinet layout and the island, and the later ones add the display, lighting and finishing details. If you want a broader starting point first, our guide to classic cooking room looks is a useful companion read
Disclosure: This article may contain affiliate links. If you buy through a link on this page, GlamNStyle may earn a small commission at no extra cost to you. Product links in this article are plain links; each one is checked on the retailer’s own page before it is added.
1. Go Full Height With Walnut Cabinets and Brass Pulls
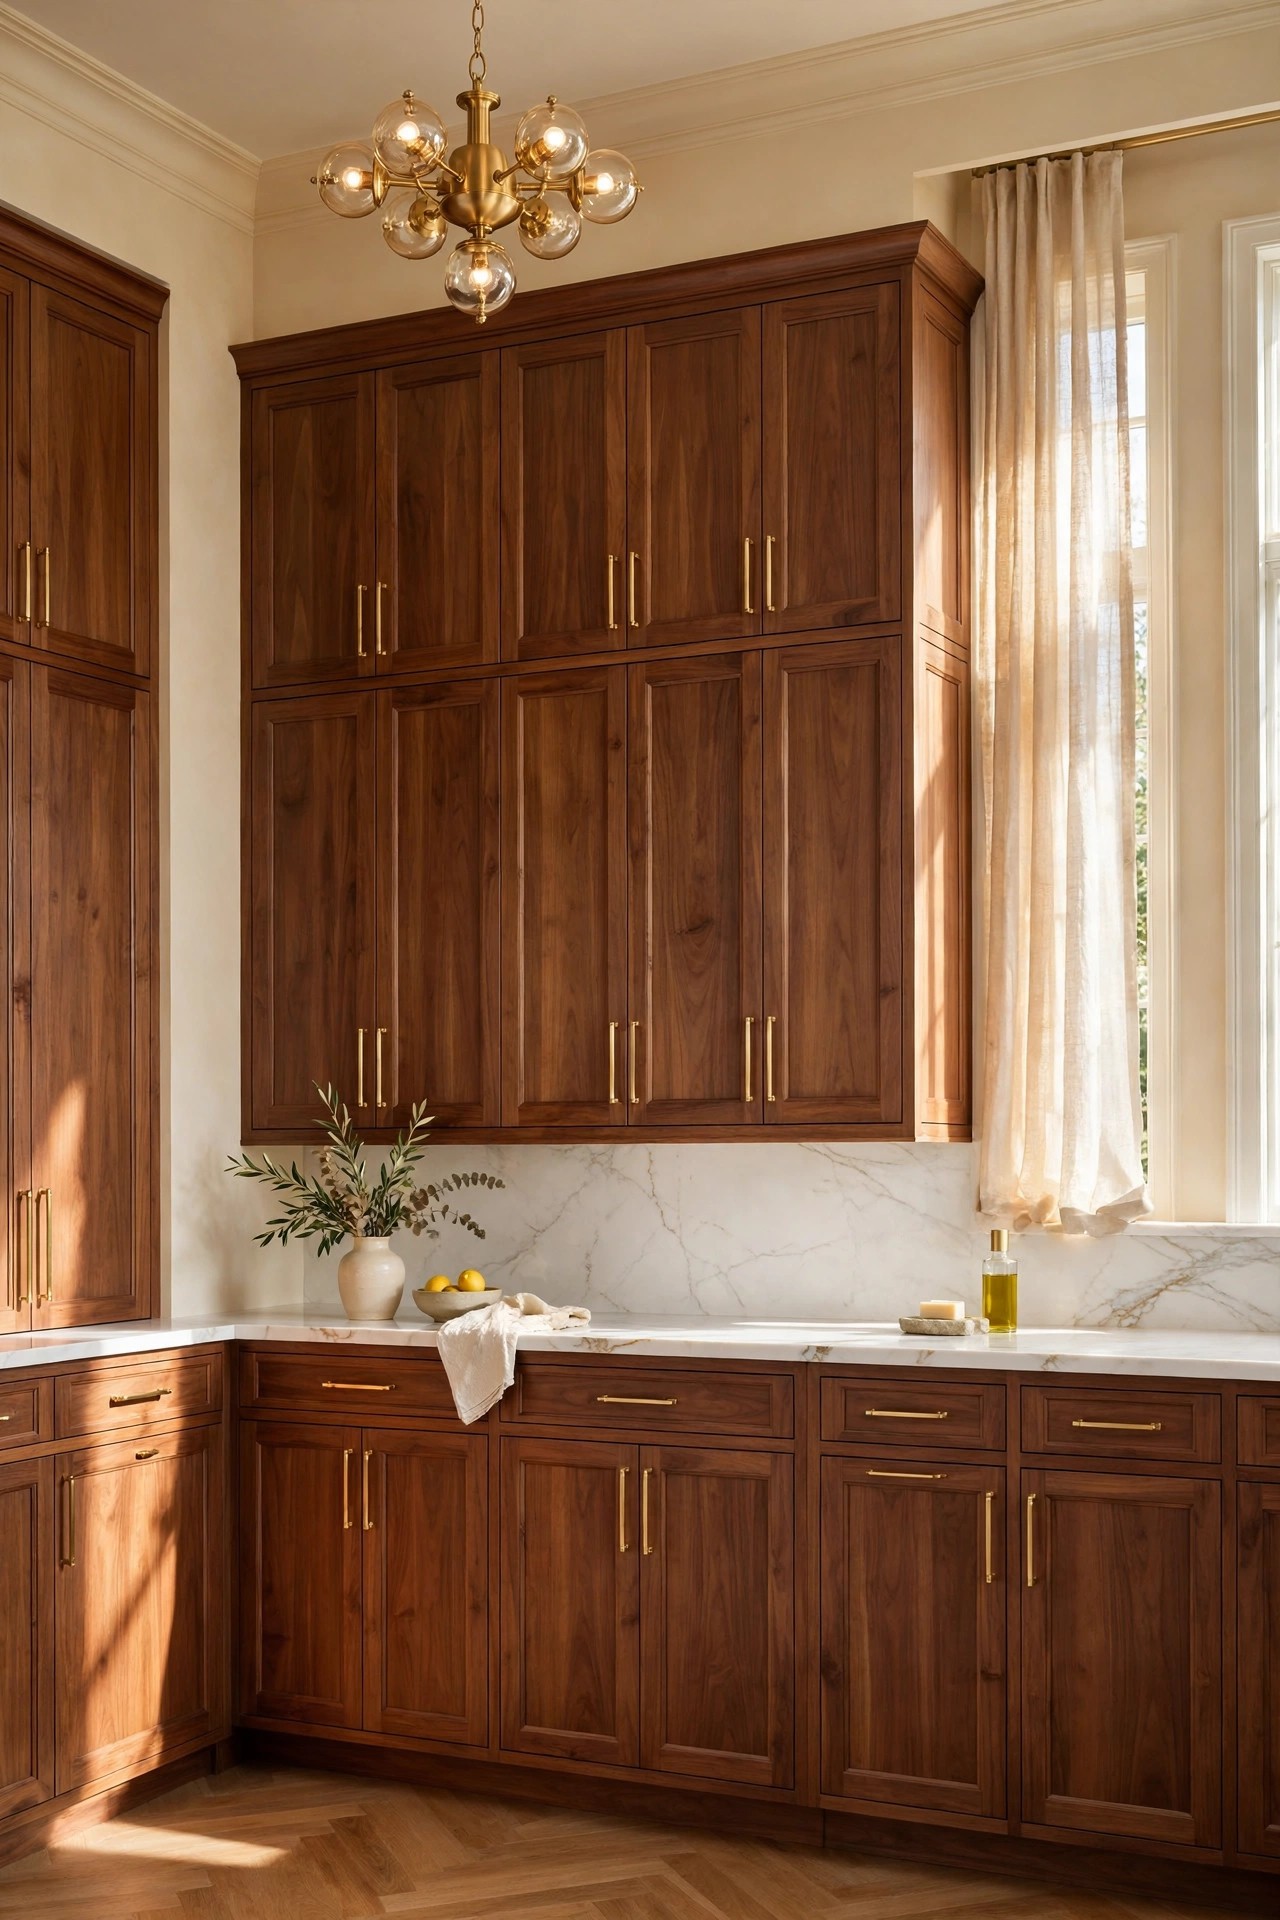
A full-height walnut wall is the strongest move in this list, because one tall run of cabinets gives the kitchen its warmth, its storage and its focal point in a single gesture. Floor-to-ceiling walnut with long brushed gold bar pulls reads calm and expensive, and the vertical grain draws the eye up, which makes a standard ceiling feel taller. Keep the rest of the room pale, cream walls, a white counter and a light floor, so the walnut stays the star. Tall cabinets need a small step stool kept nearby, and the top shelf suits items used once a month, not daily pans.
Best For: Kitchens with one long plain wall and anyone who wants maximum closed storage in a glam finish.
Not Ideal For: Very dark kitchens with little daylight, where a full walnut wall can feel heavy; the two-tone idea in idea 3 is lighter there.
Estimated Cost: $8,000-$18,000 (estimate) for a full-height walnut cabinet run, fitted.
Budget Note: The walnut fronts and the fitting are the spend; standard drawer boxes inside keep the cost down.
Renter Friendly: No
Renter Note: Fitted cabinets are a landlord decision; renters can use a freestanding walnut pantry unit instead.
What You Need
Walnut cabinet fronts and tall units, brushed gold bar pulls, soft-close hinges and drawer slides, small step stool, white countertop material.
Product type to look for: Walnut veneer or solid walnut fronts with a clear satin finish, and pulls in a brushed gold tone that matches the room metal.
How To Do It
- Measure the wall at three heights, since walls are rarely straight, and mark the cabinet run on the floor.
- Plan the tall units first, pantry and oven housing, then fill the remaining run with drawers and doors.
- Fit the cabinets level from the highest floor point, then add the pulls last so the spacing reads even.
- Keep the top shelf for light, rarely used items, and the daily items between waist and eye level.
Pro Tip
Run the walnut grain vertically on tall doors and horizontally on wide drawers. Matching the grain direction to the door shape makes the wall look made, not assembled.
2. Add a Walnut Island With a Waterfall Edge
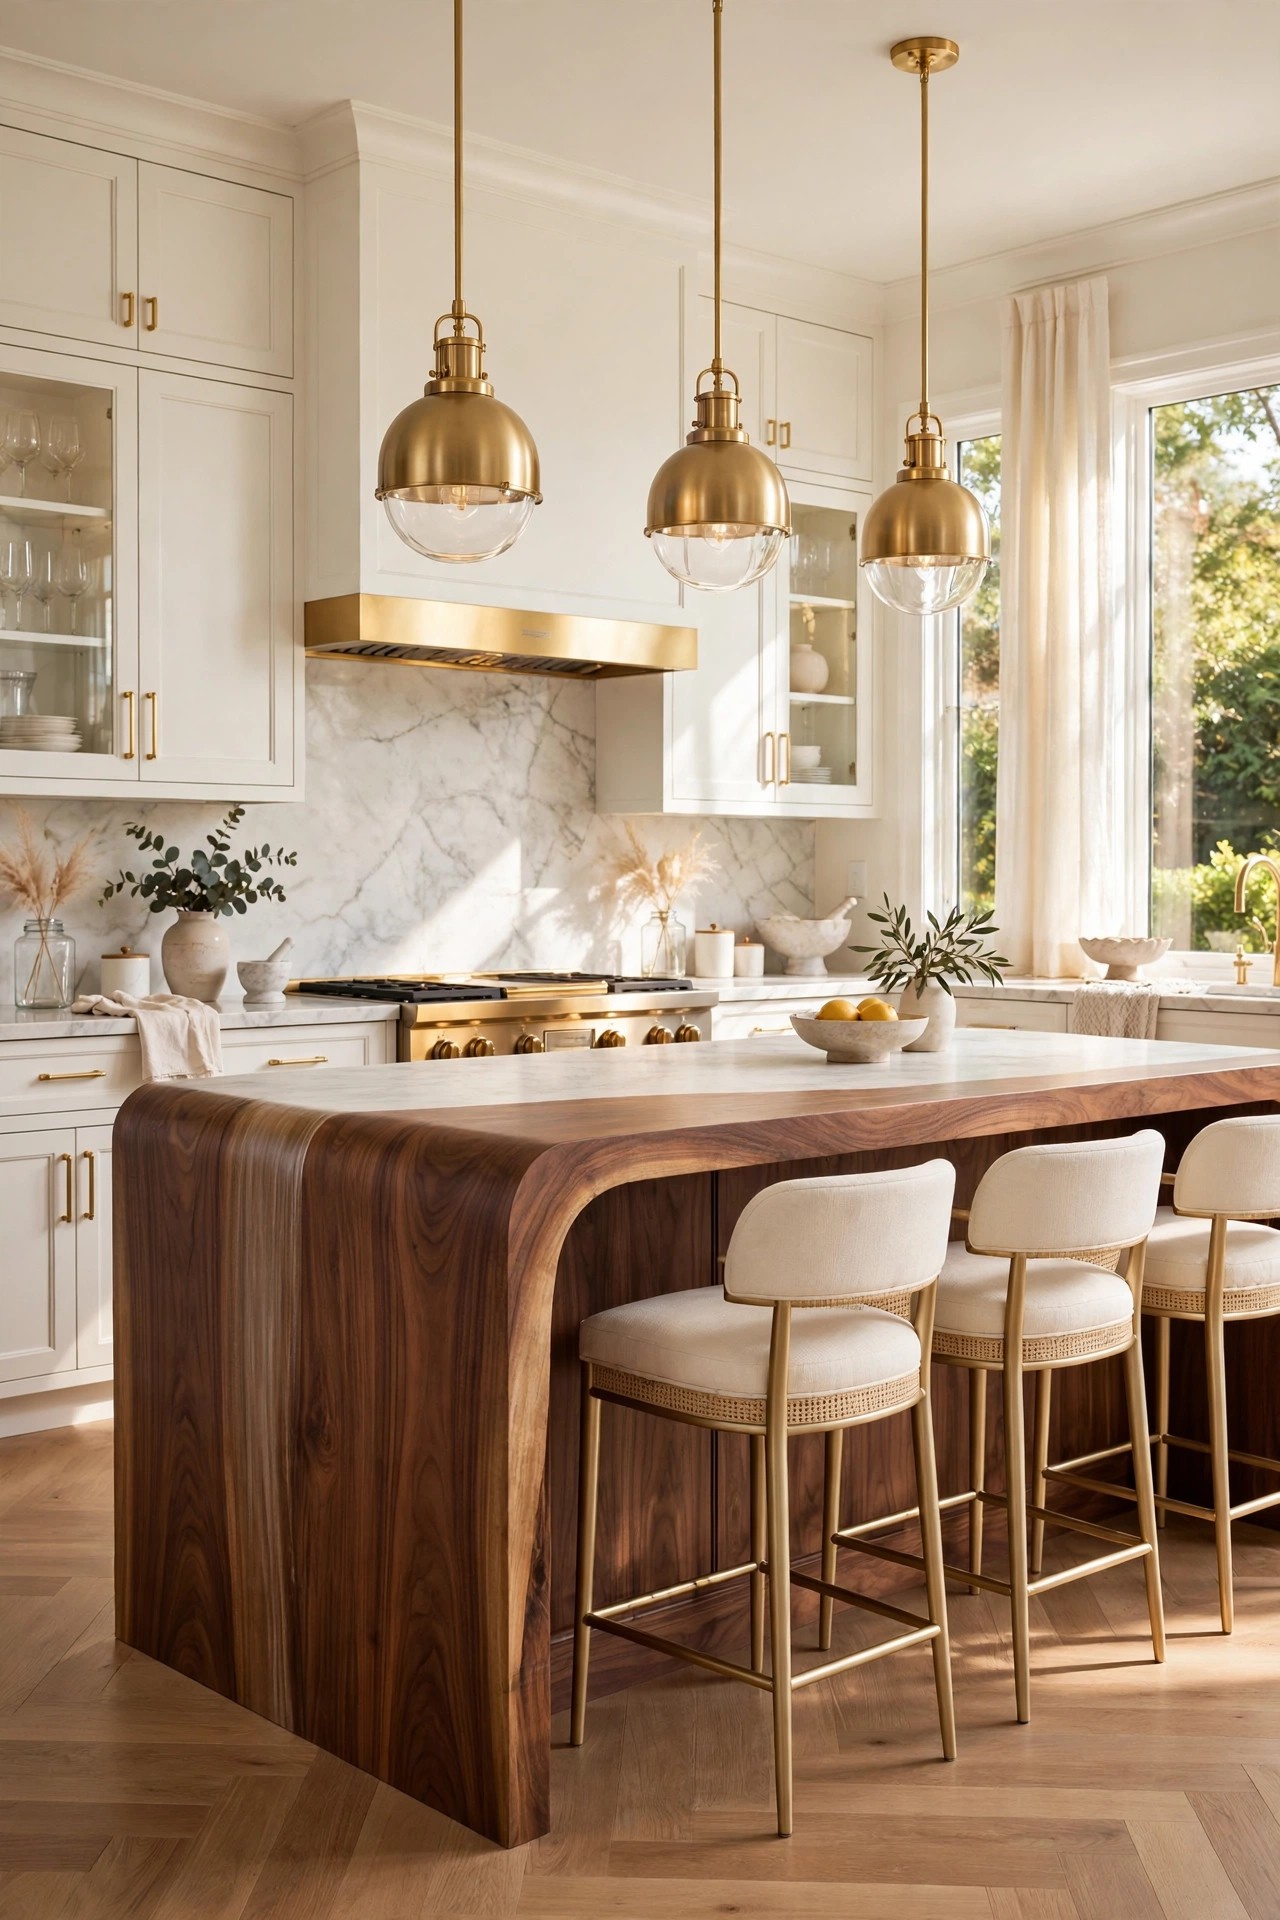
A walnut island with a waterfall edge, where the counter material runs down the side to the floor, turns the island into the room’s sculpture. The walnut body gives warmth, the waterfall side gives a clean architectural line, and a white marble or pale stone top keeps the whole piece light. Two or three brushed gold pendant lights above it repeat the metal from the cabinet pulls, and cream bar stools keep the seating soft. Plan the island size on the floor with tape first, because an island that is too deep leaves no room to open the dishwasher.
Best For: Open-plan kitchens with room for a clear walkway on all four sides of the island.
Not Ideal For: Narrow galley kitchens, where an island blocks the work triangle; a slim walnut peninsula is the honest version there.
Estimated Cost: $4,500-$12,000 (estimate) for a walnut island with a waterfall edge and stone top, fitted.
Budget Note: The stone top and the waterfall side are the spend; a simple walnut body with plain doors keeps the rest in reach.
Renter Friendly: No
Renter Note: A fitted island is a landlord decision; a freestanding walnut butcher block table gives the same warmth.
What You Need
Walnut island base with doors and drawers, stone countertop with a waterfall edge, two or three brushed gold pendant lights, cream bar stools, electrical point for the pendants.
Product type to look for: A stone top with a sealed finish that resists stains, and pendants hung at a height that clears sightlines across the island.
How To Do It
- Tape the island footprint on the floor and walk all four sides, opening the oven and dishwasher doors.
- Set the walnut base level, then fit the stone top with the waterfall edge aligned to the room’s longest view.
- Hang the pendants centred over the island, spaced evenly, at a height that lights the worktop without blocking faces.
- Place the stools on one long side only, leaving the working side clear for cooking.
Pro Tip
Keep the island seating on the side away from the cooker. Guests sit where they can talk without standing in the cook’s path.
3. Pair Walnut Lowers With Cream Uppers
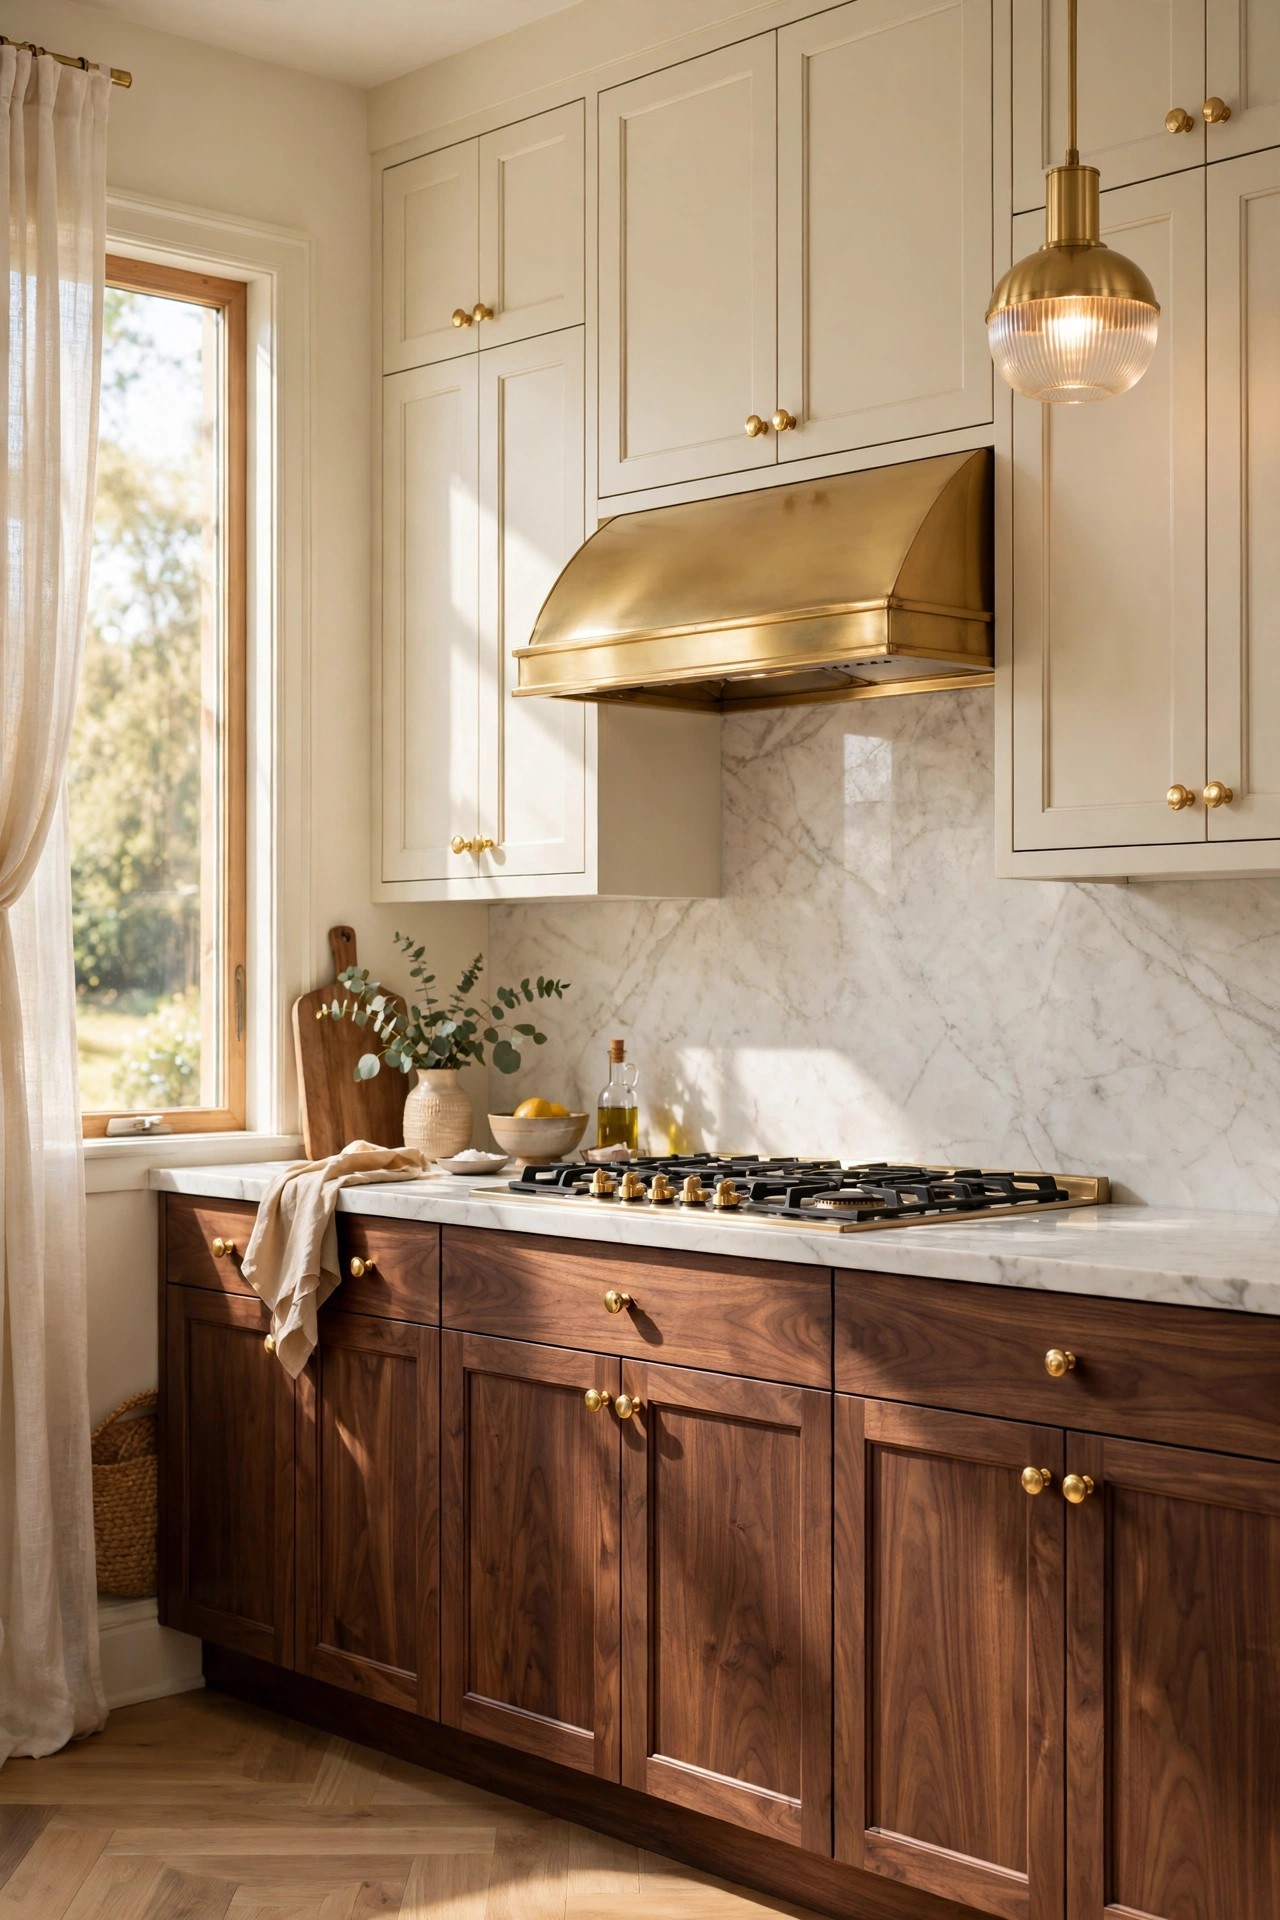
Two-tone cabinets are the easiest way to enjoy walnut without darkening the room: walnut on the lower cabinets, where hands and feet meet the wood, and soft cream on the uppers, where the light lives. The split keeps the kitchen bright at eye level and grounded at floor level, and one shared metal, brushed gold knobs on both runs, ties the two finishes together. This is also the most budget-friendly way into walnut, because only half the fronts carry the wood cost. Keep the counter pale and the backsplash quiet so the two-tone split stays the only strong line in the room.
Best For: Smaller or darker kitchens, and anyone who loves walnut but worries about a heavy room.
Not Ideal For: Kitchens where the uppers already carry open shelving; the split needs both runs to read clearly.
Estimated Cost: $6,000-$14,000 (estimate) for walnut lower cabinets and cream upper cabinets, fitted.
Budget Note: Walnut only on the lowers cuts the wood cost nearly in half against an all-walnut kitchen.
Renter Friendly: No
Renter Note: Fitted cabinets are a landlord decision; a walnut freestanding sideboard gives the same two-tone note.
What You Need
Walnut lower cabinet fronts, cream upper cabinet fronts, brushed gold knobs in one tone, pale countertop material, quiet backsplash tile.
Product type to look for: Cream fronts in a warm white, not a bright white, so they sit comfortably beside the warm walnut.
How To Do It
- Decide the split line first: walnut below the counter, cream above, with no third finish in between.
- Fit the walnut lowers and the cream uppers, checking the gap between counter and uppers is even along the run.
- Fit the same gold knobs on both runs, at the same height on every door.
- Style the counter with one walnut board and one cream ceramic piece to echo the split at a small scale.
Pro Tip
Match the cream uppers to the wall colour, not to the counter. Uppers that match the wall disappear a little, and the walnut below reads richer.
4. Style Walnut Open Shelves With Gold Brackets
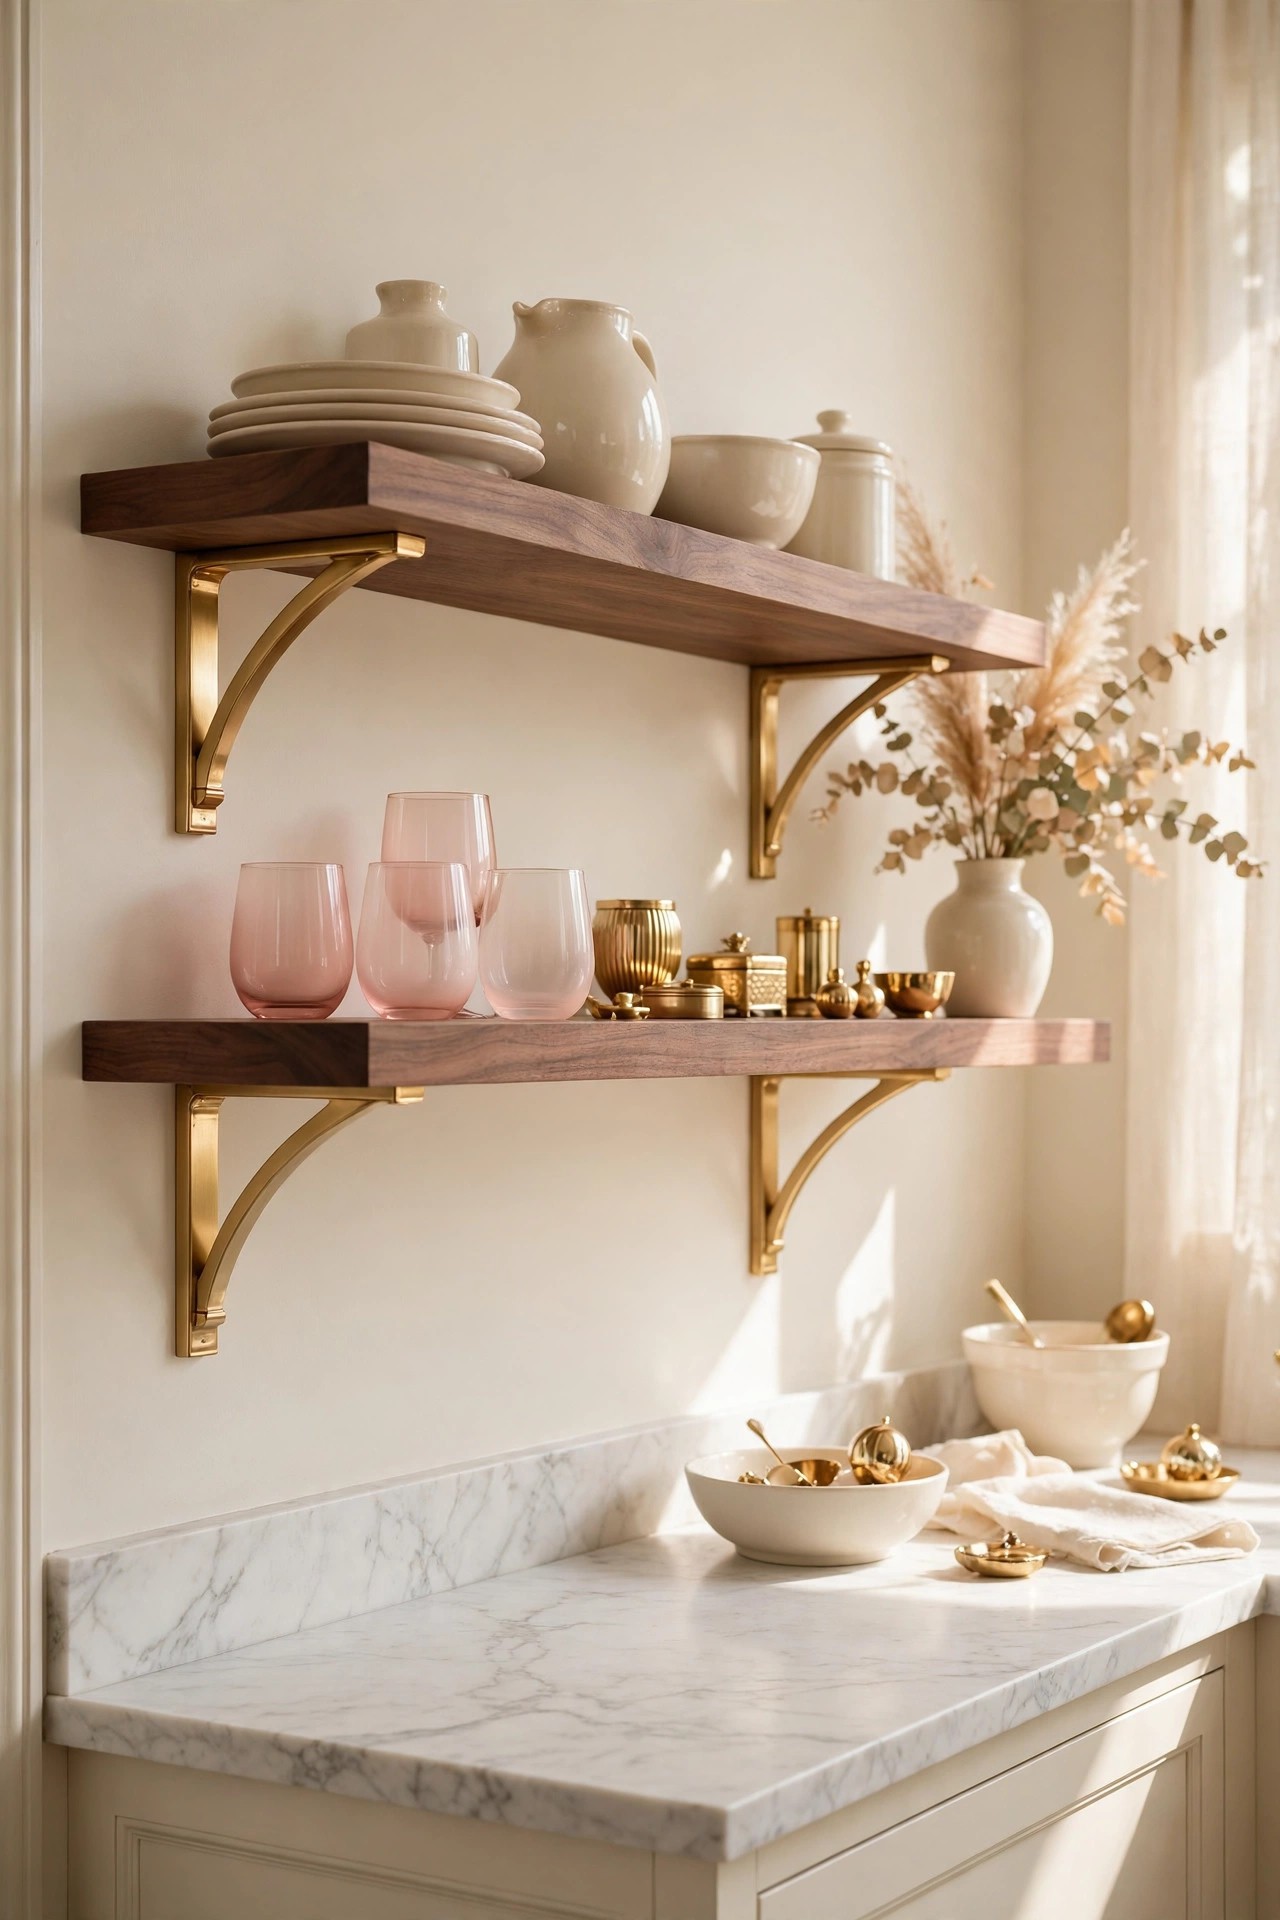
Walnut open shelves are where a walnut kitchen shows its collected side. Two or three thick walnut shelves on brushed gold brackets, set on a cream wall above a pale counter, hold the everyday ceramics in cream and blush, with one small gold object and a tiny plant for the personal note. Shelves work best beside the sink or the cooker, where the pieces on them are used daily, so nothing sits long enough to gather dust. Keep the shelf styling to one colour family and leave a third of each shelf empty, or the display reads as storage overflow.
Best For: Kitchens with one short wall run and anyone who owns ceramics worth showing.
Not Ideal For: Dusty homes or kitchens beside a busy road, where open shelves need wiping every few days.
Estimated Cost: $200-$700 (estimate) for two or three thick walnut shelves with gold brackets and fixings.
Budget Note: The walnut boards and brackets are the spend; the ceramics can be pieces already owned.
Renter Friendly: With Conditions
Renter Note: Only hang shelves if the lease allows fixings rated for the load; a freestanding walnut shelf unit avoids wall holes.
What You Need
Two or three thick walnut shelf boards, brushed gold brackets, fixings rated for the shelf load and wall type, cream and blush ceramics, one small gold object, tiny plant.
Product type to look for: Solid walnut boards at least an inch thick, with brackets rated for the weight of filled ceramics.
How To Do It
- Empty the wall area and tape the shelf positions, checking they clear the counter items below.
- Fix the brackets level, with fixings matched to the wall type, and test each one before loading.
- Place the largest ceramics first, grouped by colour, with the tallest pieces at the ends.
- Add one gold object and the plant, then step back and remove one item from each shelf.
Pro Tip
Keep the shelf ceramics to two colours, cream and blush, with gold as the only metal. A third colour on open shelves is what turns a display into clutter.
5. Set Walnut Cabinets Against White Marble
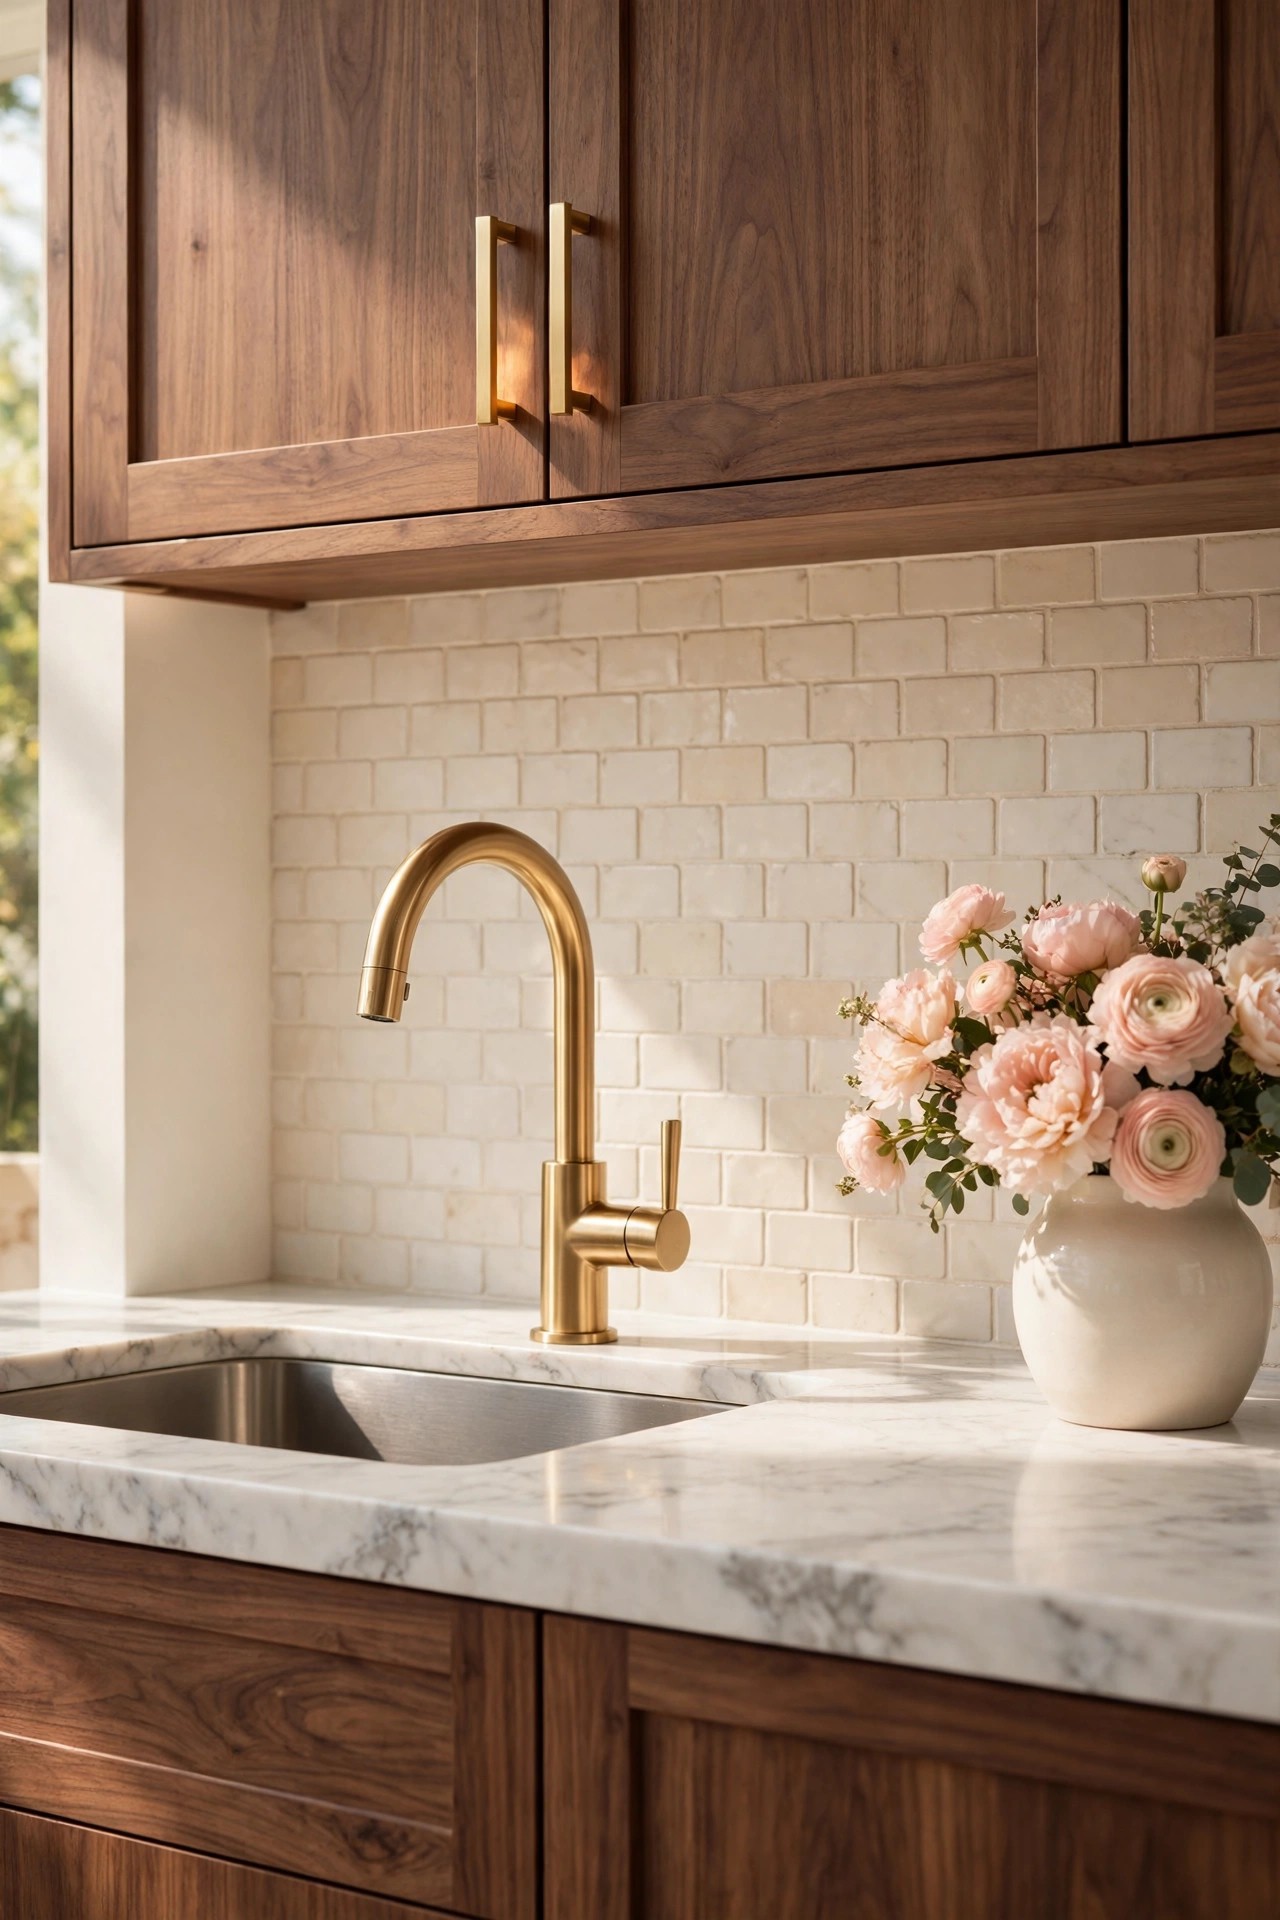
Walnut and white marble are the classic glam pairing for a reason: the dark warm wood makes the pale stone look brighter, and the pale stone keeps the wood from feeling heavy. A white marble counter with soft grey veining over walnut base cabinets, finished with a brushed gold faucet, gives the kitchen a cool surface for pastry and a warm base for everything else. Marble stains and etches more easily than quartz, so it suits cooks who wipe spills straight away and use boards for citrus and wine. Seal the stone when it is fitted and again each year, and keep a trivet by the hob.
Best For: Cooks who love natural stone and kitchens where the counter is the main work surface.
Not Ideal For: Busy family kitchens where spills sit for hours; a white quartz with a marble look is the lower-maintenance version.
Estimated Cost: $3,500-$9,000 (estimate) for a white marble counter over walnut base cabinets, fitted and sealed.
Budget Note: The marble slab is the spend; a simple edge profile costs less than a thick mitred edge.
Renter Friendly: No
Renter Note: A fitted stone counter is a landlord decision; a walnut-topped freestanding table gives the pairing at a small scale.
What You Need
White marble slab with soft grey veining, stone sealer, brushed gold faucet, walnut base cabinets, chopping boards, trivets.
Product type to look for: A marble slab with veining that runs gently, not in hard black lines, and a sealer made for kitchen stone.
How To Do It
- Choose the slab in person if possible, and mark which part of the veining sits at the front edge.
- Fit the walnut bases level first, then template and fit the marble with a small overhang.
- Seal the stone once fitted and let it cure before the kitchen is used.
- Place boards and trivets where they are reached without thinking, beside the hob and the sink.
Pro Tip
Keep the backsplash plain cream tile with the marble counter. Two stones with two veining patterns fight each other; one stone and one plain surface stay calm.
6. Build a Walnut Pantry Wall With Pocket Doors
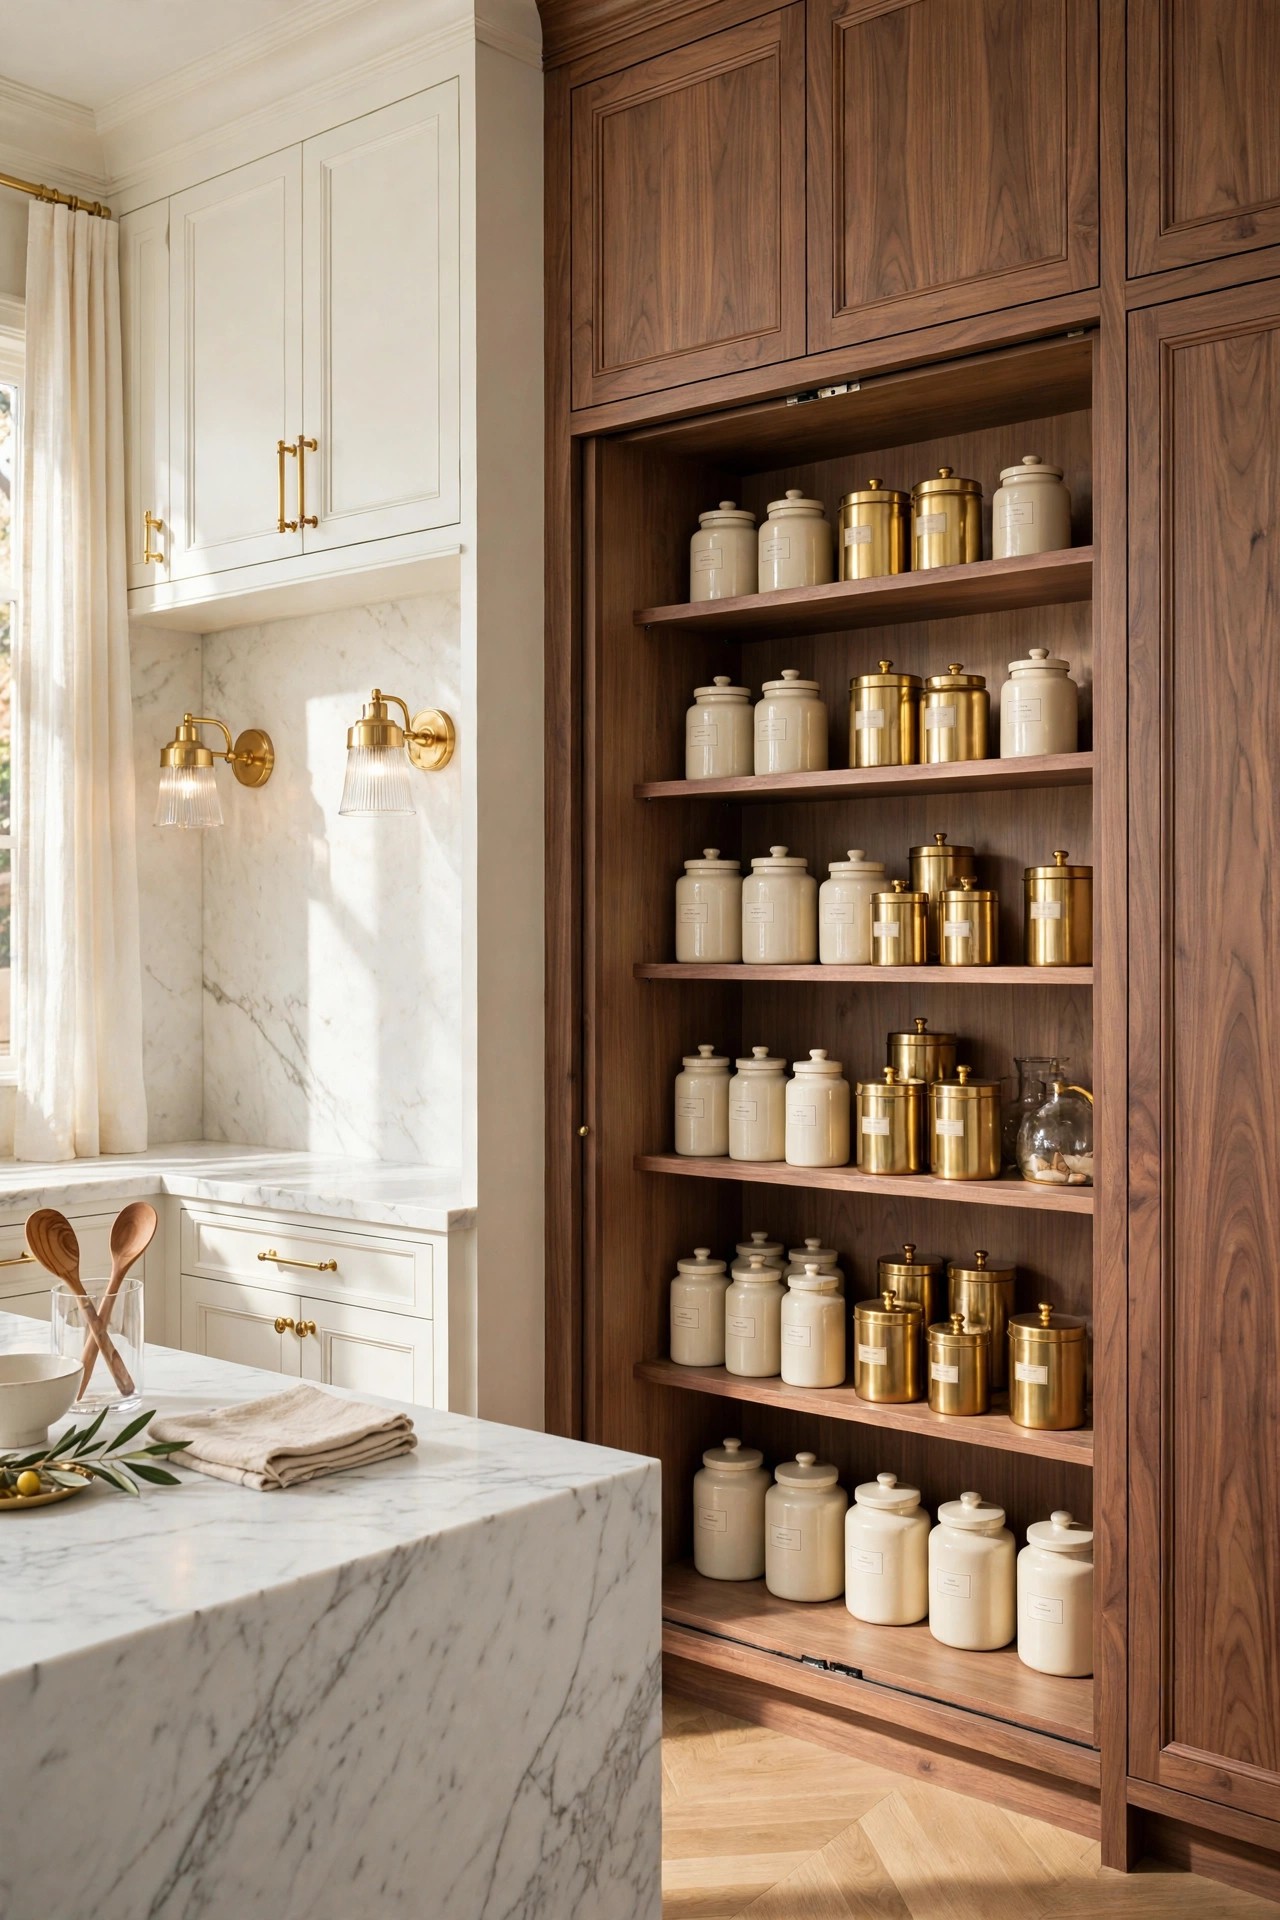
A walnut pantry wall hides the busy part of the kitchen behind beautiful doors. Tall walnut units with pocket doors that slide away, rather than swing out, open to reveal deep shelves, cream jars, gold canisters and small appliances, then close to a calm walnut wall when guests arrive. Pocket doors are the detail that makes this work in a small kitchen, because nothing swings into the walkway. Plan the inside before the doors: shallow shelves for jars at the top, deep shelves for appliances at the bottom, and one shelf at counter height for the coffee station.
Best For: Kitchens short on storage and anyone who wants the appliances hidden but reachable.
Not Ideal For: Very shallow walls, where the pantry depth eats the walkway; a single tall larder unit is the smaller version.
Estimated Cost: $5,000-$13,000 (estimate) for a tall walnut pantry wall with pocket doors, fitted.
Budget Note: The pocket door hardware is the spend; standard shelves inside keep the rest simple.
Renter Friendly: No
Renter Note: A fitted pantry wall is a landlord decision; a freestanding walnut larder cabinet gives the same idea.
What You Need
Tall walnut pantry units, pocket door hardware, adjustable shelves, cream storage jars, gold canisters, small appliances to fit the shelf depths.
Product type to look for: Pocket door hardware rated for the door weight, with a soft-close action that stops the doors slamming.
How To Do It
- Measure the wall and list everything the pantry must hold, from tall cereal boxes to the stand mixer.
- Plan the shelves around the tallest item first, then fill the remaining heights with jars and canisters.
- Fit the units level, then the pocket doors, testing the slide action before the shelves are loaded.
- Label the jars on the front, not the lid, so the contents read at a glance when the doors open.
Pro Tip
Keep one shelf at counter height empty of jars. That shelf becomes the coffee and toaster station, so the counter stays clear every morning.
7. Soften Walnut With Fluted Glass Uppers
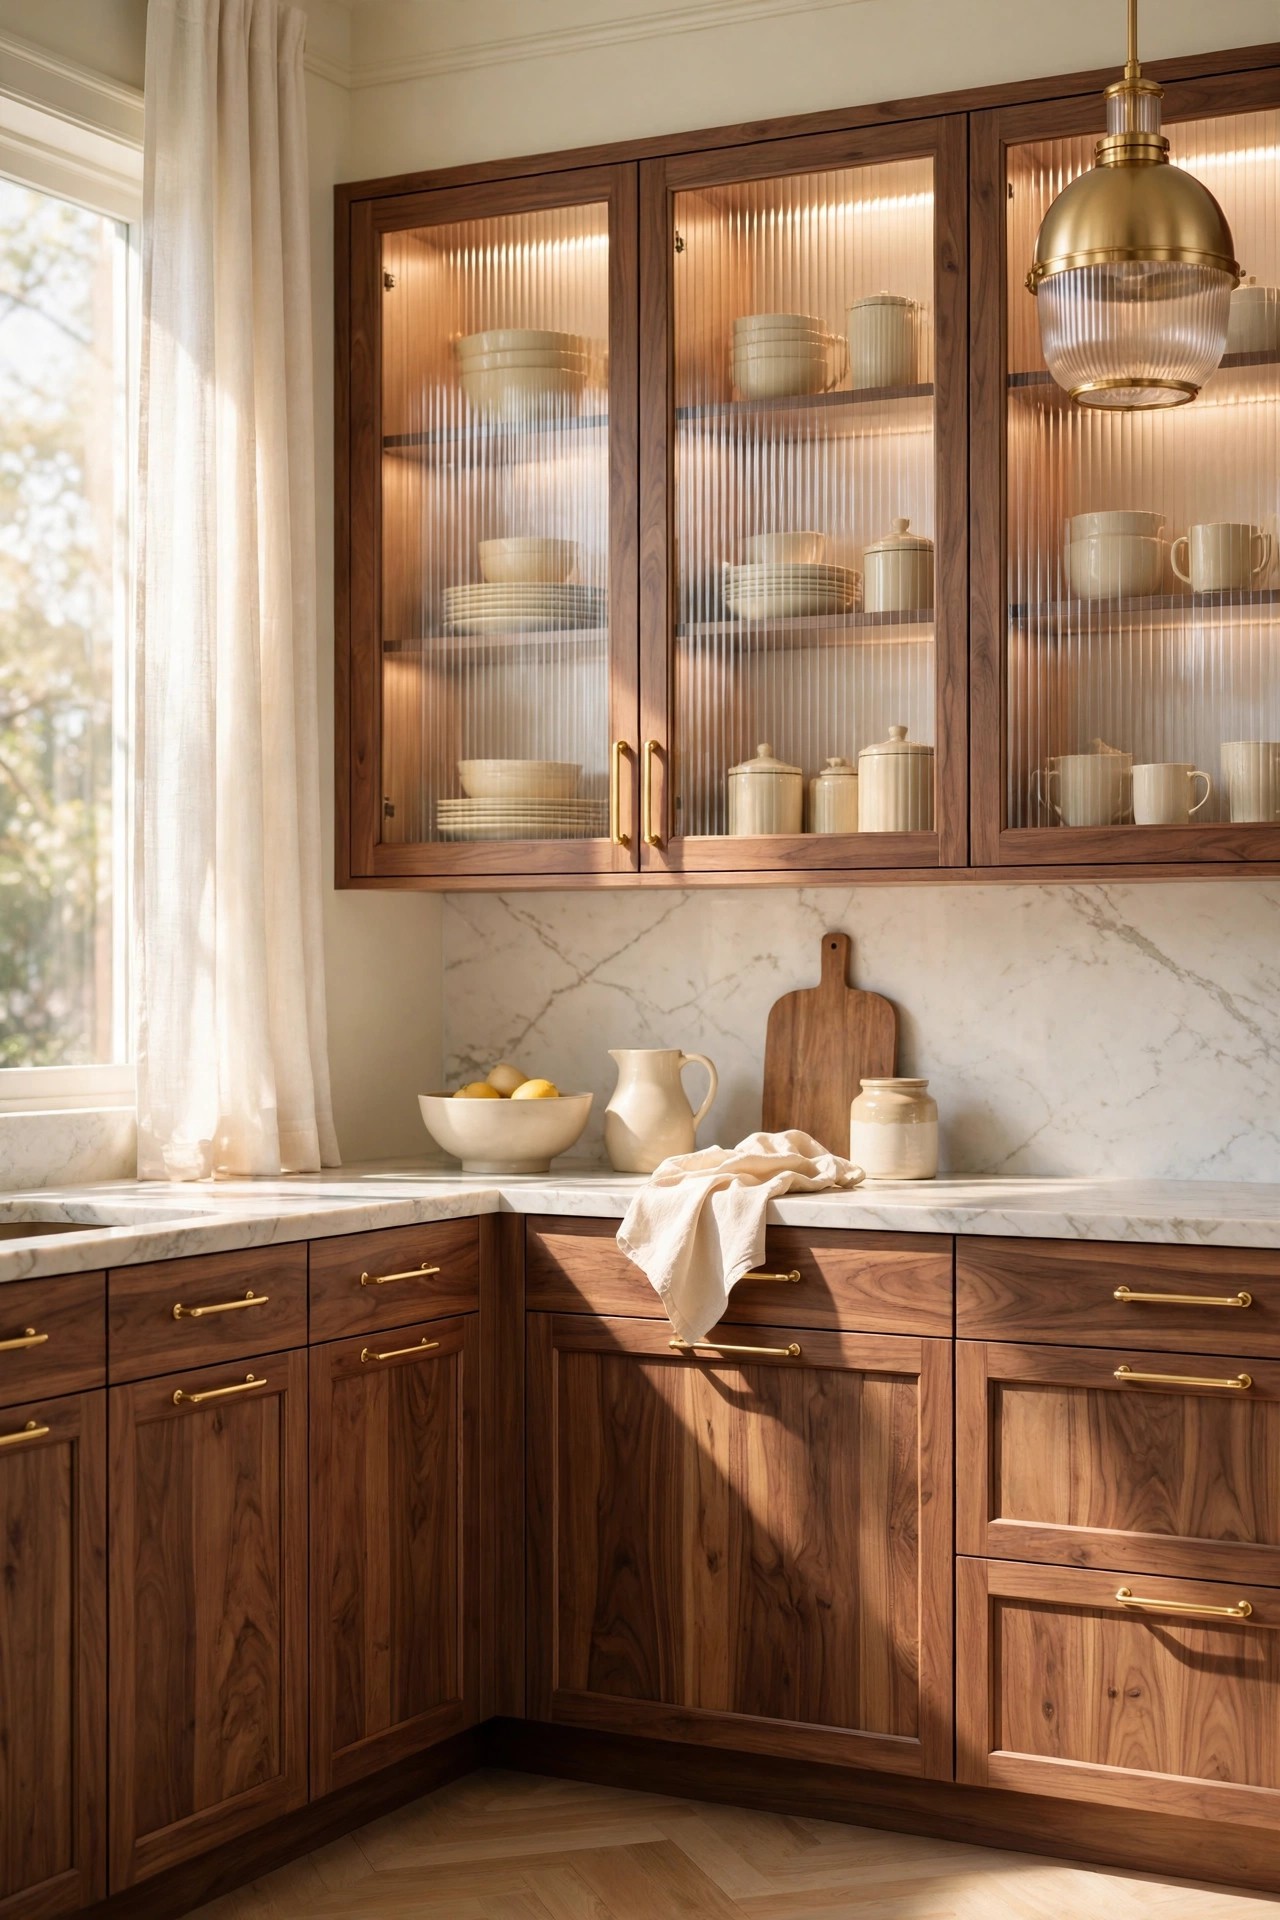
Fluted glass uppers soften a walnut kitchen without giving up the wood. The ribbed glass blurs the shapes inside, so the cabinets glow gently and the shelves read as texture rather than clutter, while the walnut frames keep the glam warmth. This works best on one run of uppers, above the sink or the main counter, where the light catches the ribs. Keep the pieces inside to one colour family, cream glassware and pale ceramics, because strong colours show through the flutes as muddy shapes. For the same softened-glass idea in a smaller cooking space, our guide to compact kitchen layouts shows the gentler version
Best For: Kitchens where solid walnut uppers feel too heavy, and anyone who owns pale glassware worth a soft glow.
Not Ideal For: Kitchens where the uppers hold mismatched plastics and packets; fluted glass forgives colour, not clutter.
Estimated Cost: $2,500-$7,000 (estimate) for walnut-framed fluted glass upper cabinets, fitted.
Budget Note: The fluted glass panels are the spend; standard walnut frames keep the cost down.
Renter Friendly: No
Renter Note: Fitted glass cabinets are a landlord decision; a walnut-framed glass display cabinet gives the same glow freestanding.
What You Need
Walnut-framed upper cabinets with fluted glass doors, pale glassware and cream ceramics, brushed gold handles, soft LED strips inside if the budget allows.
Product type to look for: Fluted glass with even ribs and a warm tint, and hinges that hold the heavier glass doors square.
How To Do It
- Choose one run of uppers for the glass, and keep the other runs solid walnut or cream.
- Fit the frames level, then glaze the doors and check each one closes flush.
- Fill the shelves with pale pieces only, tallest at the back, shortest at the front.
- Add a soft warm light strip inside if the run sits in a dark corner, and test it at night.
Pro Tip
Store the pretty glassware in the fluted cabinets and the everyday plastics in a solid cabinet. The glass run should glow, not confess.
8. Warm a Breakfast Nook With a Walnut Banquette
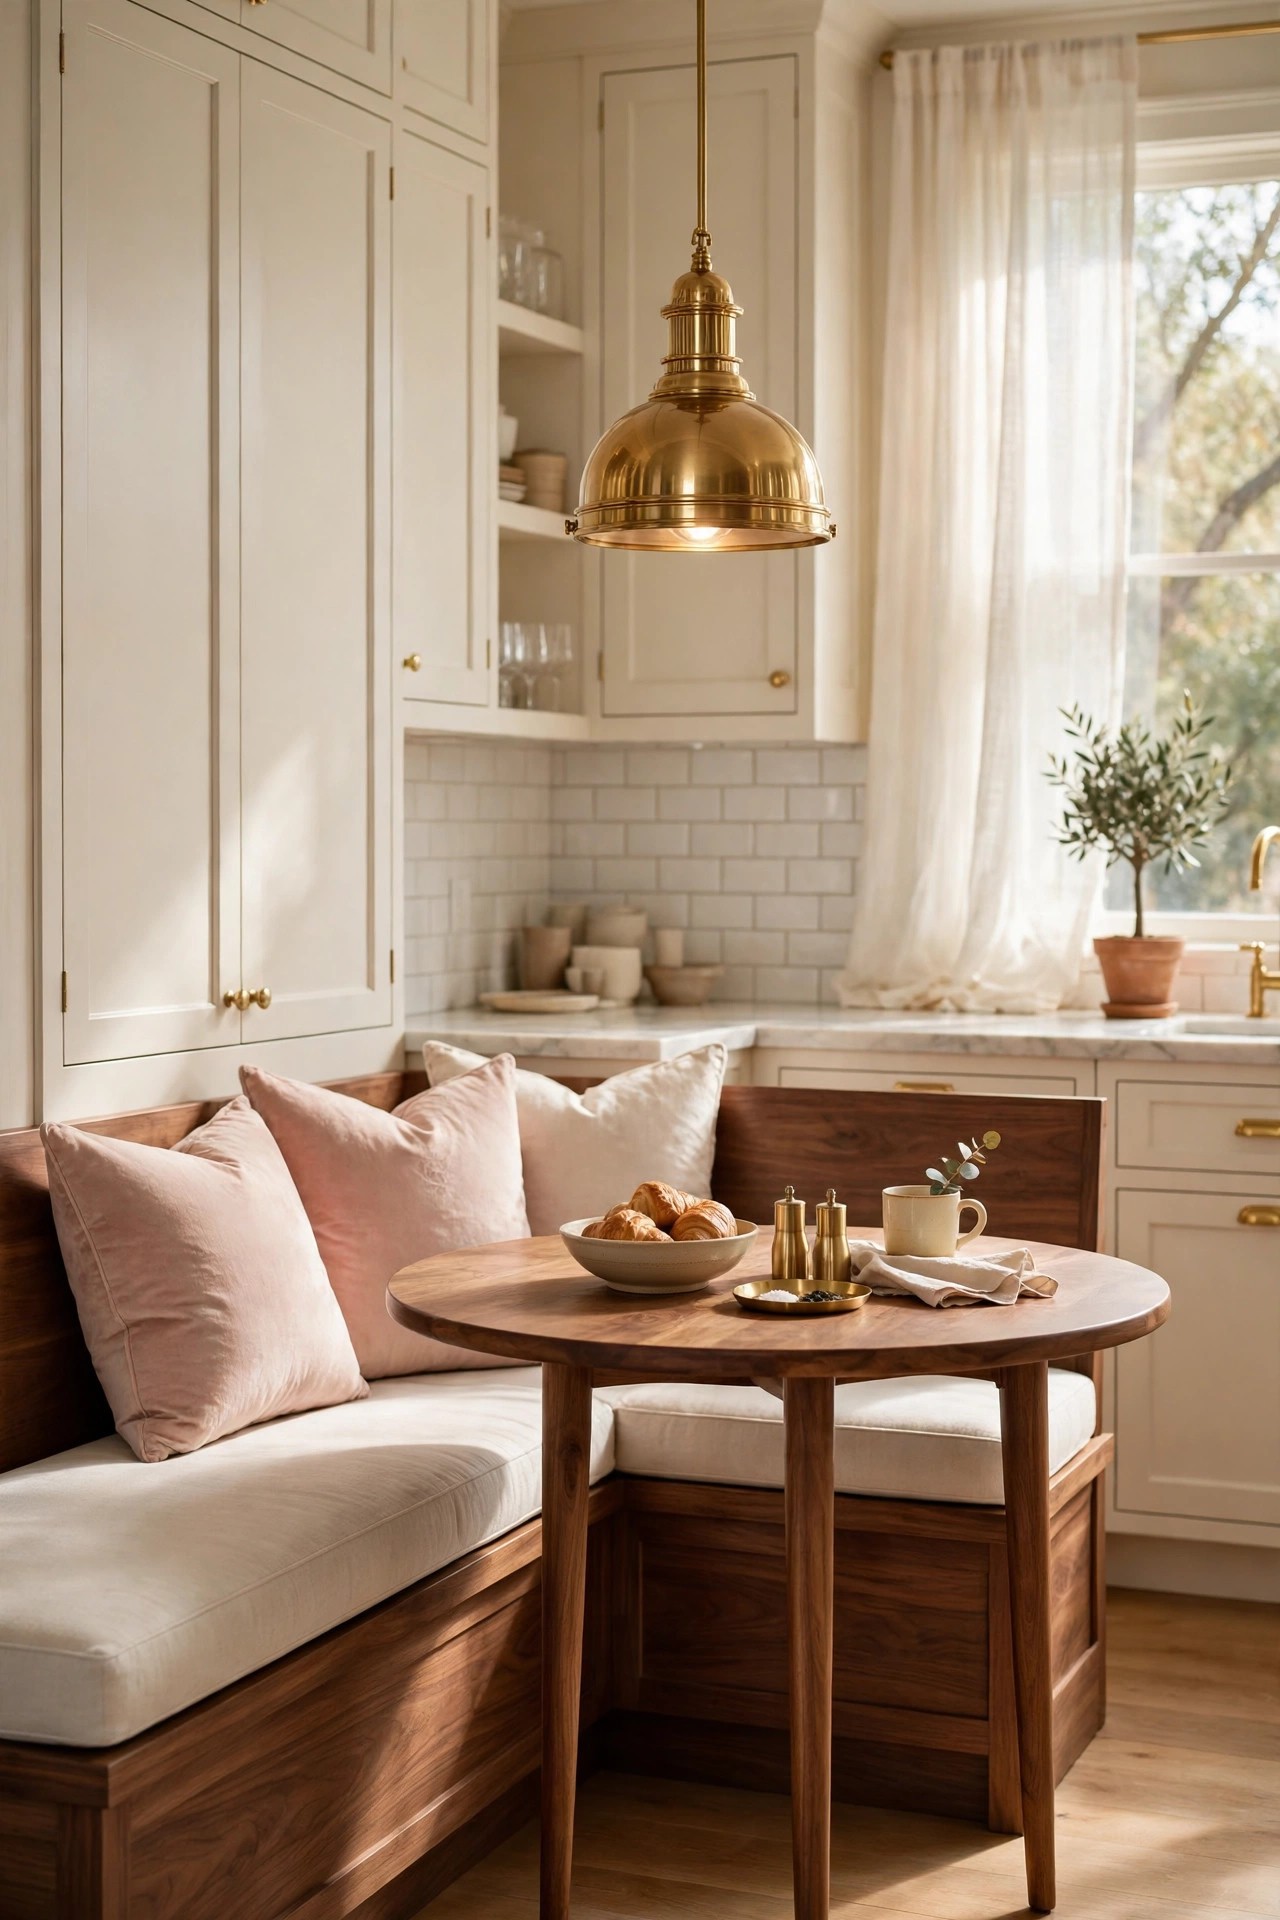
A walnut banquette turns the corner beside the kitchen into the room’s favourite seat. A low walnut bench fitted into the nook, topped with a thick cream cushion and blush pillows, with a small round walnut table and one brass pendant above, gives the kitchen a soft eating spot that a row of stools never does. Storage inside the bench hides table linen and board games, which is the practical win that justifies the build. Keep the table small and round, so nobody climbs over anyone to sit down, and leave one end of the bench open for the daily chair.
Best For: Kitchens with a window corner and families who eat breakfast together daily.
Not Ideal For: Corners with a radiator directly beneath the bench, where the seat blocks heat; a freestanding bench with a gap is the honest choice there.
Estimated Cost: $1,800-$5,500 (estimate) for a fitted walnut banquette with cushion, table and pendant.
Budget Note: The bench build is the spend; the cushion and pillows can be simple pieces in the room palette.
Renter Friendly: No
Renter Note: A fitted bench is a landlord decision; a freestanding walnut bench in the same spot gives the same warmth.
What You Need
Fitted walnut banquette bench with hinged storage lid, thick cream seat cushion, two blush pillows, small round walnut table, brass pendant light, washable cushion covers.
Product type to look for: A bench built to the exact nook measurements, with a cushion thick enough to sit on for an hour and covers that wash.
How To Do It
- Measure the nook at three points, since corners are rarely square, and tape the bench outline on the floor.
- Build or order the bench to fit, with the storage lid hinged at the back.
- Set the cushion, pillows and table, then hang the pendant centred over the table.
- Keep the table setting simple, one vase and one small tray, so the nook stays an eating spot.
Pro Tip
Store table linen inside the bench, not books. Heavy books in a hinged bench are awkward to reach and warp the lid over time.
9. Back Walnut Cabinets With a Zellige Tile Backsplash
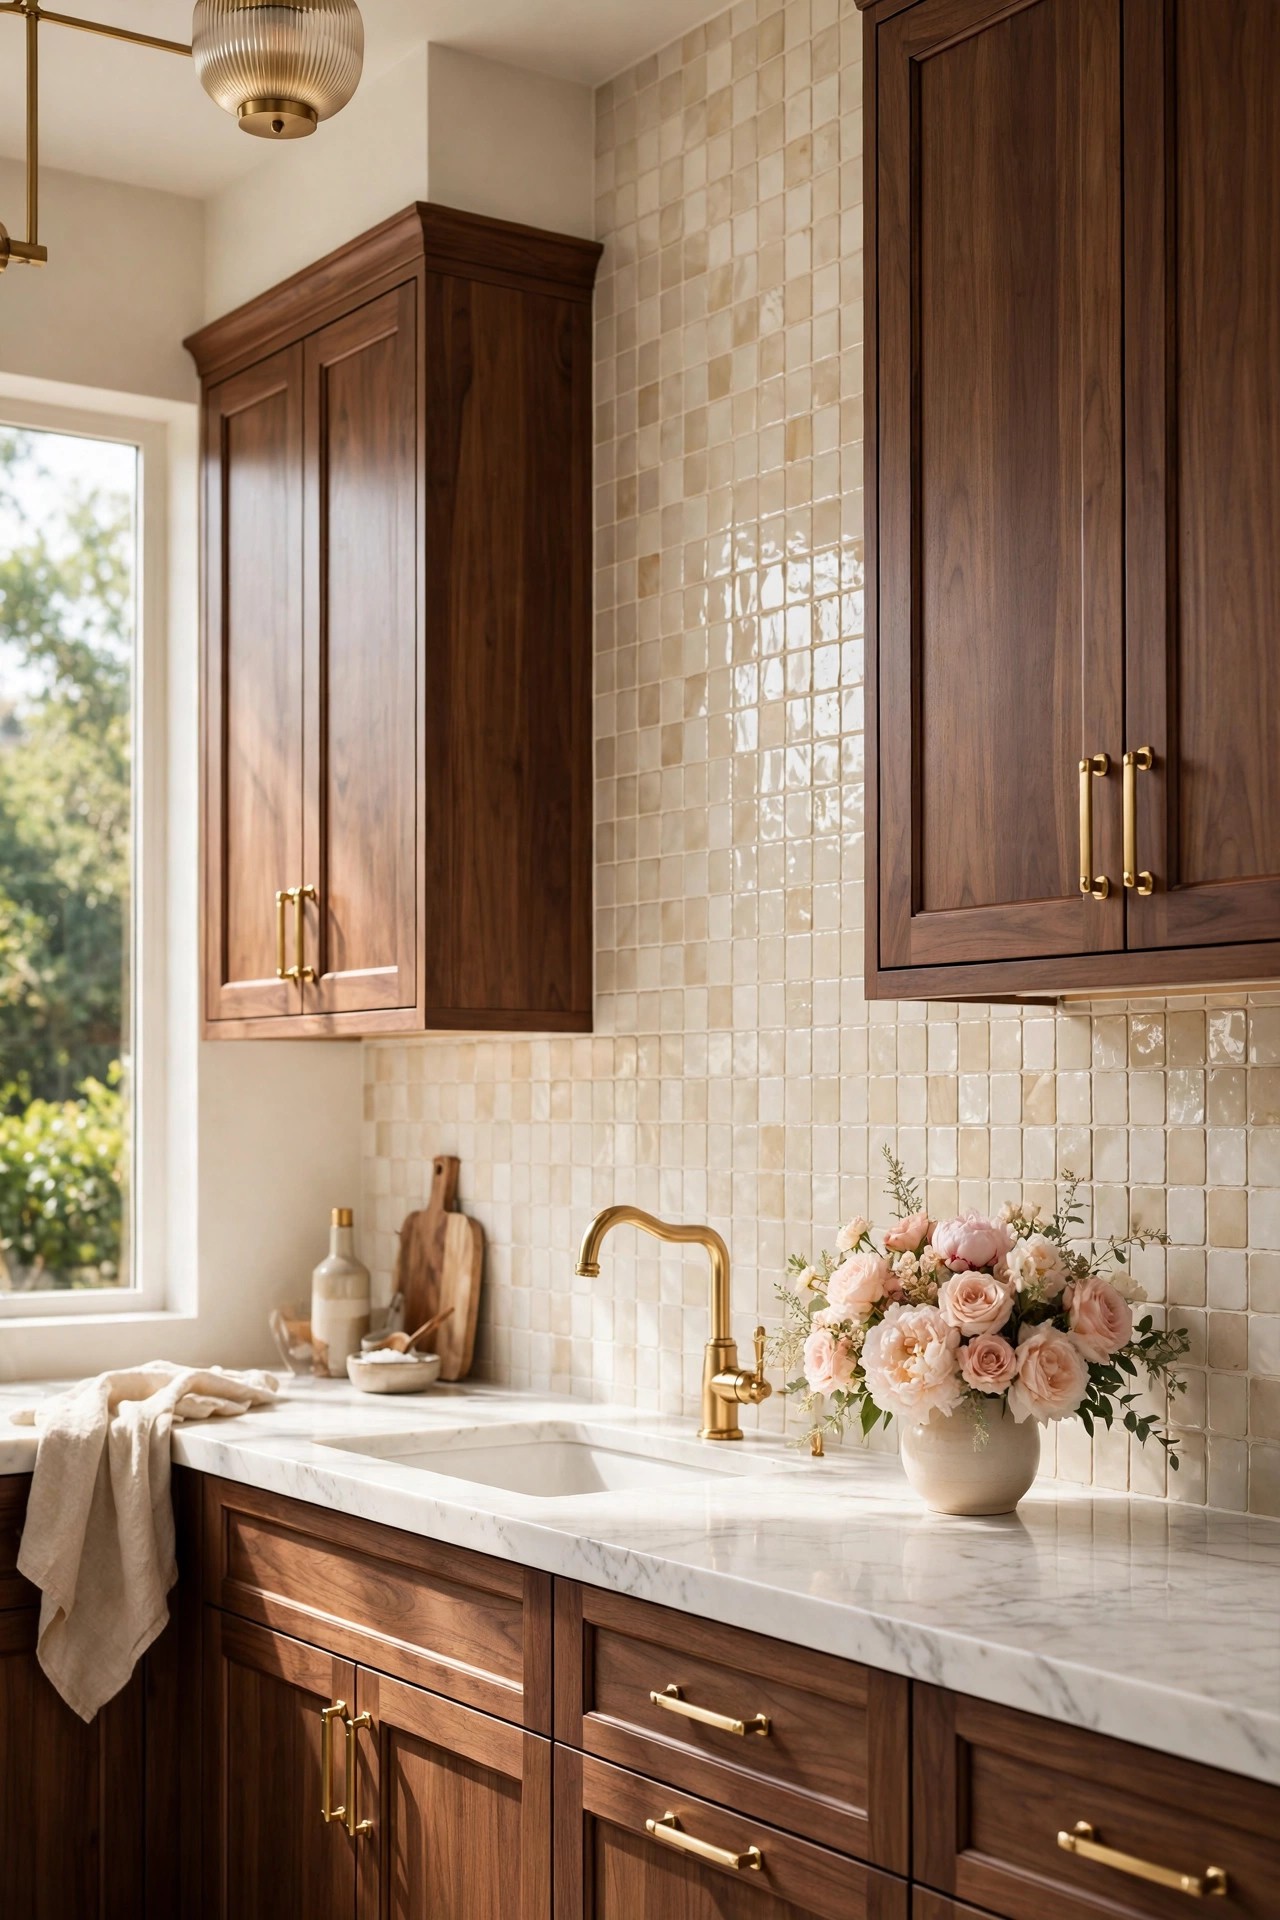
A zellige backsplash gives walnut cabinets a handmade surface that flat tile cannot match. The small glossy tiles in warm cream, each one slightly uneven in tone, catch the light differently across the run and soften the straight lines of the cabinets below. Keep the grout pale and the tile colour warm, so the backsplash reads as texture rather than pattern, and run it to the ceiling behind the cooker hood for one strong vertical note. Zellige needs sealing, and the uneven surface wipes clean more slowly than flat tile, so it suits cooks who wipe the splash zone after cooking.
Best For: Kitchens with plain counters and anyone who wants one handmade surface in the room.
Not Ideal For: Kitchens where the counter already carries a strong veined stone; two busy surfaces fight each other.
Estimated Cost: $900-$2,800 (estimate) for a zellige tile backsplash, fitted and sealed.
Budget Note: The handmade tile is the spend; a simple stacked layout costs less than a herringbone one.
Renter Friendly: No
Renter Note: A tiled backsplash is a landlord decision; a removable tile-look panel gives the same glow.
What You Need
Zellige-look tiles in warm cream, pale grout, tile sealer, tile adhesive and spacers, brushed gold faucet to match the room metal.
Product type to look for: Tiles with a gentle tone variation, not a wild one, so the wall reads as one warm surface.
How To Do It
- Lay a full row of tiles dry on the counter first, and check the tone variation in daylight.
- Tile from the centre of the run outward, so the cut tiles land at the edges.
- Grout in a pale tone, wipe the tiles clean before the grout sets, and seal once dry.
- Keep the counter below the backsplash clear for a day so the seal cures undisturbed.
Pro Tip
Order ten percent extra tile. Handmade-look tiles vary in size, and the spares cover the cuts and any future chip.
10. Choose Handleless Slab Front Walnut Cabinets
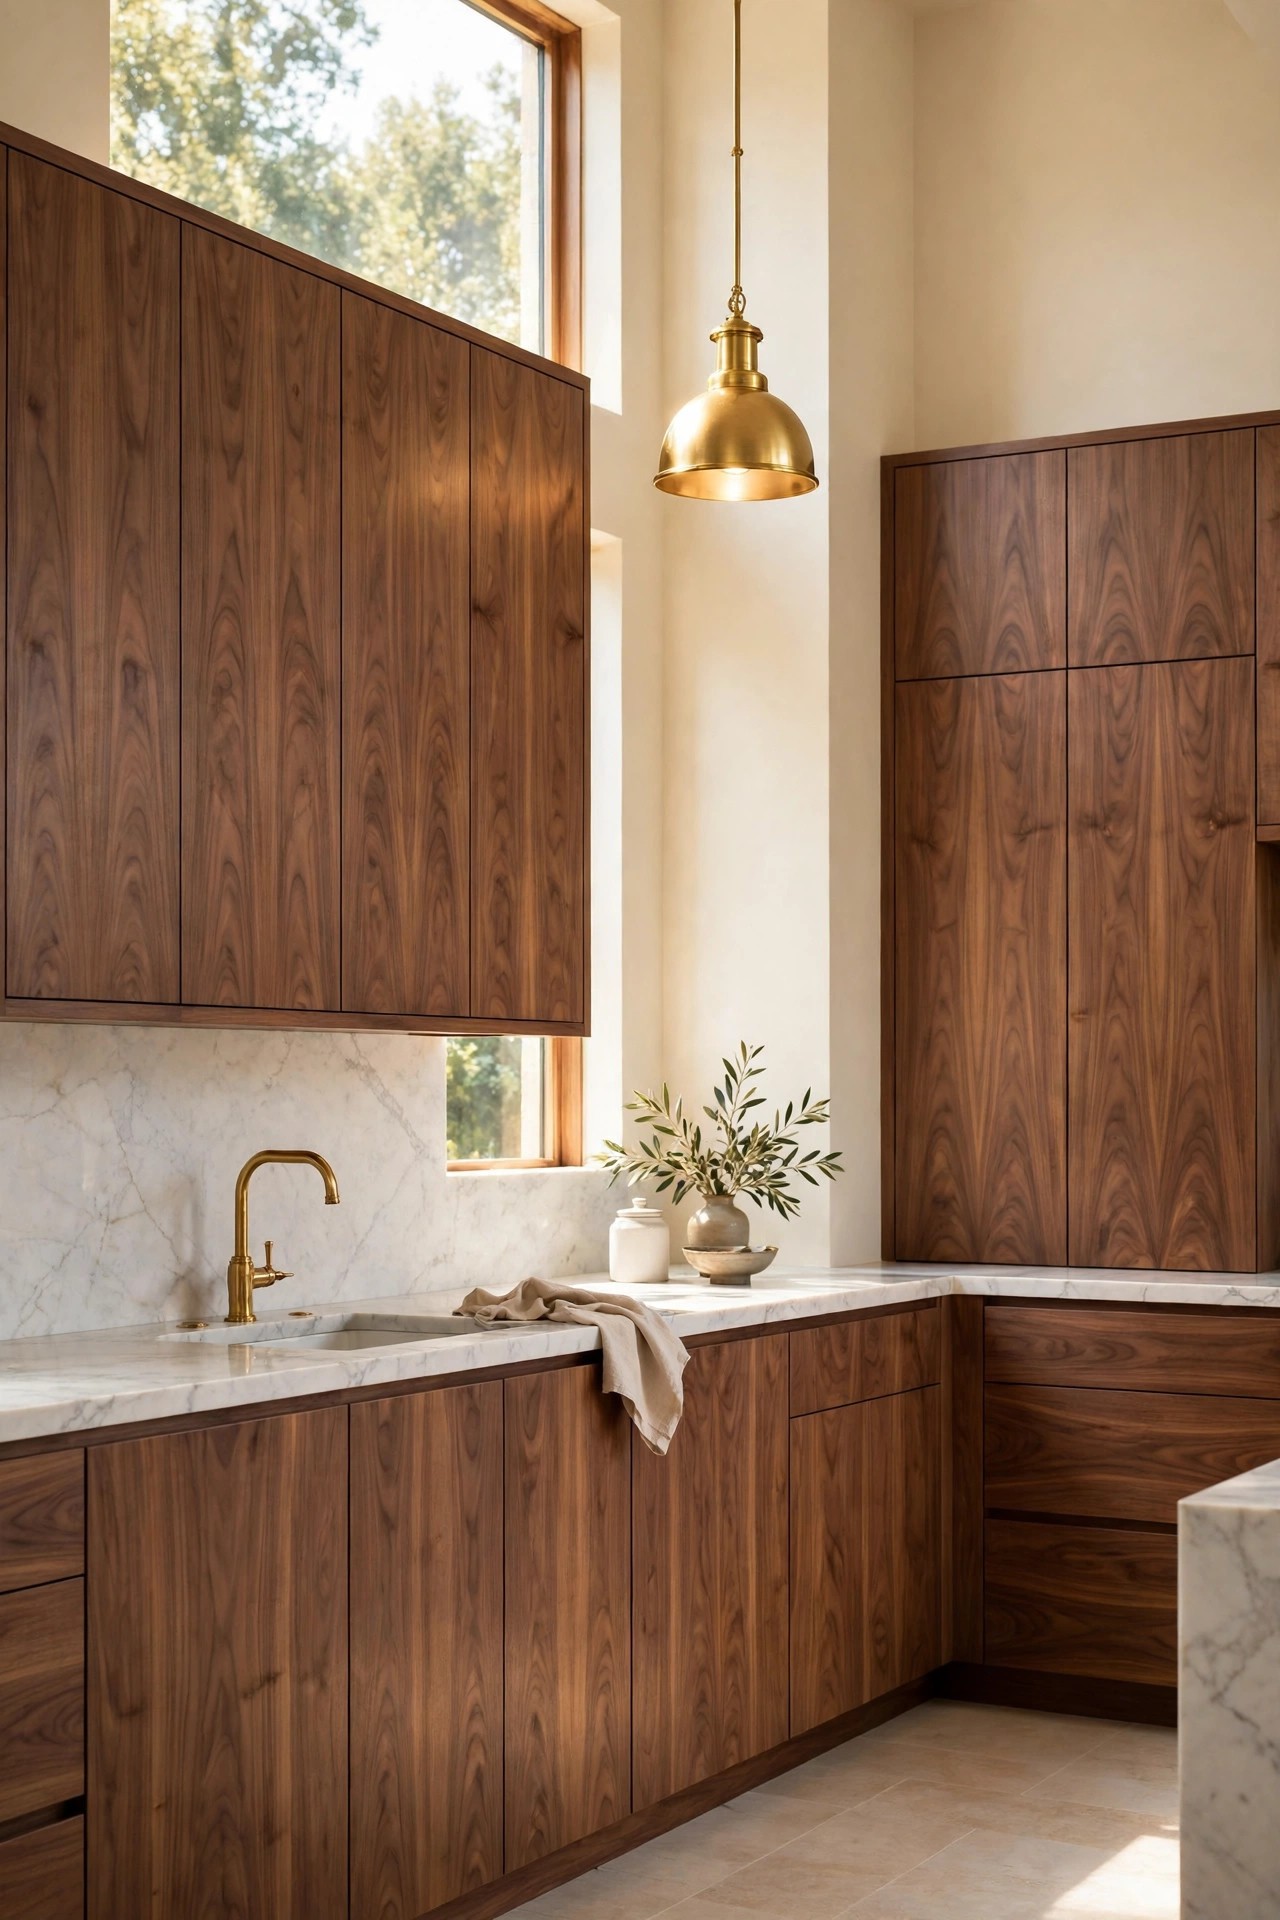
Handleless slab fronts are the modern way to show walnut, because nothing interrupts the grain. Flat walnut doors with a push-to-open or a recessed channel at the top read as one calm wall of wood, and the clean lines suit a kitchen that opens onto a living room, where the cabinets are furniture as much as storage. The catch is practical: push-to-open doors need a firm touch and show fingerprints on the wood, so keep a soft cloth by the sink and choose a satin finish that hides marks. Add one brass detail elsewhere, a pendant or a faucet, so the room keeps its glam note.
Best For: Open-plan kitchens and anyone who wants the cabinets to read as furniture.
Not Ideal For: Homes with small children who push doors with sticky hands, and anyone who prefers a pull they can grab with wet hands.
Estimated Cost: $7,000-$16,000 (estimate) for handleless slab front walnut cabinets, fitted.
Budget Note: The push-to-open hardware is the spend; the flat fronts themselves cost less than framed doors.
Renter Friendly: No
Renter Note: Fitted cabinets are a landlord decision; a freestanding walnut sideboard with flat fronts gives the same look.
What You Need
Slab front walnut doors and drawer fronts, push-to-open or recessed channel hardware, soft-close hinges, satin wood finish, soft cleaning cloths.
Product type to look for: A satin finish that resists fingerprints, and hardware rated for daily use on the heaviest doors.
How To Do It
- Decide the opening method first, push-to-open or recessed channel, and test both in a showroom with wet hands.
- Fit the cabinets level, then the fronts, checking the gaps between doors are even along the run.
- Fit the hardware and test every door twice, once empty and once loaded.
- Keep one brass detail visible, a pendant or faucet, so the room keeps its warm metal note.
Pro Tip
Keep the grain running in one direction across a whole run of doors. Mixed grain directions on flat fronts read as a mistake, not a design choice.
11. Hide a Coffee Bar Behind Walnut Doors
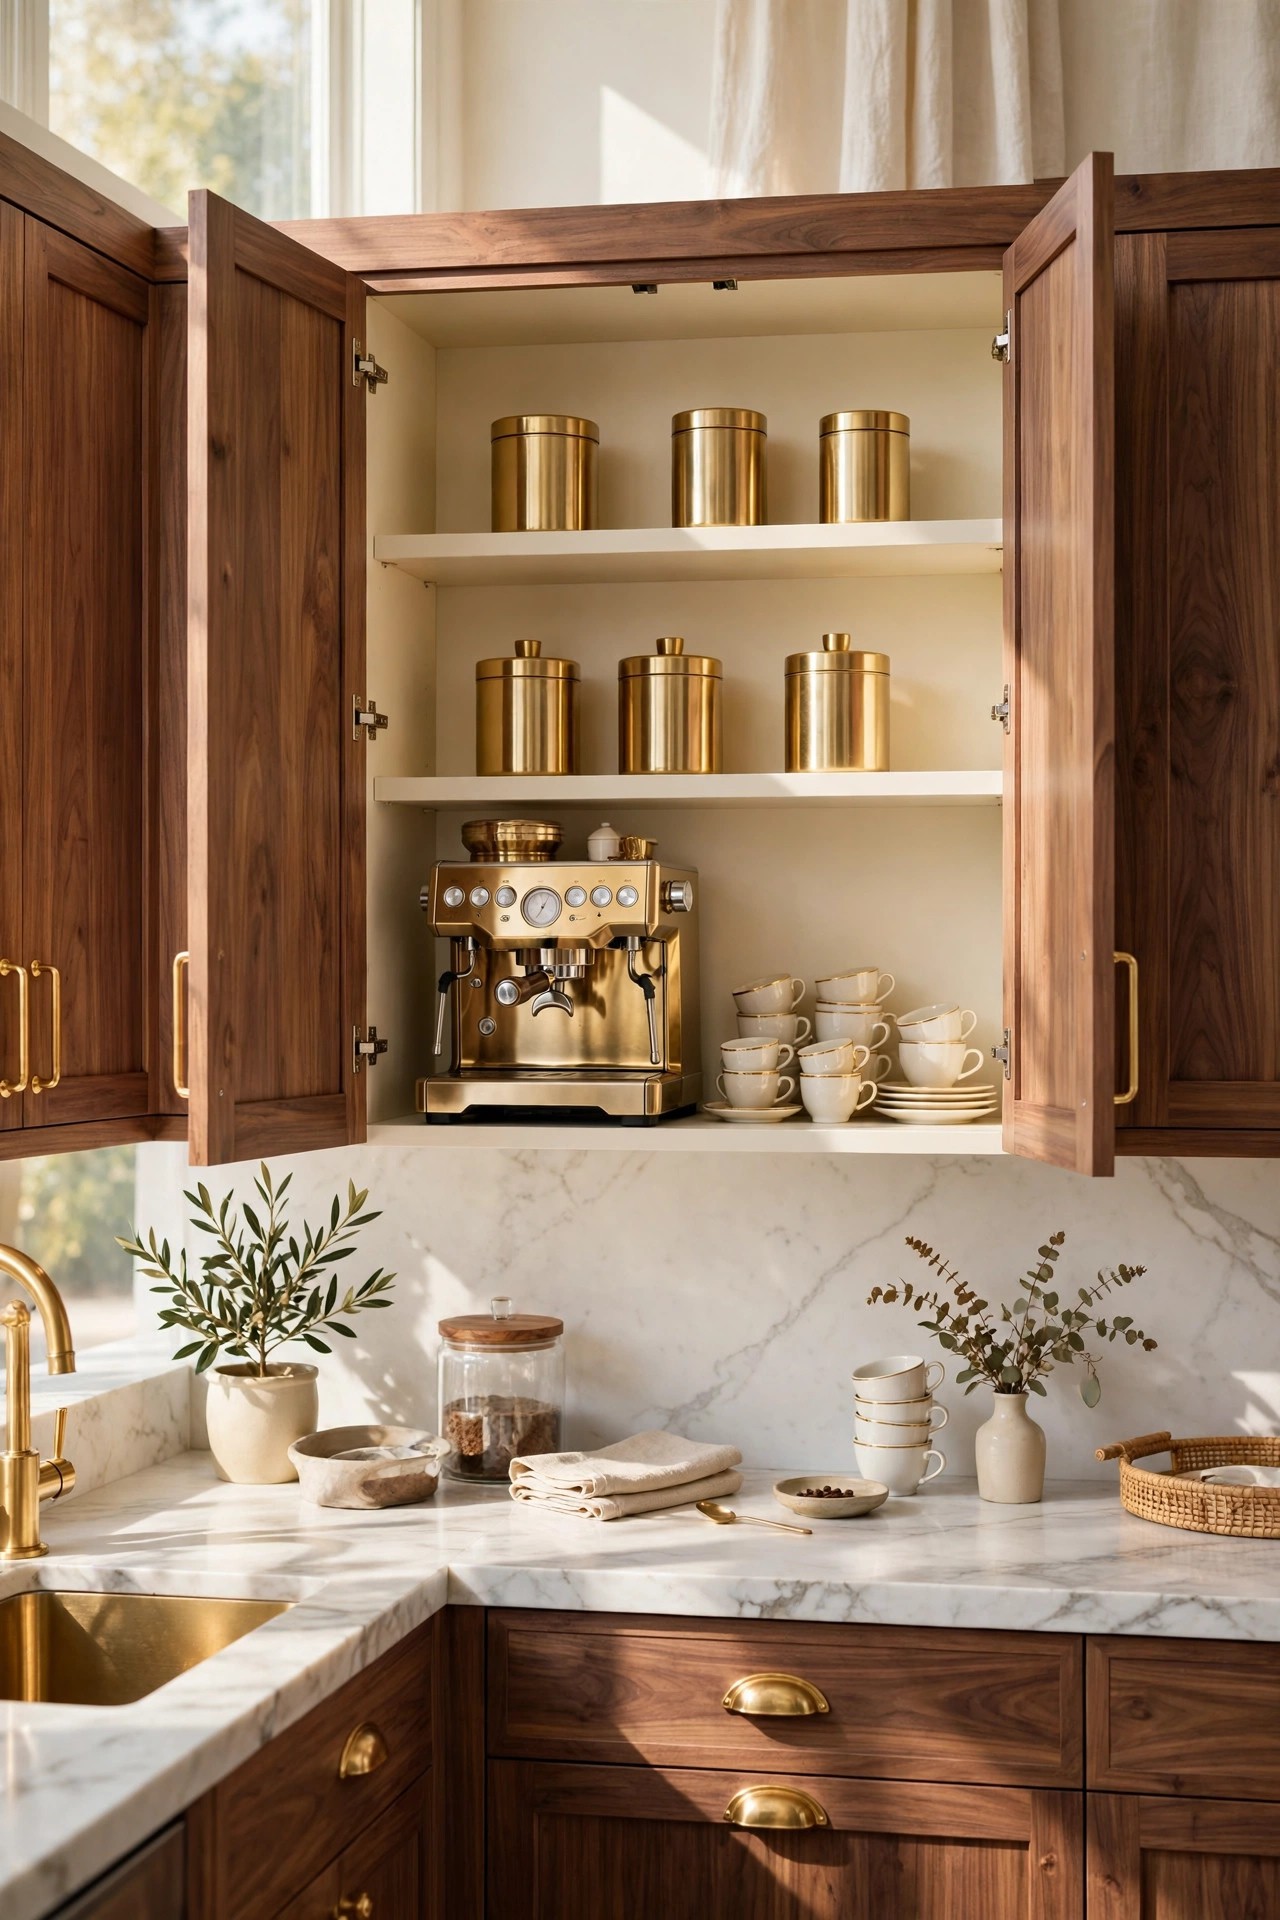
A coffee bar hidden behind walnut doors is the small luxury that makes mornings feel considered. One tall walnut unit, fitted with a pocket or bi-fold door, opens to a coffee station with cream shelves, gold canisters, the espresso machine and a row of cups, then closes to a plain walnut front when the day is done. The inside needs a power point and a heat-resistant shelf under the machine, and the shelf height must clear the tallest cup. Keep the coffee gear to one shelf and the cups to one row, or the bar fills up and the doors stop closing. For more ways to keep the worktop clear, our guide to tidy cooking spaces shows the same hideaway logic
Best For: Daily coffee drinkers and kitchens where the counter is always crowded.
Not Ideal For: Kitchens with no spare tall unit, where a coffee tray on the counter is the honest version.
Estimated Cost: $1,200-$3,500 (estimate) for a walnut coffee bar unit with doors, shelves and power point.
Budget Note: The door hardware is the spend; the shelves and canisters can be simple.
Renter Friendly: With Conditions
Renter Note: A freestanding walnut cabinet with doors works where a fitted unit is not allowed; only an electrician adds a power point.
What You Need
Tall walnut unit with pocket or bi-fold doors, cream shelves, gold canisters, espresso machine, cups, power point inside the unit, heat-resistant shelf liner.
Product type to look for: Doors that open fully clear of the opening, so the machine can be reached without ducking under a half-open door.
How To Do It
- Measure the espresso machine and the tallest cup, and set the shelf heights around them.
- Fit the unit, then the power point, with the cable routed so it never crosses a shelf edge.
- Place the machine on the heat-resistant liner, the canisters above it and the cups in one row.
- Test the doors with the machine running, and keep a small tray under the cups for drips.
Pro Tip
Keep the milk and sugar in the same unit as the machine. A coffee bar that needs a trip across the kitchen is a coffee corner, not a bar.
12. Frame the Range With a Walnut Hood Surround
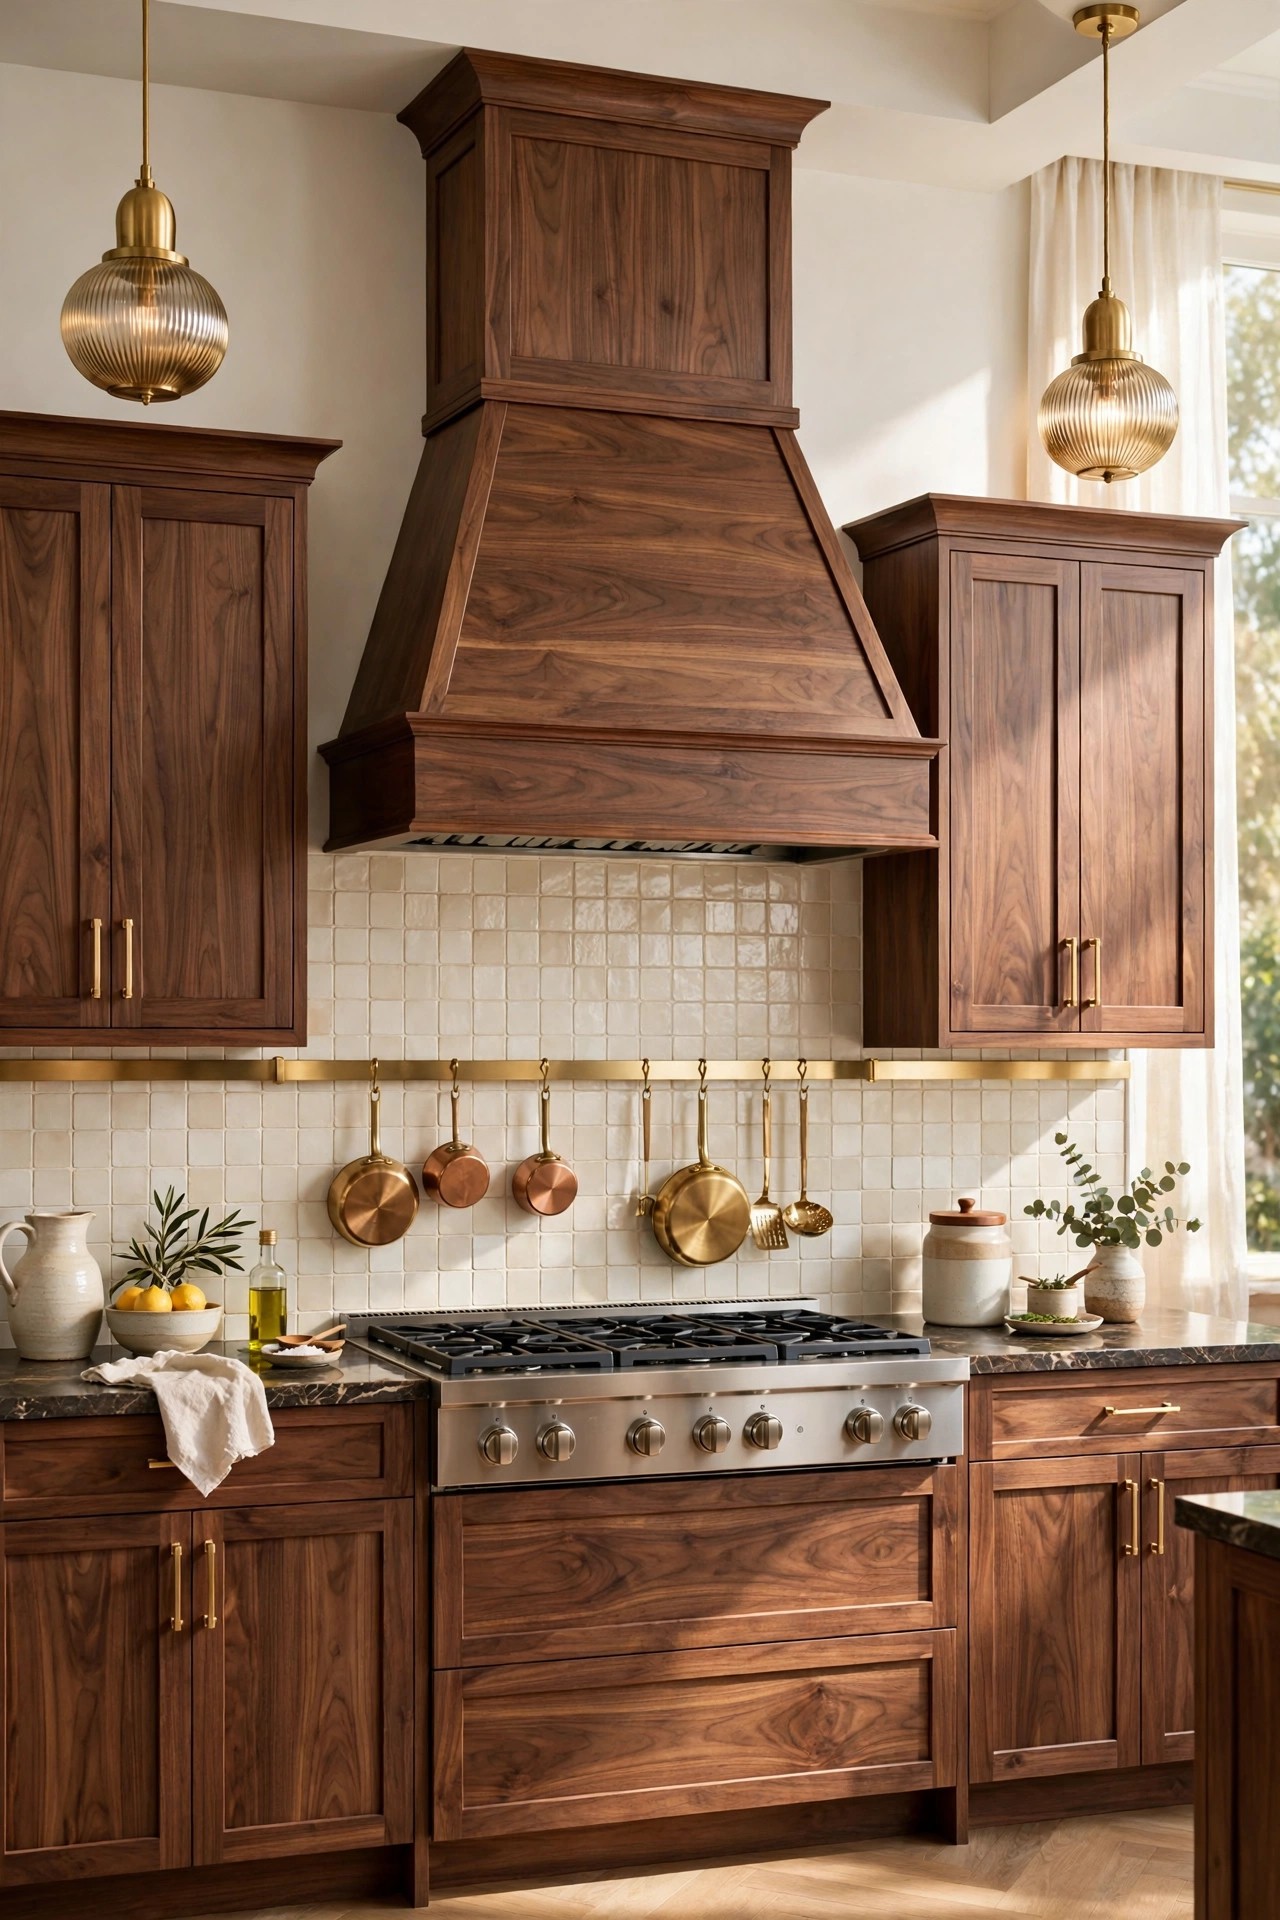
A walnut hood surround turns the extractor, the least glamorous box in the kitchen, into the room’s centrepiece. A tapered walnut surround over the range, matched to the cabinet wood, frames the cooking zone and pulls the whole wall together, with a brushed gold pot rail underneath for the pans used daily. The surround must hide a proper extractor inside, sized to the hob, and the wood needs a heat-resistant finish and a safe clearance above the hob, so the extractor specification comes before the woodwork. Keep the wall either side plain, so the hood stays the one strong shape.
Best For: Kitchens where the range sits on the main wall and anyone who wants the cooker wall to lead the room.
Not Ideal For: Low ceilings where a tall hood crowds the wall, and anyone who fries often without using the extractor.
Estimated Cost: $2,500-$7,500 (estimate) for a walnut hood surround with extractor, fitted.
Budget Note: The extractor is the spend; the walnut surround costs less than the appliance inside it.
Renter Friendly: No
Renter Note: A fitted hood is a landlord decision; a freestanding walnut shelf above the hob gives a hint of the same frame.
What You Need
Walnut hood surround, extractor sized to the hob, heat-resistant wood finish, brushed gold pot rail, fixings rated for the surround weight.
Product type to look for: An extractor with a stated extraction rate that matches the hob size, and a finish on the wood that resists steam.
How To Do It
- Choose the extractor first, sized to the hob, and check the duct route and the clearance above the hob.
- Build the walnut surround around the extractor dimensions, not the other way round.
- Fit the extractor, test it at full power, then fit the surround and the pot rail.
- Keep the rail to three or four daily pans, so the hood stays a frame, not a storage rack.
Pro Tip
Match the hood wood to the cabinet wood from the same batch. Two walnuts from different batches can read as two different woods on one wall.
13. Top the Island With Butcher Block on Walnut
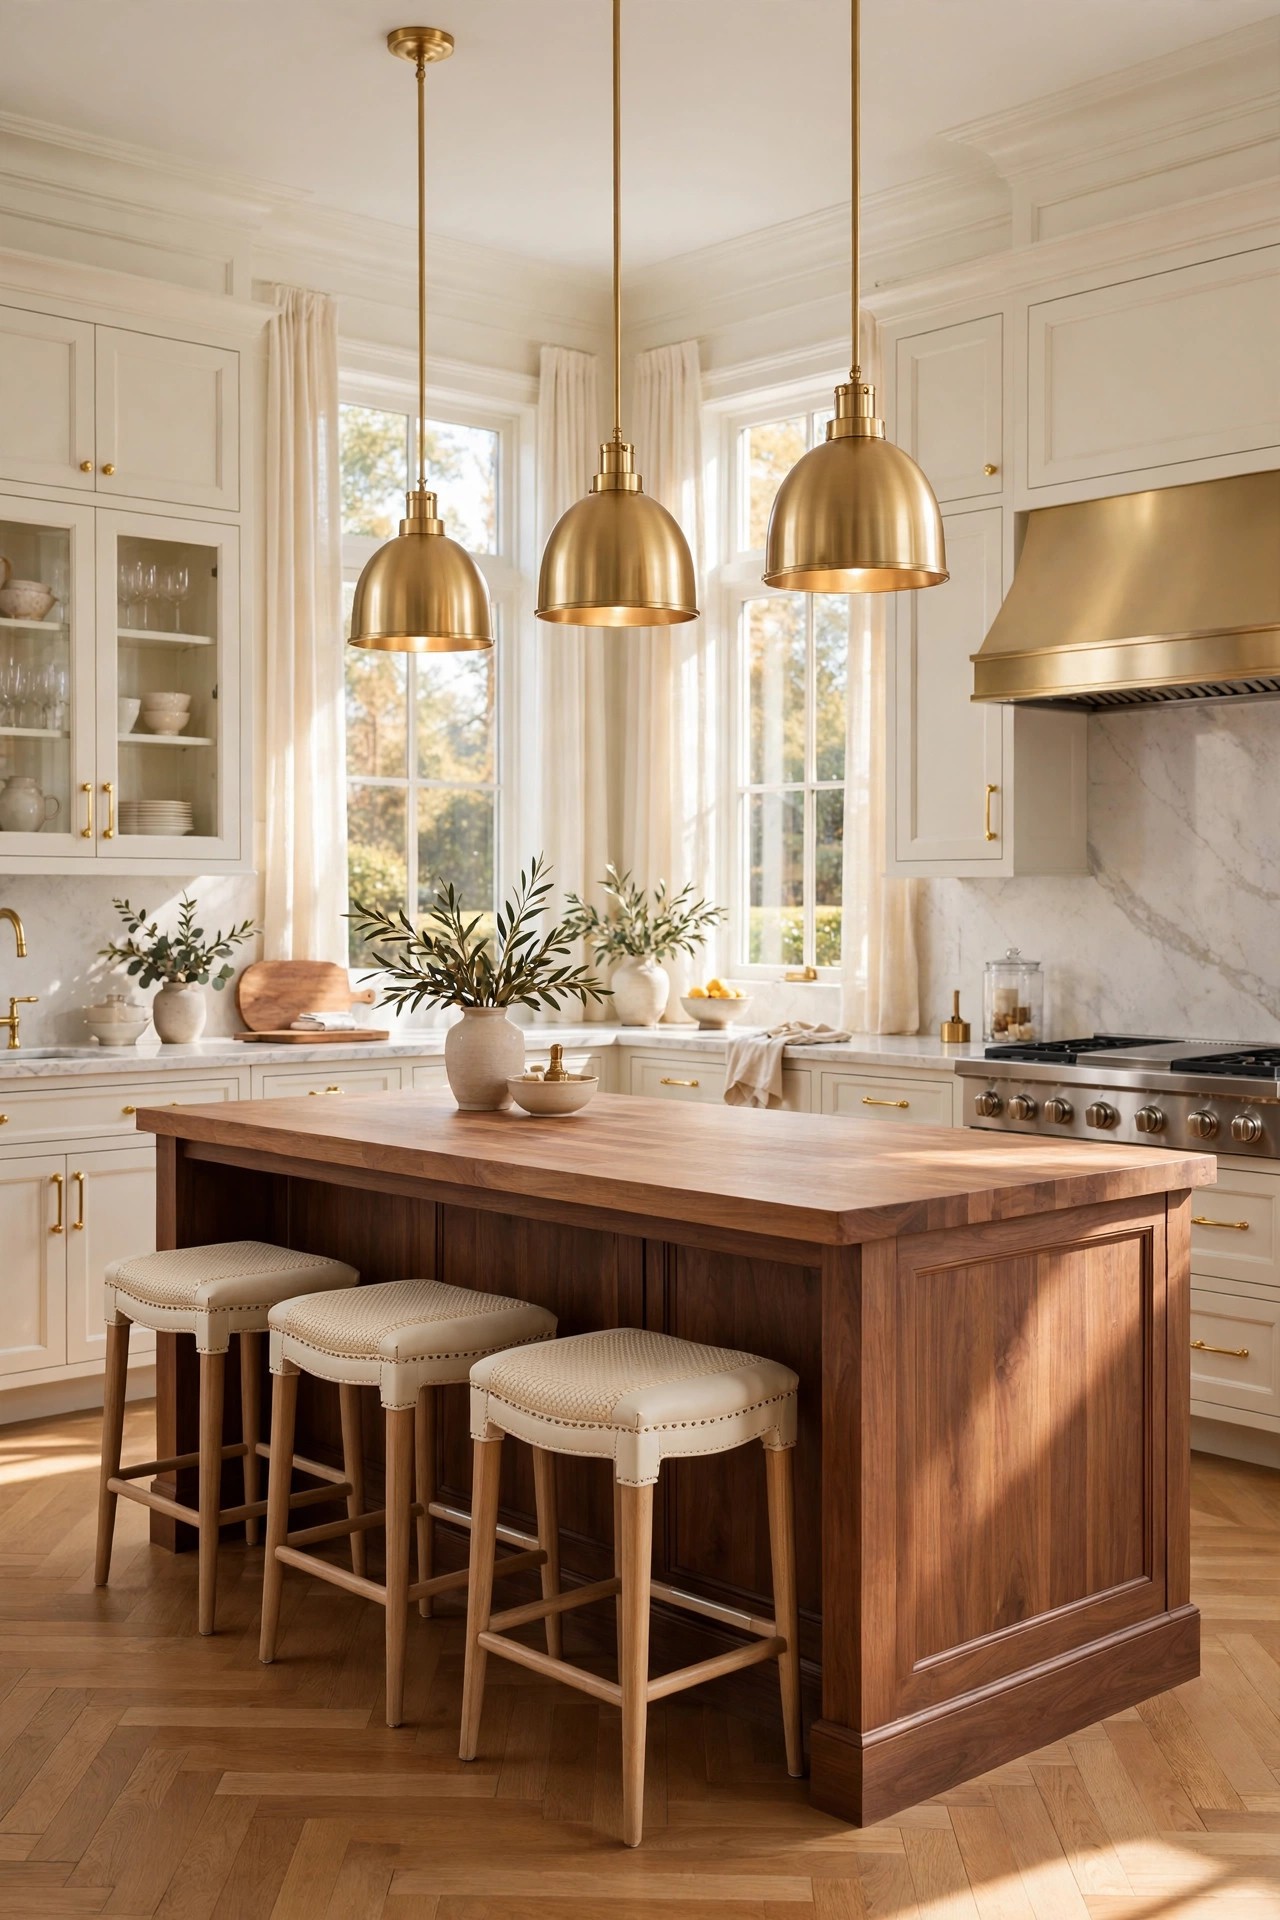
Butcher block on a walnut island is the warm-on-warm pairing that makes a kitchen feel like a cook’s room. The pale honey butcher block top, oiled rather than varnished, gives a forgiving surface for chopping and rolling, while the walnut island body below grounds it in the glam palette. Keep the perimeter counters in white marble, so the island top reads as the one wooden work surface, and oil the block monthly, because a dry board stains and a well-oiled one shrugs off most marks. Never cut raw meat directly on the block without a board, and keep a trivet by the hob for hot pans.
Best For: Home bakers and cooks who want a dedicated prep surface in the middle of the room.
Not Ideal For: Kitchens where the island doubles as a homework table; ink and paint stain an oiled board fast.
Estimated Cost: $2,000-$6,000 (estimate) for a butcher block island top on a walnut island base, fitted.
Budget Note: The butcher block slab is the spend; food-safe oil and a monthly routine cost very little.
Renter Friendly: No
Renter Note: A fitted island top is a landlord decision; a thick butcher block board on a freestanding table gives the same prep surface.
What You Need
Butcher block island top in a pale honey tone, food-safe board oil, walnut island base, cream bar stools, chopping boards, trivets.
Product type to look for: A thick end-grain or edge-grain block with a food-safe finish, and oil made for kitchen work surfaces.
How To Do It
- Measure the island base and order the block with a small overhang on the seating side.
- Oil the block on all sides before fitting, and let it cure overnight.
- Fit the block level on the walnut base, then oil the top again and buff it dry.
- Place boards and trivets where they are reached without thinking, and set a monthly oiling reminder.
Pro Tip
Sand out a stain with fine paper and re-oil the spot the same day. A small sand and oil keeps a butcher block looking new for years.
14. Ground Walnut With Matte Black Accents
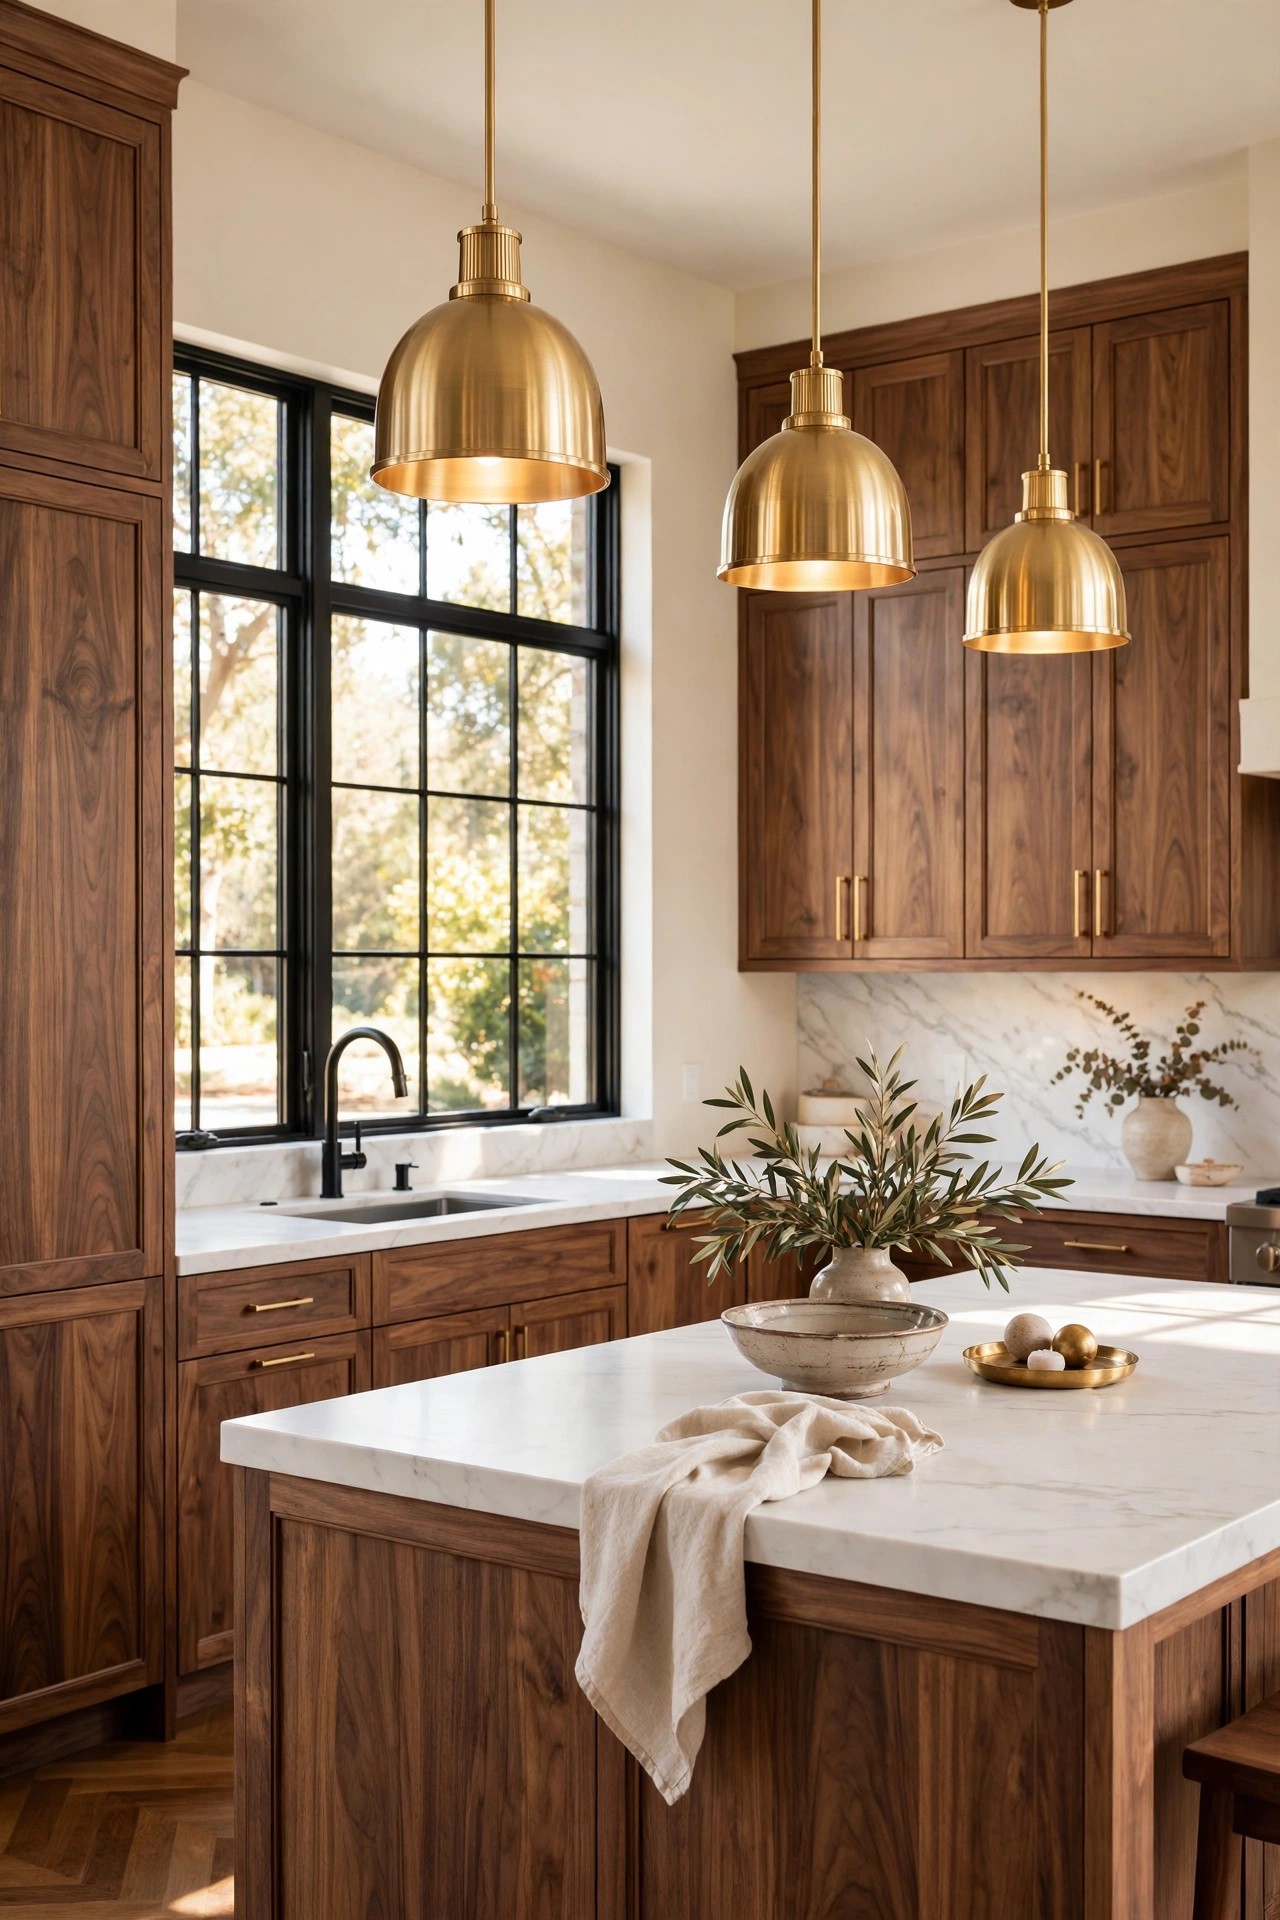
Matte black accents give a walnut kitchen its edge without cooling it down. A black faucet, black window frames or black cabinet pulls, used sparingly, sharpen the warm wood and stop the glam palette from turning too sweet, while the brushed gold pendants keep the luxury note. The rule is one black element per zone: faucet at the sink, pulls on one run, frames at the window, and never all three on the same surface. Black shows water marks and dust more than gold, so keep a microfibre cloth by the sink and choose a matte finish that hides prints.
Best For: Kitchens that feel too soft or sweet, and anyone who likes a modern contrast with warm wood.
Not Ideal For: Very small kitchens, where black on every surface shrinks the room; one black note is enough there.
Estimated Cost: $800-$2,500 (estimate) for matte black faucet, pulls and small black accents.
Budget Note: The faucet is the spend; pulls and small accents are cheap to change later.
Renter Friendly: With Conditions
Renter Note: Pulls can change back easily; a faucet swap needs the owner’s permission.
What You Need
Matte black faucet, matte black cabinet pulls for one run, microfibre cloths, brushed gold pendant lights to keep the warm metal note.
Product type to look for: A faucet with a matte finish that resists water marks, and pulls in the same black tone as the faucet.
How To Do It
- Choose one black note per zone and mark them on a sketch before buying anything.
- Fit the faucet first, then the pulls on one run, checking the black reads the same in daylight.
- Keep the gold pendants and the walnut as the warm notes, and do not add a third metal.
- Wipe the black surfaces with a dry microfibre cloth each evening so water marks never set.
Pro Tip
Keep black to the hardware and the window frames, never the counter. A black counter with walnut cabinets turns the whole room dark.
15. Light a Walnut Glass Display Cabinet
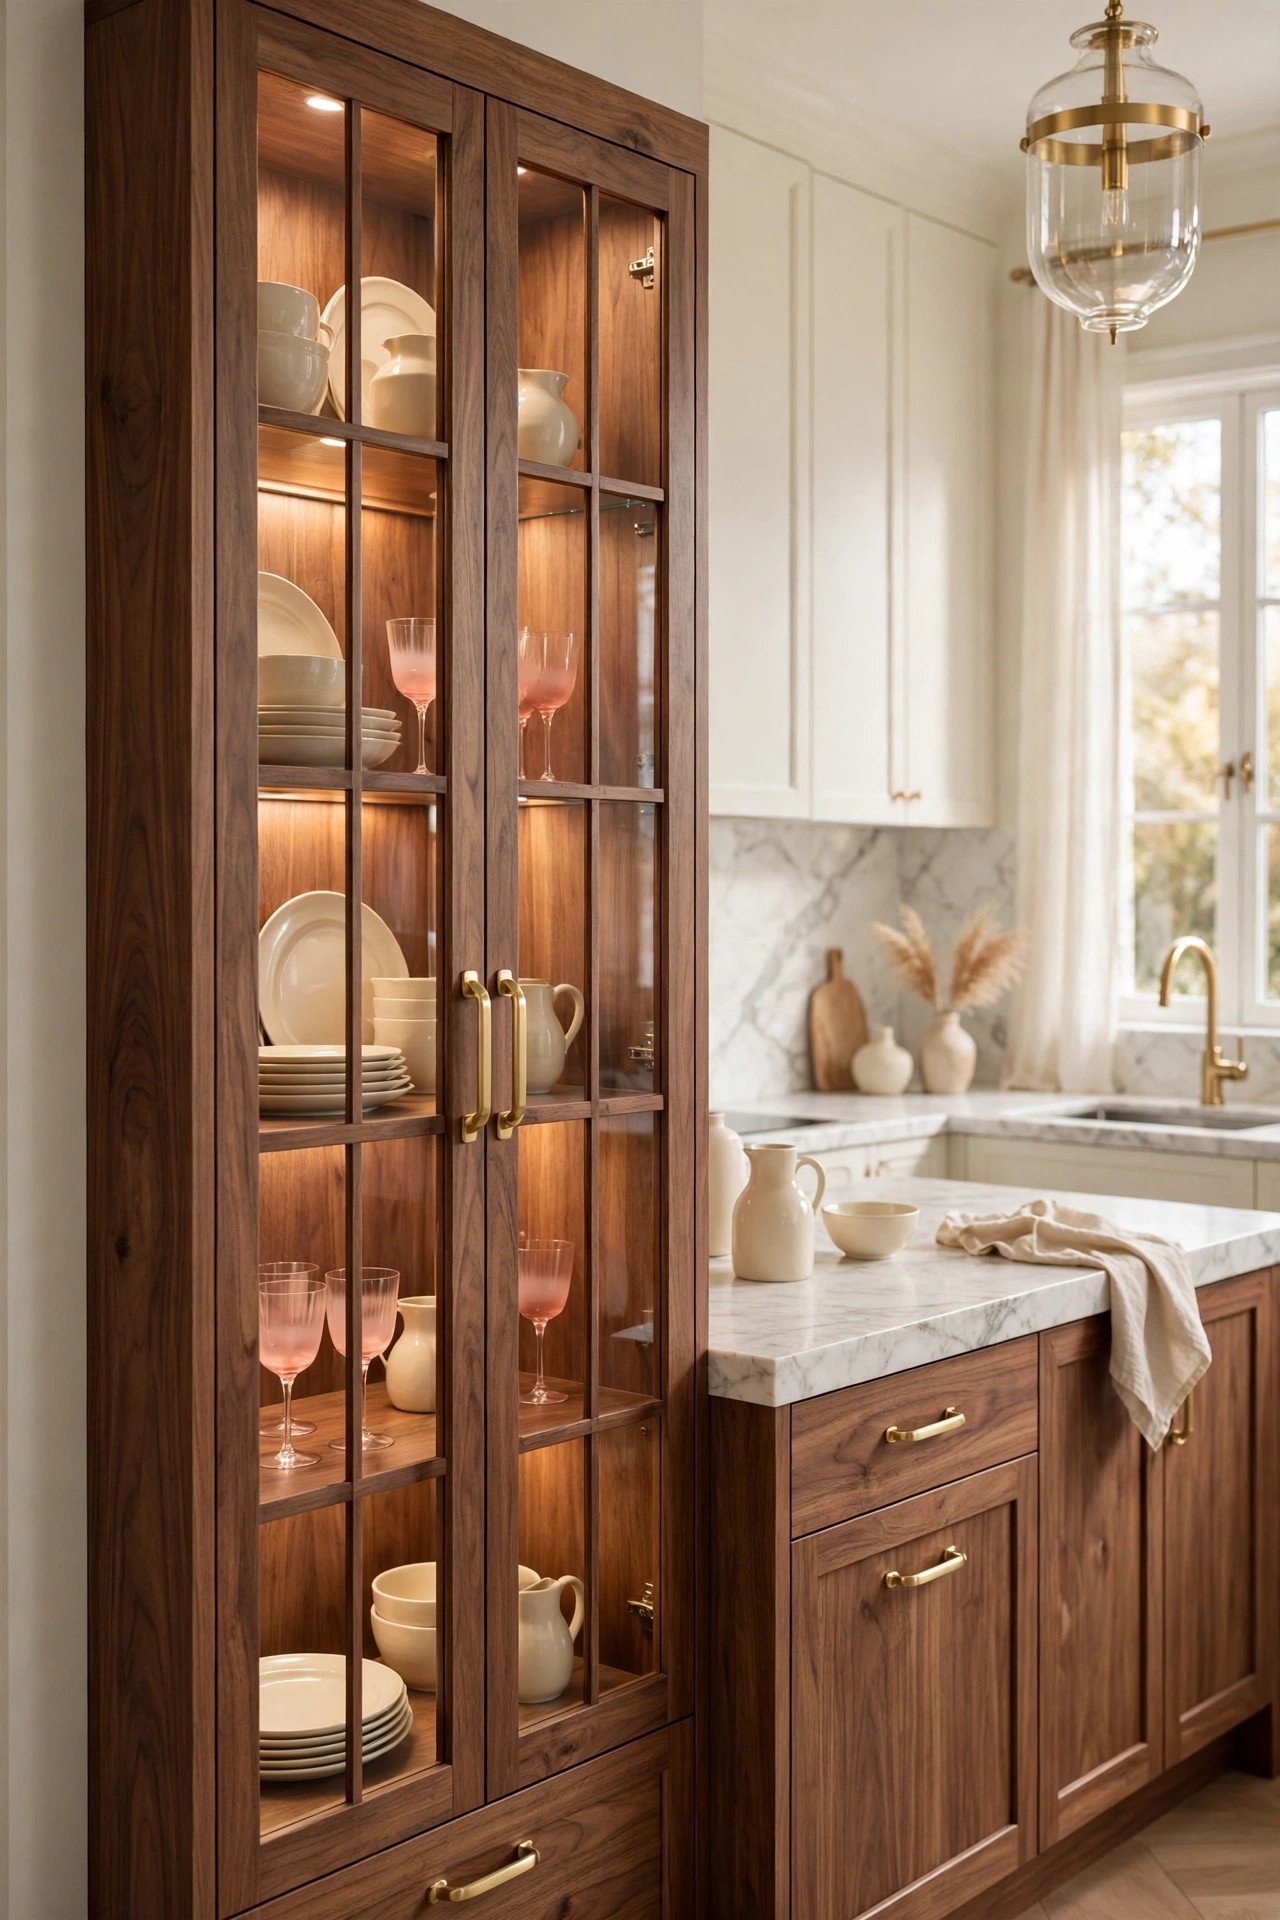
A lit walnut display cabinet is the jewellery box of a walnut kitchen. One tall glass-fronted cabinet in walnut, with warm LED strips inside, shows the best ceramics, blush glasses and one gold object, and glows softly in the evening when the rest of the kitchen goes quiet. Keep the shelves to one colour family and leave space between the pieces, because a lit cabinet shows clutter more honestly than a dark one. Place it at the end of a cabinet run, where it catches the eye from the doorway, and wire the light to the same switch as the pendants so one touch lights the whole room. For the same display idea carried into a brighter, airier cooking space, our guide to open, light-filled kitchens shows the lighter version
Best For: Kitchens with one spare tall unit and anyone who owns glassware worth a glow.
Not Ideal For: Kitchens where the cabinet would hold everyday plastics; a lit display forgives colour, not clutter.
Estimated Cost: $1,500-$4,500 (estimate) for a tall walnut glass display cabinet with interior lighting, fitted.
Budget Note: The lighting and glass doors are the spend; the ceramics inside can be pieces already owned.
Renter Friendly: With Conditions
Renter Note: A freestanding walnut display cabinet works where a fitted unit is not allowed; only an electrician adds wired lighting.
What You Need
Tall walnut glass-fronted cabinet, warm LED strips, cream ceramics, blush glasses, one small gold object, electrician for wired lighting if needed.
Product type to look for: Glass doors with a slim walnut frame, and warm white LED strips that sit hidden behind the shelf fronts.
How To Do It
- Choose the end of a cabinet run for the display, where it catches the eye from the doorway.
- Fit the cabinet level, then the lighting, testing the glow at night before the shelves are filled.
- Fill the shelves with pale pieces only, tallest at the back, one gold object per shelf at most.
- Wire the light to the pendant switch if possible, so one touch lights the whole room.
Pro Tip
Keep the top shelf for the tallest, prettiest piece. A lit cabinet reads top-down, and the top shelf sets the tone for the rest.
Practical Tips for Walnut Kitchen Cabinets
Hold the base pale and let the walnut do the warming. Cream walls, a white counter and a light floor carry the light, while walnut lives in the cabinets, the island and one display piece, so the kitchen can be edited in an afternoon when a note starts to feel heavy. Repeat the walnut at least twice, in the cabinets and the island or the hood, and repeat the brushed gold in the pulls, the faucet and the pendants, because one material used once looks like an accident and twice or more looks like a plan. Keep brushed gold as the main metal and use matte black only as a single accent per zone, since mixed metals scatter the glam note. Finally, protect the wood: wipe spills from walnut fronts straight away, oil a butcher block monthly, and seal marble and zellige once a year, because walnut kitchens stay glam only while the surfaces stay cared for. Start the room in the order of this list, anchor pieces first, and let the display pieces arrive slowly.
Frequently Asked Questions
Are walnut kitchen cabinets too dark for a small kitchen?
Not if the rest of the room stays pale. Walnut lowers with cream uppers, a white counter and cream walls keep a small kitchen bright, and the walnut reads as warmth rather than darkness. A full-height walnut wall is the one version to avoid in a very small or dark kitchen.
What countertop goes best with walnut kitchen cabinets?
White marble with soft grey veining is the classic glam pairing, and white quartz with a marble look is the lower-maintenance version. A pale honey butcher block suits an island top, while a plain cream tile backsplash keeps the counter as the one stone in the room.
How do I clean walnut kitchen cabinets?
Wipe with a soft damp cloth and a mild soap, then dry the wood straight away so water never sits on the finish. Avoid harsh sprays and abrasive pads, which dull the satin finish, and re-oil or re-wax an oiled walnut surface when it starts to look dry.
Are walnut kitchen cabinets expensive?
Walnut costs more than painted or laminate fronts, and the largest spends in this list are the full-height run and the handleless slab fronts. The cheapest way in is walnut lowers with cream uppers, or one walnut feature such as open shelves or a coffee bar, and costs here are labelled estimates.
Can walnut cabinets work in a modern kitchen?
Yes, and the handleless slab fronts in idea 10 are the most modern version, with flat doors and no hardware interrupting the grain. Fluted glass uppers and a waterfall island keep the same wood in a contemporary shape, while brushed gold keeps the glam note.
What colours go with walnut kitchen cabinets?
A cream or warm white base with blush pink as the soft accent, warm taupe to ground it and pale gold as the supporting note. Brushed gold is the main metal, with matte black as a single accent per zone, and bright primary colours are what tip the look away from glam.
Conclusion
Walnut kitchen cabinets stay glam when the wood is planned: a full-height run or a waterfall island sets the warm anchor, cream uppers or white marble keep the room bright, and a pantry wall, a coffee bar or a lit display cabinet adds the detail that makes the kitchen feel considered. Start with the anchor pieces, add one walnut feature at a time, keep one metal and one shared colour across the room, and the kitchen will feel warm and luxurious in a way no plain white kitchen ever could.