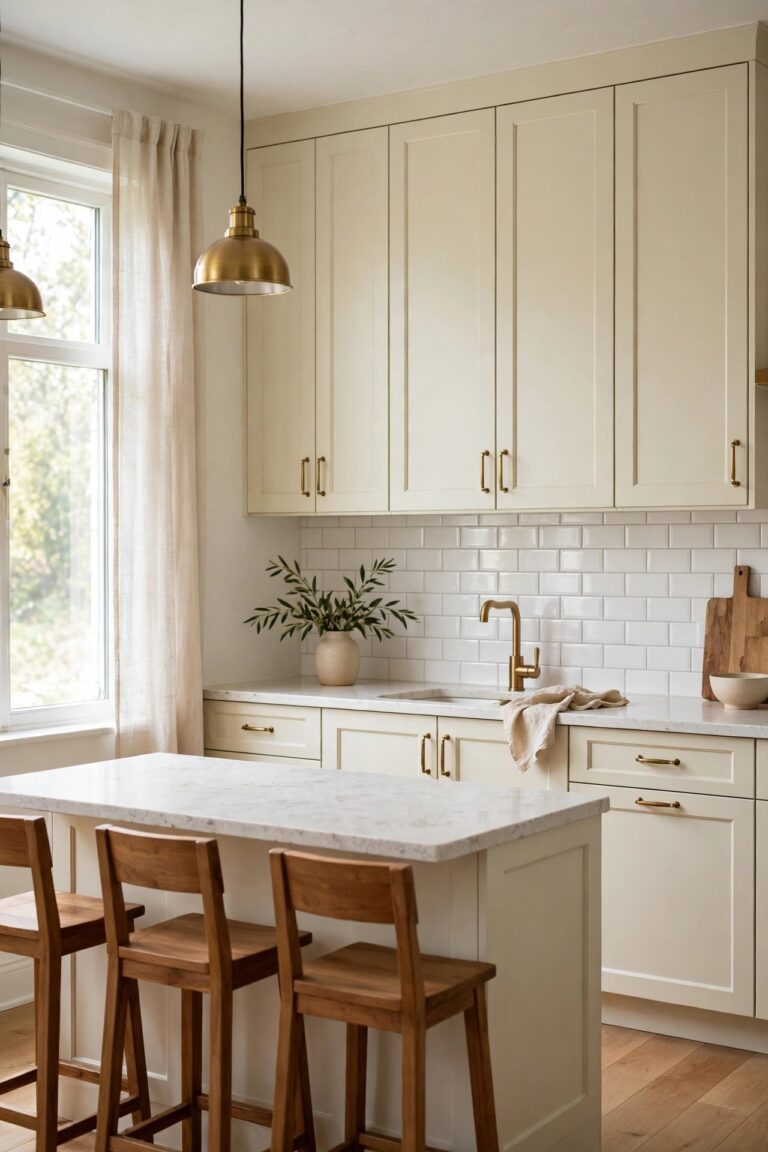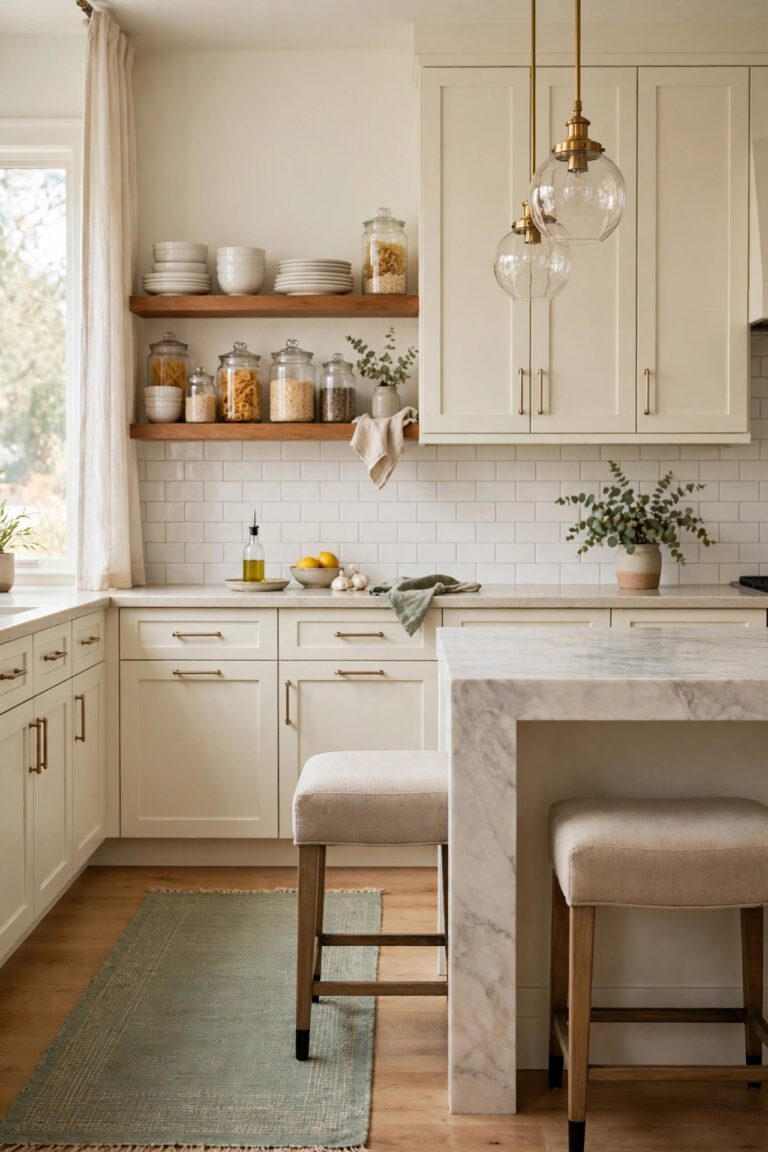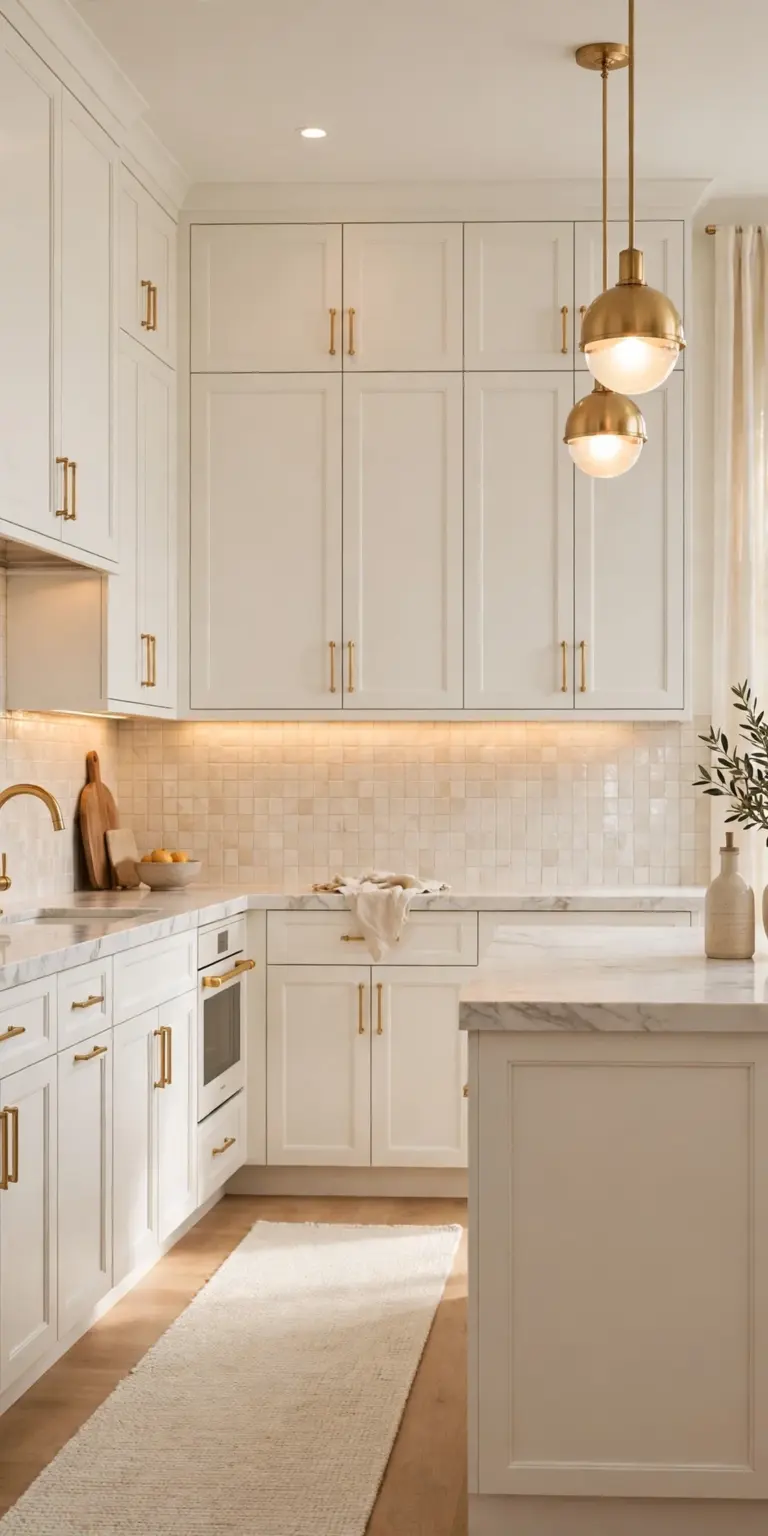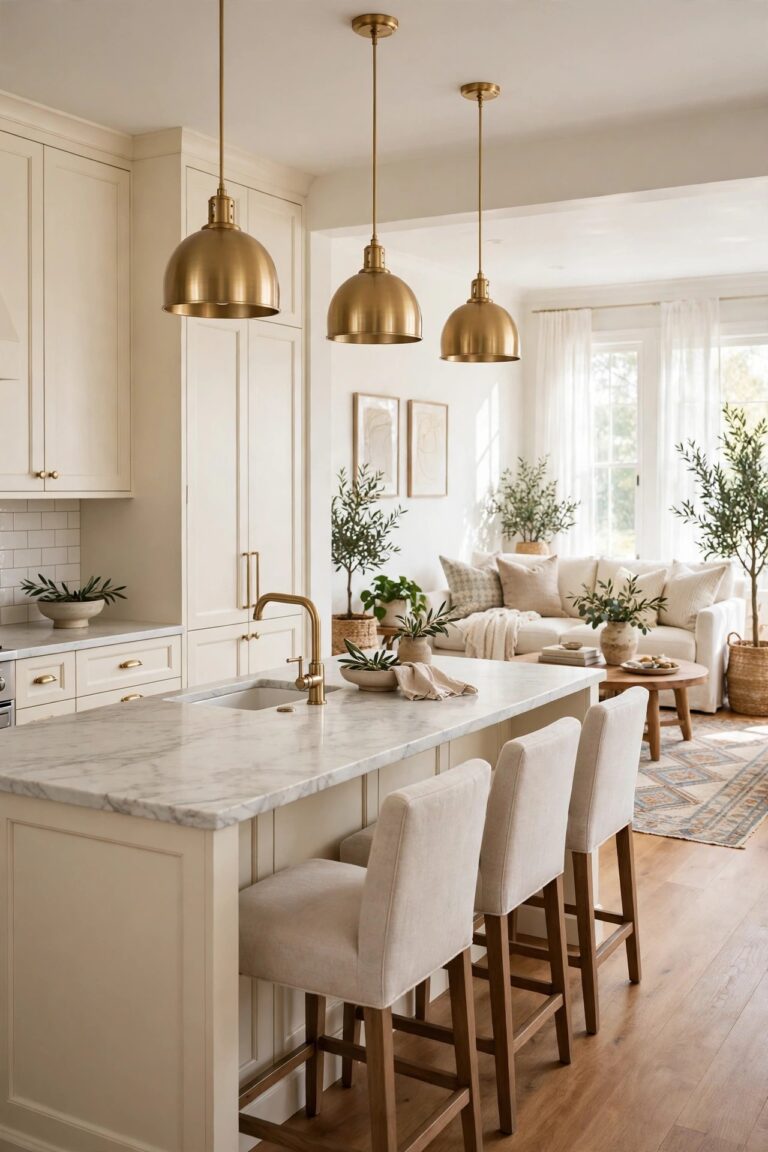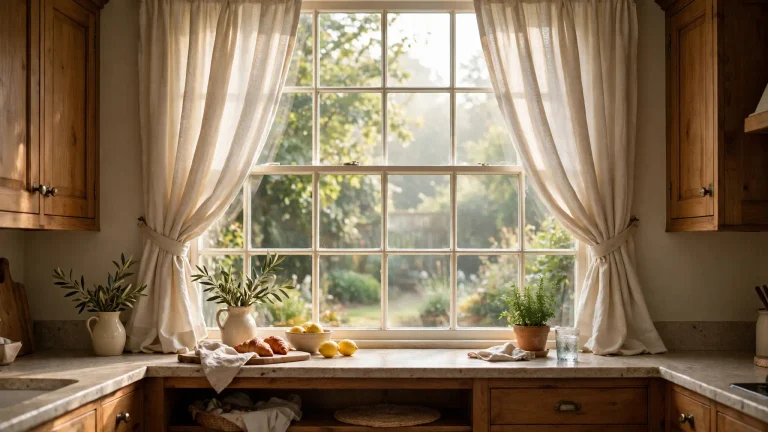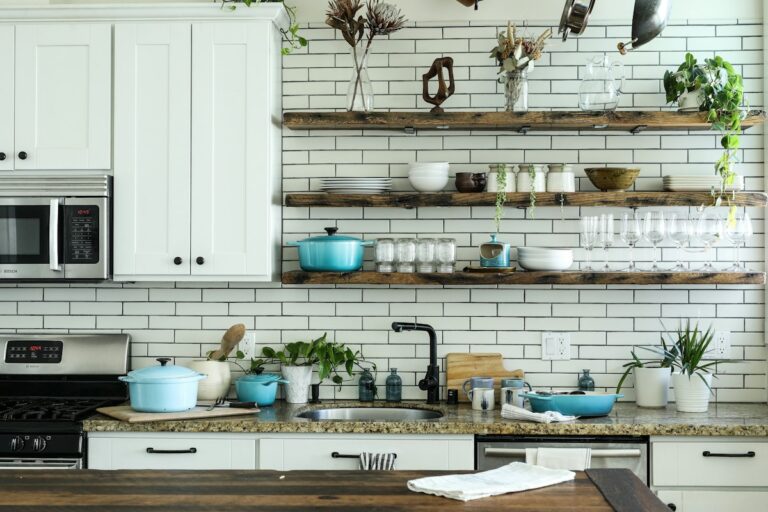
15 Boho Kitchen Ideas That Feel Bright, Warm and Glam
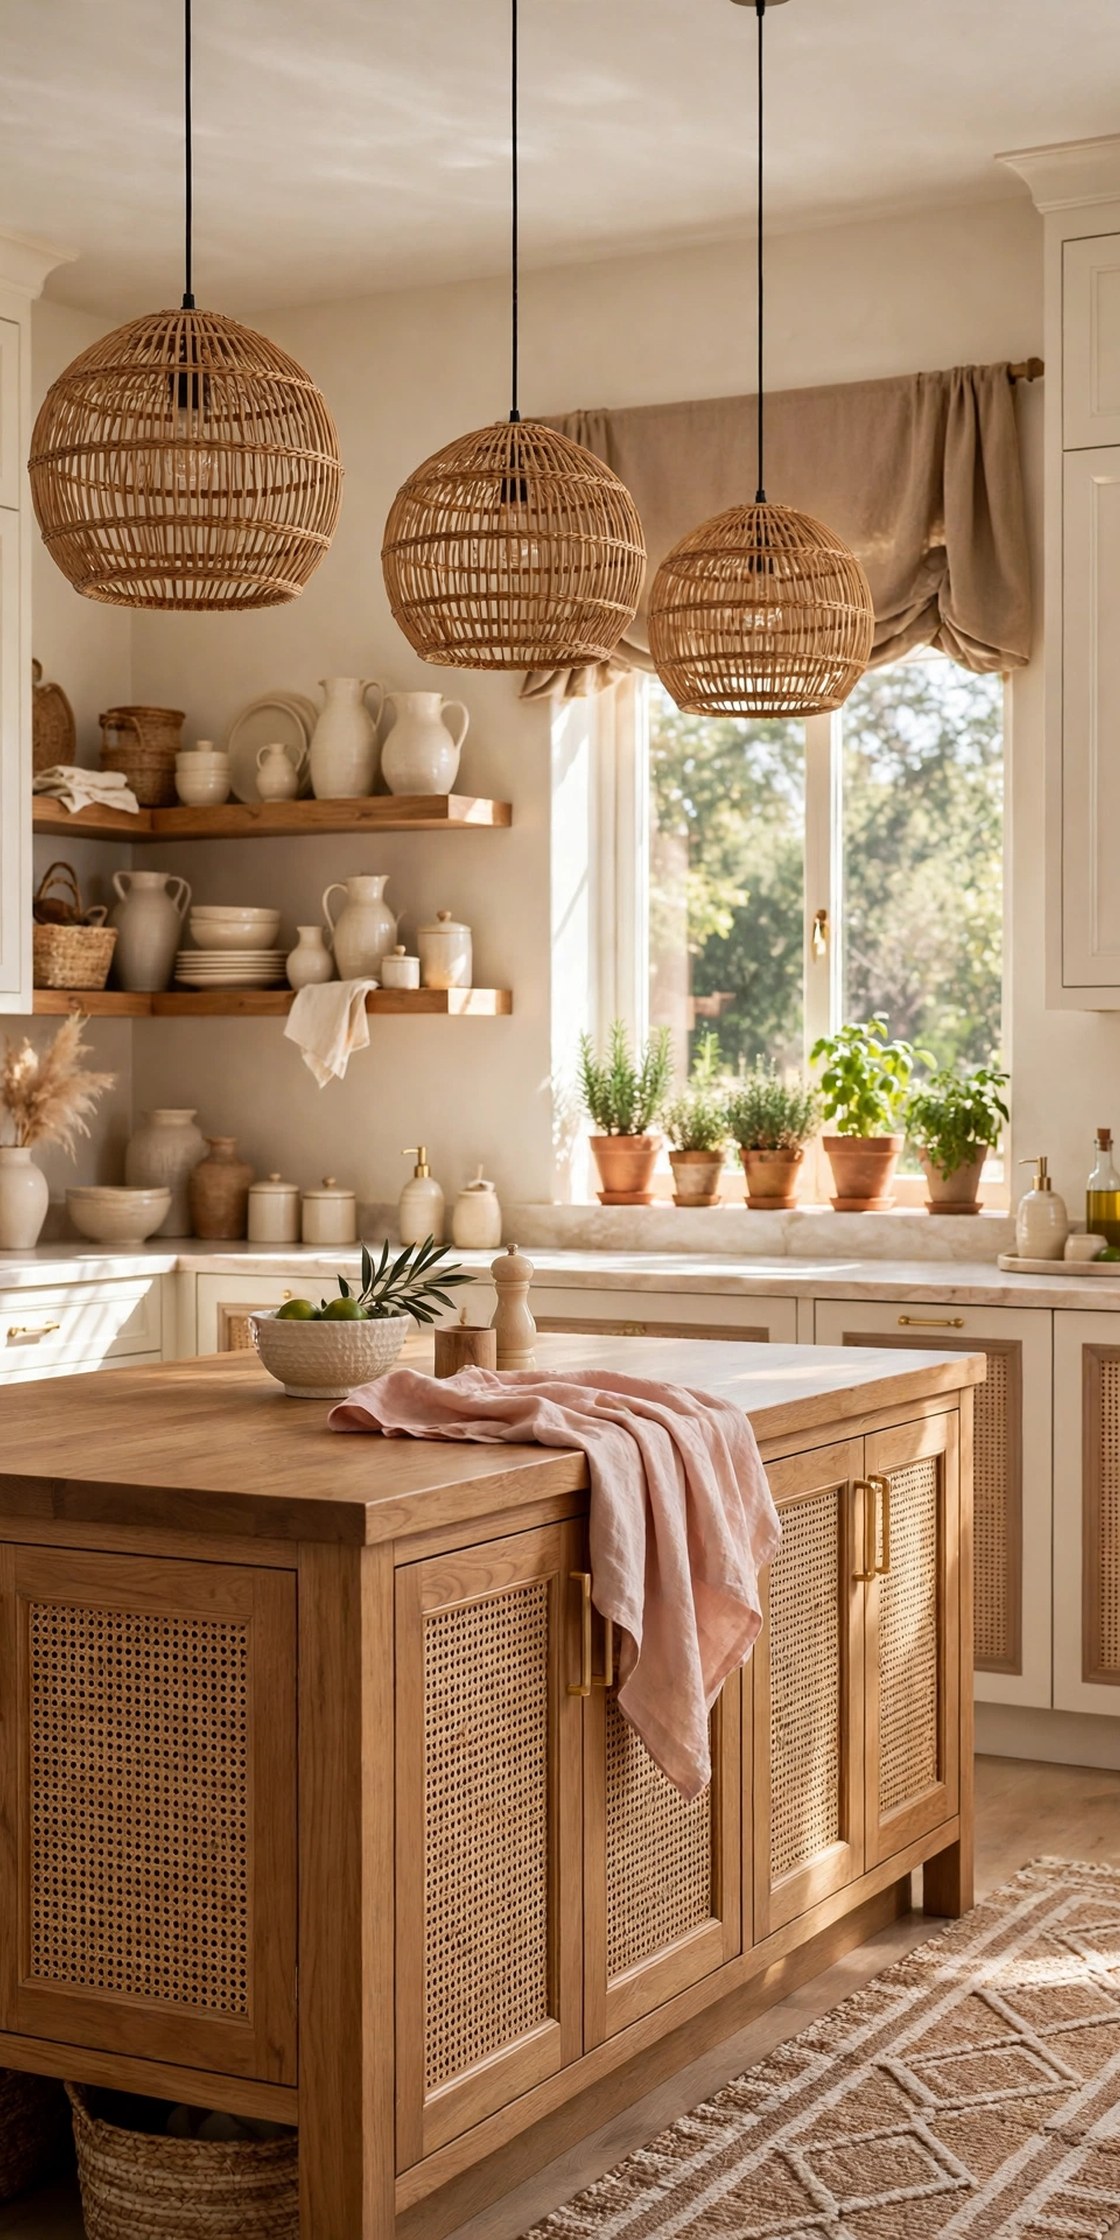
A boho kitchen goes wrong in two opposite ways. Too little texture and it feels like a plain white kitchen with one plant added as an afterthought. Too much pattern, colour and clutter and it turns dark, busy and hard to clean. The version that works keeps a bright glam base and layers boho texture in a controlled order: white and cream cabinets and walls, warm taupe and warm wood for depth, blush pink as the soft accent, and brushed gold for the finish. Rattan, cane, woven cotton, linen and ceramics supply the relaxed feel, but each one gets a clear job and a clear place. These 15 ideas build that balance one layer at a time. If you want the broader layout rules first, start with our main guide to kitchen ideas and then come back here for the boho layer that makes the room feel personal.
Disclosure: This article may contain affiliate links. If you buy through a link on this page, GlamNStyle may earn a small commission at no extra cost to you. Product links in this article are plain links; each one is checked on the retailer’s own page before it is added.
1. Hang Oversized Rattan Pendants Over the Island
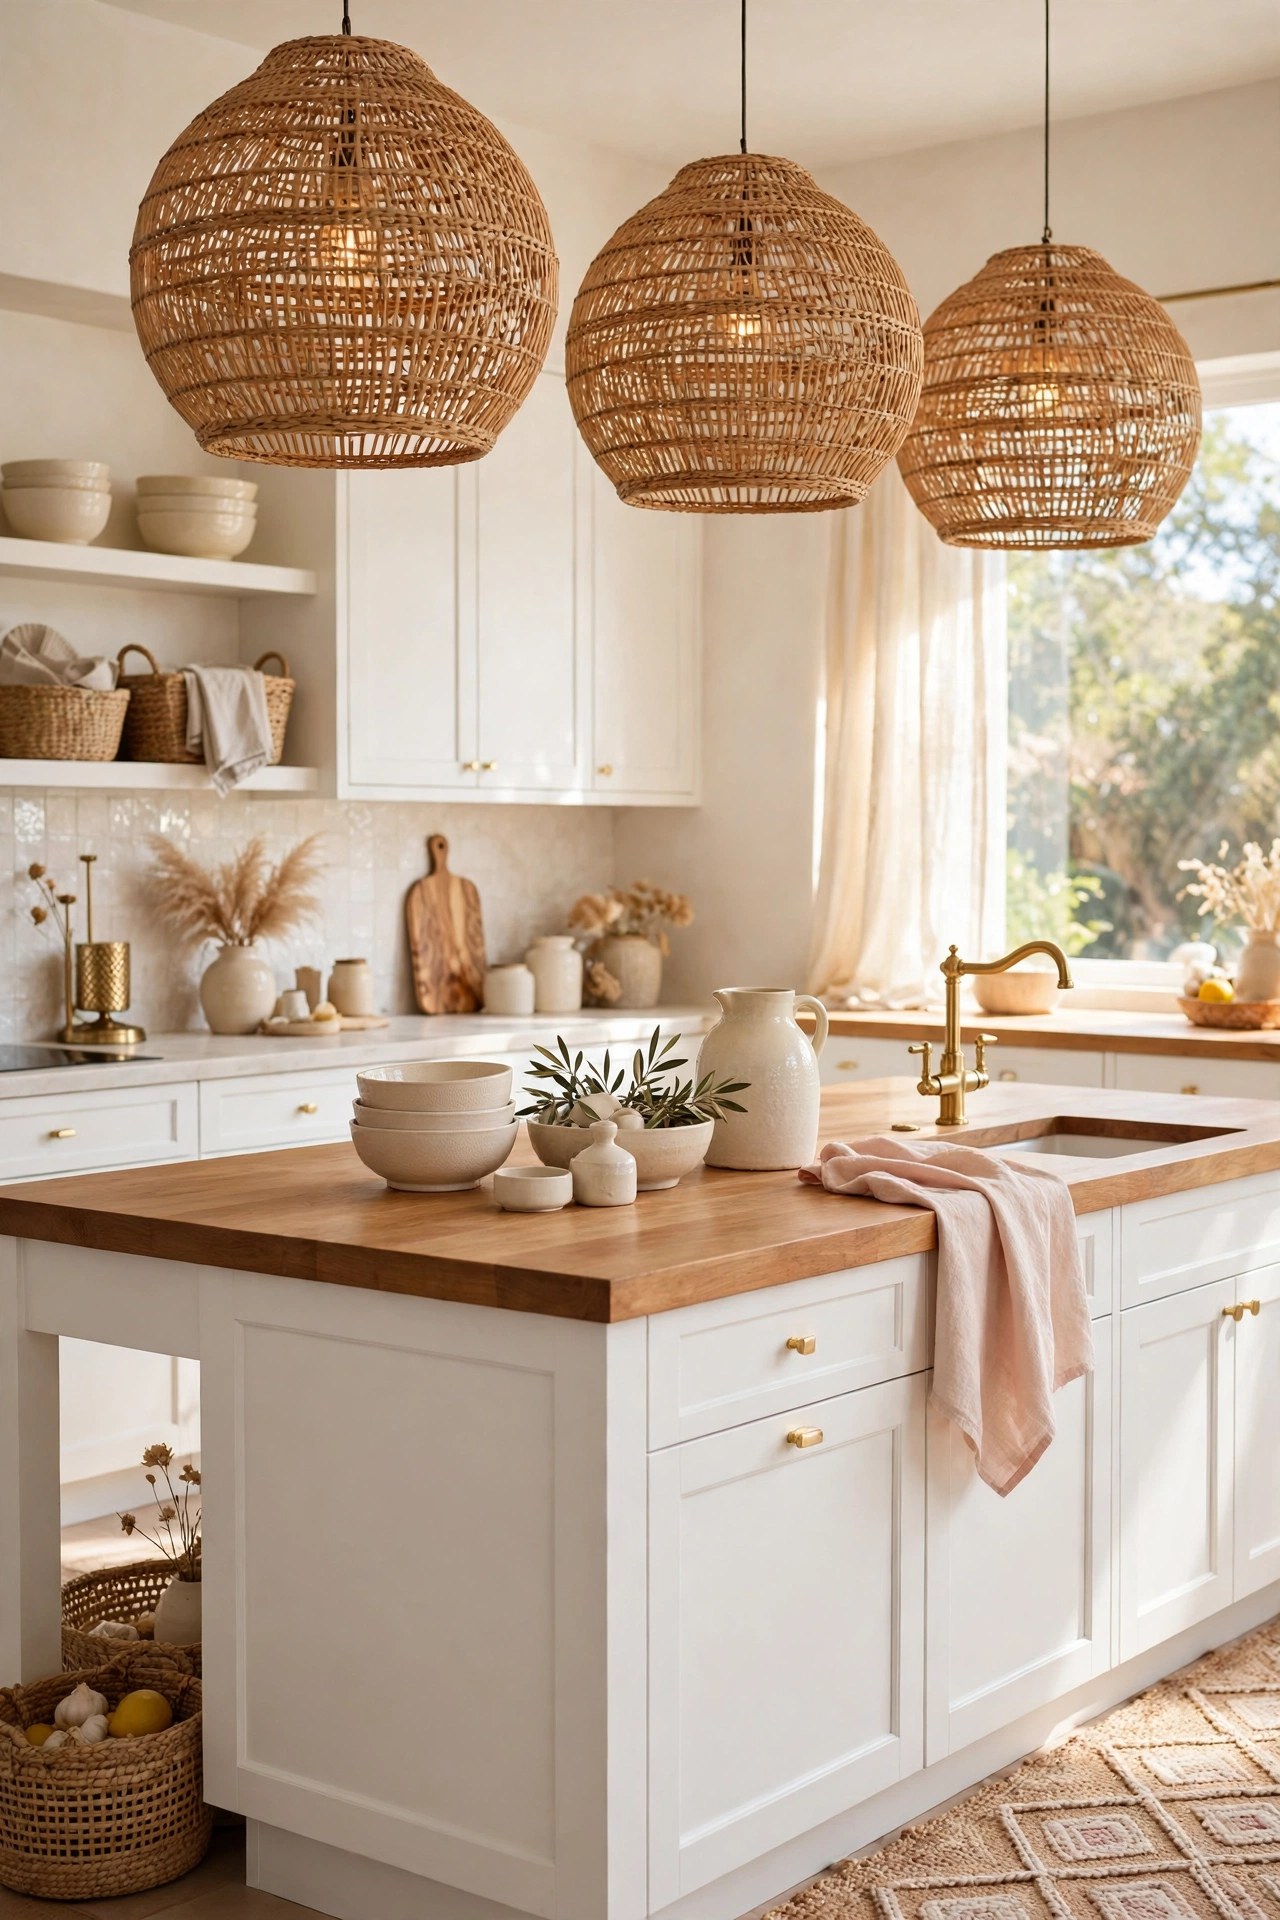
Pendants give a boho kitchen its centre, because they sit at eye level and set the texture note for everything below them. One small pendant looks lost over an island. Two or three oversized woven rattan shades in a straight row read as a deliberate choice and cast warm, dappled light over white cabinets and stone counters. Choose an open weave, which lets light through and keeps large shades feeling light. Keep shade bottoms clear of sight lines, and repeat the rattan tone once more, in a stool or basket, so the pendants belong to a scheme.
Best For: Kitchens with an island, a peninsula or a dining table that needs a clear focal point.
Not Ideal For: Very low ceilings where large shades would crowd head height; choose a flush woven light instead.
Estimated Cost: $180-$450 (estimate) for two or three oversized rattan pendants, fitting extra if an electrician is needed.
Budget Note: Pendants change the whole room for the price of one appliance, so spend here before spending on small decor.
Renter Friendly: With Conditions
Renter Note: Hardwired pendants need landlord permission and a qualified electrician; plug-in swag pendants on ceiling hooks are the safer rental route.
What You Need
Two or three oversized rattan pendant shades, matching warm-white bulbs, ceiling canopy kit or plug-in swag kit, tape measure, ladder.
Product type to look for: Open-weave rattan shades at least 16 inches wide with a fitting rated for the bulb type you plan to use, in a natural tone that is not orange.
How To Do It
- Measure the island or table length and divide it into equal sections, one pendant centred over each section.
- Mark the hanging height so the shade bottom sits about 30 to 36 inches above the counter.
- Have hardwired fittings installed by a qualified electrician, or hang plug-in versions from rated ceiling hooks.
- Fit identical warm-white bulbs in every shade and check the row reads level from the doorway.
Pro Tip
Buy all the shades in one order from one batch, because natural rattan tone varies and a mismatched row shows when the lights are on.
2. Style Open Wood Shelves With Ceramics and Glass
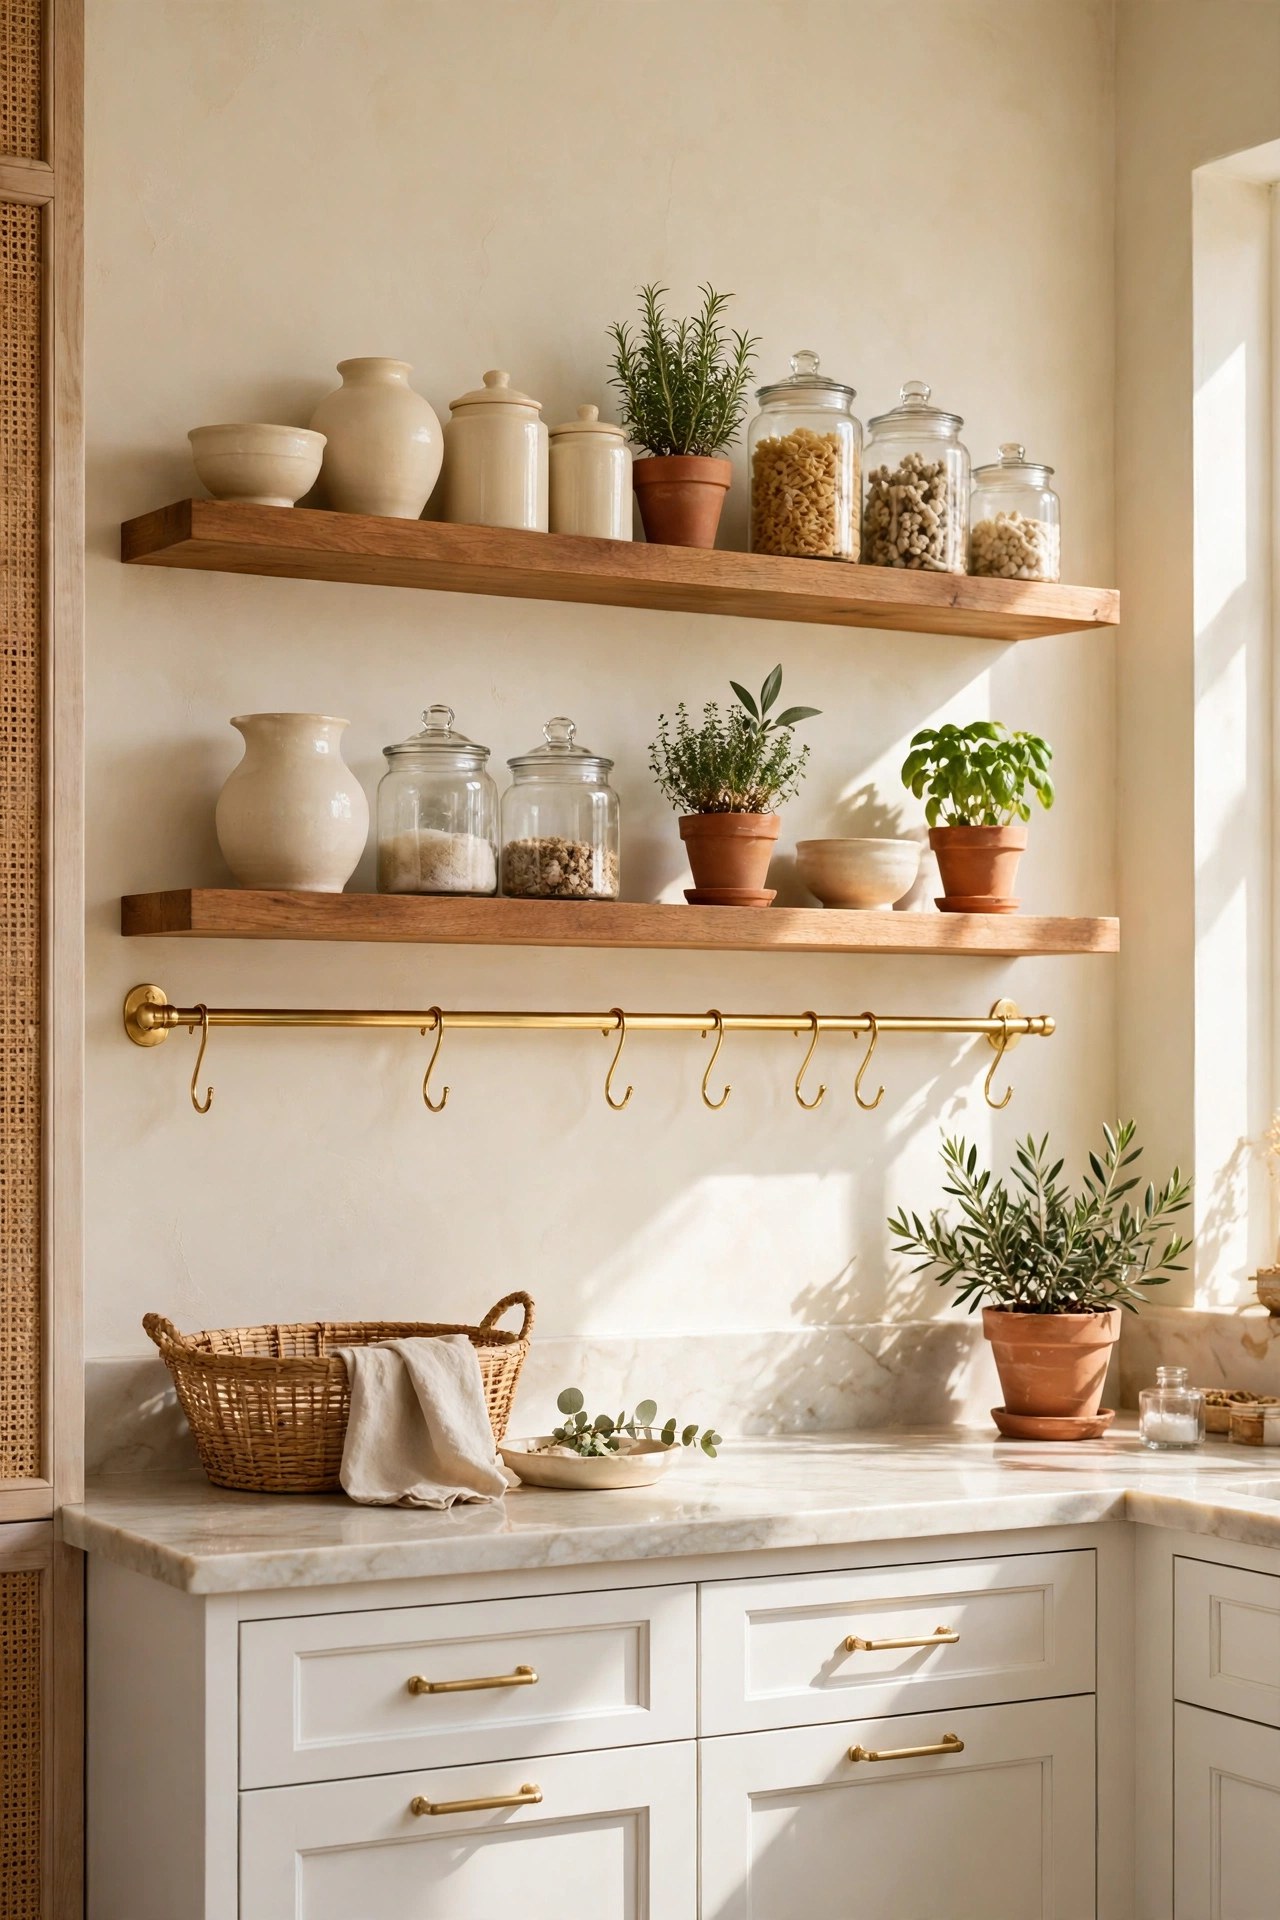
Open shelves are where a boho kitchen shows its personality, and where it most easily turns into clutter. The discipline is simple: one or two warm wood shelves, cream ceramics, clear glass and one or two plants, with empty space between groups so each piece can be seen. Everyday items belong here, the bowls and jars you reach for daily, because ornament-only shelves collect dust and lose their point. Group in odd numbers, keep tall pieces at the ends, and lighten a wall of cabinet doors with wood tone alone.
Best For: Kitchens with one blank wall section and too many closed cabinets in a row.
Not Ideal For: Anyone who dislikes regular dusting; open shelves near a cooker need a quick wipe every week.
Estimated Cost: $80-$220 (estimate) for two solid wood shelves with hidden or brass brackets.
Budget Note: The shelves are inexpensive; the cost is discipline. Use ceramics you already own before buying a styled set.
Renter Friendly: With Conditions
Renter Note: Shelves need solid wall fixings into studs or masonry; agree the holes with the landlord or use a freestanding shelf unit instead.
What You Need
Two warm wood shelves, brackets rated for ceramics, level, drill and wall fixings, cream ceramics, clear storage jars, one or two small herbs.
Product type to look for: Solid or veneered wood shelves at least 1.5 inches thick, so they read warm and substantial rather than thin and temporary.
How To Do It
- Choose a wall section away from direct cooker steam and mark both shelf lines level.
- Fix brackets into studs or solid wall at the marked points and test each shelf with weight before styling.
- Arrange ceramics in groups of three, tallest at the ends, with clear space between groups.
- Step back to the doorway and remove one item from each shelf; the gap is what keeps it calm.
Pro Tip
Keep one shelf for daily dishes only, because a shelf you use every day styles itself and stays honest.
3. Lay a Woven Runner That Warms the Work Zone
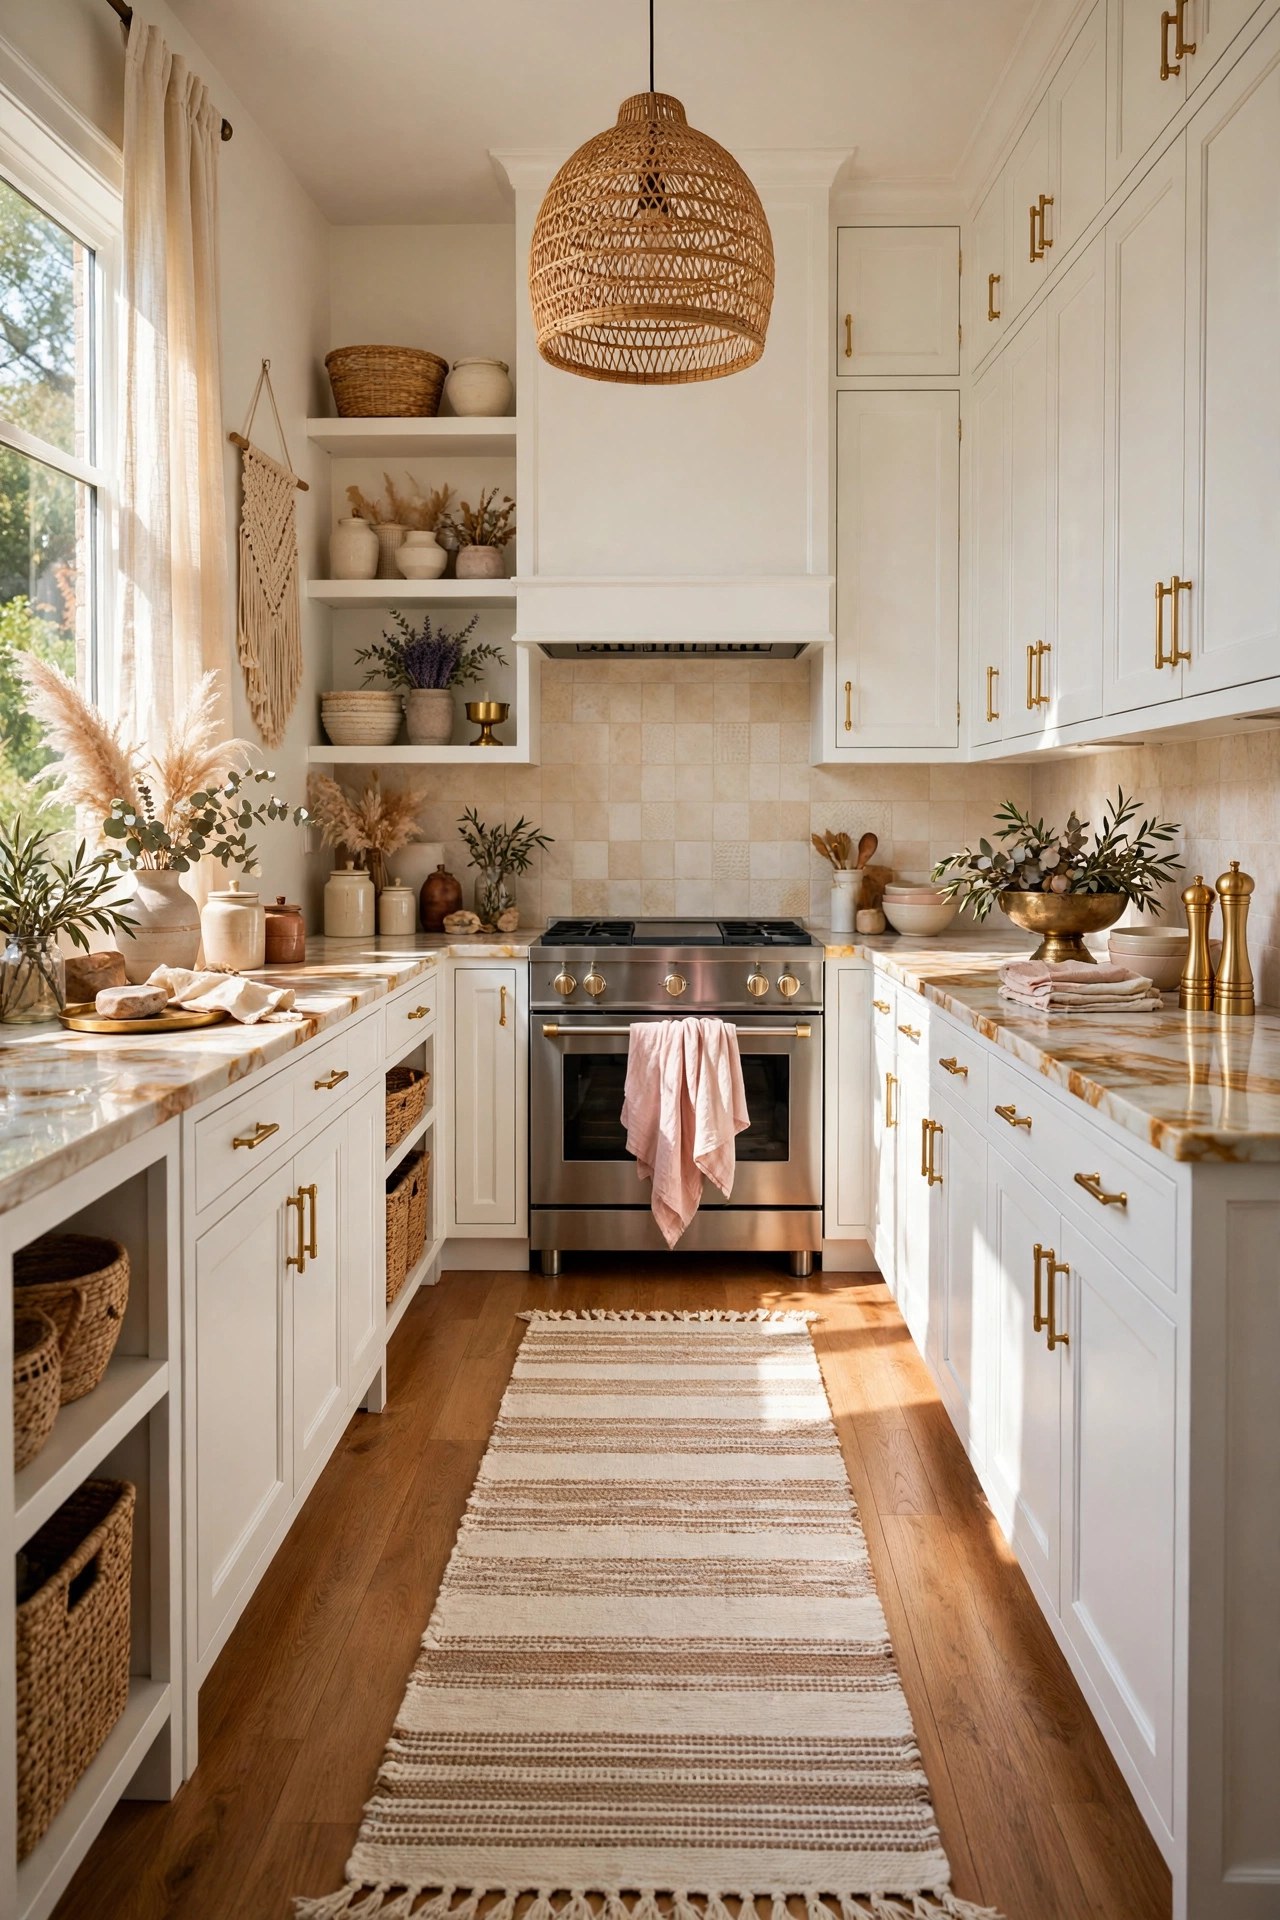
A kitchen floor is mostly hard, pale and cold looking, and a woven runner is the soft layer that changes how the room feels underfoot and on camera. Placed along the main cabinet run, in front of the sink and cooker, a flat-weave cotton runner in cream and warm taupe adds pattern at floor level without competing with cabinets or tile. Keep the pattern low contrast, so it warms the room and hides small daily crumbs better than plain pale fabric. Cover most of the run, and always use non-slip underlay.
Best For: Galley kitchens and long cabinet runs with hard or cold flooring.
Not Ideal For: Kitchens with a door swing that crosses the runner line and lifts its edge; measure the swing first.
Estimated Cost: $50-$140 (estimate) for a washable flat-weave runner around 2 by 8 feet, plus underlay.
Budget Note: A washable runner costs slightly more at first and saves replacement cost later, which matters in the highest spill zone in the home.
Renter Friendly: Yes
Renter Note: Fully freestanding; the underlay protects the floor beneath and stops the runner creeping while you work.
What You Need
Flat-weave cotton runner in cream and warm taupe, non-slip underlay cut to size, tape measure.
Product type to look for: A machine washable flat-weave runner with a low profile, so cabinet doors and drawers open clear above its edge.
How To Do It
- Measure the cabinet run and choose a runner that covers most of it, centred on the sink.
- Lay the underlay first, trimmed one inch inside the runner edges.
- Place the runner straight along the cabinets and smooth it from the centre outward.
- Check every drawer and the dishwasher door opens fully without catching the edge.
Pro Tip
Choose the runner before small accessories, because its cream and taupe tones set the reference for towels, ceramics and baskets.
4. Add Cane Inserts or a Soft Cabinet Colour
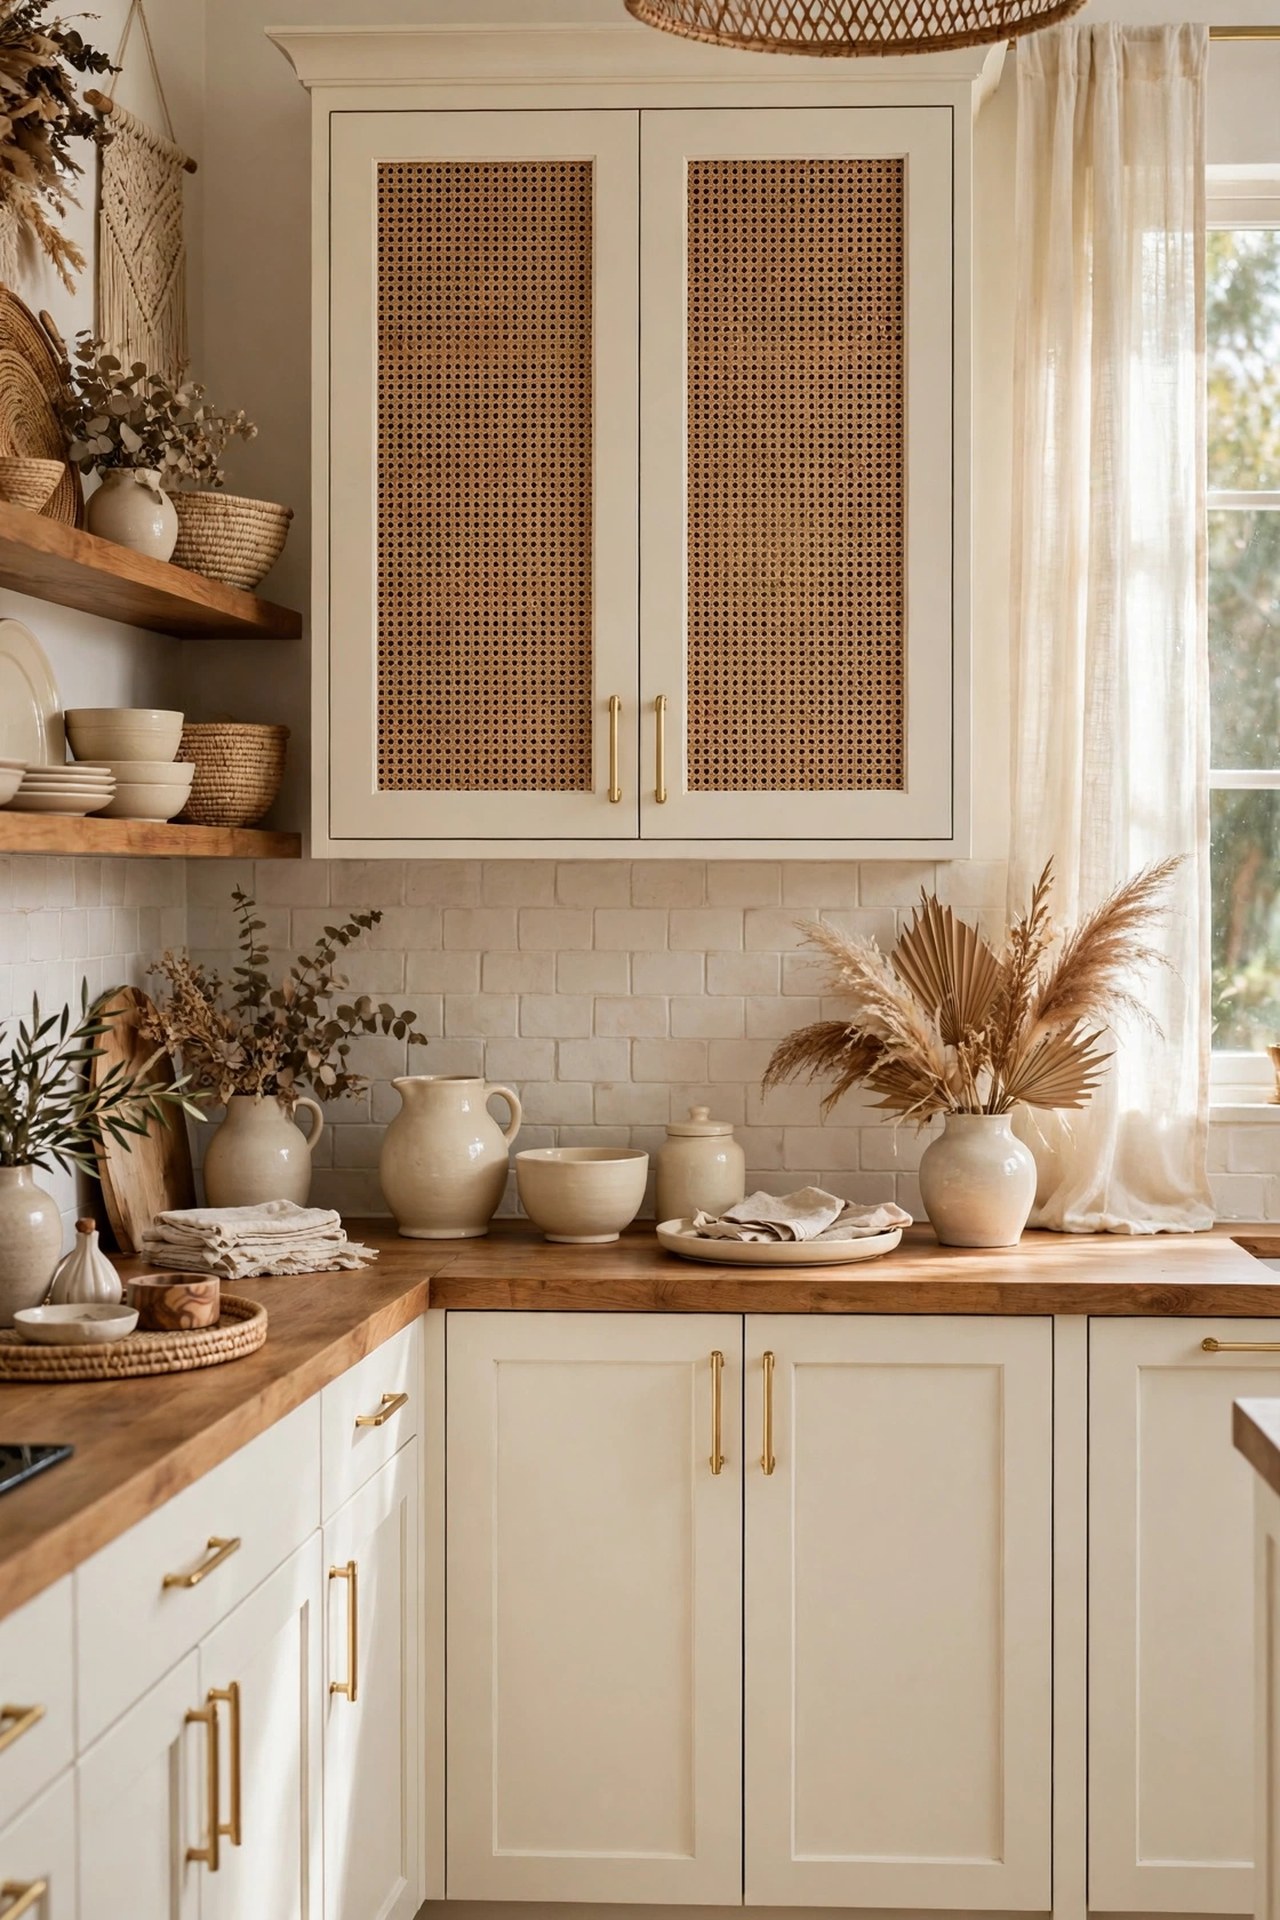
Cabinets cover most of the wall, so a small change to their fronts has an outsized effect. Cane webbing inserts on two or four upper doors bring woven texture to eye level and break a flat run of painted doors without a full replacement. The calmer alternative is colour: keep most cabinets cream and paint only the island or one lower run in warm taupe or muted sage. For a softer green route, compare tones in our guide to sage green kitchen before you commit. Either route works because it is limited; cane or colour on every door turns relaxed into themed.
Best For: Solid but plain cabinets that need texture or one controlled note of colour.
Not Ideal For: Damaged cabinet doors that need repair first; inserts and paint show, rather than hide, poor condition.
Estimated Cost: $120-$350 (estimate) for cane webbing, trim and fixings for a few doors, or $90-$250 (estimate) for paint, primer and supplies for one cabinet run.
Budget Note: Limiting the change to a few doors or one run keeps both the cost and the risk low, and it is reversible if tastes change.
Renter Friendly: No
Renter Note: Cabinet changes are permanent work on the landlord property; renters should use the removable ideas in idea 14 instead.
What You Need
Cane webbing sheet or cabinet paint and primer, fine trim or door frame kit, staple gun or brush and roller, masking tape, sample pots.
Product type to look for: Open cane webbing with a consistent weave for inserts, or a kitchen cabinet paint made for high-use doors, tested as a sample on the inside of one door first.
How To Do It
- Choose only two to four doors for cane, or one run for colour, and photograph the kitchen before you start.
- Remove the chosen doors, clean and lightly sand the surfaces, and mask everything around them.
- Fit the cane behind the cut panel or frame and fix the trim, or apply primer and two thin paint coats.
- Rehang the doors after full drying and live with the change for a week before extending it anywhere else.
Pro Tip
Test colour at two times of day, because warm taupe and sage shift under evening bulbs.
5. Use Patterned Tile in One Soft, Controlled Dose
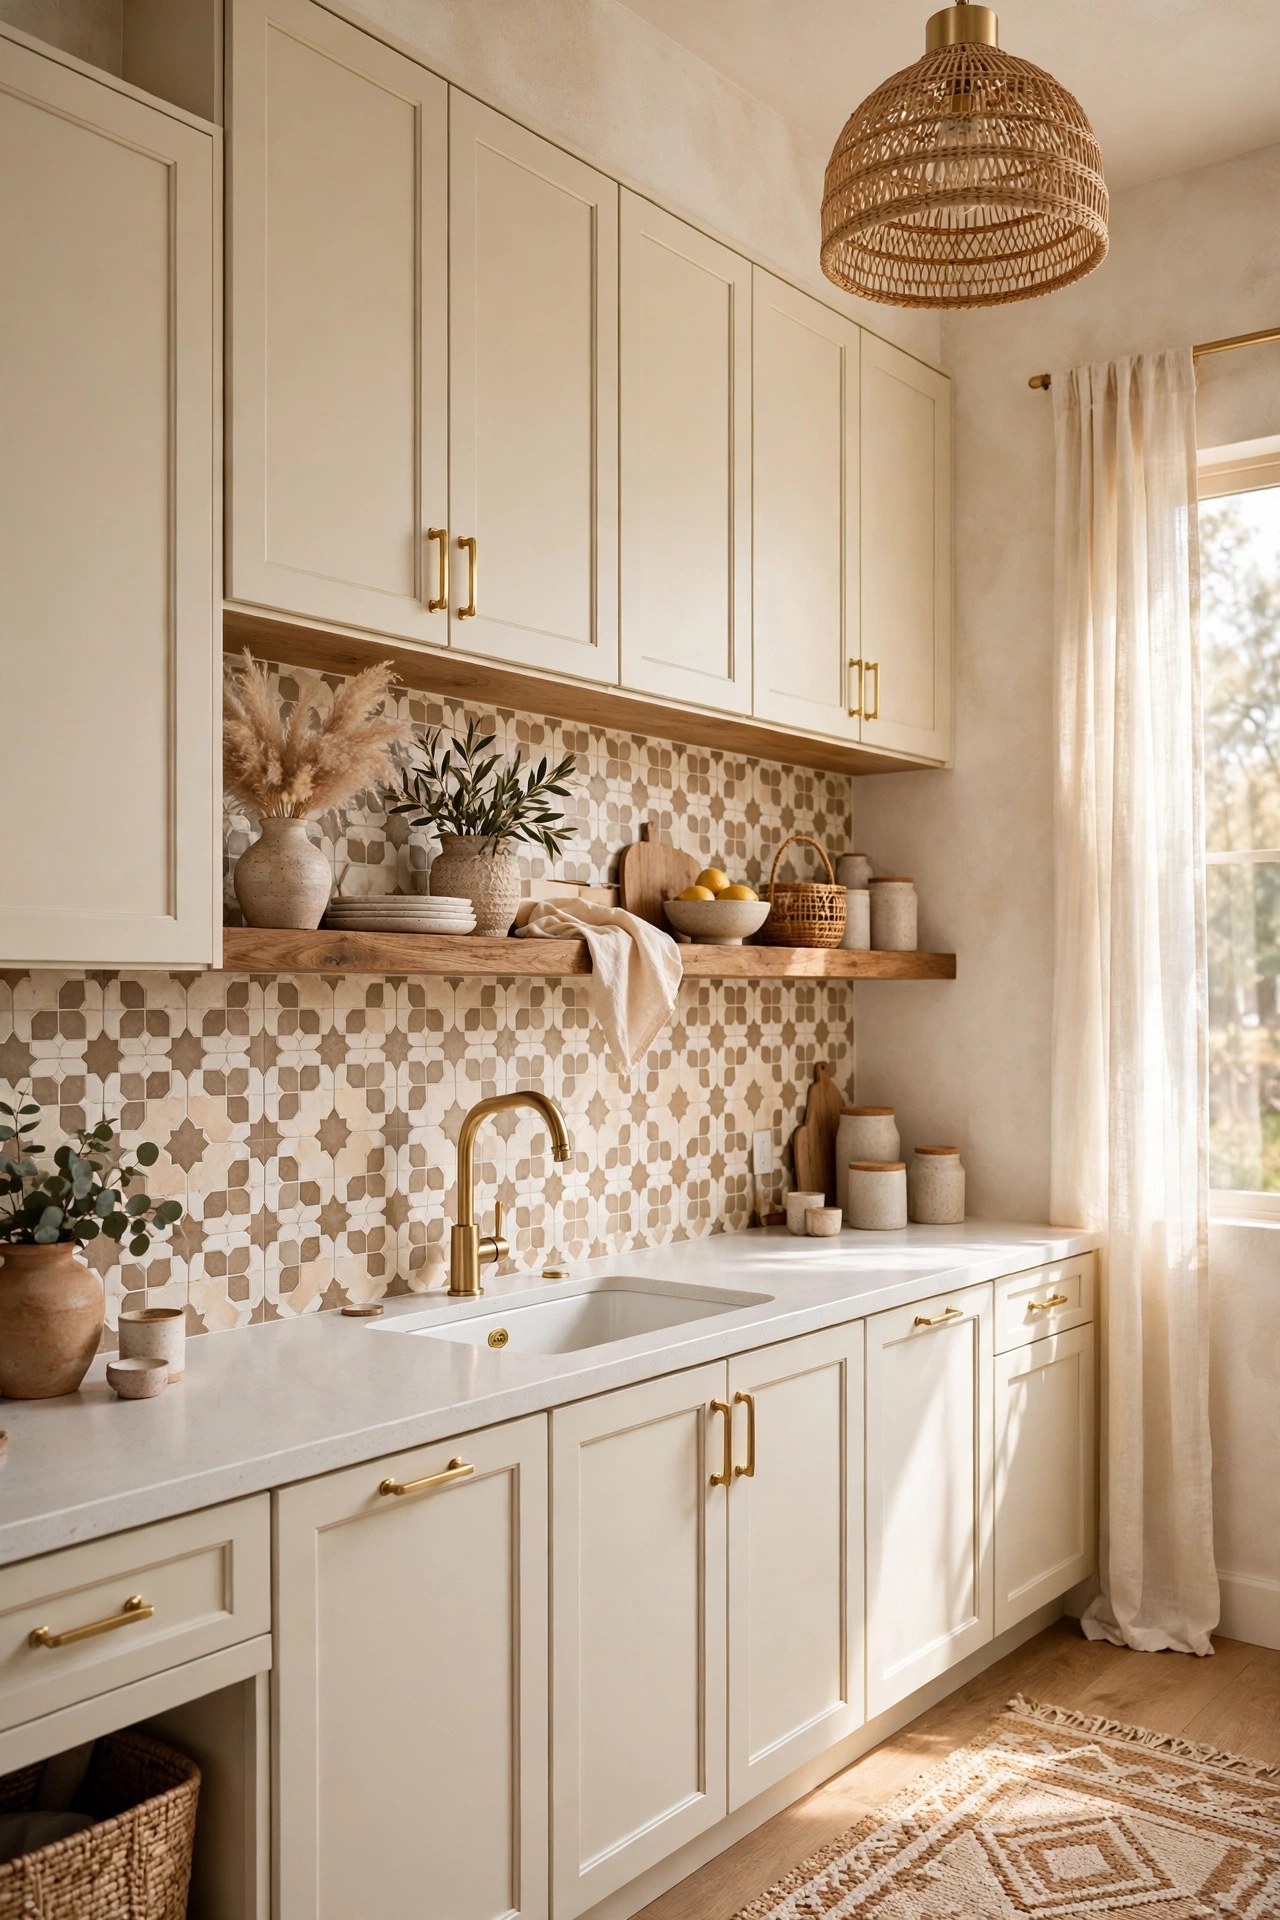
Patterned tile is the classic boho move, and the classic boho mistake, because a strong pattern on every wall leaves no calm surface for the eye. Use pattern in one place only: the backsplash, a small kitchen floor, or the face of an island, never two at once. Keep colours inside the palette, cream, warm taupe and soft clay, so pattern reads as texture from across the room and detail only up close. A medium motif suits most kitchens. For layout and material options, see our guide to kitchen backsplash ideas and filter every choice through that palette.
Best For: Plain kitchens with a flat, featureless backsplash zone and calm cabinets.
Not Ideal For: Kitchens that already have patterned counters or floors; two patterns in one small room compete at once.
Estimated Cost: $250-$700 (estimate) for tile, adhesive and grout for a standard backsplash area, fitting extra.
Budget Note: One tiled zone is the controlled cost. Tiling extra walls multiplies material and labour without adding calm.
Renter Friendly: No
Renter Note: Fixed tile is a permanent change; renters can use the tested peel and stick option described in idea 14, with landlord permission.
What You Need
Patterned tiles in cream and warm taupe, tile adhesive and grout, spacers, tile cutter or cutting service, sealant, sample tiles.
Product type to look for: Tiles with a matte or soft satin finish in a medium scale motif, ordered as samples first and viewed in the room in daylight and lamplight.
How To Do It
- Order three sample tiles and lean them on the backsplash for at least a full day before choosing.
- Measure the zone, find its centre line, and dry-lay the pattern so cut tiles fall at the edges.
- Fix tiles from the centre outward, keeping grout lines level, then grout and seal once fully set.
- Keep every other surface in the room plain for the first month, so the pattern settles as the single feature.
Pro Tip
Choose grout one shade warmer than the palest tile colour, so a soft pattern stays blended rather than stark.
6. Pull Up Woven Counter Stools With Low Profiles
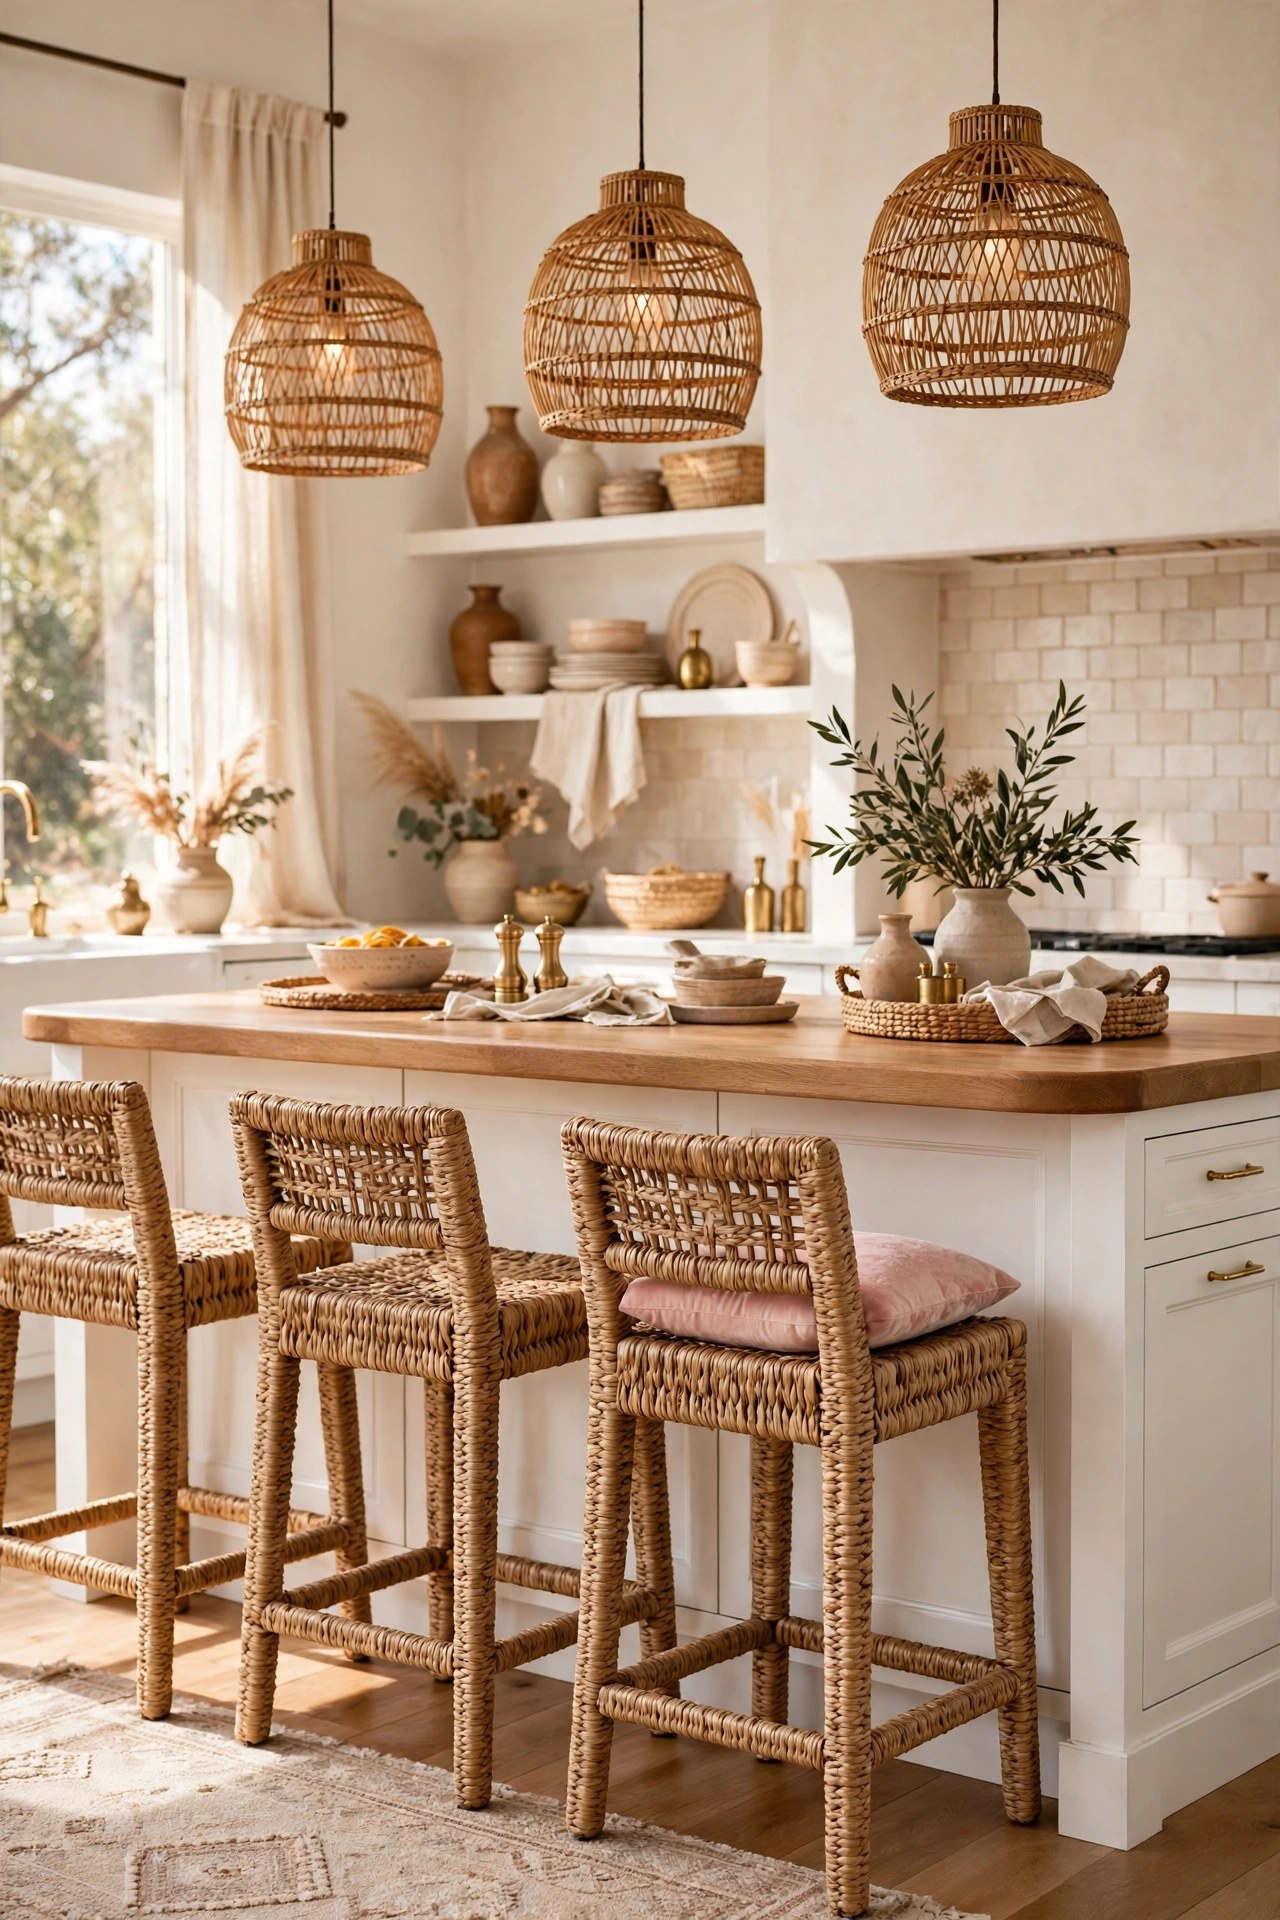
Seating decides whether an island becomes part of daily life or stays a surface people stand around. Woven stools in seagrass, rattan or cane bring boho texture to sitting height and soften the island lines. Low backs, or no backs, keep sight lines clear and let stools tuck fully under the overhang, so the walkway stays open. One blush or cream cushion per stool adds comfort and the soft accent without a pattern display. Check seat height before anything else, and choose stools that sit flat on hard floors.
Best For: Islands and peninsulas with a proper counter overhang and a daily breakfast or coffee habit.
Not Ideal For: Very narrow kitchens where stools would block a main walkway even when tucked in.
Estimated Cost: $240-$540 (estimate) for three woven counter stools with low backs.
Budget Note: Buy the full set in one order so weave tone and height match; odd single stools collected over time rarely sit level together.
Renter Friendly: Yes
Renter Note: Fully freestanding; add felt pads under the feet to protect rental floors and stop sliding on tile.
What You Need
Three woven counter stools in the correct height, seat cushions in cream or blush, felt floor pads, tape measure.
Product type to look for: Counter stools 24 to 26 inches at the seat for a standard counter, with a woven seat over a sturdy wood or metal frame and feet that sit flat.
How To Do It
- Measure from the floor to the underside of the counter and choose a seat height that leaves about 10 to 12 inches for legs.
- Count the island length and allow about 24 inches of counter width per stool before ordering the set.
- Fit felt pads, place the stools evenly, and check they all tuck fully under the overhang.
- Add one cushion per stool in the same fabric and stop there; the weave is the pattern.
Pro Tip
Sit on one stool at the counter with a mug before you remove the tags from the rest, because comfort is felt, not read.
7. Turn the Window Into a Small Herb Garden
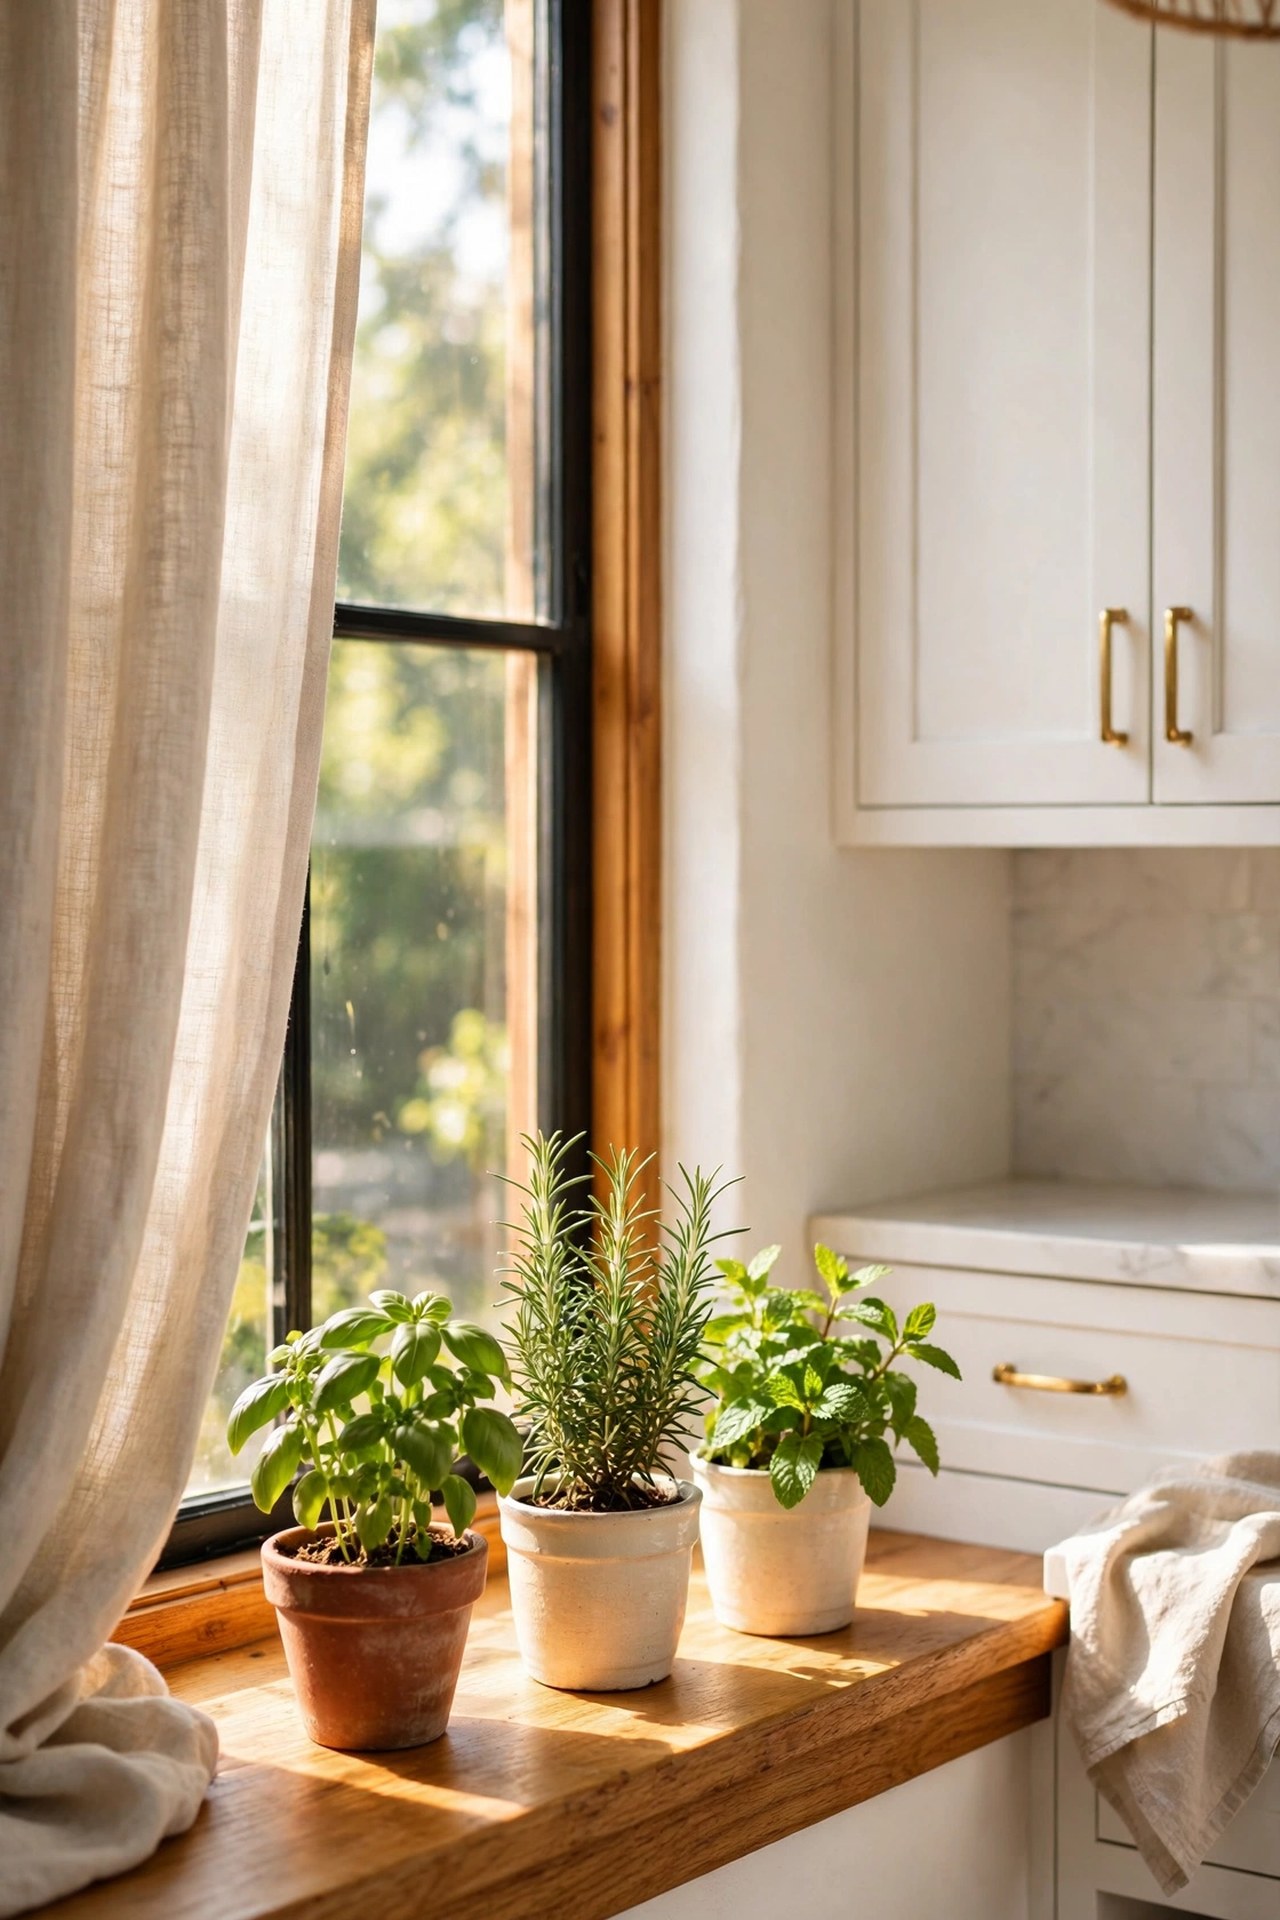
Every boho kitchen needs something alive, and the window above the sink is the most useful place for it, because herbs earn their space by being cooked with. A row of basil, rosemary, mint and thyme in cream and terracotta pots gives the window a soft green edge and keeps fresh leaves near the chopping board. Keep pots in one family; matching pots at slightly different heights read as one small garden, while mixed novelty pots look like a jumble. Match herbs to your real light, and set pots on a wood tray.
Best For: Kitchen windows with at least a few hours of direct light and a cook who uses fresh herbs weekly.
Not Ideal For: Windows directly above a high-heat hob, where heat and steam damage most herbs quickly.
Estimated Cost: $30-$80 (estimate) for four potted herbs, matching pots and a wood tray.
Budget Note: Supermarket potted herbs are inexpensive starters; spend the extra on pots and a tray that will stay for years.
Renter Friendly: Yes
Renter Note: Nothing is fixed; the tray protects the sill, which keeps both the herbs and the landlord happy.
What You Need
Four culinary herbs suited to your light, cream or terracotta pots with drainage, small wood tray, watering can with a narrow spout.
Product type to look for: Pots with drainage holes and saucers, sized one step up from the nursery pots the herbs arrive in, so roots have room to grow.
How To Do It
- Watch the window for one day and note how many hours of direct light it truly gets.
- Choose herbs that match that light, then repot them one size up with fresh compost.
- Set the pots on the tray tallest at the back, and group them tightly so they read as one garden.
- Water from the tray or at the sink, and turn the tray weekly so growth stays even.
Pro Tip
Harvest little and often from the top and centre, because regular picking keeps kitchen herbs bushy and compact.
8. Store the Everyday Clutter in Woven Baskets
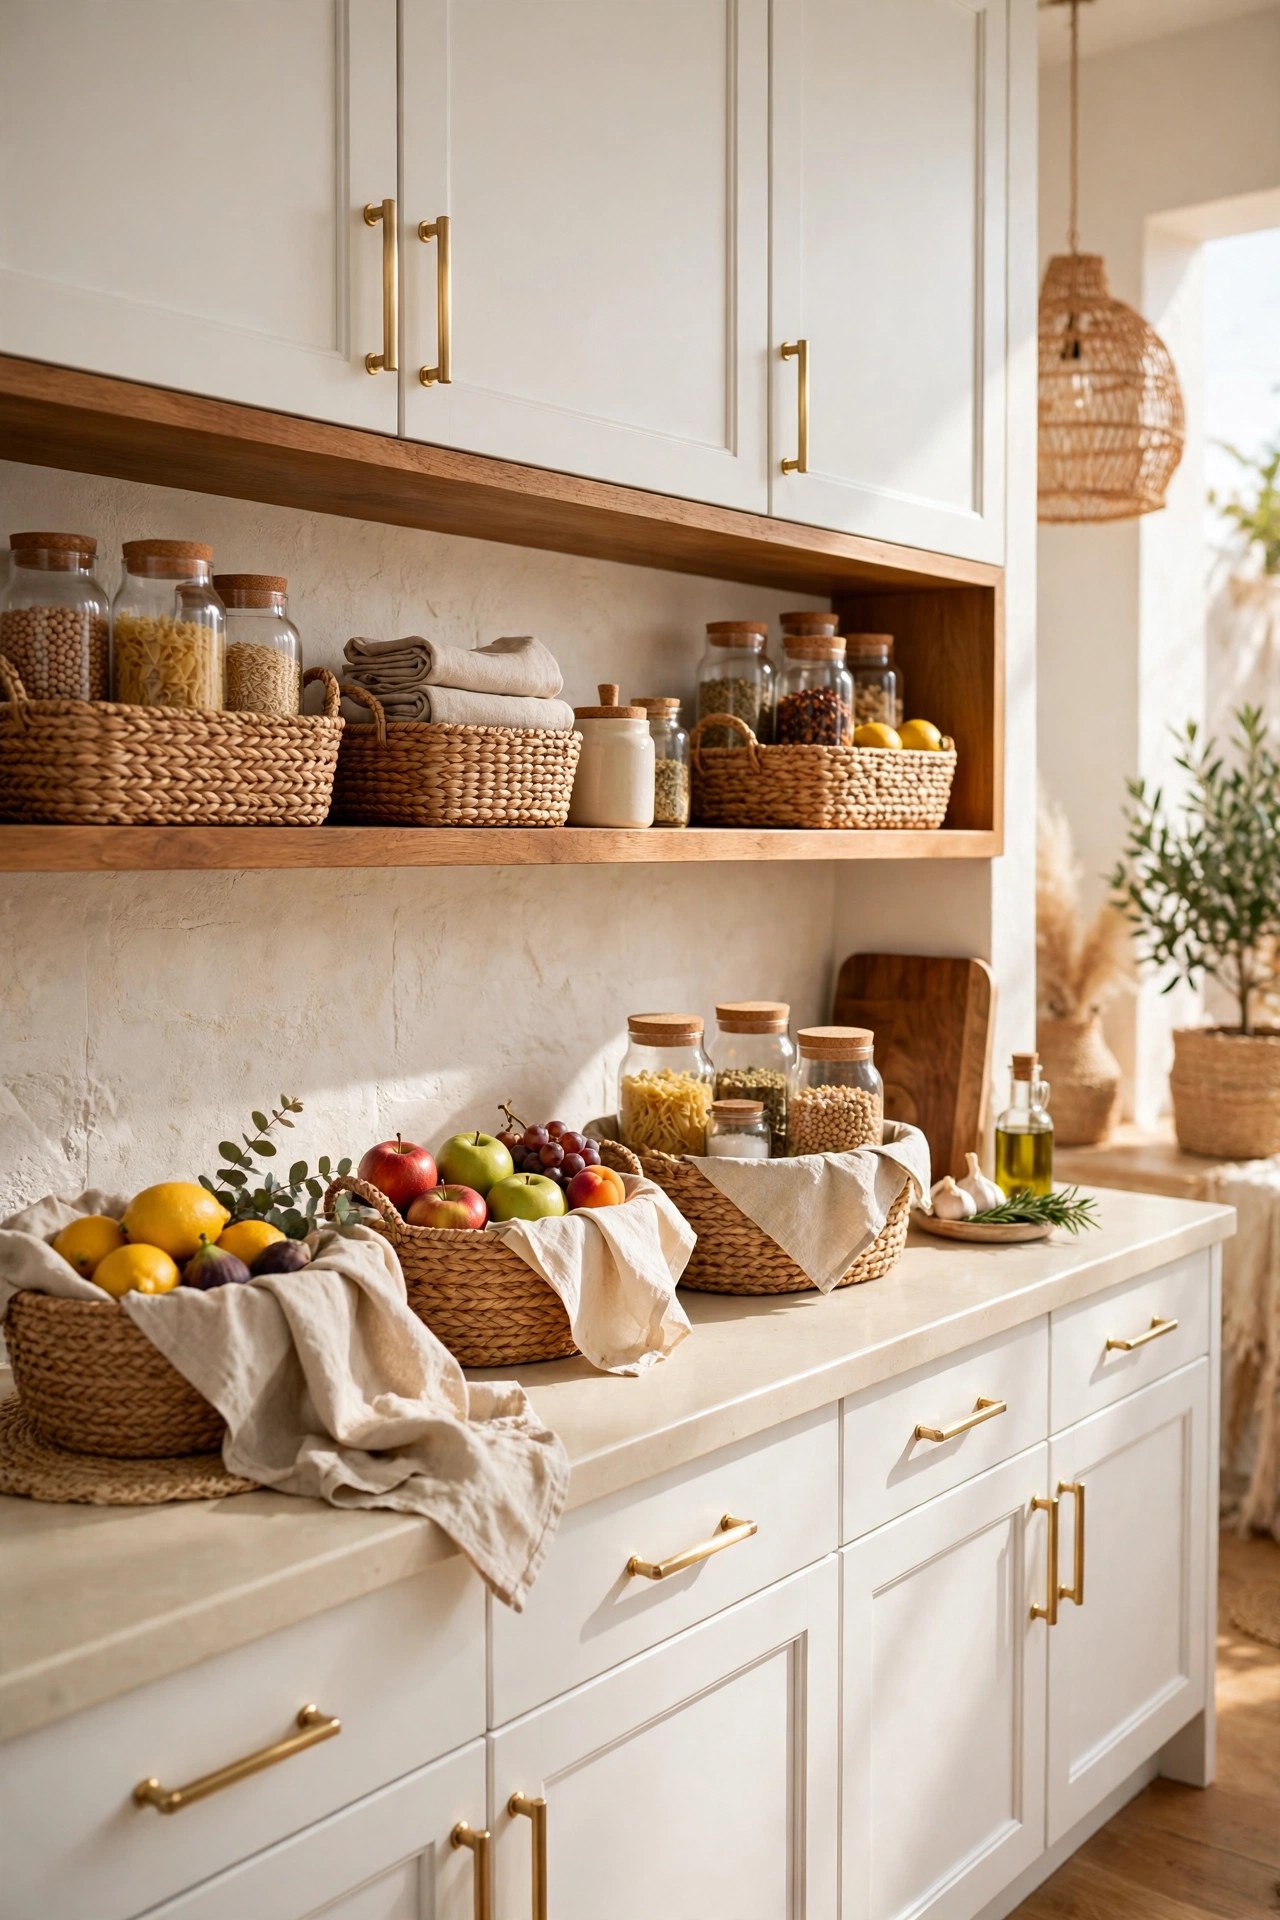
Counters collect the honest clutter of a working kitchen: fruit, onions, tea towels, cables, post and jars. Woven baskets do not remove that clutter, they give it edges, and edges are what make a room look calm. One basket for fruit, one for bread and boards, one shallow tray for post and keys, all in one seagrass or rattan family, turns scattered items into three tidy groups. The rule is one category per basket; a general holding basket becomes the clutter it was meant to hide. Keep baskets off the main prep surface.
Best For: Busy family kitchens where counters refill with daily items within hours of a tidy up.
Not Ideal For: Very small counters with no side space; use in-cupboard baskets there instead of counter baskets.
Estimated Cost: $35-$90 (estimate) for three woven baskets in graded sizes.
Budget Note: Three matching baskets cost less than most single storage systems and can move to any room if the kitchen changes.
Renter Friendly: Yes
Renter Note: Fully freestanding and floor safe; no fixings, no marks, and they leave with you.
What You Need
Three woven baskets in one material family, one lidded, one open, one shallow tray shape, small labels if several people share the kitchen.
Product type to look for: Tightly woven seagrass or rattan baskets with sturdy handles and a shape that holds its form when half empty.
How To Do It
- Clear the counters fully and group what returns into three categories only.
- Assign one basket per category and place each where its items are actually used.
- Put the lidded basket on anything visual, chargers and post, and leave fruit and linens open.
- Set a weekly two minute reset: anything that does not belong in its basket leaves the kitchen.
Pro Tip
Photograph your counters before and after, because a busy after photo means too many categories, not too few baskets.
9. Soften Hard Edges With Linen Textiles
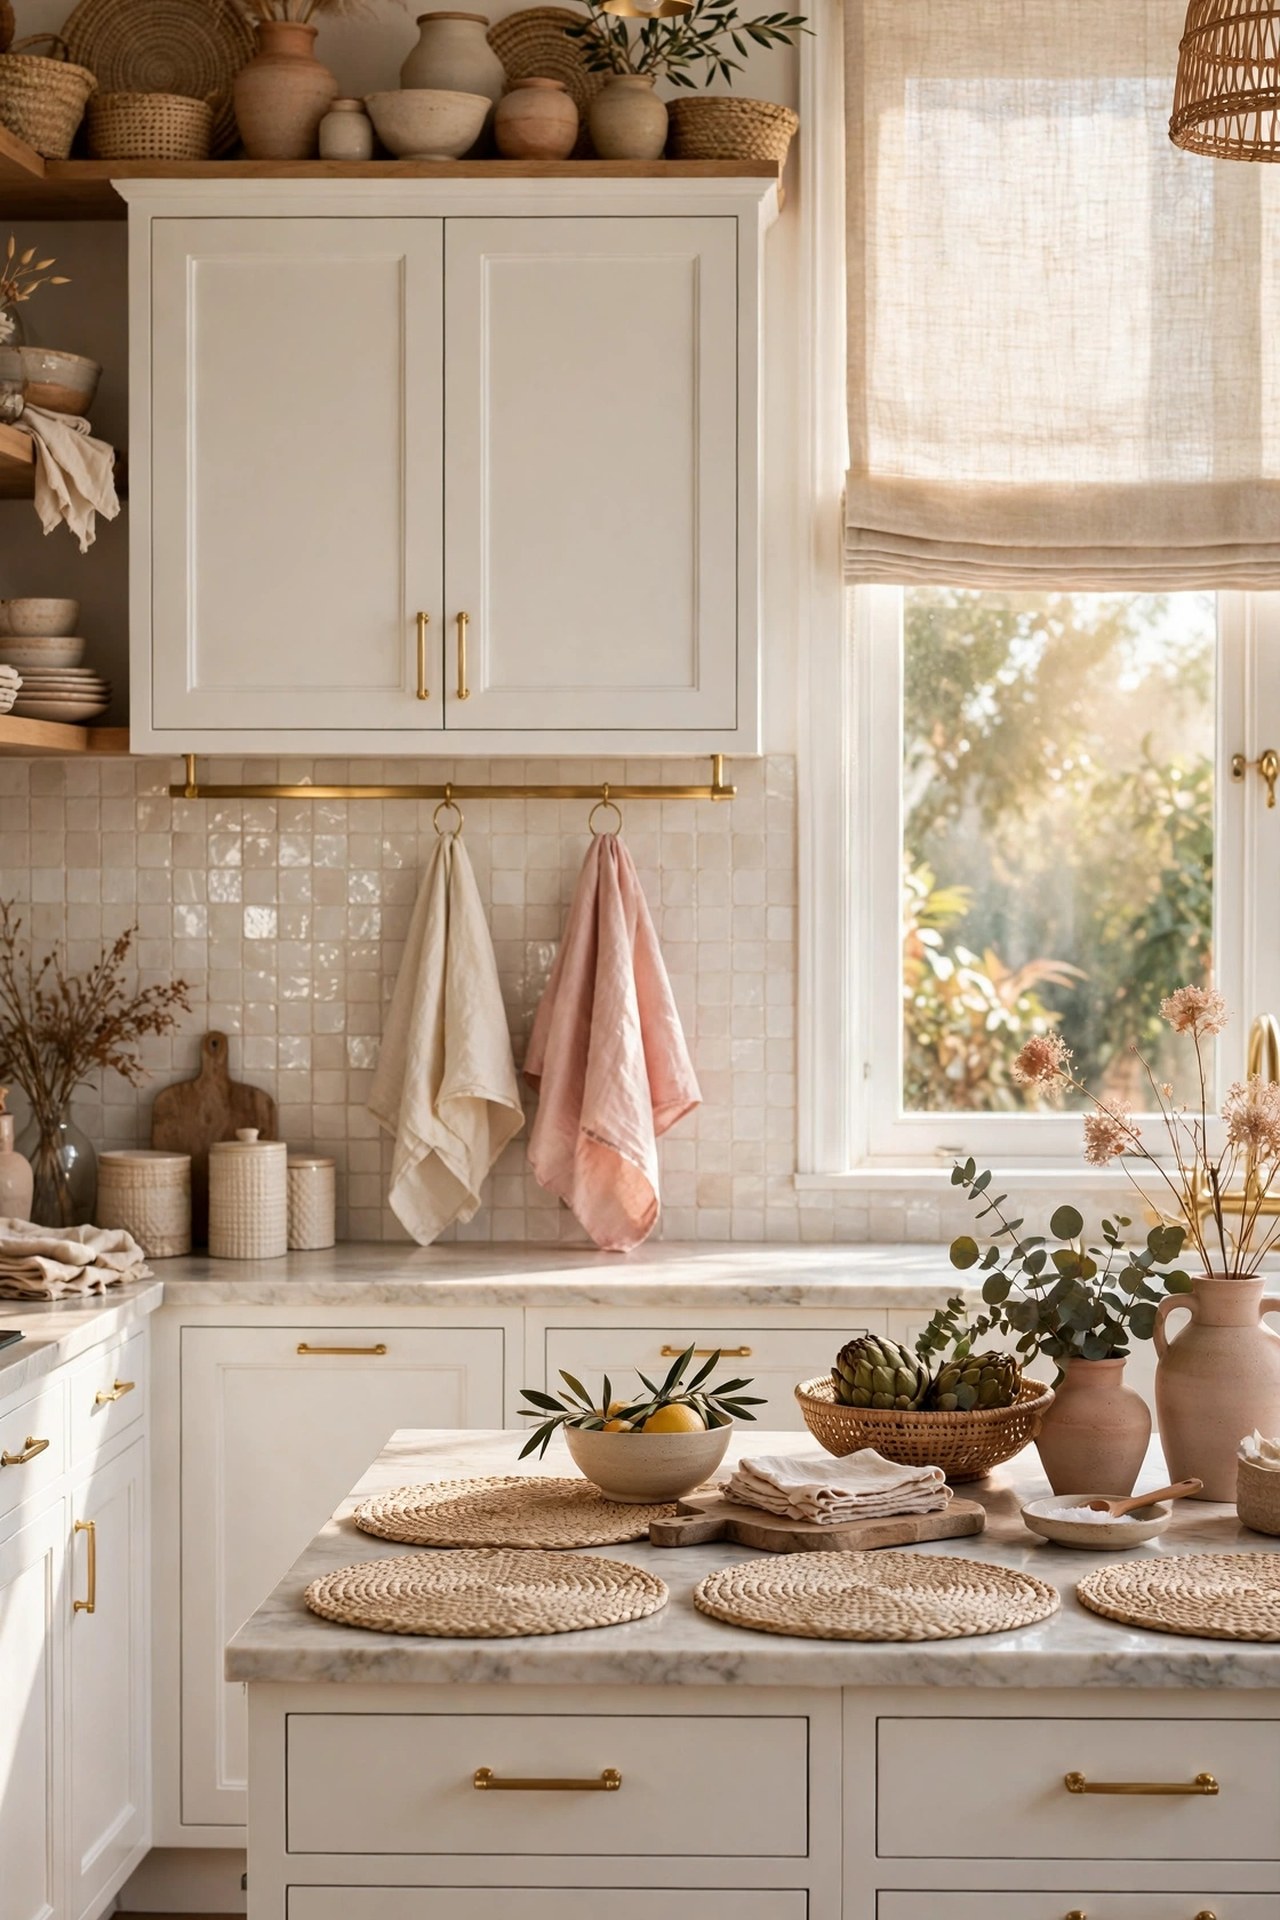
A kitchen is a room of hard edges: stone, tile, glass, steel and painted wood. Textiles are the soft layer that stops a boho kitchen feeling like a showroom, and linen is the right fabric because its natural weave reads relaxed, not untidy. Start where hands go: linen tea towels in cream and blush on a rail, a linen runner or placemats on the table, and a simple linen blind where the window allows. Keep colours inside the palette and let weave supply the interest; printed slogans break the calm and date quickly.
Best For: Kitchens that feel cold, echoing or overly polished despite good cabinets and counters.
Not Ideal For: Anyone who irons tea towels; linen is meant to look softly used, and that is the point of it here.
Estimated Cost: $40-$110 (estimate) for a set of linen tea towels, four placemats and one table runner.
Budget Note: Textiles are the lowest cost layer in this list, so they are the right first test of the whole boho direction.
Renter Friendly: Yes
Renter Note: Fully removable; a linen blind on a tension rod needs no screws in most window recesses.
What You Need
Linen tea towels in cream and blush, linen placemats or runner, optional linen blind with tension rod, fabric wash for first laundering.
Product type to look for: Pure linen or a linen rich blend with a visible natural weave, pre-washed so sizes stay true after the first home wash.
How To Do It
- Wash all linen once before use to soften it and settle its true size.
- Hang towels in one place only, a rail or the oven handle, in a cream and blush pair.
- Lay placemats or a runner where meals actually happen, not as a permanent display.
- Live with the set for two weeks, then add the blind only if the window still feels bare.
Pro Tip
Keep one colour rule for textiles: cream does the work, blush is the accent, and nothing else joins the pair.
10. Hang One Woven Wall Piece, Not a Gallery of Clutter
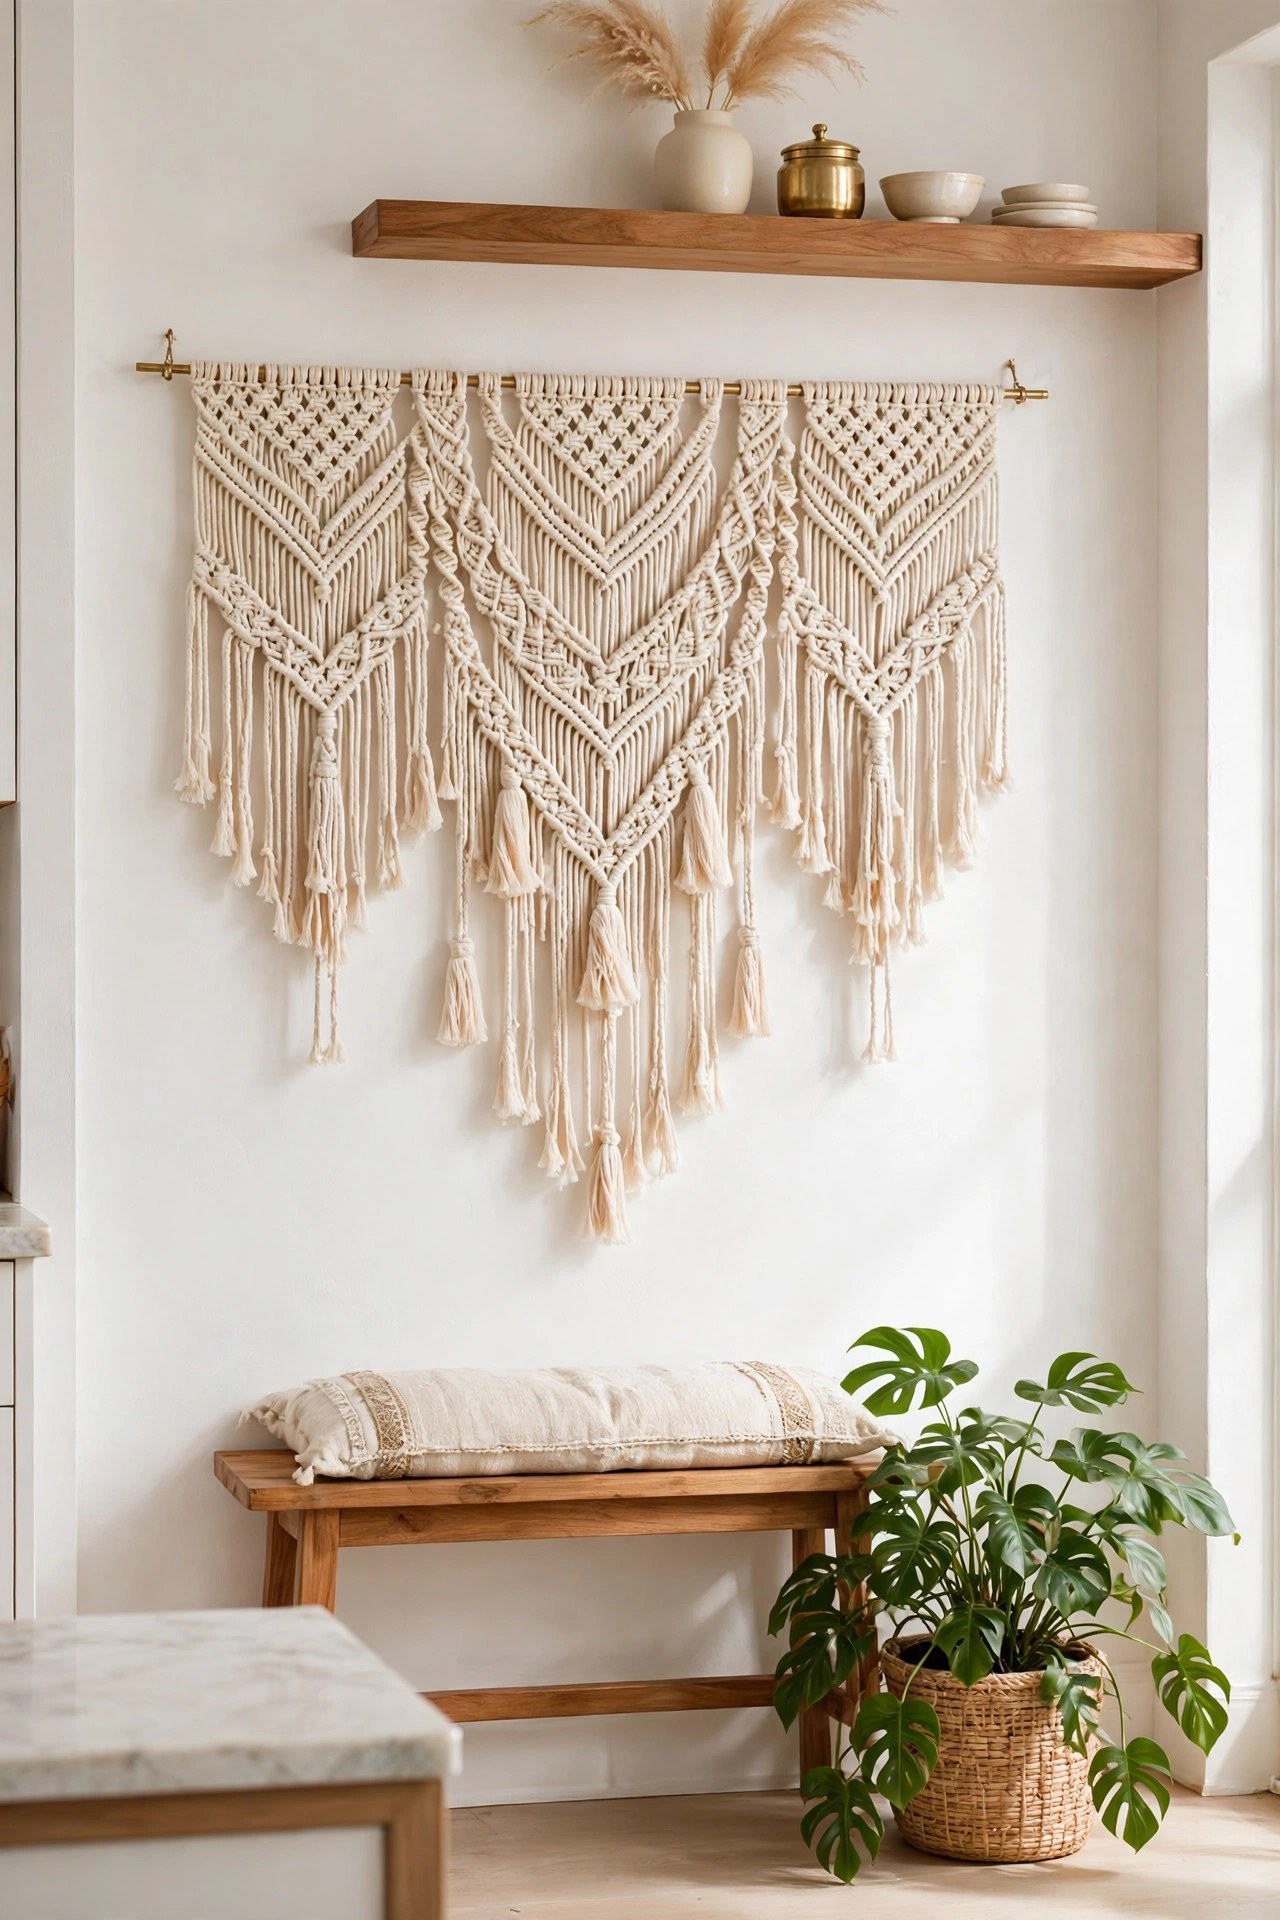
Kitchen walls are usually left bare, or filled with small signs and prints until the wall buzzes. A boho kitchen takes a third route: one generous woven piece, a macrame hanging, a flat tapestry or a single large basket piece, on the one wall that holds no cabinets. One large piece reads calm, gives the room its hand-made note at eye level, and leaves surrounding wall empty, which is what makes it work. Choose a piece filling roughly two thirds of the wall width, in cream tones, away from cooker steam and grease.
Best For: Kitchens with one bare eating or entry wall and no upper cabinets on it.
Not Ideal For: Walls directly behind or beside a hob; fibres and open flame or grease do not mix.
Estimated Cost: $45-$130 (estimate) for one large woven or macrame wall hanging with a wood dowel.
Budget Note: One large piece costs less than a framed gallery set and makes a stronger, calmer statement.
Renter Friendly: With Conditions
Renter Note: A single picture hook or removable heavy-duty strip rated for the weight avoids a wall of holes; check the rating before hanging.
What You Need
One large woven or macrame wall hanging, wood dowel or hanging rod if not supplied, wall hook rated for its weight, level, tape measure.
Product type to look for: A hanging at least 24 inches wide in cream or natural cotton or wool, with a secure top edge that will not stretch out of shape.
How To Do It
- Measure the bare wall and mark the centre point at eye level.
- Fix one rated hook or fitting at the marked height and test it with weight.
- Hang the piece, level its dowel, and steam or brush the fibres straight.
- Remove any small frames or signs from the same wall so the single piece owns it.
Pro Tip
Leave clear wall on both sides of the hanging, at least a hand width more than feels necessary, because empty space is part of the design.
11. Build a Small Breakfast Nook With Texture
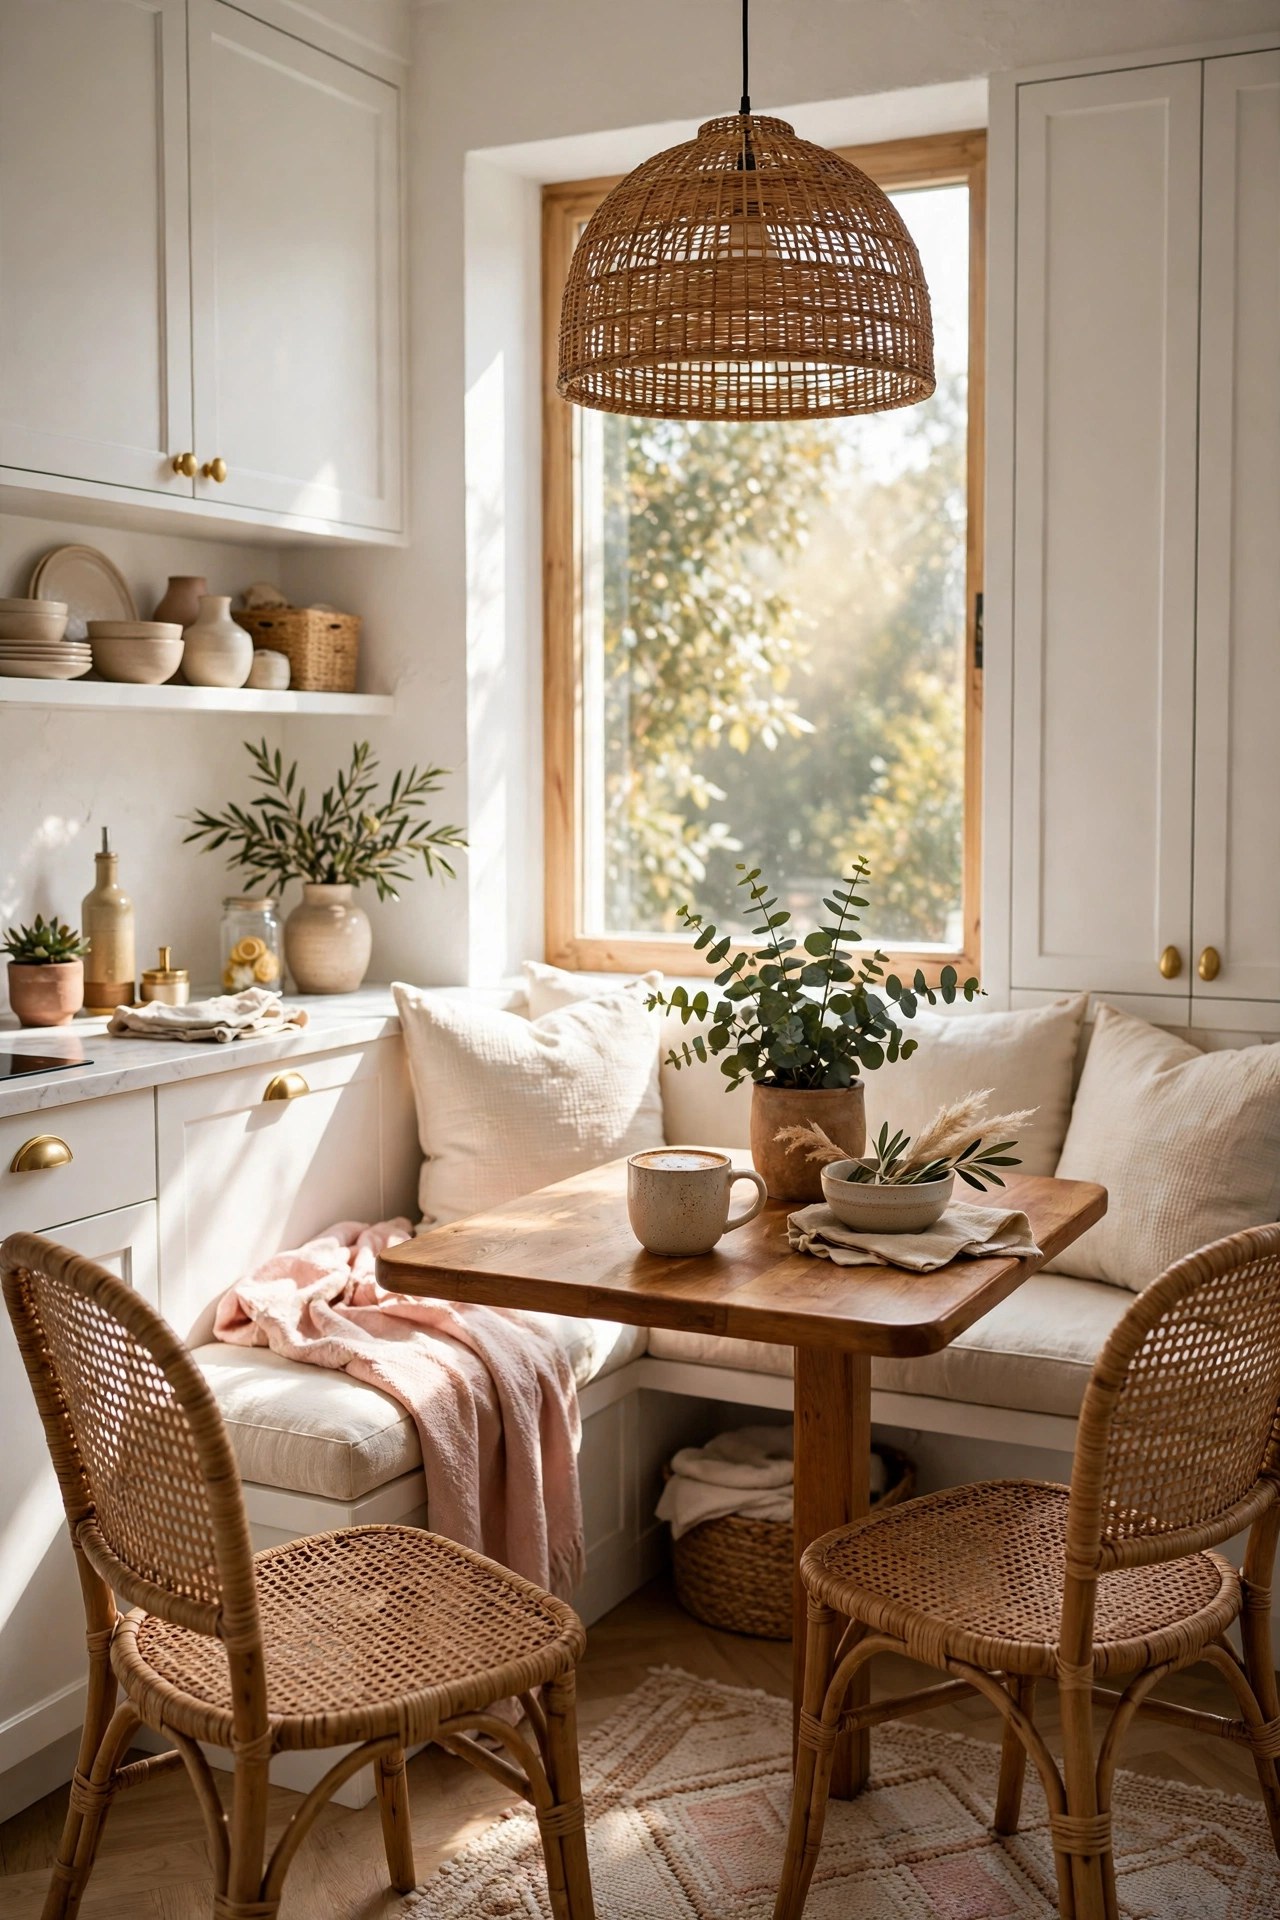
A breakfast nook is where a boho kitchen becomes a place to sit, and even a small one changes how the room is used. The recipe is compact: a small warm wood table, two woven chairs, a bench along the wall with cream cushions, one blush throw, and a single pendant over the table to mark the zone. A bench seats more people in less space than chairs on every side. Round tables suit tight corners; a narrow rectangle suits a wall run. Keep the table clear, set for the next meal.
Best For: Kitchen corners, bay ends and the open end of a galley layout with light from a nearby window.
Not Ideal For: Kitchens where the only corner is the main route to a garden or utility door; a nook needs calm, not traffic.
Estimated Cost: $280-$650 (estimate) for a small wood table, two woven chairs and bench cushions.
Budget Note: The bench can start as a simple upholstered seat pad on a storage bench you already own; buy chairs first, they define the look.
Renter Friendly: Yes
Renter Note: All freestanding; choose a table that fits through the door assembled, or one with removable legs for easier moves.
What You Need
Small warm wood table, two woven chairs, bench or banquette with cream cushions, blush throw, one pendant or plug-in light for the zone.
Product type to look for: A table with a smooth, sealed wood top that wipes clean, and chairs with a woven seat over a frame rated for daily dining use.
How To Do It
- Measure the corner including chair pull-out space, at least 18 inches behind each chair.
- Place the bench against the wall first, then the table centred on the pendant line.
- Set the two woven chairs on the open sides and check the walkway past them stays clear.
- Dress with cushions and one throw, then set the table with two placemats only.
Pro Tip
Centre the pendant over the table, not over the centre of the corner, because matched light is what makes a nook feel like a room.
12. Swap Hardware and the Faucet to Brushed Gold
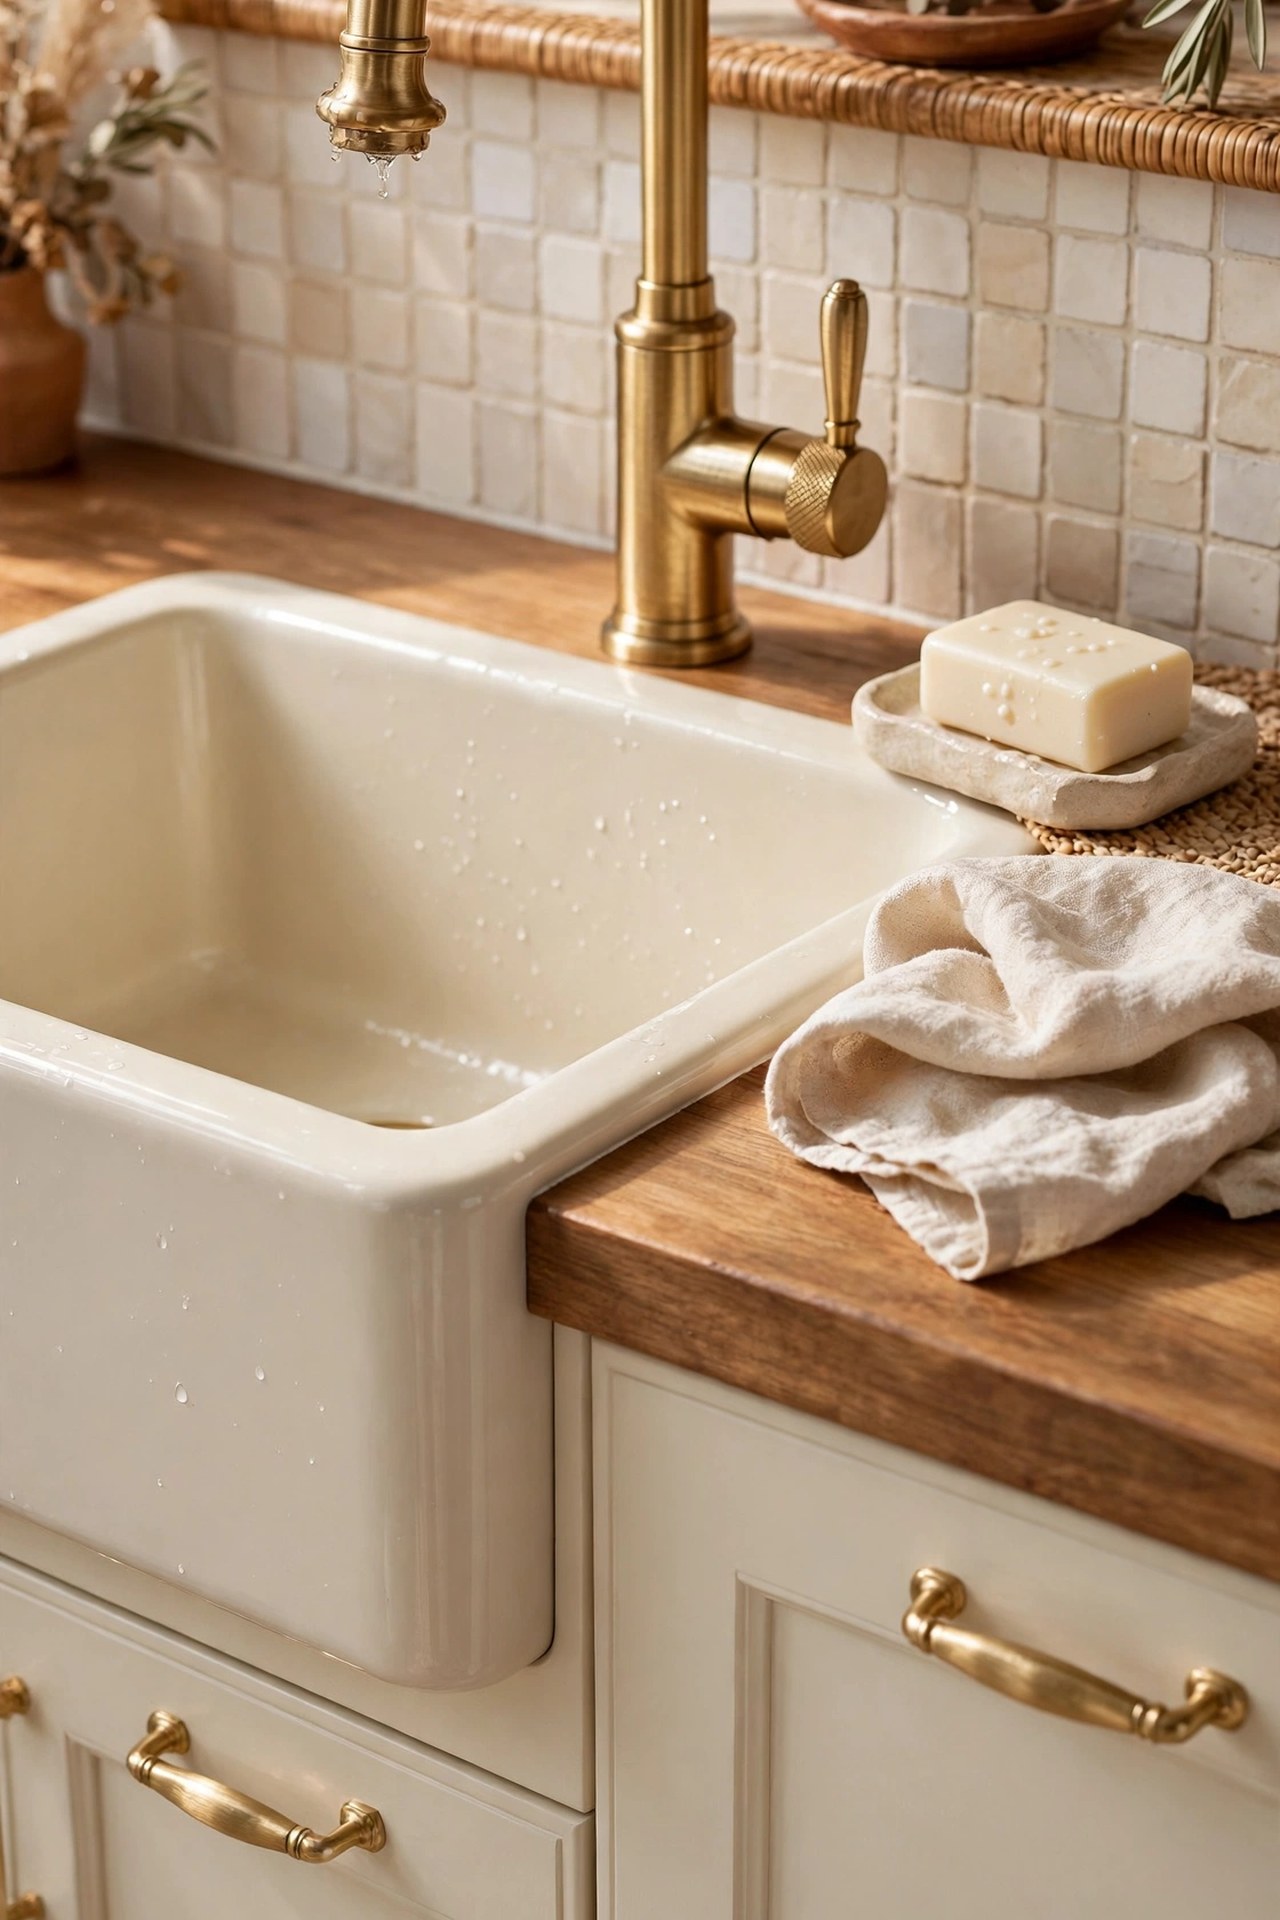
If boho layers supply the warmth, brushed gold supplies the finish that lifts woven texture and warm wood from casual to glam. The swap is contained: handles and knobs, the faucet, and pendant fittings and brackets where present, all in one brushed gold finish so metal reads as a single decision. Count every handle before ordering, including appliance pulls, because one leftover chrome knob is the detail every eye finds. Brushed gold hides water spots better than polished and sits softly against rattan and linen. Faucet work belongs to a plumber unless local rules allow it.
Best For: Sound kitchens in plain chrome or steel that need a lift without new cabinets.
Not Ideal For: Mixed metal rooms you already love; changing one metal means changing all of it, so be sure before you start.
Estimated Cost: $150-$400 (estimate) for handles for a medium kitchen plus a brushed gold faucet, plumbing extra if a plumber fits the faucet.
Budget Note: Handles first if the budget is tight; they cover most of the visual change for a fraction of the faucet cost.
Renter Friendly: With Conditions
Renter Note: Handles are a screw swap and fully reversible if you keep the originals; a faucet change needs landlord permission and the original kept safe.
What You Need
Brushed gold handles and knobs in the correct sizes, brushed gold faucet, screwdriver, tape measure, plumber contact for the faucet if needed, labelled bag for original hardware.
Product type to look for: Handles with the same screw spacing as your current ones, measured centre to centre, in a true brushed finish from one range so every piece matches.
How To Do It
- Count every handle and knob in the room and measure the screw spacing on a drawer and a door.
- Order the full set from one range in one order, plus two spares.
- Swap handles one cabinet at a time, keeping screws paired, and bag the originals by cabinet.
- Have the faucet fitted, then check every metal in the room reads as one finish from the doorway.
Pro Tip
Hold a sample handle against rattan and linen before ordering the set, because brushed gold ranges from warm to yellow.
13. Layer Light So the Kitchen Glows Without Glare
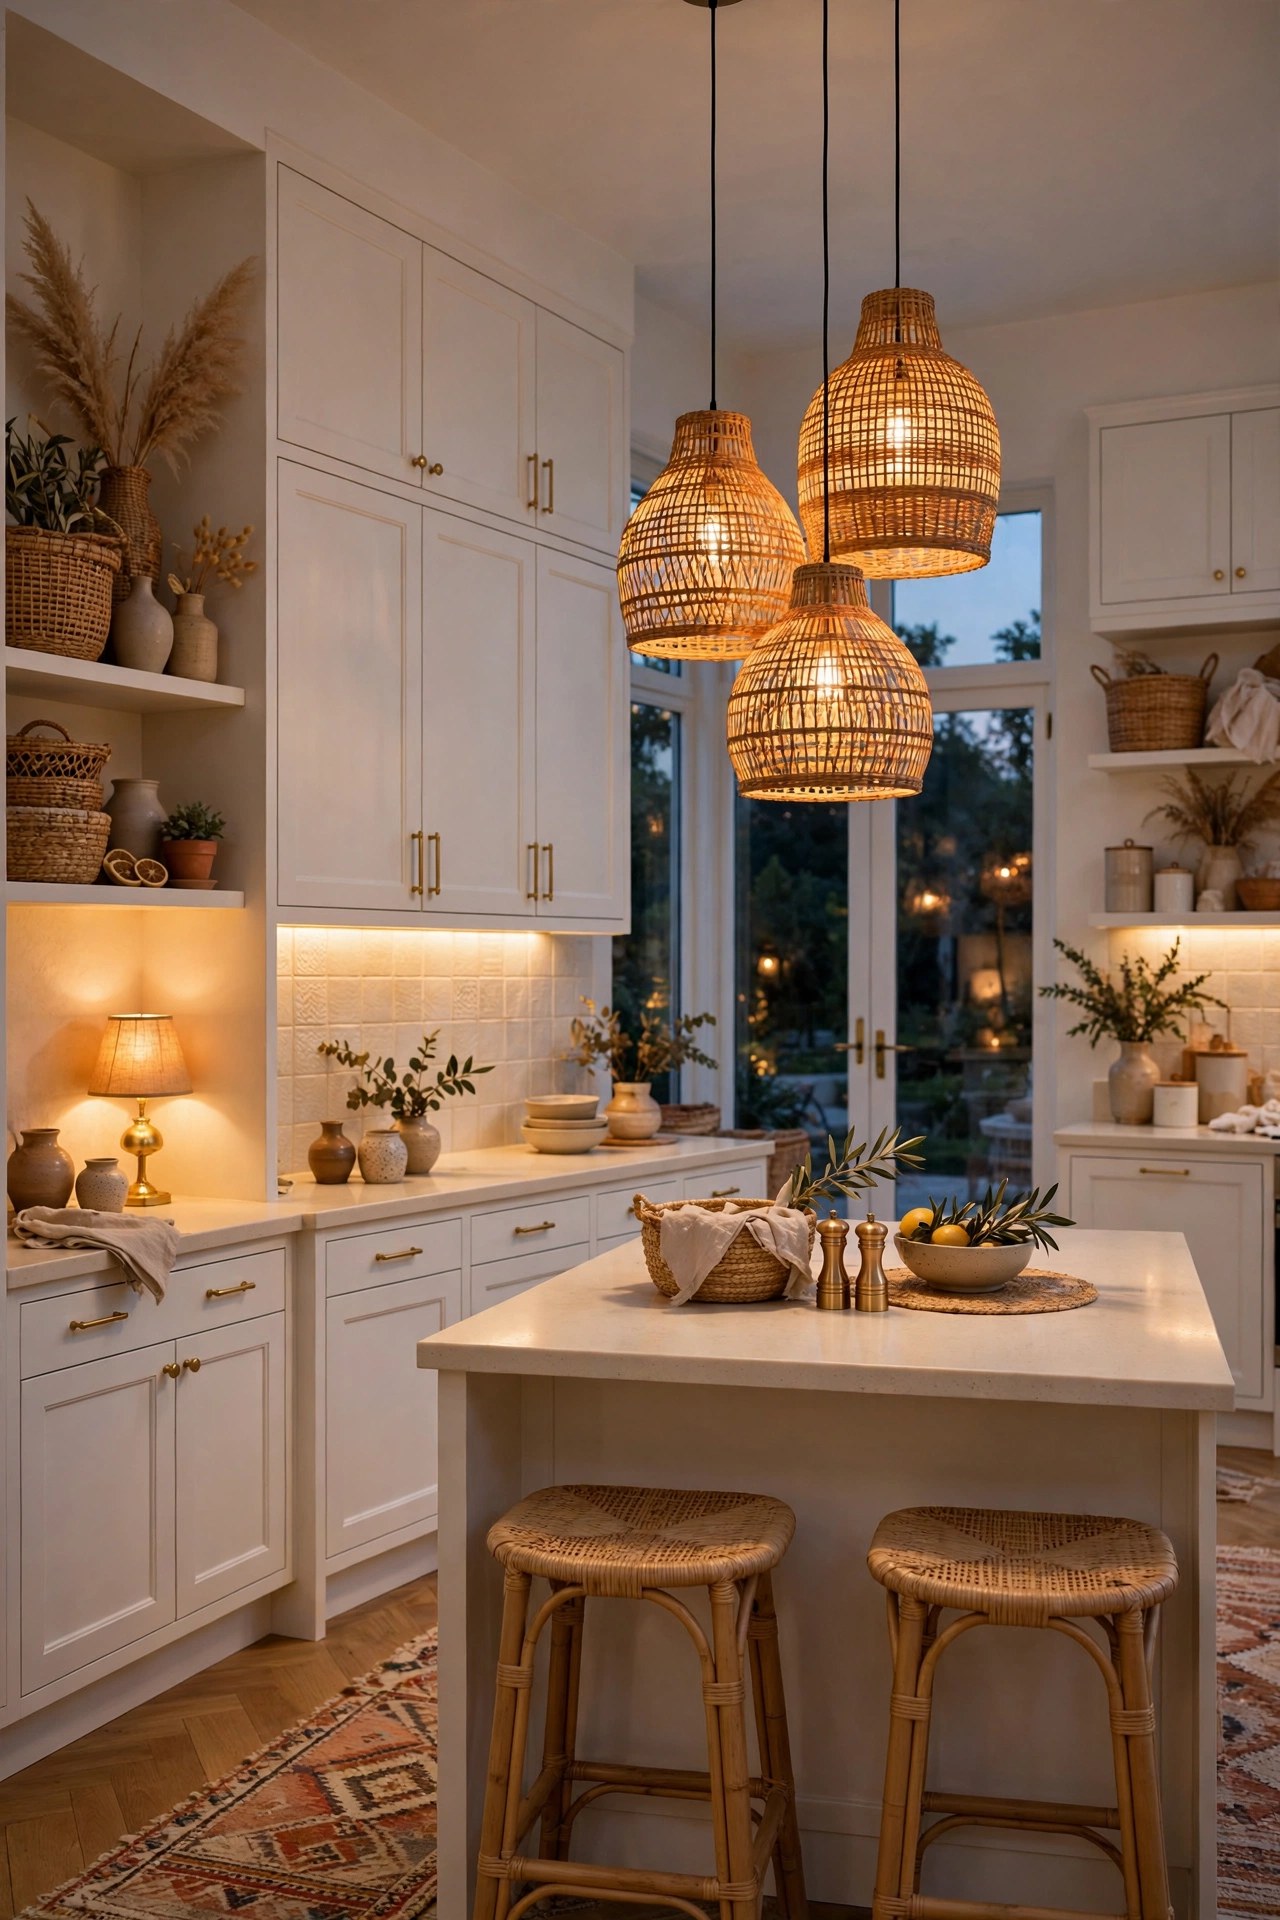
Daylight does the work in photographs, but a real boho kitchen must feel as good at seven in the evening, and that takes layered light, not one bright ceiling fitting. Think in three layers: pendants for the warm centre, under-cabinet light exactly on work counters, and one soft background source, a nook lamp or lit glass cabinet, so room edges do not go dead. Use warm-white bulbs in one colour temperature across all layers; mixed bulbs are the commonest reason a kitchen feels harsh at night. Add dimmers to the pendant layer where you can.
Best For: Kitchens that feel bright at noon and flat or harsh after dark.
Not Ideal For: Rooms with a single central ceiling light you cannot change and no counter sockets; start with plug-in options and a lamp.
Estimated Cost: $120-$350 (estimate) for under-cabinet lighting, matching warm bulbs and one dimmer, electrician extra for hardwired work.
Budget Note: Spend on the under-cabinet layer first; it improves cooking every single day, not only how the room photographs.
Renter Friendly: With Conditions
Renter Note: Plug-in or battery under-cabinet lights with adhesive mounts need no wiring; hardwired layers and dimmers need permission and an electrician.
What You Need
Under-cabinet light bars or strip, warm-white bulbs in one colour temperature for all fittings, dimmer where fittings allow, one small lamp for the nook.
Product type to look for: Under-cabinet lights with a warm-white setting around 2700 to 3000K and a diffuser, so the light is even and dot-free on the counter.
How To Do It
- Stand in the kitchen at night and note where shadows fall on the counters and where the room goes dark at the edges.
- Fit under-cabinet lights first and test them during real cooking before buying anything else.
- Change every bulb in the room to the same warm colour temperature in one go.
- Add the background lamp last and set dimmers so the eating level is warm and low, not dim and grey.
Pro Tip
Photograph the kitchen at night with all layers on, because a phone photo shows mismatched bulbs and shadow gaps honestly.
14. Add Rental Boho That Leaves No Marks Behind
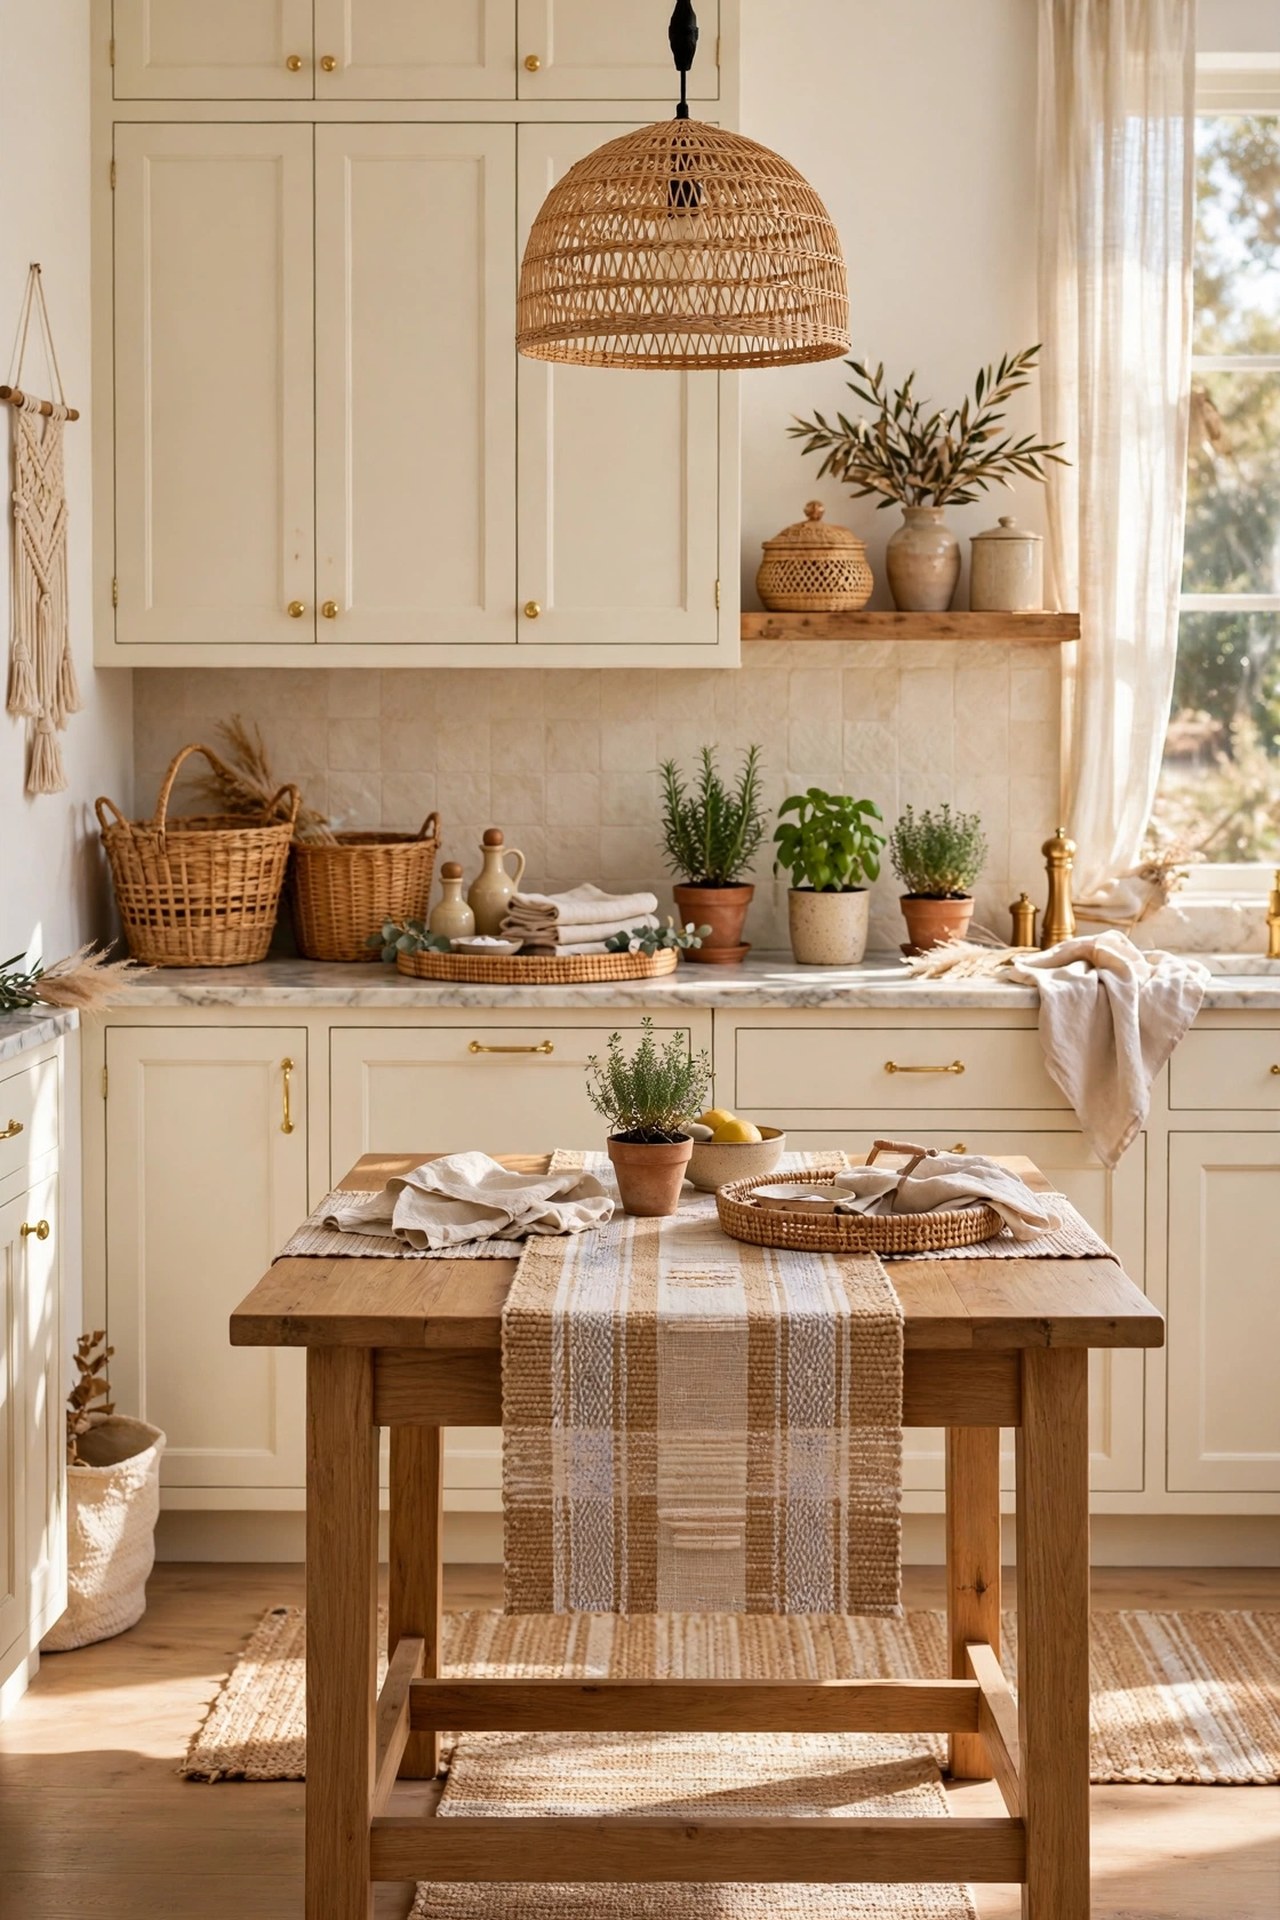
Renting does not rule out a boho kitchen; every layer must sit on the room, not fix into it, and leave with you. Start with a woven runner, then baskets, a rattan tray, wood boards and ceramics over dated counters, then linen towels and a tension-rod blind. Light can change too, through a plug-in rattan pendant where hooks are allowed, or a nook lamp. Peel and stick tile is the only backsplash route, with permission and a hidden test patch first. The same no-drill thinking runs through our guide to kitchen ideas for small spaces with the palette held firm. Photograph every surface before you begin.
Best For: Renters who want the full boho feel with a deposit they intend to keep.
Not Ideal For: Short stays under six months; the layered pieces still cost money, so start with runner, textiles and baskets only.
Estimated Cost: $150-$380 (estimate) for a runner, baskets, textiles, herbs and a plug-in pendant combined.
Budget Note: Every item here is portable to the next home, so judge the cost across two kitchens, not one.
Renter Friendly: Yes
Renter Note: This idea is the rental route for the whole list; keep original hardware, photograph surfaces first, and test any adhesive product in a hidden spot.
What You Need
Woven runner with underlay, woven baskets and tray, linen towels, potted herbs, plug-in rattan pendant or warm lamp, phone for before photos.
Product type to look for: Freestanding and plug-in versions of every layer, with adhesive only where the product is made for clean removal and tested first.
How To Do It
- Photograph every wall, counter and floor section before changing anything.
- Lay the runner, then group counter storage into baskets and a tray in one material family.
- Hang textiles and fit the tension-rod blind, then add herbs at the window.
- Finish with plug-in light and step back; if a layer needs a screw, swap it for its freestanding version.
Pro Tip
Keep a simple list of where each original item is stored, so everything goes back in one afternoon at move-out.
15. Keep Colour Controlled So Boho Still Feels Glam
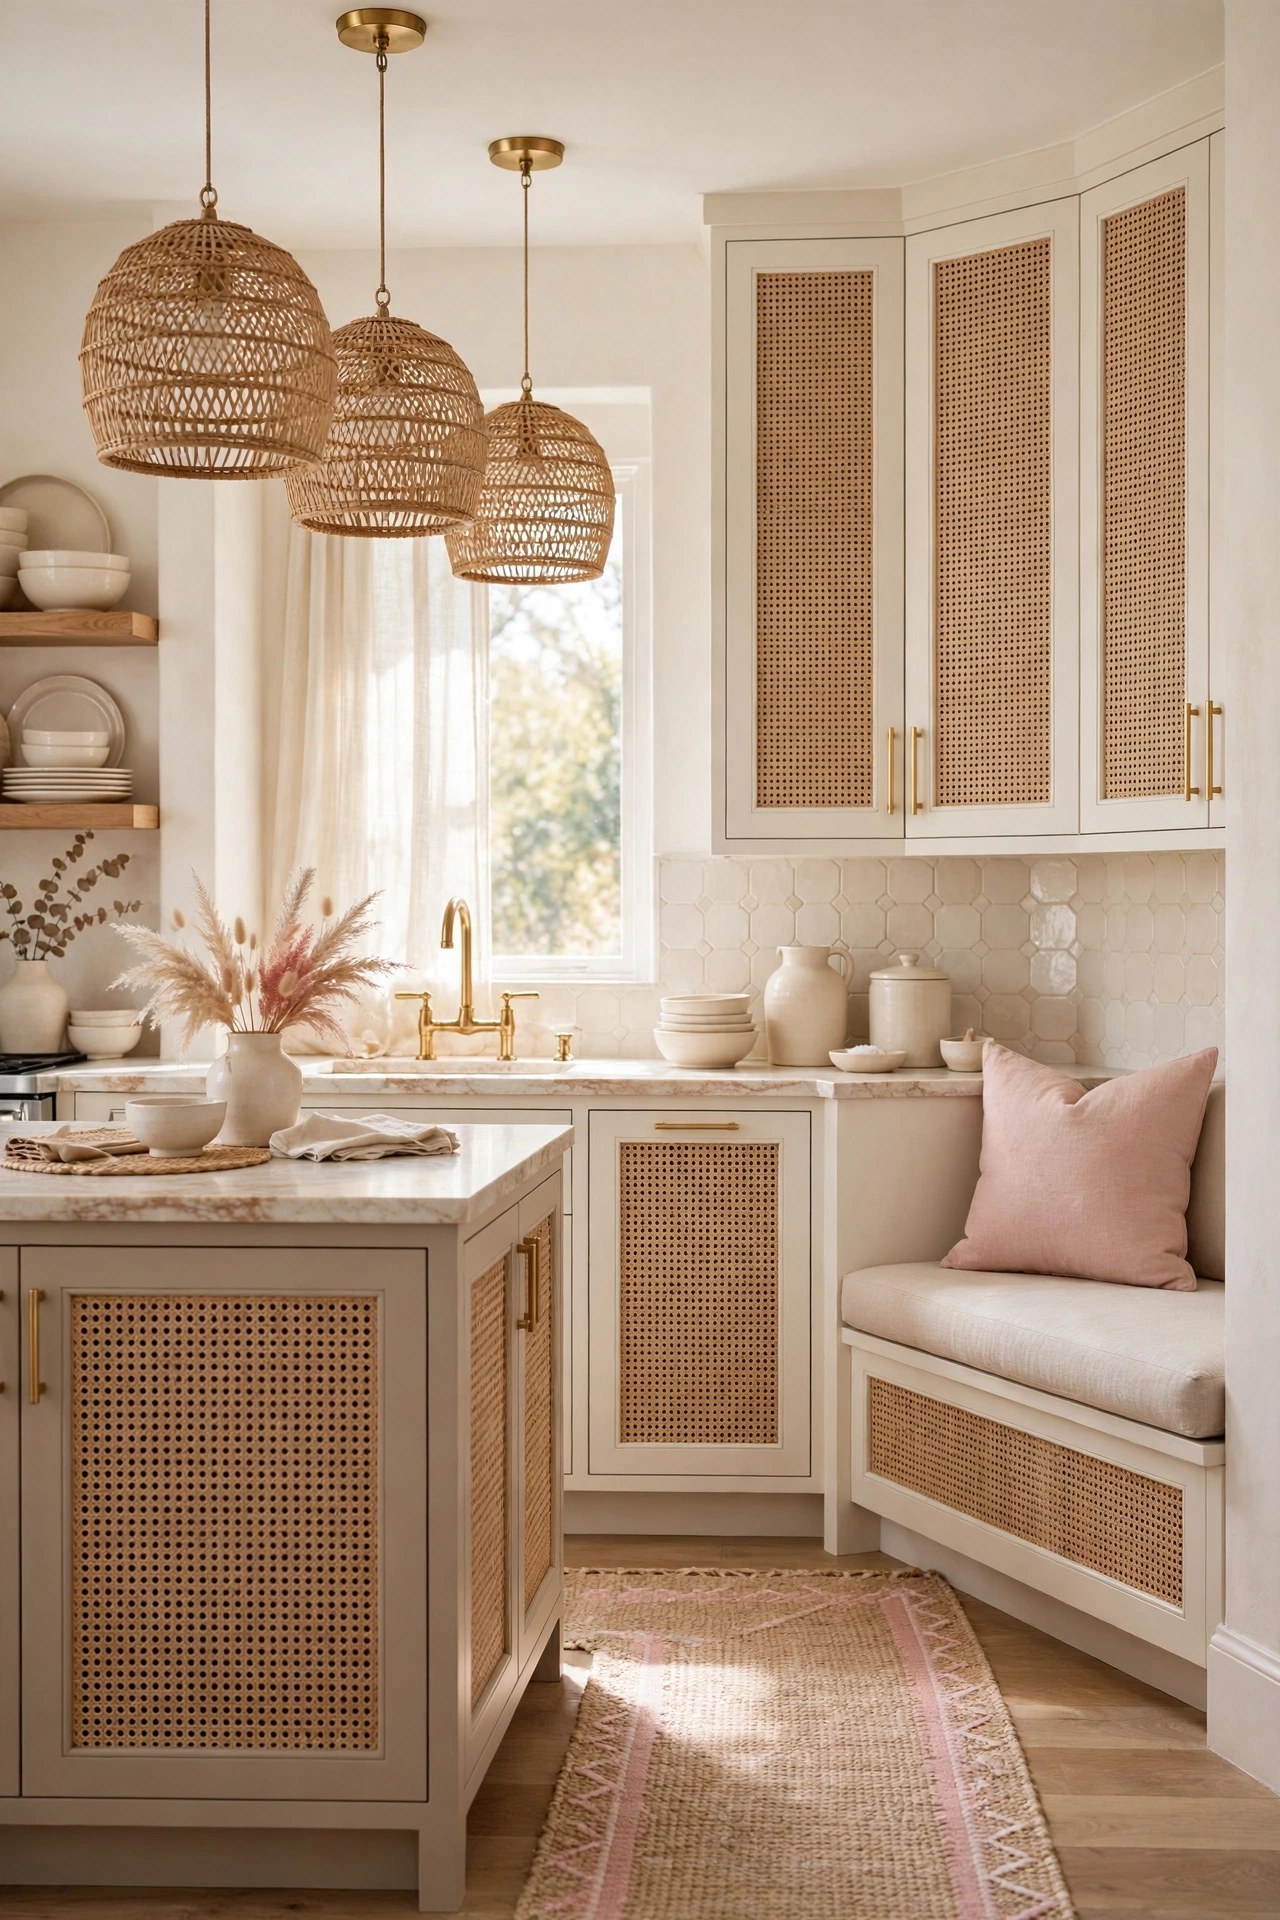
The last idea holds the other fourteen together: a fixed palette, edited without mercy. Boho invites collecting, and collecting is how a calm kitchen turns busy, one colourful mug and print at a time. Set the palette in writing: white and cream as base, warm taupe and warm wood as depth, blush pink as the single accent, brushed gold as the metal, natural rattan and seagrass as texture. Green enters only through plants. Anything outside those lines belongs in another room. That discipline keeps the kitchen glam, not purely rustic.
Best For: Kitchens that already have boho pieces but feel busy, mixed or unfinished.
Not Ideal For: Anyone who wants a bold multi-colour kitchen; this scheme trades colour range for calm on purpose.
Estimated Cost: $0-$60 (estimate) for editing what you own, plus one or two palette-correct replacements if needed.
Budget Note: This is the cheapest idea in the list and the one that makes every other idea look more expensive.
Renter Friendly: Yes
Renter Note: Palette control is pure editing and arrangement; nothing is fixed, painted or changed.
What You Need
Phone photos of the room, storage box for out-of-palette items, one blush accent piece, list of the fixed palette kept on the phone.
Product type to look for: Replacements, where needed, in warm whites with a cream undertone; blue-toned whites fight warm taupe, wood and gold and turn the room cold.
How To Do It
- Write the palette down in one line and photograph the whole kitchen from the doorway.
- Remove every visible item that falls outside the palette into the storage box, without throwing anything away.
- Rearrange what remains so each surface holds one texture group and clear working space.
- Live with the edited room for a month, then decide calmly what, if anything, truly needs replacing.
Pro Tip
Use the doorway photo test after every new purchase, because an item your eye lands on first is usually outside the palette.
Practical Tips
Work in layers, in a fixed order: base first, then texture, then colour, then light. Cabinet decisions come before pendants, pendants before stools and shelves, and small decor last. Repeat every material at least twice: rattan in pendants and baskets reads as a scheme, while rattan in one pendant looks accidental. Protect the work zones: keep the prep counter, hob surround and sink area free of anything woven or hard to clean. Buy natural materials in one order where tone matters, since rattan and wood vary between batches. Finally, photograph the room from the doorway in daylight and at night; the two photos show palette and lighting as everyone else sees them.
Frequently Asked Questions
What colours work best in a boho kitchen?
White and cream as base, warm taupe and warm wood for depth, blush pink as one accent, and brushed gold as the metal. Green comes from plants only. That limit keeps the room glam and calm instead of busy.
How do I make a boho kitchen without it looking cluttered?
Give texture a job and a place. Choose one patterned feature only, group ceramics and baskets by category with clear space between groups, and keep prep surfaces empty.
Can a small kitchen work as a boho kitchen?
Yes. The layers are mostly surface layers: a runner, shelves, baskets, textiles and pendants change the feel without changing the footprint. Keep the palette pale and the pattern to one place.
Is a boho kitchen suitable for a rental?
Yes, from removable layers only: runner, baskets, linen, herbs, a plug-in pendant and a hardware swap with originals kept safe. Skip fixed tile and paint, and photograph surfaces before you start.
What is the cheapest way to start a boho kitchen?
Start with linen towels in cream and blush and a woven runner along the cabinets. Together they add the style soft texture and warm tone for the lowest cost in this list.
How do I keep rattan and woven pieces clean in a kitchen?
Keep woven pieces away from the hob and sink splash zones, dust weekly with a soft brush, and wipe baskets with a barely damp cloth.
Conclusion
A boho kitchen that feels bright and glam is not built by adding more, it is built by adding in order. Hold the base pale, warm it with taupe, wood and woven texture, finish it with blush and brushed gold, and let one pattern and one palette rule keep the room calm. Start with pendants or textiles, add shelves, baskets and light in layers, and edit as you go. The result cooks properly every day and still feels relaxed and personal.