15 Dark Kitchen Cabinets Ideas for a Bright Glam Kitchen
15 Dark Kitchen Cabinets Ideas for a Bright Glam Kitchen
A dark kitchen cabinets search usually starts with one worry: dark cabinets will make the kitchen feel small and gloomy. They will not, if the dark is balanced with light in the right places. Dark kitchen cabinets work best when the counters stay pale, the walls stay warm white, the hardware glows gold and the light is layered, so the room reads rich and glamorous rather than heavy. These dark kitchen cabinets ideas keep the glam notes Sofia loves, cream marble, warm taupe, blush pink and brushed gold, while every idea is chosen for a real kitchen: a painted shaker door, a deep green run of cabinets, a white waterfall island and a brass tap that repeats the gold. Work through the list in order, because the early ideas set the cabinet color, the counters and the hardware, and the later ones add the light, the open shelving and the soft finishing layers. If you are planning the kitchen around its dark base, our kitchen ideas show how the cabinets, the counters and the small styling pieces work together
Disclosure: This article may contain affiliate links. If you buy through a link on this page, GlamNStyle may earn a small commission at no extra cost to you. Product links in this article are plain links; each one is checked on the retailer’s own page before it is added.
1. Start with Matte Charcoal Shaker Cabinets
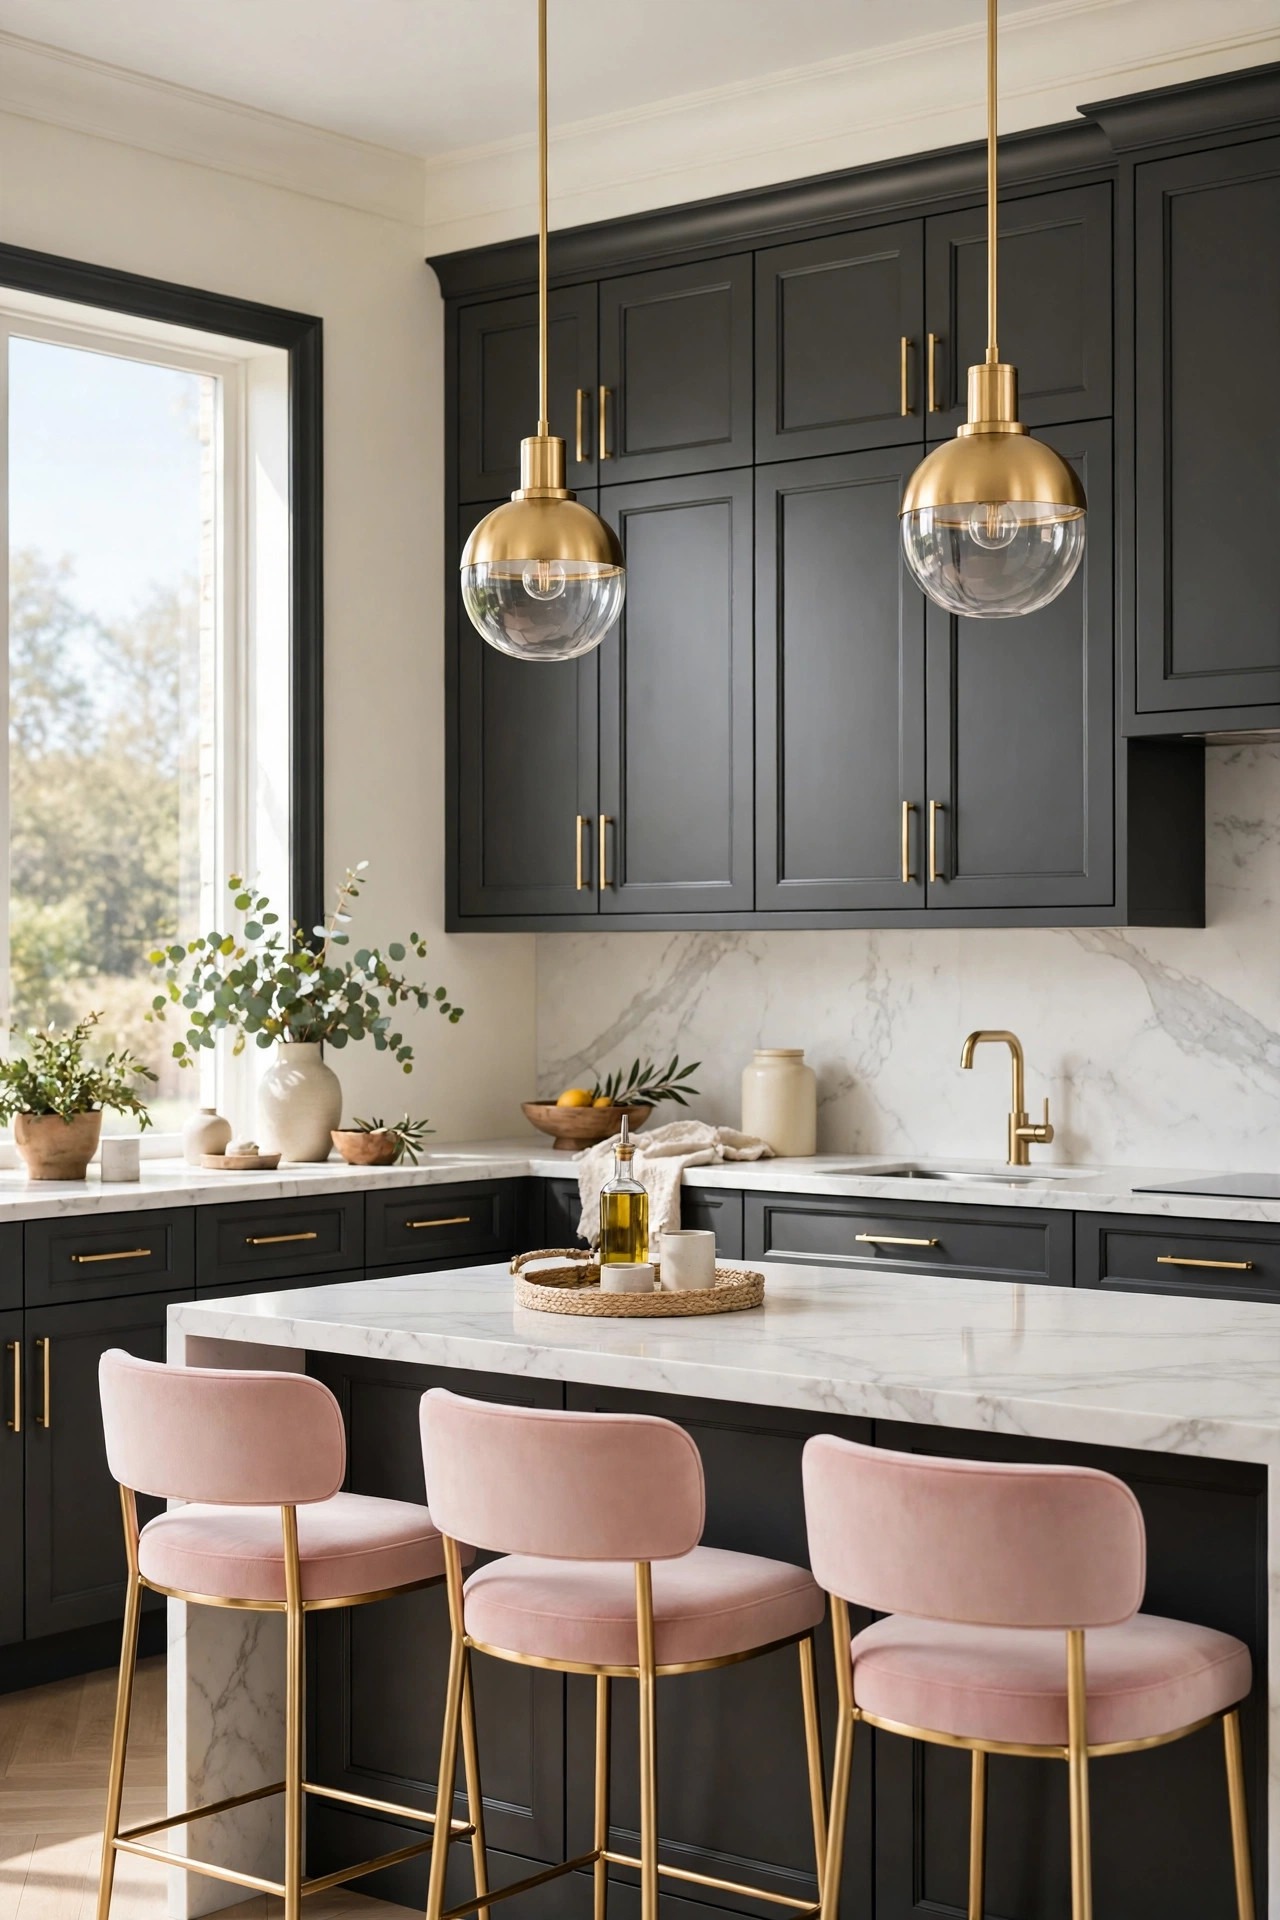
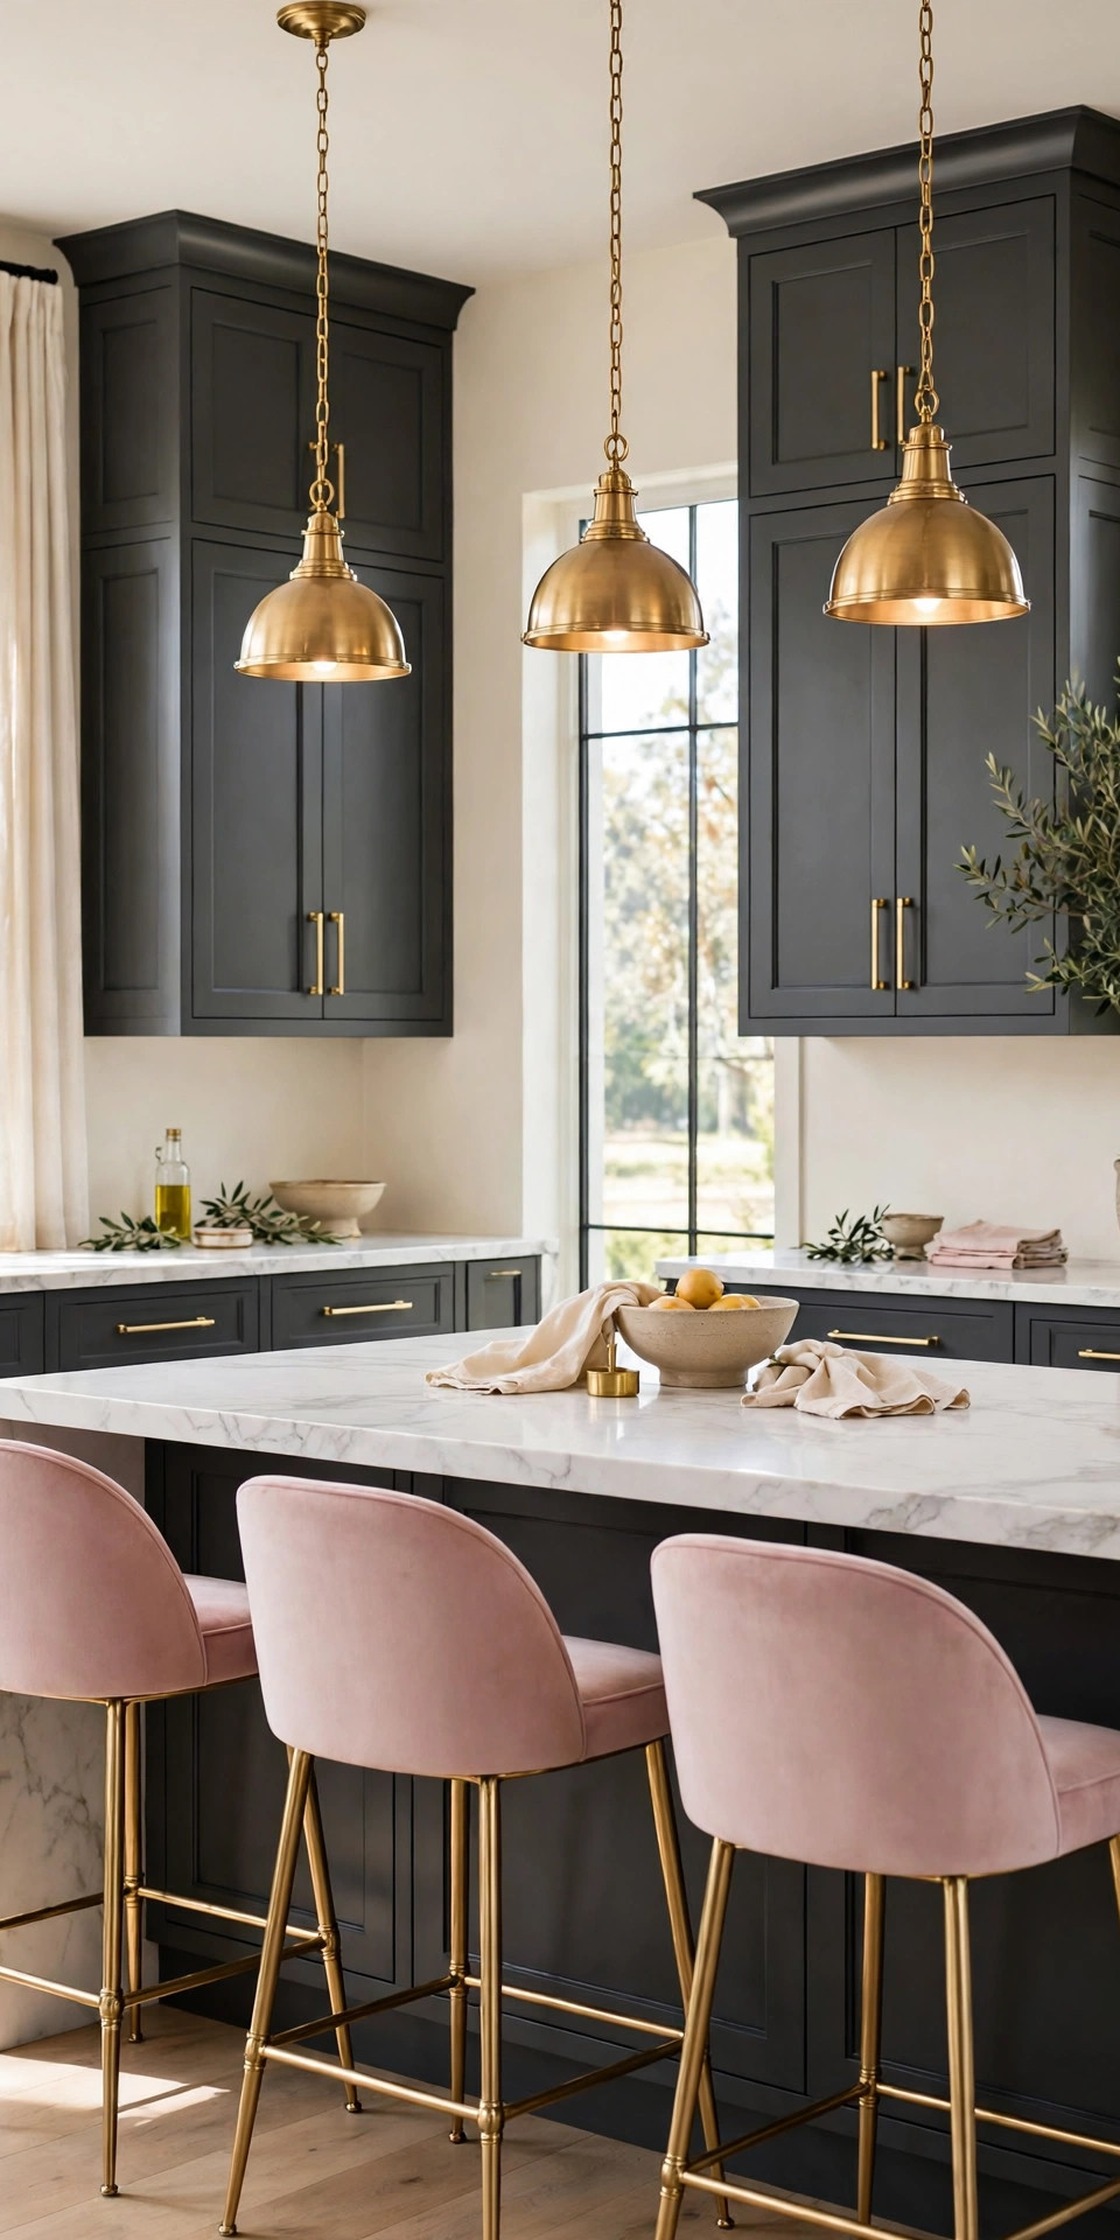
Matte charcoal shaker cabinets are the kindest dark a kitchen can hold, and they are the best place to put the dark in this room. Charcoal reads softer than black, and the shaker frame gives the door a calm shape that suits a glam kitchen without shouting. Choose a matte finish, never a high gloss, because matte charcoal hides fingerprints and softens the daylight, while gloss shows every mark and every smudge. Keep the counters white marble or white quartz, so the dark doors have a bright edge to lean against, and repeat the gold in the bar pulls, the tap and the pendant lights, so the dark reads as a decision rather than a mood. Measure the cabinet run before ordering, and check the charcoal in daylight and under the evening lights, because a charcoal that looks rich at noon can read almost black after dark.
Best For: Kitchens where the owner wants a real dark cabinet color, and anyone who wants the glam base set in one choice.
Not Ideal For: Kitchens with almost no daylight and no plan for extra lighting; charcoal there needs the under-cabinet lights from idea 9 to stay bright.
Estimated Cost: $3,000-$7,000 (estimate) to paint existing shaker cabinets charcoal with new gold bar pulls.
Budget Note: Painting the cabinets you already have is the spend, and it costs far less than new cabinet boxes; the gold pulls are a small second spend that changes the whole look.
Renter Friendly: No
Renter Note: Cabinet paint is a landlord decision; renters can borrow the charcoal note with dark bar stools, a dark island cart and charcoal accessories instead.
What You Need
Cabinet paint in matte charcoal, primer suited to the cabinet surface, slim brushed gold bar pulls, painter’s tape, drop cloths.
Product type to look for: A cabinet paint made for kitchen doors, with a hard matte finish that resists steam and cleaning, because kitchen cabinets meet heat, grease and daily wiping.
How To Do It
- Remove the doors and the hardware, label each door, and clean every surface so the paint grips.
- Prime the doors and the frames, letting each coat dry fully before the next.
- Paint two thin coats of matte charcoal, following the maker instructions for drying time.
- Refit the doors with the gold bar pulls, then step back and check the charcoal reads rich, not black, from the doorway.
Pro Tip
Keep the gold pulls all the same length on every door and drawer. Mixed pull sizes split the calm of a shaker kitchen, while one consistent pull reads as a single decision.
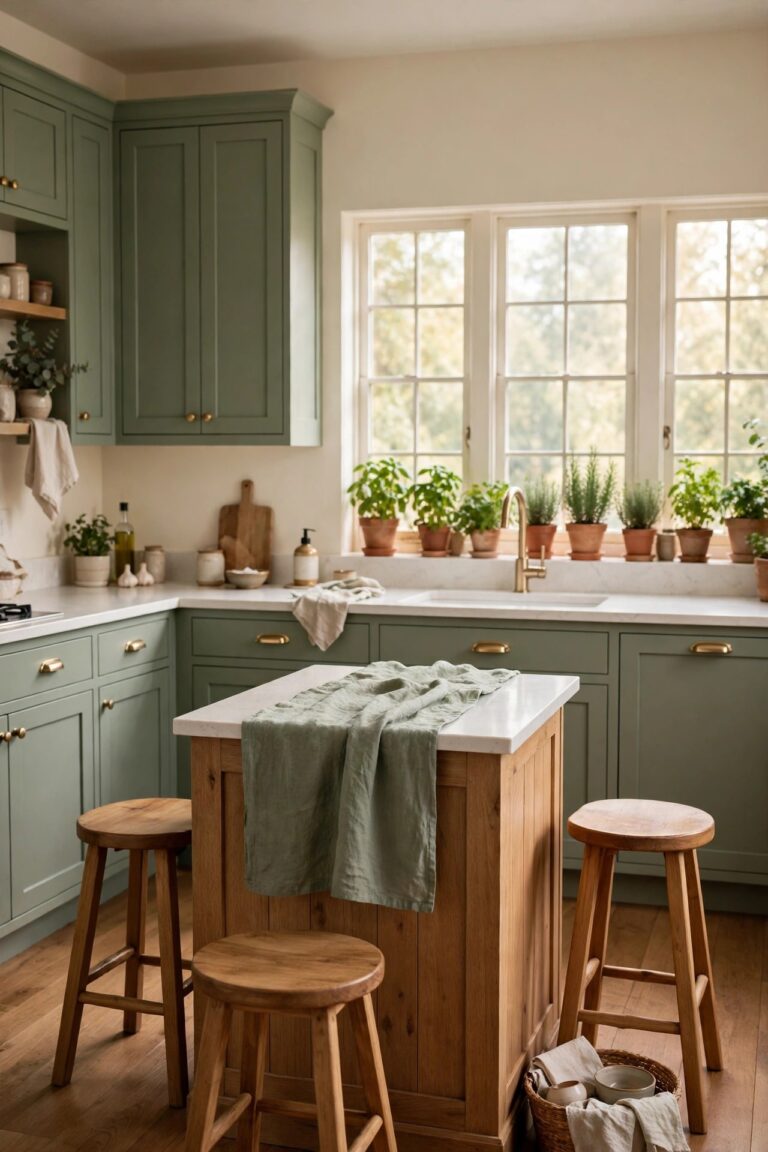
2. Paint One Run Deep Forest Green
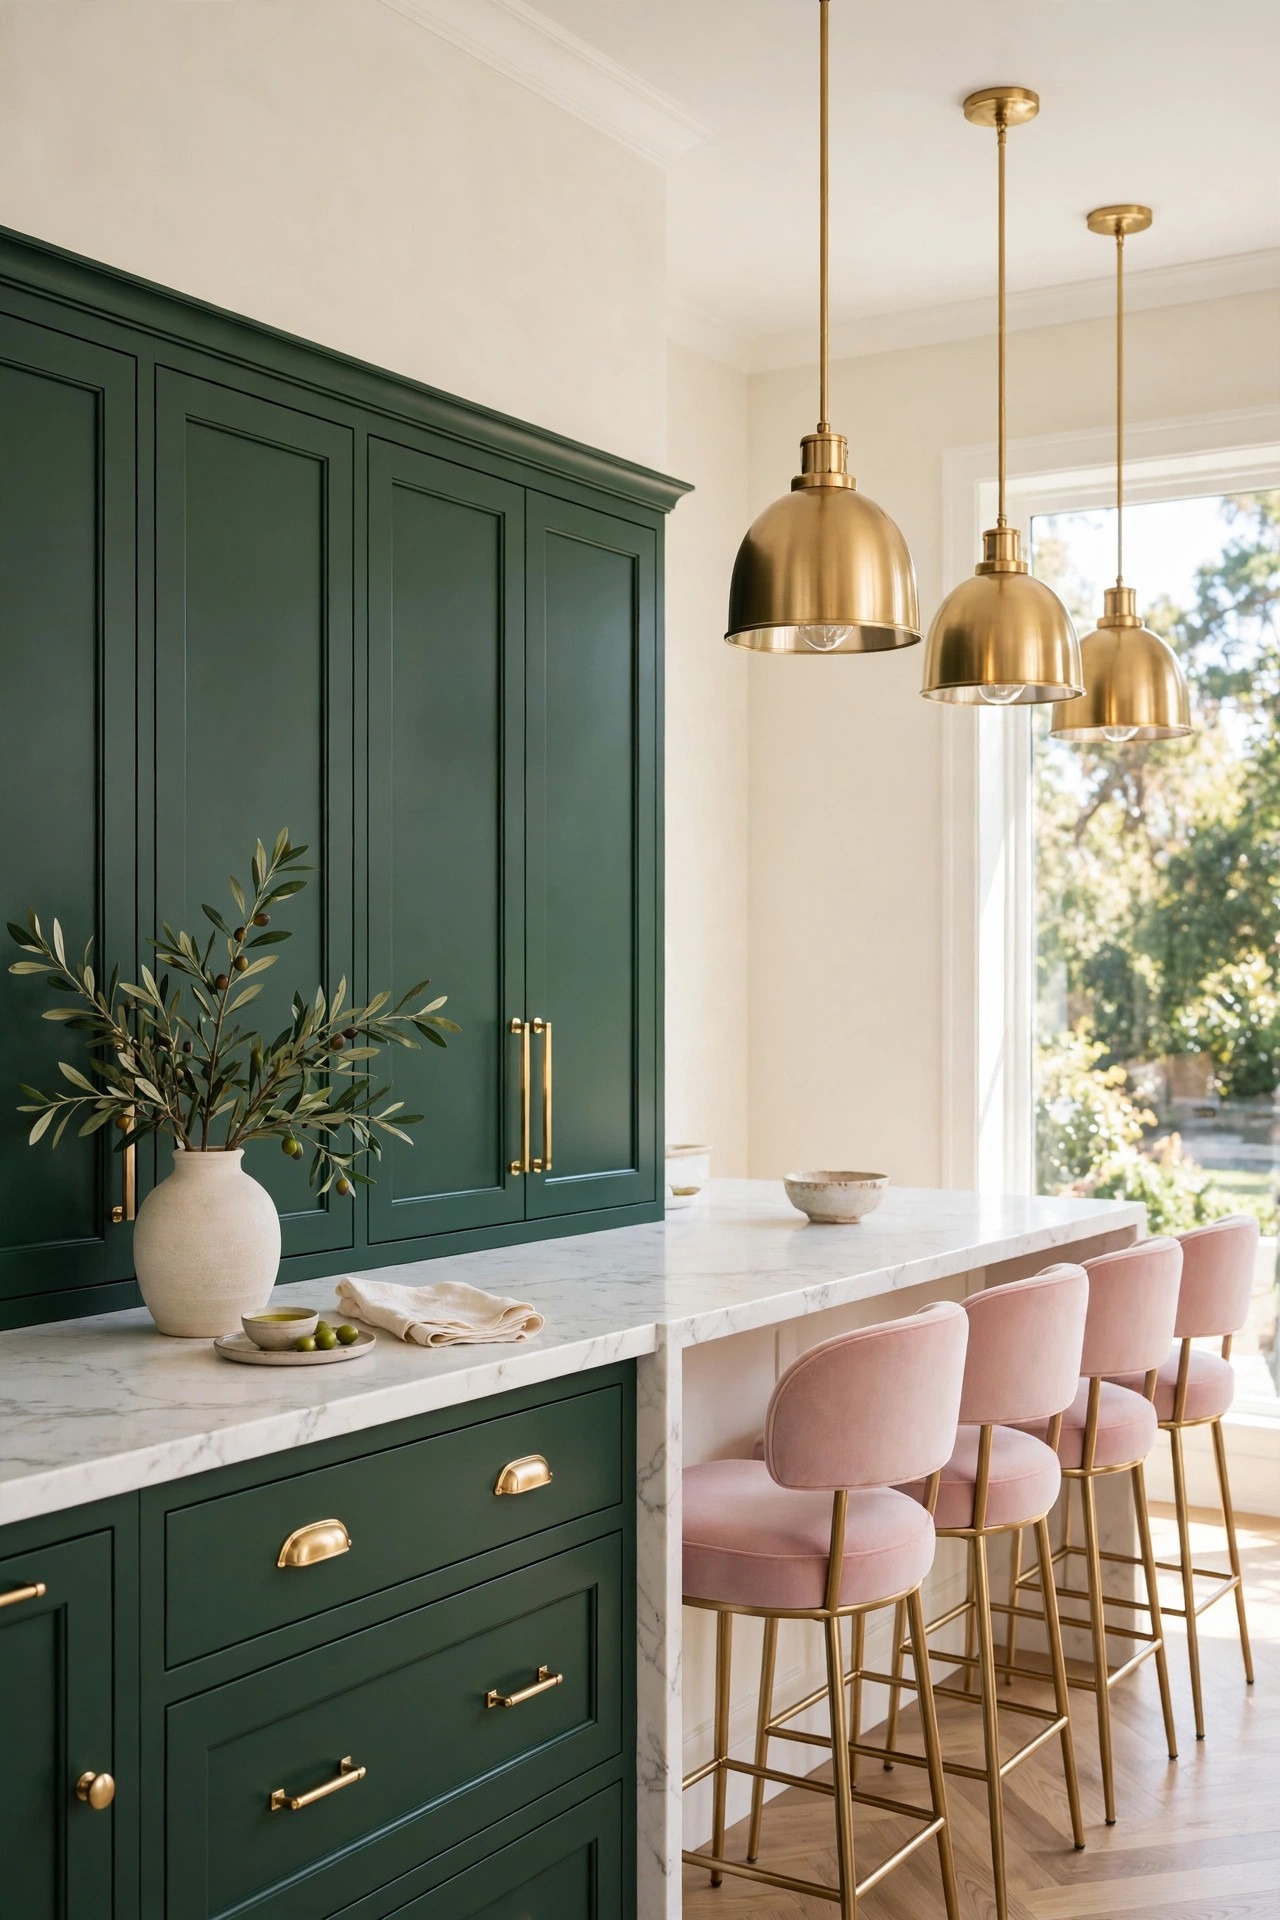
Deep forest green cabinets are the warmest dark in this list, and they are the safest way to add color to a dark kitchen without losing the glam. Paint one run of cabinets, the sink wall or the cooker wall, a deep forest green, and keep the other walls cream, so the green glows against a pale backdrop and the kitchen keeps its light. Choose a green with a warm olive undertone, never a cool blue green, because a cool green turns grey under evening light and the whole point of this palette is warmth. Keep the counters white marble and the hardware brushed gold, so the green reads as one rich note rather than a theme. Test the green on one door in daylight and at night, because a green that glows at noon can look dull on the wall opposite the light. Our green kitchen cabinets show the same deep green with lighter counters, for readers deciding between green and charcoal
Best For: Kitchens where the owner wants color gently, and rooms with good daylight.
Not Ideal For: Very dark kitchens with one small window; green on every wall there can feel close, so one green run with cream elsewhere is the lighter version.
Estimated Cost: $2,500-$6,000 (estimate) to paint one run of cabinets deep forest green with new gold hardware.
Budget Note: Paint is a small spend with the largest effect in this list; sample two warm greens on one door before buying the full cans, because green shifts the most with the light.
Renter Friendly: No
Renter Note: Paint is a landlord decision; renters can borrow the green note with bar stools, a runner and ceramic pieces in the same deep tone.
What You Need
Deep forest green cabinet paint with a warm undertone, primer suited to the cabinet surface, brushed gold bar pulls, painter’s tape, drop cloths.
Product type to look for: A cabinet paint in a deep tone with a warm olive undertone, checked on one door in daylight before buying.
How To Do It
- Paint two green samples on one door and look at them in daylight and at night.
- Remove the doors on the chosen run, label them, and clean every surface.
- Prime, then paint two thin coats of deep forest green, letting each coat dry fully.
- Refit the doors with the gold pulls, and check the green reads warm from the doorway.
Pro Tip
Keep the walls and the ceiling warm white against green cabinets. Green walls with green cabinets disappear, while pale walls give the eye a bright place to land.
3. Choose Navy Cabinets with White Marble
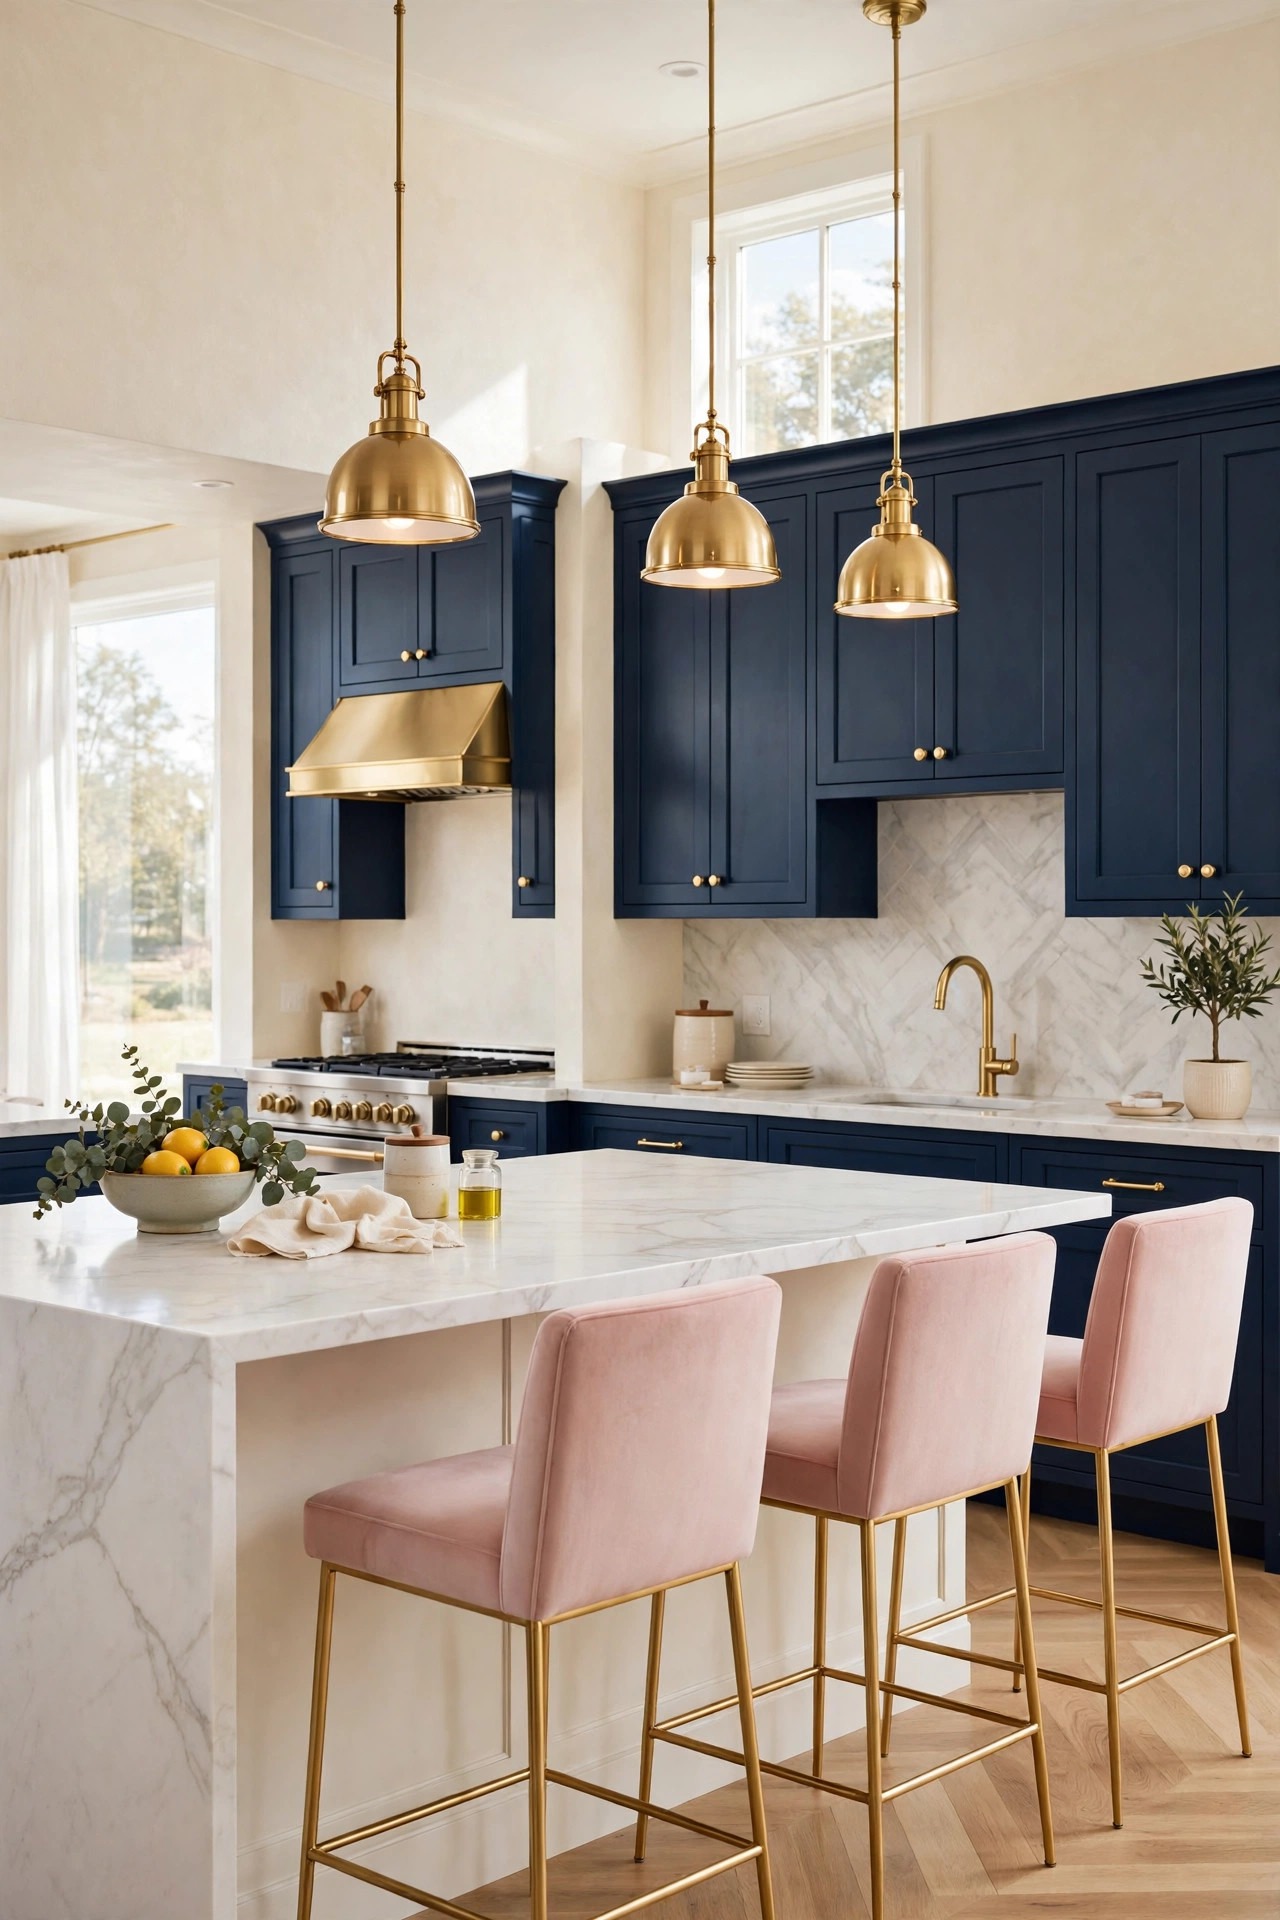
Navy cabinets with white marble counters are the classic dark kitchen pairing, and they are the most elegant idea in this list. Navy reads as a deep blue in daylight and almost charcoal at dusk, so it gives the kitchen two moods in one day, and the white marble keeps it bright in both. Choose a navy with a warm undertone and a matte finish, and pair it with marble that has soft grey veining, so the counters read calm rather than busy. Keep the hardware brushed gold and the tap brass, because gold warms navy in a way silver never does, and keep the walls warm white so the navy has a pale frame. Our black and white kitchen shows the same pale counter idea with a darker base, for readers deciding between navy and charcoal
Best For: Kitchens where the owner wants a timeless dark that suits both modern and classic homes, and anyone who loves marble.
Not Ideal For: Kitchens where the marble must take heavy daily cooking without sealing; marble stains, so sealed white quartz is the honest version there.
Estimated Cost: $3,000-$7,500 (estimate) to paint cabinets navy and fit white marble-look counters on one run.
Budget Note: The counters are the spend; a navy paint job costs little, and a marble-look quartz costs far less than real marble while reading just as bright.
Renter Friendly: No
Renter Note: Paint and counters are landlord decisions; renters can borrow the navy note with bar stools and a navy runner instead.
What You Need
Navy cabinet paint in a matte finish, primer suited to the cabinet surface, brushed gold knobs, white marble or marble-look quartz counters, stone sealer if real marble is used.
Product type to look for: A navy paint with a warm undertone and a matte finish, checked on one door in daylight, because navy shifts the most between noon and dusk.
How To Do It
- Paint a navy sample on one door and look at it in daylight and under the evening lights.
- Remove the doors, label them, clean every surface and prime.
- Paint two thin coats of navy, letting each coat dry fully, then refit the doors with the gold knobs.
- Wipe the counters and check the navy and the white marble read as one calm pair from the doorway.
Pro Tip
Keep the gold knobs small and round on navy doors. A small round knob lets the navy lead, while a long heavy pull competes with the color.
4. Warm Espresso Wood with Gold
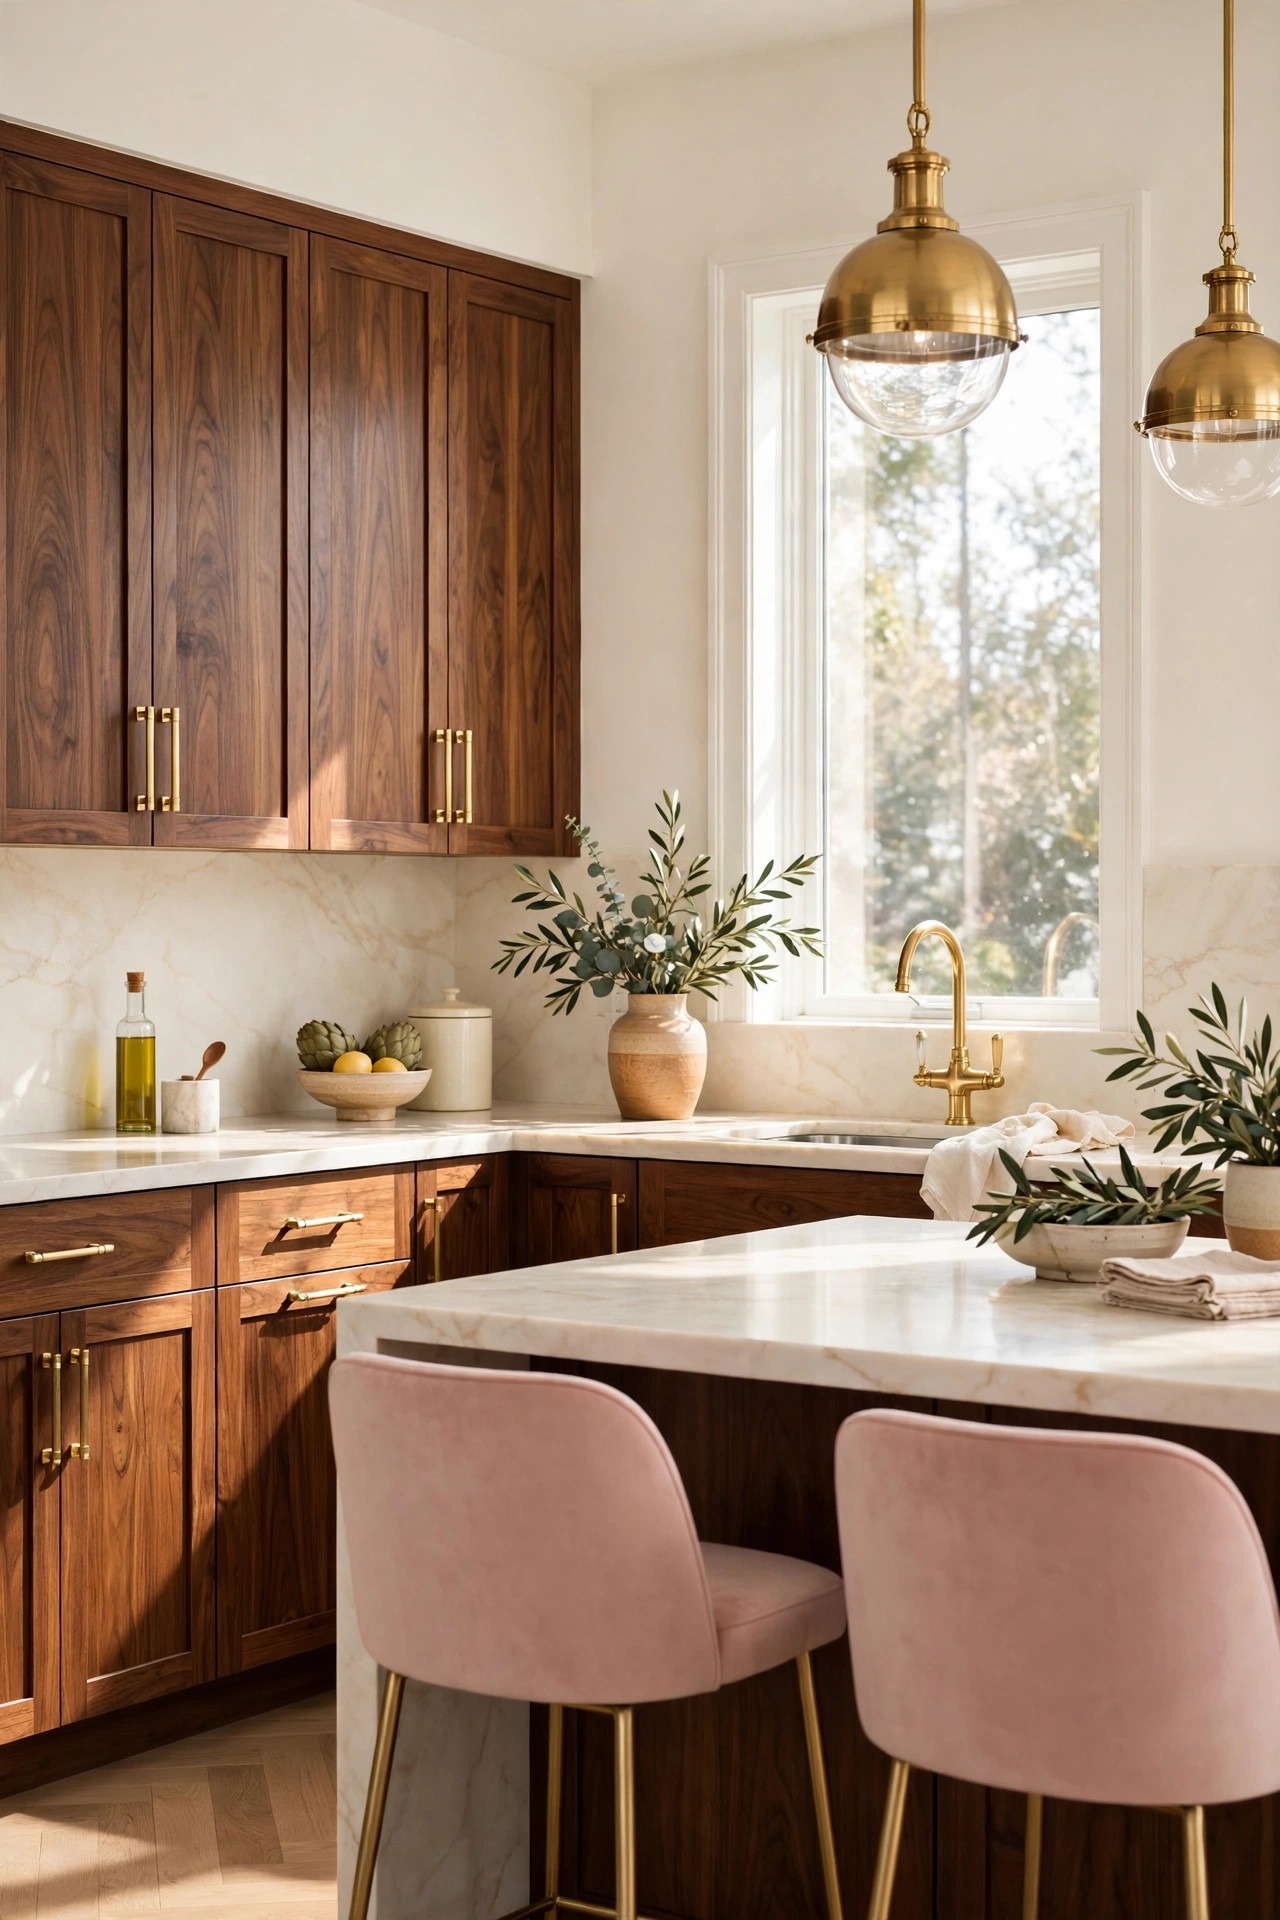
Espresso stained wood cabinets are the dark that brings warmth with it, because the grain shows through the stain and the kitchen never reads flat. Choose a deep espresso stain on a real wood door, oak or walnut, so the grain stays visible and the cabinets read rich rather than painted. Keep the stain even across the doors, and pair it with cream marble counters and brushed gold hardware, so the warm wood has a bright edge and a golden glow. Keep the walls warm white and the floor a pale wood, because a dark wood kitchen needs pale surfaces around it to stay bright. Our walnut kitchen cabinets show the same warm wood idea with deeper grain, for readers deciding between stained wood and painted dark
Best For: Kitchens where the owner wants dark cabinets with natural warmth, and homes with wood floors to match.
Not Ideal For: Kitchens where every door must match exactly; wood grain varies door to door, so a painted charcoal is the honest version there.
Estimated Cost: $4,000-$9,000 (estimate) to stain or refinish wood cabinets in espresso with new gold pulls.
Budget Note: The wood and the stain work are the spend; refinishing good wood doors costs far less than new cabinet boxes and keeps the grain you already own.
Renter Friendly: No
Renter Note: Stain and refinish work are landlord decisions; renters can borrow the espresso note with a dark wood island cart and warm wood trays.
What You Need
Espresso wood stain or refinishing kit suited to the cabinet wood, fine sandpaper, brushed gold bar pulls, soft cloths, wood sealer.
Product type to look for: A stain made for kitchen cabinet wood, with a sealer that resists steam and cleaning, because kitchen doors meet heat and daily wiping.
How To Do It
- Remove one door and test the espresso stain on its back, checking the grain still shows.
- Sand the doors lightly, clean the dust, and stain in thin even coats.
- Seal the doors, letting each coat dry fully, following the maker instructions.
- Refit the doors with the gold pulls, and check the grain reads warm from the doorway.
Pro Tip
Keep the stain one shade lighter than you first think. Espresso darkens as it dries and under evening light, while a shade too dark hides the grain that makes wood worth keeping.
5. Go Two Tone: Dark Lowers, White Uppers
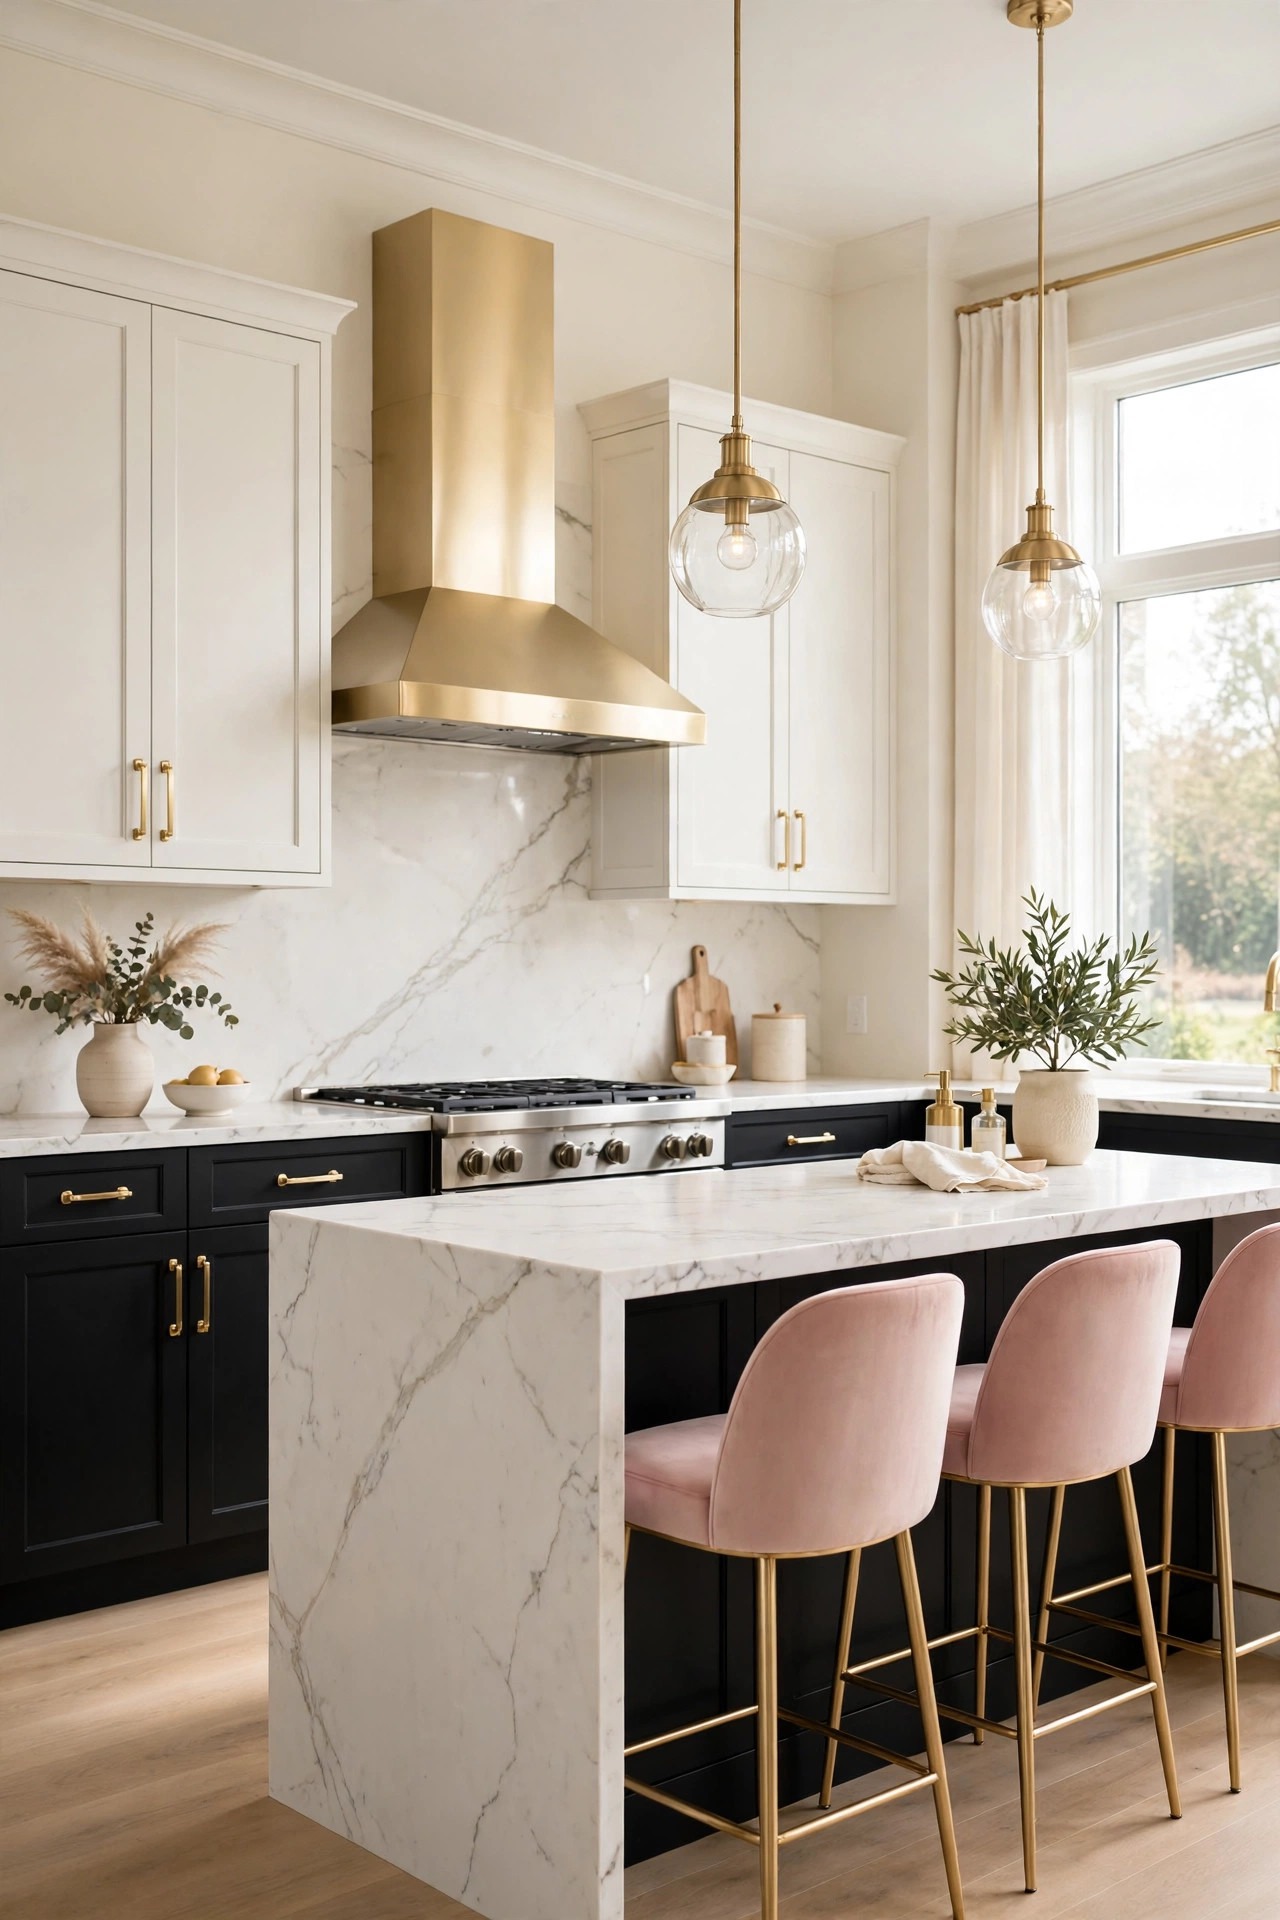
Two tone cabinets, dark lowers and white uppers, are the balanced dark kitchen, because the dark sits low where hands and feet meet it and the white sits high where the light lives. Paint the lower cabinets matte black or deep charcoal, and keep the uppers warm white, so the kitchen gains the drama of dark without losing the brightness at eye level. Choose the same shaker door on both runs, so the two colors read as one kitchen rather than two, and use the same brushed gold hardware on both, so the gold ties the dark and the light together. Keep the counters white marble, because a white counter between a dark lower and a white upper is the bright line that holds the whole scheme. Measure the split before painting, and paint the tall units the same color as the run they stand with, so no single tall cabinet breaks the line.
Best For: Kitchens where the owner wants dark cabinets but fears a gloomy room, and anyone who wants the dark to feel planned.
Not Ideal For: Very small kitchens with only one short run; two colors there can split the room, so one color with light counters is the honest version.
Estimated Cost: $3,000-$7,000 (estimate) to paint lowers dark and uppers warm white with new gold hardware.
Budget Note: The paint work is the spend; two colors cost little more than one, and the white uppers save the cost of extra lighting the room would otherwise need.
Renter Friendly: No
Renter Note: Paint is a landlord decision; renters can borrow the two tone note with dark lower accessories and white upper shelves.
What You Need
Matte black or charcoal cabinet paint for the lowers, warm white cabinet paint for the uppers, primer suited to the cabinet surface, brushed gold bar pulls, painter’s tape, drop cloths.
Product type to look for: Cabinet paints in the same finish, matte on both runs, because a gloss lower beside a matte upper reads as two different kitchens.
How To Do It
- Decide the split: lowers dark, uppers white, and tall units matched to the run they stand with.
- Remove the doors, label each one by run, clean every surface and prime.
- Paint two thin coats on each run, letting each coat dry fully.
- Refit the doors with the same gold pulls on both runs, and check the dark and white meet cleanly at the counter line.
Pro Tip
Keep the counter the brightest white in the room. A bright counter between dark lowers and white uppers is the line the eye follows, while a grey counter blurs the split.
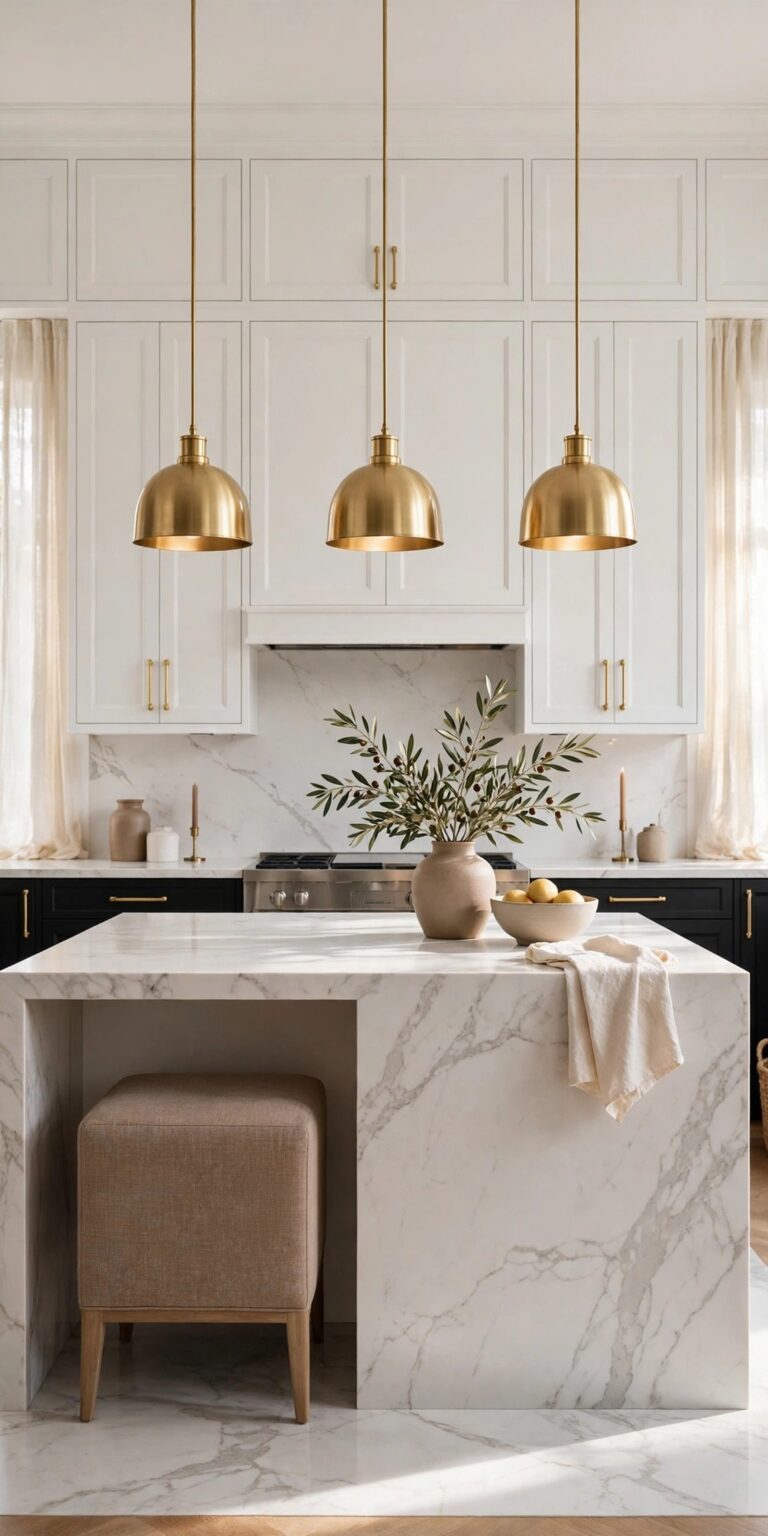
6. Add a White Quartz Waterfall Island
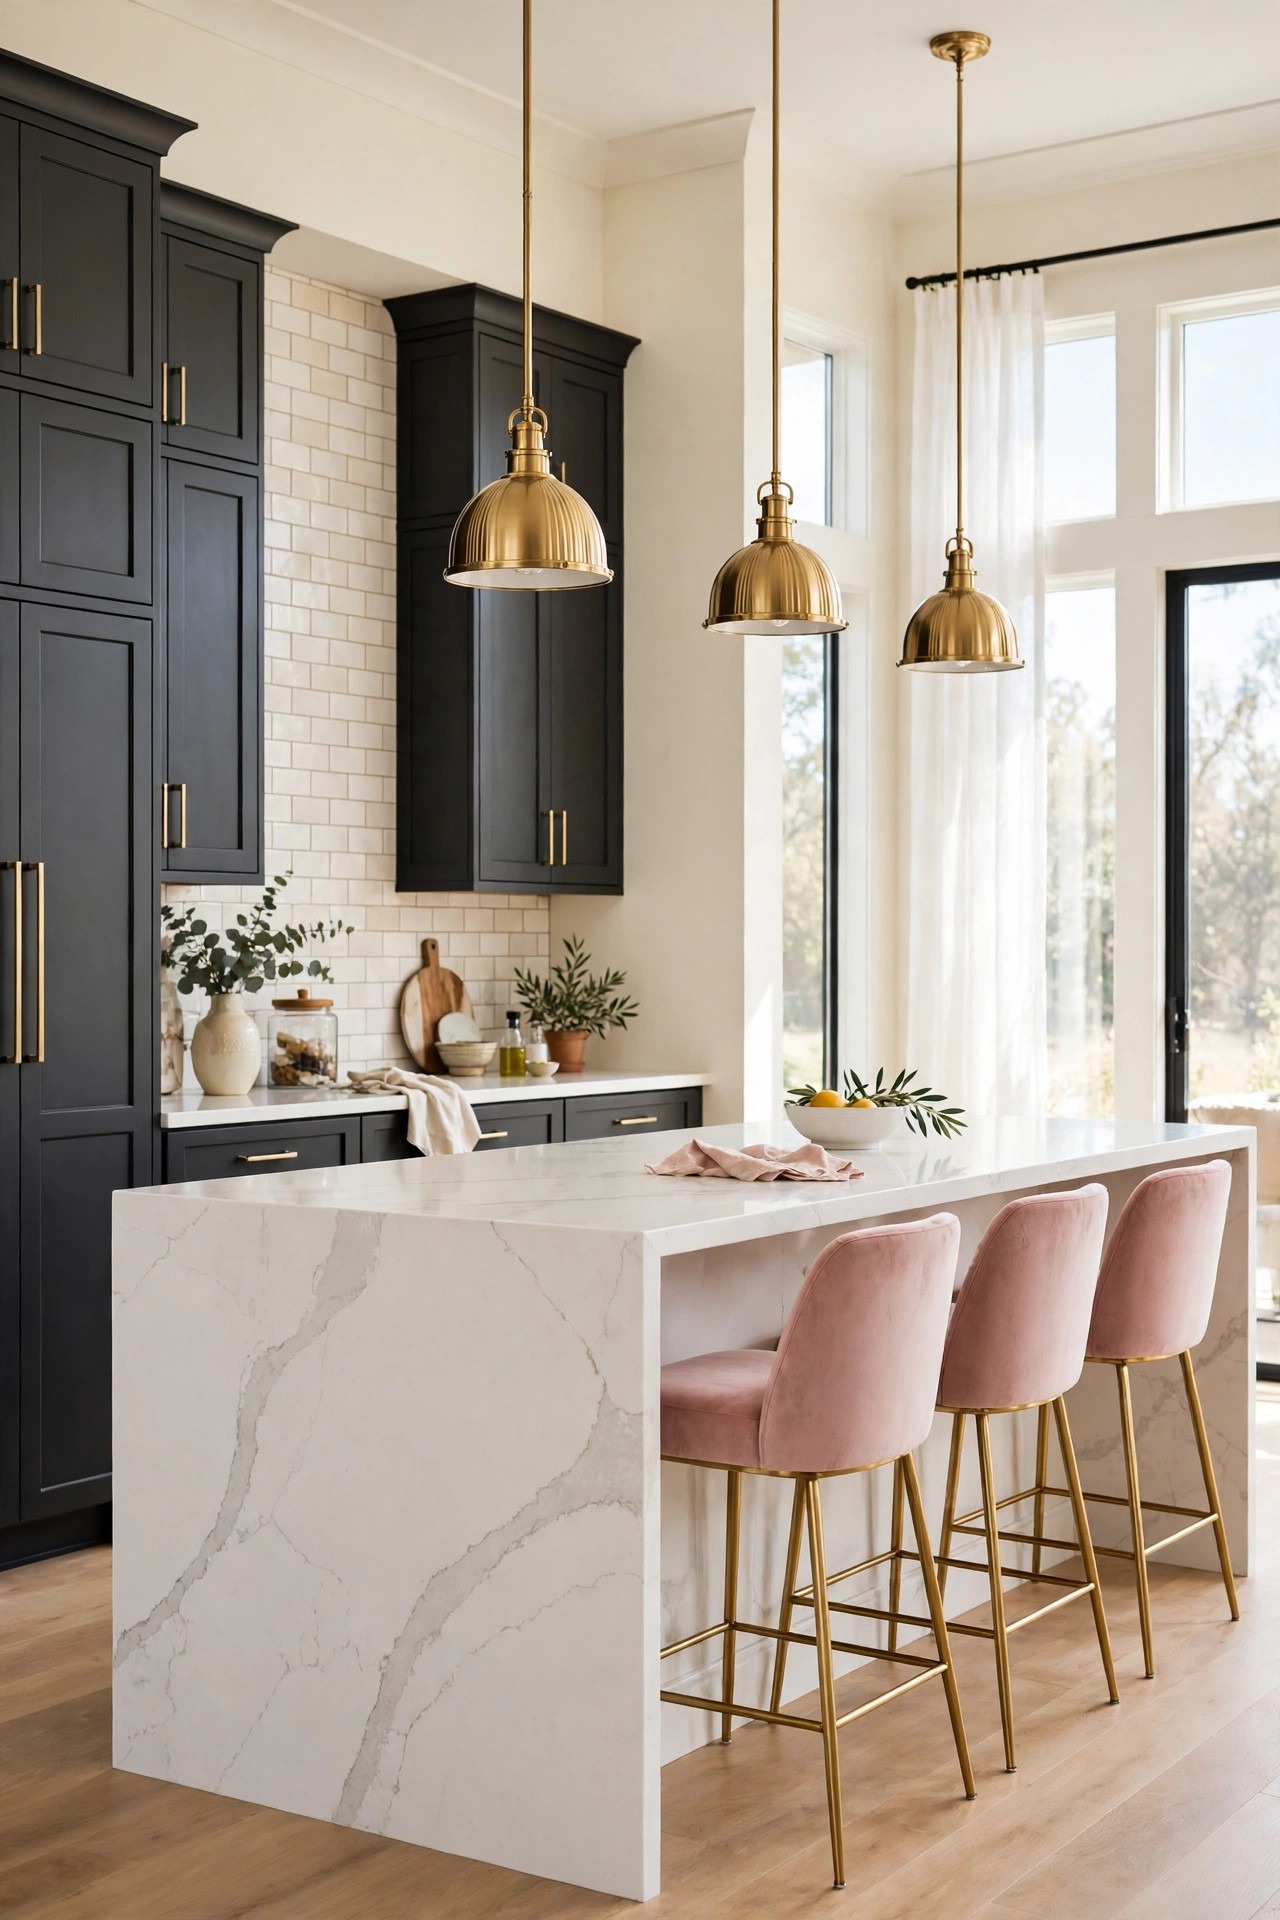
A white quartz waterfall island is the bright heart of a dark kitchen, because the pale stone runs down both sides of the island and the dark cabinets gather around it. Choose a white quartz with soft grey veining, and let the stone wrap over the top and down the ends, so the island reads as one solid pale block rather than a counter with legs. Keep the island cabinets the same dark as the rest of the kitchen, or one shade darker, so the white stone has a dark base to stand on, and set blush bar stools with gold legs along one side, so the seating repeats the glam palette. Keep the island top nearly clear, one vase and one tray, because a waterfall island crowded with objects hides the stone that makes it special. Measure the walkway around the island first, because an island too close to the cabinets is hard to cook around.
Best For: Kitchens with room for an island, and anyone who wants one bright piece to balance a full run of dark cabinets.
Not Ideal For: Narrow kitchens where an island would leave less than a comfortable walkway; a pale peninsula on one wall is the honest version there.
Estimated Cost: $2,500-$6,500 (estimate) for a white quartz waterfall island top with fitting.
Budget Note: The quartz and the waterfall ends are the spend; a simple white quartz top costs far less than a shaped stone island and reads just as bright beside dark cabinets.
Renter Friendly: No
Renter Note: A fitted island is a landlord decision; renters can borrow the pale island note with a white topped island cart on wheels.
What You Need
White quartz slab with soft grey veining, island cabinet base in the kitchen dark, blush bar stools with gold legs, brass pendant lights, stone cleaner.
Product type to look for: A quartz slab with soft, calm veining and a sealed surface, because a busy veined stone beside dark cabinets reads as noise.
How To Do It
- Measure the walkway on every side of the island and leave room to cook and to pass.
- Fit the island base level, following the maker instructions for the cabinets.
- Fit the quartz top and the waterfall ends, and check the stone sits level and steady.
- Set the blush stools along one side and check the island reads as the bright heart from the doorway.
Pro Tip
Keep the veining calm on the waterfall ends. A busy vein down the side of the island draws the eye to the floor, while a soft vein keeps the island reading as one pale block.
7. Swap the Hardware to Brushed Gold
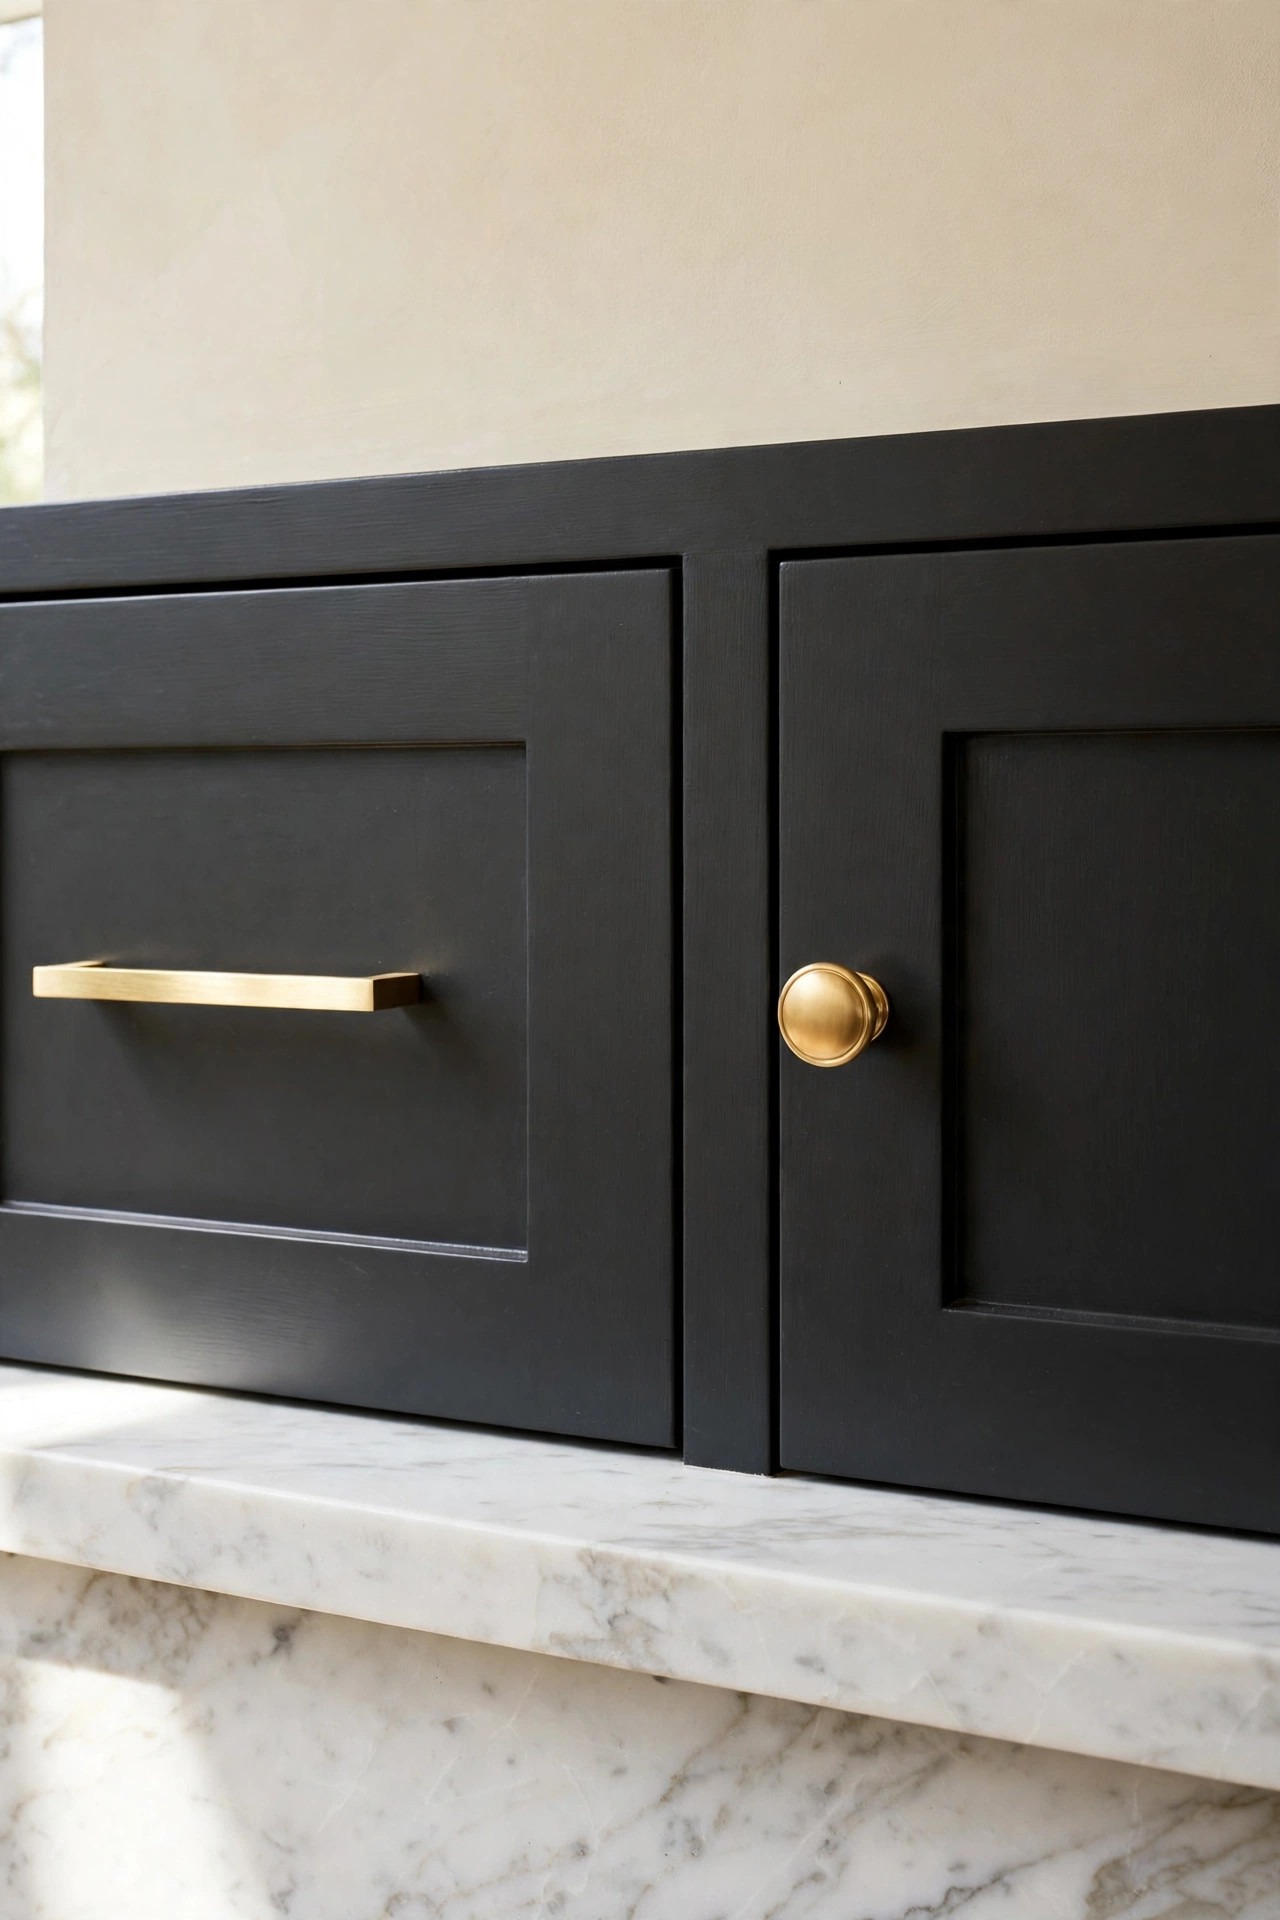
A hardware swap to brushed gold is the smallest change with the largest effect on dark cabinets, because gold is the warm light that makes the dark glow. Remove the old pulls and fit slim brushed gold bar pulls on the doors and drawers, with small round gold knobs on the smallest doors, so every dark door carries the same warm line. Choose brushed gold, never shiny polished gold, because brushed gold glows softly beside matte charcoal while shiny gold glares under the kitchen lights. Keep every pull the same finish and the same family, so the gold reads as one decision, and check the screw spacing before ordering, because a pull that does not match the old holes needs new holes drilled. This is the one idea in the list that changes a dark kitchen in an afternoon, and it is the first step to try before painting anything.
Best For: Every dark kitchen, and especially kitchens where the cabinets are good but the hardware is tired.
Not Ideal For: Doors with very thin frames that cannot take a bar pull; a small round gold knob is the honest version there.
Estimated Cost: $80-$350 (estimate) for brushed gold bar pulls and knobs for a full kitchen.
Budget Note: Shop the whole kitchen at once; buying the pulls in one order keeps the finish identical, while pulls bought months apart can differ in tone.
Renter Friendly: With Conditions
Renter Note: Hardware swaps need the landlord’s word and the old pulls kept safe; refit the originals on moving day.
What You Need
Slim brushed gold bar pulls, small round gold knobs, screws matched to the door thickness, screwdriver, soft cloth.
Product type to look for: Pulls with a solid brass base and a brushed finish, checked side by side in daylight, because gold tones differ between makers.
How To Do It
- Remove one old pull and measure the screw spacing and the door thickness.
- Order the gold pulls in one batch, matching the spacing and the screw length.
- Fit the pulls level on every door and drawer, starting with the most seen run.
- Step back and check the gold reads as one warm line across the dark doors.
Pro Tip
Keep the knobs and the pulls in the same brushed gold, never mixed finishes. One gold family ties a dark kitchen together, while mixed metals split it.
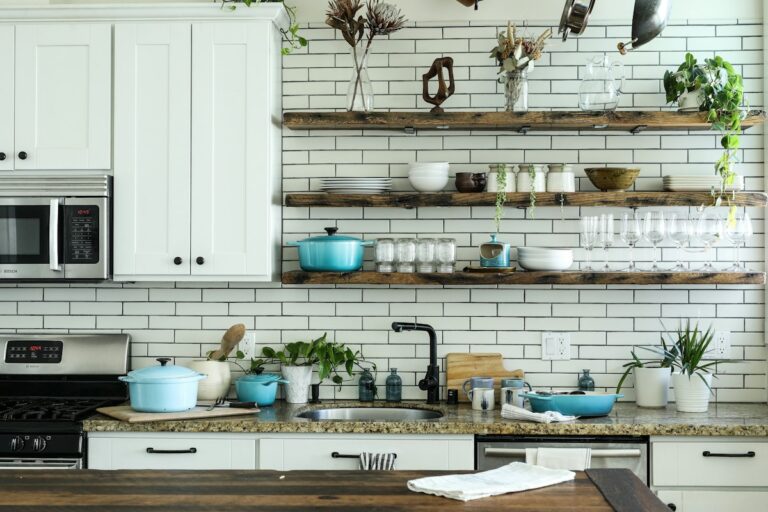
8. Float Light Oak Open Shelves Above Dark Lowers
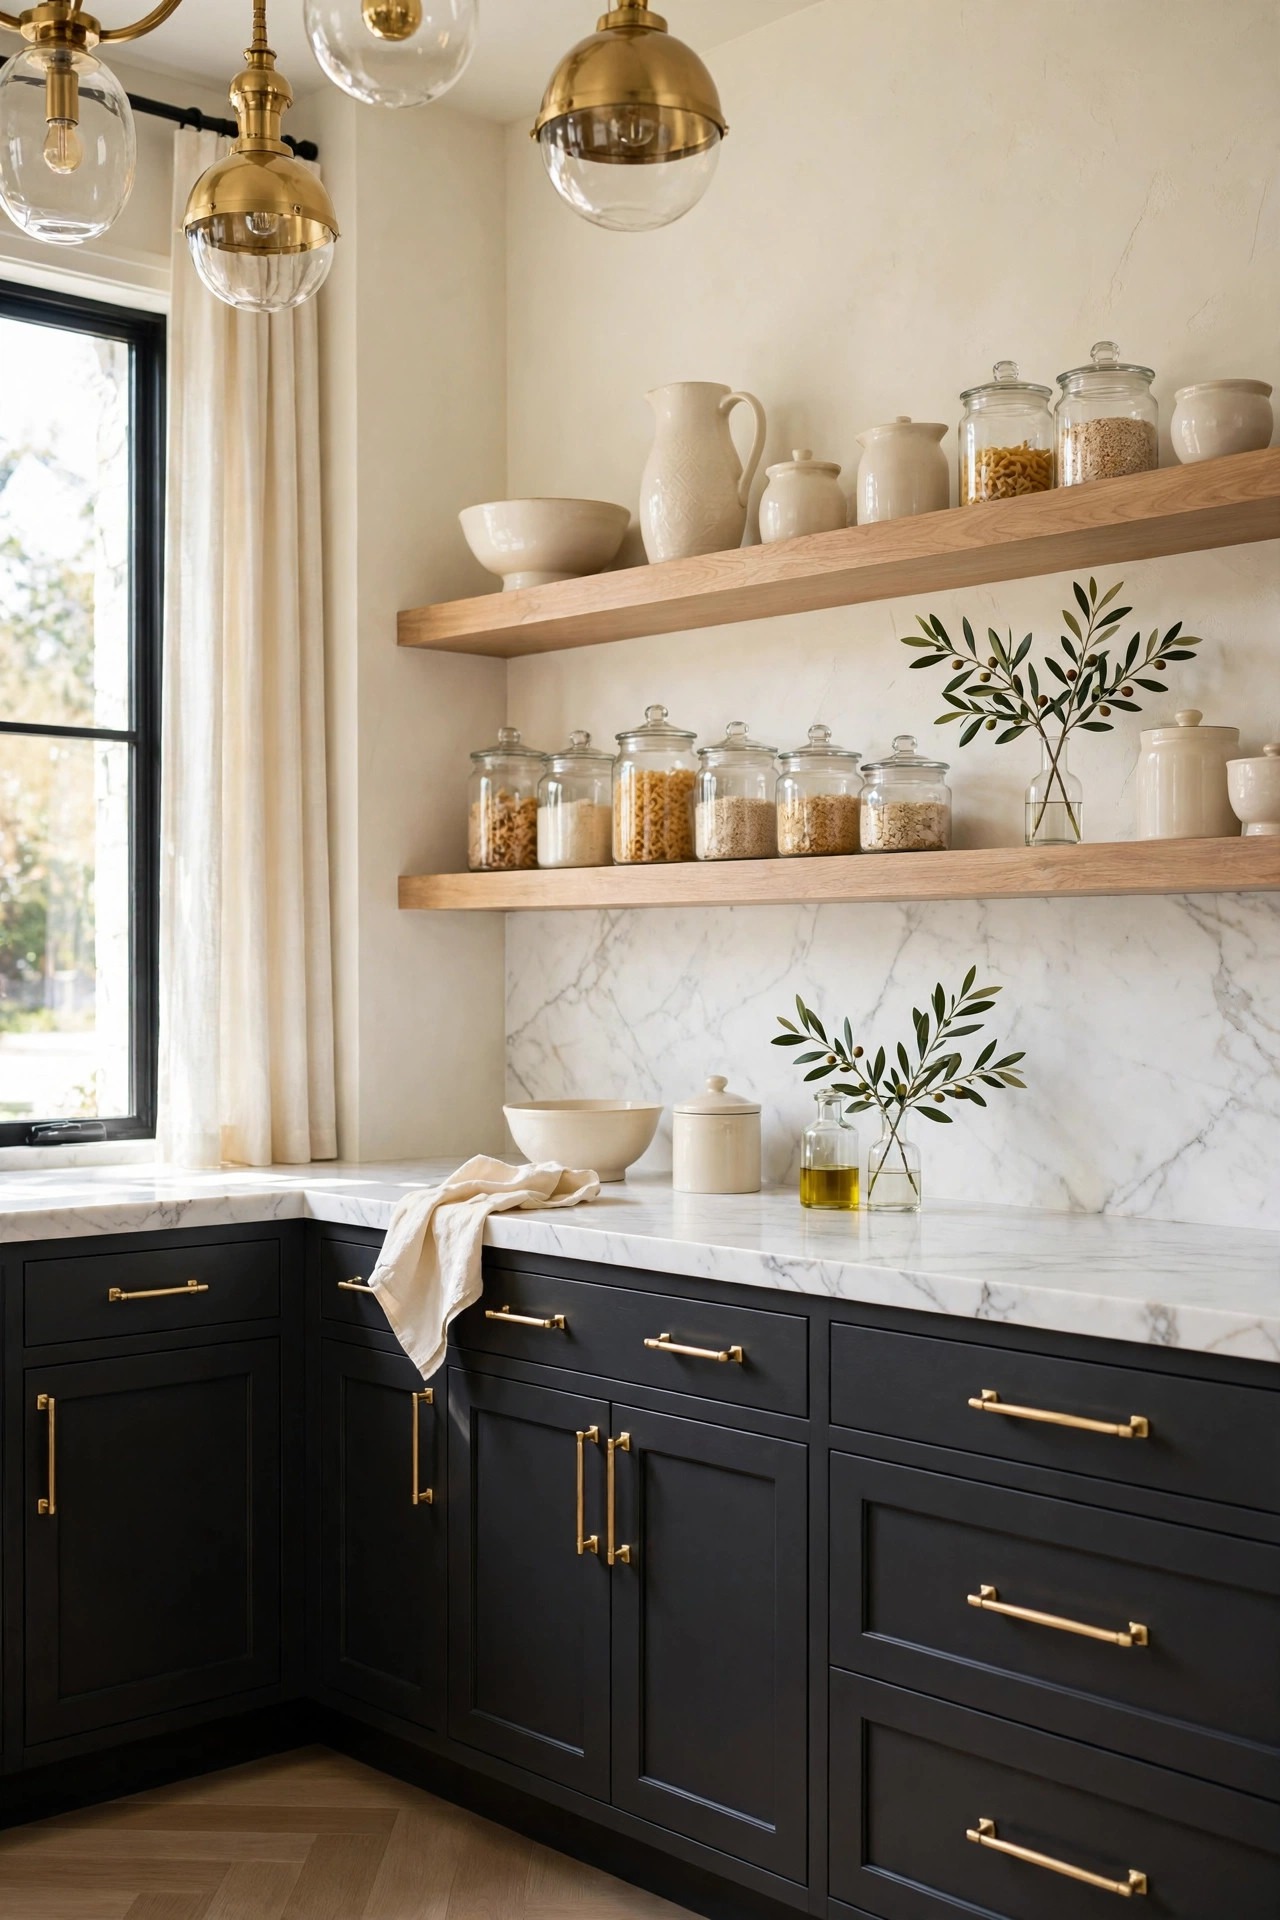
Light oak open shelves above dark lower cabinets are the air the top of a dark kitchen needs, because the pale wood breaks the dark and the open shelves hold the light pieces. Fit two light oak shelves on the wall above the dark lowers, instead of dark uppers, and style them with cream ceramics, clear glass jars and one small olive branch, so the wall reads pale and useful rather than heavy. Keep the shelves shallow, no deeper than a plate, and fix them into studs or rated anchors, because shelves holding ceramics are heavier than they look. Style each shelf lightly, one stack of plates, one group of jars, one vase, and leave breathing space between the groups, because a crowded shelf above dark cabinets reads as clutter, not design. Match the oak to the floor or the bar stools, so the woods read as one family.
Best For: Kitchens where dark uppers would feel heavy, and anyone who wants display space for ceramics.
Not Ideal For: Very dusty kitchens or homes with cats that climb shelves; closed pale uppers are the honest version there.
Estimated Cost: $150-$500 (estimate) for two light oak open shelves with fixings.
Budget Note: The solid oak shelves are the spend; a simple pale shelf costs little and can be cut to fit the wall, so buy the shelf first and style it slowly.
Renter Friendly: With Conditions
Renter Note: Shelves need fixings the lease allows; a leaning pale shelf unit is the renter version, still secured at the top against tipping.
What You Need
Two light oak shelves, fixings rated for the shelf weight, cream ceramic plates and bowls, clear glass jars, small olive branch in a vase, level.
Product type to look for: Shelves with a solid frame and fixings rated well above the load, because a shelf of ceramics above a counter must not pull away from the wall.
How To Do It
- Measure the wall above the dark lowers and choose shelves that leave a clear gap to the counter.
- Fix the shelves level into studs or rated anchors, following the maker instructions.
- Load the heaviest pieces, plates and jars, on the lower shelf.
- Style the top shelf lightest, one vase and one group, and step back to check the groups breathe.
Pro Tip
Keep the top shelf for display only, the vase and one jar group. A shelf that holds only useful pieces fills up in a week, while one calm display shelf keeps the whole wall looking styled.
9. Layer Warm Under-Cabinet Lighting
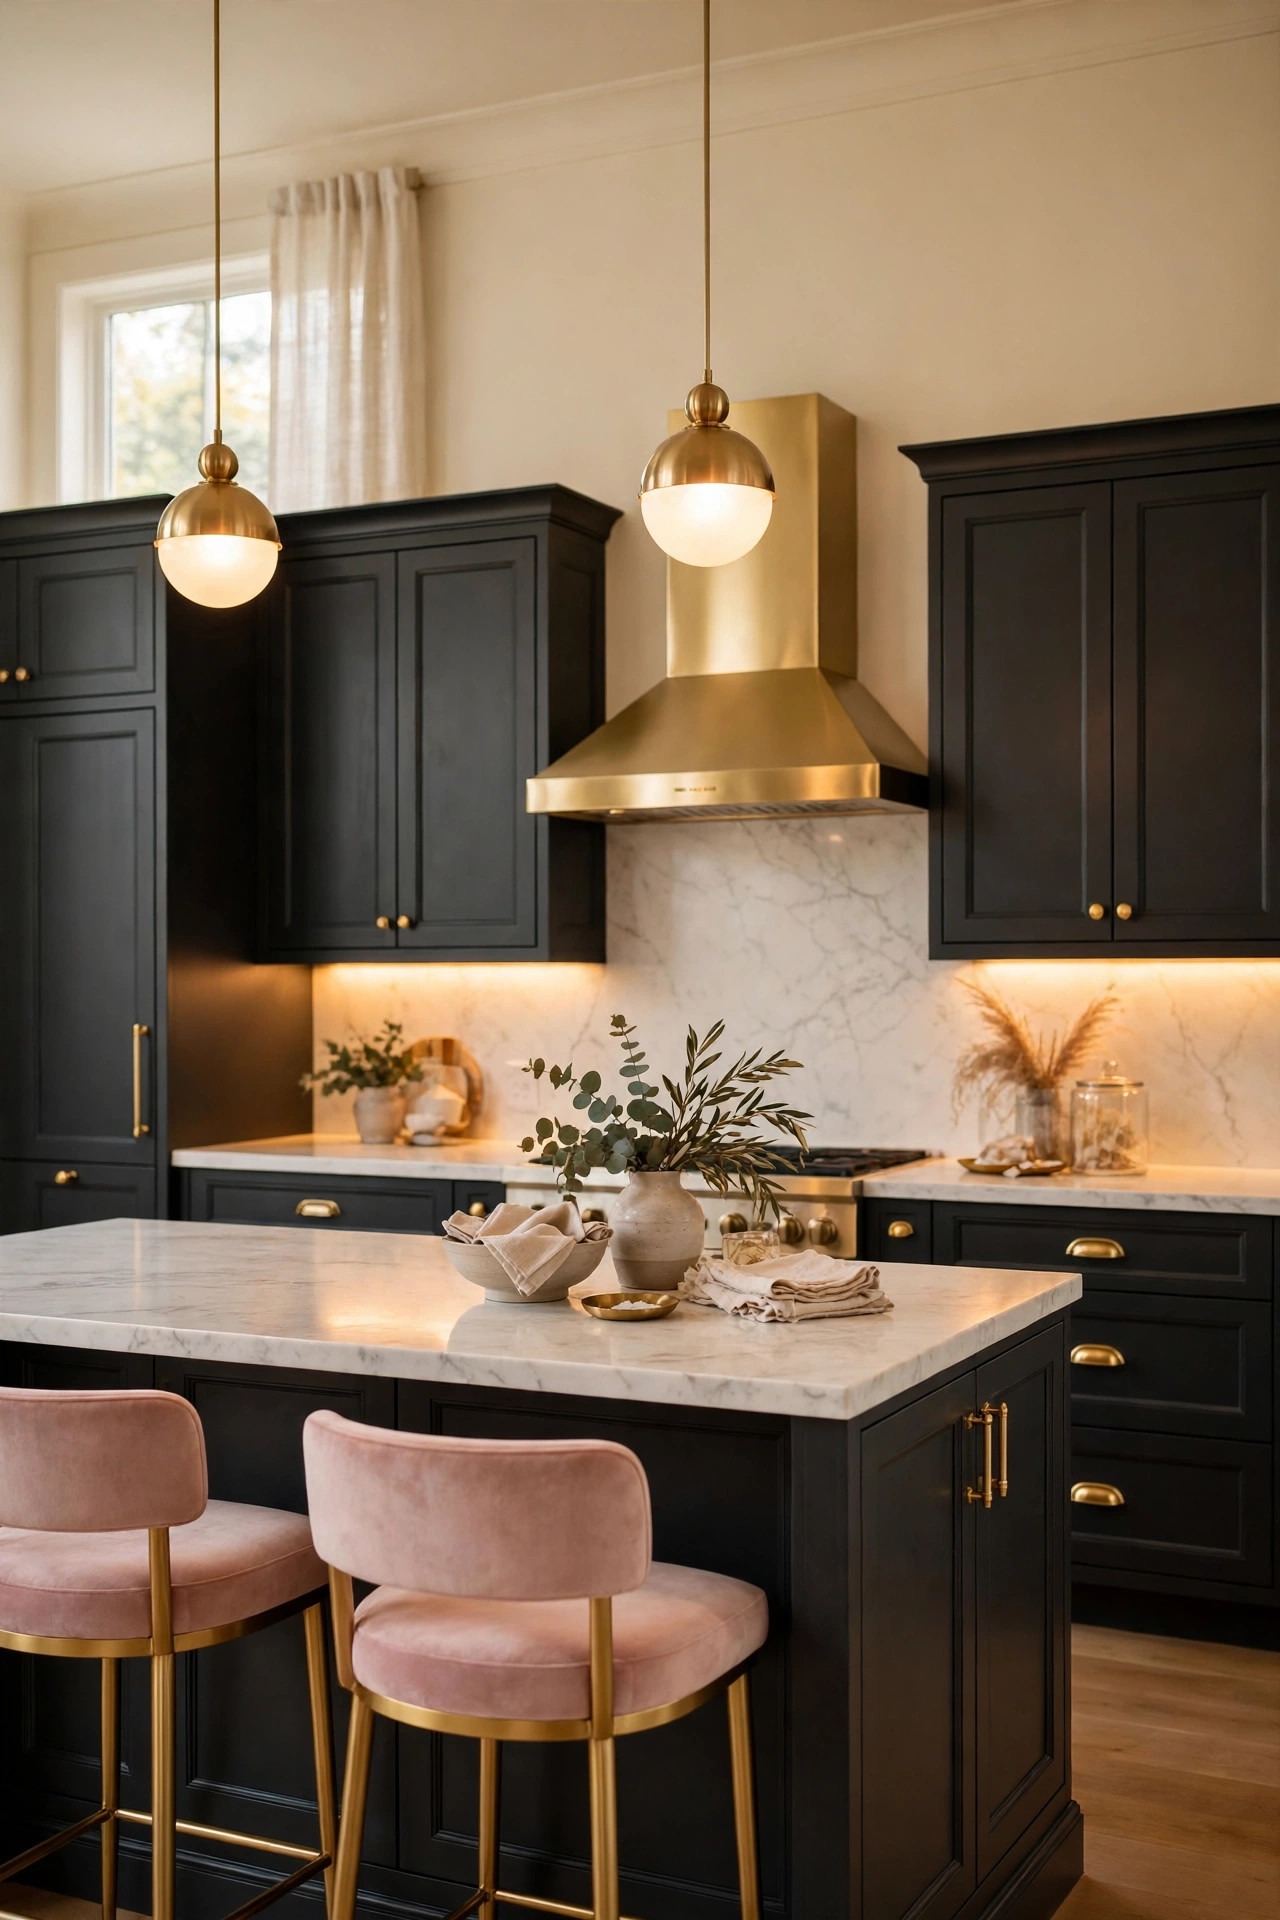
Warm under-cabinet lighting is the light that keeps a dark kitchen bright after dusk, because it washes the pale counters and the dark doors glow against them. Fit slim warm light strips under the upper cabinets or the open shelves, so the light falls on the worktop and the backsplash, not into the eyes. Choose a warm bulb, never a cool one, because a cool bulb turns charcoal grey and cream walls cold, while a warm bulb makes the dark read rich. Hide the strips behind a slim lip at the front of the cabinet, so no bare strip shows from the doorway, and put the lights on a dimmer, so they can drop low after dinner. Check the color of the light against the cabinet paint before fixing the strips, because a warm strip on a cool charcoal can clash.
Best For: Every dark kitchen, and especially kitchens with little daylight or dark uppers.
Not Ideal For: Kitchens where the wiring cannot be hidden neatly; battery strips with a warm tone are the honest version there, recharged on a routine.
Estimated Cost: $100-$450 (estimate) for warm under-cabinet light strips with a dimmer.
Budget Note: The strips are a small spend with the largest evening effect in this list; buy one strip first and check its warmth against the cabinets before ordering the rest.
Renter Friendly: With Conditions
Renter Note: Wired strips need the landlord’s word; battery strips fixed with removable mounts are the renter version.
What You Need
Warm under-cabinet light strips, dimmer switch or plug, cable clips, fixings or mounts suited to the cabinet base.
Product type to look for: Strips with a warm color temperature and a dimmer, because a dark kitchen needs light that can drop low in the evening.
How To Do It
- Hold one strip under a cabinet at dusk and check the warmth against the dark doors.
- Fit the strips level under the cabinets, hiding them behind the front lip.
- Route the cables neatly along the cabinet base and add the dimmer.
- Switch the lights on at dusk and check the counters glow warm from the doorway.
Pro Tip
Keep the under-cabinet light the only bright light on the worktop. Two bright sources split the glow, while one warm strip with a low light reads as the kitchen’s evening heart.
10. Add Blush Bar Stools with Gold Legs
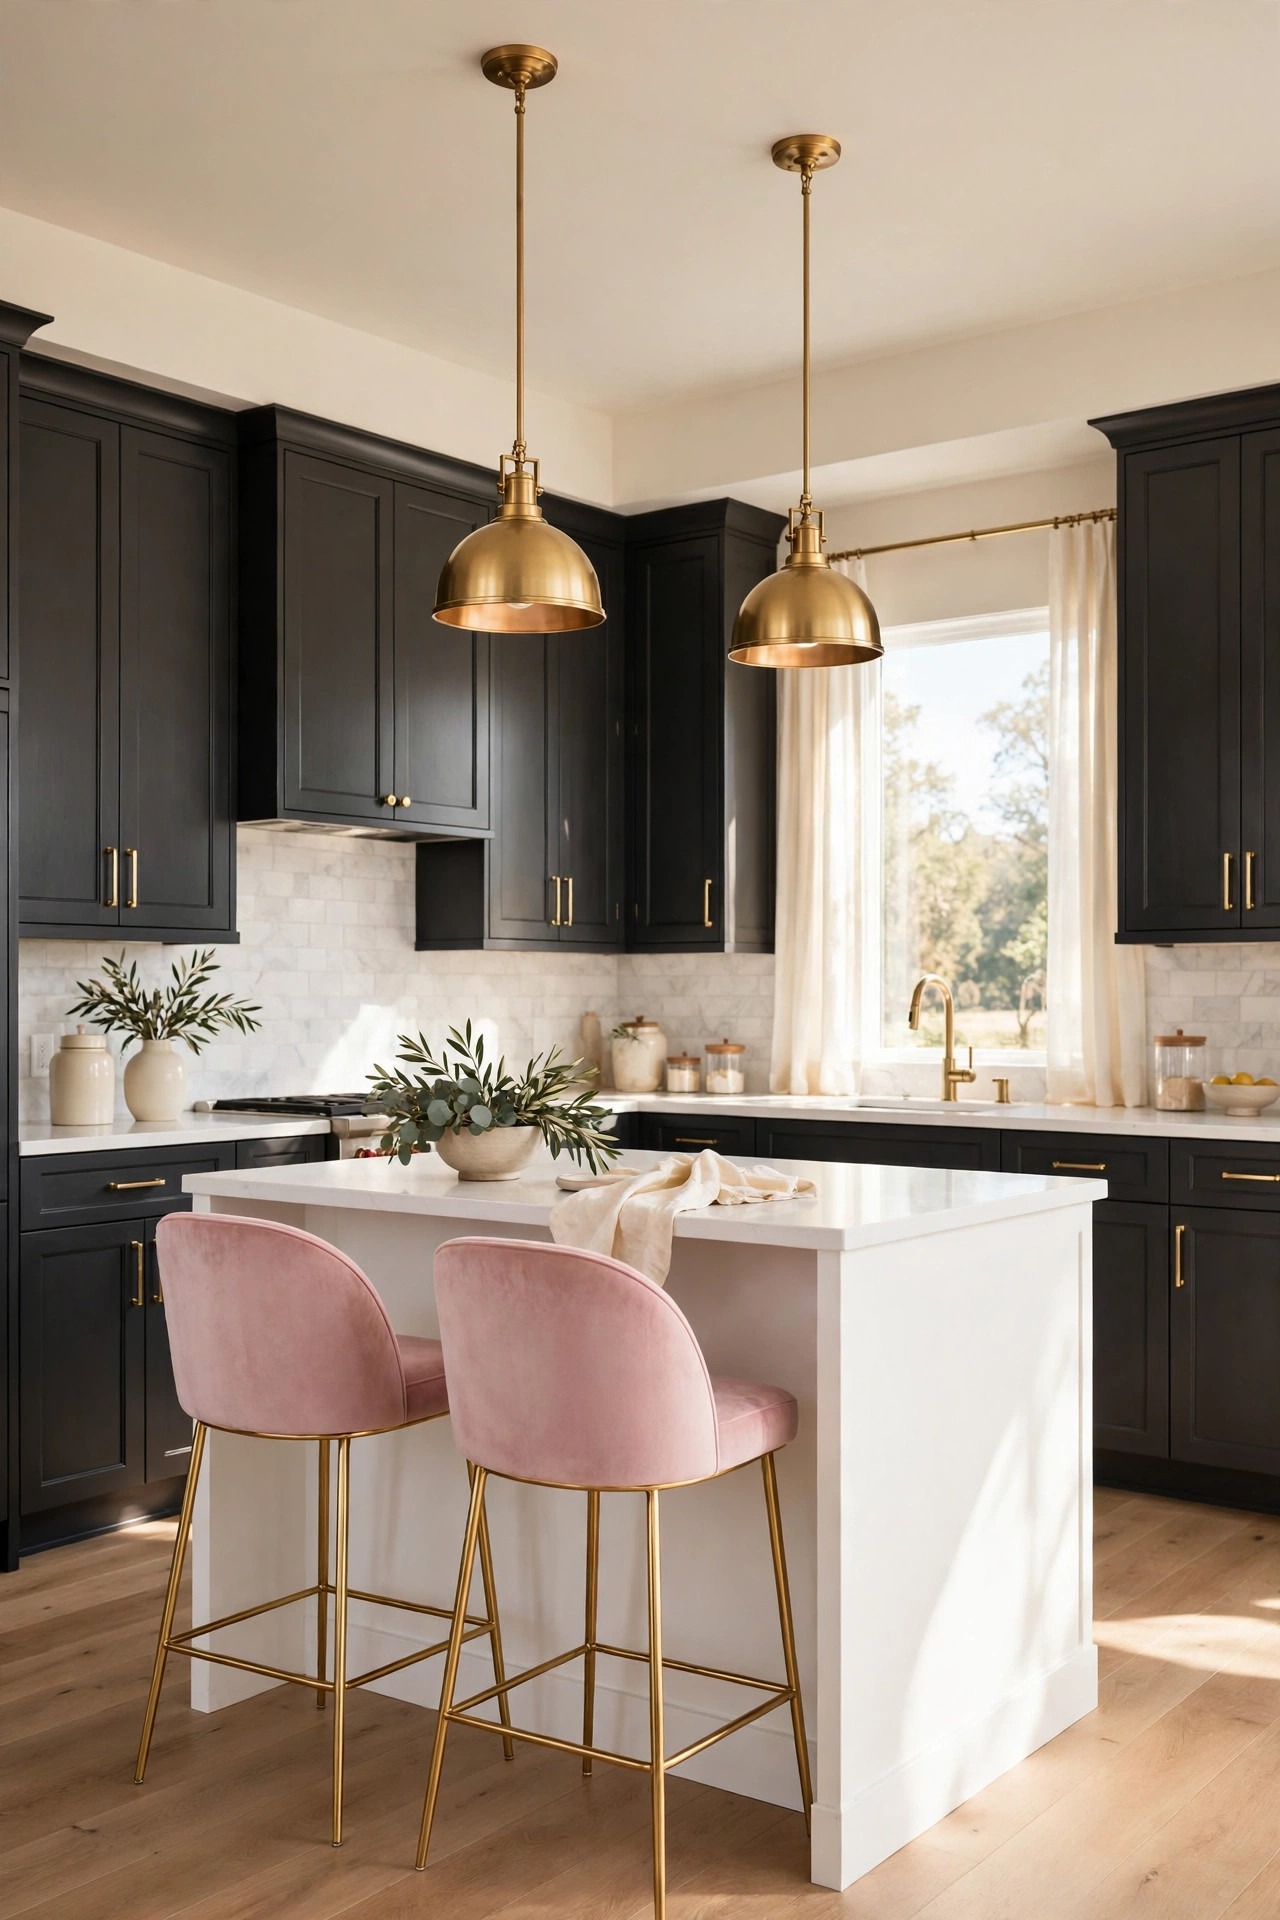
Blush bar stools with gold legs are the soft note a dark kitchen needs, because they put the glam palette at seating height and soften the hard lines of the cabinets. Choose two slim blush velvet stools with slim gold legs, and set them along the white island, so the room gains two seats and one gentle color without losing a walkway. Keep the stools light enough to move with one hand, because kitchens rearrange often and a stool that cannot move is a stool in the way. Pick a washable velvet or performance fabric in the same blush family, so the stools read as a pair and the kitchen keeps one soft accent. Measure the gap to the island first, because stools too close to the island are hard to sit in, and too far leaves a gap no one uses.
Best For: Kitchens with an island or a peninsula, and anyone who wants the blush note without painting a wall.
Not Ideal For: Kitchens where the stools must hold a cook for hours; a bar stool is a guest seat, so a slim armed counter chair is the honest version there.
Estimated Cost: $200-$700 (estimate) for two blush velvet bar stools with gold legs.
Budget Note: The pair is the spend; two simple blush stools cost far less than one bulky counter chair and leave more floor showing.
Renter Friendly: Yes
Renter Note: Nothing fixed at all; the stools move out one at a time on moving day.
What You Need
Two blush velvet bar stools with slim gold legs, washable fabric cleaner, small cream cushions if the seats are hard.
Product type to look for: Stools with a sturdy frame, slim gold legs and removable, washable covers, because blush stools in a kitchen meet daily use and need cleaning.
How To Do It
- Measure the island side and choose stools that leave a clear walkway behind them.
- Set the stools level, spaced evenly along the island.
- Sit on each stool and check the seat height feels easy at the island.
- Step back and check the blush reads as one pair from the doorway.
Pro Tip
Keep the stools as a matching pair, never two different styles. A matched pair reads as one decision in a dark kitchen, while two odd stools split the calm into clutter.
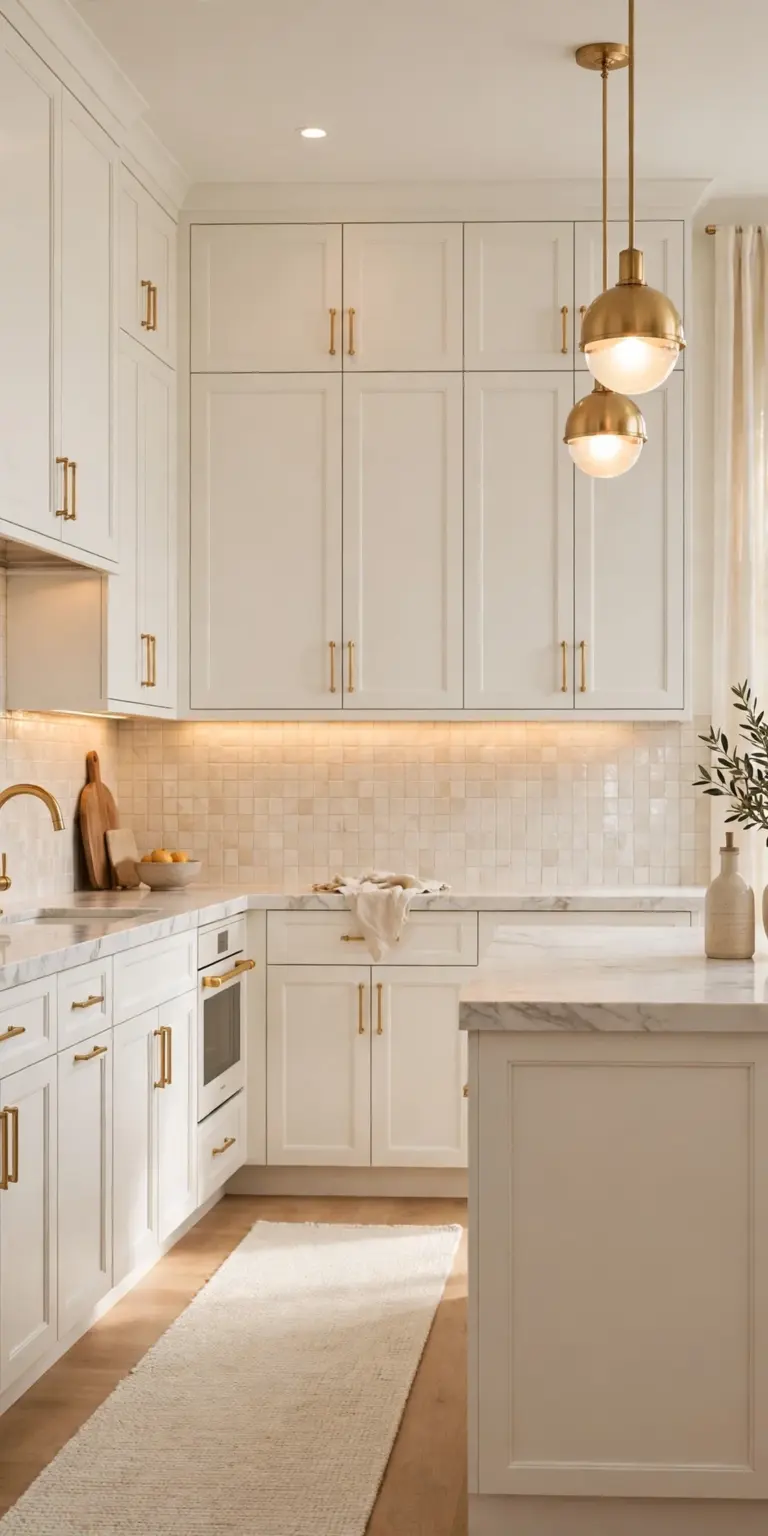
11. Pair Dark Cabinets with a Light Backsplash
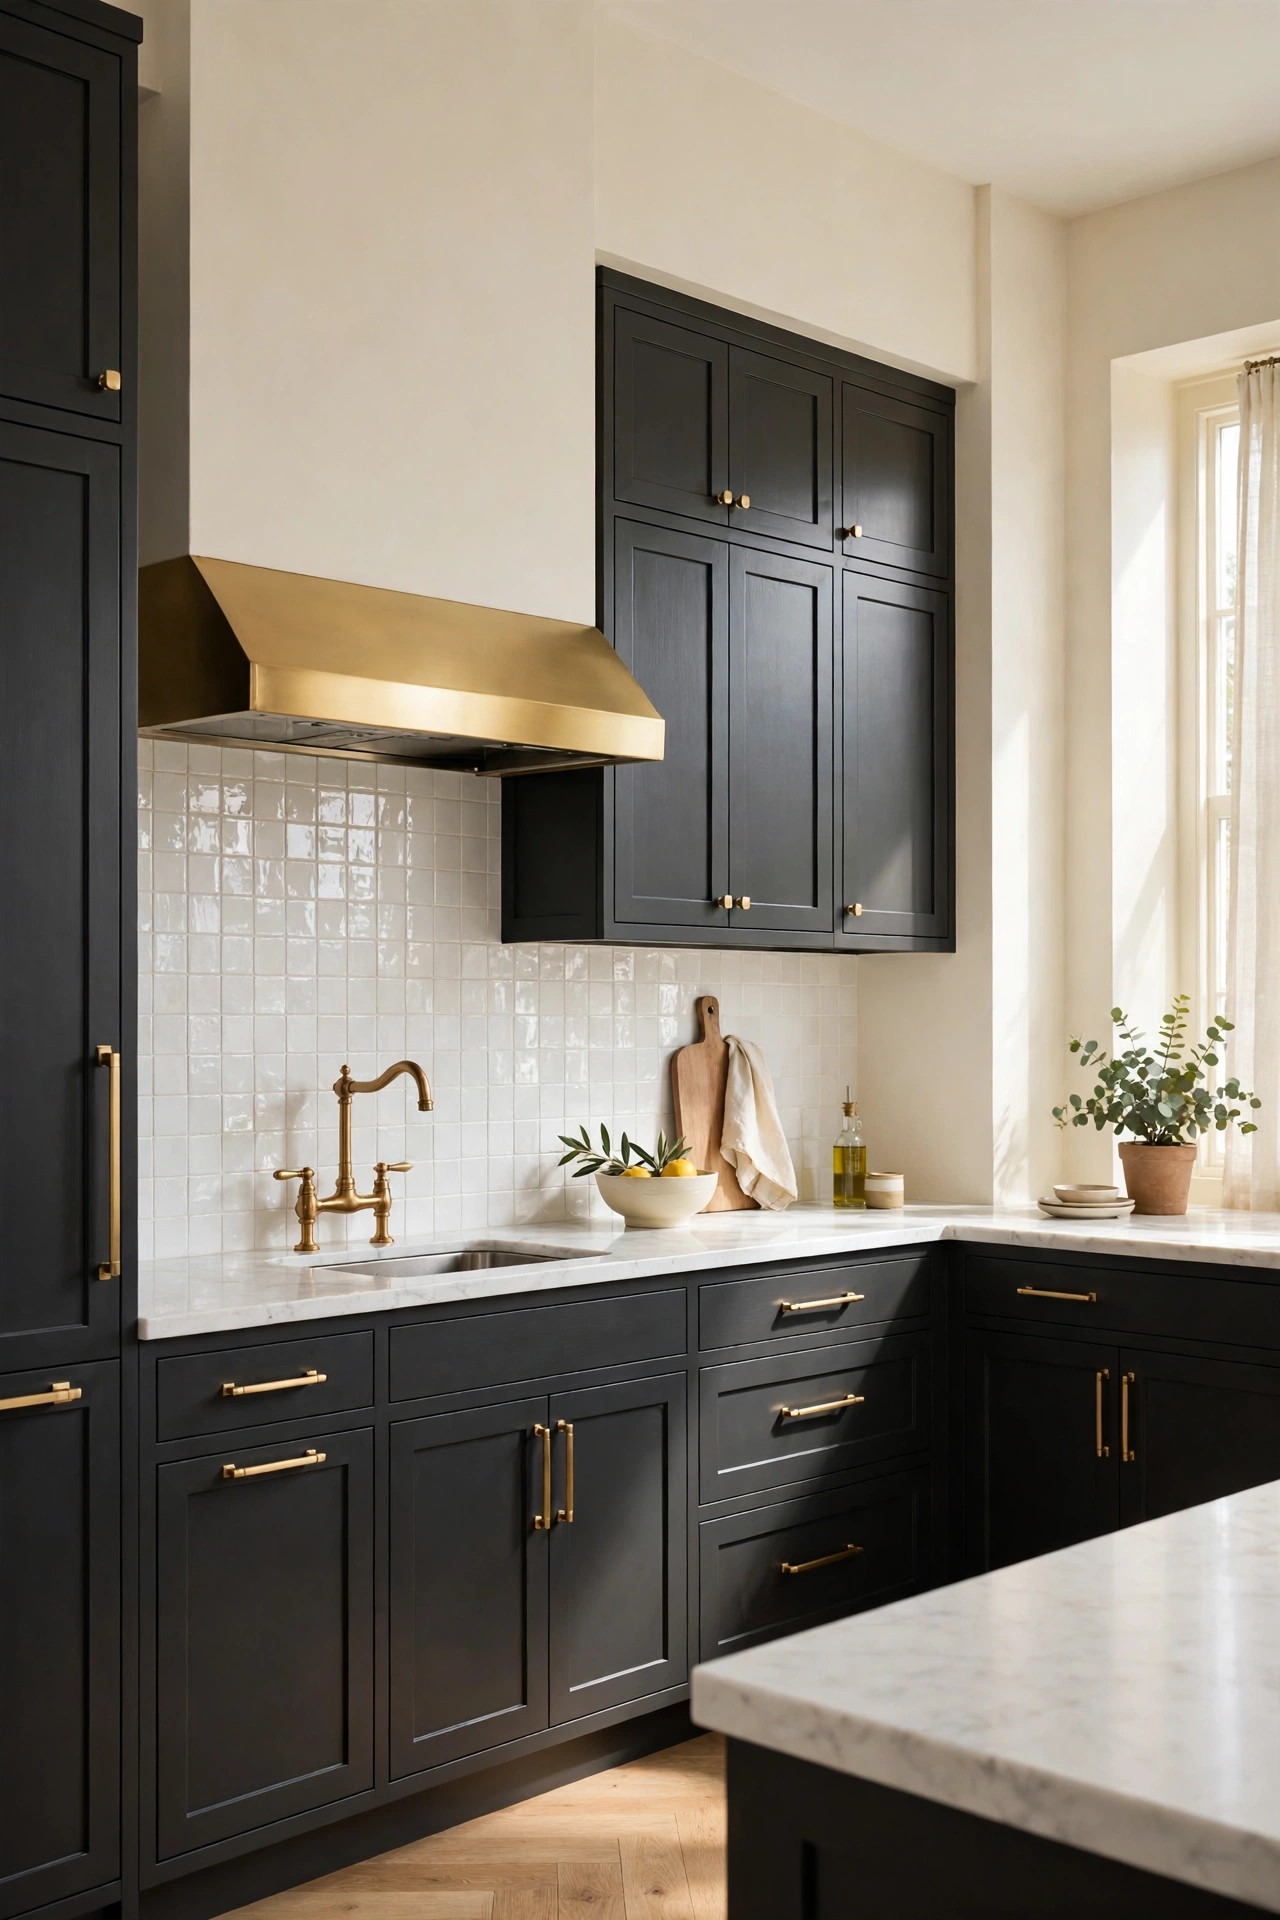
A light backsplash is the bright band that sits between dark cabinets and dark counters, and it is the piece that stops a dark kitchen from reading as one solid block. Choose glossy white zellige tiles or classic white subway tiles, laid in a simple pattern, so the wall between the counters and the uppers catches the light and throws it back across the room. Keep the grout pale and the tiles glossy, because a glossy tile reflects the under-cabinet light while a matte tile swallows it. Run the tile up to the underside of the uppers or the open shelves, and keep the pattern simple, because a busy pattern beside dark cabinets reads as noise. Our kitchen backsplash ideas show the same pale tile idea with different layouts, for readers deciding between zellige and subway
Best For: Kitchens where the dark feels heavy at the counter line, and anyone who wants one bright band without repainting.
Not Ideal For: Kitchens where the wall behind the cooker cannot take tile adhesive; a pale washable backsplash panel is the honest version there.
Estimated Cost: $400-$1,500 (estimate) for white zellige or subway tile and fitting for one kitchen run.
Budget Note: The tile and the fitting are the spend; a simple white tile costs far less than a patterned designer tile and reflects just as much light.
Renter Friendly: No
Renter Note: Tile is a landlord decision; renters can borrow the pale band with a removable backsplash panel in the same white tone.
What You Need
Glossy white zellige or subway tiles, pale grout, tile adhesive suited to the wall surface, spacers, sealant for the edges.
Product type to look for: Tiles with a glossy glaze and a pale grout, checked beside the dark cabinets in daylight, because a white tile can read cold against warm charcoal.
How To Do It
- Lay a row of tiles on the counter and check the pattern against the dark cabinets.
- Clean the wall, mark the lines level, and fix the tiles with even gaps.
- Grout in pale grout, wipe the tiles clean, and seal the edges.
- Switch on the under-cabinet lights and check the tile glows warm from the doorway.
Pro Tip
Keep the backsplash to one tile and one pattern only. A second tile or a border strip turns a calm band into a pattern, while one pale tile reads as a single decision.
12. Break the Dark with Glass-Front Uppers
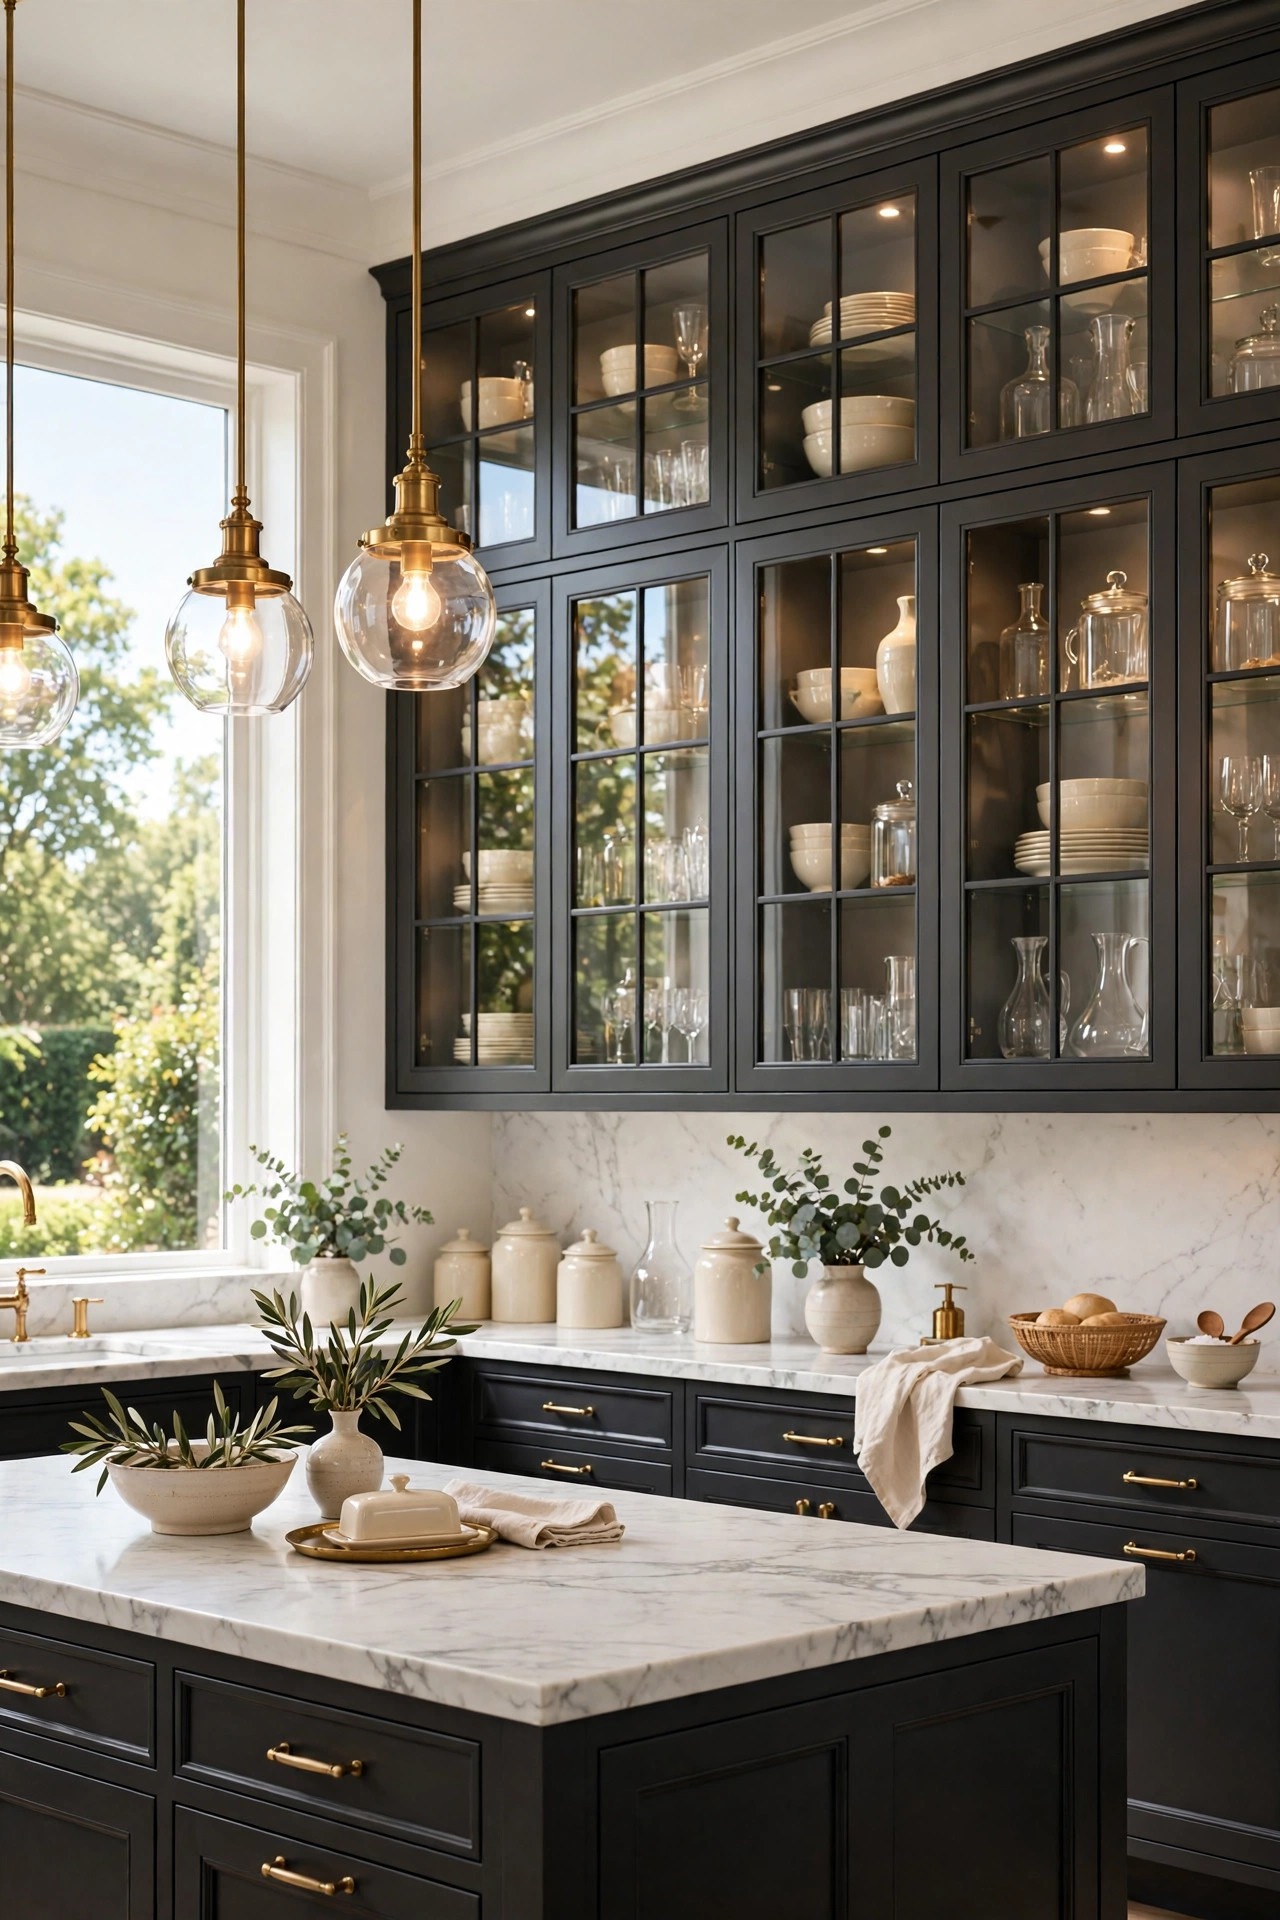
Glass-front upper cabinets are the dark kitchen’s window, because the glass breaks the solid dark and the cream ceramics inside glow through it. Fit glass fronts on the upper cabinets, keeping the dark frames, and style the shelves inside with cream ceramics, clear glassware and one small vase, so the uppers read light even though the frames stay dark. Keep the glass clear, never frosted, because clear glass shows the pale pieces inside while frosted glass only blurs them. Style the shelves lightly, one stack, one group of glasses, one vase per shelf, and leave breathing space between the groups, because a crowded glass cabinet beside dark lowers reads as a shop shelf. Fit a small warm light inside each cabinet if the budget allows, so the ceramics glow after dusk.
Best For: Kitchens where solid dark uppers feel heavy, and anyone who owns pale ceramics worth showing.
Not Ideal For: Kitchens where the cabinet contents are mismatched and busy; solid pale uppers are the honest version there.
Estimated Cost: $800-$2,500 (estimate) to fit glass fronts on existing upper cabinets with interior lights.
Budget Note: The glass and the fitting are the spend; refitting glass into good cabinet frames costs far less than new uppers and keeps the dark frames you already own.
Renter Friendly: No
Renter Note: Glass refits are a landlord decision; renters can borrow the glass note with a glass-fronted display cabinet beside the kitchen.
What You Need
Clear glass panels cut to the upper doors, beading or fixings suited to the door frames, cream ceramics, clear glassware, small warm cabinet lights if wanted.
Product type to look for: Glass panels cut to fit the door frames exactly, with a safe edge finish, because a glass door in a kitchen is opened daily.
How To Do It
- Remove one upper door and check the frame can take a glass panel cleanly.
- Fit the glass panels level, following the maker instructions for the beading.
- Style the shelves inside with the cream ceramics and the glassware, lightest at the top.
- Step back and check the glass reads as a bright window, not a dark wall, from the doorway.
Pro Tip
Keep the glass cabinets to one run only. Glass on every wall turns a kitchen into a display, while one glass run reads as a single bright note.
13. Make the Island the Only Dark Piece
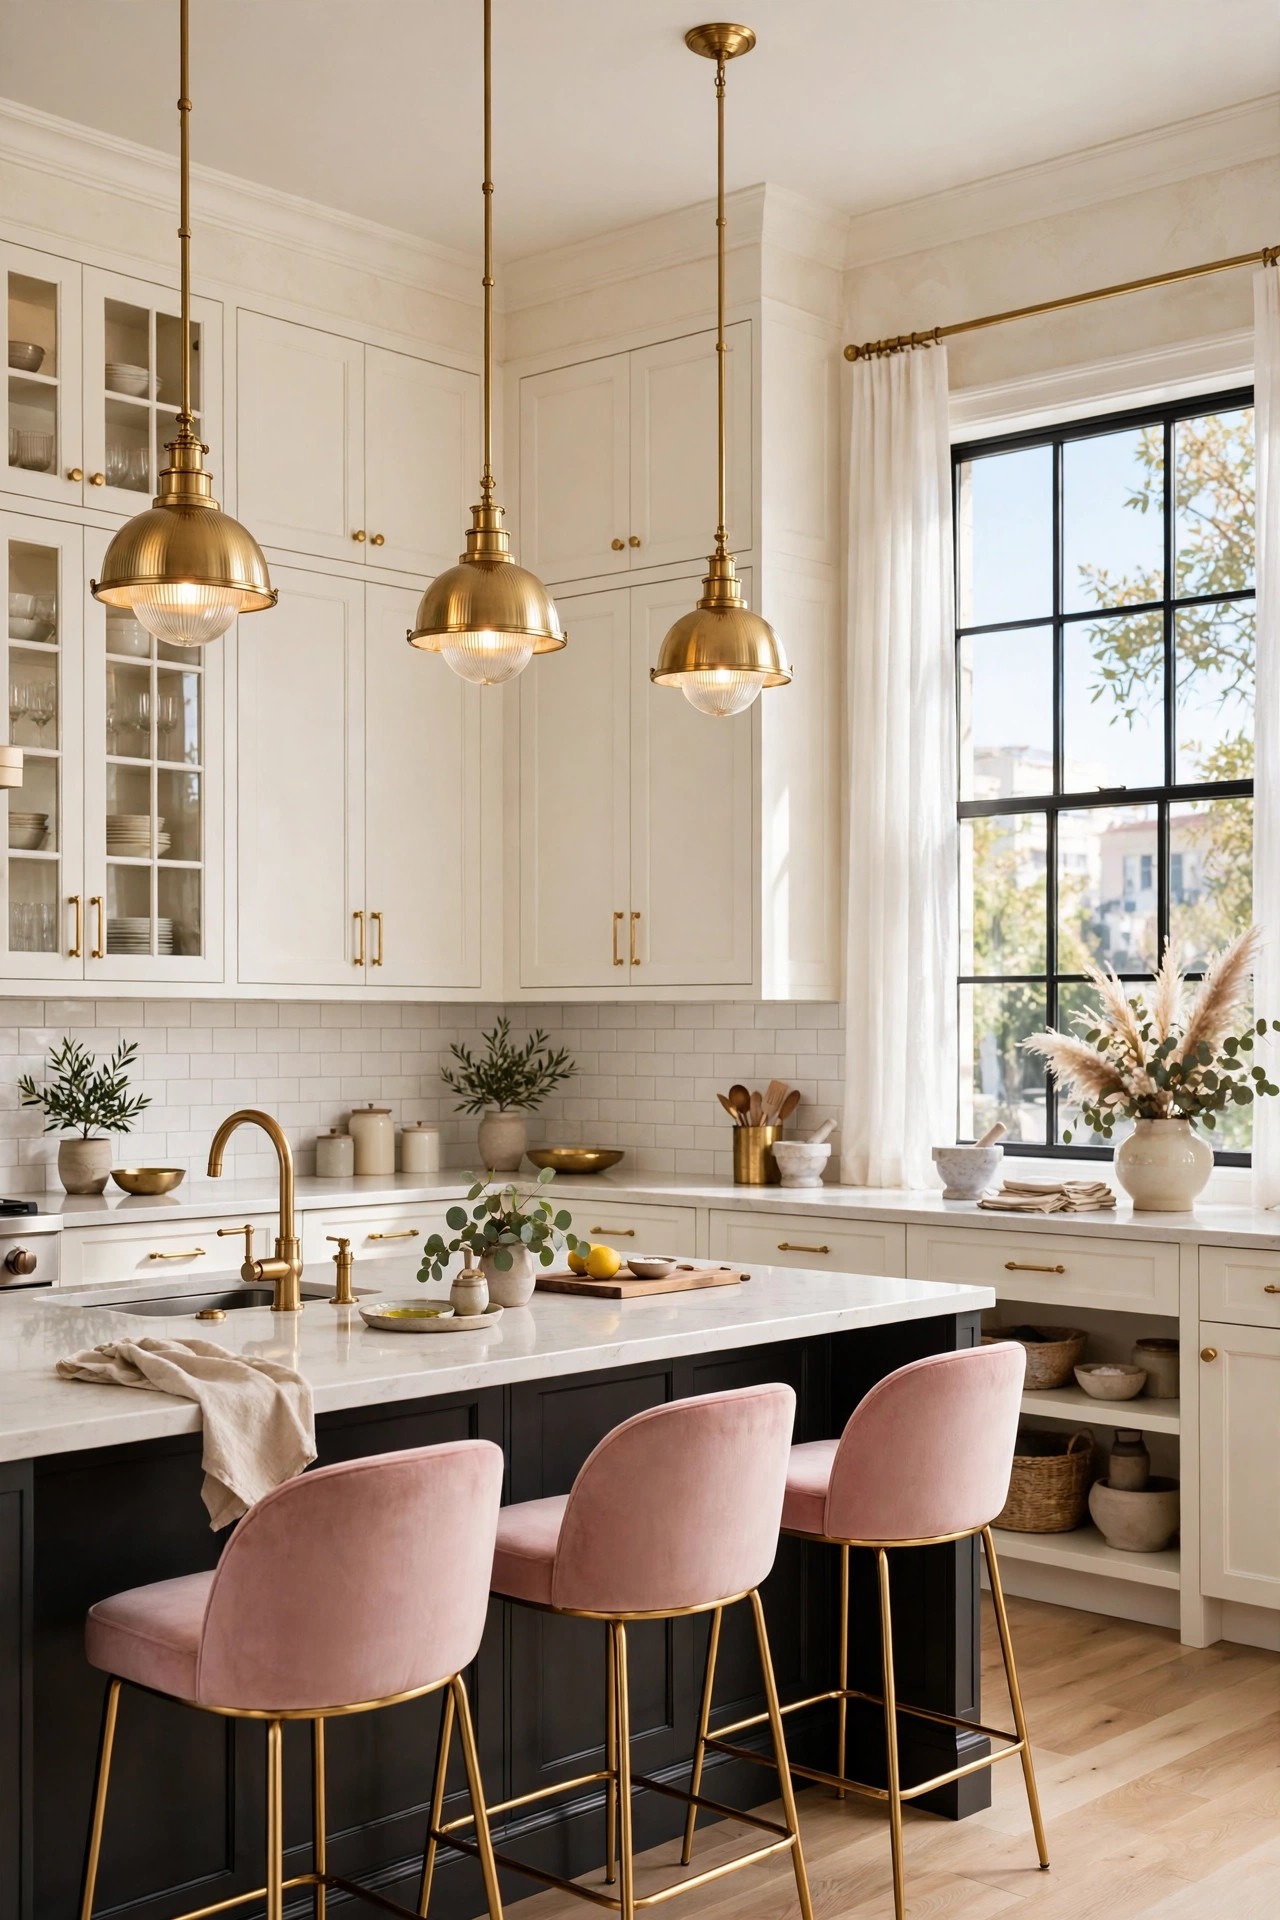
Making the island the only dark piece is the gentlest way into dark kitchen cabinets, because the dark sits in the middle of the room and the walls stay pale all around it. Paint the island matte charcoal or deep forest green, and keep every wall cabinet warm white, so the island reads as one bold piece and the kitchen keeps all its light. Choose the same brushed gold hardware on the island and the white cabinets, so the gold ties the two colors together, and top the island with white quartz, so the dark base has a bright top to stand under. Keep the island styling simple, one vase and one tray, because a dark island crowded with objects hides the color that makes it special. This is the idea to try first if a full dark kitchen feels like too much.
Best For: Kitchens where the owner wants to try dark without committing the whole room, and anyone who wants one bold piece.
Not Ideal For: Kitchens with no island; a dark tall unit or a dark dresser is the honest version there.
Estimated Cost: $800-$2,500 (estimate) to paint an island dark with new gold hardware and a white quartz top.
Budget Note: The paint is a small spend; the quartz top is the larger spend, and a simple white quartz top costs far less than a shaped stone island.
Renter Friendly: No
Renter Note: Painting a fitted island is a landlord decision; renters can borrow the dark island note with a dark island cart on wheels.
What You Need
Matte charcoal or deep forest green cabinet paint, primer suited to the island surface, brushed gold bar pulls, white quartz top, painter’s tape.
Product type to look for: A cabinet paint made for kitchen doors, with a hard matte finish that resists steam and cleaning, because an island meets daily use.
How To Do It
- Paint a dark sample on the island side and look at it in daylight and at night.
- Remove the island doors and drawers, label them, clean every surface and prime.
- Paint two thin coats of the dark color, letting each coat dry fully.
- Refit the doors with the gold pulls and check the island reads as one bold piece from the doorway.
Pro Tip
Keep the island one shade darker than any other dark in the room. One dark island against white cabinets reads as the star, while two matching darks split the attention.
14. Warm the Floor with Pale Wood and Butcher Block
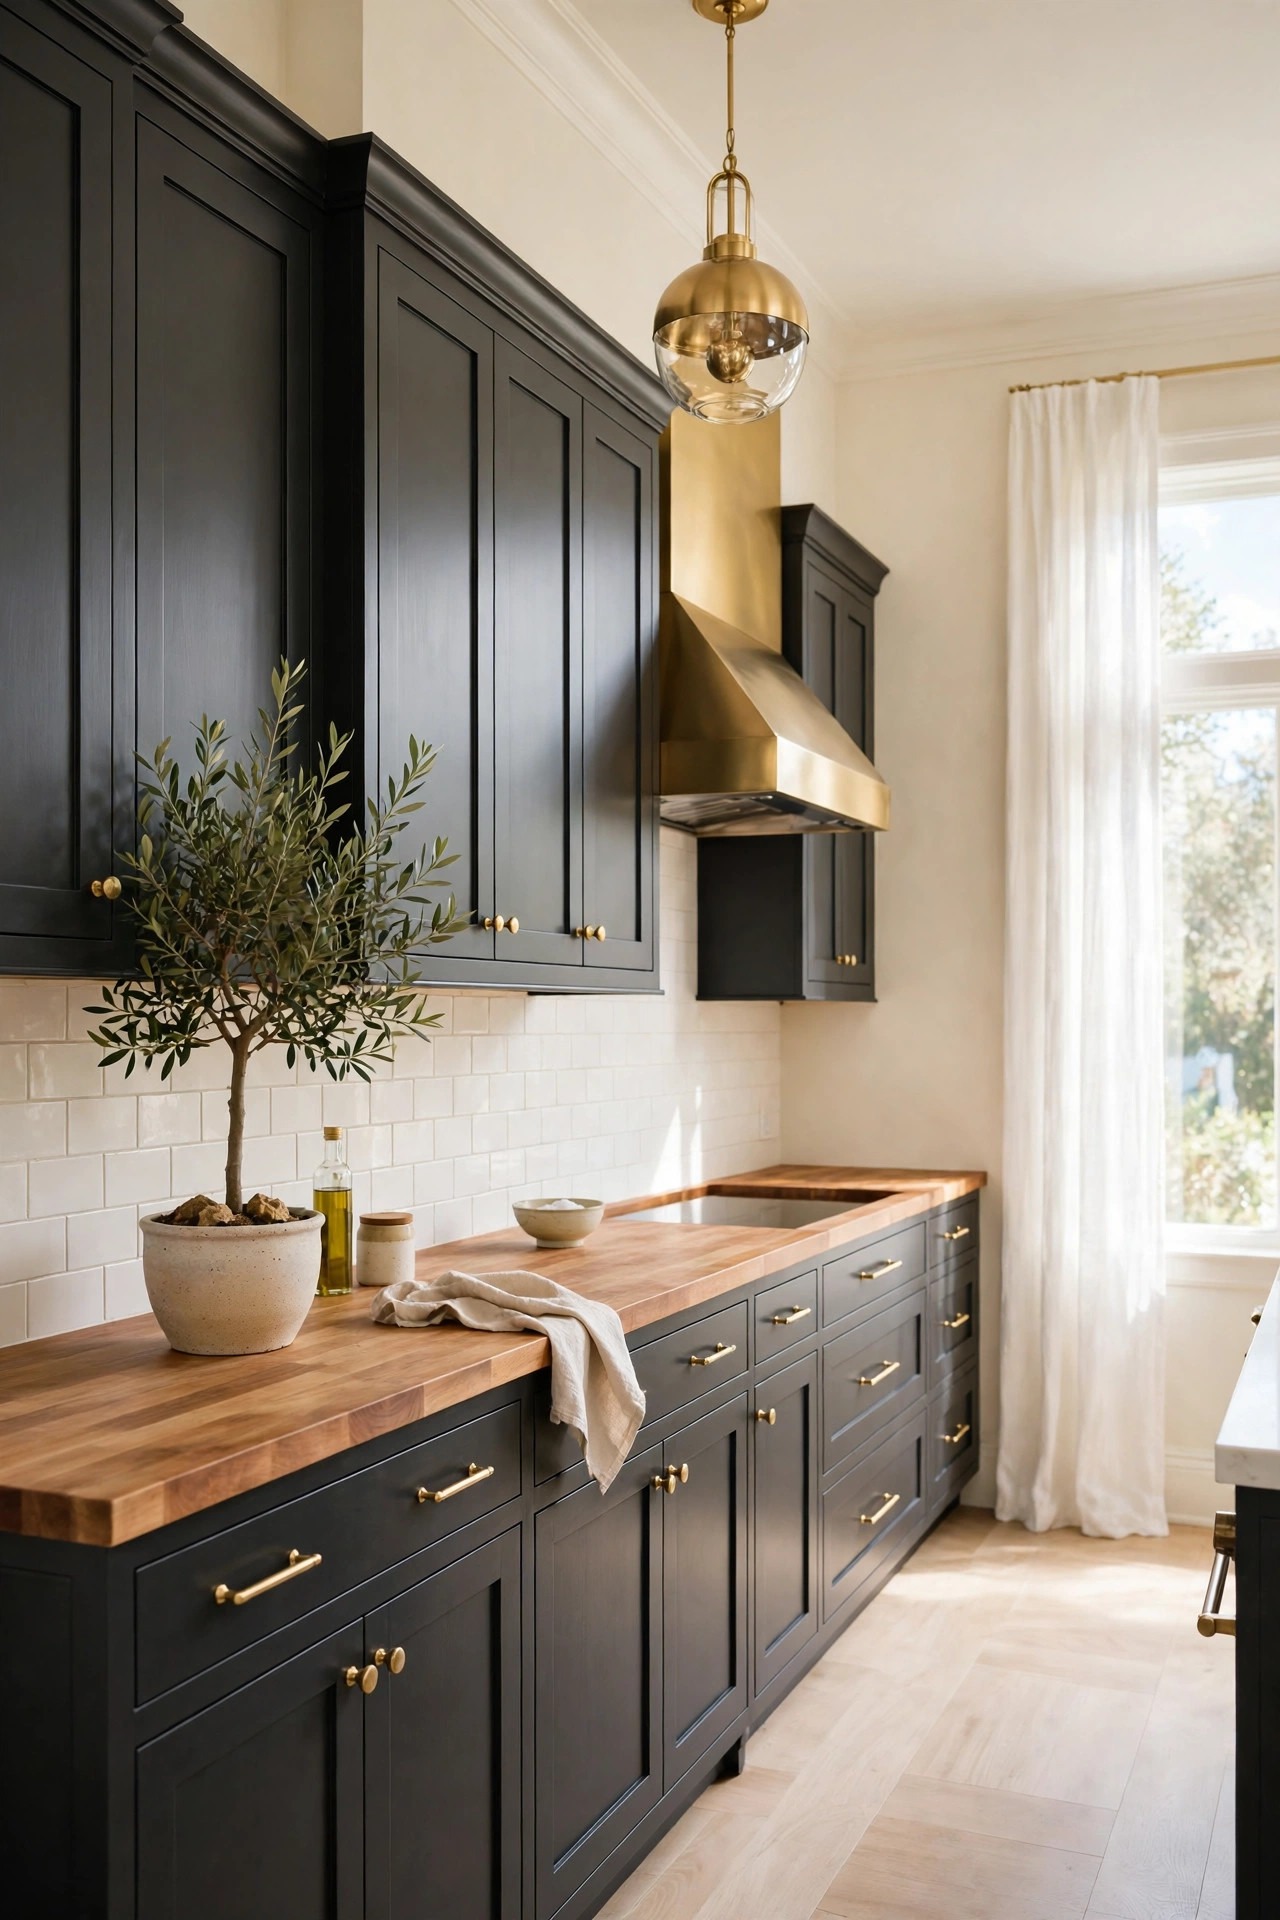
Pale wood floors and a butcher block counter are the warmth a dark kitchen needs underfoot and at hand, because the wood glows against the dark doors and the kitchen never reads cold. Keep the floor a pale oak, and fit a warm butcher block counter on one run, the island or the sink wall, while the other counters stay white marble, so the wood appears twice and reads as a plan. Choose a butcher block with a warm honey tone and a sealed finish, because a kitchen counter meets water daily and an unsealed block stains. Oil the block on the maker’s routine, and wipe it after cooking, so the wood keeps its glow. Match the floor oak to the open shelves from idea 8, so the woods read as one family and the dark cabinets sit between two pale woods.
Best For: Kitchens where the dark feels cold, and homes with pale wood floors already in place.
Not Ideal For: Kitchens where the counter must take hot pans daily without a trivet; sealed white quartz is the honest version there.
Estimated Cost: $600-$2,000 (estimate) for a butcher block counter on one run with sealing.
Budget Note: The block and the sealing are the spend; one run of butcher block costs far less than a whole kitchen of stone and warms the room just as much.
Renter Friendly: No
Renter Note: A fitted counter is a landlord decision; renters can borrow the warm wood note with a butcher block topped island cart.
What You Need
Butcher block counter in a warm honey tone, food-safe sealer or oil suited to kitchen counters, pale oak floor finish if the floor is refinished, soft cloths.
Product type to look for: A butcher block with a food-safe sealed finish, checked against the dark cabinets in daylight, because a block too red can clash with charcoal.
How To Do It
- Lay a sample of the block on the counter and check its warmth against the dark doors.
- Fit the block level, following the maker instructions for the fixings.
- Seal the block fully, letting each coat dry, and oil it on the maker’s routine.
- Wipe the block and check the wood glows warm against the dark cabinets from the doorway.
Pro Tip
Keep the butcher block to one run only. Wood on every counter turns a glam kitchen into a farmhouse, while one warm run reads as a single decision.
15. Finish with Gold, Brass and a Styled Counter
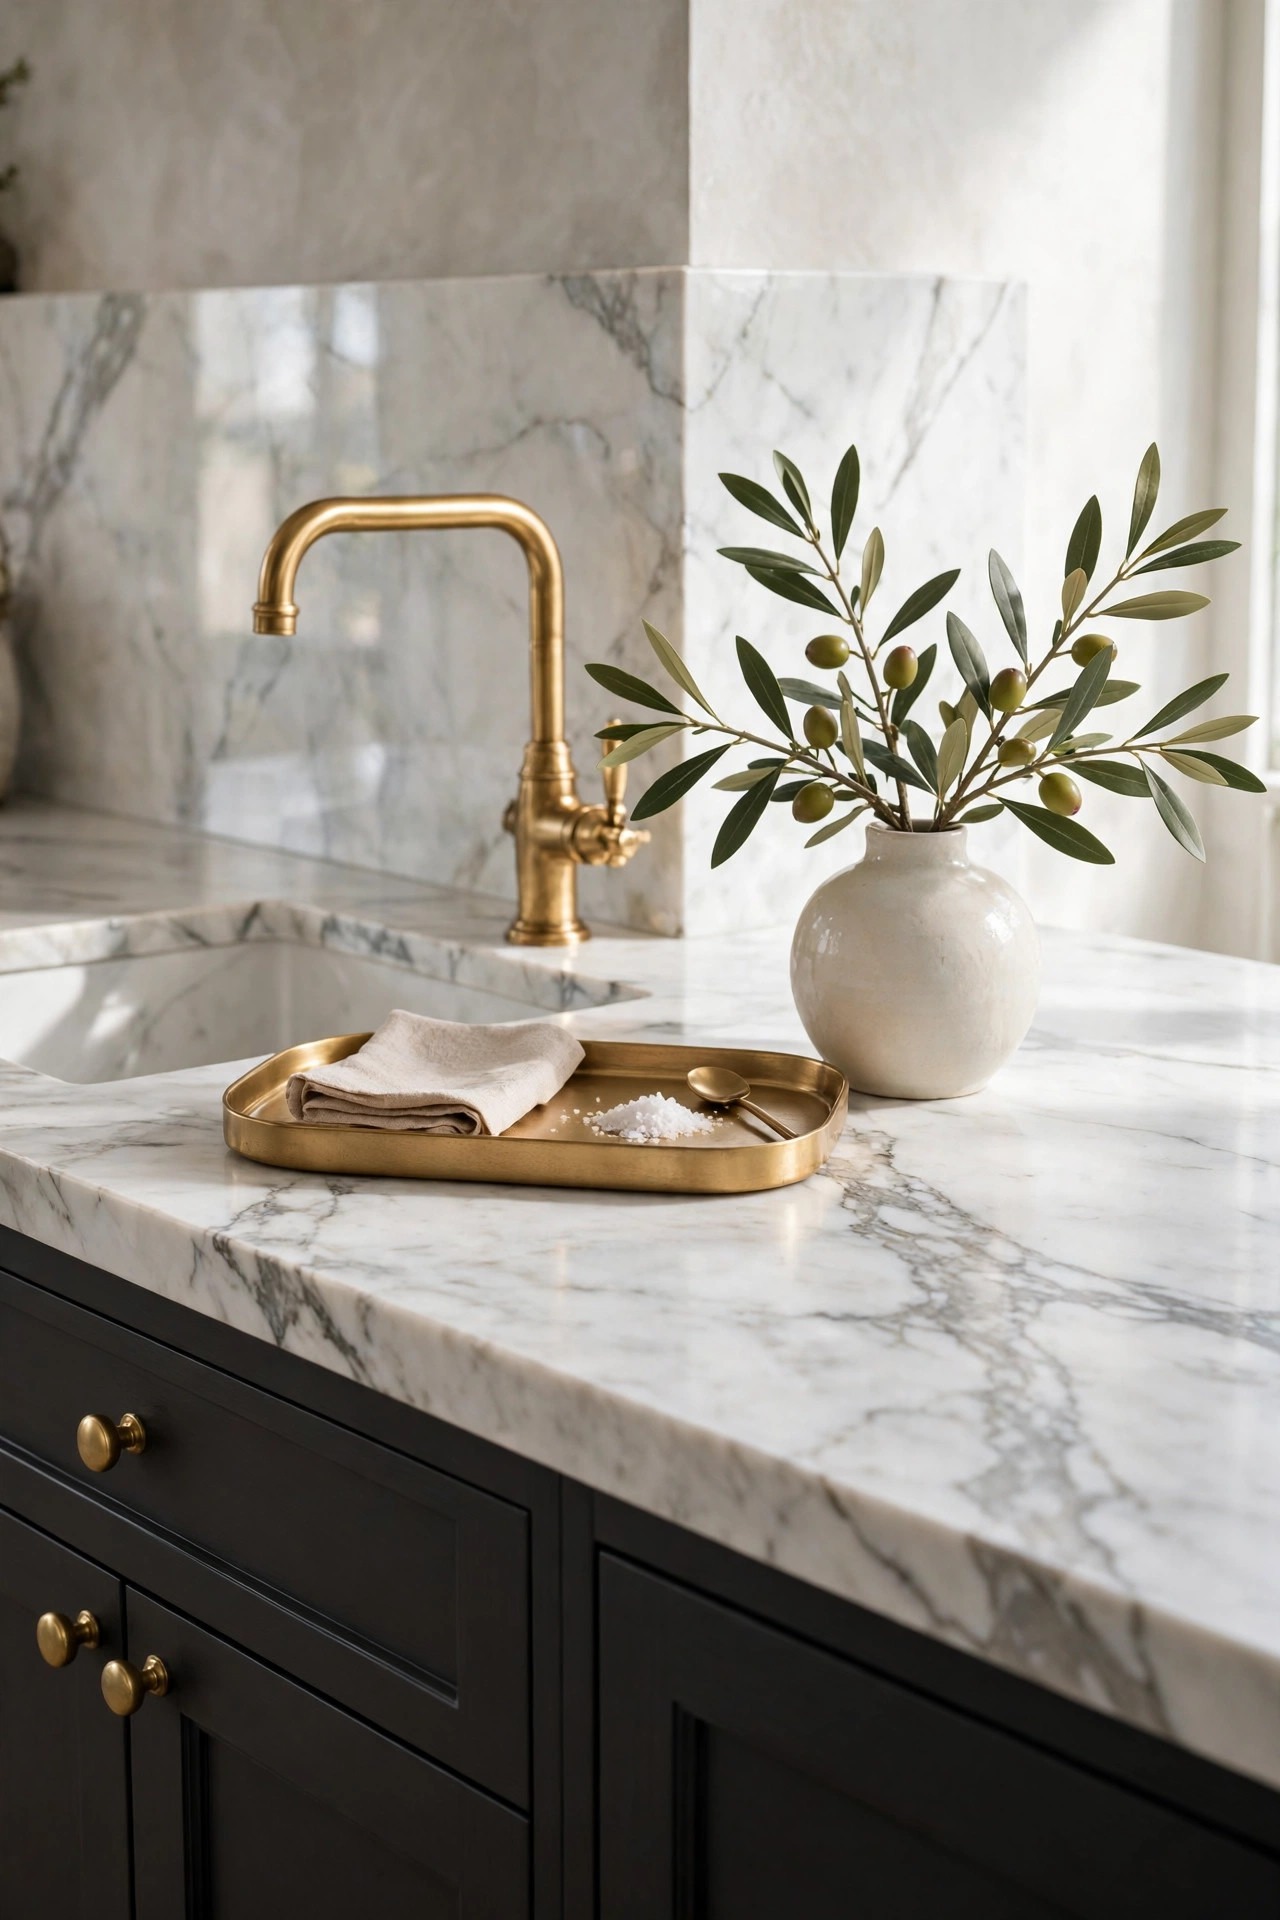
The last styling idea is the smallest, and it is what makes a dark kitchen look finished in photos and in person. A low gold tray on the white marble counter, holding a small ceramic vase with olive stems and a brass soap dispenser beside the tap, gathers the daily pieces into one calm group and repeats the gold note at the centre of the room. Keep the tray low and the scene honest, sized for what the kitchen actually uses every day, because a styled counter that has to be emptied before anyone can cook is a display, not a finish. Change the stems weekly and wipe the tray when you wipe the counter, and the finish keeps itself. Leave room on the counter for chopping, because a kitchen counter that cannot hold a board has stopped doing its job.
Best For: Every dark kitchen, and especially kitchens that look fine in daylight and unfinished in photos.
Not Ideal For: No real exception, but keep the tray small on a short counter so the white marble from idea 6 still shows.
Estimated Cost: $50-$180 (estimate) for a low gold tray, a small ceramic vase and a brass soap dispenser.
Budget Note: Shop the house first; a tray and a vase moved from another room finish the counter for nothing.
Renter Friendly: Yes
Renter Note: Nothing fixed at all; the whole scene can be packed in one box on moving day.
What You Need
Low gold tray, small ceramic vase, olive stems, brass soap dispenser, soft cloth for wiping.
Product type to look for: A tray with a low rim and a stable, flat base, because a tray on a marble counter must sit flat and not slide when a cup is set down.
How To Do It
- Clear the counter fully, then place the tray on one side of the top.
- Set the vase and the dispenser inside the tray and leave the middle clear.
- Check a chopping board still fits on the counter without moving the scene.
- Walk to the door and check the counter as a guest sees it: marble leading, gold calm, surfaces clear.
Pro Tip
Reset the scene every evening for one week. The habit, not the objects, is what keeps a styled finish: tray grouped, vase fresh, top two thirds clear.
Practical Tips for Dark Kitchen Cabinets
Let the dark be the one clear note and repeat the light notes until they look planned. The cabinets stay dark, charcoal, forest green, navy or espresso, and the counters stay white marble or white quartz, the walls stay warm white and the hardware stays brushed gold, each used at least twice: gold in the pulls and the tap, white in the counters and the uppers, pale wood in the shelves and the floor. One note used once looks like an accident; twice or more it looks like a decision. Keep the light layered, because the under-cabinet strips, the pendant lights and the daylight together are what keep a dark kitchen bright, and one dark piece, the island or the lower run, is enough to give it drama. Test every dark paint on one door before buying the full cans, because charcoal, green and navy all shift with the light, and judge the kitchen twice before calling it done, once at midday for the true colors and once under the evening lights. Start in the order of this list, cabinet color and counters first, and let the hardware, the light and the soft layers arrive slowly; a dark kitchen built in a weekend usually has one object too many, and removing a piece is always easier than finding the right one to add.
Frequently Asked Questions
Do dark kitchen cabinets make a kitchen look smaller?
Not when the light is balanced. Dark lowers with white uppers, white marble counters, warm under-cabinet lighting and pale walls keep a dark kitchen bright, and the dark reads as rich rather than small. A kitchen with dark on every surface and no extra light is the version that feels smaller.
What is the best dark color for kitchen cabinets?
Matte charcoal suits most kitchens, because it reads softer than black and suits both modern and classic homes. Deep forest green suits kitchens with good daylight, navy suits homes that love marble, and espresso wood suits kitchens that want natural warmth with the dark.
What countertop goes best with dark kitchen cabinets?
White marble or white quartz goes best, because the pale stone gives the dark doors a bright edge and keeps the worktop bright for cooking. A butcher block run adds warmth on one side, while a dark counter on dark cabinets is the version that needs the most extra light.
What hardware looks best on dark kitchen cabinets?
Brushed gold looks best, because gold warms charcoal, green, navy and espresso in a way silver never does. Keep the pulls slim and all in the same brushed gold family, and use small round gold knobs on the smallest doors.
Can I paint my existing kitchen cabinets dark?
Yes, and painting is the most affordable way to get dark cabinets, because good cabinet boxes can be painted charcoal, green or navy for far less than new cabinets. Clean and prime every door, paint two thin coats of a cabinet paint made for kitchens, and check the color on one door in daylight before painting the whole run.
How do I keep dark kitchen cabinets clean?
Wipe them weekly with a soft cloth and a gentle cleaner, because matte dark doors show fingerprints and steam marks more than pale doors. A hard matte cabinet paint resists cleaning better than a soft paint, and brushed gold pulls hide marks better than shiny ones.
Conclusion
A dark kitchen cabinets list works when the dark is given one clear job: the charcoal, green, navy or espresso cabinets lead, and everything else supports. White marble counters and a white waterfall island keep the room bright, brushed gold hardware and brass lights keep it warm, and pale wood shelves, blush stools and a light backsplash keep it soft. Start with the cabinet color and the counters, add the gold hardware and the warm light, keep one dark, one pale stone and one metal through the whole kitchen, and the darkest room in the house becomes the one the kitchen is proud of.